Home>Gardening News and Trends>Latest News>How Do You Dry Herbs
Latest News
How Do You Dry Herbs
Modified: January 22, 2024
Discover the Latest News on How to Dry Herbs at Home
(Many of the links in this article redirect to a specific reviewed product. Your purchase of these products through affiliate links helps to generate commission for Chicagolandgardening.com, at no extra cost. Learn more)
Table of Contents
Introduction
Welcome to the world of drying herbs! If you’ve ever wanted to have a supply of flavorful and aromatic herbs at your fingertips all year round, then drying herbs is the perfect solution for you. Drying herbs is a simple and effective method of preserving their freshness and flavor, allowing you to enjoy them long after they’ve been harvested.
Whether you’re a seasoned gardener looking to make the most of your herb garden or a cooking enthusiast seeking to elevate your culinary creations, understanding how to dry herbs will open up a world of possibilities. From enhancing the flavor of your dishes to creating your own herbal teas and natural remedies, dried herbs are incredibly versatile.
In this article, we will explore the benefits of drying herbs, provide you with tips on choosing and harvesting the best herbs for drying, and guide you through the various methods of drying herbs. By the end, you’ll have the knowledge and confidence to easily dry your favorite herbs and enjoy their flavors and aromas year-round.
So, let’s dive in and discover the art of drying herbs!
Benefits of Drying Herbs
Drying herbs offers a multitude of benefits for both culinary and medicinal purposes. Here are some of the key advantages:
- Preservation: Drying herbs is a simple and effective way to preserve them. By removing the moisture content, you can prolong their shelf life and prevent them from spoiling.
- Flavor Enhancement: Drying herbs intensifies their flavors. The concentrated flavors of dried herbs can add depth and complexity to your dishes, making them more delicious.
- Convenience: Imagine having your favorite herbs readily available at any time, regardless of the season. Dried herbs offer convenience, allowing you to easily access the flavors you love, even when fresh options are not available.
- Cost-Effective: Buying fresh herbs from the store can be expensive, especially when they are out of season. By drying your own herbs, you can save money and have a fresh supply whenever you need it.
- Health Benefits: Many herbs have medicinal properties that can provide numerous health benefits. Drying herbs allows you to harness these qualities in a concentrated form for various remedies, teas, and infusions.
- Creative Freedom: Dried herbs give you the freedom to experiment with different flavors and combinations in your cooking. You can create your own unique blends and infuse your dishes with a personalized touch.
Whether you’re a chef, a herbalist, or simply someone who loves the taste and aroma of fresh herbs, drying herbs offers a range of advantages that can elevate your culinary and wellness experiences. So, let’s explore the process of choosing and harvesting herbs for drying!
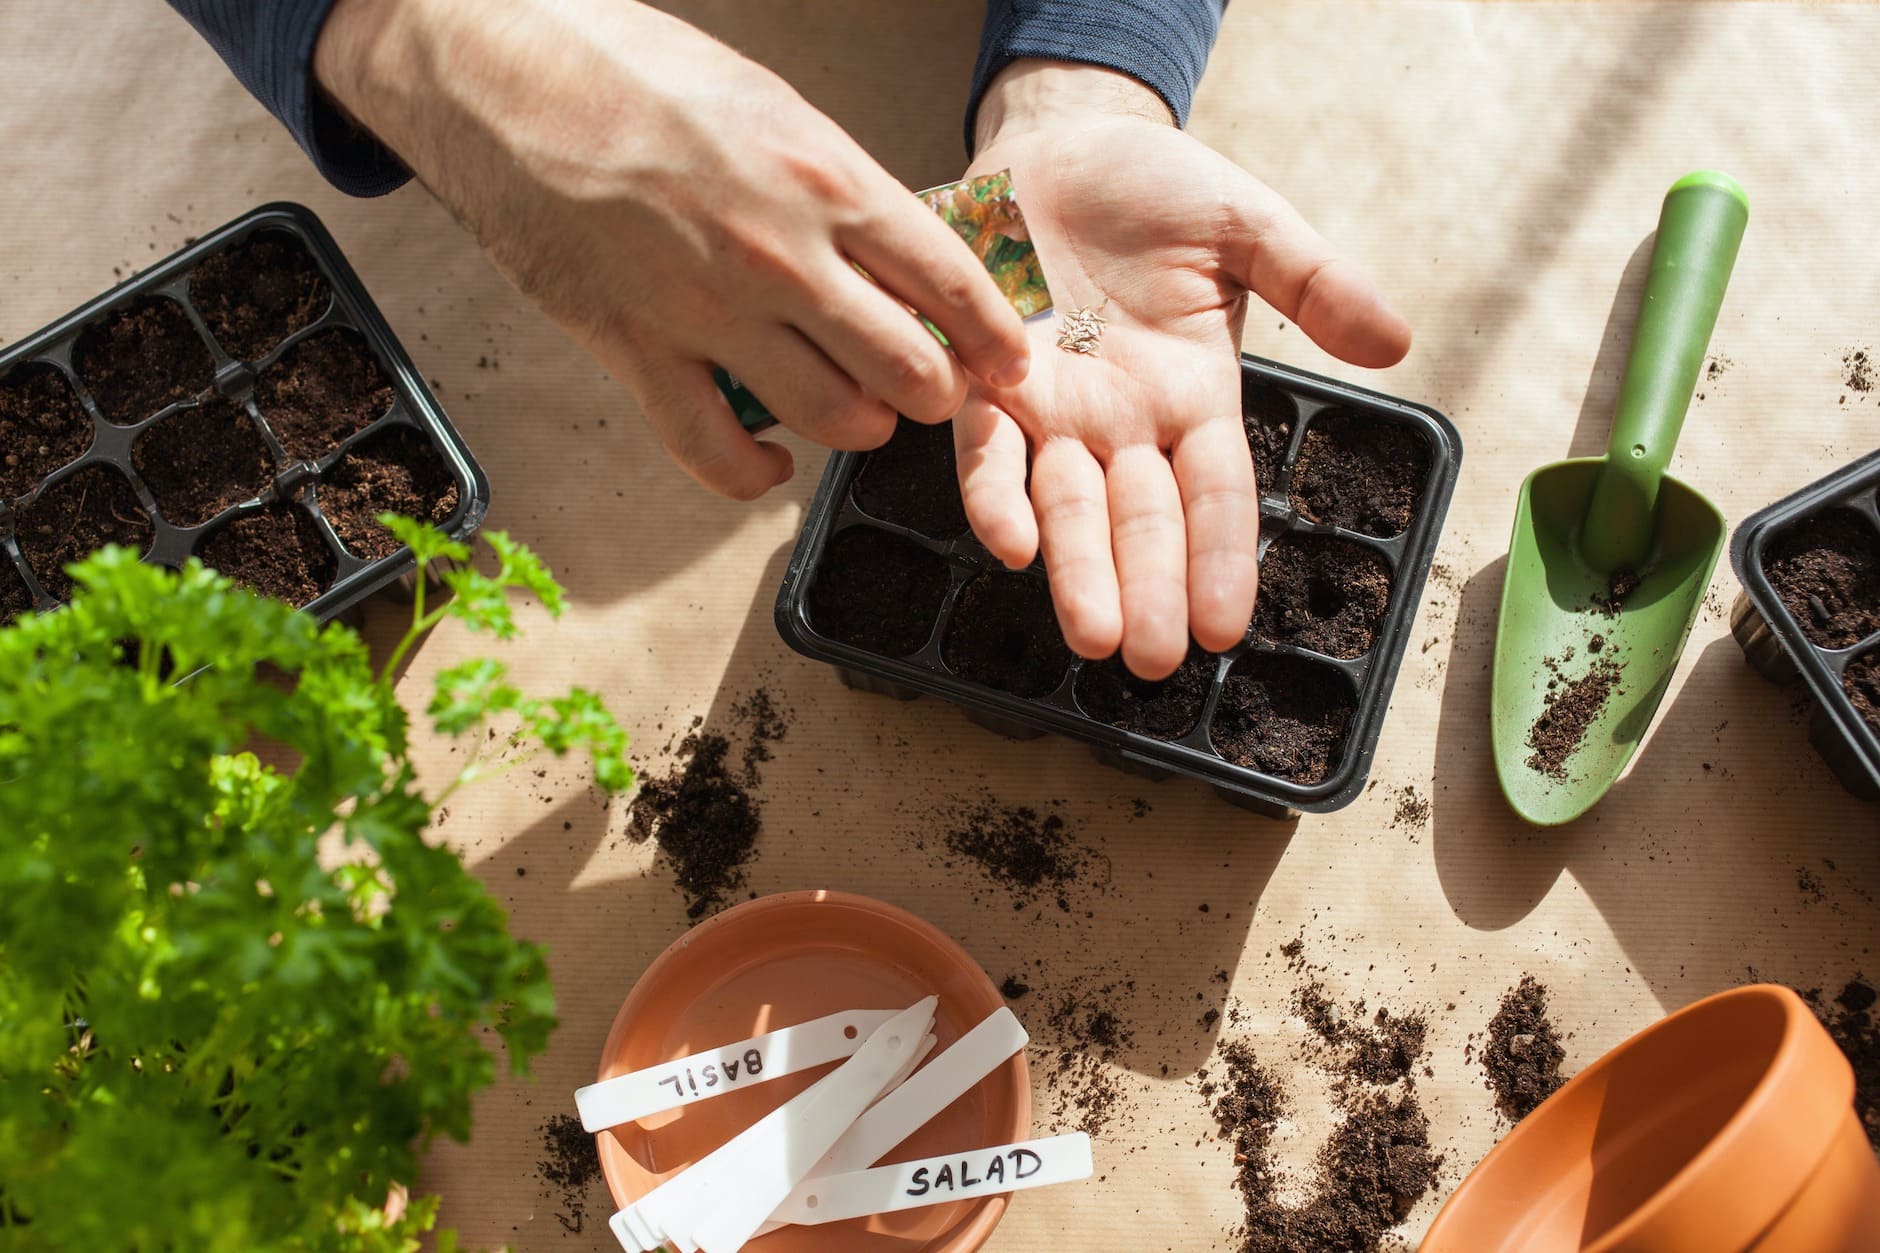
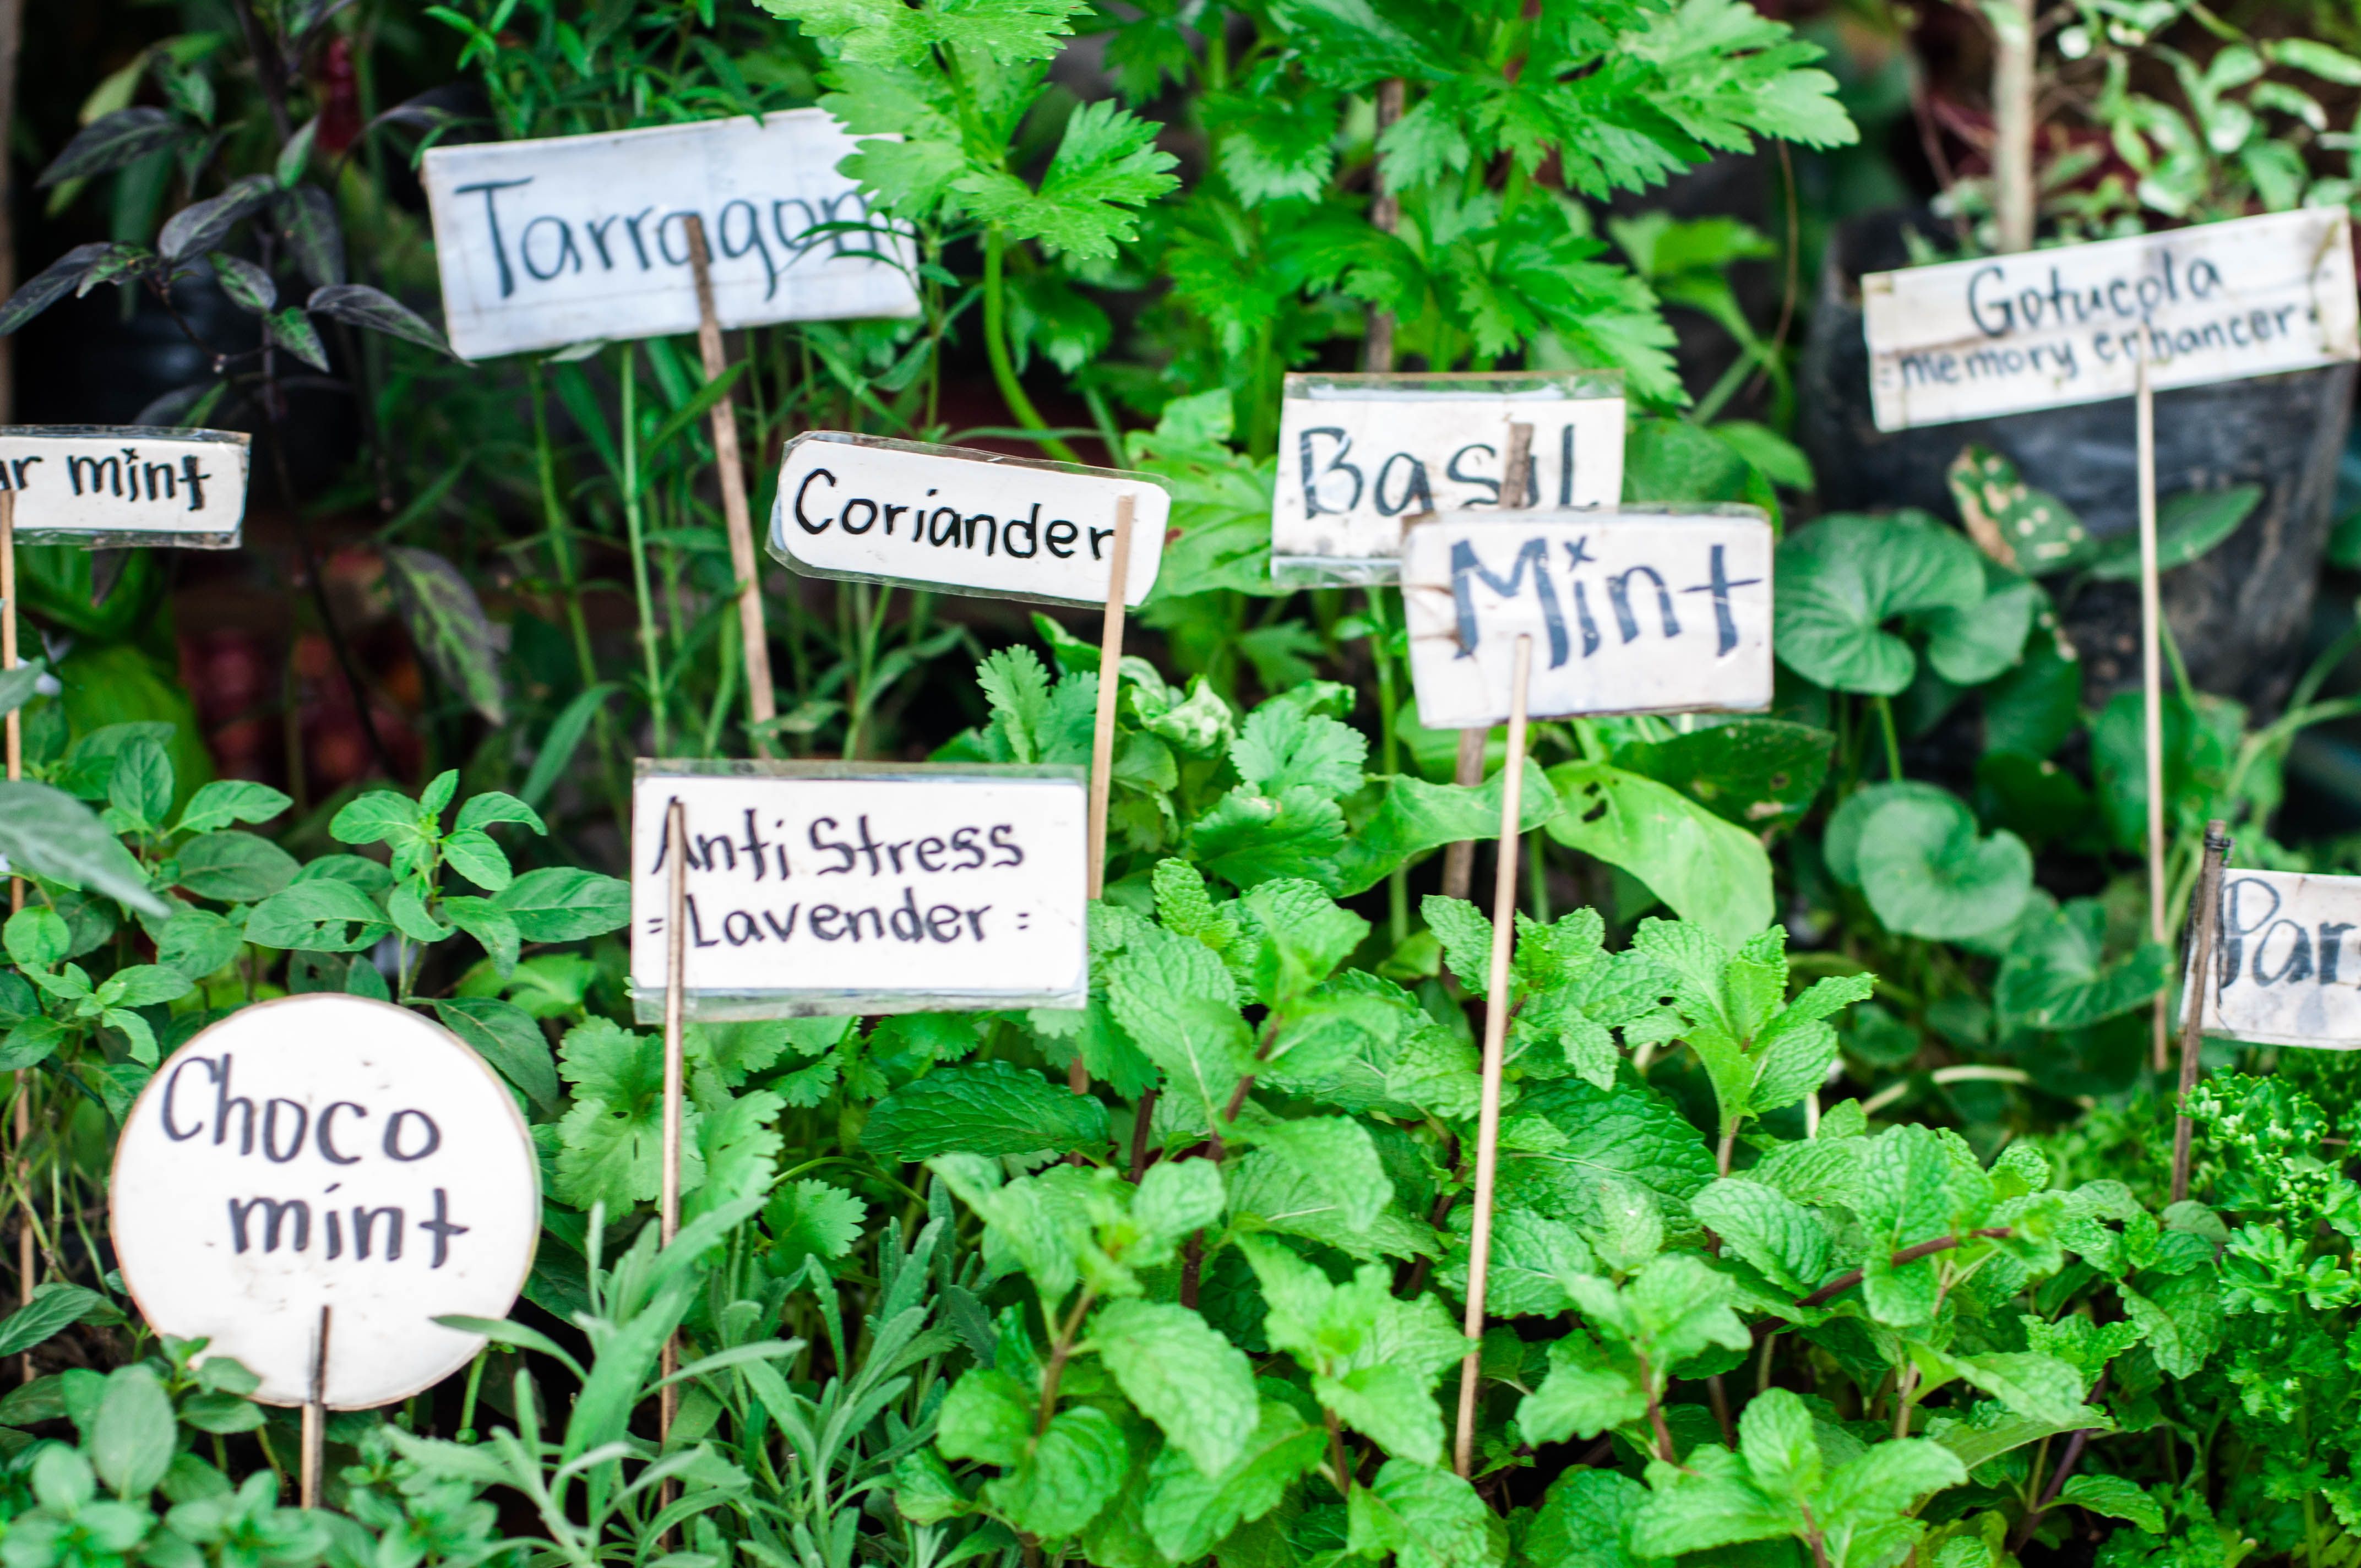
Choosing and Harvesting Herbs for Drying
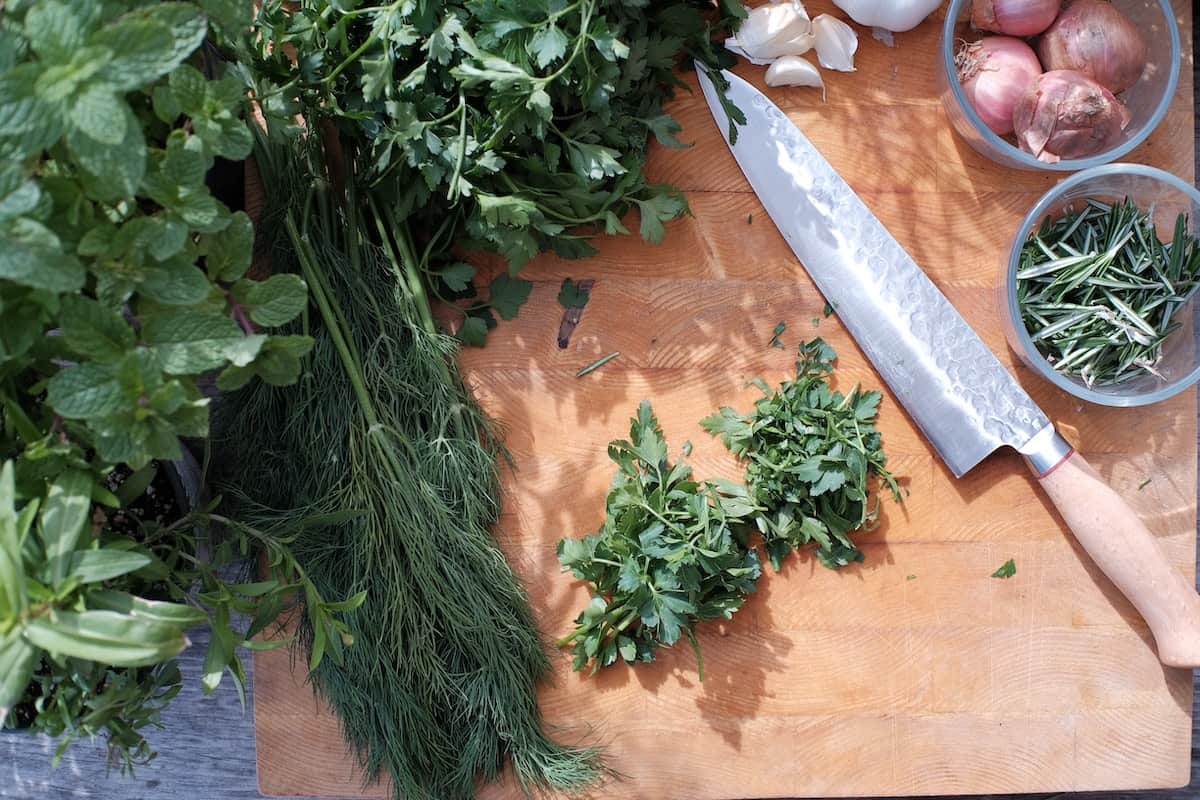
When it comes to choosing herbs for drying, it’s important to select ones that are at their peak of freshness and flavor. Here are some tips to help you make the best choices:
- Freshness: Choose herbs that are fresh and vibrant. Avoid using wilted or damaged herbs, as they may not dry well and may lose their flavor.
- Flavor and Aroma: Opt for herbs that have a strong scent and robust flavor. This will ensure that the dried herbs retain their aromatic qualities even after drying.
- Maturity: Harvest herbs when they are at their peak of maturity. For leafy herbs like basil and mint, it’s best to harvest just before they start to flower. For woody herbs like rosemary and thyme, harvest the stems when they are sturdy and the leaves are full.
- Drying Process: Consider the drying process you will be using. Some herbs, like basil or parsley, are more suited for air drying, while others, like oregano or sage, can be dried using various methods.
When it comes to harvesting herbs, the following steps will ensure optimal results:
- Choose a sunny morning to harvest your herbs. This is when the essential oils are at their highest concentration.
- Using a pair of scissors or pruning shears, cut off the desired amount of herbs just above a leaf node or a set of leaves. This will encourage new growth on the plant.
- Remove any damaged or discolored leaves before continuing the drying process.
Remember to harvest herbs with caution, ensuring that you do not deplete the plant’s entire supply. By using proper harvesting techniques and choosing herbs at their prime, you can ensure the best results when drying herbs. Now that you have harvested your herbs, let’s move on to preparing them for the drying process!
Preparing Herbs for Drying
Properly preparing your herbs before the drying process is essential for achieving the best results. Follow these steps to ensure that your herbs are ready to be dried:
- Start by gently rinsing the herbs under cold water to remove any dirt or debris. Be careful not to bruise or damage the leaves.
- Pat the herbs dry with a clean kitchen towel or paper towel. It’s important to remove as much moisture as possible from the herbs before drying.
- If your herbs have long stems, you can remove the leaves from the stems using your fingers or a sharp knife. Alternatively, you can leave them intact if you prefer.
- If you choose to keep the stems, tie a small bundle of herbs together using twine or a rubber band. This will help them stay together during the drying process.
- For herbs with delicate leaves, such as basil or parsley, you might want to consider blanching them briefly in boiling water and then immediately placing them in an ice bath. This blanching process helps to preserve the herbs’ vibrant color.
- Once your herbs are prepared, you’re ready to move on to the drying process. There are several methods you can choose from, depending on your preference and the herbs you’re drying.
By properly preparing your herbs, you’ll ensure that they dry evenly and retain their flavors and aromas. Now, let’s explore three popular methods of drying herbs: air drying, oven drying, and using a dehydrator.
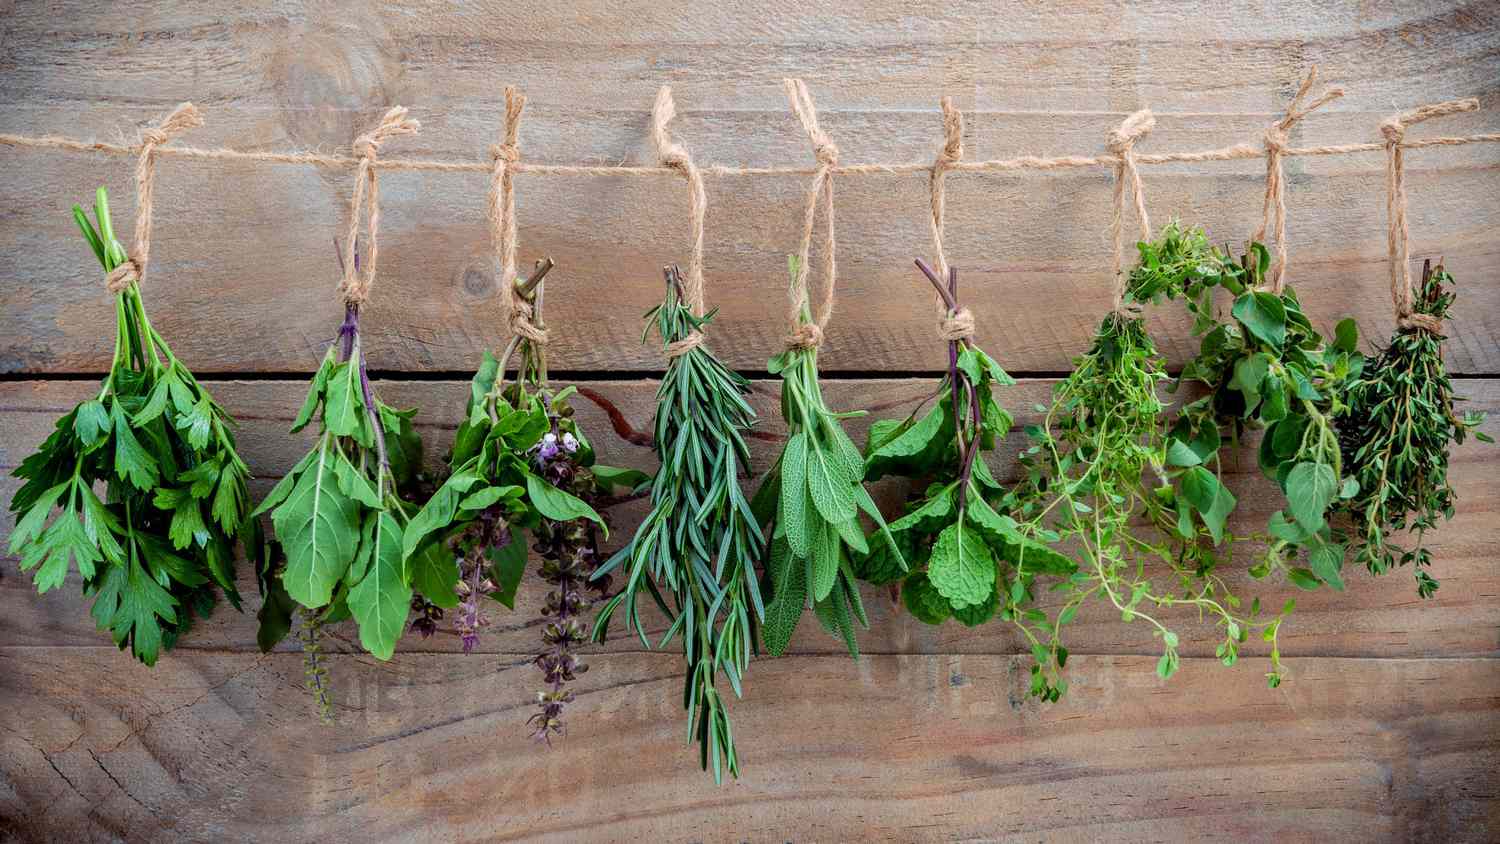
Air Drying Herbs
Air drying is one of the simplest and most traditional methods of drying herbs. It requires minimal equipment and allows the herbs to dry naturally over time. Here’s how you can air dry your herbs:
- Gather your herbs into small bundles, making sure not to overcrowd them.
- Secure the bundles with twine or rubber bands, leaving a loop at the top for hanging.
- Hang the herb bundles upside down in a warm, well-ventilated area. This can be a sunny window, a drying rack, or even an outdoor space with shade.
- Ensure that the herbs are not exposed to direct sunlight, as this can cause them to lose their vibrant color.
- Allow the herbs to dry for about 1 to 2 weeks, depending on their moisture content and the humidity of the environment.
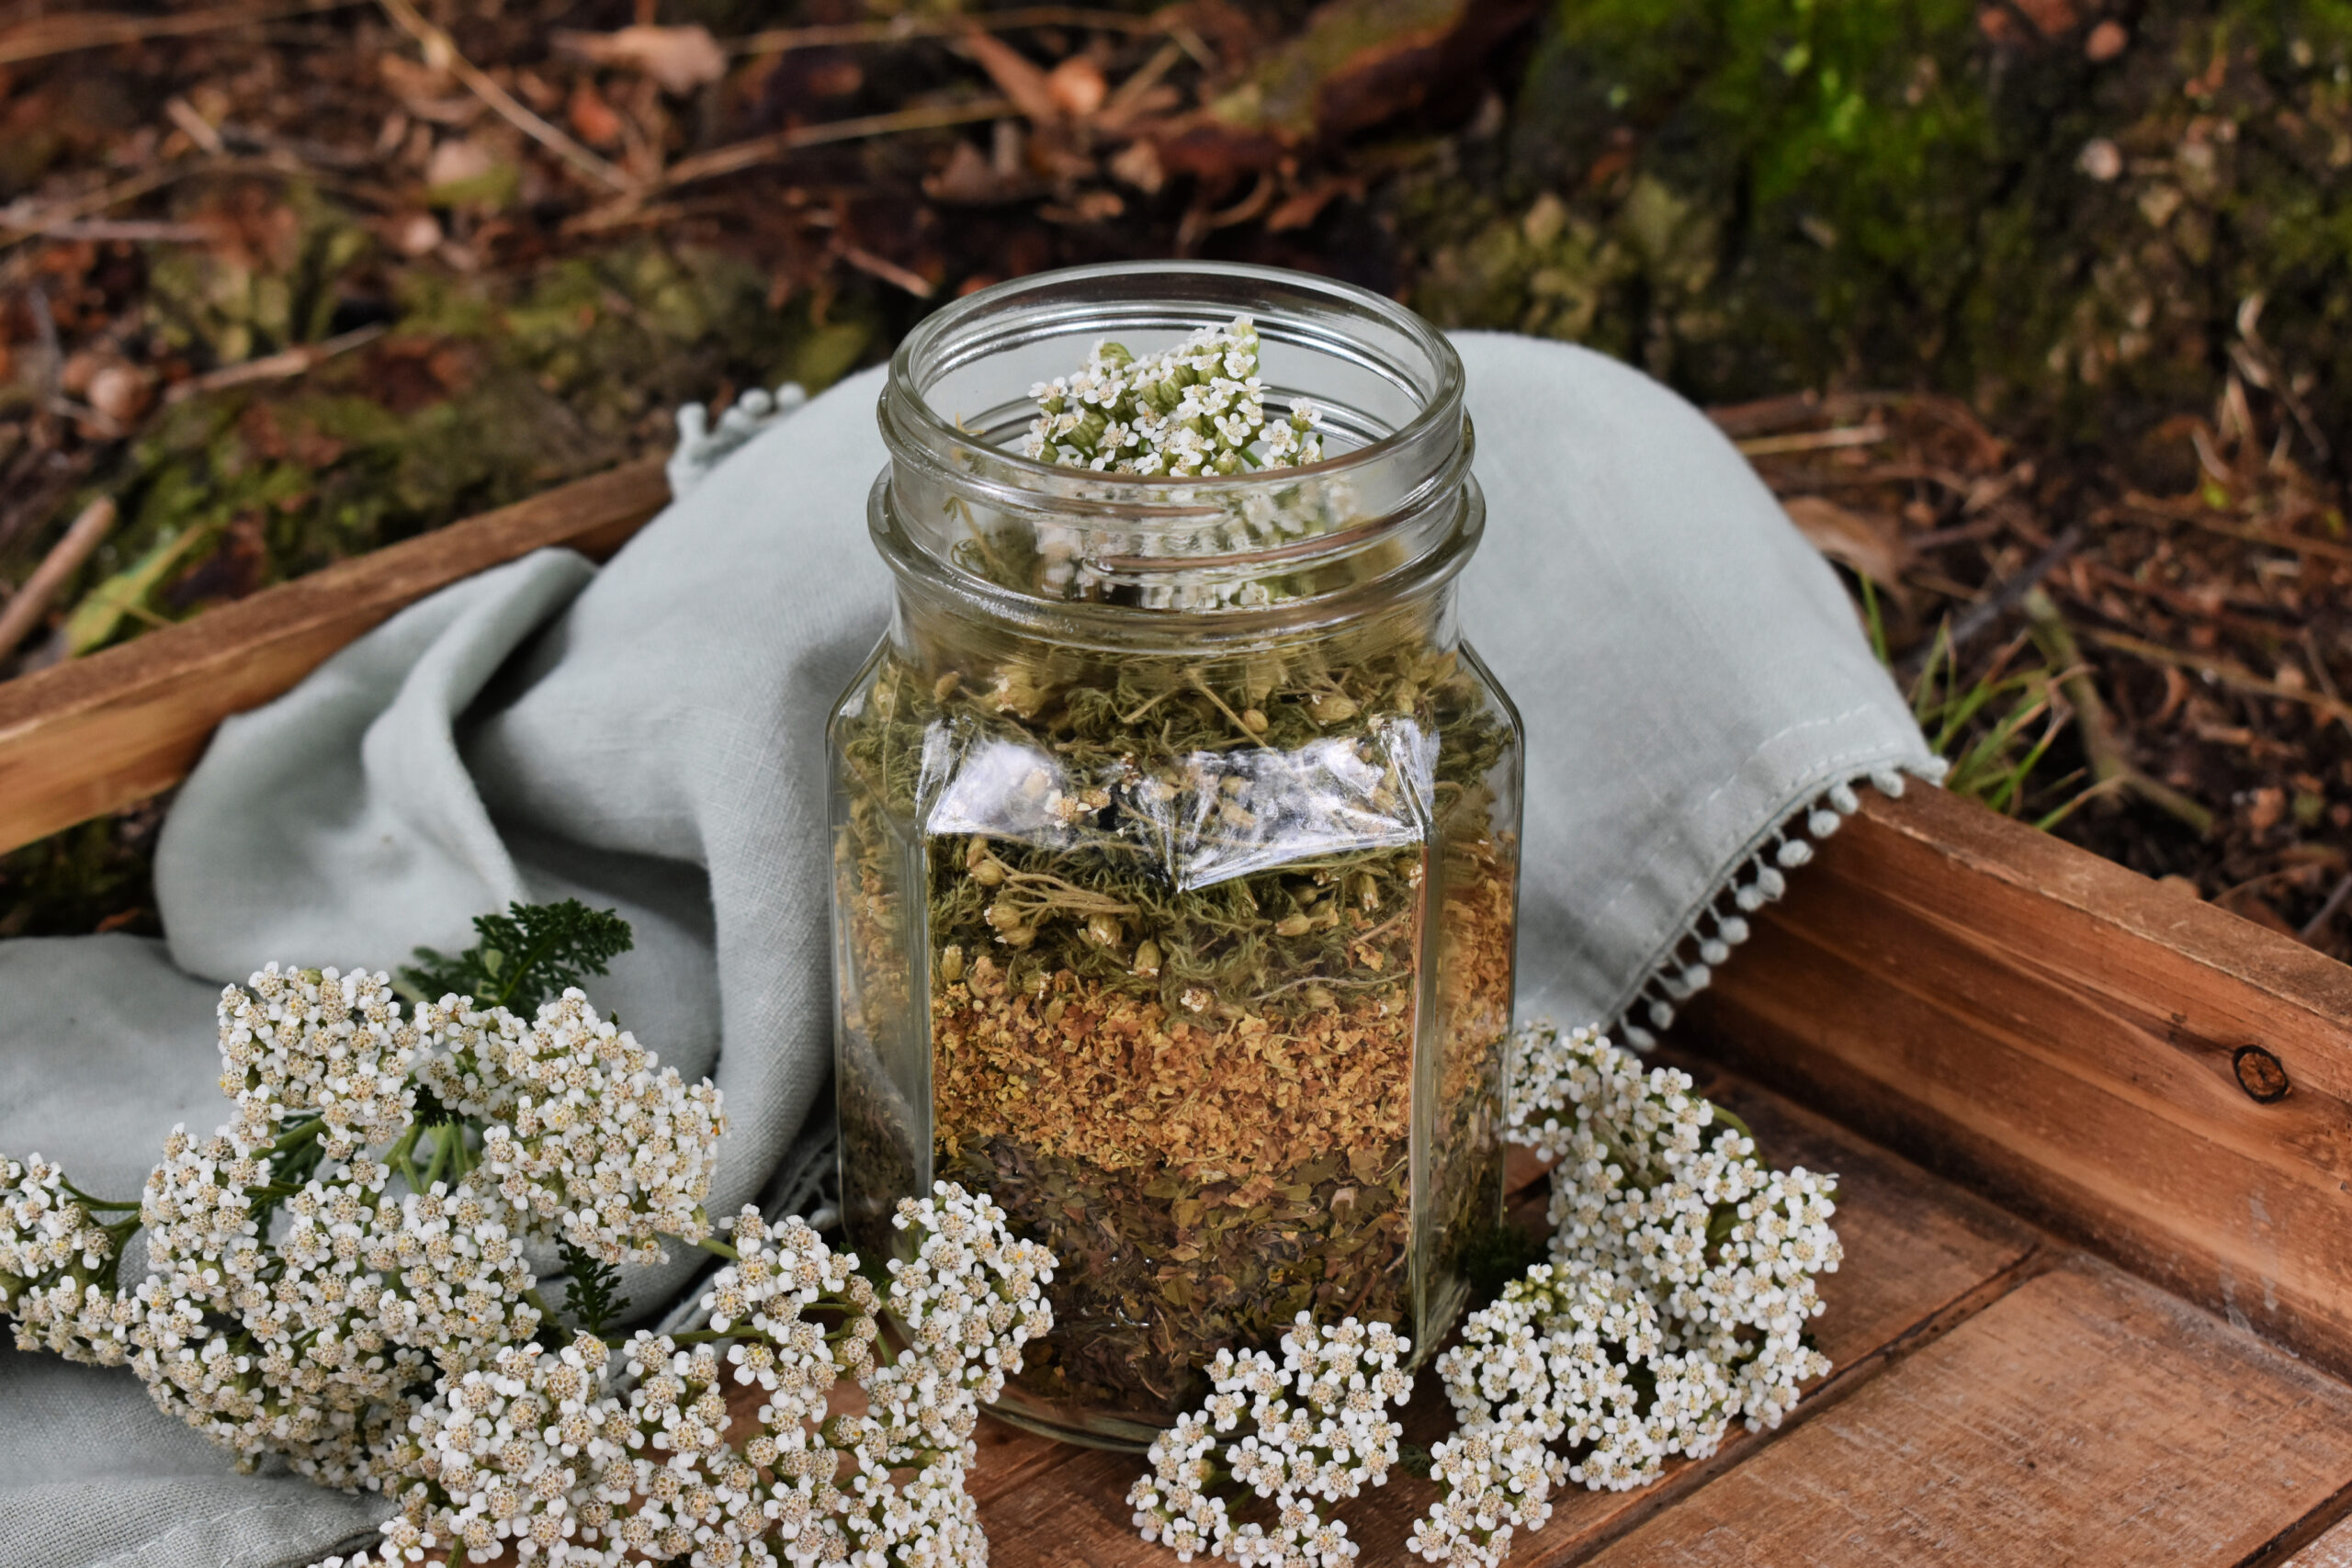
- Once completely dry, the herbs should feel brittle and crumble easily between your fingers.
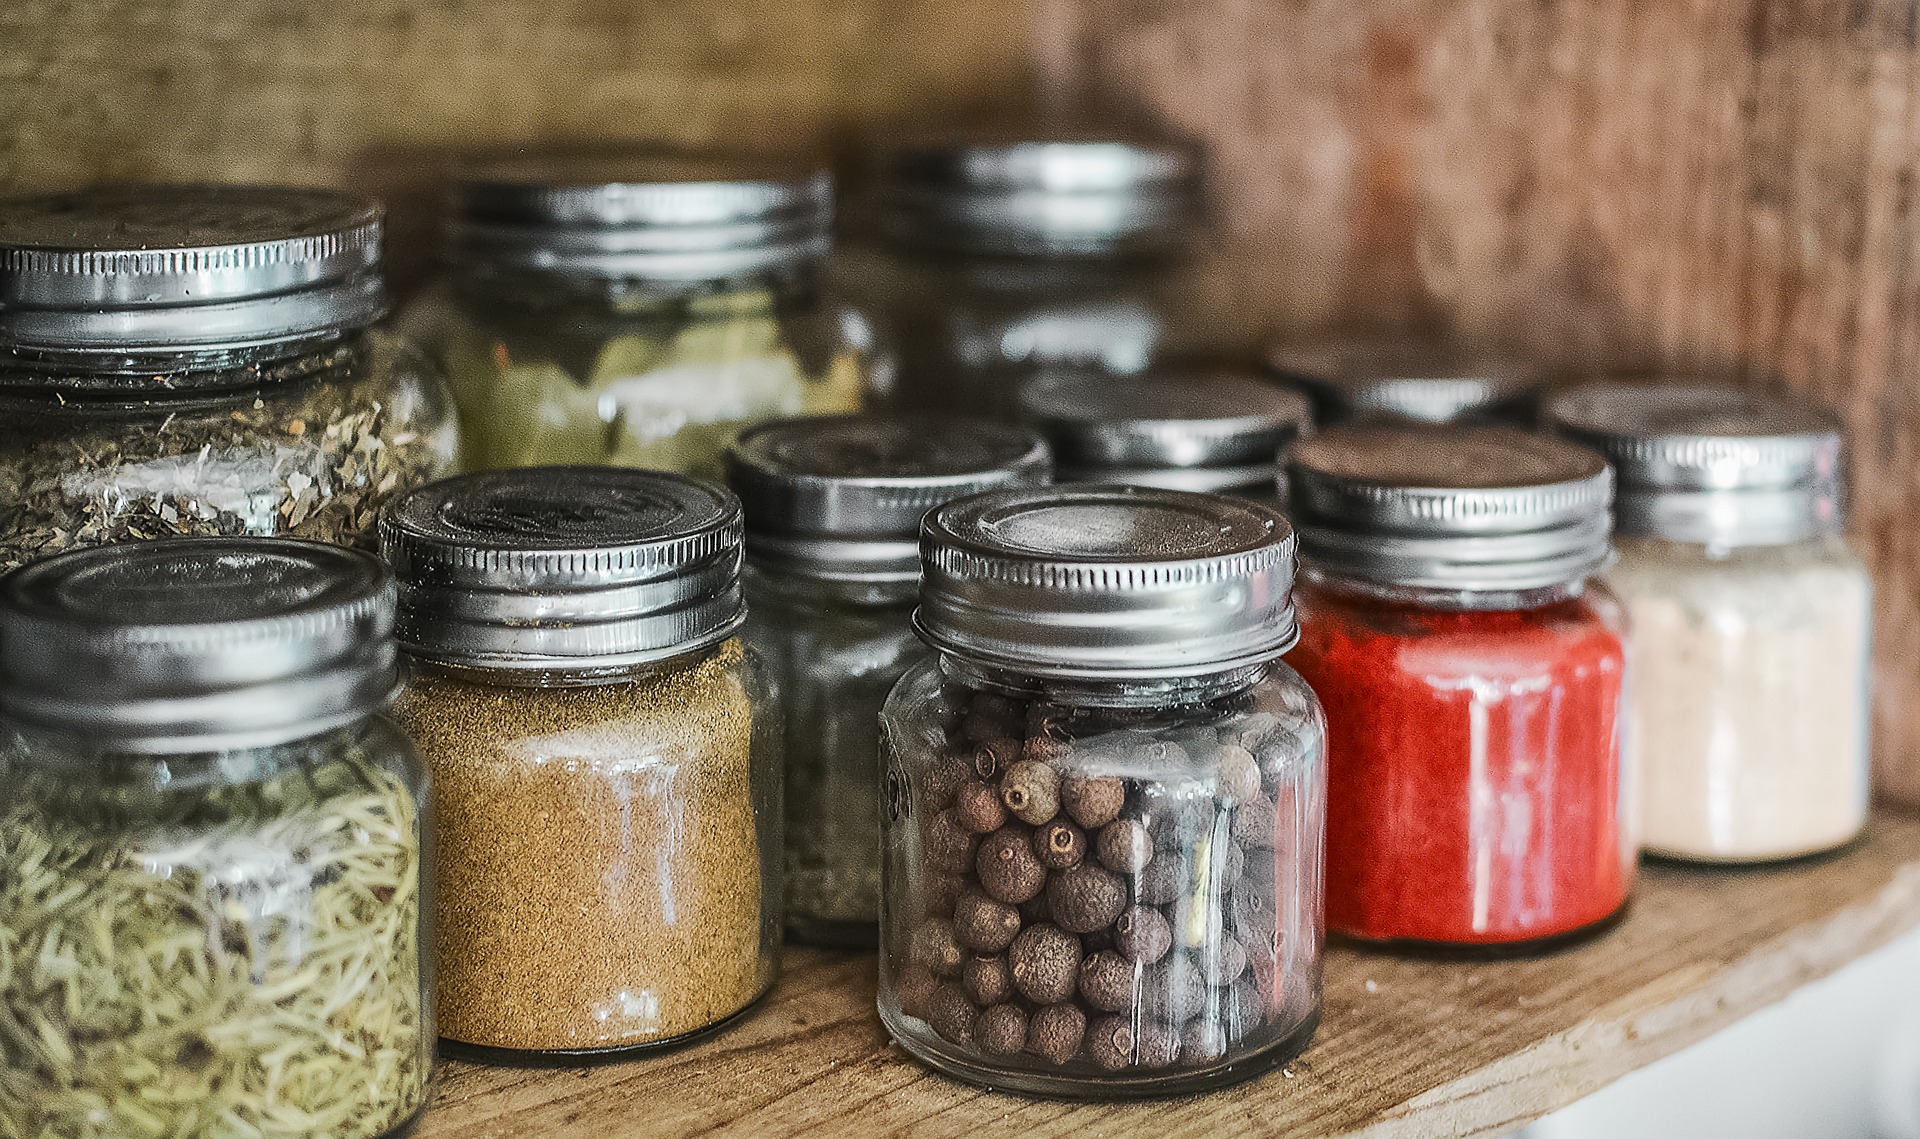
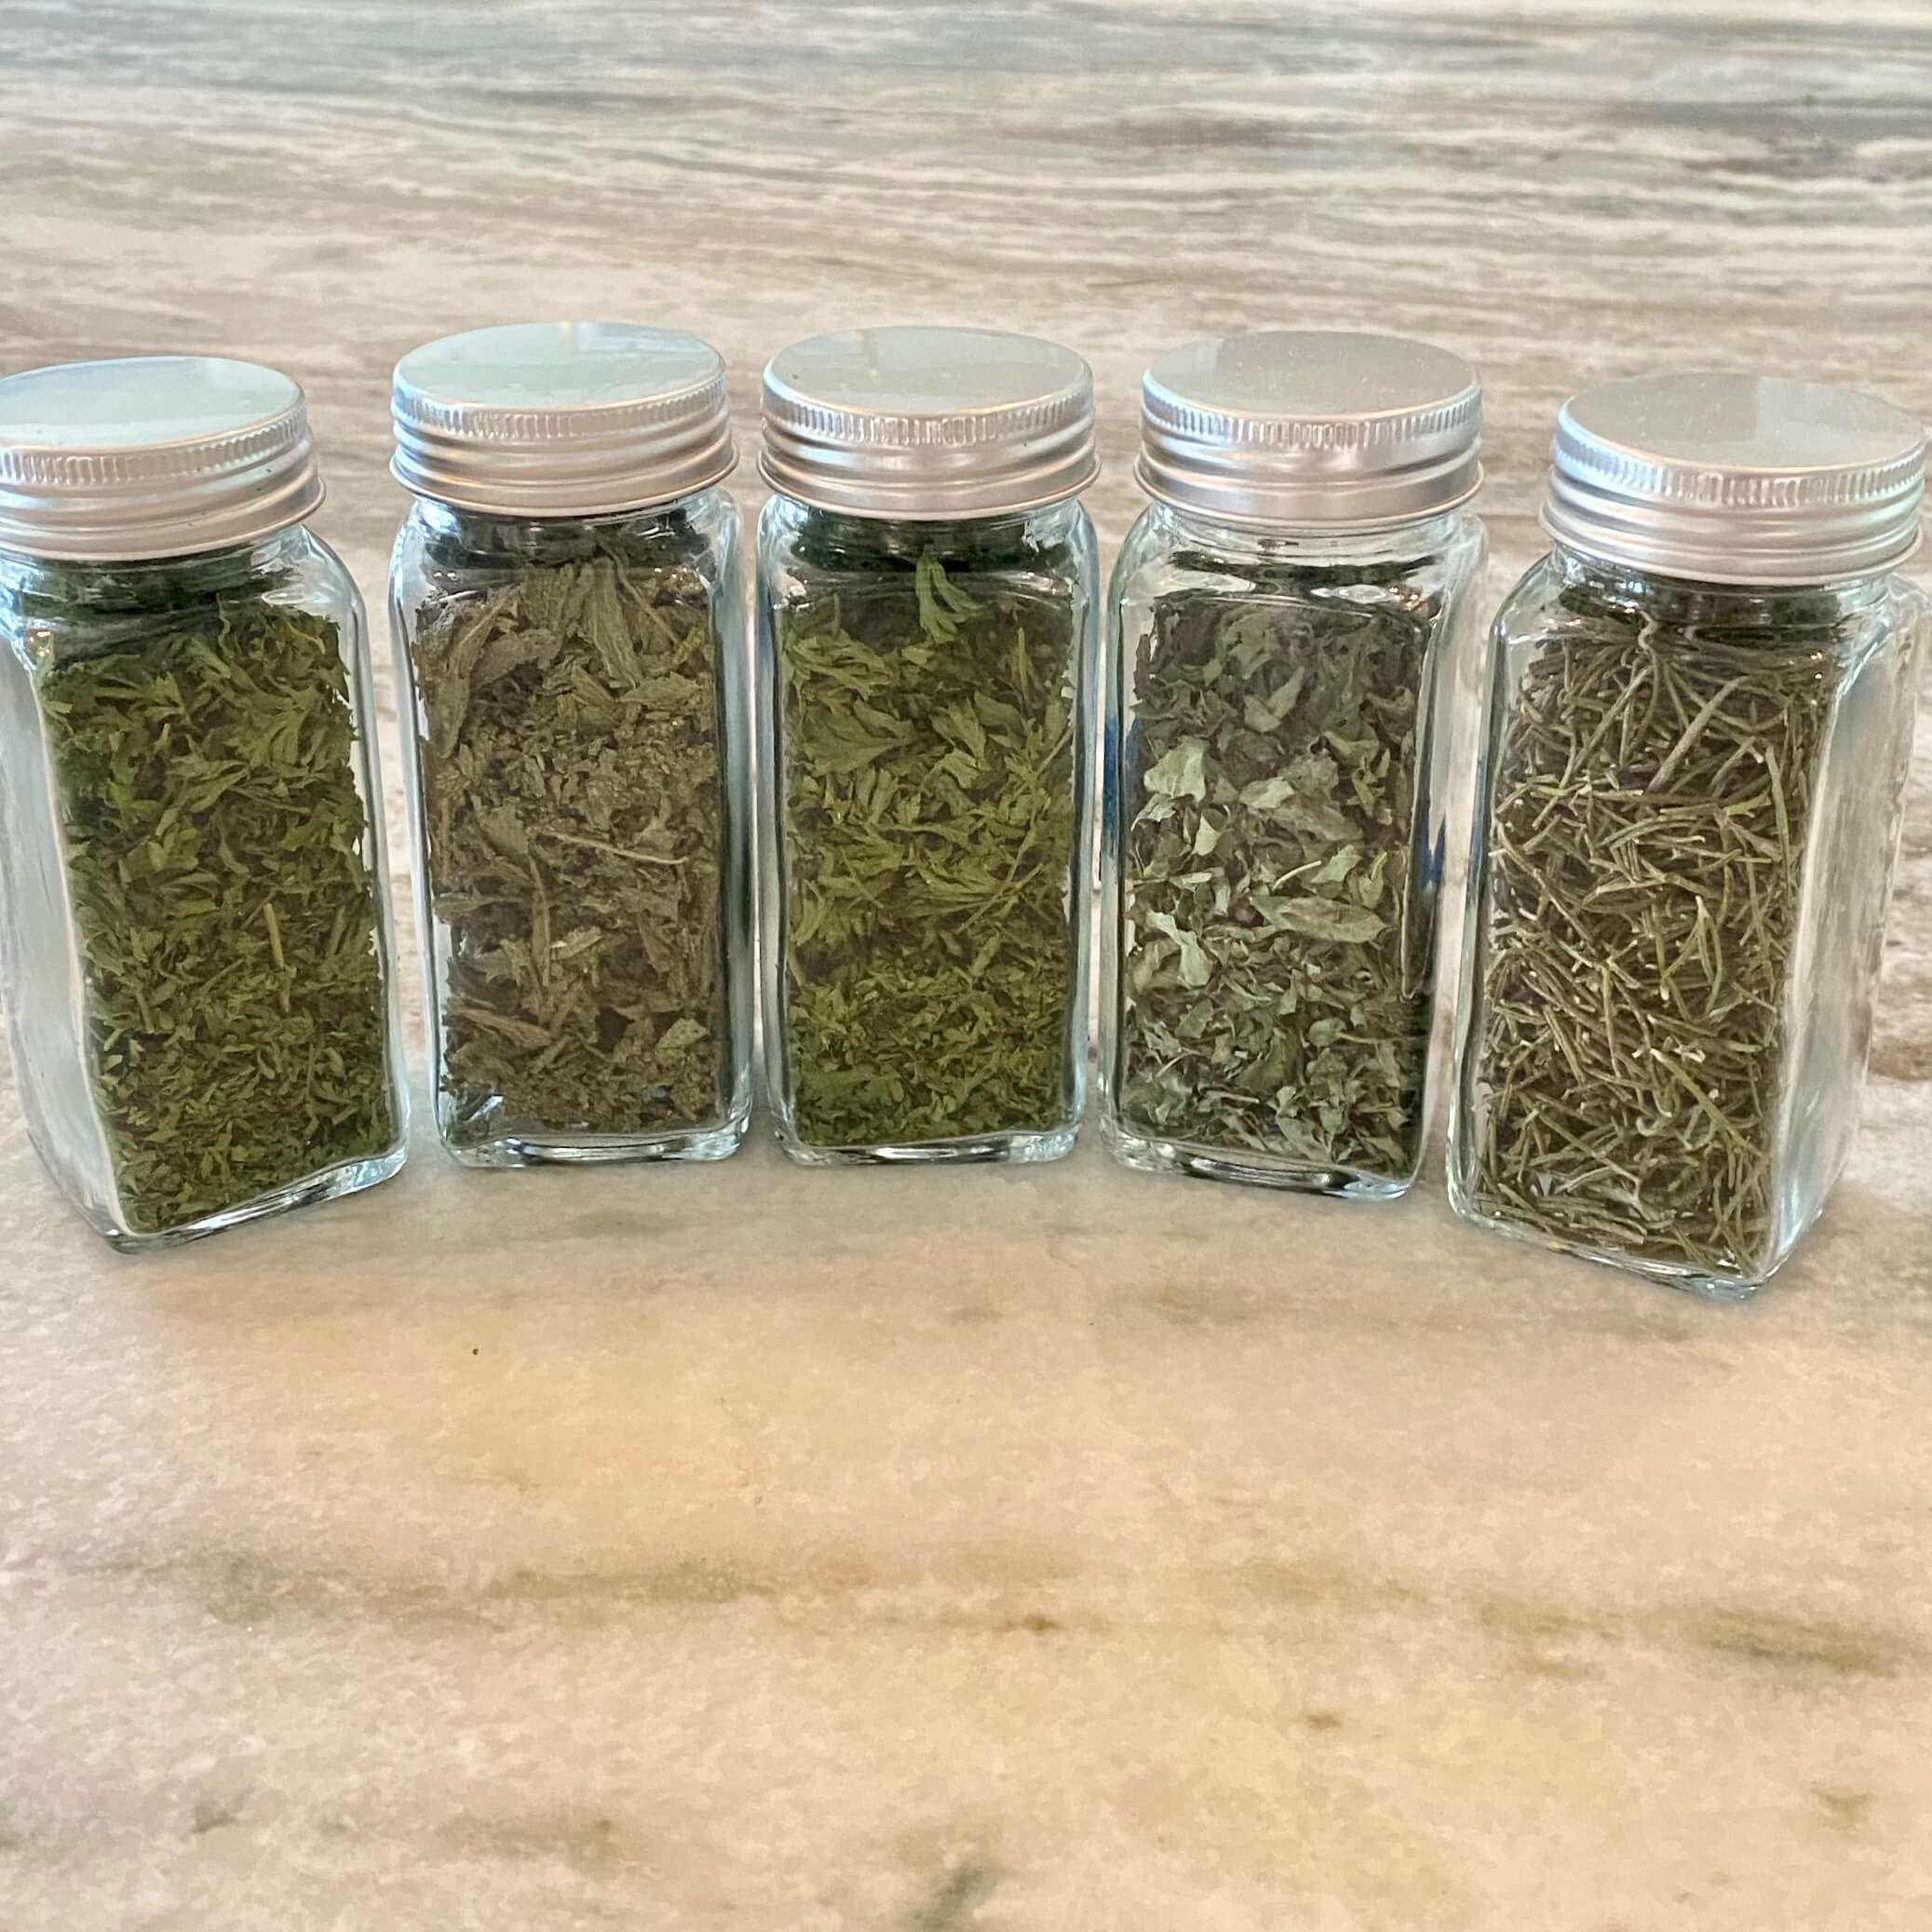
- Remove the leaves from the stems and store them in airtight containers or glass jars in a cool, dry place away from direct light.
Air drying is particularly suitable for herbs with low moisture content, such as rosemary, thyme, oregano, and sage. These herbs dry well and maintain their flavors and aromas. However, it’s important to note that herbs with higher moisture content, such as basil or mint, are more prone to mold and may not dry well using this method. For those herbs, you may want to consider using alternative drying methods, such as oven drying or using a dehydrator.
Air drying herbs is a time-honored technique that allows you to savor the flavors of your garden throughout the year. Now, let’s explore another method of drying herbs: oven drying.
Oven Drying Herbs
If you’re looking for a quicker method to dry your herbs, oven drying is a convenient option. It allows for faster drying while still preserving the flavors and aromas of the herbs. Follow these steps to oven dry your herbs:
- Preheat your oven to its lowest temperature setting, usually between 90 to 110 degrees Fahrenheit (30-45 degrees Celsius).
- Gently rinse your herbs under cold water and pat them dry with a kitchen towel or paper towel.
- If your herbs have long stems, trim them to ensure even drying and remove any damaged leaves.
- Arrange the herbs in a single layer on a baking sheet lined with parchment paper or a silicone mat. Make sure the leaves do not overlap.
- Place the baking sheet in the preheated oven and prop the oven door open slightly to allow air circulation.
- Allow the herbs to dry in the oven for approximately 1 to 3 hours, depending on the herb and its moisture content. Keep a close eye on them to prevent burning.
- Check the herbs for dryness by gently crushing a leaf. They are dry when they crumble easily.
- Once dried, remove the baking sheet from the oven and let the herbs cool completely.
- Remove the leaves from the stems and store them in airtight containers or glass jars in a cool, dry place away from direct light.
Oven drying is a great option for herbs with higher moisture content, like basil, mint, or parsley. The controlled heat of the oven speeds up the drying process, allowing you to enjoy your herbs in a shorter amount of time. Just remember to maintain a low temperature to avoid scorching or altering the flavors of the herbs.
Now, let’s explore an alternative method of drying herbs: using a dehydrator.
Using a Dehydrator to Dry Herbs
A dehydrator is an efficient and precise way to dry herbs, offering complete control over the drying process. By maintaining a low temperature and steady airflow, a dehydrator ensures that your herbs dry evenly and retain their flavors and aromas. Follow these steps to use a dehydrator to dry your herbs:
- Gently rinse your herbs under cold water and pat them dry with a kitchen towel or paper towel.
- If necessary, trim the herbs’ stems to ensure even drying and remove any damaged leaves.
- Arrange the herbs in a single layer on the dehydrator trays, making sure they do not overlap.
- Set the dehydrator to the recommended temperature for herbs, usually around 95 degrees Fahrenheit (35 degrees Celsius).
- Turn on the dehydrator and allow the herbs to dry for approximately 1 to 4 hours, depending on the herb and its moisture content.
- Check the herbs for dryness by gently crushing a leaf. They are dry when they crumble easily.
- Once dried, remove the trays from the dehydrator and let the herbs cool completely.
- Remove the leaves from the stems and store them in airtight containers or glass jars in a cool, dry place away from direct light.
A dehydrator offers precise control over the drying temperature, ensuring that the herbs dry evenly without sacrificing their flavors and essential oils. It is a convenient option for individuals who regularly dry herbs or have a large harvest to process.
Now that you have successfully dried your herbs, let’s move on to the final step: storing them properly to preserve their quality and freshness.
Storing Dried Herbs
Properly storing your dried herbs is essential for preserving their quality, flavor, and aroma. Follow these guidelines to ensure that your herbs stay fresh and flavorful for an extended period:
- Airtight Containers: Transfer your dried herbs to airtight containers, such as glass jars or resealable bags. This will protect them from moisture, light, and air, which can degrade their quality.
- Labeling: Label your containers with the name of the herb and the date of drying. This will help you keep track of their freshness and use them within the recommended storage timeframe.
- Storage Location: Find a cool, dry place to store your herbs away from direct sunlight. Prolonged exposure to light and heat can diminish their potency and flavors.
- Avoid Crushing: It’s best to keep your dried herbs in whole form until you’re ready to use them. This will help preserve their flavors and aromas for a longer period.
- Frequent Usage: Incorporate your dried herbs regularly into your cooking to make the most of their flavors. The more frequently you use them, the fresher and more vibrant they will remain.
When stored properly, dried herbs can retain their flavors and aromas for up to a year. However, it’s important to note that over time, their potency may gradually diminish. Therefore, it’s ideal to use them within the first six months for the best results.
Now that you know how to store your dried herbs, let’s explore some helpful tips to ensure a successful herb drying experience.
Tips for Drying Herbs Successfully
To ensure a successful herb drying experience and achieve the best results, consider these helpful tips:
- Timing: Harvest your herbs in the morning when the essential oils are most potent. This will result in herbs with the best flavor and aroma.
- Avoid Overcrowding: Whether air drying or using a dehydrator, ensure that your herbs are arranged in a single layer and not overcrowded. This allows for proper air circulation and prevents mold or uneven drying.
- Monitor Temperature & Humidity: Be aware of the temperature and humidity levels in your drying environment. During air drying, choose a warm, well-ventilated spot, while with oven drying or using a dehydrator, follow the recommended temperature settings.
- Remove Moisture: Before drying, remove excess moisture from your herbs by patting them dry or using a salad spinner. This will speed up the drying process and prevent mold formation.
- Don’t Strip Leaves: Avoid stripping the leaves from the stems until your herbs are completely dry. This helps to preserve their flavors and essential oils.
- Test for Dryness: Once your herbs appear dry, do a final test by crumbling a leaf. If it easily crumbles, your herbs are adequately dried and ready for storage.
- Label & Date: Properly label your dried herbs and include the date of drying. This ensures that you keep track of their freshness and use them within the recommended timeframe.
- Experiment with Blends: Get creative and experiment with different herb blends to enhance the flavors of your dishes. Combine complementary herbs to create unique and flavorful seasonings.
- Use Proper Tools: When handling herbs, use scissors or pruning shears to avoid bruising or damaging the leaves. This ensures that the herbs retain their quality during the harvesting and drying process.
By following these tips, you’ll increase your chances of successfully drying herbs and preserving their flavors and aromas. With practice, you’ll become more confident in your herb drying skills and be able to enjoy the benefits of home-dried herbs throughout the year.
Now that you’re armed with knowledge on how to dry herbs successfully, it’s time to take that confident step into the world of herb drying and elevate your culinary creations!
Conclusion
Drying herbs is a wonderful way to preserve their freshness, flavor, and aroma. It allows you to have a readily available supply of herbs for culinary and medicinal uses, regardless of the season. Whether you choose to air dry, oven dry, or use a dehydrator, the process of drying herbs is simple and rewarding.
We explored the benefits of drying herbs, including preservation, flavor enhancement, convenience, and cost-effectiveness. Additionally, we provided tips on choosing and harvesting herbs at their peak, preparing them for drying, and storing them properly to maintain their quality.
Whether you’re an avid gardener, a cooking enthusiast, or someone interested in natural remedies, drying herbs opens up a world of possibilities. From adding depth to your dishes to creating personalized herb blends, you can elevate your culinary adventures and explore the health benefits of different herbs.
Remember to experiment, have fun, and embrace the art of drying herbs. With proper techniques, timing, and storage, you’ll be able to enjoy the flavors and aromas of your favorite herbs throughout the year.
So, why wait? Start drying your herbs today and embark on a flavorful journey that will enhance your culinary creations and delight your senses!