Home>Gardening News and Trends>Latest News>How To Dry Herbs In Air Fryer
Latest News
How To Dry Herbs In Air Fryer
Modified: January 22, 2024
Discover the latest news on how to dry herbs in an air fryer, a convenient and efficient method for preserving the fresh flavors of your favorite herbs.
(Many of the links in this article redirect to a specific reviewed product. Your purchase of these products through affiliate links helps to generate commission for Chicagolandgardening.com, at no extra cost. Learn more)
Table of Contents
- Introduction
- Benefits of Drying Herbs
- Choosing the Right Herbs for Drying
- Preparing the Herbs for Drying
- Using an Air Fryer for Drying Herbs
- Step-by-Step Guide to Drying Herbs in an Air Fryer
- Storing Dried Herbs
- Tips and Tricks for Successful Herb Drying in an Air Fryer
- Frequently Asked Questions (FAQs)
- Conclusion
Introduction
Welcome to the world of herb drying! Drying herbs is a great way to preserve their flavors and extend their shelf life. It not only allows you to enjoy the freshness of herbs all year round but also adds a delightful aroma and taste to your culinary creations. If you’re an herb enthusiast or simply looking to add more flavor to your dishes, you’ve come to the right place.
In this article, we’ll explore the art of drying herbs using a modern kitchen appliance – the air fryer. Traditionally, herbs were dried by hanging them upside down in a well-ventilated area for several days. However, using an air fryer can significantly speed up the drying process while ensuring the retention of the herbs’ essential oils and flavors.
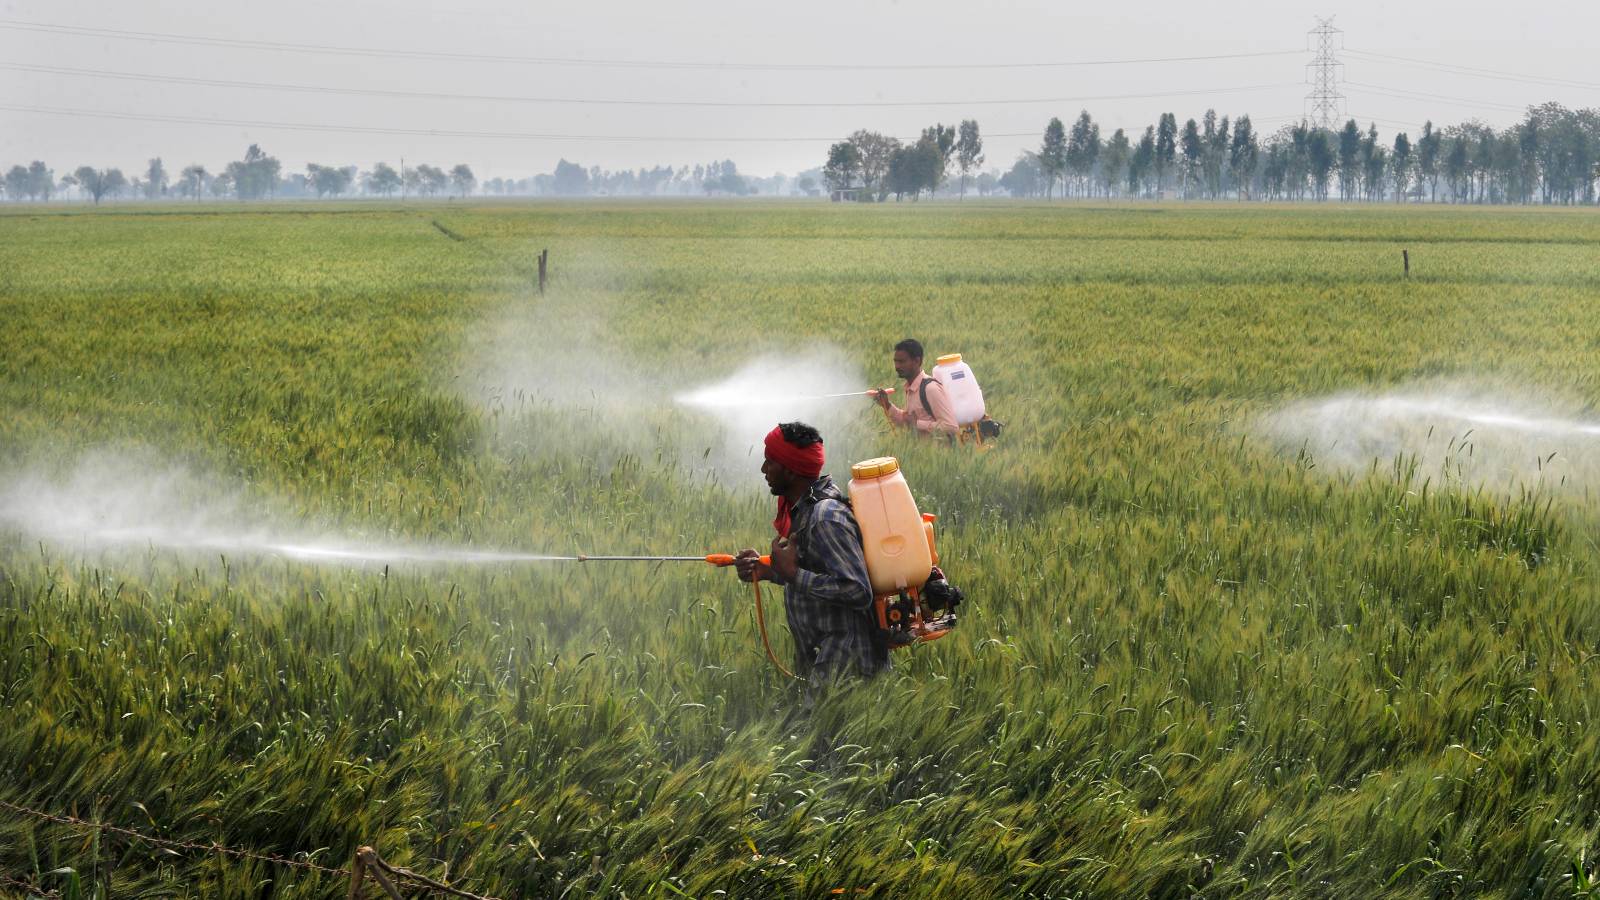
But why bother drying your own herbs when you can easily purchase them at the grocery store? Well, for starters, drying your own herbs gives you greater control over the quality and freshness of the herbs. Store-bought dried herbs may lose their potency over time and may be mixed with additives. By drying your own herbs, you have the assurance of using all-natural, chemical-free ingredients in your cooking.
So, if you’re ready to embark on this flavorful journey of herb drying, let’s dive in and discover the benefits, techniques, and tips for drying herbs in an air fryer. Get ready to elevate your culinary game and infuse your dishes with the essence of freshly dried herbs!
Benefits of Drying Herbs
Drying herbs has been practiced for centuries as a way to preserve and enhance the flavors and aromas of culinary ingredients. Here are some of the key benefits of drying herbs:
- Longer Shelf Life: Drying herbs significantly extends their shelf life. Fresh herbs can wilt or spoil within a few days, but properly dried herbs can last for months or even up to a year when stored correctly.
- Preservation of Flavor and Aroma: Dried herbs retain their essential oils, which are responsible for the distinctive flavors and aromas. These concentrated flavors can enhance the taste of your dishes and provide a burst of freshness even in the off-season.
- Convenience: Having a stash of dried herbs in your pantry means you don’t have to run to the store every time a recipe calls for fresh herbs. Dried herbs are readily available, easy to store, and can be easily incorporated into your favorite recipes.
- Cost-Effective: Purchasing fresh herbs regularly can quickly add up in terms of cost. Drying your own herbs allows you to save money in the long run, as you can buy fresh herbs in bulk when they are in season and dry them for later use.
- Customization: Drying your own herbs gives you the freedom to create custom blends and flavors according to your taste preferences. You can mix different herbs together to create unique seasoning blends or experiment with different drying techniques for distinct flavors.
- Health Benefits: Many herbs are known for their medicinal properties and health benefits. Drying herbs preserves their active compounds, allowing you to harness these natural remedies throughout the year.
With all these benefits, it’s no wonder that drying herbs is a popular practice among home cooks and professional chefs alike. Whether you’re looking to add a sprinkle of aromatic oregano to your pasta or infuse the flavors of basil and thyme into your soups, drying herbs is a simple yet effective way to elevate your culinary creations.
Choosing the Right Herbs for Drying
When it comes to drying herbs, not all herbs are created equal. Some herbs are better suited for drying due to their hardiness, flavor preservation, and versatility. Here are some popular herbs that are ideal for drying:
- Basil: Basil is a popular herb known for its fresh, sweet aroma and distinct flavor. It dries well and retains its aromatic qualities, making it a great addition to sauces, soups, and stews.
- Oregano: Oregano is a staple herb in many Mediterranean and Italian dishes. It has a robust flavor that intensifies when dried, adding a pleasant earthy and slightly bitter taste to your recipes.
- Thyme: Thyme has a fragrant, lemony aroma and a slightly minty taste. When dried, thyme retains its essential oils and imparts a delightful flavor to roasted vegetables, meats, and sauces.
- Rosemary: Rosemary is a woody herb with a distinct pine-like aroma and a slightly minty, peppery flavor. Drying rosemary preserves its flavor and allows you to add a touch of warmth and complexity to your roasted meats, bread, and marinades.
- Parsley: Parsley is a versatile herb that adds freshness and vibrancy to a variety of dishes. While drying parsley may cause it to lose some of its vibrant green color, it still retains its flavor and can be used to enhance the taste of stocks, sauces, and garnishes.
- Sage: Sage is a robust herb with a slightly bitter taste and a strong aroma. Drying sage intensifies its flavor, making it perfect for seasoning roasted vegetables, poultry, and stuffing.
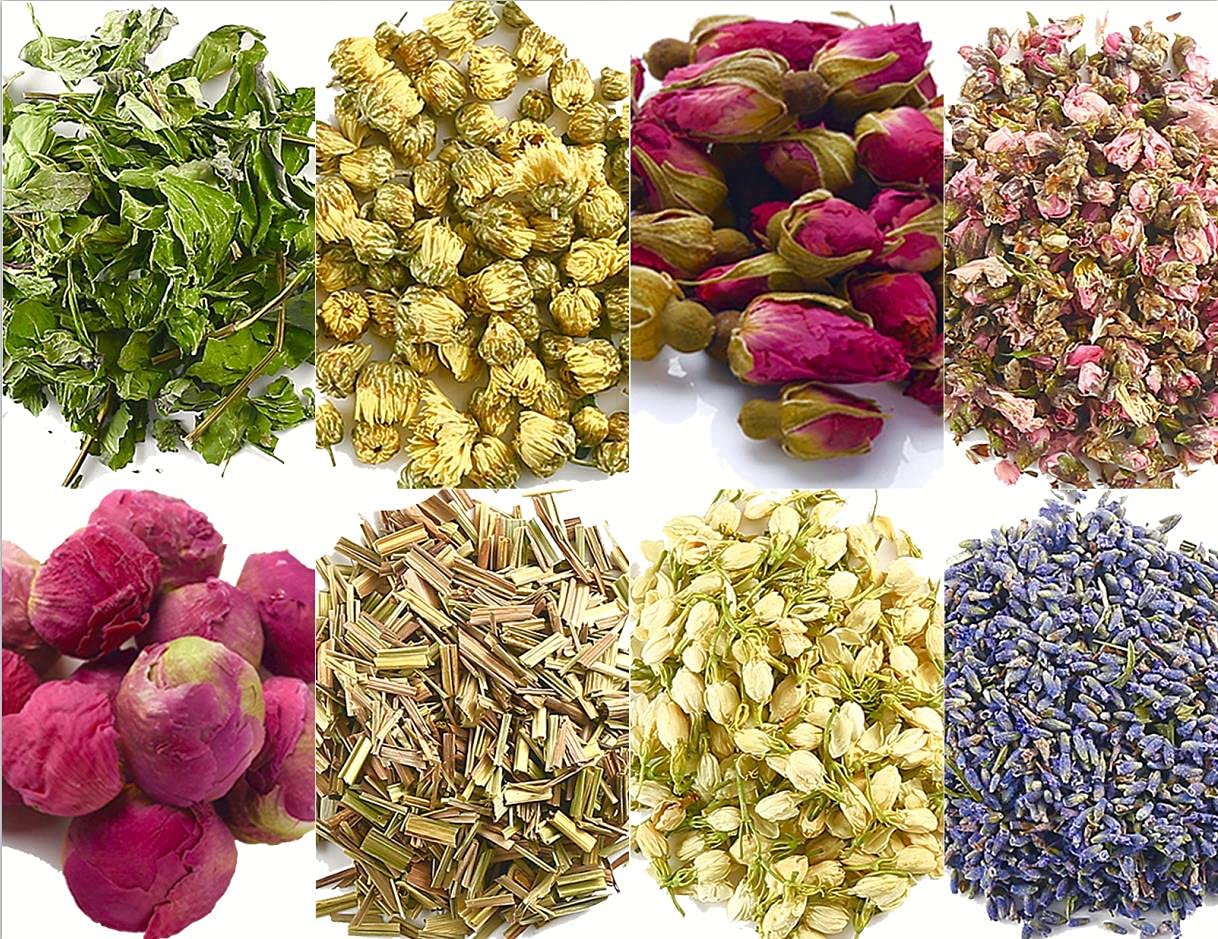
While these herbs are well-suited for drying, don’t be afraid to experiment with other herbs as well. From mint and dill to tarragon and lavender, there is a wide range of herbs that can be dried to preserve their unique flavors and aromas.
When choosing herbs for drying, opt for fresh, healthy-looking herbs with no signs of wilting or discoloration. Harvest your herbs in the morning when their essential oils are at their peak. This will ensure that you capture the maximum flavor and aroma when drying them.
Now that you know which herbs are best for drying, let’s move on to the next step – preparing the herbs for the drying process!
Preparing the Herbs for Drying
Before you can begin the drying process, it’s important to properly prepare your herbs. This involves a few simple steps to ensure that your herbs are clean, free of pests, and ready to go:
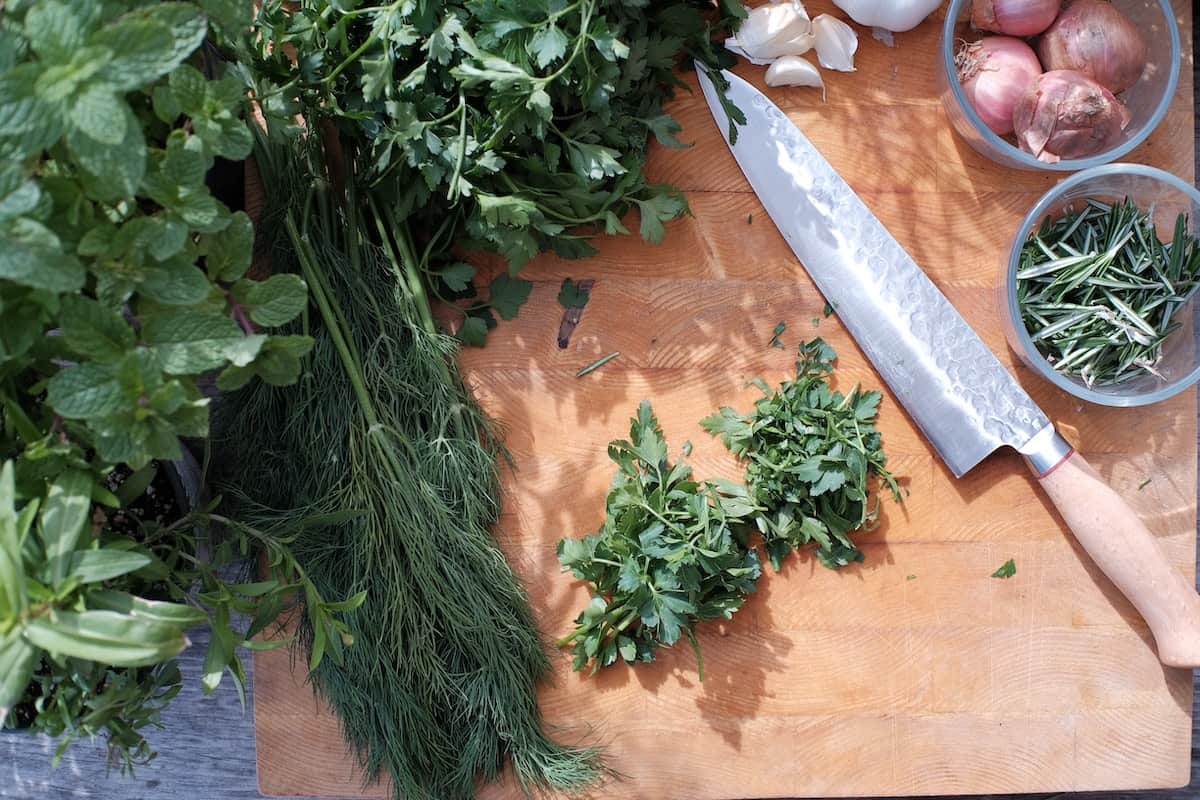
- Harvesting the Herbs: Harvest your herbs by cutting them from the plant, leaving a few inches of stem attached. Choose herbs that are healthy, free from any signs of disease or pests, and at their peak flavor.
- Removing Debris: Remove any dirt, dust, or debris from the herbs by gently rinsing them under cool running water. Pat them dry with a clean kitchen towel or paper towels.
- Inspecting for Pests: Take a close look at the herbs and check for any signs of pests such as insects or larvae. If you spot any, gently remove them or consider discarding the affected parts to prevent contamination.
- Trimming and Pruning: Remove any discolored or damaged leaves from the stems. You can also trim the stems if they are too long, making it easier to handle and fit into the air fryer.
- Bundle or Separate the Herbs: Depending on the herb and your drying method, you can either bundle a few stems together with a twine or separate the leaves from the stems. Bundling works well for herbs like rosemary, while separating the leaves is more suitable for herbs like basil or parsley.
It’s worth noting that some herbs, like parsley or basil, can be sensitive to moisture, so it’s important to make sure they are thoroughly dry before moving on to the drying process. Any excess moisture can lead to mold growth or spoilage during the drying process. You can use a salad spinner or gently pat the herbs dry with paper towels to remove any remaining moisture.
By taking the time to properly prepare your herbs, you ensure that they are clean, pest-free, and ready for the drying process. Now that your herbs are all prepped, it’s time to move on to the exciting part – using an air fryer for drying herbs!
Using an Air Fryer for Drying Herbs
Using an air fryer for drying herbs is a quick, efficient, and convenient method that yields excellent results. Air fryers provide even heat distribution and allow for controlled airflow, which helps to speed up the drying process while preserving the flavors and aromas of the herbs. Here’s why an air fryer is a great tool for drying herbs:
- Rapid Drying: Air fryers use hot air circulation to dry the herbs quickly. Unlike traditional methods that can take several days, air fryers can dry herbs in just a few hours.
- Precision Temperature Control: Most air fryers come with temperature controls, allowing you to set the ideal temperature for drying herbs. This ensures that the herbs are dried at the optimal temperature to preserve their essential oils and flavors.
- Even Heat Distribution: Air fryers distribute heat evenly, ensuring that all the herbs are dried uniformly. This prevents any over-drying or under-drying of certain parts of the herbs.
- Compact and Space-Saving: Air fryers are compact and don’t take up much counter space, making them perfect for those with limited kitchen space.
- No Monitoring Required: Unlike other drying methods that require frequent monitoring, with an air fryer, you can set the desired time and temperature and let it do its job. This frees up your time to focus on other tasks.
While air fryers provide many advantages for drying herbs, it’s essential to note a few considerations:
- Adequate Airflow: Ensure that there is enough space between the herb bundles or leaves for proper airflow. This allows the hot air to circulate evenly and dry the herbs effectively.
- Batch Size: Depending on the capacity of your air fryer, you may need to dry herbs in multiple batches. Overcrowding the air fryer can hinder proper drying and result in uneven results.
- Adjusting Drying Time: The drying time may vary depending on the herb, the size of the leaves or bundles, and the moisture content. It’s important to monitor the progress and adjust the drying time accordingly.
Using an air fryer for drying herbs is a simple and efficient method that produces wonderfully dried herbs in a fraction of the time. With the right techniques and precautions, you’ll be able to enjoy the flavors and aromas of freshly dried herbs whenever your culinary creations call for it.
Step-by-Step Guide to Drying Herbs in an Air Fryer
Now that you understand the benefits of using an air fryer for drying herbs let’s walk through the step-by-step process of how to do it:
- Preheat your air fryer: Start by preheating your air fryer to the recommended temperature for herb drying. This is usually around 95°F to 115°F (35°C to 46°C). Refer to your air fryer’s manual for the specific temperature settings.
- Prepare the herbs: Take your prepped herbs and place them in a single layer on the air fryer tray or basket. Make sure to leave some space between the herbs to allow for proper airflow and even drying.
- Set the timer: Set the timer for the desired drying time. The drying time can vary depending on the herb, the moisture content, and the specific air fryer model. Typically, herbs can take anywhere from 1 to 3 hours to dry completely.
- Check the herbs periodically: Periodically check on the herbs to monitor their progress. Gently touch the herbs to see if they feel dry and brittle. If they still feel moist, continue drying for a little longer.
- Rotate the herbs: If you notice that certain parts of the herbs are drying faster than others, gently rotate or flip them to ensure even drying. This will help prevent any uneven drying or browning.
- Test for dryness: To test if the herbs are fully dried, crumble a small piece between your fingers. If it crumbles easily and has no signs of moisture, it’s ready to be stored. If it feels slightly soft or has any moisture, continue drying for a bit longer.
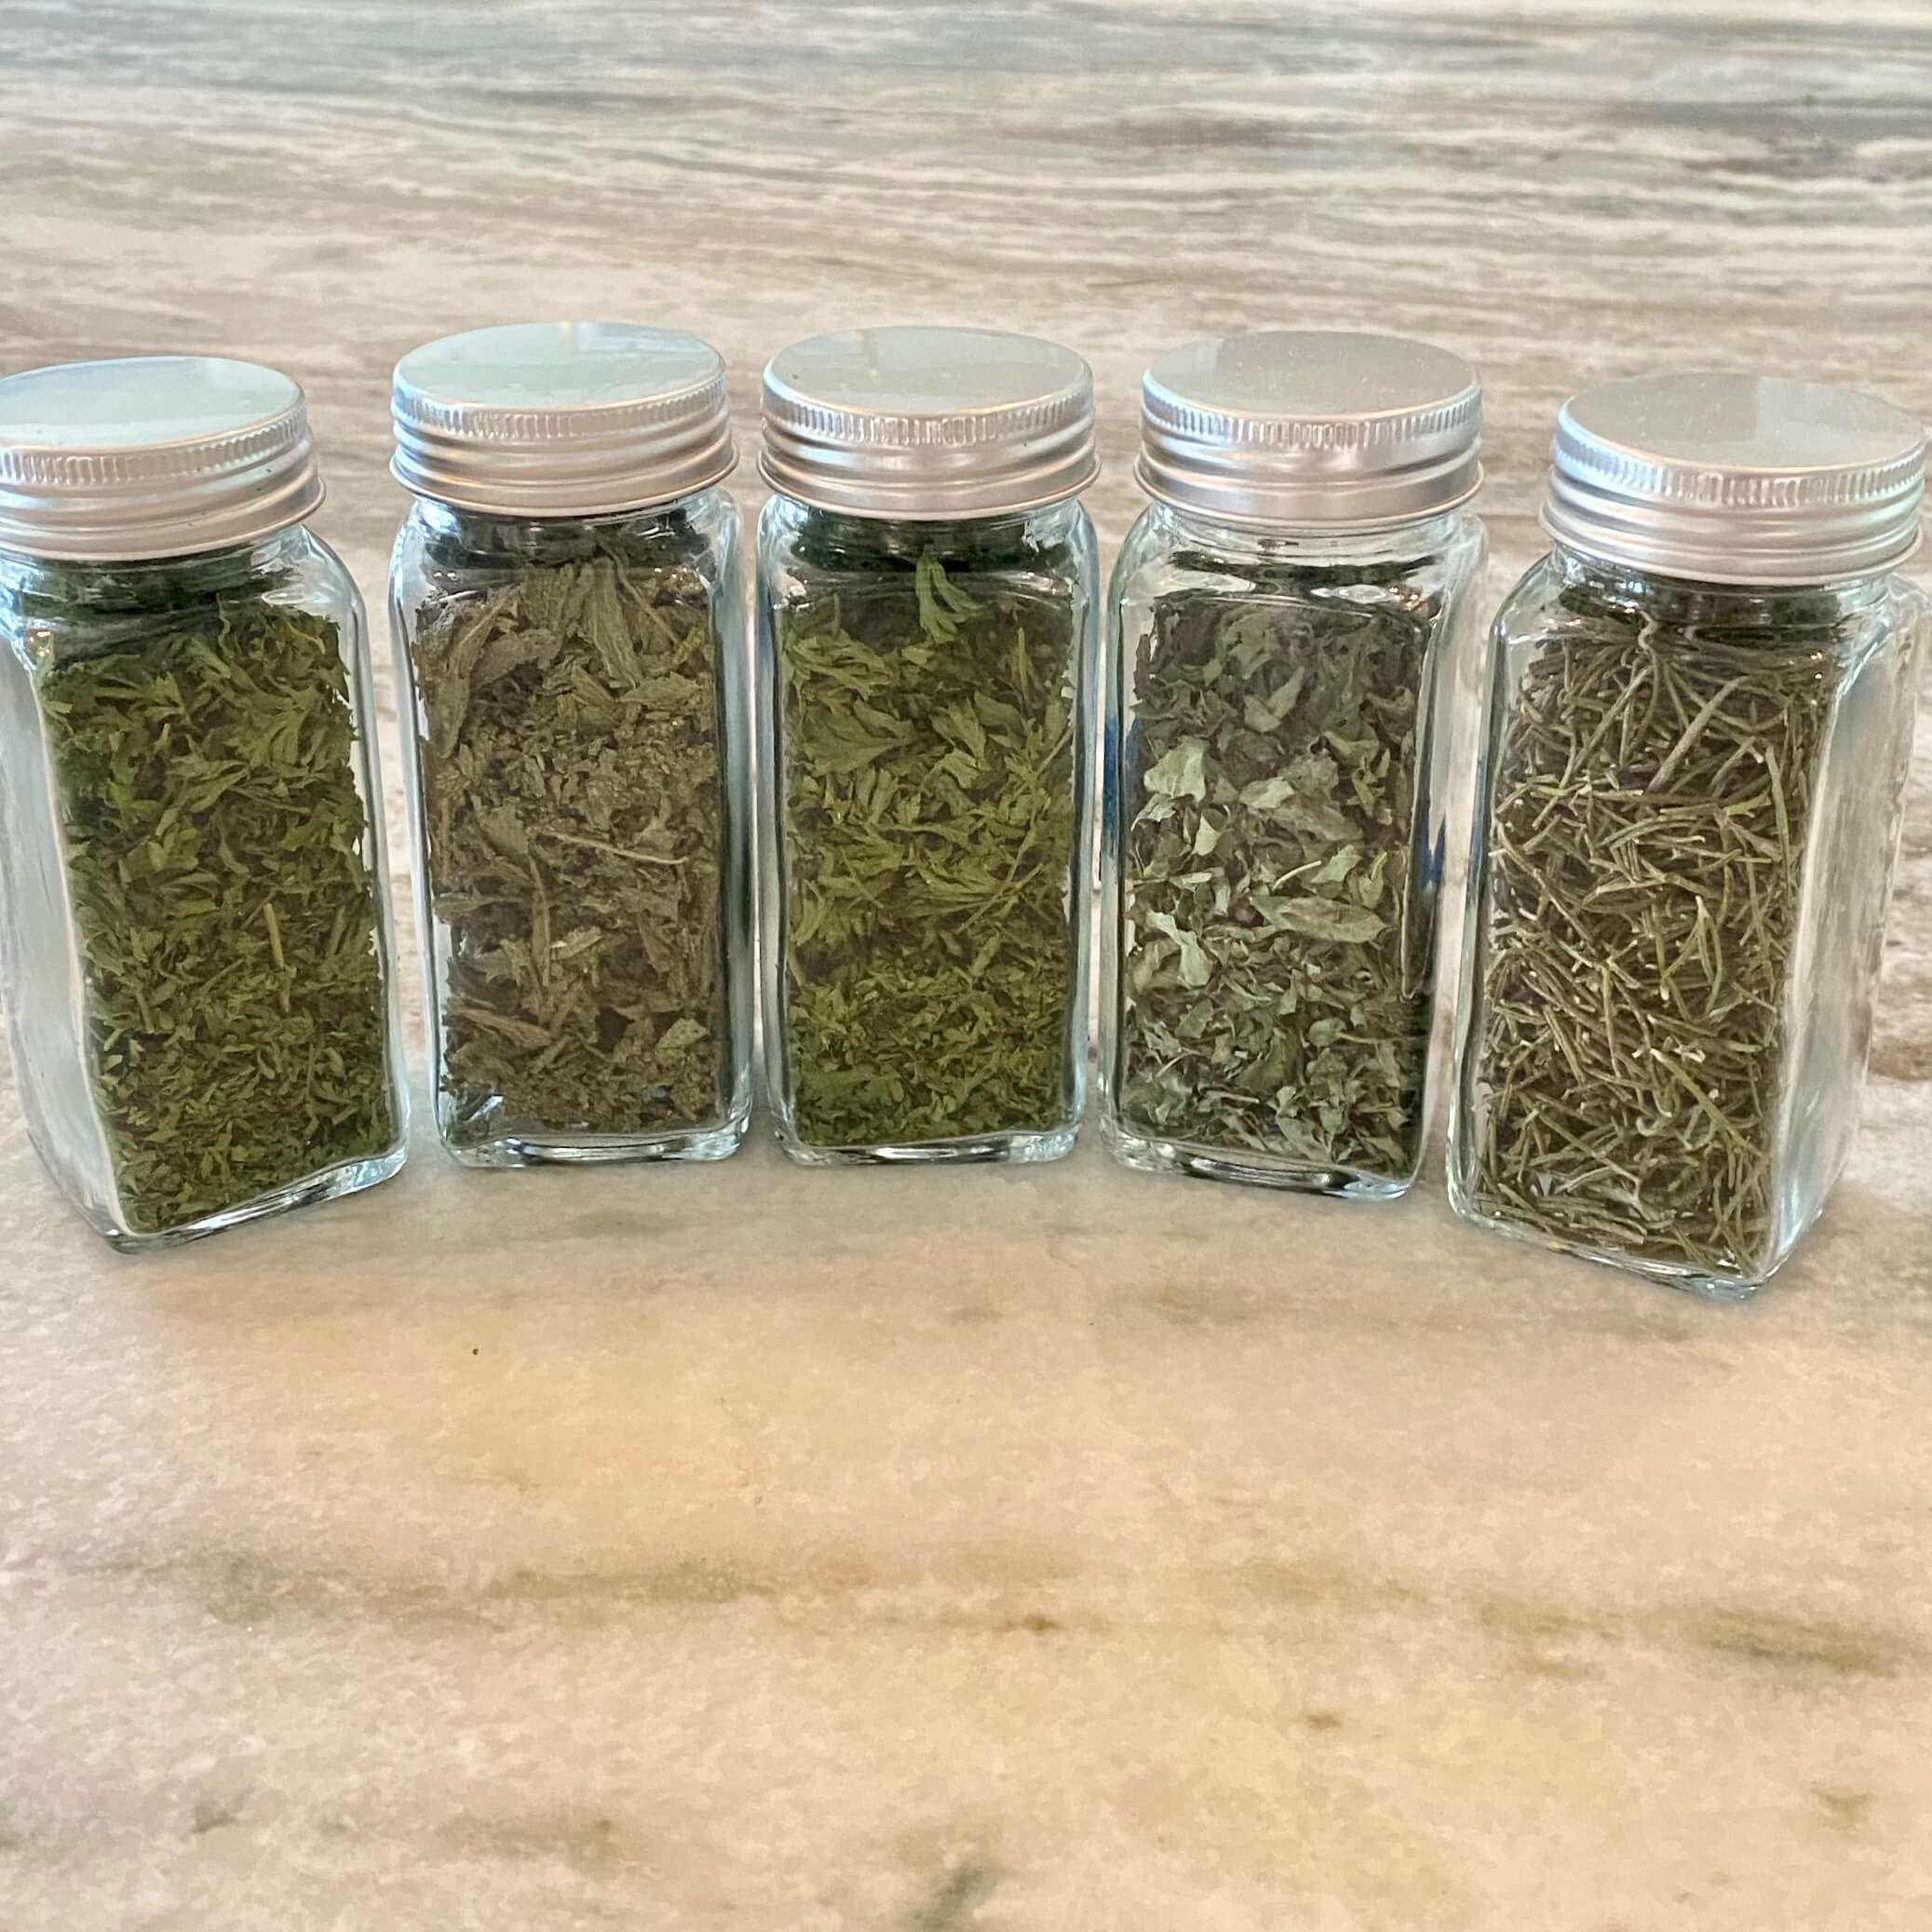
- Allow cooling and store: Once the herbs are completely dry, remove them from the air fryer and let them cool completely. Once cooled, store them in airtight containers or glass jars away from direct sunlight and moisture.
Following these steps will result in perfectly dried herbs that can be stored for future use. Remember, the drying time may vary depending on factors like herb type, size, and moisture content, so it’s important to monitor them as they dry.
Now that you know how to dry herbs in an air fryer, you can confidently embark on your herb-drying journey. Get ready to delight your taste buds with the vibrant flavors and aromas of home-dried herbs in your favorite dishes!
Storing Dried Herbs
Properly storing your dried herbs is crucial to maintain their flavor, aroma, and quality over an extended period. When it comes to storing dried herbs, here are some essential tips to keep in mind:
- Choose the Right Containers: Store your dried herbs in airtight containers such as glass jars or sealable bags. These containers will help prevent air and moisture from entering, keeping the herbs fresh and flavorful.
- Label and Date: It’s essential to label each container with the name of the herb and the date it was dried. This will help you keep track of the freshness and ensure you use the oldest herbs first.
- Store in a Cool, Dark Place: Herbs are sensitive to light, heat, and moisture, which can cause them to lose their potency. Store your dried herbs in a cool, dark pantry or cupboard away from direct sunlight, heat sources, and humidity.
- Avoid Grinding Until Ready to Use: To maintain the freshness and aroma of the dried herbs, it’s best to keep them in whole form until you are ready to use them. Grinding or crushing the herbs releases their essential oils, so it’s ideal to do so just before adding them to your recipes.
- Keep Away from Strong Odors: Herbs are like sponges that absorb surrounding smells. To avoid flavor contamination, store your dried herbs away from strong-smelling spices, herbs, or substances like garlic, onions, or cleaning products.
- Check for Moisture Regularly: Despite your best efforts, moisture can sometimes find its way into the containers. Regularly check for any signs of moisture or condensation and remove any affected herbs promptly.
- Consider Freezing for Long-Term Storage: If you have an abundance of dried herbs or want to store them for an extended period, you may consider freezing them. Place the dried herbs in freezer-safe bags or containers, removing as much air as possible. Frozen dried herbs can retain their flavors and colors for up to a year.
By following these guidelines, you can prolong the shelf life of your dried herbs and ensure they remain fresh and potent for future use.
Remember, dried herbs are most flavorful and aromatic within the first year of drying, so it’s best to use them within that time frame for the best culinary experience. Now that you know how to properly store dried herbs, you can confidently preserve your herb harvests or store-bought herbs for delicious seasoning and cooking adventures!
Tips and Tricks for Successful Herb Drying in an Air Fryer
Drying herbs in an air fryer can be a rewarding and efficient process. To help you achieve the best results, here are some tips and tricks for successful herb drying:
- Use Fresh, Healthy Herbs: Start with fresh, vibrant herbs for the best flavor and aroma in your dried herbs. Harvest them when they are at their peak and free from any signs of wilting or disease.
- Prep Herbs Properly: Thoroughly clean and dry the herbs before placing them in the air fryer. Removing any dirt, debris, or moisture will prevent mold growth and ensure even drying.
- Leave Room for Air Circulation: Arrange the herbs in a single layer in the air fryer, leaving space between them. This allows hot air to circulate evenly and ensures uniform drying.
- Monitor and Adjust Drying Time: Different herbs may require different drying times. Check on your herbs periodically and adjust the drying time as needed to achieve the desired dryness.
- Control the Temperature: Set the air fryer to the recommended temperature for herb drying. Too high of a temperature can result in the herbs losing their flavor, while too low of a temperature may prolong the drying process.
- Avoid Overcrowding: Do not overcrowd the air fryer with too many herbs at once. This can hinder proper airflow, leading to uneven drying. Dry herbs in smaller batches if necessary.
- Rotate or Flip the Herbs: If certain parts of the herbs are drying faster than others, gently rotate or flip them halfway through the drying process. This helps ensure even drying and prevents any burnt or under-dried spots.
- Test for Dryness: To check if the herbs are fully dry, crumble a small portion between your fingers. If it crumbles easily and there is no moisture, it is ready for storage. If it feels slightly soft or contains moisture, continue drying for a bit longer.
- Store Properly: Store your dried herbs in airtight containers, away from light, heat, and moisture. Label them with the herb name and date of drying to keep track of their freshness.
- Experiment with Blends: Get creative and experiment with different herb combinations to create unique seasoning blends. Mix and match herbs to add interesting flavors to your dishes.
With these tips and tricks, you’ll be well-equipped to successfully dry herbs in your air fryer and enjoy the flavors and aromas of freshly dried herbs in your culinary creations. So get ready to elevate your dishes with the natural goodness of home-dried herbs!
Frequently Asked Questions (FAQs)
Here are answers to some commonly asked questions about drying herbs in an air fryer:
- Can I dry any type of herb in an air fryer?
Absolutely! You can dry a wide variety of herbs in an air fryer, including basil, oregano, thyme, rosemary, parsley, and sage. Experiment with different herbs to find your favorite combinations.
- How long does it take to dry herbs in an air fryer?
The drying time can vary depending on the herb type, moisture content, and your air fryer model. Generally, herbs take around 1 to 3 hours to dry completely in an air fryer.
- What temperature should I set for drying herbs in an air fryer?
Set the air fryer to a low temperature, typically around 95°F to 115°F (35°C to 46°C), to preserve the herbs’ essential oils and flavors. Refer to your air fryer’s manual for specific temperature settings.
- How can I tell if the herbs are completely dry?
To check if the herbs are fully dry, crumble a small piece between your fingers. If it crumbles easily and there is no sign of moisture, the herbs are dry and ready for storage. If it feels slightly soft or contains moisture, continue drying for a bit longer.
- Can I dry herbs from my garden in an air fryer?
Absolutely! Drying herbs from your own garden is a wonderful way to preserve their flavors and enjoy them all year round. Just make sure to properly clean and dry the herbs before placing them in the air fryer.
- Can I freeze the dried herbs for long-term storage?
Yes, freezing dried herbs is an excellent option for long-term storage. Place the dried herbs in freezer-safe bags or containers, removing as much air as possible. Frozen dried herbs can retain their flavors and colors for up to a year.
Hopefully, these answers have provided clarity and guidance for your herb drying journey in an air fryer. If you have any more questions or concerns, feel free to explore further or consult your air fryer’s manual for additional information.
Conclusion
Learning how to dry herbs in an air fryer opens up a world of culinary possibilities. It allows you to savor the flavors and aromas of freshly dried herbs all year round, elevating your dishes to new heights. The benefits of drying herbs are numerous, from extended shelf life and preservation of flavor to cost-effectiveness and customization.
By choosing the right herbs, properly preparing them, and using an air fryer for the drying process, you can achieve excellent results. Following a step-by-step guide ensures that your herbs dry evenly and retain their essential oils. Storing your dried herbs correctly preserves their quality and allows you to enjoy their potency for an extended period.
Remember to experiment with herb combinations and utilize the tips and tricks shared to maximize your herb-drying success. The process may seem simple, but it yields incredible rewards when it comes to enhancing the taste and aroma of your culinary creations.
So why settle for store-bought herbs when you can easily dry your own in an air fryer? Embrace the art of herb drying, unleash your creativity, and experience the joy of cooking with the essence of freshly dried herbs. Enhance your dishes, tantalize your taste buds, and make every meal a delight with the wonderful world of dried herbs!