Home>Gardening News and Trends>Latest News>How To Hang Herbs To Dry
Latest News
How To Hang Herbs To Dry
Modified: January 22, 2024
Discover the latest news on how to hang herbs to dry and preserve their flavor. Learn the best techniques and tips for drying herbs at home.
(Many of the links in this article redirect to a specific reviewed product. Your purchase of these products through affiliate links helps to generate commission for Chicagolandgardening.com, at no extra cost. Learn more)
Table of Contents
Introduction
Welcome to the world of drying herbs! Whether you’re looking to preserve the flavors and aromas of your garden’s bountiful harvest or experimenting with new culinary experiences, drying herbs is an essential skill for any aspiring herb enthusiast. Not only does the process prolong the shelf life of your herbs, but it also concentrates their flavors, making them perfect for seasoning dishes, making herbal teas, or creating decorative arrangements.
Choosing to dry your herbs is a cost-effective way to ensure you have a steady supply of flavorsome and aromatic herbs year-round. Plus, it’s a great way to savour the peak of their freshness and capture the essence of your garden on a sunny summer’s day for enjoyment during the winter months.
In this article, we’ll guide you through the art of drying herbs, offering expert tips and methods to help you preserve the integrity of your plants’ flavors and medicinal properties. Whether you’re a seasoned herb enthusiast or just starting your herb garden, this comprehensive guide will equip you with the knowledge and expertise to successfully dry herbs at home.
Join us as we delve into the fascinating world of herb drying, discussing various techniques, methods, and considerations to ensure your herbs are dried to perfection. From choosing the right herbs to preparing them for drying, we’ll explore air drying techniques, hanging methods, creating herb bundles, and much more. By the end of this article, you’ll have the confidence and skills to dry herbs like a pro!
Choosing the Right Herbs to Dry
When it comes to drying herbs, selecting the right herbs is crucial for achieving the best results. Different herbs have varying moisture contents, volatile oils, and drying requirements. Here are some factors to consider when choosing herbs to dry:
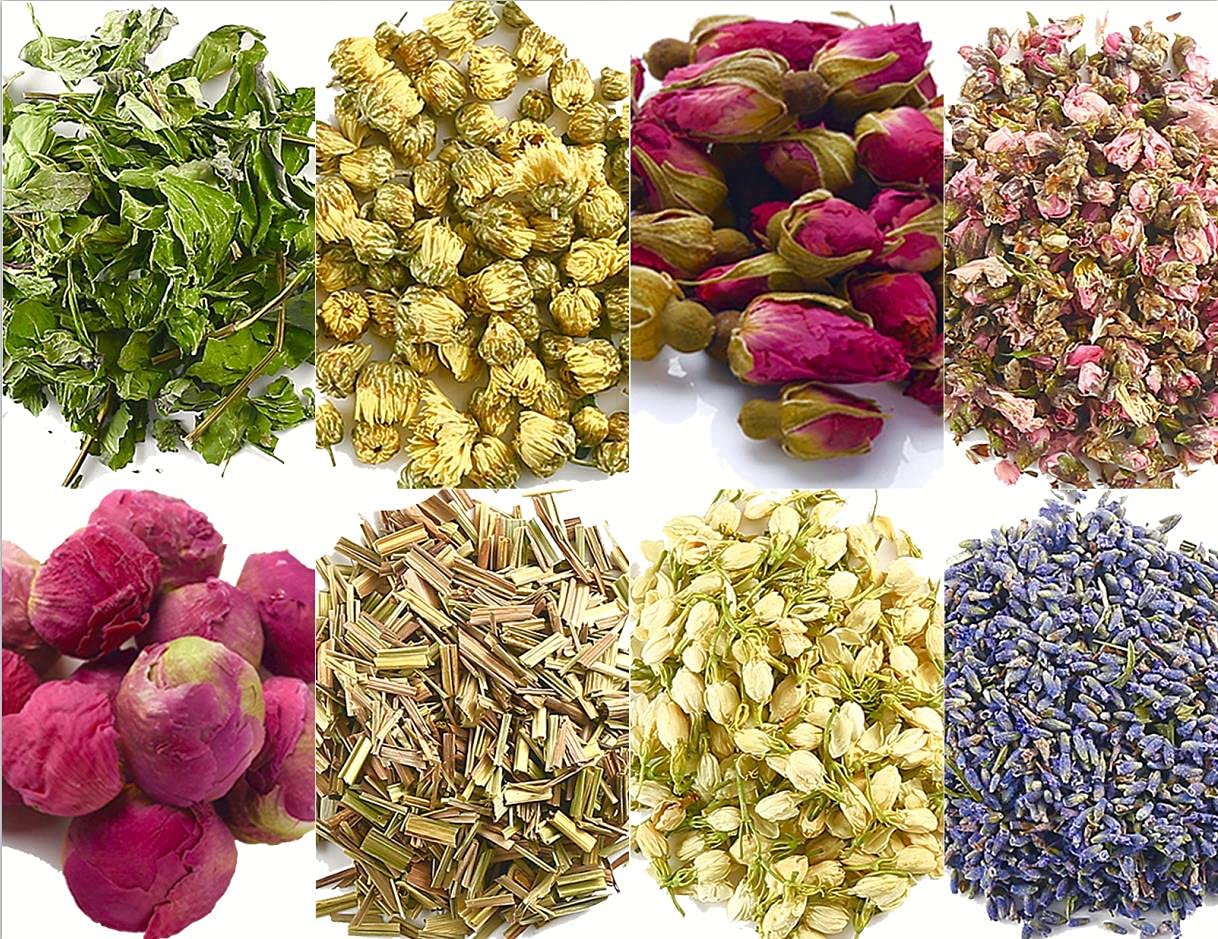
- Herb Varieties: Not all herbs are suitable for drying. Opt for herbs with sturdy leaves and stems that will retain their flavor and aroma during the drying process. Popular herbs for drying include oregano, rosemary, thyme, mint, sage, and lavender.
- Freshness: It’s important to select fresh herbs for drying. Harvest your herbs early in the morning when their essential oils are at their peak for optimal flavor and fragrance.
- Herb Part: Decide whether you want to dry the leaves, flowers, or both. While leaves generally dry faster, flowers can add a touch of beauty and fragrance to your dried herb collection.
- Herb Quality: Choose herbs that are vibrant, free from disease or pests, and have not been treated with pesticides or chemicals. It’s best to grow your own herbs or source them from trusted organic suppliers.
Remember, the success of your dried herbs relies greatly on the quality and freshness of the herbs you choose. So put a little extra effort into selecting the finest herbs to ensure the best flavor and aroma in your dried herb collection.
Preparing the Herbs for Drying
Properly preparing your herbs before drying is a crucial step to ensure optimal results. Here’s a step-by-step guide on how to prepare your herbs for drying:
- Harvesting: Harvest your herbs early in the morning when their essential oils are at their peak. Choose herbs that are healthy and free from pests or diseases.
- Washing: Gently wash your herbs under cool running water to remove any dirt or debris. Be careful not to bruise or damage the leaves or flowers.
- Drying: Pat the herbs dry with a clean kitchen towel or paper towels. Allow them to air dry for a few hours to remove any excess moisture before proceeding to the next step.
- Trimming: Remove any tough stems or damaged leaves from the herbs. Trim the stems to a length suitable for your chosen drying method.
- Preventing Mold: To prevent mold growth during the drying process, make sure the herbs are completely dry and free from moisture. Any moisture left on the leaves or stems can lead to mold development.
It’s important to note that some herbs, like basil and parsley, may become discolored or lose their flavor when dried. In such cases, consider freezing or preserving them in oil instead of drying.
By following these steps, you’ll ensure that your herbs are clean, dry, and in optimal condition for the drying process. With your herbs prepared, it’s time to move on to the next step: drying them to perfection!
Air Drying Herbs
Air drying is one of the simplest and most traditional methods of drying herbs. It requires minimal equipment and allows the herbs to gradually lose moisture while retaining their flavor and potency. Here’s how to air dry herbs:
- Bunching: Gather a small bunch of herbs, around 4-6 stems, with a rubber band or string. Make sure the stems are evenly aligned for efficient drying.
- Hanging: Hang the herb bundles upside down in a dry, well-ventilated area. Choose a location away from direct sunlight to prevent the herbs from losing their color and essential oils too quickly. A dark and airy room, such as a closet or pantry, is ideal.
- Protection: To prevent dust or insects from contaminating the herbs, you can loosely cover the herb bundles with a paper bag or a muslin cloth. This allows air circulation while providing a protective barrier.
- Drying Time: The drying time can vary depending on the herb type, humidity levels, and the thickness of the stems. In general, it takes about 1-2 weeks for the herbs to fully dry. You’ll know they’re ready when the leaves crumble easily and the stems snap.
Air drying is a simple and effective method that preserves the flavor and aroma of your herbs. It’s ideal for herbs with low moisture content, such as rosemary, thyme, and oregano. However, keep in mind that air drying may not be suitable for herbs with high moisture content or delicate leaves, as they may turn moldy or lose their vibrant color.
Once your herbs are completely dry, it’s essential to store them properly to maintain their quality and potency. We’ll explore the proper storage methods in the next section.
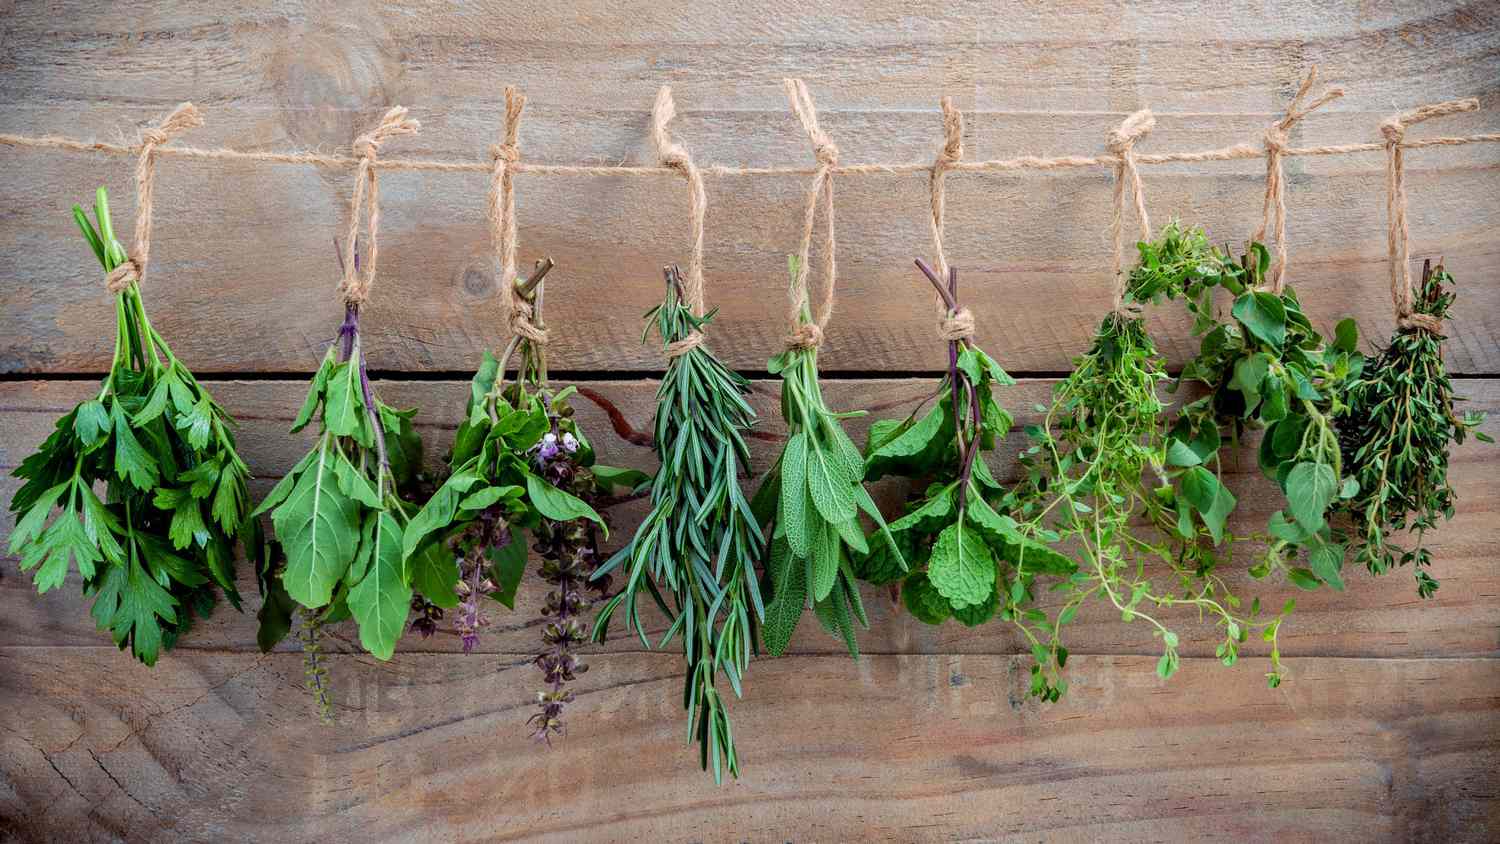
Hanging Methods for Drying Herbs
Hanging herbs to dry is a traditional and effective method that allows for optimal airflow and even drying. While the basic method involves bundling and hanging herbs upside down, there are various hanging techniques you can use to ensure successful drying. Here are some common hanging methods:
- Herb Bundles: This is the most common method, especially for herbs with sturdy stems. Bundle a small handful of herbs together, securing the stems with a string or rubber band. Hang the bundles upside down in a well-ventilated area.
- Herb Drying Racks: Drying racks are convenient and provide ample space for drying multiple herb bundles. These racks typically consist of wooden frames with mesh or netting to allow air circulation. Simply place the herb bundles on the drying rack and leave them to dry in a well-ventilated space.
- Clothes Hangers: You can repurpose clothes hangers to hang herbs for drying. Secure the herb bundles to the hanger using twine or rubber bands, and hang them in a dry, well-ventilated area.
- Paper Bags: If you’re concerned about dust or insects, you can place individual herb bundles inside paper bags with holes punched in them. Hang the bags upside down to allow air circulation while providing protection.
Regardless of the hanging method you choose, it’s important to ensure that the herbs are properly spaced to allow air to flow around them. This helps to prevent moisture buildup and reduce the risk of mold or spoilage.
Remember to choose a suitable location for hanging your herbs, such as a dark and well-ventilated room away from direct sunlight. Excessive heat or sunlight can cause the herbs to lose their flavor and vibrant color.
By utilizing these hanging methods, you can effectively dry your herbs while maintaining their quality and preserving their essential oils.
Creating Herb Bundles
Creating herb bundles is a classic and efficient method for drying herbs. It involves grouping individual stems together and securing them to ensure even drying. Here are the steps to create herb bundles:
- Harvesting: Harvest your herbs when they are at their peak freshness. Choose stems that are healthy and free from pests or diseases.
- Grouping Stems: Gather a small handful of herb stems, around 4-6 stems depending on their size. Align the stems so that the leaves and flowers are evenly distributed.
- Securing: Use a sturdy string or rubber band to tie the stems together at the base, creating a compact bundle. Make sure the tie is tight enough to hold the bundle together but not too tight to damage the stems.
- Labeling: It’s a good idea to label your herb bundles to keep track of the herb variety and date of harvesting. This will help you identify the dried herbs later on.
Creating herb bundles not only aids in the even drying of the herbs but also makes them easier to handle and store once dried. It also adds a touch of rustic charm to your herb-drying process. Herb bundles are particularly suitable for herbs with sturdy stems such as rosemary, thyme, and sage.
Remember, herbs with thicker stems may take longer to dry, so adjust your drying time accordingly. It’s essential to ensure that the herb bundles are not too large or tightly packed, as this can impede airflow and slow down the drying process. Optimal airflow is crucial for effective drying and preventing mold or spoilage.
Now that your herb bundles are ready, it’s time to find the ideal space to dry them. You’ll want to choose a dark, well-ventilated area where your herbs can dry undisturbed. In the next section, we’ll discuss the importance of selecting the right drying location.
Drying Herbs in a Dark and Well-Ventilated Space
The location where you dry your herbs plays a crucial role in the success of the drying process. It’s important to choose a dark and well-ventilated space to ensure optimal drying conditions. Here are some key considerations when selecting a drying location:
- Avoiding Direct Sunlight: Exposure to direct sunlight can cause herbs to lose their color and essential oils quickly. Choose a location away from windows or direct sunlight to preserve the flavor and potency of your herbs.
- Darkness: Herbs dry best in a dark environment. This helps to maintain their vibrant color and slow down the degradation of their essential oils. Consider using a closet, pantry, or any other dark room to dry your herbs.
- Good Air Circulation: Proper ventilation is crucial in preventing moisture buildup and reducing the risk of mold or mildew. Ensure that the drying space has adequate airflow to facilitate the drying process. If needed, use a fan to enhance air circulation.
- Low Humidity: Humidity can hinder the drying process and increase the risk of mold development. Choose a location with low humidity, as herbs dry more effectively in drier conditions.
By drying your herbs in a dark and well-ventilated space, you create an ideal environment for the herbs to gradually lose moisture while retaining their flavors and medicinal properties. This controlled drying process helps to preserve the herbs’ integrity and ensure a longer shelf life.
It’s also important to regularly check on your herbs during the drying process. Inspect for any signs of mold, discoloration, or moisture. If you notice any issues, immediately remove the affected herbs to prevent further contamination.
Now that your herbs are drying in a suitable location, let’s move on to the next section, where we’ll discuss how to determine if your herbs are dry and ready for storage.
Checking for Dryness and Storing the Dried Herbs
Once your herbs have been drying in a dark and well-ventilated space for the appropriate amount of time, it’s essential to check for dryness before storing them. Here’s how to determine if your herbs are dry and ready for storage:
- Texture: Gently crush a leaf or a small portion of the herb between your fingers. If it crumbles easily and feels dry to the touch, it’s a good indication that the herbs are sufficiently dry and ready for storage. If the herbs still feel slightly moist or bend rather than break, they may need more drying time.
- Aroma: Give the herbs a gentle sniff. If they have a strong, concentrated aroma, it’s a sign that the essential oils have been properly preserved during the drying process. However, if the herbs have a damp or musty smell, they may not be fully dry and should be dried further.
- Color Retention: While some color change is expected during the drying process, the herbs should still retain some of their natural color. Faded or discolored herbs may indicate improper drying or prolonged exposure to light.
Once you’ve confirmed that your herbs are adequately dry, it’s time to store them properly to maintain their quality and potency. Follow these guidelines for storing dried herbs:
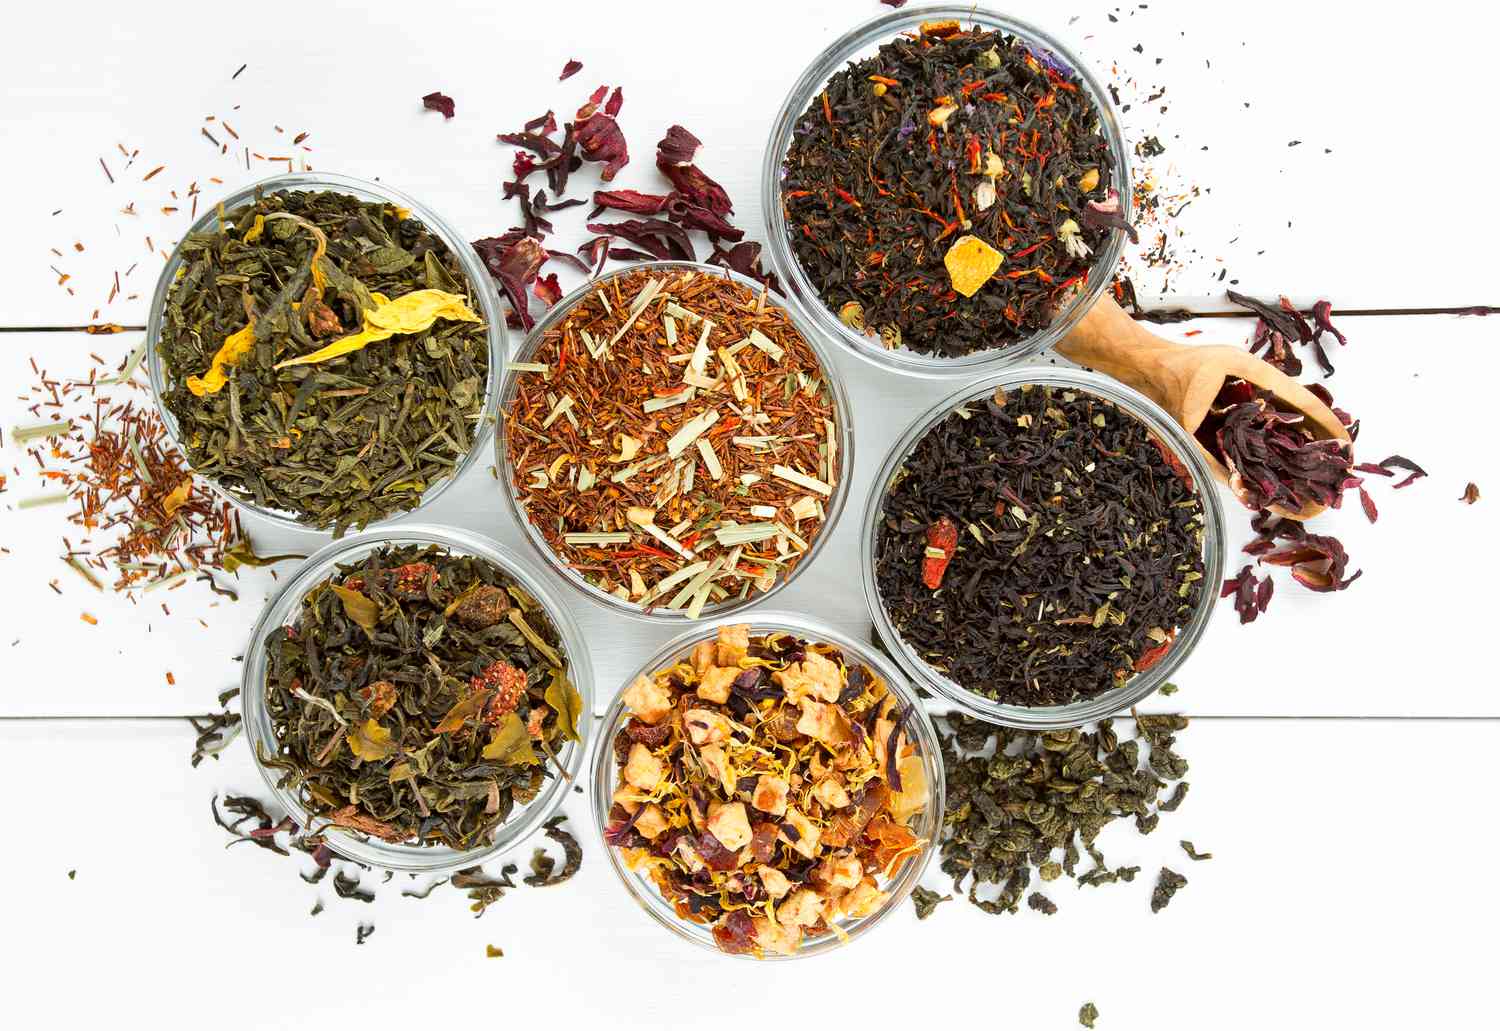
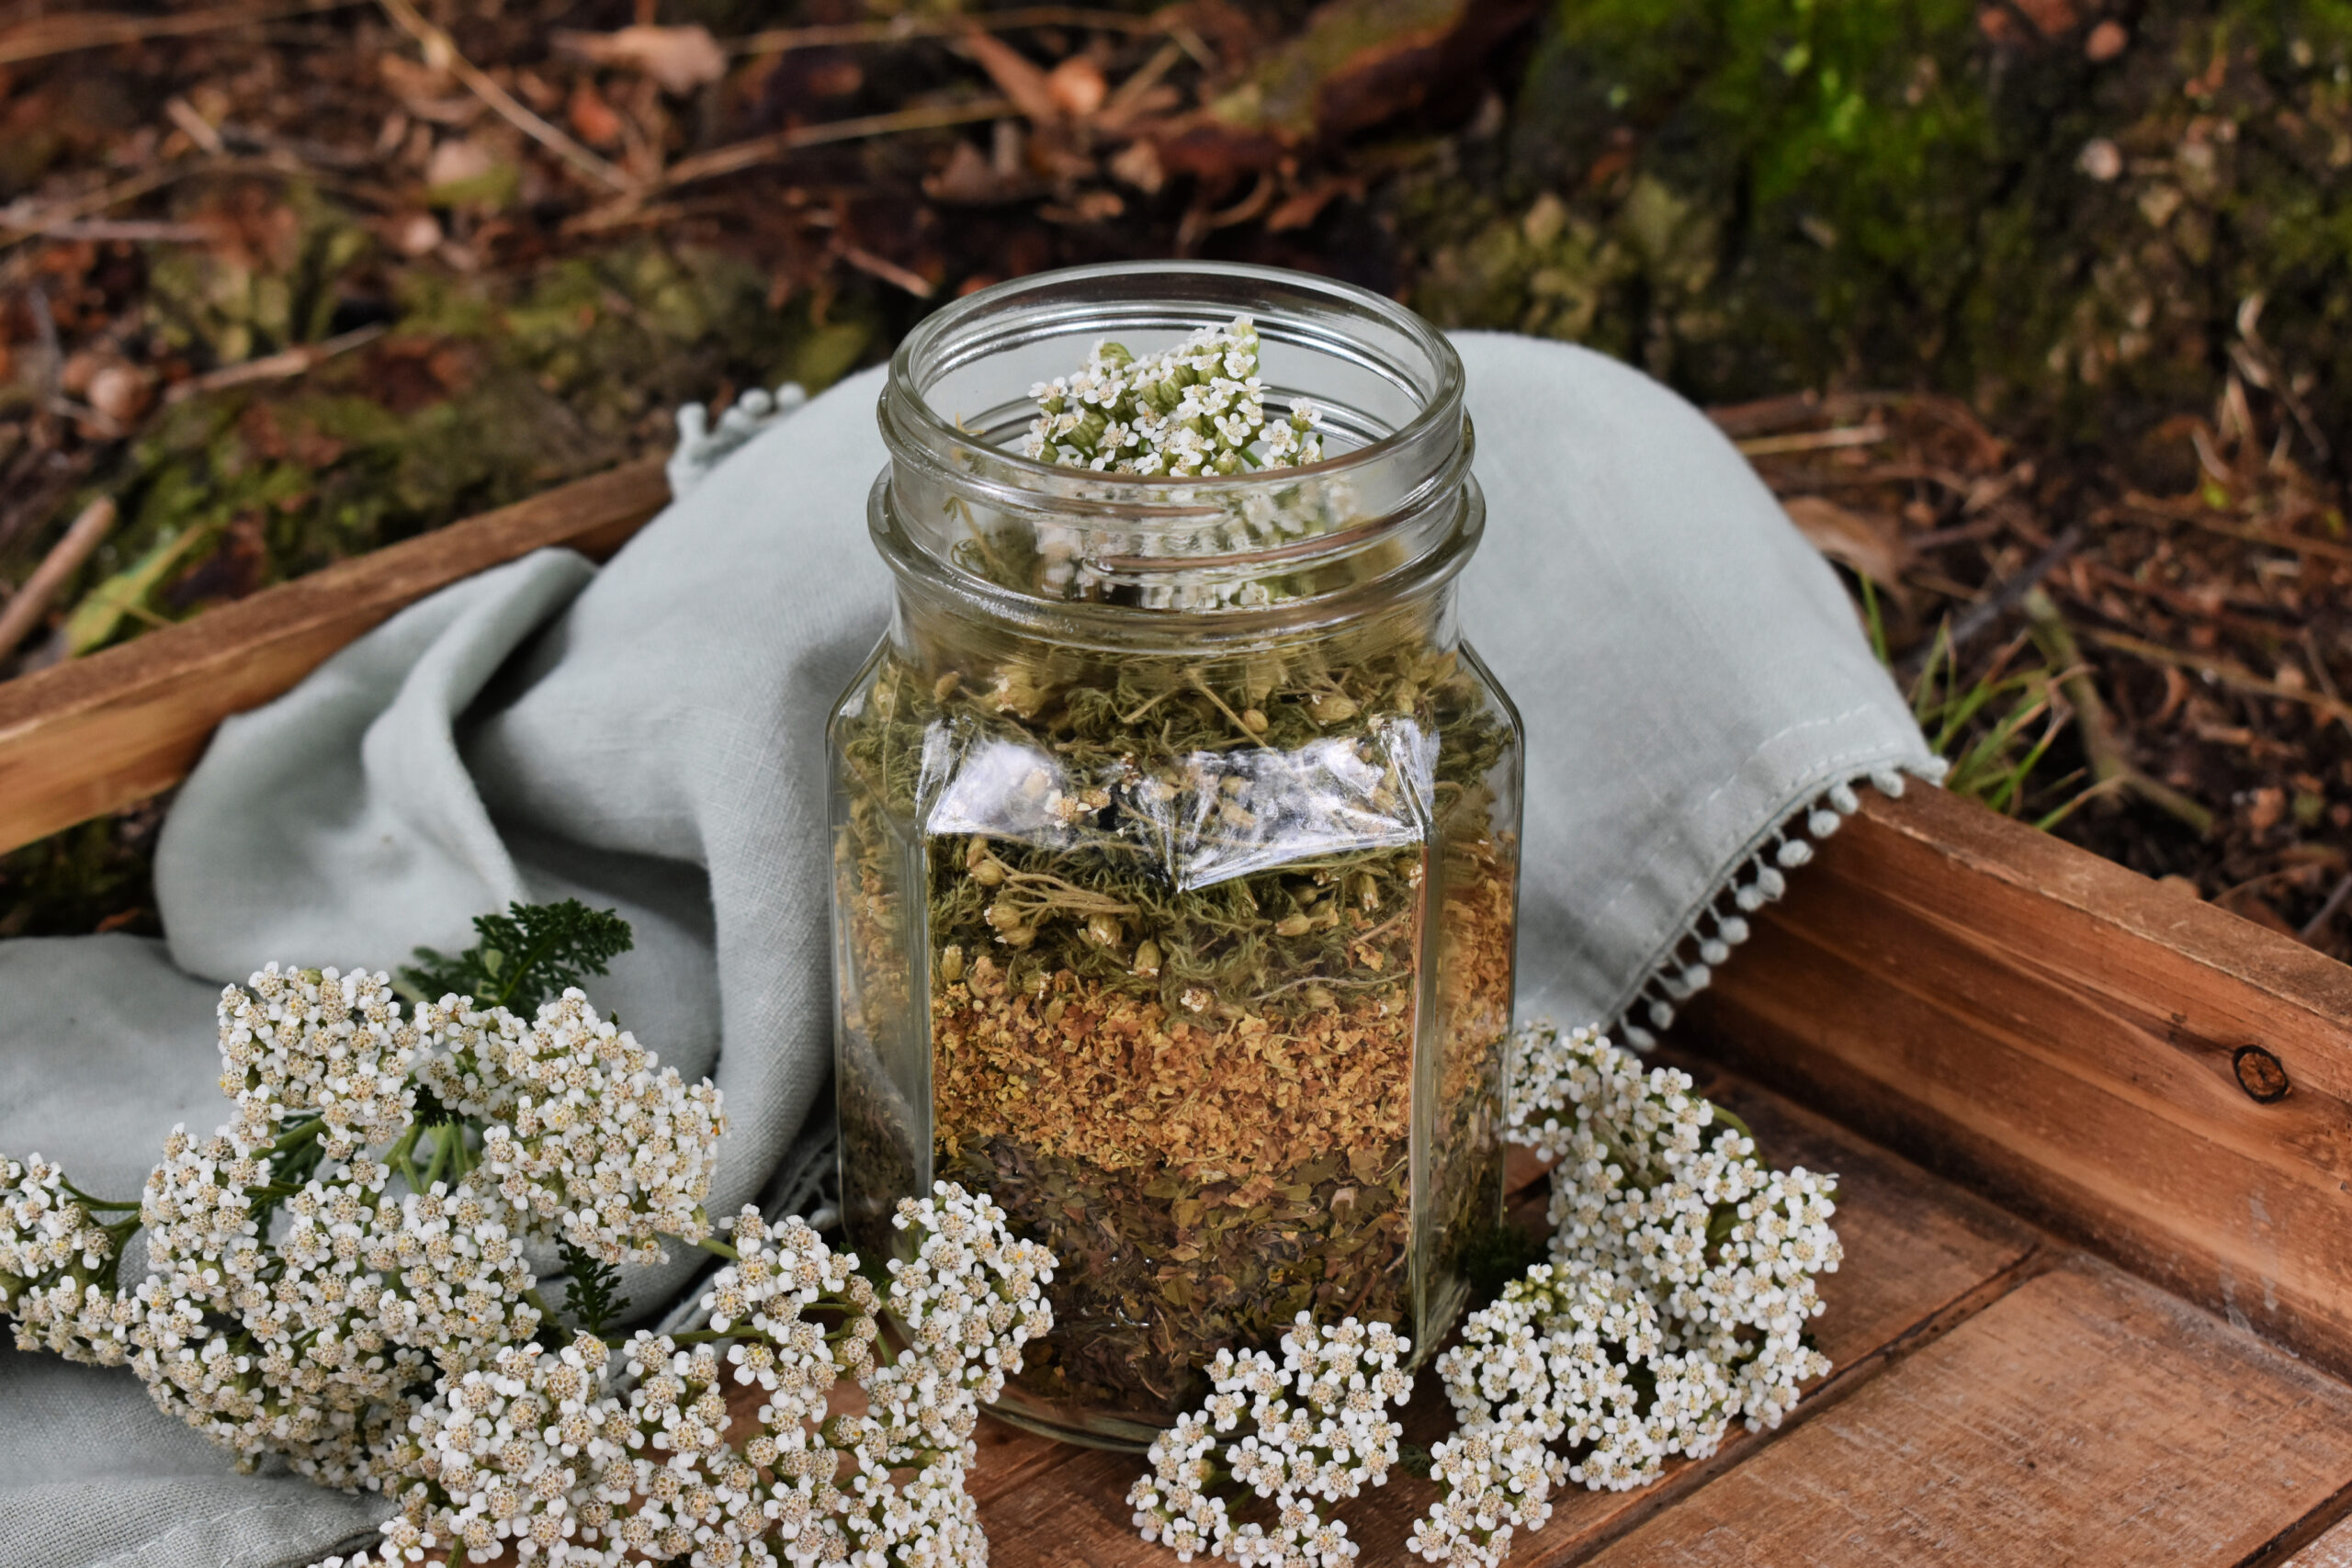
- Glass Jars: Dried herbs are best stored in glass jars with airtight lids. This helps to preserve their flavor, color, and aroma. Avoid using plastic containers, as they can retain moisture and affect the quality of the herbs.
- Labeling: Label each jar with the name of the herb and the date of drying. This ensures that you can easily identify and rotate your herb collection to maintain freshness.
- Location: Store the jars in a cool, dark cupboard or pantry away from direct sunlight, heat, and moisture. These factors can degrade the quality of the herbs over time.
Properly stored dried herbs can maintain their flavor and potency for up to a year or longer, depending on the herb type. However, for the best flavor and aroma, it’s recommended to use the dried herbs within six months.
Congratulations! You’ve successfully dried your herbs and stored them for future use. Don’t forget to enjoy the fruits of your labor by incorporating these flavorful herbs into your favorite culinary creations, teas, or herbal remedies.
Alternative Drying Methods
While air drying is the most common method for drying herbs, there are alternative drying techniques that you can explore. These methods offer different advantages and are worth considering based on the herb type and your specific needs. Here are a few alternative drying methods:
- Oven Drying: If you need to speed up the drying process, you can use your oven. Set it to the lowest temperature (around 100°F or 38°C) and spread the clean and dry herbs on a baking sheet. Leave the oven door slightly open to allow airflow. Keep a close eye on the herbs to prevent overheating or burning.
- Dehydrator: A dehydrator is a convenient appliance specifically designed for drying fruits, vegetables, and herbs. Set the dehydrator to its lowest temperature and place the herbs on the drying trays. The controlled temperature and airflow will ensure efficient drying without the risk of overheating.
- Microwave Drying: While not as commonly used, the microwave can be used to quickly dry herbs. Place the herbs between two microwave-safe paper towels and microwave in short bursts of 15-30 seconds until they are dry and crispy. Be cautious and monitor closely to prevent overheating or burning.
- Sun Drying: In regions with consistently hot and dry weather, you can sun-dry your herbs. Lay them out on a breathable material, such as a mesh screen, in a sunny spot. Cover the herbs with a light cloth to protect them from dust and insects. This method can be challenging in areas with high humidity or inconsistent weather.
When using alternative drying methods, it’s important to exercise caution and closely monitor the process to prevent issues such as burning, loss of flavor, or degradation of essential oils. These methods can be quicker than air drying, but they may also impact the color and flavor of the herbs compared to traditional drying methods. Adjust the timing and temperature based on your specific herbs and the equipment you are using.
Remember that the goal is to preserve the flavor, aroma, and medicinal properties of your herbs. Whichever drying method you choose, strive to create the optimal conditions for drying while maintaining the integrity and quality of your herbs.
Now that you’re familiar with alternative drying methods, you have a variety of options to choose from based on your preferences and the herbs you’re working with. Experiment and discover the method that works best for you and your herb-drying endeavors.
Conclusion
Congratulations on embarking on the journey of drying herbs! With the knowledge and techniques shared in this article, you now have the skills to successfully preserve the flavors, aromas, and medicinal properties of your favorite herbs. Whether you choose to air dry, use alternative methods, or a combination of both, the key is to ensure proper airflow, darkness, and low humidity during the drying process.
Remember to choose the right herbs, properly prepare them, and carefully select the ideal location for drying. Checking for dryness before storing your herbs in glass jars will help maintain their potency and flavor for months to come.
By drying your own herbs, you are not only extending their shelf life but also connecting with nature and honoring the abundance of your garden. The dried herbs can enhance your culinary creations, teas, and herbal remedies, adding a burst of flavor and a touch of homegrown goodness.
So go ahead, explore the world of herb drying, and savor the joy of preserving your herbs. With practice, you will become more adept at the process and discover your preferred methods and herb combinations.
Enjoy the rewards of your dried herb collection and the satisfaction of knowing that you have a stockpile of flavorful and aromatic herbs at your fingertips. Happy drying!