Home>Gardening News and Trends>Latest News>How To Dry Herbs In Microwave
Latest News
How To Dry Herbs In Microwave
Modified: January 22, 2024
Learn the latest news on how to dry herbs in the microwave with our step-by-step guide. Save time and preserve the flavor of your favorite herbs effortlessly.
(Many of the links in this article redirect to a specific reviewed product. Your purchase of these products through affiliate links helps to generate commission for Chicagolandgardening.com, at no extra cost. Learn more)
Table of Contents
Introduction
Drying herbs is a popular practice for preserving the flavor and aroma of fresh herbs for extended use. Traditionally, herbs are dried by hanging them in a cool, dry place or using a dehydrator. However, another convenient and time-saving method is to dry herbs in the microwave. The microwave method is quick, easy, and requires minimal effort, making it a practical option for anyone looking to preserve their fresh herbs.
In this article, we will explore the benefits of drying herbs in the microwave and provide a step-by-step guide for the process. Whether you have an abundant herb garden or want to make the most of store-bought herbs, this method will help you retain the vibrant flavors and aromatic qualities of your favorite culinary herbs.
Drying herbs in the microwave not only saves time but also reduces the risk of mold or mildew growth that can occur during traditional drying methods. Additionally, the controlled heat of the microwave ensures that the herbs remain flavorful and retain their vibrant colors. This method is particularly useful for herbs with high moisture content, such as basil, mint, and parsley.
Furthermore, drying herbs in the microwave allows for year-round access to your favorite herbs, regardless of the season. Whether you are a culinary enthusiast who enjoys experimenting with different flavors or someone who wants to reduce their reliance on store-bought dried herbs, this method provides a simple and efficient solution.
Now that we have established the benefits of drying herbs in the microwave, let’s dive into the steps involved in preparing and drying herbs using this method. Whether you are a seasoned herb enthusiast or a novice in the kitchen, this guide will equip you with the knowledge and skills to successfully dry herbs using your microwave.
Benefits of Drying Herbs in the Microwave
Drying herbs in the microwave offers several advantages that make it an attractive option for herb enthusiasts. Here are some key benefits:
- Time-saving: The microwave method significantly reduces the drying time compared to traditional methods. While air drying herbs can take days or even weeks, the microwave allows herbs to dry in minutes. This is especially beneficial when you need dried herbs for a last-minute recipe or when you want to maximize your time in the kitchen.
- Flavor and aroma preservation: The controlled heat in the microwave helps retain the essential oils responsible for the flavor and aroma of fresh herbs. Unlike air drying, which may result in loss of flavor and potency, microwave drying helps preserve the vibrant taste and fragrance of the herbs.
- Convenience: Drying herbs in the microwave requires minimal effort and resources. It eliminates the need for specialized equipment like dehydrators or hanging space, making it accessible to anyone with a microwave. It is an ideal method for those who live in small spaces or lack outdoor drying space.
- Year-round availability: By using the microwave method, you can enjoy dried herbs throughout the year, regardless of the growing season. This allows you to have a ready supply of your favorite herbs for cooking, even when fresh herbs are not readily available or are too expensive to purchase.
- Improved safety: Microwave drying significantly reduces the risk of mold or mildew growth, which can be a concern when using traditional drying methods. The microwave’s controlled heat helps eliminate moisture more effectively, reducing the chances of spoilage and making it a safer option for preserving herbs.
- Retains color: Microwave drying helps retain the vibrant colors of the herbs, ensuring that they not only taste delicious but also look visually appealing when used in culinary preparations. This is particularly beneficial when using herbs as garnishes or for decorative purposes.
These benefits make microwave drying a convenient and efficient method for preserving the flavor, aroma, and visual appeal of your favorite herbs. By utilizing the microwave, you can easily incorporate dried herbs into your cooking and enjoy their benefits throughout the year.
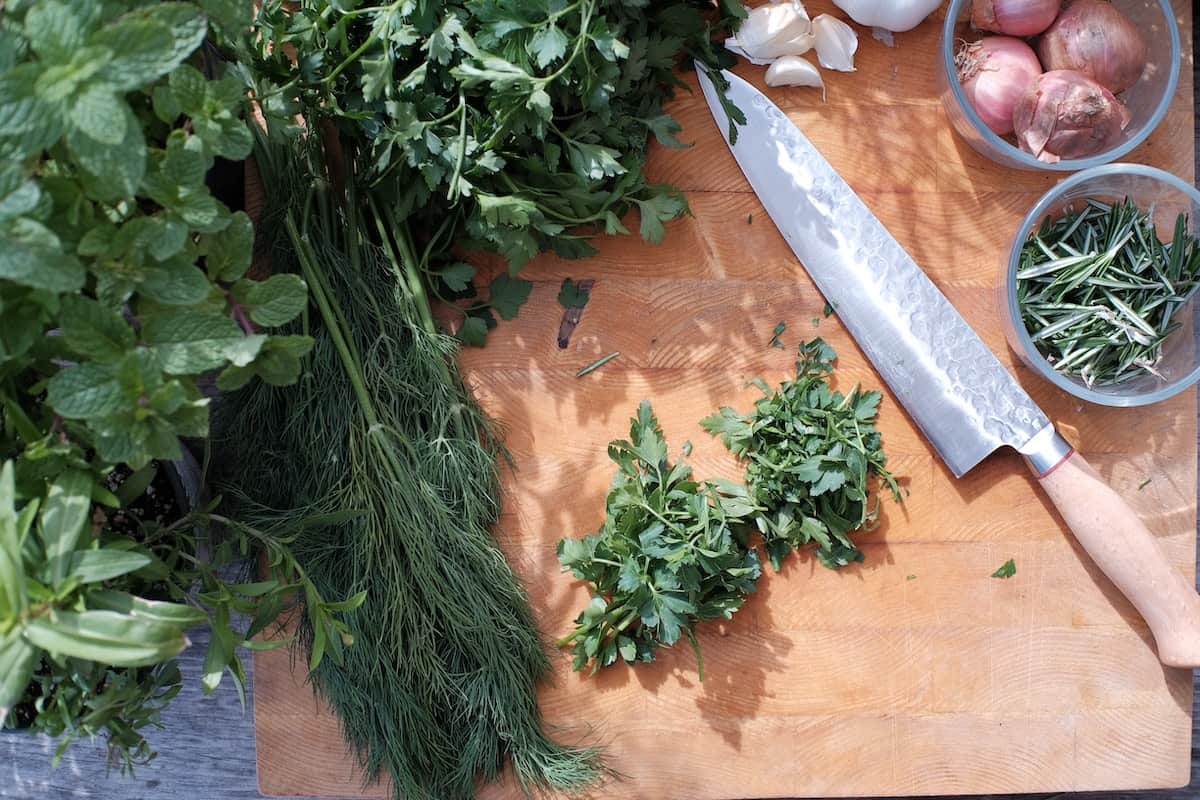
Preparing Herbs for Drying
Proper preparation of herbs is crucial to ensure successful drying and to preserve their optimal flavor and aroma. Follow these steps to prepare your herbs for microwave drying:
- Harvesting: Harvest the herbs when they are at their peak, usually in the morning after the dew has dried. Avoid harvesting wet or damp herbs, as excess moisture can lead to uneven drying or mold growth.
- Cleaning: Gently rinse the herbs under cold water to remove any dirt or debris. Pat them dry with a clean towel or use a salad spinner to remove excess moisture. Ensure the herbs are completely dry before proceeding to the next step.
- Trimming: Remove any damaged, wilted, or discolored parts of the herbs. Trim away any large stems or tough stalks, as these can take longer to dry and may result in uneven drying. Focus on using the tender leaves and smaller stems for the best results.
- Leaves versus stems: Depending on the herb, you may choose to separate the leaves from the stems or keep them intact. Herbs like basil and mint often have larger leaves, which can be separated from the stems. However, for herbs like thyme or rosemary, where the leaves are attached to the stem, you can keep them together during drying.
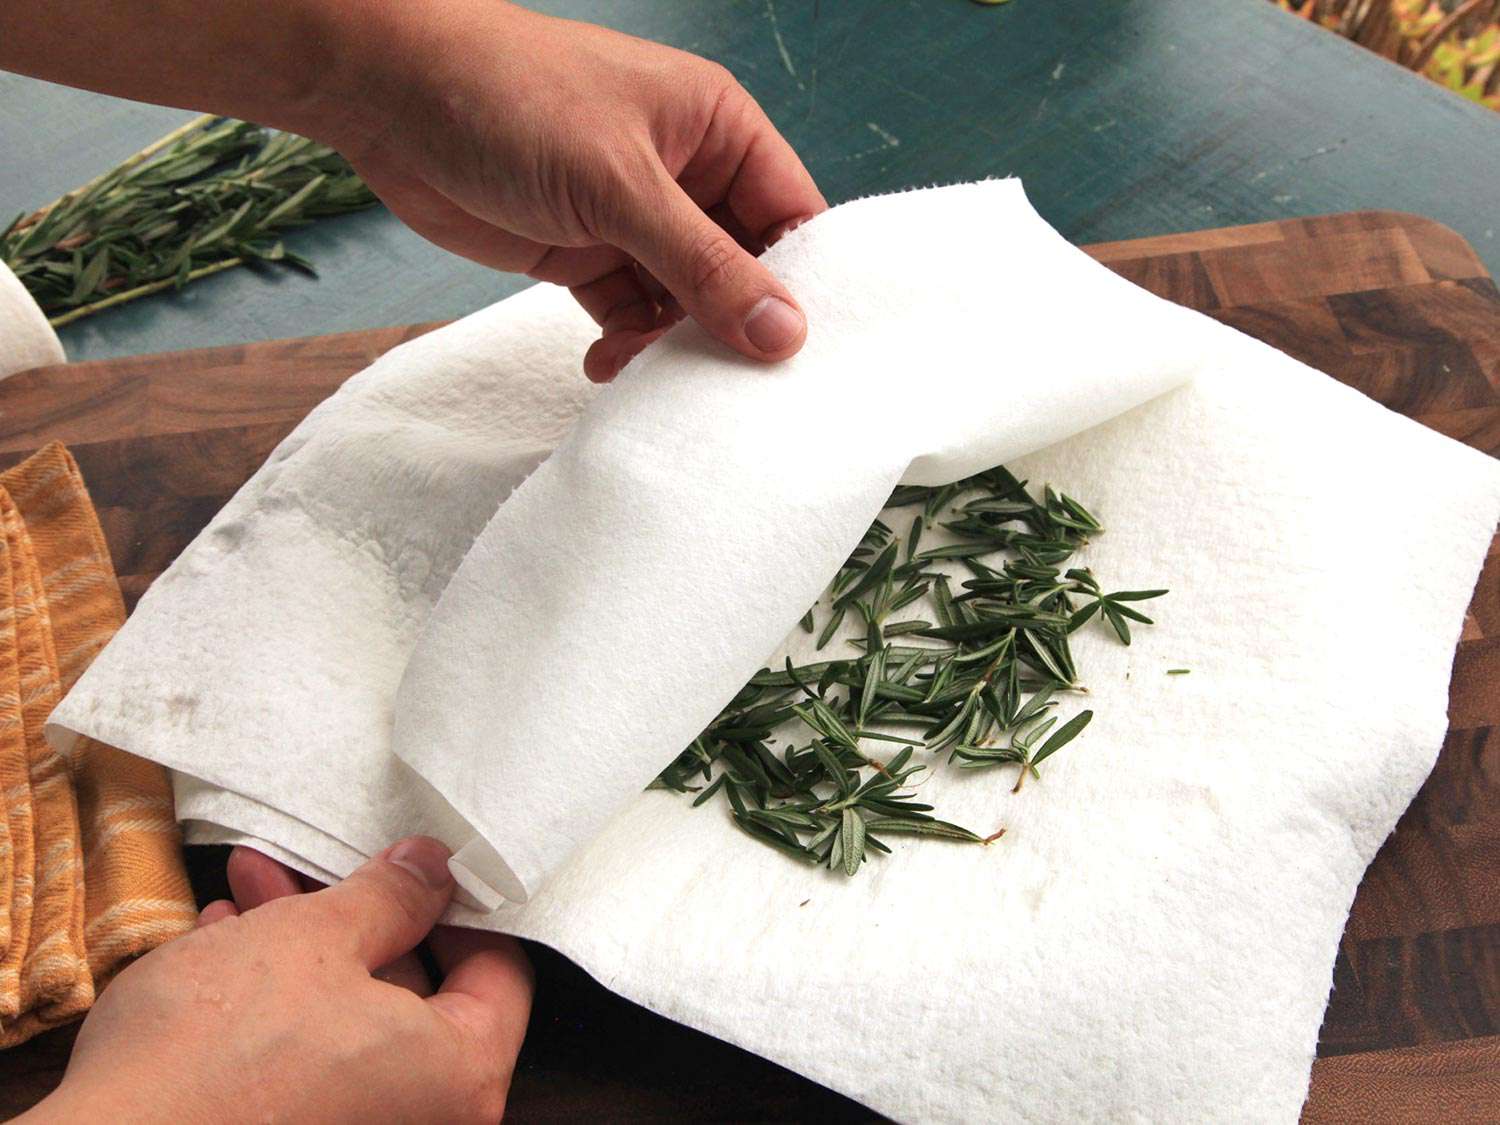
- Patting dry: Before placing the herbs in the microwave, ensure they are completely dry. Gently pat them dry with a clean towel or paper towel to remove any residual moisture. This step is essential to prevent the herbs from steaming instead of drying in the microwave.
By properly preparing your herbs before drying them in the microwave, you can ensure the best possible results and maintain the quality and integrity of the herbs. Taking the time to clean, trim, and dry the herbs will contribute to their taste, aroma, and appearance once they are dried and ready for storage and use.
Step-by-Step Guide to Drying Herbs in the Microwave
Drying herbs in the microwave is a quick and straightforward process. Follow this step-by-step guide to ensure successful results:
- Prepare the herbs: Begin by preparing your herbs as outlined in the previous section. Harvest, clean, trim, and pat them dry to remove any excess moisture.
- Arrange the herbs: Take a microwave-safe plate or a microwave-safe drying rack and arrange the prepped herbs on it in a single layer. Make sure there is enough space between each herb to allow for even airflow and drying.
- Microwave in short intervals: Place the plate or rack with the herbs in the microwave. Set the microwave to its lowest power setting, typically 30% or 40% power. Microwave the herbs in short intervals, typically 30 seconds to 1 minute, to avoid overheating or burning them.
- Rotate and inspect: After each interval, carefully remove the plate or rack from the microwave. Rotate the herbs to ensure even drying and check for any signs of burning. If necessary, remove any dried herbs and continue microwaving the remaining ones.
- Continue microwaving and inspecting: Repeat the microwaving process in short intervals, checking and rotating the herbs each time, until they are completely dry. The drying time will vary depending on the herb and its moisture content, but it typically takes around 2-5 minutes.
- Cool and store: Once the herbs are dry, remove them from the microwave and allow them to cool completely. This will ensure that any residual moisture evaporates, preventing mold or mildew formation. Once cool, crumble the herbs into smaller pieces if desired and store them in airtight containers or resealable bags.
It’s important to note that the drying time may vary based on your microwave’s power output and the moisture content of the herbs. It may require some experimentation to determine the ideal drying time for your specific setup. Additionally, different herbs may require different drying times, so it’s essential to monitor them closely to prevent over-drying or burning.
By following this step-by-step guide, you can easily dry herbs in the microwave and enjoy the convenience of having flavorful and aromatic herbs at your disposal throughout the year.
Tips for Successful Herb Drying
While drying herbs in the microwave is a relatively simple process, there are a few tips and tricks that can help ensure successful results. Consider the following tips when drying herbs in the microwave:
- Use small microwave-safe containers: If you have a large quantity of herbs to dry, consider using multiple small microwave-safe containers instead of one large plate. This allows for better airflow and prevents overcrowding, which can lead to uneven drying.
- Monitor closely: Keep a close eye on the herbs during the microwaving process. Different herbs and microwave models may require varying drying times. It’s essential to frequently check and rotate the herbs to prevent them from burning or becoming overly dry.
- Start with small batches: If you’re new to drying herbs in the microwave, it’s advisable to start with small batches. This will help you familiarize yourself with the drying process and allow for adjustments to be made more easily if needed.
- Opt for low power settings: To prevent overheating or scorching the herbs, use the lowest power setting on your microwave. This allows for gentle and gradual drying without the risk of damaging the herbs or altering their flavor and aroma.
- Consider time intervals: Instead of microwaving the herbs continuously, opt for short intervals. This helps ensure that the herbs dry uniformly and allows for better control of the drying process. Avoid long microwaving sessions, as they can result in uneven drying and may increase the chance of burning.
- Crush herbs after drying: Consider crushing or crumbling the dried herbs before storing them. This can help release their essential oils and enhance the overall flavor when used in recipes.
- Store in airtight containers: Once the herbs are completely dry, transfer them to airtight containers or resealable bags. This will help extend their shelf life by preventing moisture from seeping in and compromising their quality.
- Label and date: To ensure freshness and easy identification, label each container with the herb’s name and the date of drying. This will help you keep track of their storage time and usage.
- Experiment with herb combinations: Feel free to experiment with different herb combinations when drying them in the microwave. Creating unique blends can add depth and complexity to your culinary creations. Just make sure to adjust the drying time accordingly based on the individual herbs being used.
By following these tips, you can achieve successful results when drying herbs in the microwave. Remember to adjust the drying time, power settings, and methods based on your microwave’s specifications and the specific herbs you are drying. With practice and experimentation, you’ll develop your own tried-and-true techniques for preserving the vibrant flavors and aromas of your favorite herbs.
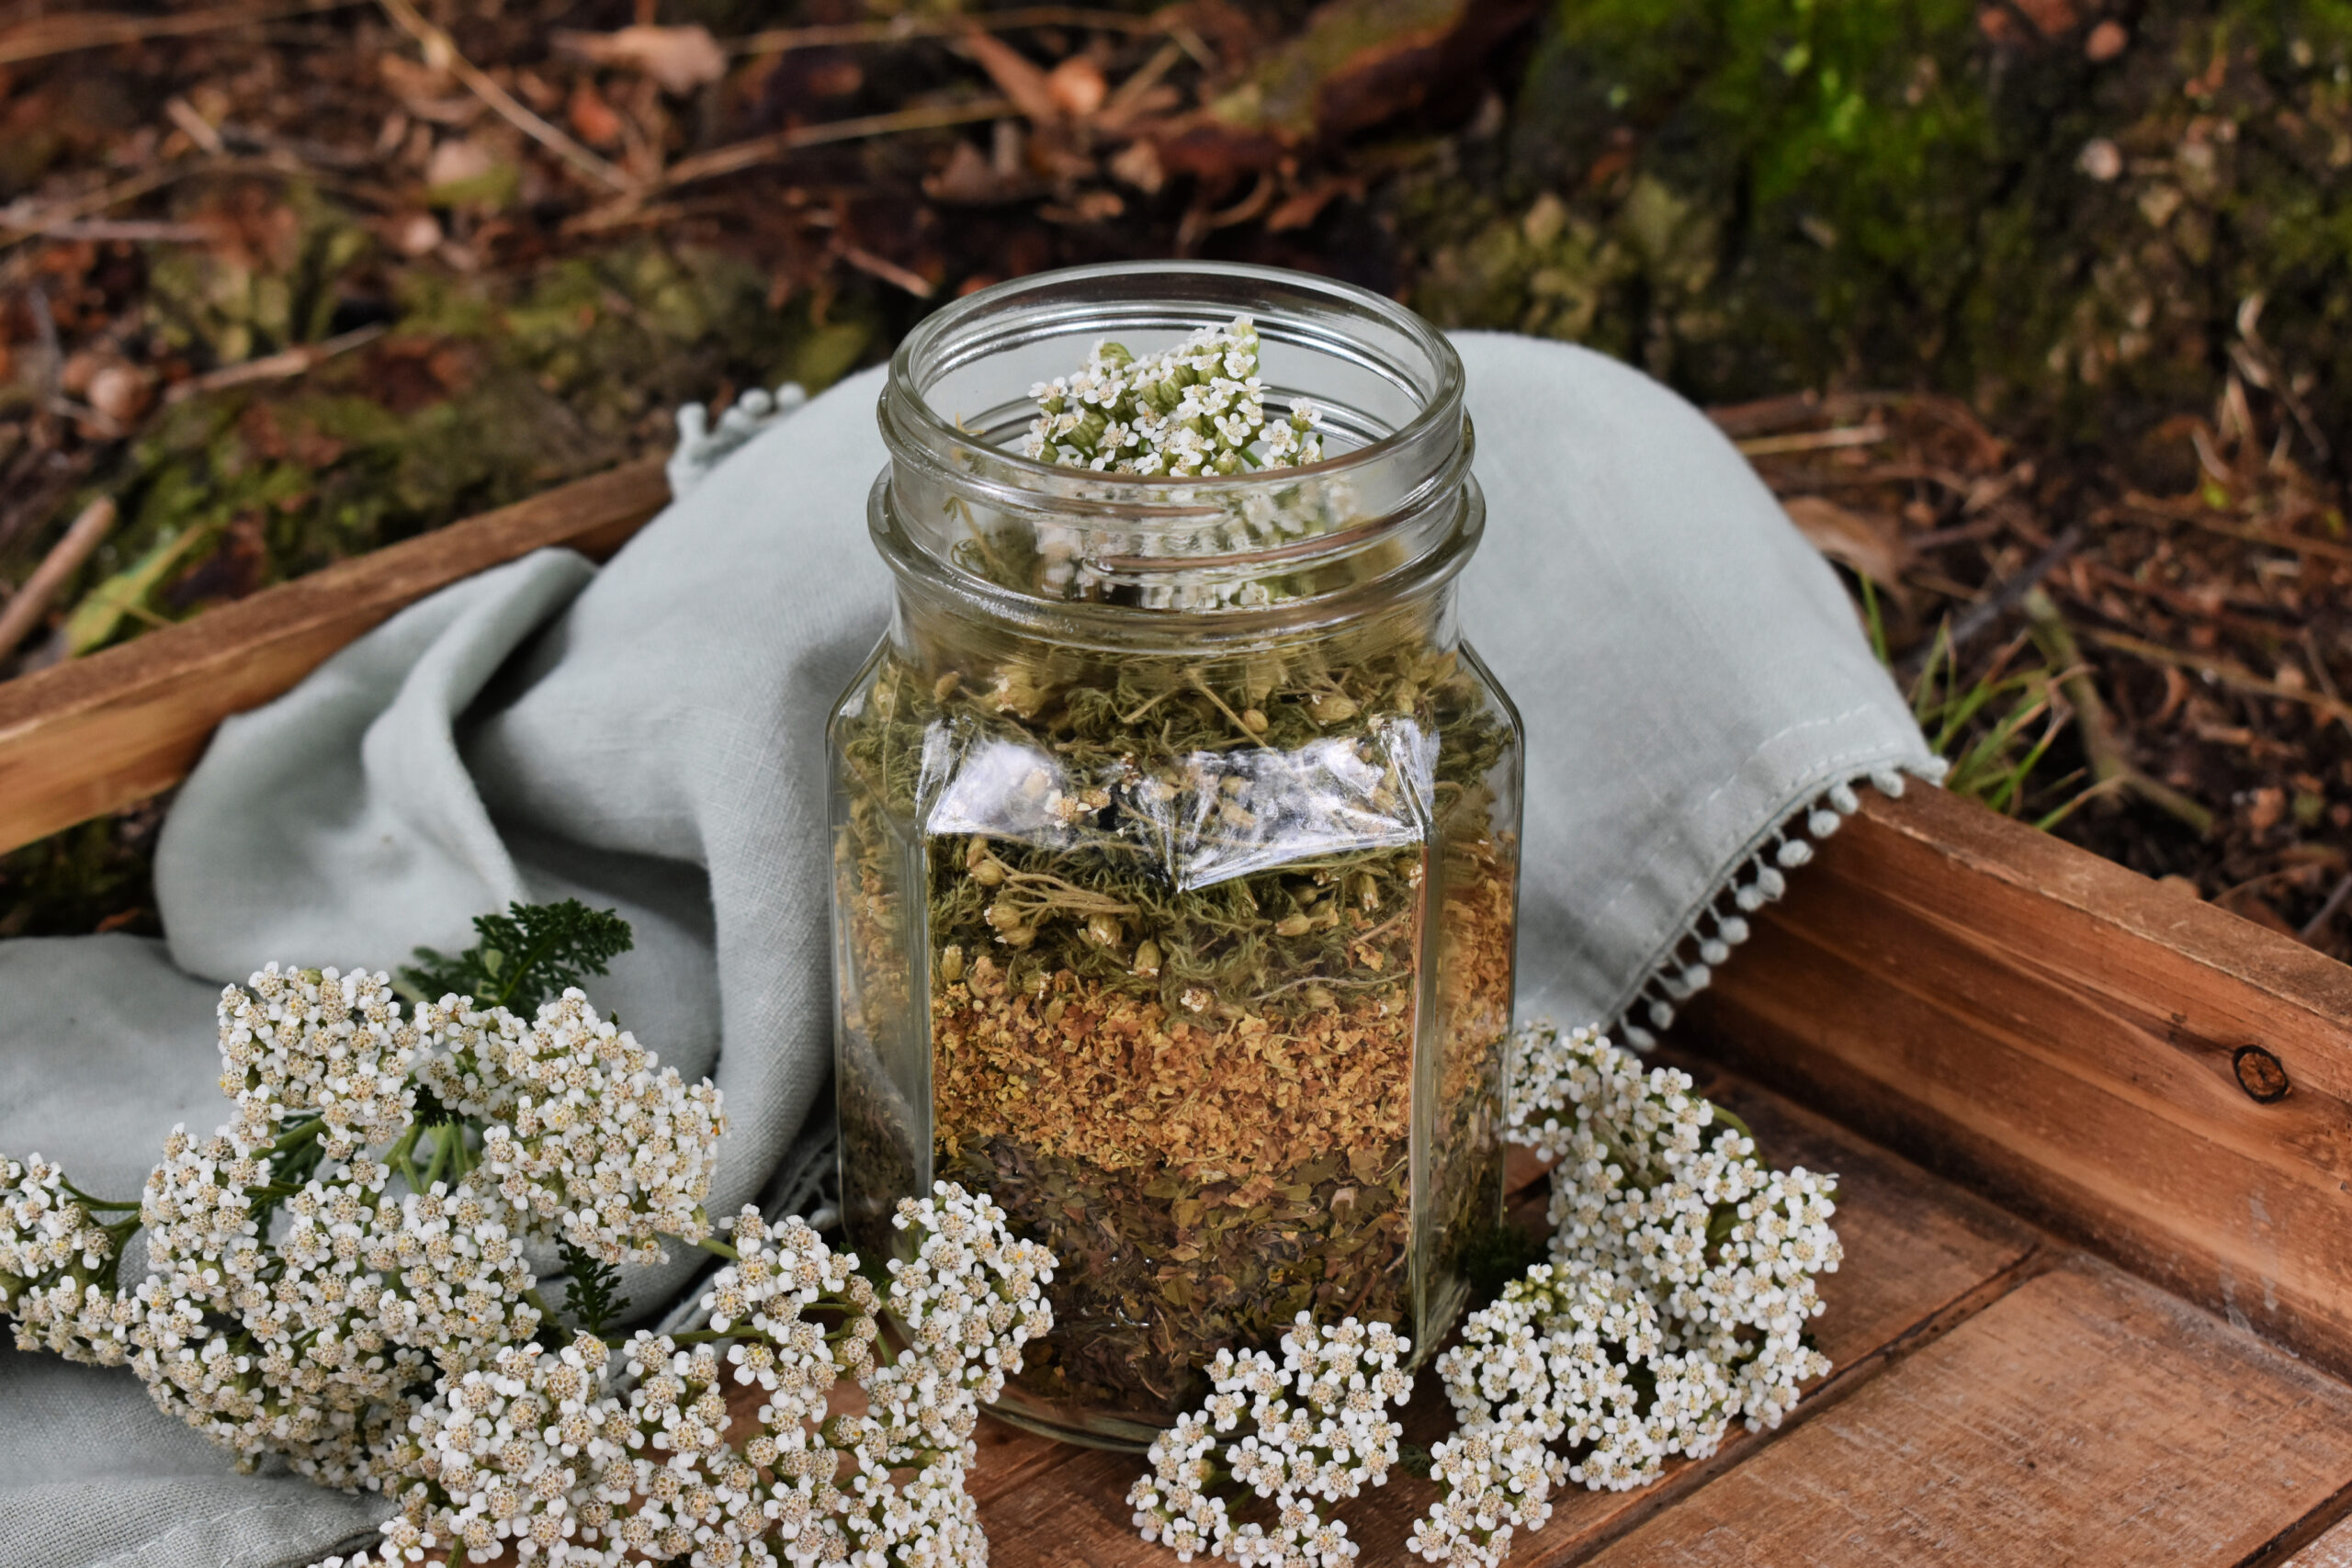
Storing Dried Herbs
Proper storage is key to maintaining the flavor, aroma, and freshness of your dried herbs. Follow these tips for storing dried herbs effectively:
- Ensure complete dryness: Before storing your dried herbs, ensure that they are completely dry. Any excess moisture can lead to mold or spoilage, compromising the quality of the herbs.
- Choose airtight containers: Transfer your dried herbs into airtight containers such as glass jars with tight-fitting lids, resealable bags, or vacuum-sealed bags. These containers will help keep moisture and air out, preserving the flavor and aroma of the herbs for an extended period.
- Label containers: It’s important to label your containers with the name of the herb and the date of drying. This will help you identify the contents and keep track of their freshness.
- Store in a cool, dark place: To maintain the potency of your dried herbs, store them in a cool, dark place away from direct sunlight. Exposure to light, heat, and moisture can degrade the quality of the herbs and reduce their flavor and aroma.
- Avoid storing near heat sources: Keep your dried herbs away from heat-emitting appliances, such as stoves, ovens, or microwaves. Heat can accelerate the loss of flavor and can lead to the herbs becoming stale more quickly.
- Use proper jar sizes: Use jars that are appropriately sized for the amount of dried herbs you have. Avoid using large jars for small quantities, as the extra air space can cause the herbs to lose flavor more rapidly.
- Store whole or crush: Decide whether you want to store your herbs whole or crushed. Whole herbs tend to retain their flavor and aroma for longer, while crushing them prior to storage can release their essential oils and intensify their flavor when used.
- Keep away from strong odors: Store your dried herbs away from spices, strong-smelling foods, or cleaning products. Herbs can absorb odors easily, which can affect their overall taste and aroma.
- Check for freshness: Periodically check your stored herbs for freshness. If they have lost their vibrant color, strong aroma, or if you notice any signs of mold or pests, it’s best to discard them and replenish your stock with freshly dried herbs.
By following these guidelines, you can ensure that your dried herbs remain flavorful and aromatic for an extended period. Stored properly, your dried herbs will provide you with an abundant supply of culinary delights, enhancing your dishes with their distinct flavors and enhancing your overall cooking experience.
Conclusion
Drying herbs in the microwave is a convenient and efficient method for preserving the flavor, aroma, and visual appeal of your favorite herbs. The quick drying time, ease of the process, and the ability to retain the herbs’ vibrant colors and essential oils make it an attractive option for herb enthusiasts.
By following the step-by-step guide provided in this article, you can successfully dry your herbs in the microwave and enjoy the convenience of having flavorful culinary herbs available year-round. From basil and mint to thyme and rosemary, this method allows you to preserve the taste and aroma of a wide variety of herbs.
Remember to properly prepare your herbs before drying, ensuring they are clean and dry. Microwave them in short intervals, checking and rotating them frequently to prevent burning or uneven drying. Once the herbs are dry, cool them completely and store them in airtight containers in a cool, dark place.
By incorporating the tips and guidelines mentioned in this article, you can optimize the drying process and extend the shelf life of your dried herbs. Whether you enjoy cooking, crafting herbal teas, or adding aromatic herbs to your homemade beauty products, having a stash of dried herbs at your disposal will enhance your culinary and self-care experiences.
Drying your own herbs in the microwave not only allows you to experiment with unique flavor combinations but also gives you control over the quality and freshness of your herbs. Say goodbye to store-bought dried herbs that may have lost their potency and enjoy the vibrant flavors and aromas of your own home-dried herbs.
So, why not give microwave drying a try? With its numerous benefits, convenience, and simplicity, it’s time to preserve the essence of your herbs and elevate your culinary creations with the vibrant flavors of freshly dried herbs.