Home>Gardening News and Trends>Latest News>How To Harvest Herbs For Drying
Latest News
How To Harvest Herbs For Drying
Modified: January 22, 2024
Learn the latest news and techniques on how to harvest herbs for drying. Discover the best methods to preserve the flavor and aroma of your favorite herbs.
(Many of the links in this article redirect to a specific reviewed product. Your purchase of these products through affiliate links helps to generate commission for Chicagolandgardening.com, at no extra cost. Learn more)
Table of Contents
Introduction
Harvesting herbs for drying is a rewarding process that allows you to preserve and enjoy the flavors and aromas of your favorite herbs all year round. Whether you have a bountiful herb garden or a small balcony with a few pots, knowing how to harvest and dry herbs properly ensures that you can savor their freshness and medicinal properties long after the growing season ends.
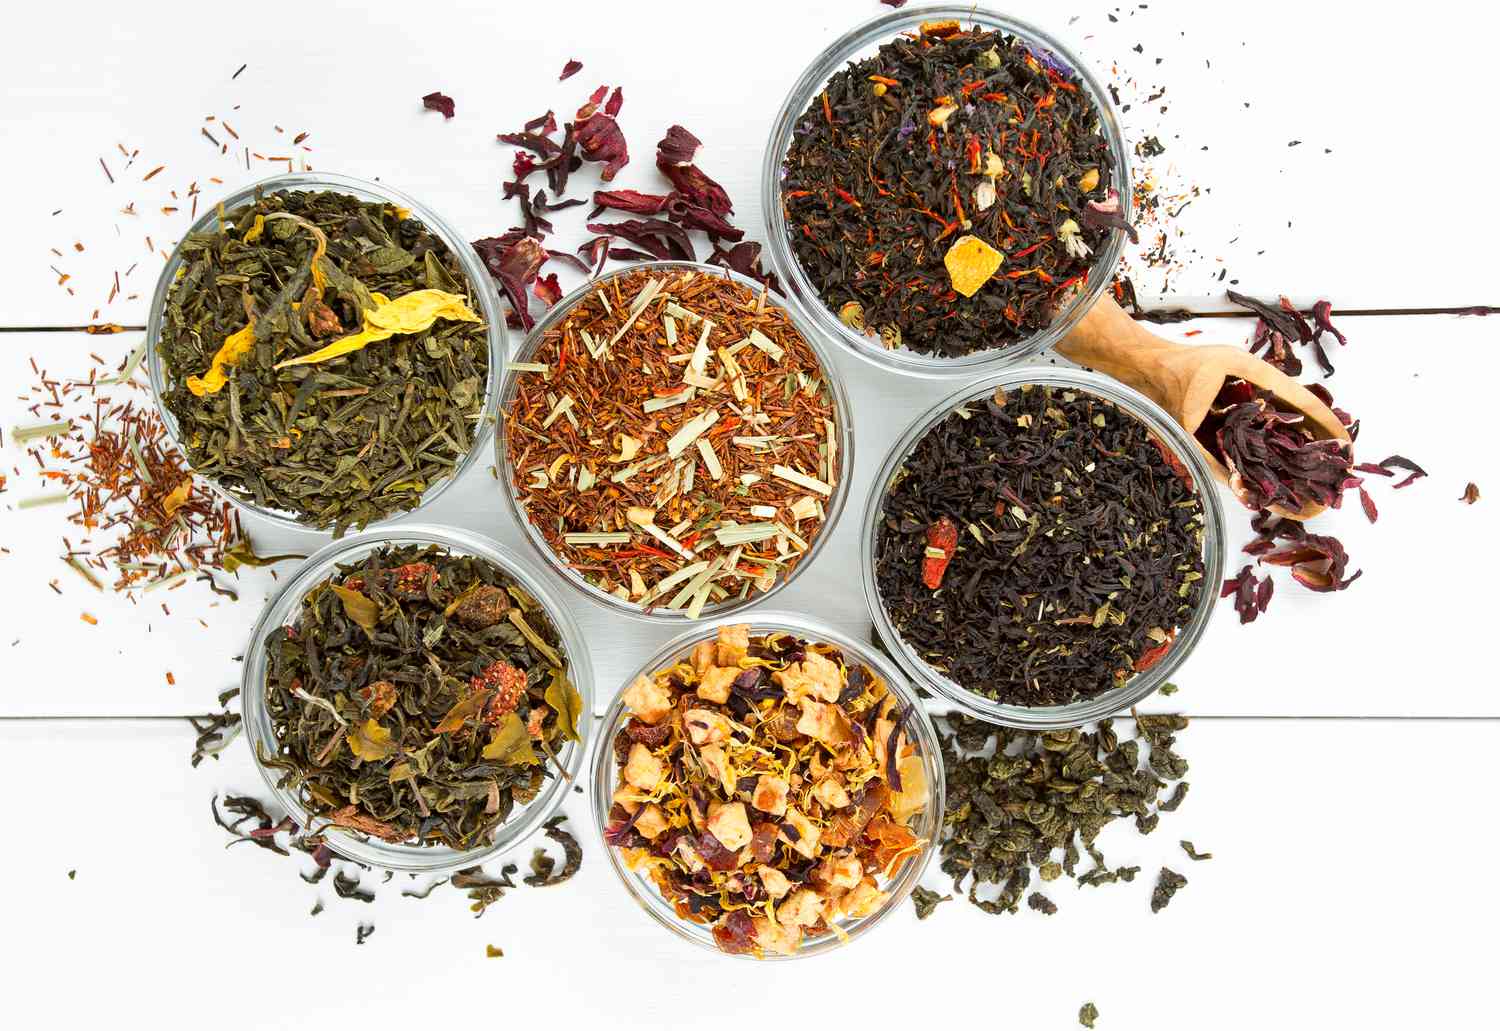
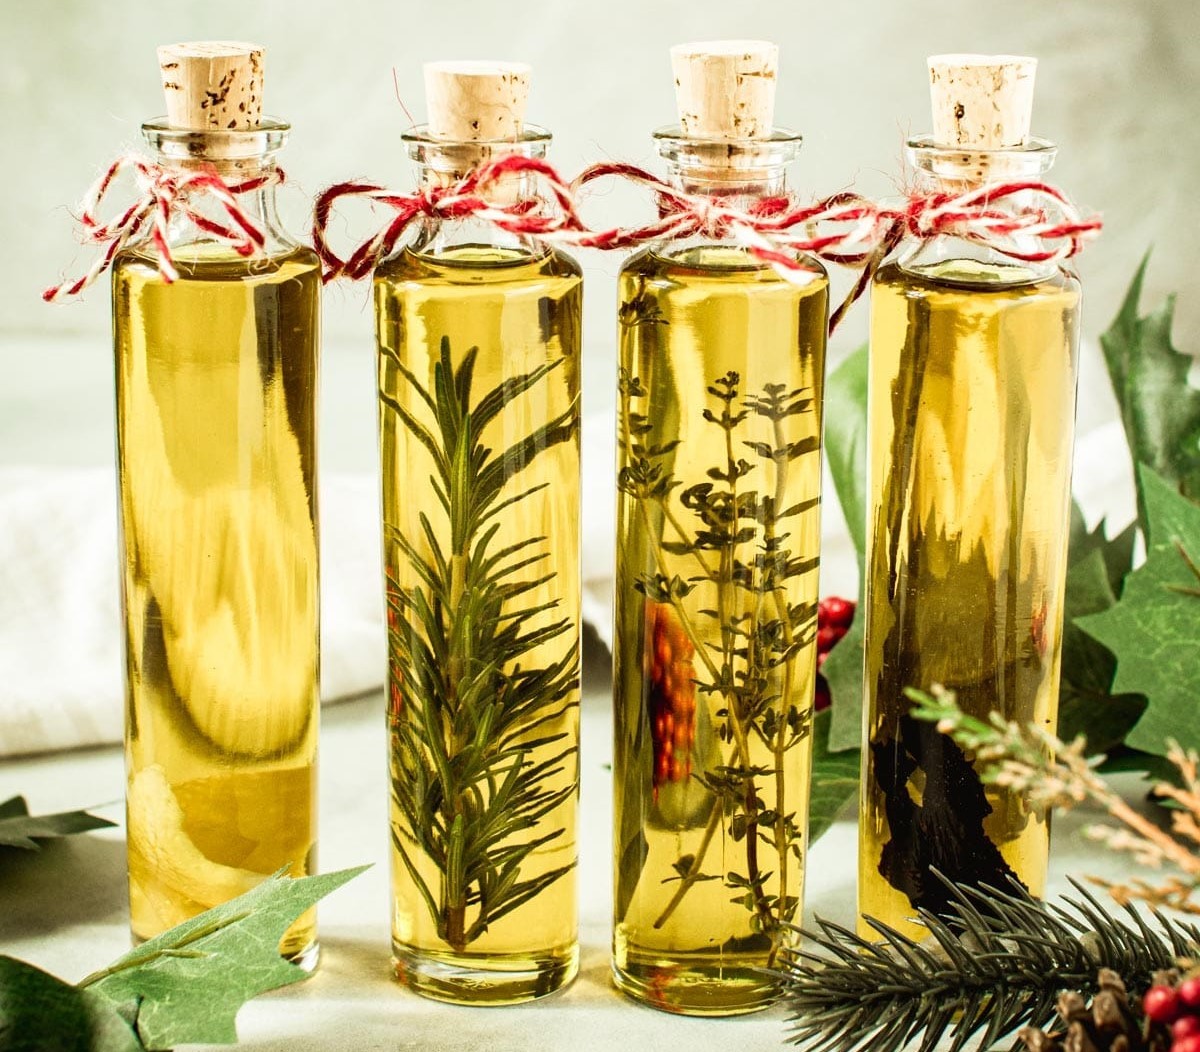
Not only do dried herbs add depth and complexity to culinary dishes, but they also have a multitude of other uses. From creating soothing herbal teas and infusions to crafting homemade bath products and natural remedies, dried herbs are versatile ingredients that can enhance both your cooking and well-being.
In this article, we will guide you through the step-by-step process of harvesting herbs for drying. We will cover everything from selecting the right herbs to understanding the optimal timing for harvest. You will learn how to properly prepare your herbs for drying and discover different methods for drying them effectively. Lastly, we will share essential tips on storing dried herbs to ensure their longevity and potency.
So, if you’re ready to embark on this flavorful journey of preserving herbs, let’s dive in and explore the art of harvesting and drying herbs.
Step 1: Choosing the Right Herbs
When it comes to harvesting herbs for drying, choosing the right herbs is key. Not all herbs are ideal for drying, as some lose their flavor and aroma when dried, while others retain their potency and taste. Here are some considerations to keep in mind when selecting herbs to harvest:
- Perennial herbs: Perennial herbs, such as rosemary, thyme, oregano, and sage, are excellent choices for drying. These herbs tend to have concentrated flavors that are not diminished when dried, making them perfect for culinary use.
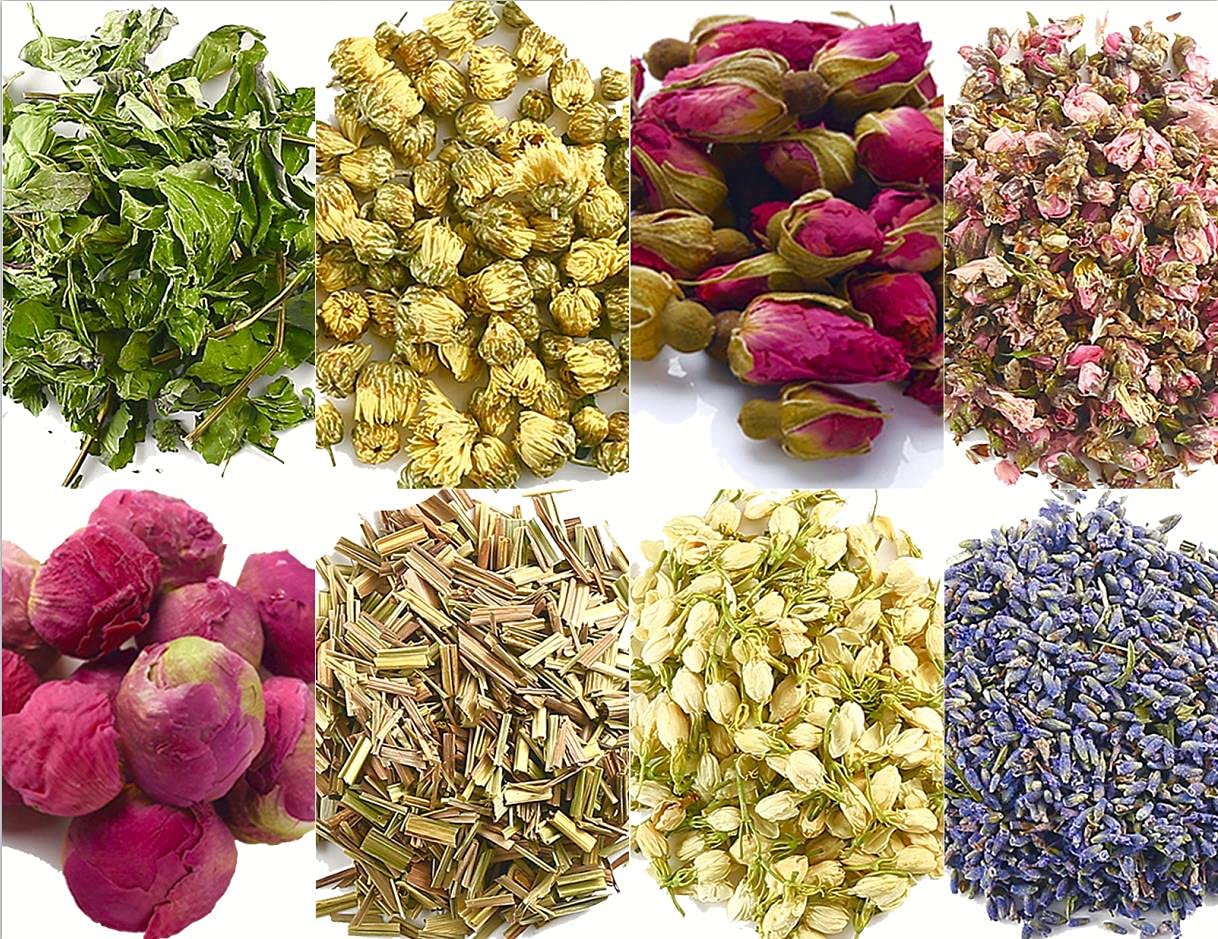
- Fragrant herbs: Herbs that have a strong aromatic profile, like lavender, mint, and lemon balm, can be a delightful addition to your dried herb collection. The intense aroma of these herbs will infuse your dishes and teas with a beautiful fragrance.
- Medicinal herbs: If you are interested in using dried herbs for herbal remedies, consider harvesting herbs with medicinal properties, such as chamomile, calendula, and echinacea. These herbs can be dried and used in teas, tinctures, and salves.
- Culinary herbs: For those focused on cooking, popular culinary herbs like basil, parsley, cilantro, and dill are excellent choices. Just be aware that some culinary herbs, like basil, may lose some of their flavor when dried, so it’s best to use them fresh or freeze them instead.
Additionally, it’s important to choose healthy-looking herbs that are free from disease and pests. Select herbs that have vibrant leaves and stems, without any signs of wilting or discoloration.
Remember, you don’t have to limit yourself to one type of herb. Feel free to mix and match different varieties to create your own unique blend of dried herbs.
By carefully selecting the right herbs, you will ensure that your dried herb collection is bursting with flavor and aroma, ready to elevate your culinary creations and wellness pursuits.
Step 2: Timing of Harvest
The timing of harvest plays a crucial role in the quality and flavor of the herbs you’re drying. Each herb has its own optimal time for harvest, which is typically when the plants have reached their peak in terms of flavor and aroma. Here are a few general guidelines to follow when determining the ideal timing for herb harvest:
Flowering stage: For culinary herbs, it is best to harvest them before they start flowering. Once herbs begin to bloom, their energy is focused on producing flowers rather than developing the flavorful leaves. By harvesting before the flowering stage, you can ensure that your herbs have a more concentrated flavor and aroma.
Morning harvest: It is recommended to harvest herbs in the morning when the dew has dried but before the midday heat. During the morning, the essential oils responsible for the herbs’ fragrance are at their peak, providing you with the most flavorful harvest.
Leaves in good condition: When harvesting herbs, choose leaves that are healthy, vibrant, and free from any signs of disease or pest damage. Avoid harvesting leaves that are wilted, discolored, or damaged, as these may not dry well or retain their flavor.
Knowing your herb: Each herb has its own specific harvest window. For instance, basil is best harvested when the flowers are just beginning to form, while rosemary can be harvested throughout the growing season. It is essential to research and understand the specific harvest times for the herbs you are growing.
It’s important to note that the optimal timing of harvest can vary based on the intended use of the herb. For example, if you are harvesting herbs for culinary purposes, you may prefer the leaves to be at their freshest and most flavorful. On the other hand, if you are harvesting herbs for their medicinal properties, you may wait until the plant has fully matured and developed the highest concentration of active compounds.
By paying attention to the timing of harvest, you can maximize the potency and flavor of your dried herbs, ensuring that they retain their vibrancy and enhance your culinary creations or herbal remedies.
Step 3: Preparing the Herbs
Properly preparing your herbs before drying is essential to ensure the best possible results. Follow these steps to prepare your herbs for the drying process:
- Inspect and clean: Carefully inspect your harvested herbs to remove any debris, damaged leaves, or insects. Gently wash the herbs under cool running water to remove any dirt or dust. Pat them dry with a clean towel or paper towels, ensuring that they are completely dry before proceeding.
- Remove tough stems: If your herbs have thick stems that will not dry well or are unlikely to be used in culinary or medicinal preparations, it’s recommended to remove them. Focus on preserving the leaves, as they contain the highest concentration of essential oils and flavor.
- Trim and discard: Any yellowed or discolored leaves should be trimmed and discarded. These leaves may contain less flavor or have begun to decay, which could affect the quality of your dried herbs.
- Leave small leaves intact: If you have small leaves, such as those on thyme or oregano plants, it’s generally best to leave them intact on the stem. These tiny leaves can be time-consuming to remove and, when dried, will easily crumble off the stem.
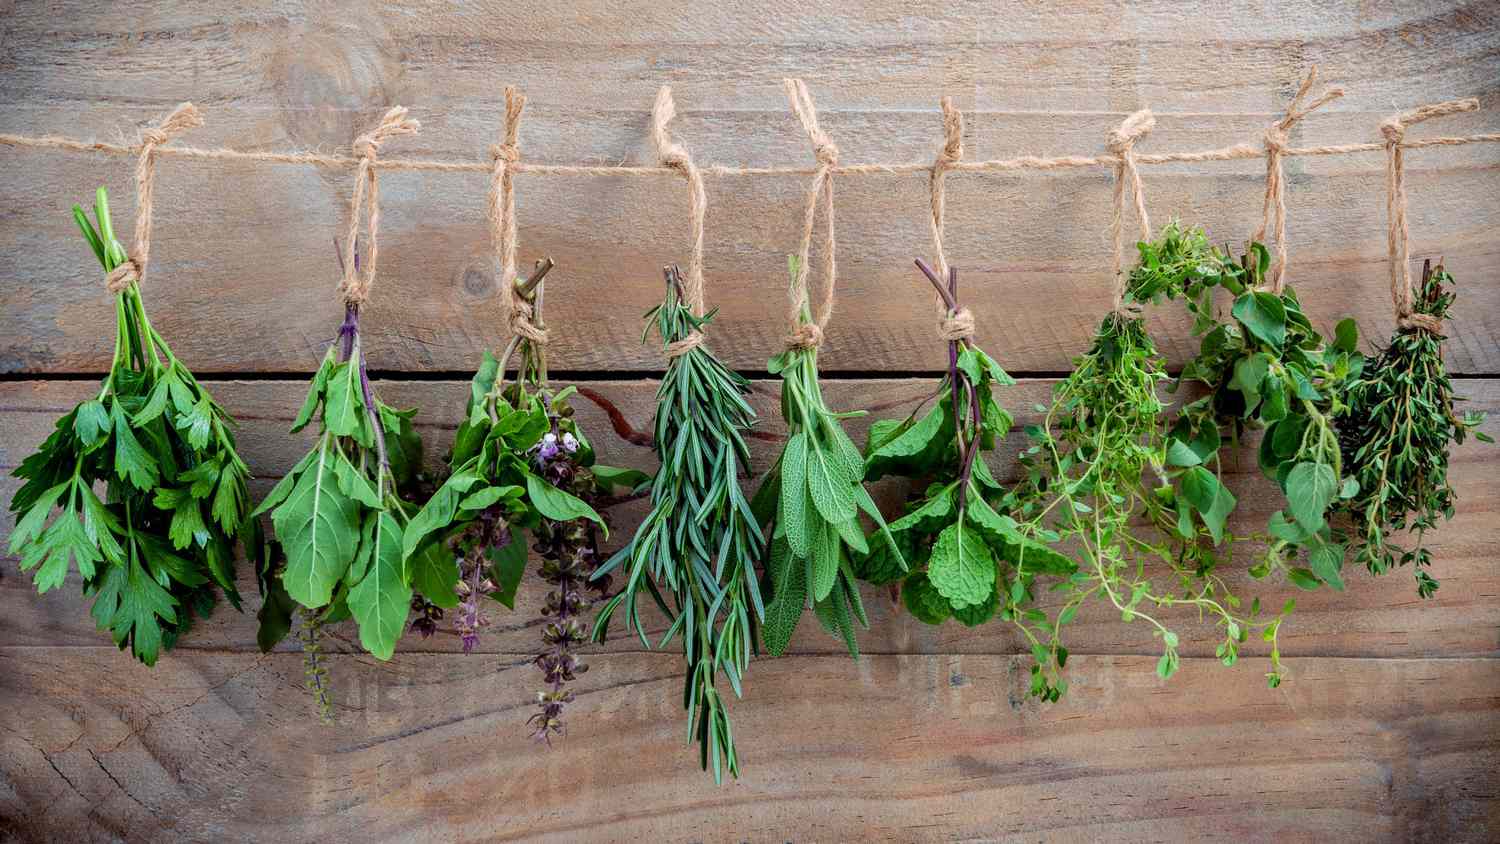
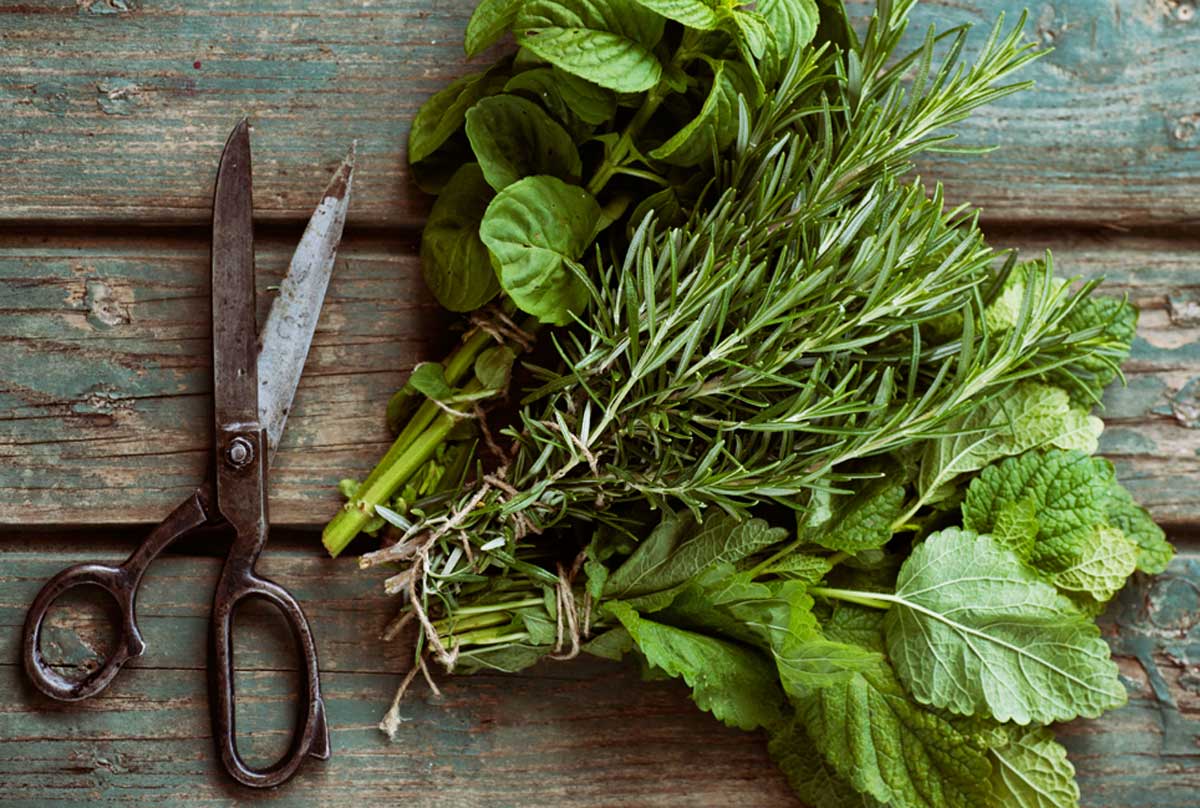
- Bundle or separate: Depending on the drying method you choose, you may need to bundle your herbs together or separate them into individual sprigs. Bundle herbs with long stems, such as rosemary or sage, by tying them together with twine. For delicate herbs like basil or mint, separate the leaves from the stem and arrange them in a single layer.
By taking the time to properly prepare your herbs, you ensure a more efficient and effective drying process. This preparation will also contribute to the overall quality and flavor of your dried herbs, allowing you to enjoy their aromatic presence in your culinary creations or herbal remedies.
Step 4: Harvesting the Herbs
Harvesting your herbs properly is crucial to preserve their flavor and potency. Follow these steps to ensure a successful herb harvest:
- Use sharp, clean tools: Before harvesting, ensure that you have sharp and clean pruning shears or scissors. Dull or dirty tools can damage the plants and introduce contaminants, affecting the quality of the herbs.
- Choose the right time: Harvest your herbs at the optimal time, as discussed in the previous step. This is when the herbs have reached their peak flavor and aroma, ensuring the best results when dried.
- Trim, don’t cut: When harvesting, avoid cutting the herbs too close to the base. Instead, use the pruning shears or scissors to trim the top portions of the plant, leaving enough foliage for further growth and regrowth.
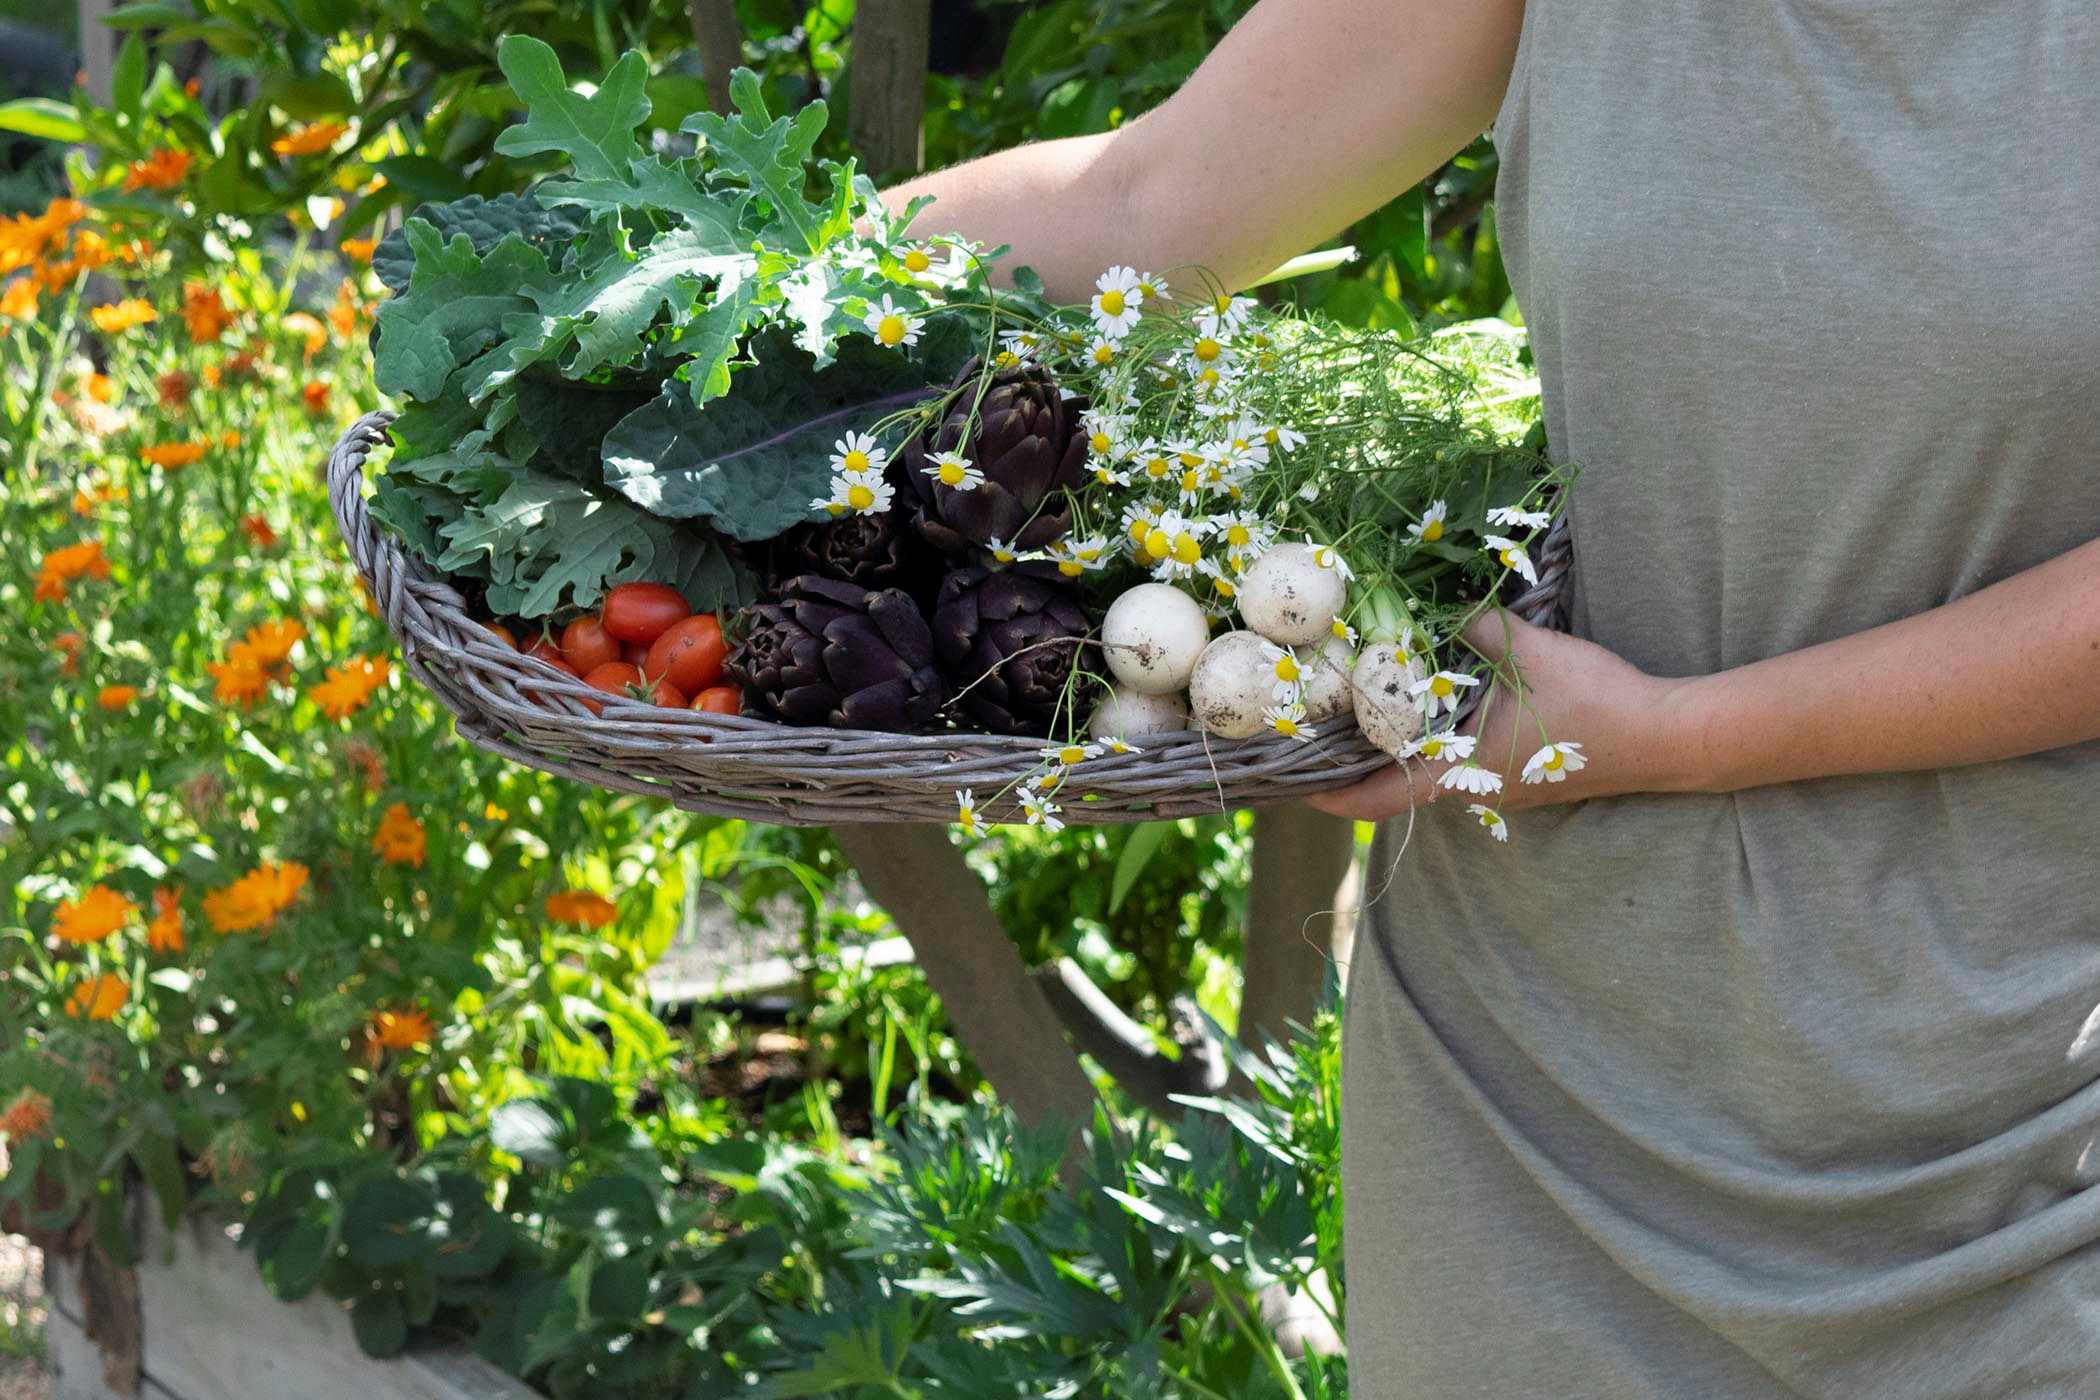
- Harvest selectively: Harvest only what you need, rather than stripping the entire plant at once. This allows the remaining herbs to continue growing and ensures a steady supply throughout the growing season.
- Remove damaged or dead leaves: As you harvest, examine the plants for any damaged or dead leaves and remove them. This will help maintain the overall health and appearance of your herb garden.
- Handle the herbs gently: Treat the herbs with care to avoid bruising or crushing. Rough handling can cause the essential oils to leak out, reducing the flavor and aroma of the herbs.
Remember to be mindful of the specific harvesting requirements of each herb. While some herbs, like basil, benefit from pinching off the tops to encourage bushy growth, others, such as rosemary, should be trimmed selectively to maintain their form.
By following these guidelines, you can harvest your herbs effectively, ensuring that they retain their essential oils and flavors. This will ultimately contribute to the success of the drying process and the overall quality of your dried herbs.
Step 5: Drying the Herbs
Drying is the key step in preserving the flavor, aroma, and medicinal properties of your freshly harvested herbs. Here are a few different methods for drying herbs:
- Air drying: This is the most traditional method of drying herbs. Bundle small bunches of herbs together with twine and hang them upside down in a well-ventilated area away from direct sunlight. Ensure that the herbs are evenly spaced to promote airflow and prevent moisture buildup.
- Dehydrator: Using a dehydrator offers a more controlled and efficient drying process. Place the herb branches or individual leaves on the dehydrator trays, ensuring they are not overcrowded. Set the dehydrator to a low temperature (around 95°F or 35°C) and allow the herbs to dry for several hours to a few days, depending on the thickness and moisture content.
- Oven drying: If you don’t have a dehydrator, you can use your oven to dry herbs. Spread the herb leaves or small branches on a baking sheet lined with parchment paper, ensuring they are in a single layer. Place the baking sheet in the oven at the lowest temperature setting (usually around 180°F or 82°C) and leave the oven door slightly ajar to allow moisture to escape. Check the herbs regularly and remove them once they are dry and crumbly.
- Microwave drying: Microwave drying provides a quick and convenient method for drying small quantities of herbs. Place a layer of herb leaves or small branches between two paper towels and microwave on high for 2-3 minutes, checking the herbs every 30 seconds to prevent them from burning. The microwave drying method works best for herbs with low moisture content, such as rosemary or thyme.
Regardless of the drying method you choose, it’s important to monitor the herbs regularly to prevent over-drying, as this can result in loss of flavor and potency. Once the herbs are dry and crumble easily, remove them from the drying medium and discard any remaining stems or debris.
Note that some herbs, like mint and lemon balm, may turn brown during the drying process. While the color may change, the flavor and medicinal properties should still be intact.
By selecting the appropriate drying method and taking care during the process, you can successfully dry your herbs, preserving their essence for use in your culinary endeavors, herbal teas, and other applications.
Step 6: Storing Dried Herbs
Proper storage is crucial to maintain the flavor, aroma, and potency of your dried herbs. Follow these tips to ensure your dried herbs stay fresh and vibrant:
- Remove moisture: Before storing your dried herbs, ensure they are completely moisture-free. Any lingering moisture can lead to mold or spoilage. If necessary, allow the herbs to dry for a few extra days before packing them.
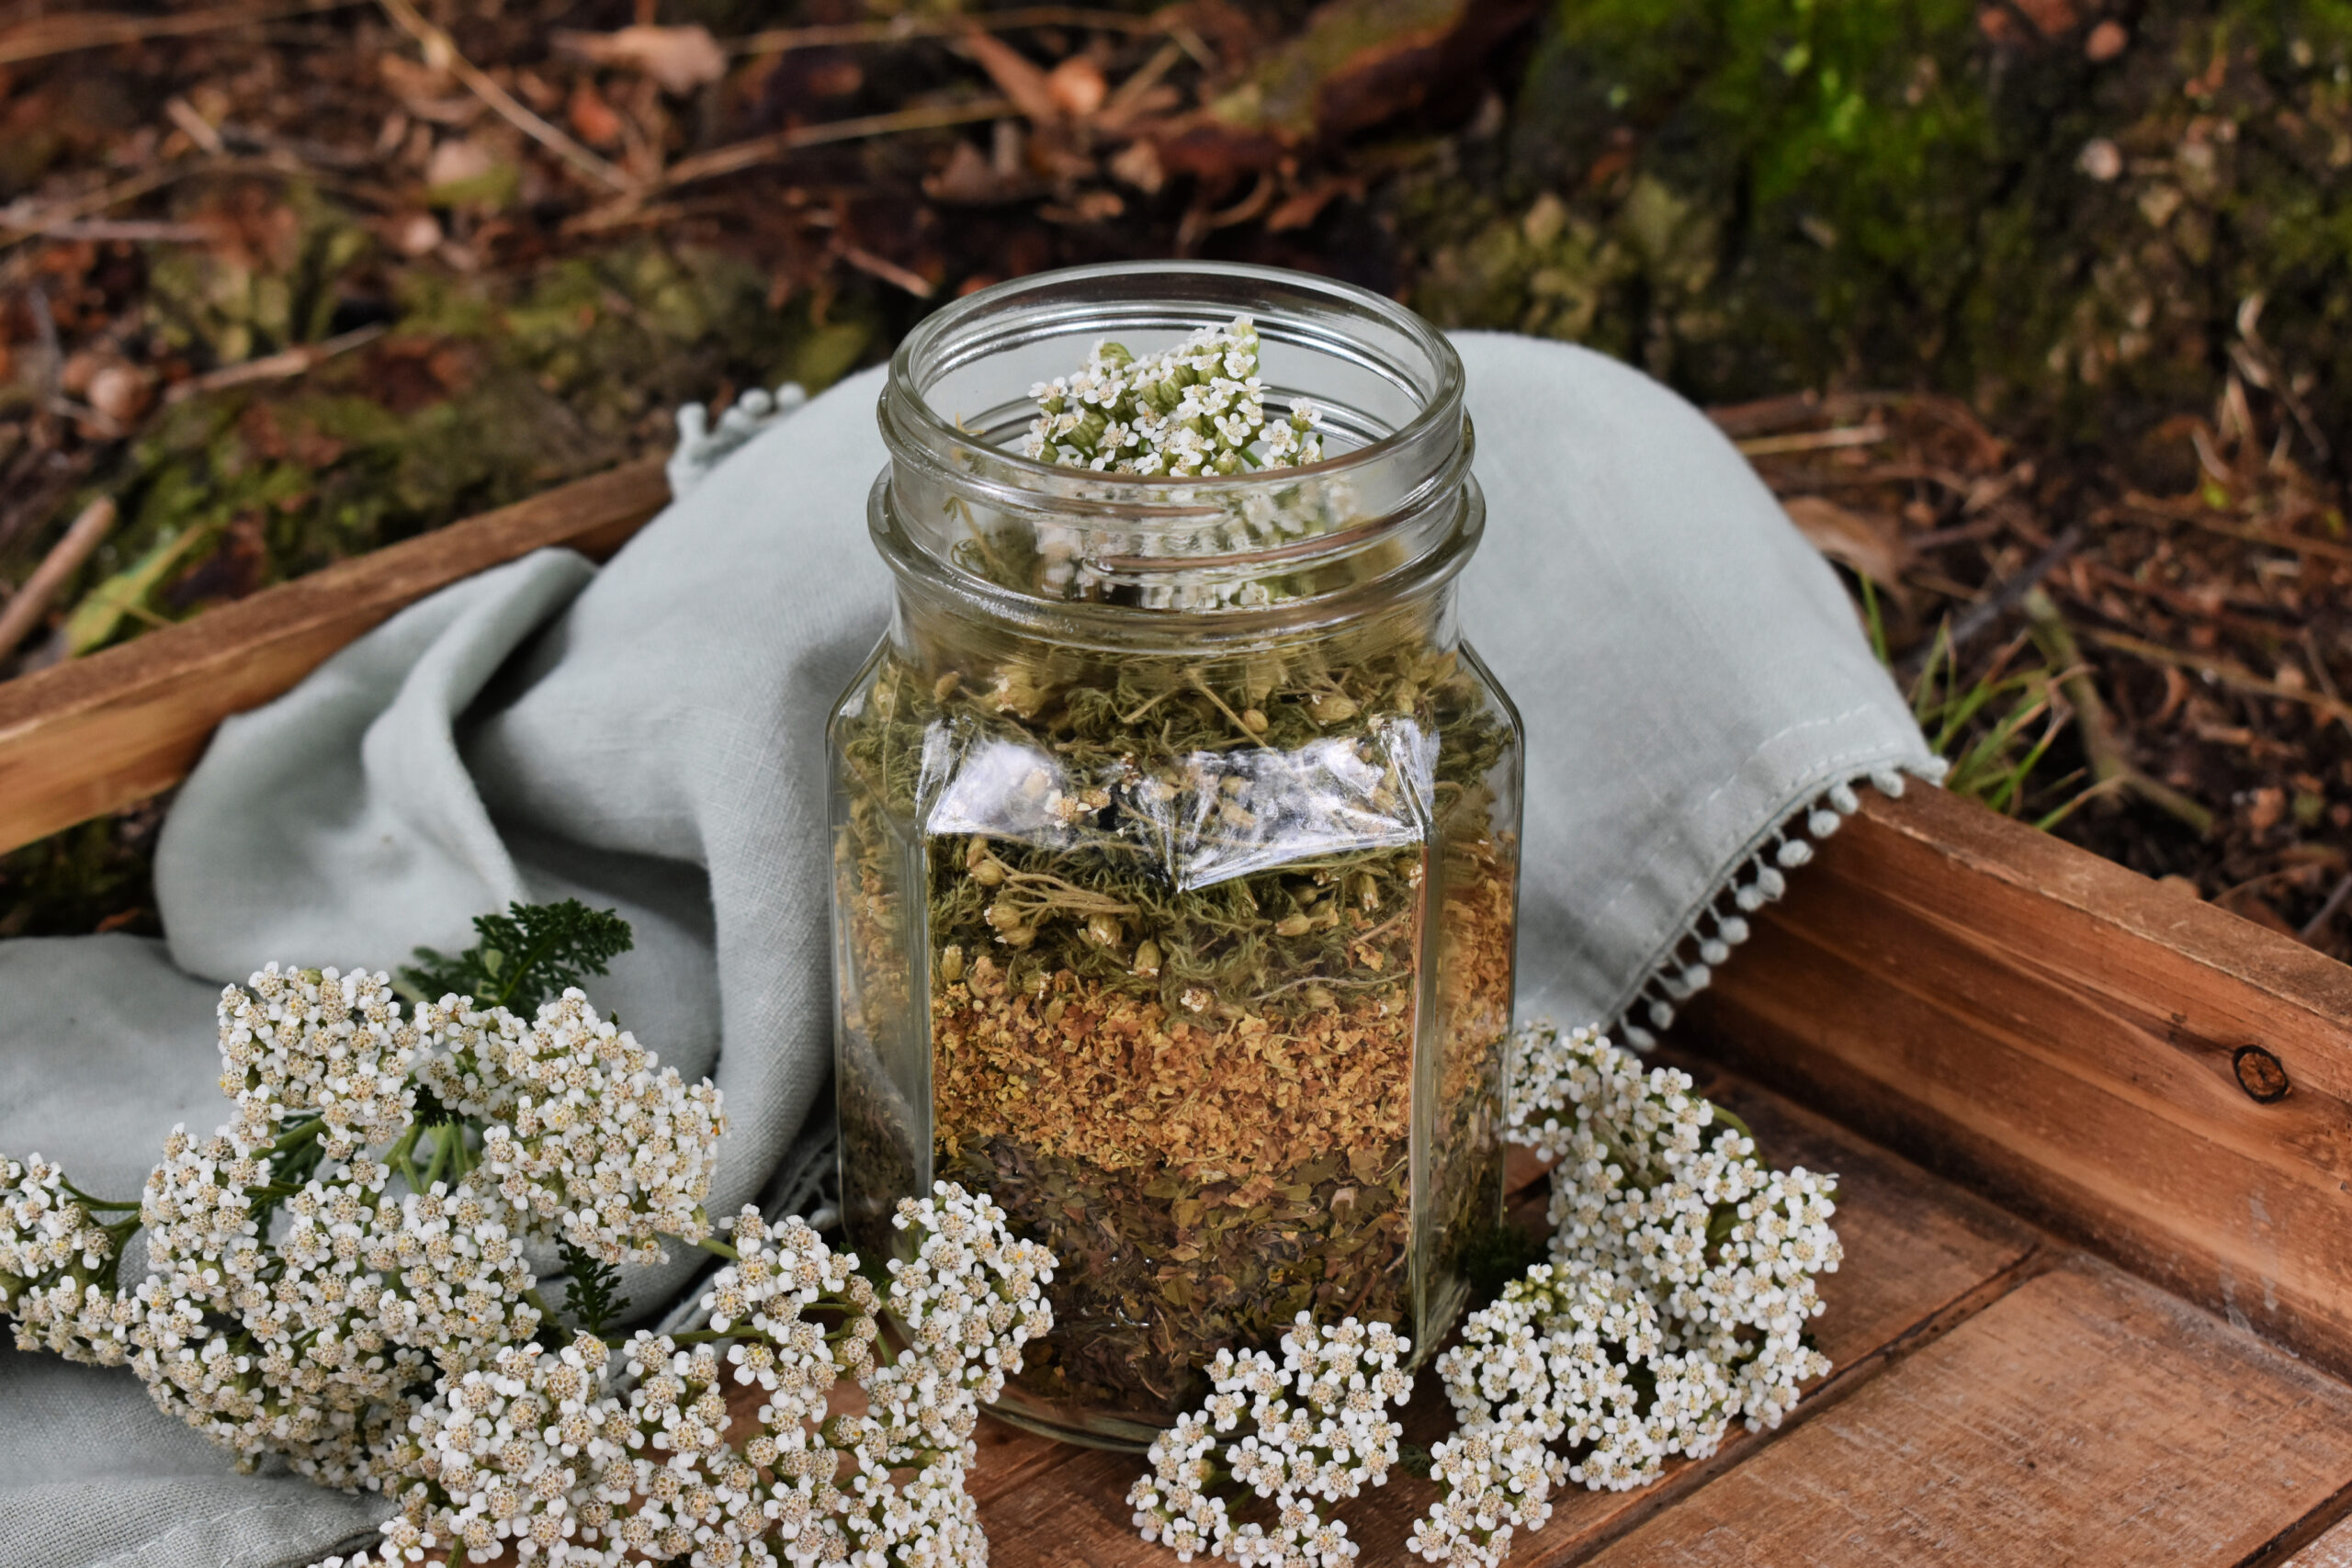
- Choose the right containers: Use airtight containers, such as glass jars with tight-fitting lids or resealable plastic bags. Clear containers are ideal, as they allow you to see the herbs inside without opening them frequently and exposing them to air and light.
- Label and date: Properly label your containers with the name of the herb and the date of harvest. This will help you track the freshness and potency of your dried herbs over time.
- Store in a cool, dry, and dark place: Herbs are best stored in a cool, dry, and dark location, such as a pantry or cupboard. Avoid storing them near sources of heat or in areas with high humidity, as these conditions can degrade the quality of the herbs.
- Avoid exposure to light: Light can cause herbs to lose their color, flavor, and medicinal properties. Keep your dried herbs in opaque containers or store them in a dark area to protect them from light exposure.
- Avoid grinding too early: It’s best to grind your dried herbs just before using them. This helps retain their flavor and aroma. However, if you prefer to have pre-ground herbs on hand, store them in airtight containers away from heat and light.
- Regularly check for freshness: Over time, dried herbs will slowly lose their potency and flavor. Periodically check your stored herbs for any signs of degradation, such as loss of aroma, dull color, or diminished flavor. If you notice any decline in quality, it may be time to replace them with fresh herbs.
By following these storage guidelines, you can prolong the shelf life of your dried herbs and ensure that they remain fresh and potent for an extended period. With properly stored herbs at your disposal, you can continue to enjoy their flavors and benefits in your cooking, teas, and other preparations.
Conclusion
Harvesting and drying herbs is a rewarding and beneficial practice that allows you to enjoy the flavors, aromas, and medicinal properties of your favorite herbs throughout the year. By following the step-by-step process outlined in this article, you can ensure the highest quality dried herbs to enhance your cooking, teas, and natural remedies.
Choosing the right herbs for drying is essential. Select perennial herbs, fragrant herbs, and medicinal herbs to maximize the flavor and benefits of your dried herb collection. Pay attention to the timing of harvest, aiming for the optimal stage when the herbs are at their peak in terms of taste and aroma.
Properly preparing the herbs before drying ensures a seamless process. Inspect and clean the herbs, remove tough stems, and trim any damaged or yellowed leaves. Handle the herbs gently to avoid bruising or damaging their essential oils.
When it comes to drying, you have various methods to choose from, including air drying, using a dehydrator, oven drying, or even microwaving. Each method has its merits, so pick the one that suits your needs and equipment availability.
Once your herbs are dried, it’s crucial to store them properly to maintain their freshness and potency. Choose airtight containers, store them in a cool, dark, and dry place, and avoid exposure to light and moisture.
Regularly check your stored herbs for any signs of degradation and replace them as needed to ensure the best flavor and aroma. Remember, freshly ground herbs provide the most intense flavor, so consider grinding them just before use.
Now that you have mastered the art of harvesting and drying herbs, you can enjoy the pleasure and benefits of using your own homemade dried herbs. Whether you’re adding them to your culinary creations, brewing herbal teas, or creating natural remedies, your dried herbs will bring an extra dimension of flavor and wellness to your life.
So go ahead, start harvesting and drying your herbs to savor their essence and create sensational dishes and herbal concoctions year-round. Happy herb harvesting!