Home>Gardening News and Trends>Latest News>How To Dehydrate Herbs In Oven
Latest News
How To Dehydrate Herbs In Oven
Modified: January 22, 2024
Discover the latest news on how to dehydrate herbs in the oven. Learn the step-by-step process and preserve the flavor of your favorite herbs at home.
(Many of the links in this article redirect to a specific reviewed product. Your purchase of these products through affiliate links helps to generate commission for Chicagolandgardening.com, at no extra cost. Learn more)
Table of Contents
Introduction
Herbs are not just a flavorful addition to your culinary creations; they also offer numerous health benefits. While fresh herbs are ideal, they can sometimes spoil before you have a chance to use them all. That’s where dehydrating herbs comes in handy. Dehydration is a preservation method that removes the moisture from the herbs, allowing them to stay flavorful and usable for an extended period of time.
Dehydrating herbs in the oven is a simple and convenient way to preserve their flavors and aromas. This method ensures that the herbs retain their color, taste, and nutritional value. Plus, it allows for easy storage and accessibility when you need to add a burst of flavor to your dishes.
In this article, we will guide you through the process of dehydrating herbs in the oven. We will discuss the benefits of dehydrating herbs, the herbs suitable for dehydration, and the step-by-step procedure to successfully dehydrate herbs in your oven. Additionally, we will share some tips and tricks to help you achieve the best results.
By the end of this article, you will have all the knowledge you need to master the art of dehydrating herbs in your oven. So let’s get started and unlock the secrets to preserving the flavors of your favorite herbs!
Why Dehydrate Herbs?
Dehydrating herbs offers several advantages that make it a popular choice among home cooks and herb enthusiasts. Here are some compelling reasons to consider dehydrating your herbs:
- Preserving Flavor: Dehydrating herbs helps to concentrate their flavors, intensifying their aromatic properties. The removal of moisture helps to retain the essential oils and volatile compounds that give herbs their distinct taste.
- Extended Shelf Life: Fresh herbs have a limited lifespan before they start to wilt and spoil. By dehydrating them, you can significantly extend their shelf life, allowing you to enjoy their flavors throughout the year, even when they are out of season.
- Convenience and Accessibility: Dehydrated herbs are lightweight and compact, making them easy to store and transport. They take up minimal space and can be conveniently kept in jars, zip-top bags, or other airtight containers. This makes it easy to access and use them whenever you need to enhance your dishes.
- Cost Savings: Buying fresh herbs can be expensive, especially if you don’t have a garden or access to a local herb market. Dehydrating herbs allows you to take advantage of seasonal sales or bulk herb purchases, saving you money in the long run.
- Versatility in Cooking: Dehydrated herbs can be used in a variety of culinary applications. They can be crushed, ground, or added whole to soups, stews, sauces, marinades, and even baked goods. Their concentrated flavors make them a great substitute when fresh herbs are not readily available.
- Reduced Food Waste: Dehydrating herbs allows you to make use of excess or surplus herbs that might otherwise go to waste. Instead of letting them spoil, you can dehydrate them and extend their usability.
Overall, dehydrating herbs is a practical and economical way to preserve their flavors, extend their shelf life, and enhance your culinary creations. Whether you’re an avid home cook or a passionate gardener, harnessing the power of dehydration will elevate your dishes to new heights.
Choosing the Right Herbs for Dehydration
Not all herbs are suitable for dehydration, as some herbs may lose their flavors and aromas during the drying process. It’s essential to choose the right herbs to ensure successful dehydration and optimal flavor retention. Here are some herbs that are ideal for dehydration:
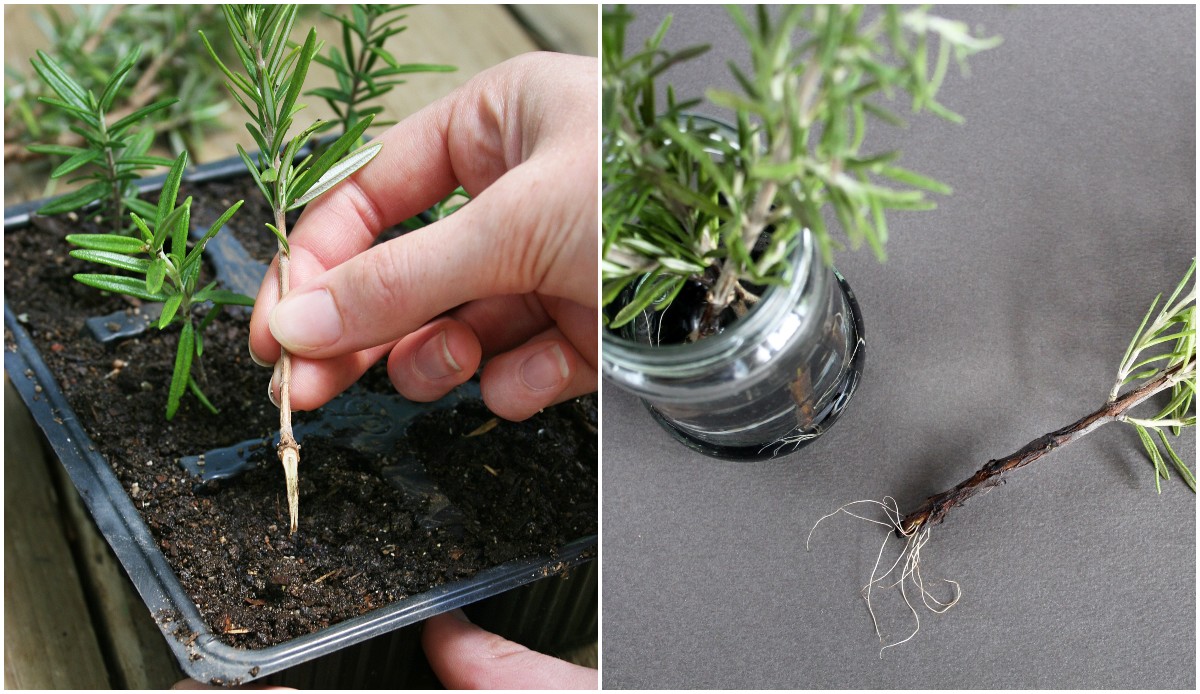
- Rosemary: With its robust flavor and woody aroma, rosemary is a popular herb for dehydrating. This herb adds a delightful earthy taste to roasted meats, potatoes, and bread.
- Thyme: Thyme is a versatile herb that complements a wide range of dishes, from soups and stews to roasted vegetables and grilled meats. When dehydrated, thyme retains its distinct lemony and minty flavors.
- Mint: Mint leaves are known for their refreshing and cooling properties, making them perfect for dehydrating. Dehydrated mint can be used in teas, desserts, and savory dishes, adding a fresh and vibrant touch.
- Basil: Basil is a staple herb in many cuisines and is often associated with Italian dishes. Dehydrated basil leaves can be used in pasta sauces, pesto, soups, and salads, providing a burst of aromatic flavors.
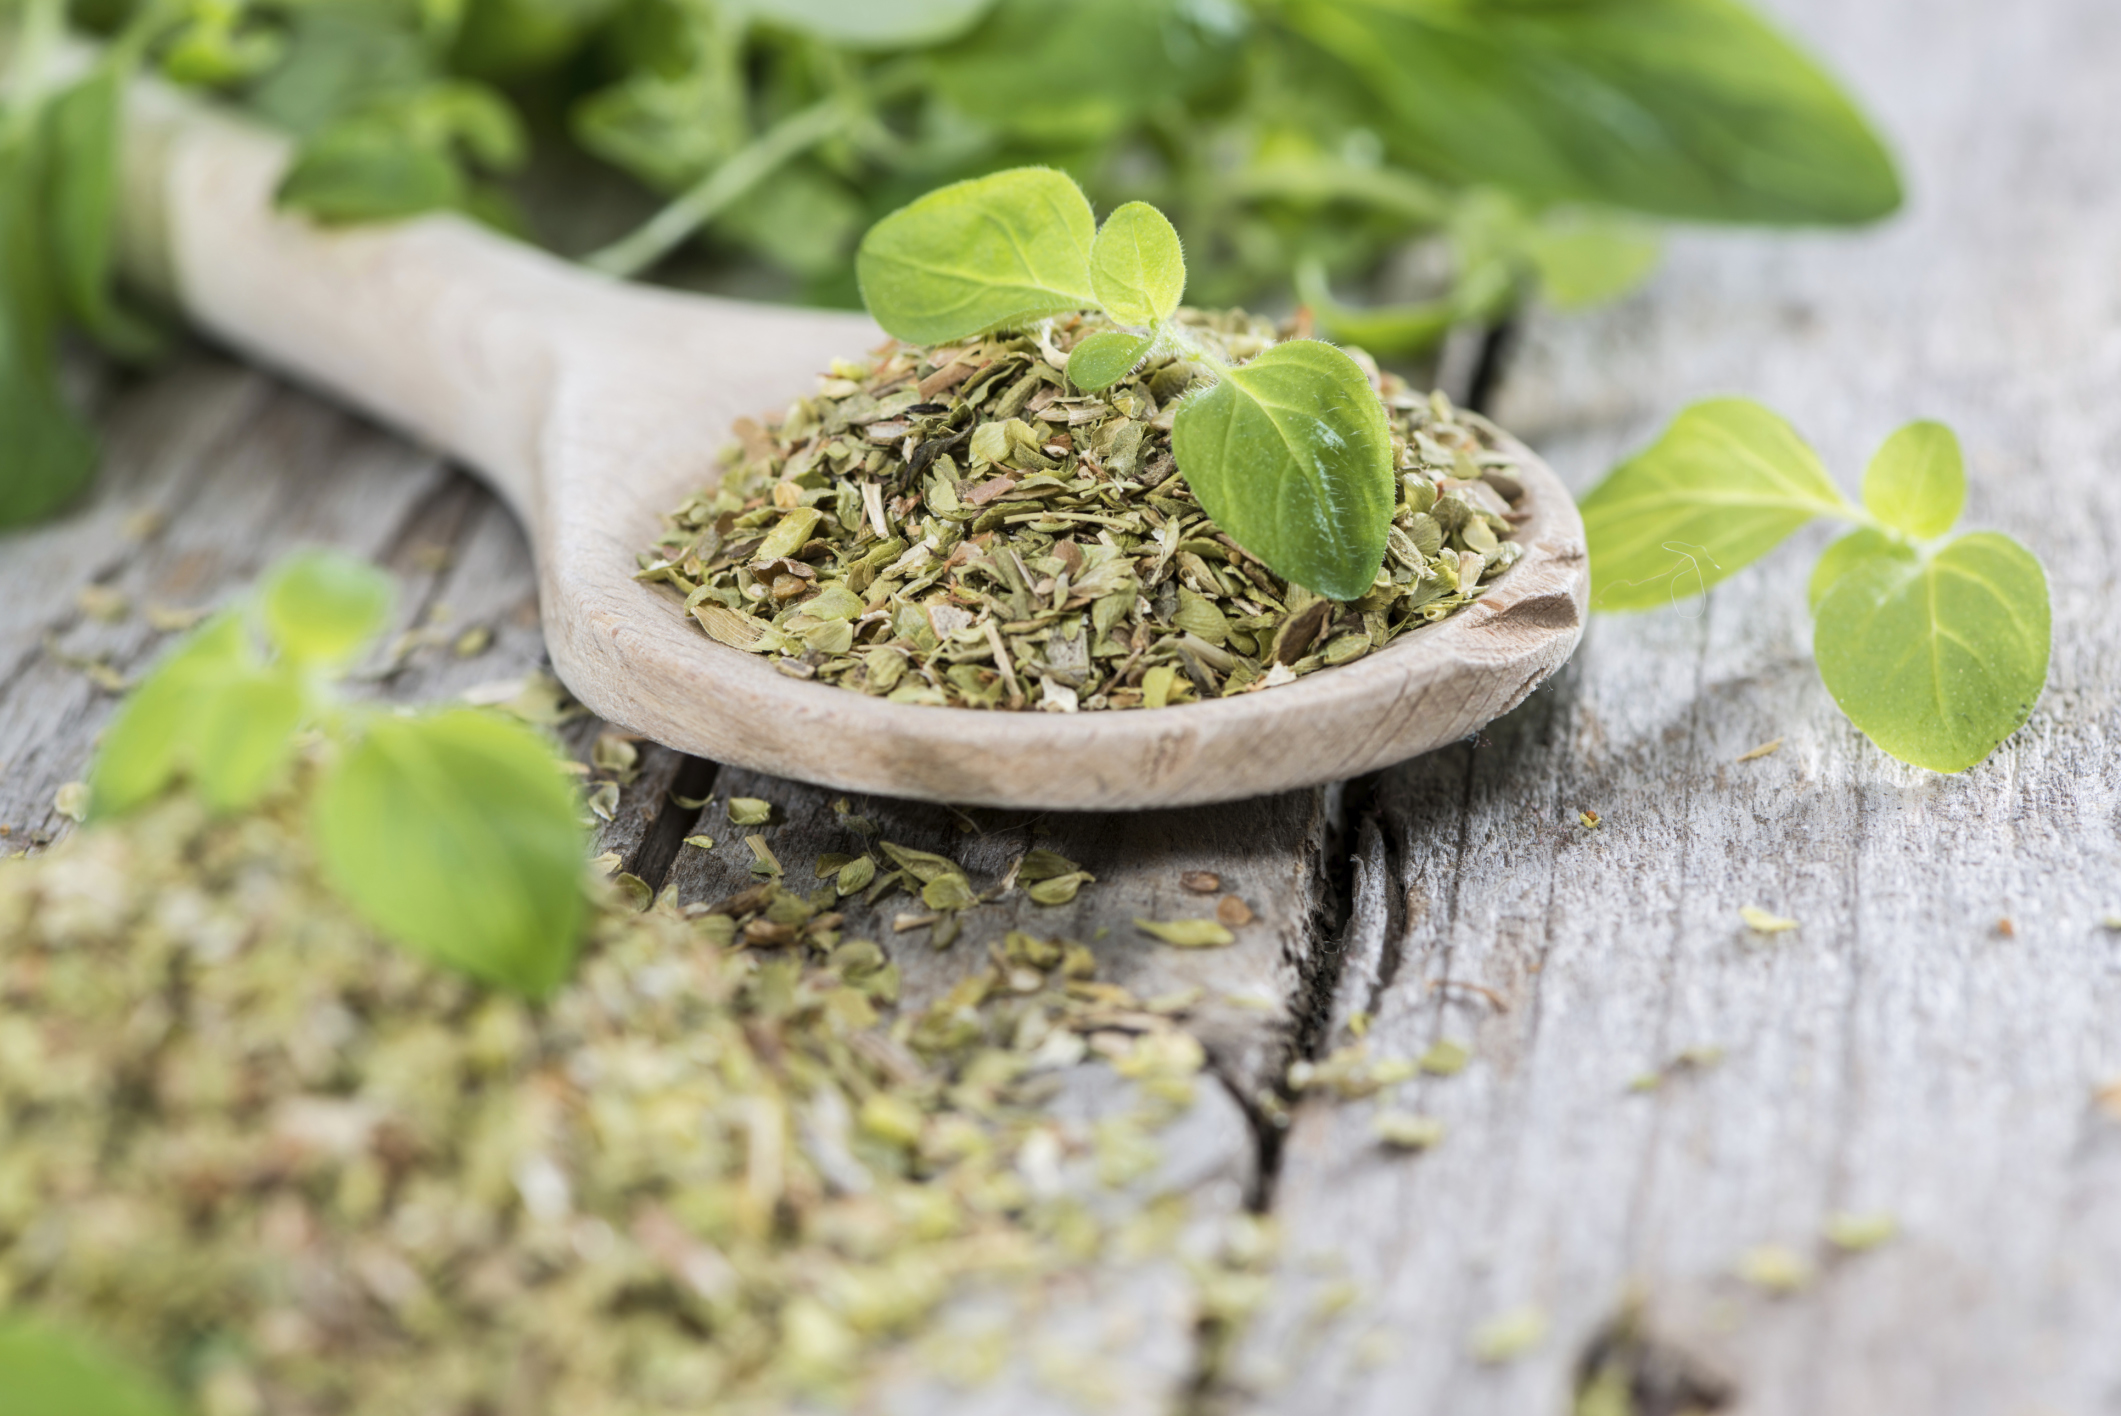
- Oregano: Oregano is a robust herb that pairs well with Mediterranean and Mexican flavors. Dehydrated oregano can infuse your dishes with its distinctive earthy and slightly bitter taste.
- Parsley: Parsley is a versatile herb that is widely used for garnishing and adding a fresh taste to dishes. Dehydrated parsley retains its vibrant green color and can be added to soups, salads, and marinades.
- Sage: Known for its earthy and slightly warm flavor, sage is a herb often used in stuffing, sausage, and poultry dishes. Dehydrated sage leaves can be crumbled and added to savory recipes to impart a rich and herbal flavor.
These are just a few examples of herbs that are well-suited for dehydration. It’s essential to choose high-quality, fresh herbs to ensure the best results. Harvest your herbs when they are at their peak, avoiding any wilted or damaged leaves. By selecting the right herbs, you’ll be able to enjoy their flavors year-round and elevate your culinary creations.
Preparing the Herbs for Dehydration
Before you begin the dehydration process, it’s important to properly prepare your herbs. Follow these steps to ensure optimal results:
- Harvesting: Harvest your herbs when they are at their freshest and most flavorful. Early in the morning is the best time to harvest herbs, as they will have the highest concentration of essential oils.
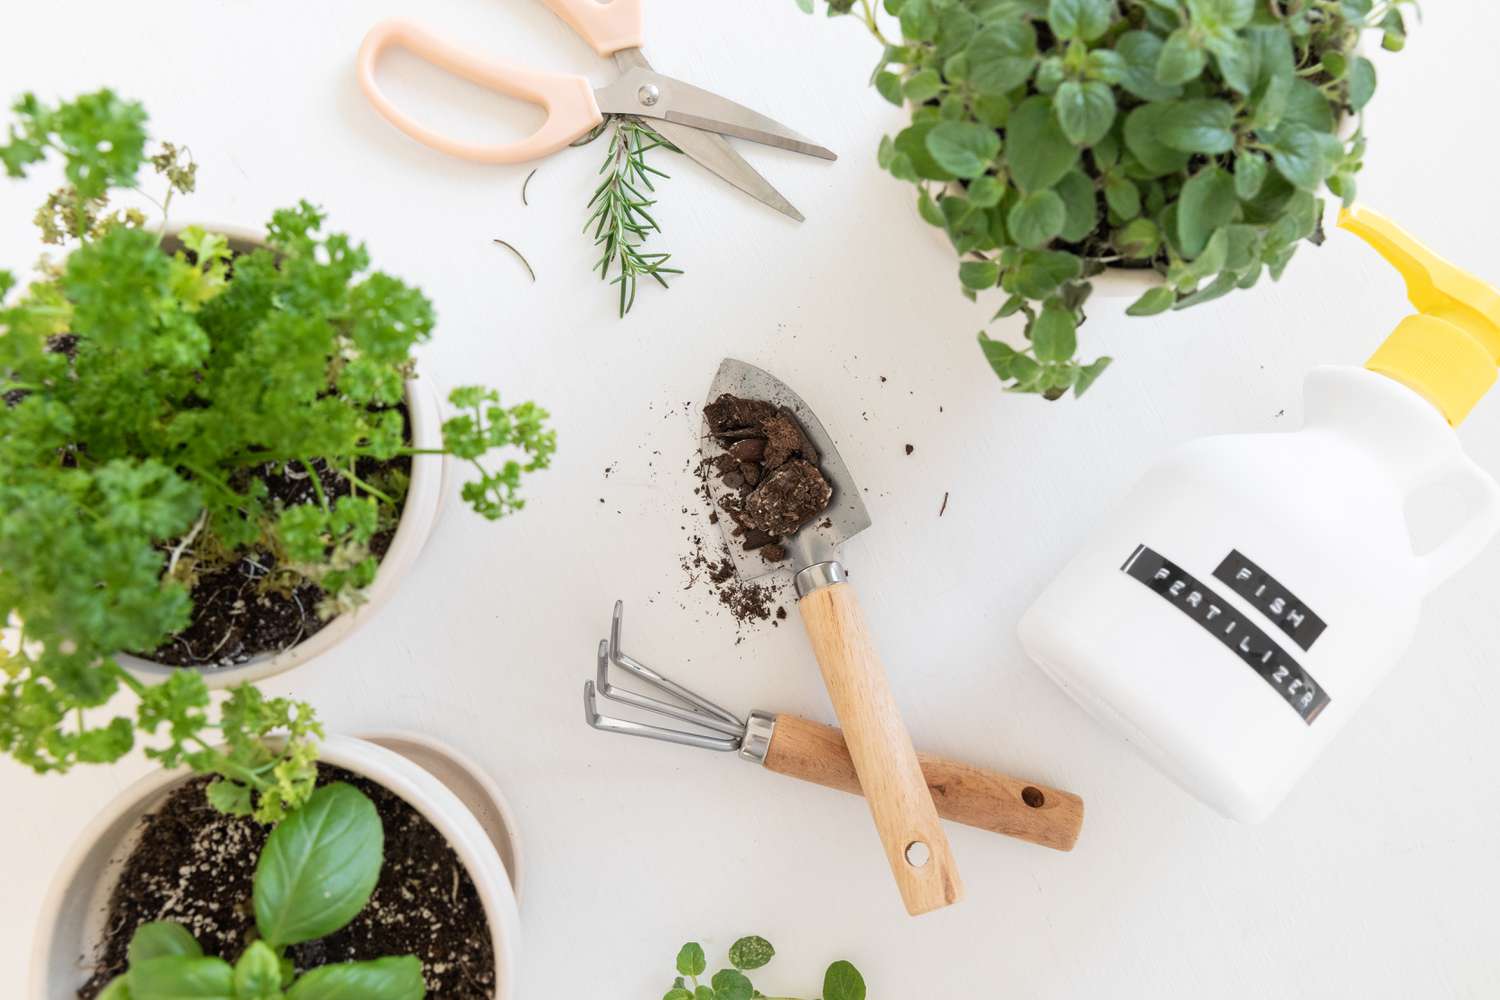
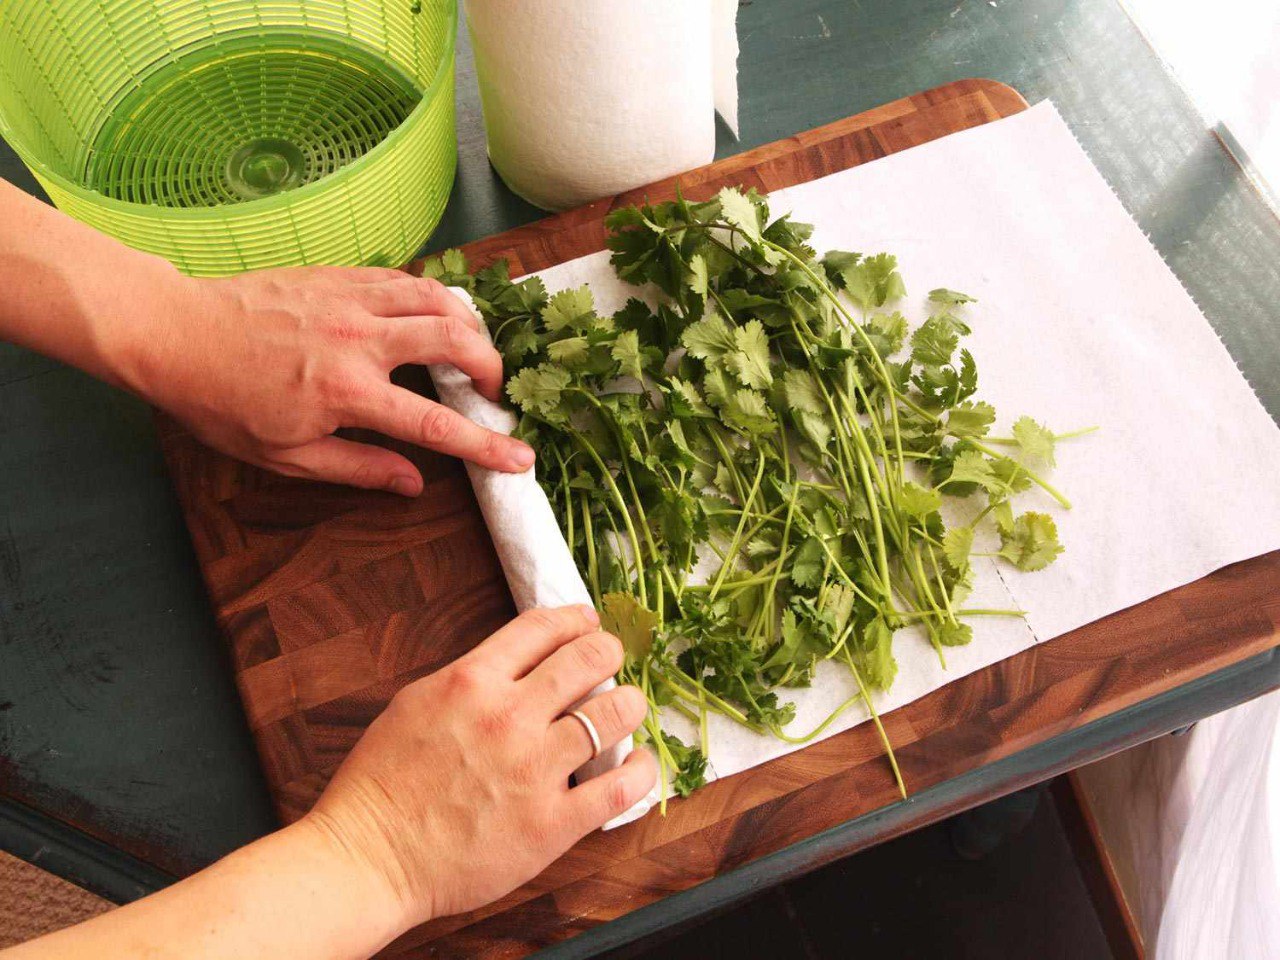
- Cleaning: Thoroughly clean the herbs to remove any dirt, debris, or pests. Gently rinse the herbs under cool running water and pat them dry with a clean towel or paper towels. Be careful not to bruise or damage the leaves.
- Trimming: Remove any tough stems or damaged leaves from the herbs. Separate the leaves from the stems, as the leaves are the most flavorful part of the herbs.
- Optional Blanching: Some herbs, such as basil and parsley, benefit from a brief blanching before dehydration. Blanching involves quickly immersing the herbs in boiling water for a few seconds, then transferring them to an ice bath to halt the cooking process. Blanching can help preserve the color and flavor of the herbs.
- Pre-Drying: If your herbs have excess moisture, you may choose to pre-dry them before placing them in the oven. This can be done by spreading the herbs in a single layer on a clean, dry towel or paper towel. Allow the herbs to air dry for a few hours until they feel slightly wilted and the surface moisture has evaporated.
- Chopping or Leaving Whole: Consider how you plan to use the dehydrated herbs. Depending on your preference and cooking needs, you may choose to keep the herbs as whole leaves or chop them into smaller pieces. Whole leaves are convenient for teas and infusions, while chopped herbs are easier to sprinkle and incorporate into dishes.
Once your herbs are properly prepared, you are ready to proceed with the dehydration process. It’s important to handle the herbs with care to avoid bruising or damaging them. With the right preparation, your herbs will retain their flavor, color, and aroma, ensuring a delightful addition to your culinary creations.
Setting Up the Oven for Dehydration
Dehydrating herbs in the oven is a simple and effective method that requires minimal equipment. Follow these steps to set up your oven for herb dehydration:
- Preheat the Oven: Start by preheating your oven to a low temperature, typically between 95°F (35°C) and 150°F (65°C). It’s crucial to use a low heat setting to ensure gentle and even dehydration without scorching or cooking the herbs.
- Choose the Right Baking Sheet: Select a baking sheet or tray that is suitable for oven use. Avoid using dark-colored pans, as they can retain more heat and potentially overheat the herbs. Light-colored or non-stick baking sheets are preferable.
- Line the Baking Sheet: Line the baking sheet with parchment paper or a silicone baking mat. This will prevent the herbs from sticking to the pan and make it easier to transfer them after dehydration.
- Arrange the Herbs: Place the prepared herbs in a single layer on the lined baking sheet. Ensure that there is enough space between the herbs for air circulation, as this will aid in the dehydration process.
- Leave the Oven Door Slightly Ajar: To allow moisture to escape during dehydration, it is recommended to leave the oven door slightly ajar. You can accomplish this by using a wooden spoon or oven-safe prop to prop the door open slightly.
- Monitor the Temperature: Throughout the dehydration process, it’s crucial to monitor the oven temperature. Use an oven thermometer to ensure that the temperature remains within the desired range. Adjust the heat as needed to maintain a consistent low temperature.
Once you have set up your oven for dehydration, you are ready to move on to the next step: dehydrating the herbs. Following these steps will ensure that the herbs dry evenly and retain their vibrant colors and flavors. It’s time to transform your fresh herbs into a delightful and long-lasting culinary ingredient!
Dehydrating Herbs in the Oven: Step-by-Step Guide
Dehydrating herbs in the oven is a straightforward process that requires minimal effort. Follow this step-by-step guide to successfully dehydrate your herbs:
- Preheat the Oven: Preheat your oven to a low temperature, typically between 95°F (35°C) and 150°F (65°C). This low heat setting will ensure gentle dehydration without cooking the herbs.
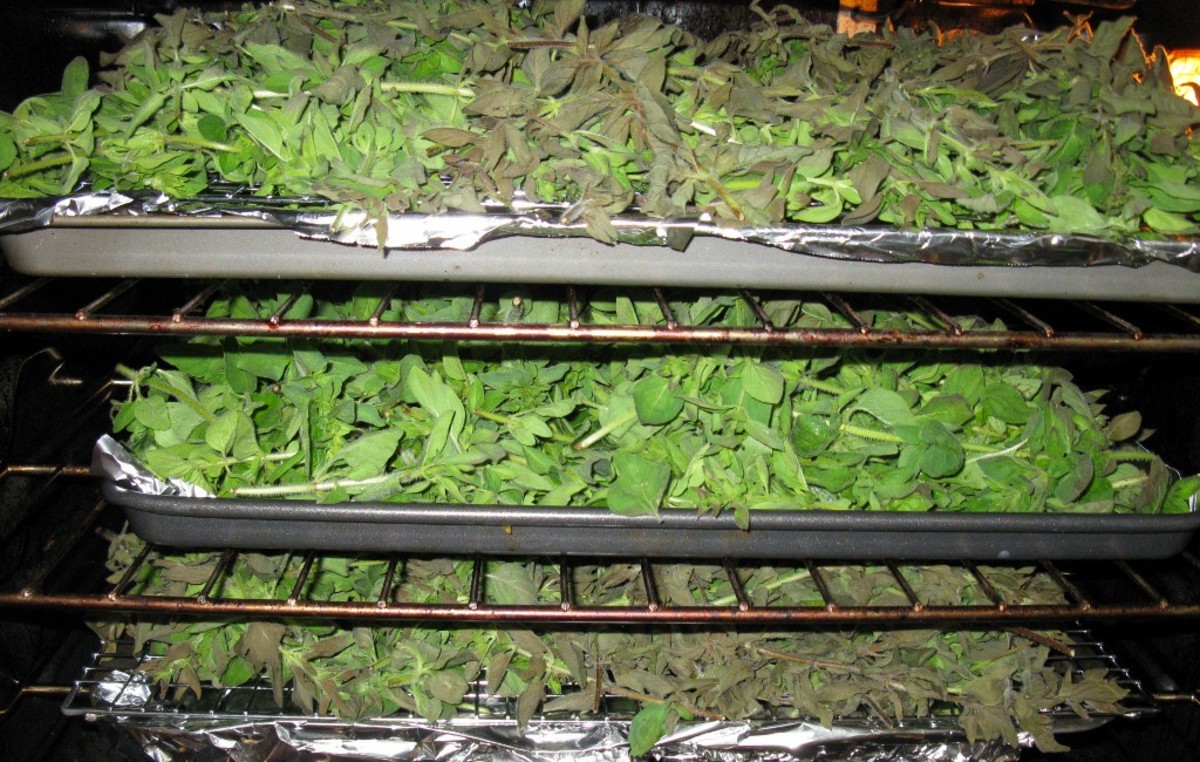
- Place Prepared Herbs on Baking Sheet: Arrange the prepared herbs in a single layer on a lined baking sheet. Make sure there is enough space between the herbs for air circulation.
- Place in the Oven: Carefully place the baking sheet with the herbs into the preheated oven. Leave the oven door slightly ajar to allow moisture to escape during the dehydration process.
- Dehydrate the Herbs: Allow the herbs to dehydrate in the oven for several hours, depending on the type and thickness of the herbs. The dehydration process can take anywhere from 1 to 4 hours, so it’s important to monitor the herbs regularly.
- Rotate the Baking Sheet: To ensure even dehydration, rotate the baking sheet halfway through the process. This will help prevent any herbs from drying out faster than others.
- Check for Dryness: After the recommended dehydration time has elapsed, check the herbs for dryness. They should feel crispy and crumble easily when touched. If they are still slightly soft, return them to the oven for additional drying time.
- Cool and Store: Once the herbs are fully dehydrated, remove them from the oven and allow them to cool completely. Once cooled, transfer the herbs to airtight containers such as glass jars or zip-top bags, ensuring they are fully sealed to prevent moisture absorption.
Remember that the drying time may vary depending on factors such as the type of herbs, humidity levels, and your oven’s temperature accuracy. It’s important to regularly check on the herbs during the dehydration process to prevent over-drying or burning. When done correctly, dehydrated herbs will retain their flavor, color, and aroma, ready to enhance your culinary creations whenever you need them.
Storing the Dehydrated Herbs
Proper storage is essential to maintain the quality and longevity of your dehydrated herbs. Follow these guidelines to ensure your herbs remain flavorful and in optimal condition:
- Cool Completely: Before storing the herbs, ensure they have cooled completely after dehydration. This step is crucial to prevent condensation inside the storage container, which can lead to moisture and spoilage.
- Choose Airtight Containers: Transfer the dehydrated herbs to airtight containers such as glass jars with tight-fitting lids, zip-top bags, or vacuum-sealed bags. The goal is to create a barrier that prevents moisture, air, and light from deteriorating the herbs.
- Label and Date: Properly label your containers with the name of the herb and the date of dehydration. This will help you keep track of the herbs and ensure you use the oldest ones first to maintain overall freshness.
- Store in a Cool, Dark Place: Find a cool and dark storage location for your herbs, as exposure to light and heat can cause loss of flavor and potency. A pantry or cupboard away from direct sunlight is a great choice.
- Avoid Moisture and Humidity: Moisture is the enemy of dehydrated herbs. Keep them away from sources of humidity, such as the stove, sink, or any area prone to moisture. Excess humidity can lead to the growth of mold or the herbs losing their crispness.
- Use Desiccant Packs: Consider adding desiccant packs to help absorb any lingering moisture in the storage containers. These small packets can be found in packaging or purchased separately and are effective at keeping the herbs dry.
- Check for Freshness: Periodically check the stored herbs for freshness. Over time, herbs may lose their potency and flavor. If you notice any signs of discoloration, loss of aroma, or stale taste, it may be time to replace them.
By following these storage guidelines, you can preserve the flavor and quality of your dehydrated herbs for an extended period. Having a well-stocked pantry of dried herbs allows you to enhance your cooking with their vibrant flavors, even when fresh herbs are not readily available.
Tips and Tricks for Dehydrating Herbs in the Oven
To ensure successful dehydration and optimal flavor retention when using the oven, consider the following tips and tricks:
- Select Fresh, High-Quality Herbs: Start with fresh herbs at their peak to ensure the best flavor and aroma. Avoid using herbs that are wilted, damaged, or past their prime.
- Avoid Overcrowding: Arrange the herbs in a single layer on the baking sheet, leaving space between them. Overcrowding can hinder proper air circulation and result in uneven drying.
- Monitor the Low Heat Setting: Keep a close eye on the oven temperature throughout the process. Use an oven thermometer to ensure that the heat remains within the desired low temperature range, as excessive heat can cause the herbs to burn or lose their flavor.
- Experiment with Herb Combinations: Don’t be afraid to experiment with different herb combinations to create unique flavors. Consider mixing herbs like thyme, rosemary, and oregano for savory dishes or blending mint and lemon balm for refreshing teas.
- Utilize Oven Accessories: If your oven has a convection setting or a fan, it can aid in the dehydration process. The circulating air helps to remove moisture from the herbs more efficiently and promotes even drying.
- Utilize Residual Heat: After turning off the oven, you can allow the residual heat to continue drying the herbs. This can help ensure that they are thoroughly dehydrated without overheating them.
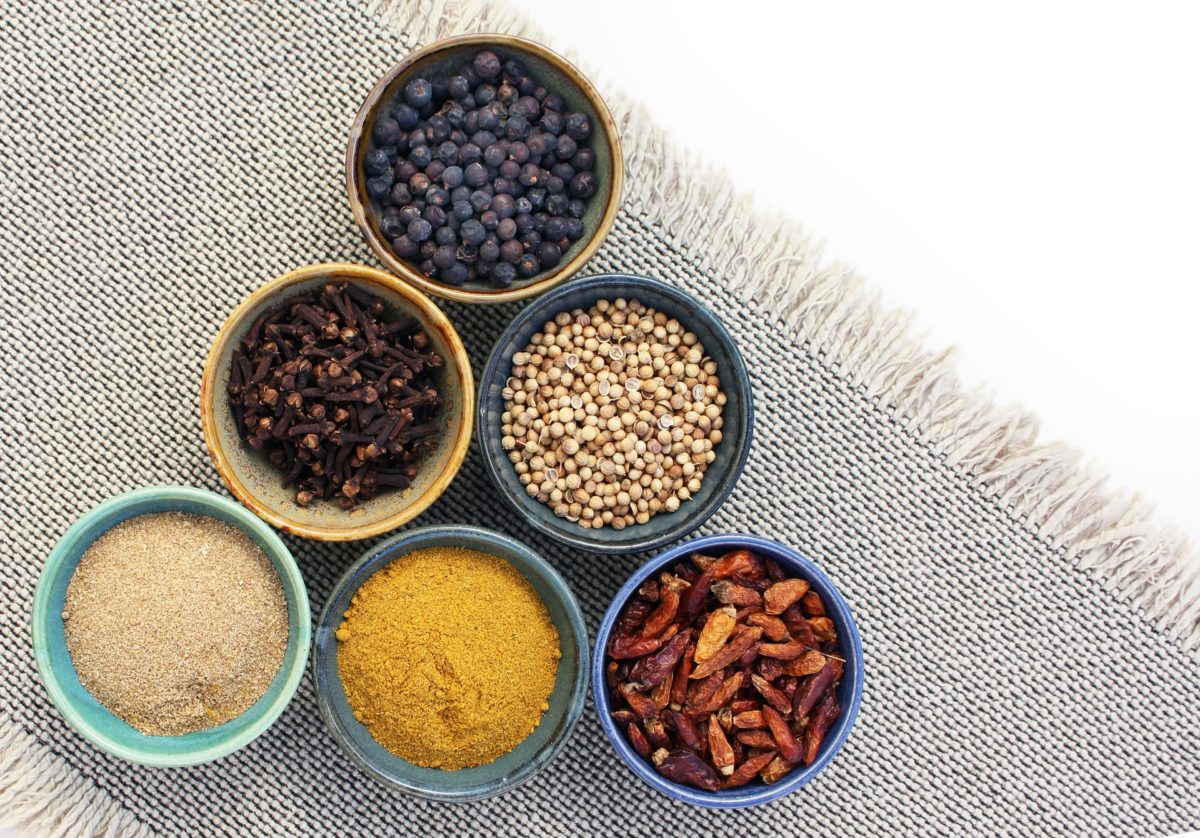
- Crush Herbs Before Storage: Consider crushing or crumbling the herbs before storing them. This will help release their flavors more easily when adding them to your culinary creations.
- Label Your Herb Containers: Properly label your herb containers with the herb name and date of dehydration. This will help you easily identify and keep track of your dried herbs.
- Use Dehydrated Herbs Within a Year: While dehydrated herbs can last for a long time when stored properly, it’s best to use them within a year for optimal flavor and potency.
- Consider Investing in a Dehydrator: If you plan to dehydrate herbs frequently, investing in a dedicated dehydrator can be a worthwhile investment. Dehydrators offer more precise temperature control and airflow, resulting in consistently dried herbs.
By keeping these tips and tricks in mind, you can achieve excellent results when dehydrating herbs in the oven. With practice and experimentation, you’ll find the perfect drying time and technique for your favorite herbs, allowing you to enjoy their flavors year-round.
Conclusion
Dehydrating herbs in the oven is a convenient and effective method to preserve their flavors, extend their shelf life, and enhance your culinary creations. By following the step-by-step guide and incorporating the tips and tricks shared in this article, you can successfully dehydrate a variety of herbs to enjoy year-round.
When choosing herbs for dehydration, opt for fresh and high-quality specimens to ensure the best flavor and aroma retention. Take the time to properly prepare the herbs by cleaning, trimming, and optionally blanching them before drying. Setting up the oven for dehydration requires preheating to a low temperature, choosing the right baking sheet, and allowing for proper air circulation.
During the dehydration process, it’s essential to monitor the herbs regularly, rotate the baking sheet for even drying, and check for dryness before removing them from the oven. Once the herbs are fully dehydrated, cool them before storing them in airtight containers in a cool and dark location.
Remember to label the containers and check the herbs periodically for freshness. Experiment with different herb combinations to create unique flavors, and don’t hesitate to utilize residual oven heat or invest in a dedicated dehydrator for more precise control.
Dehydrated herbs can elevate your dishes, provide convenience, and offer cost savings, making them a valuable addition to any kitchen. Whether you’re a seasoned home cook or a budding herb enthusiast, mastering the art of dehydrating herbs in the oven opens up a world of culinary possibilities.
So, why let your favorite herbs go to waste when you can easily dehydrate them and enjoy their flavors year-round? Start dehydrating your herbs in the oven today and unlock the full potential of your culinary creations!