Home>Gardening Techniques>Plant Care>How To Transplant Herbs

Plant Care
How To Transplant Herbs
Modified: February 9, 2024
Learn how to transplant herbs with expert plant care tips. Ensure your herbs thrive in their new home with proper transplanting techniques.
(Many of the links in this article redirect to a specific reviewed product. Your purchase of these products through affiliate links helps to generate commission for Chicagolandgardening.com, at no extra cost. Learn more)
Table of Contents
Introduction
Welcome to the world of herbs! Whether you’re a seasoned gardener or a beginner embarking on your green-thumb journey, learning how to transplant herbs is an essential skill. Transplanting herbs allows you to relocate them to more suitable growing conditions, ensuring their long-term health and vitality.
Herbs are not just culinary delights; they also bring beauty and fragrance to your garden. From the bold flavors of basil and thyme to the soothing scents of lavender and rosemary, herbs have a special place in the hearts of plant enthusiasts. Transplanting herbs not only helps you optimize their growth but also allows you to create an aesthetically pleasing herb garden layout.
Transplanting herbs involves carefully moving them from one location to another, whether within your garden or even indoors. While this process may sound daunting, with the right techniques and knowledge, you can successfully transplant your beloved herbs and watch them flourish in their new environment.
This comprehensive guide will take you through the steps of transplanting herbs, from selecting the right type of herbs to caring for them after transplantation. So, roll up your sleeves, grab your gardening tools, and let’s dive into the world of herb transplantation!
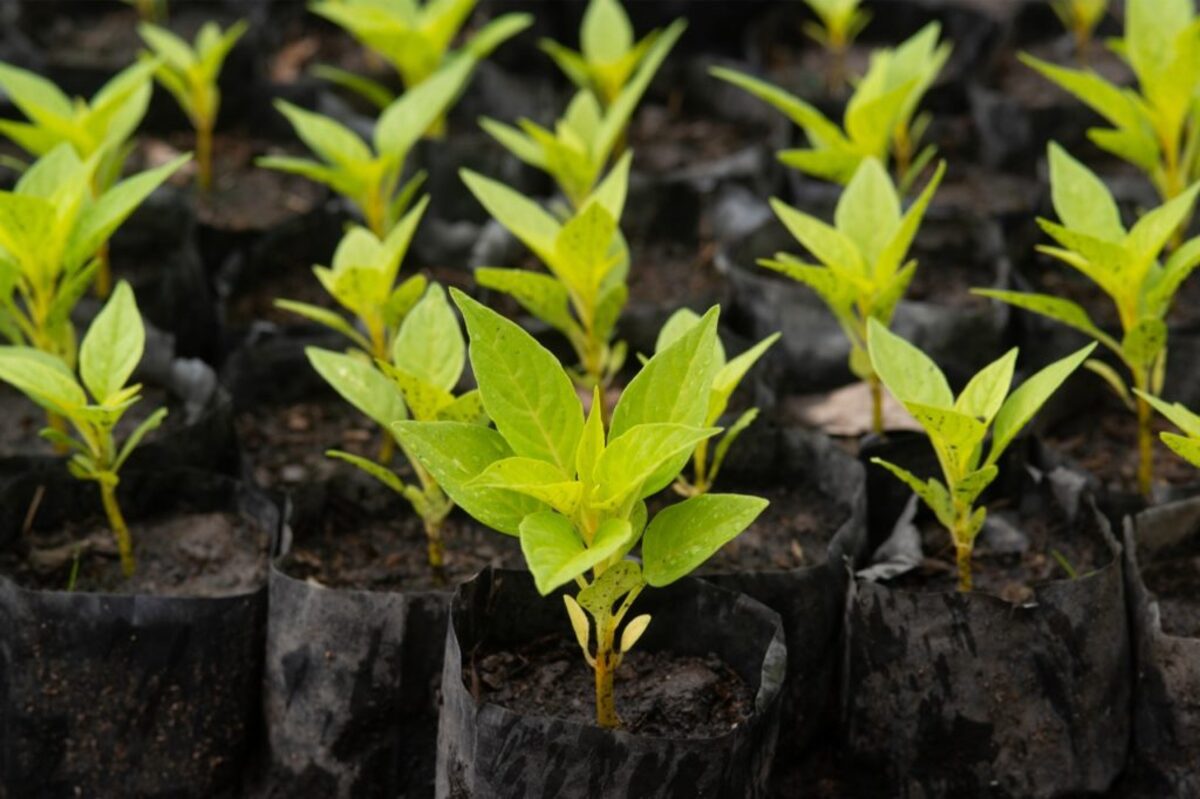
Types of Herbs for Transplanting
When it comes to transplanting herbs, it’s essential to understand the different types of herbs you can work with. Knowing their growth habits, preferences, and requirements will help you make informed decisions and ensure successful transplantations.
Perennial Herbs:
Perennial herbs are the garden treasures that keep giving year after year. These herbs have a longer lifespan and can withstand colder temperatures, making them an excellent choice for transplanting. Popular perennial herbs include rosemary, thyme, oregano, sage, and mint. They provide a constant supply of flavorful leaves and can thrive in various growing conditions.
Annual Herbs:
Unlike perennial herbs, annual herbs complete their life cycle in one growing season. They are typically more tender and sensitive to cold temperatures. Some popular annual herbs include basil, cilantro, dill, and parsley. Transplanting annual herbs can be particularly useful if you want to extend their growing season and ensure a bountiful harvest.
Biennial Herbs:
Biennial herbs have a two-year life cycle. They grow leaves and stems in the first year and then bloom and produce seeds in the second year before completing their life cycle. Examples of biennial herbs include parsley, caraway, and angelica. Transplanting biennial herbs can help you establish a thriving plant in its first year and ensure a robust second-year blooming season.
Before transplanting any herb, it’s essential to research its specific requirements and growth habits. This knowledge will help you determine the best transplanting method, timing, and location for each herb, ensuring optimal growth and productivity.
Now that you have an understanding of the different types of herbs suitable for transplanting, let’s explore the next crucial step: choosing the right time for transplantation.
Choosing the Right Time for Transplanting
Timing is crucial when it comes to transplanting herbs. Choosing the right time ensures that your herbs have the best chance of survival and successful establishment in their new location. The ideal time for transplanting herbs depends on several factors, including the specific herb, local climate, and growing season.
Spring Transplanting:
In many regions, spring is the optimal time for transplanting herbs. As the temperatures begin to warm up, the soil becomes more workable, and the risk of frost diminishes. Spring transplanting allows the herbs to establish their root systems before the heat of summer kicks in. This timing is especially beneficial for tender annual herbs like basil and cilantro, which prefer warmer conditions.
Fall Transplanting:
For some herbs and certain regions, fall can be an excellent time for transplanting. As the summer heat starts to wane, the cooler temperatures and moist soil create favorable conditions for root development. Fall transplanting provides herbs with a head start, allowing them to establish strong roots over the winter months. Perennial herbs like lavender and rosemary often benefit from fall transplanting, as it gives them plenty of time to acclimate before the following spring.
Avoiding Extreme Weather:
Regardless of the season, it’s crucial to avoid extreme weather conditions when transplanting herbs. High temperatures and intense sun can lead to wilting and stress on the plants. Similarly, transplanting herbs during a period of heavy rain or freezing temperatures can shock and damage the plants. Keep an eye on the weather forecast, and choose a day when the conditions are calm and favorable for transplanting.
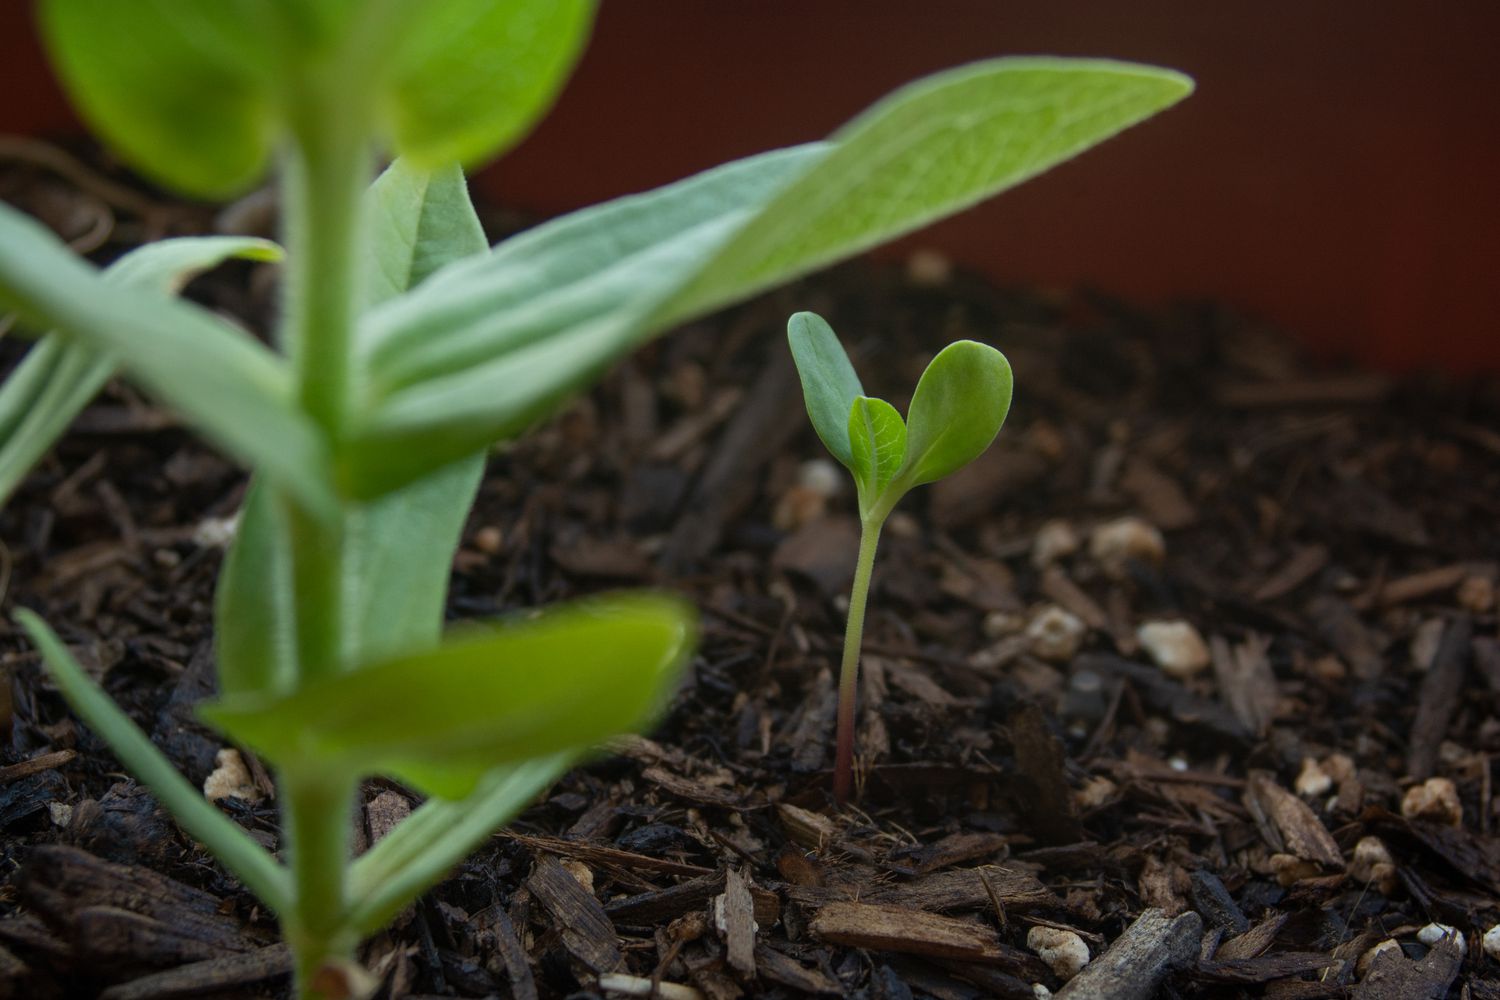
Another consideration when choosing the right time for transplanting herbs is the growth stage of the plants. Ideally, herbs should be transplanted when they are still young and actively growing. Avoid transplanting mature herbs with an extensive root system, as this can cause significant disruption and shock.
By carefully selecting the appropriate time for transplanting, you can give your herbs the best chance of thriving in their new home. Next, let’s delve into the crucial steps of preparing the new location for your transplanted herbs.
Preparing the New Location
Before transplanting your herbs to a new location, it’s essential to prepare the soil and ensure that the area provides the optimal growing conditions for your plants. Here are the key steps to take when preparing the new location:
1. Soil Preparation:
Herbs thrive in well-draining soil that is rich in organic matter. Start by removing any weeds or grass from the area where you plan to transplant your herbs. Loosen the soil with a garden fork or tiller to a depth of around 8-10 inches. Incorporate compost or well-rotted manure into the soil to improve its fertility and texture. This will provide a nutrient-rich environment for your transplanted herbs.
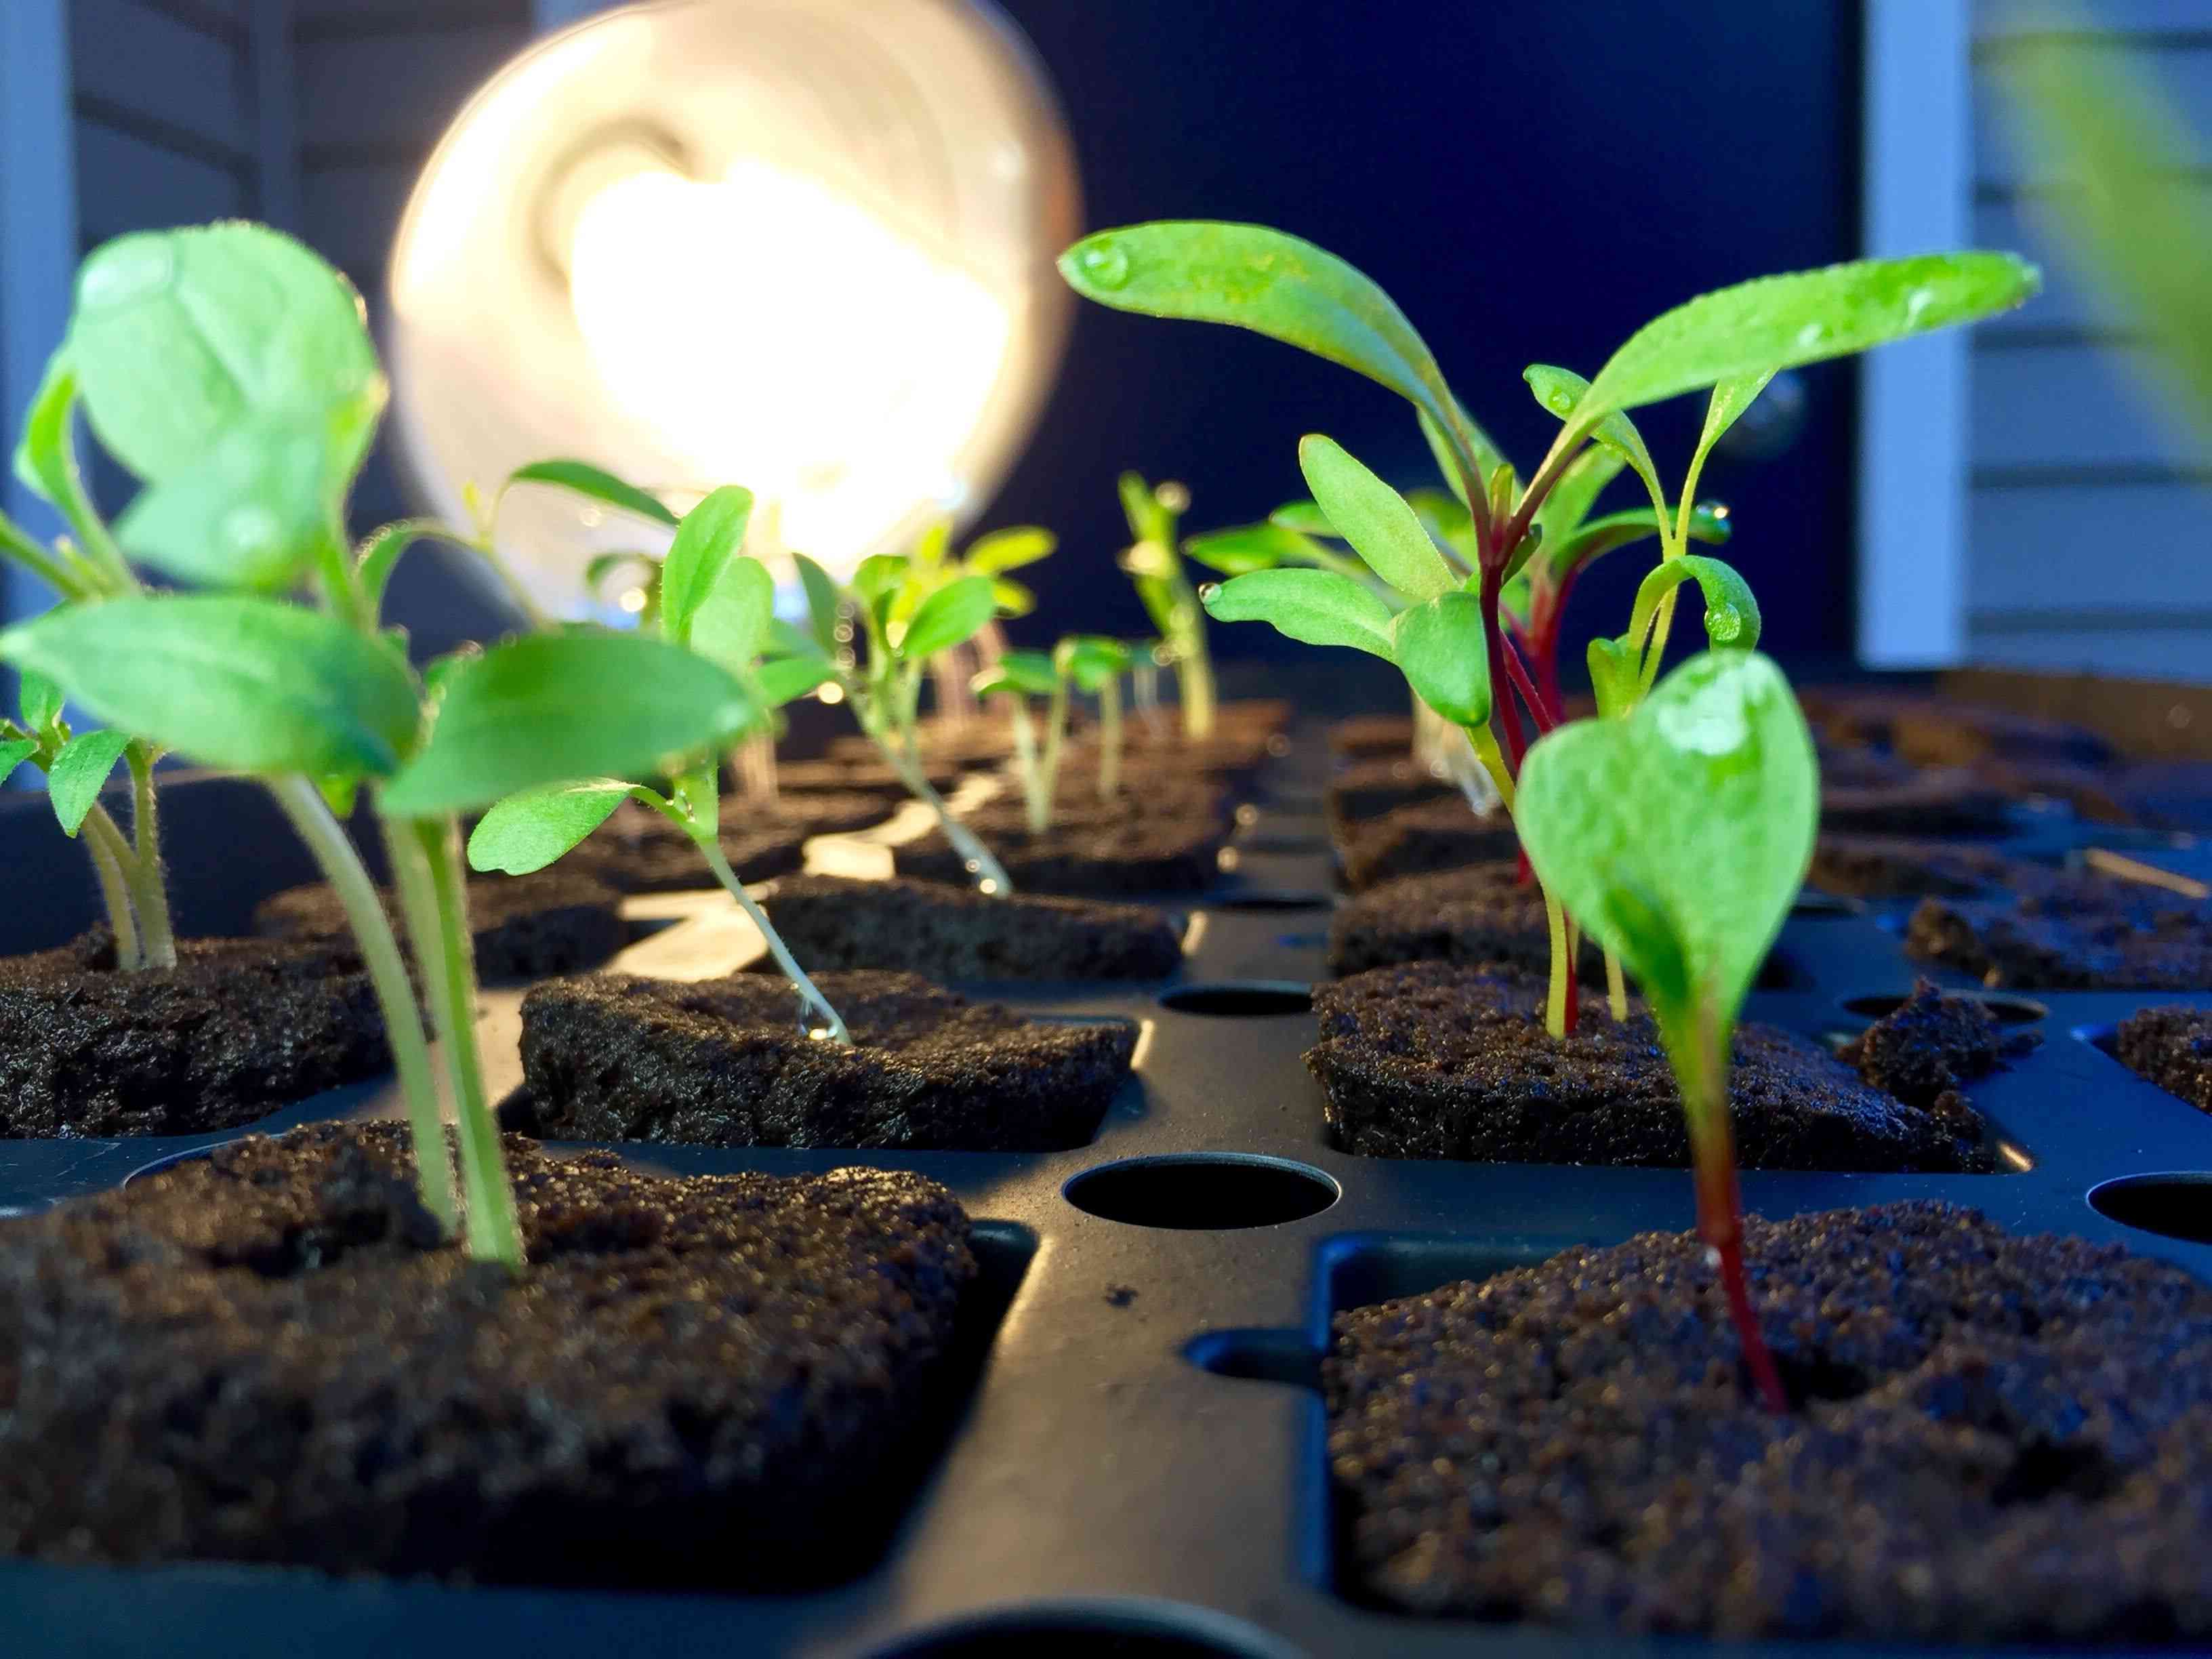
2. Sunlight:
Most herbs require at least 6-8 hours of direct sunlight per day to grow and thrive. Choose a location that receives ample sunlight throughout the day. If you’re transplanting herbs indoors, place them near a sunny window or consider using grow lights to provide adequate light exposure.
3. Spacing:
When transplanting herbs, it’s important to give them enough space to grow and spread. Each herb has specific spacing requirements, so refer to plant tags or gardening references to determine the appropriate distance between plants. Proper spacing allows air circulation, prevents overcrowding, and reduces the risk of disease or pest infestation.
4. Watering:
Ensure that the new location has access to a water source for regular watering. Herbs generally prefer moist but not waterlogged soil. Consider installing a drip irrigation system or providing easy access to a hose for convenient watering. If you’re transplanting herbs indoors, select well-draining pots or containers with drainage holes to prevent water accumulation.
5. Protection:
If your new location is prone to strong winds or extreme weather conditions, consider providing protection to your transplanted herbs. This can be done by creating windbreaks or using stakes and supports to prevent damage from gusts. Additionally, surrounding your herbs with mulch can help conserve moisture and provide insulation during temperature fluctuations.
By taking the time to prepare the new location for your transplanted herbs, you set the stage for their success and ensure they have the best possible conditions for growth. With the new location ready, let’s move on to the next step: preparing the herbs themselves for transplantation.
Preparing the Herbs for Transplanting
Before you transplant your herbs to their new location, it’s important to properly prepare them to minimize stress and maximize their chances of survival. Here are the key steps to follow when preparing your herbs for transplantation:
1. Watering:
A day or two before transplanting, thoroughly water the herbs in their current location. This helps ensure that the plants are well-hydrated and less likely to experience transplant shock. Adequate hydration prepares the plants for the transition and reduces stress on their root systems.
2. Pruning and Trimming:
Before transplanting, consider pruning and trimming your herbs to promote bushier and more compact growth. Remove any dead or damaged leaves, as well as any long or leggy stems. This helps redirect the plant’s energy towards new growth and encourages healthier, more robust plants after transplantation.
3. Digging:
Using a garden spade or trowel, carefully dig around the base of the herb plant, creating a wide and shallow root ball. Take care not to damage the plant’s roots during the digging process. If the herb has a large and extensive root system, gently tease the roots apart to encourage healthy growth in the new location.
4. Container Preparation:
If you’re transplanting your herbs into pots or containers, make sure they are clean and have drainage holes to prevent waterlogging. Fill the containers with well-draining potting soil, leaving enough space for the herb’s root ball. This provides a suitable growing medium and helps the herbs establish themselves after transplanting.
5. Labeling:
If you’re transplanting different herbs, it’s a good idea to label them. This way, you can keep track of each herb’s specific needs and ensure you provide them with the right care and attention in their new location.
Once you’ve prepared the herbs for transplantation, it’s time to move them to their new home. In the next section, we’ll cover the steps involved in actually transplanting the herbs.
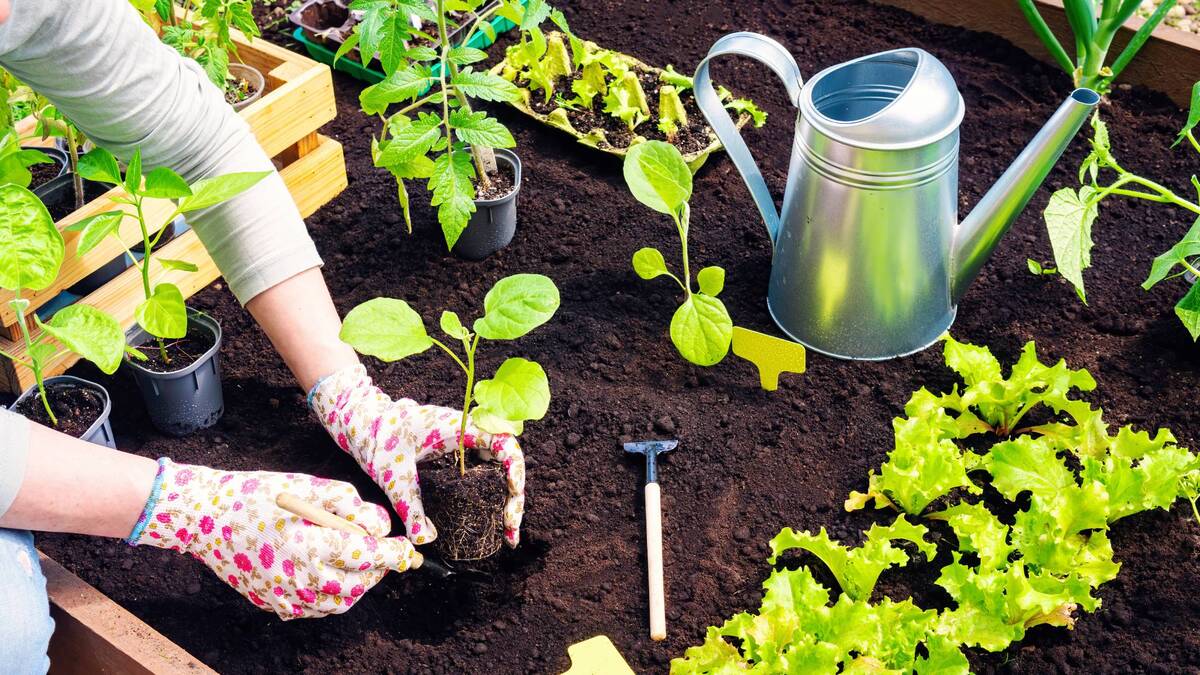
Transplanting the Herbs
Now that you’ve prepared your herbs for transplantation, it’s time to carefully move them to their new location. Follow these steps to ensure a successful and smooth transplanting process:
1. Dig the Planting Hole:
Prepare the planting hole in the new location, making it wide and deep enough to accommodate the herb’s root ball. The hole should be slightly larger than the size of the root ball to allow room for the roots to spread out.
2. Place the Herb:
Gently place the herb’s root ball into the prepared planting hole, ensuring that it is positioned at the same depth as it was in its previous location. Avoid burying the herb too deep, as this can lead to suffocation of the roots. The top of the root ball should be level with or slightly above the soil surface.
3. Backfill the Hole:
Carefully fill the hole with soil, gently pressing it down to eliminate any air pockets around the roots. Use your hands or a trowel to backfill the hole, ensuring that the soil is firmly packed but not compacted. Water the herb lightly after backfilling to help with soil settling.
4. Watering After Transplanting:
Immediately after transplanting, give the herb a good watering to help settle the soil and promote root establishment. Water the plant thoroughly but avoid overwatering, which can lead to root rot. Monitor the soil moisture in the following days and water as needed to keep the soil evenly moist.
5. Provide Adequate Support:
If the herb is tall or tends to flop over, consider providing support in the form of stakes or a plant cage. This will help prevent the plant from bending or breaking as it adjusts to its new location.
Remember to transplant herbs on a calm, cloudy day or in the late afternoon to minimize stress on the plants. Avoid transplanting during hot, sunny periods or immediately after heavy rain.
Once you’ve completed the transplanting process, it’s crucial to provide proper care and attention to your newly transplanted herbs. In the next section, we’ll cover the essential steps for caring for transplanted herbs.
Caring for Transplanted Herbs
After transplanting your herbs to their new location, it’s important to provide the right care and attention to help them establish and thrive. Here are some essential steps to follow when caring for transplanted herbs:
1. Watering:
Proper watering is crucial for the survival of transplanted herbs. Initially, water the herbs deeply to ensure that the roots receive adequate moisture. However, be cautious not to overwater, as this can lead to root rot. Monitor the moisture levels in the soil and adjust the watering frequency as needed. Aim to keep the soil consistently moist but not soggy.
2. Mulching:
Applying a layer of organic mulch around the base of your transplanted herbs can provide several benefits. Mulching helps conserve moisture, suppresses weed growth, and regulates soil temperature. Use organic materials such as straw, wood chips, or shredded leaves as mulch, and spread it around the plants, leaving a small gap around the stem to prevent rotting.
3. Fertilization:
Transplanted herbs may benefit from a gentle boost of nutrients to support their establishment and growth. Apply a balanced organic fertilizer or compost around the base of the plants a few weeks after transplanting. Follow the package instructions for application rates and frequency. Avoid over-fertilizing, as this can lead to excessive foliage growth at the expense of flavor and aroma.
4. Pruning and Maintenance:
Monitoring the growth of your transplanted herbs is crucial. Regularly check for any signs of pests, diseases, or nutrient deficiencies. Trim off any yellowing or diseased leaves and pinch back the growing tips to encourage bushier growth. Regular pruning helps maintain the shape of the plants and prevents them from becoming leggy or overcrowded.
5. Protection from Extreme Conditions:
Shield your transplanted herbs from extreme weather conditions, such as heavy rain, intense heat, or strong winds. Provide temporary shade using shade cloth or patio umbrellas during hot summer days. Erect wind barriers or use stakes to protect the plants from strong gusts. Taking these precautions will reduce stress on the plants and promote their overall health.
6. Regular Monitoring:
Keep a close eye on your transplanted herbs and monitor their progress. Watch for any signs of wilting, discoloration, or insect infestation. Early detection of any issues allows for prompt intervention and treatment, increasing the chances of successful establishment and growth.
By providing proper care, water, and attention to your newly transplanted herbs, you’ll give them the best chance of thriving in their new environment. In the next section, we’ll discuss common problems that may arise with transplanted herbs and how to troubleshoot them.
Troubleshooting Transplanted Herbs
While transplanting herbs can be a rewarding experience, it’s important to be aware of common problems that may arise and know how to troubleshoot them. Here are some potential issues you may encounter with transplanted herbs and how to address them:
1. Wilting:
If your transplanted herbs are wilting or drooping, it’s a sign that they are under stress. This can be caused by inadequate watering, excessive heat, or root damage during transplanting. Ensure that you are watering the plants properly, providing sufficient shade or protection from intense sunlight, and avoiding overhandling the roots during transplanting. Consider using a plant root stimulator to promote root development and reduce transplant shock.
2. Yellowing Leaves:
Yellowing leaves in transplanted herbs may indicate nutrient deficiencies, overwatering, or poor drainage. Check the soil moisture levels and adjust your watering accordingly. If the problem persists, apply a balanced organic fertilizer to provide essential nutrients. Ensure that the soil has proper drainage to prevent waterlogging, which can lead to root rot. If necessary, repot the herbs into well-draining soil.
3. Pests and Diseases:
Transplanted herbs can become vulnerable to pests and diseases. Watch out for common herb pests like aphids, spider mites, or fungal diseases like powdery mildew. Regularly inspect the leaves and stems for any signs of damage or infestation. If detected early, pests can often be removed by handpicking or treated with organic pest control methods, such as neem oil or insecticidal soap. For fungal diseases, ensure proper air circulation and avoid overhead watering to reduce humidity around the plants.
4. Stunted Growth:
If your transplanted herbs are not showing signs of growth or appear stunted, it could be due to poor soil quality, insufficient sunlight, or inadequate nutrients. Double-check that the soil is well-drained and rich in organic matter. Ensure that the plants are receiving enough sunlight according to their specific requirements. If needed, adjust the location or provide supplemental lighting for indoor transplants. Consider fertilizing the herbs with a balanced organic fertilizer to provide the necessary nutrients for healthy growth.
5. Overcrowding:
If you notice overcrowding or competition for resources among your transplanted herbs, it’s important to thin them out to give each plant enough space to grow. Carefully remove the extra seedlings or transplant them to new locations if possible. Proper spacing allows for better airflow and helps prevent the spread of diseases.
Remember, each herb may have specific needs and preferences, so it’s important to research and identify any particular issues that may affect the specific herb you are transplanting. Keeping a watchful eye and taking prompt action can help address problems early on, allowing your transplanted herbs to flourish in their new environment.
Now that you’re equipped with troubleshooting knowledge, you can confidently care for your transplanted herbs. In the next section, we’ll wrap up this guide with a summary of the key points discussed.
Conclusion
Congratulations! You have now learned the ins and outs of transplanting herbs. By following the steps outlined in this guide, you can successfully relocate your herbs to new locations, optimize their growth, and create a vibrant herb garden.
We started by understanding the different types of herbs suitable for transplanting, including perennial, annual, and biennial varieties. Knowing the characteristics of each herb will help you make informed decisions throughout the transplanting process.
We then discussed the importance of choosing the right time for transplantation. While spring is often the ideal time, fall can also be suitable for certain herbs and regions. By avoiding extreme weather conditions, you can minimize stress on the plants and ensure a smoother transition.
Preparing the new location is crucial for the successful establishment of transplanted herbs. From soil preparation to ensuring adequate sunlight and spacing, these steps provide a solid foundation for healthy herb growth.
Preparing the herbs for transplanting involves watering, pruning, and carefully digging around the root ball. These steps ensure minimal stress on the plants and promote their overall health and vitality.
Transplanting your herbs is a delicate process, but by following the proper techniques like digging the planting hole, placing the herb at the right depth, and watering appropriately, you enhance the chances of a successful transplant.
Once the herbs are transplanted, providing the necessary care and attention is crucial. From watering and mulching to regular monitoring and protection from extreme conditions, these steps contribute to the long-term health and productivity of your transplanted herbs.
Inevitably, you may encounter challenges along the way. Knowing how to troubleshoot common issues like wilting, yellowing leaves, pests, diseases, and stunted growth will help you address problems promptly and ensure the continued success of your transplanted herbs.
By employing the knowledge and techniques shared in this guide, you can become a confident herb gardener, capable of transplanting herbs with ease and enjoying the fulfilling rewards of a flourishing herb garden.
So go ahead, put your newfound knowledge into action, and watch as your transplanted herbs thrive and bring flavor, fragrance, and beauty to your garden and culinary endeavors.