Home>Types of Gardening>Edible Gardening>When To Transplant Zinnia Seedlings
Edible Gardening
When To Transplant Zinnia Seedlings
Modified: January 22, 2024
Learn when is the best time to transplant zinnia seedlings in your edible gardening journey. Find expert tips and advice to ensure successful growth.
(Many of the links in this article redirect to a specific reviewed product. Your purchase of these products through affiliate links helps to generate commission for Chicagolandgardening.com, at no extra cost. Learn more)
Table of Contents
Introduction
When it comes to growing flowers, zinnias are a popular choice for many gardeners. These vibrant annuals are known for their stunning blooms and ability to attract pollinators. If you’ve started your zinnia seeds indoors and are wondering when to transplant your seedlings into your garden, you’ve come to the right place.
Moving zinnia seedlings from their indoor environment to the outdoors requires careful consideration. Factors such as soil readiness, outdoor temperature, seedling size, and development play a crucial role in determining the ideal timeframe for transplantation. By understanding these factors and following proper transplanting techniques, you can ensure the successful establishment of your zinnia plants in your garden.
In this article, we will discuss the factors to consider when deciding to transplant zinnia seedlings. We will delve into the importance of soil readiness and how outdoor temperature affects the transplanting process. Additionally, we will explore the optimal size and development of seedlings for transplantation, as well as the best timeframe for the procedure.
Furthermore, we will provide step-by-step instructions on how to transplant your zinnia seedlings, including tips on spacing, watering, and protecting them from pests and diseases. Lastly, we will offer some aftercare tips to help your newly transplanted zinnias thrive in their new environment.
So, if you’re eager to see your zinnias bloom in full glory, read on to learn all about when and how to transplant your seedlings for a successful and bountiful garden display.
Factors to Consider
Before transplanting your zinnia seedlings, there are several important factors you need to consider. These factors will help determine the optimal time to move your seedlings from their indoor containers to your outdoor garden. Let’s delve into each of these factors:
- Soil Readiness for Transplanting: One of the key factors to consider is the readiness of your garden soil. Zinnias thrive in well-drained soil that is rich in organic matter. Before transplanting, make sure the soil has been adequately prepared by loosening it and incorporating compost or well-rotted manure. The soil should be friable and crumbly, allowing for good root penetration and nutrient uptake.
- Outdoor Temperature Considerations: Zinnias are warm-weather plants and are sensitive to cold temperatures. It is important to wait until all danger of frost has passed before transplanting your seedlings. Nighttime temperatures should consistently stay above 50°F (10°C) for optimal growth. If there is a chance of a late-season frost, it is best to wait a bit longer or protect your transplants with a frost cloth or plastic cover.
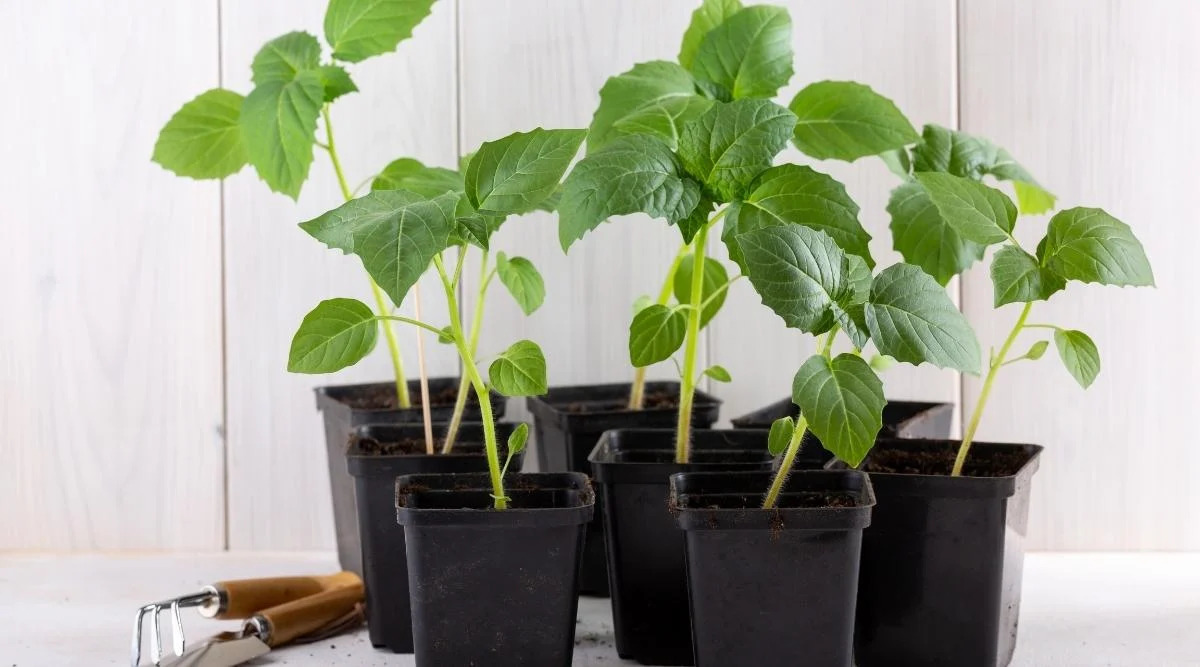
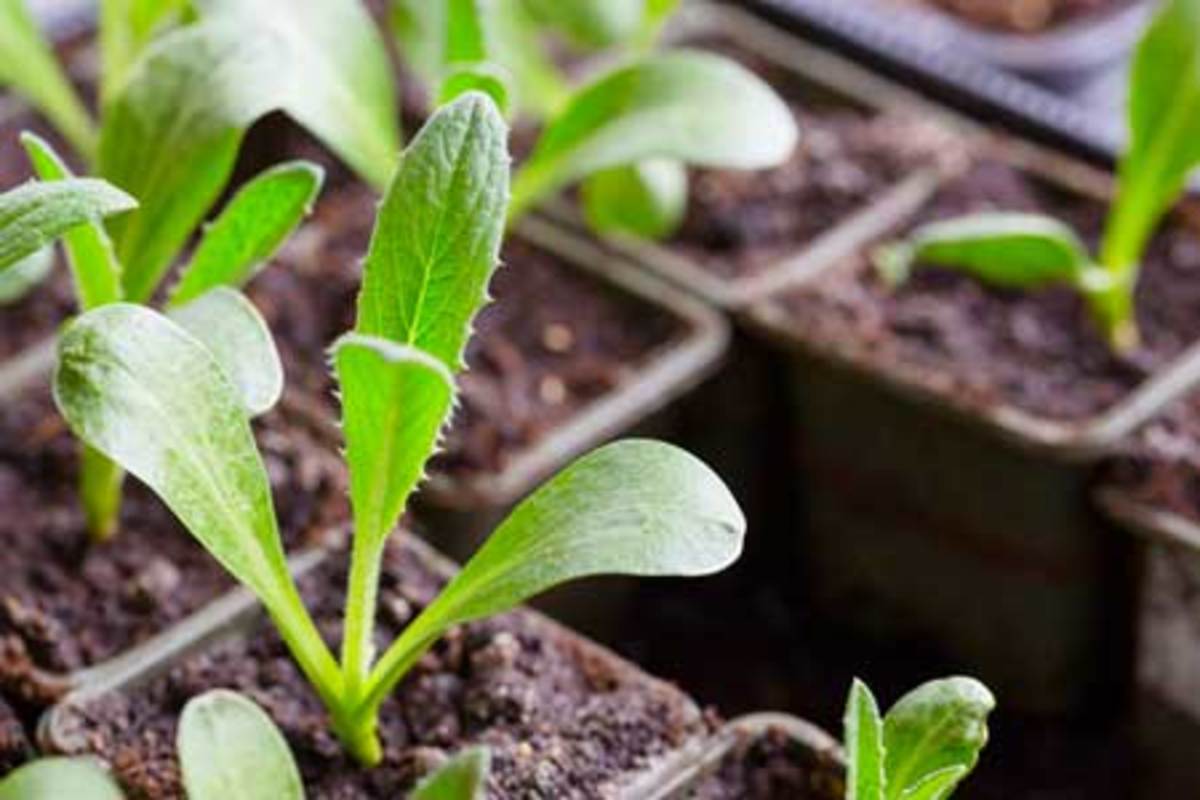
- Seedling Size and Development: The size and development of your zinnia seedlings are crucial in determining their readiness for transplanting. Ideally, your seedlings should have at least two to three sets of true leaves and be around 3 to 4 inches (7.5 to 10 cm) tall. This ensures that they are strong enough to withstand the transplanting process and establish well in the garden.
- Timeframe for Transplanting: The timeframe for transplanting your zinnia seedlings depends on various factors, including the region you live in and the expected weather conditions. In general, it is recommended to transplant zinnias when the soil has warmed up, usually around 1 to 2 weeks after the last frost date in your area. This allows the seedlings to adjust to the outdoor conditions without any risk of cold stress.
Considering these factors will help ensure the successful transition of your zinnia seedlings from indoor containers to your garden. By waiting for the right soil conditions, temperature, and seedling development, you can provide the best environment for your zinnias to thrive. Next, we will explore the step-by-step process of transplanting your zinnia seedlings and the aftercare they need to establish themselves in the garden.
Soil Readiness for Transplanting
Preparing the soil for transplanting is a crucial step in ensuring the successful establishment of zinnia seedlings in your garden. Zinnias prefer well-drained soil that is rich in organic matter, providing them with the necessary nutrients for healthy growth and blooming. Here are some key considerations for soil readiness:
- Loosening the Soil: Before transplanting, it is essential to loosen the soil in the designated area where you plan to plant your zinnias. Use a garden fork or a tiller to break up any compacted soil, creating a loose and friable texture. This helps promote healthy root growth and easy penetration of water and nutrients.
- Incorporating Organic Matter: Zinnias thrive in soil that is enriched with organic matter, such as compost or well-rotted manure. Organic matter improves soil structure, enhances nutrient retention, and promotes beneficial microbial activity. Prior to transplanting, mix in a generous amount of compost or well-rotted manure into the top layer of the soil to ensure your zinnias have access to the nutrients they need.
- Testing the Soil pH: Zinnias prefer a slightly acidic to neutral soil pH ranging from 6.0 to 7.5. Conduct a soil pH test to determine the acidity or alkalinity of your soil. If necessary, make adjustments by adding lime to raise the pH or sulfur to lower it. Maintaining the appropriate pH level ensures optimal nutrient availability for your zinnia plants.
- Improving Drainage: Zinnias are susceptible to root rot if their roots sit in waterlogged soil for an extended period. To improve drainage, consider adding coarse sand or perlite to the soil mix. Additionally, you can raise the planting area by creating a raised bed or planting mound, allowing excess water to drain away more efficiently.
By preparing your soil properly before transplanting, you create an ideal environment for your zinnia seedlings, setting them up for success in your garden. Adequate soil preparation promotes healthy root development, nutrient uptake, and overall plant growth. Once the soil is ready, the next step is to evaluate the temperature conditions for transplanting your zinnia seedlings, which we will cover in the next section.
Outdoor Temperature Considerations
When it comes to transplanting zinnia seedlings, outdoor temperature plays a crucial role in their successful establishment. Zinnias are warm-weather plants that are sensitive to cold temperatures and frost. Here are some key considerations regarding the outdoor temperature:
- Frost Risk: Zinnias are frost-tender plants, which means they cannot tolerate freezing temperatures. It is crucial to wait until all danger of frost has passed before transplanting your seedlings. The last frost date in your area can serve as a guideline for when it is safe to move your zinnias outdoors. Checking with your local agricultural extension office or using online resources can help you determine the average last frost date for your region.
- Nighttime Temperatures: In addition to frost, it’s essential to consider nighttime temperatures. Zinnias thrive in warm conditions, with nighttime temperatures consistently staying above 50°F (10°C). If the nights are still cool in your area, it’s best to wait until the temperature rises to ensure your transplants won’t suffer from cold stress.
- Cold Protection: Keep an eye on the weather forecast and be prepared to protect your transplanted zinnias if there is a chance of late-season cold snaps. Covering them with a frost cloth or plastic cover can provide temporary protection and prevent damage from low temperatures. Remember to remove the covering during the day to allow proper air circulation and prevent overheating.
- Seasonal Transition: The temperature transition from spring to summer is an ideal time to transplant zinnia seedlings. By this point, the soil has warmed up, and the risk of cold weather is significantly reduced. Transplanting during this time provides zinnias with favorable conditions for root establishment and overall growth.
By considering the outdoor temperature conditions, you can ensure that your zinnia seedlings are transplanted at the right time, minimizing the risk of cold damage and promoting healthy growth. In the next section, we will discuss the ideal size and development of zinnia seedlings for successful transplantation.
Seedling Size and Development
The size and development of your zinnia seedlings are important factors to consider before transplanting them into your garden. Properly sized and developed seedlings have a better chance of surviving the transplanting process and establishing themselves in the new environment. Here are some key points to keep in mind:
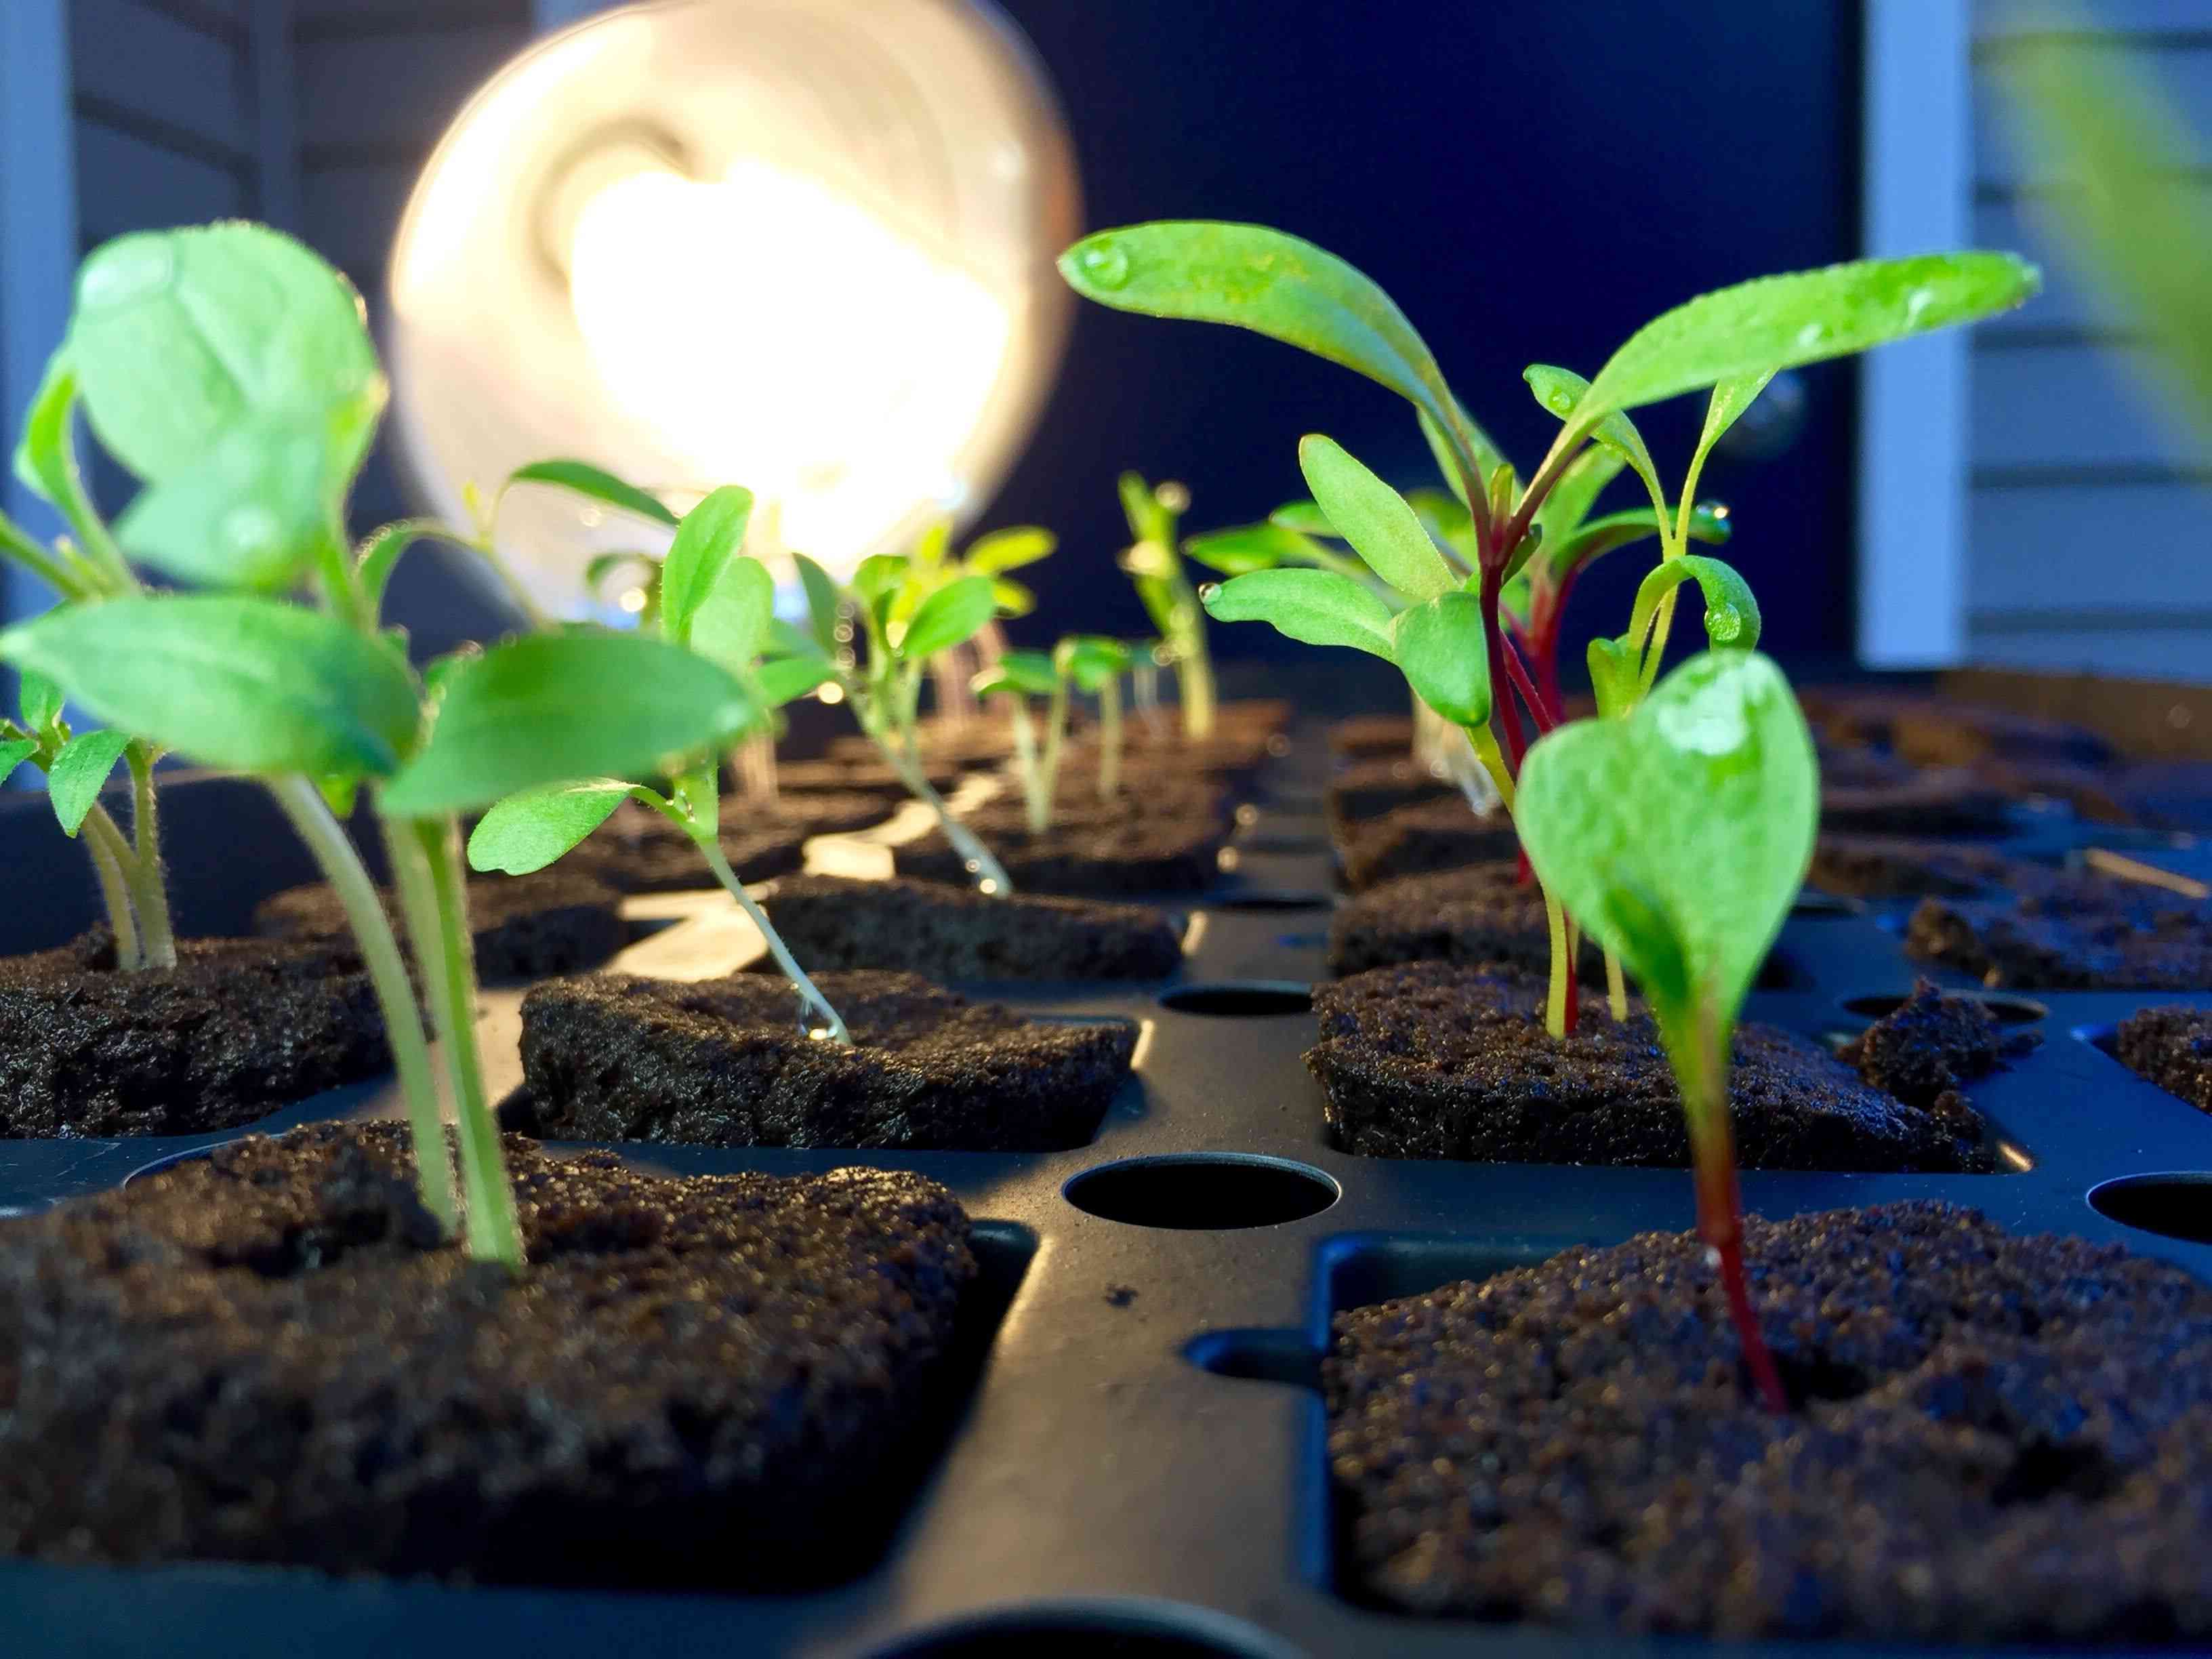
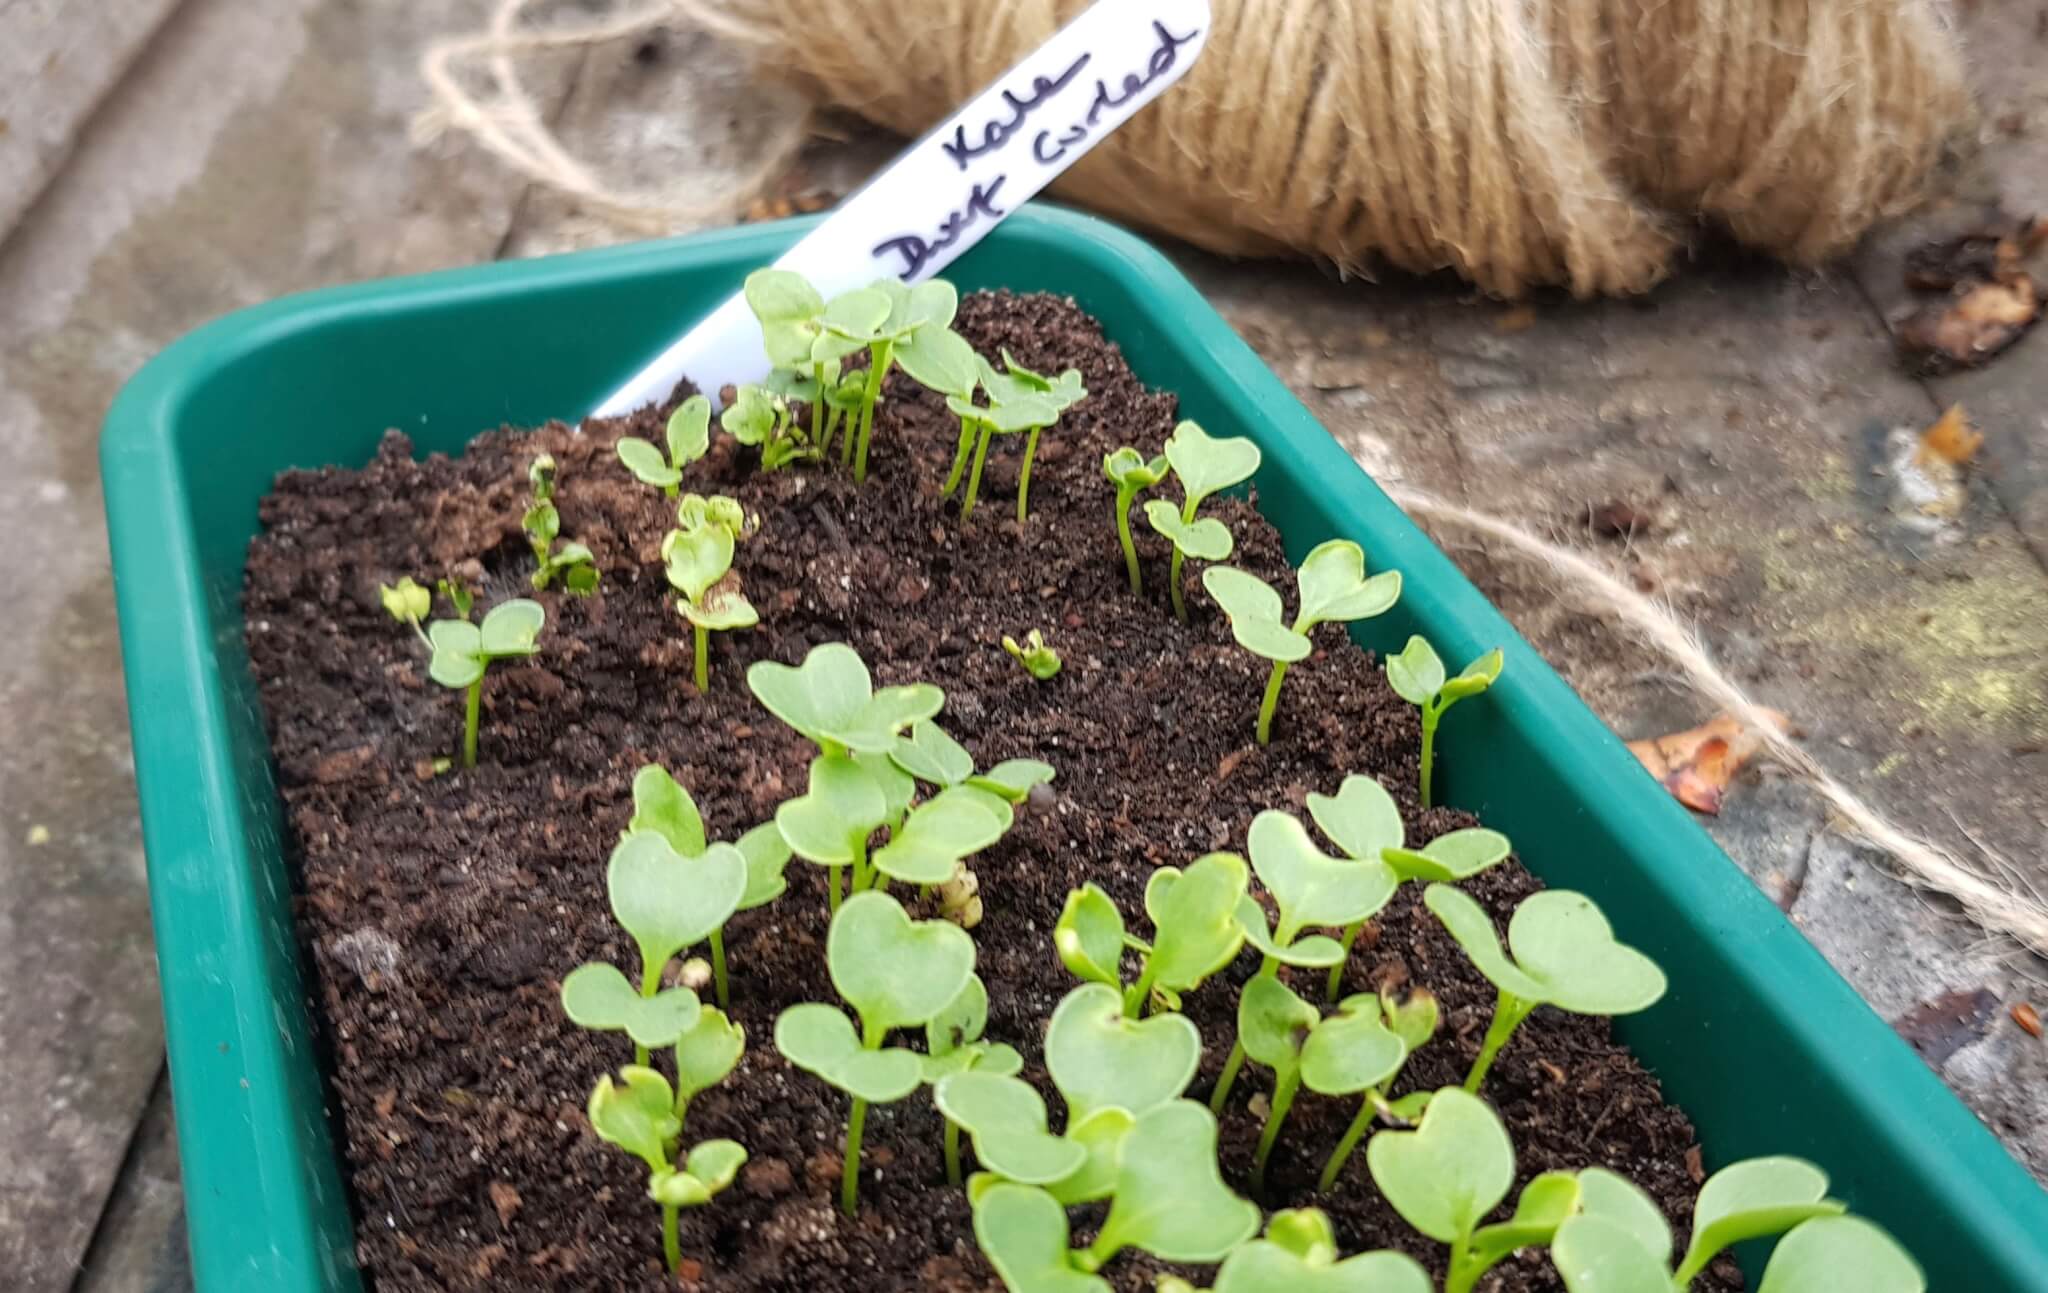
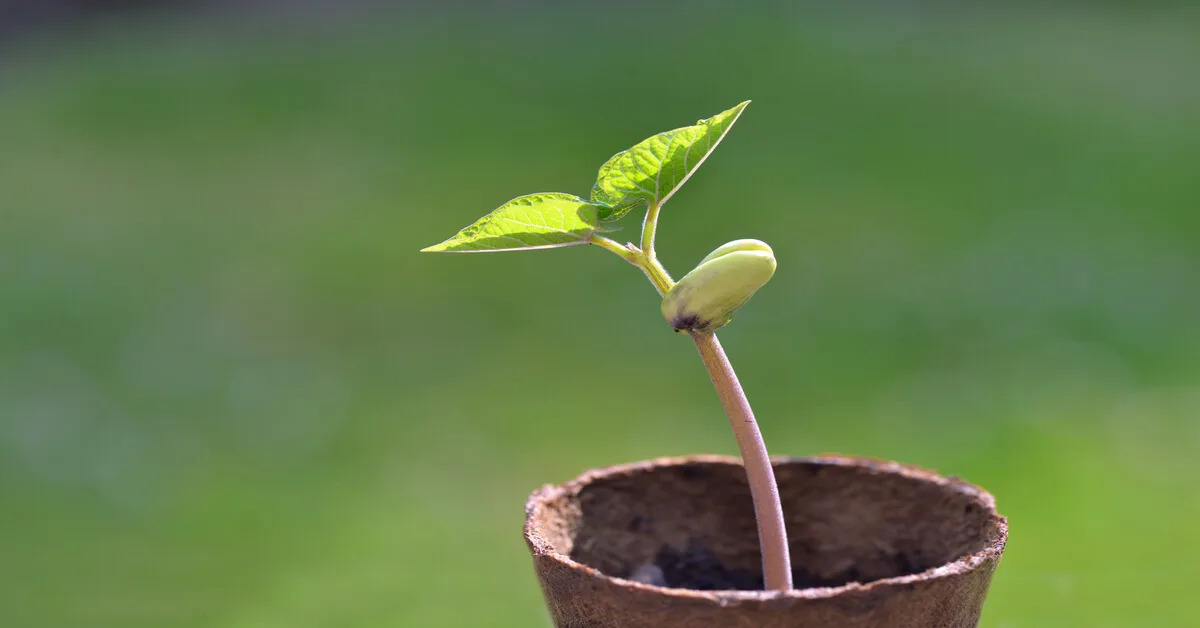
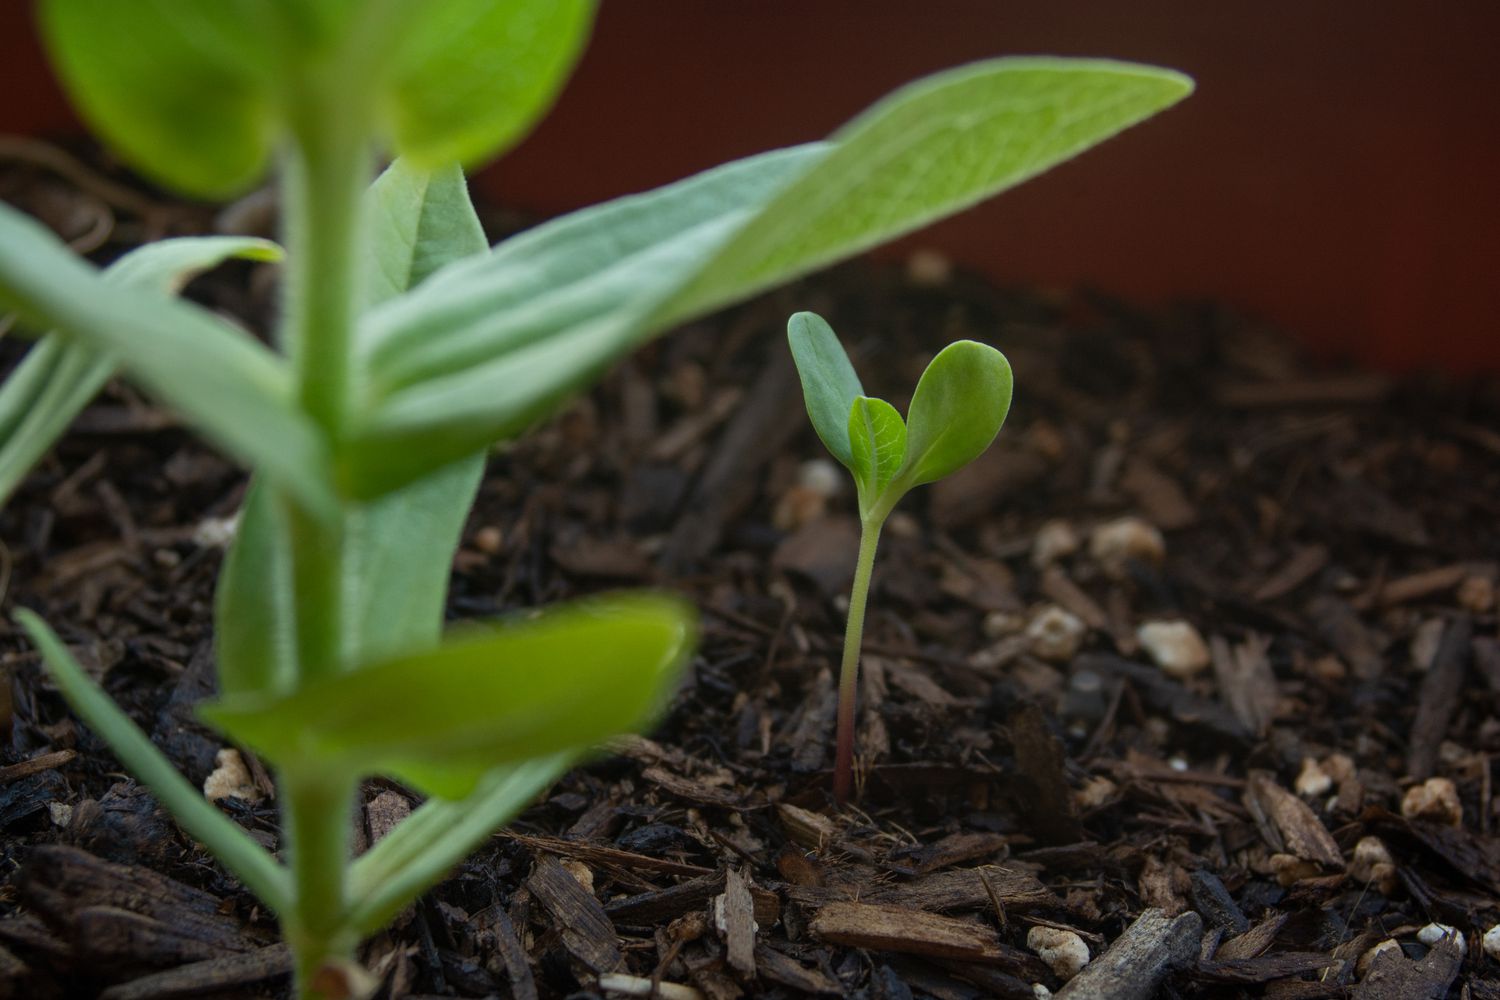
- True Leaves: Zinnia seedlings typically start with a pair of cotyledon leaves, which are the initial seed leaves. As they grow, true leaves will emerge. It is best to wait until your seedlings have at least two to three sets of true leaves before transplanting them. These leaves indicate that the seedlings have developed a strong root system and are better equipped to handle the stress of transplantation.
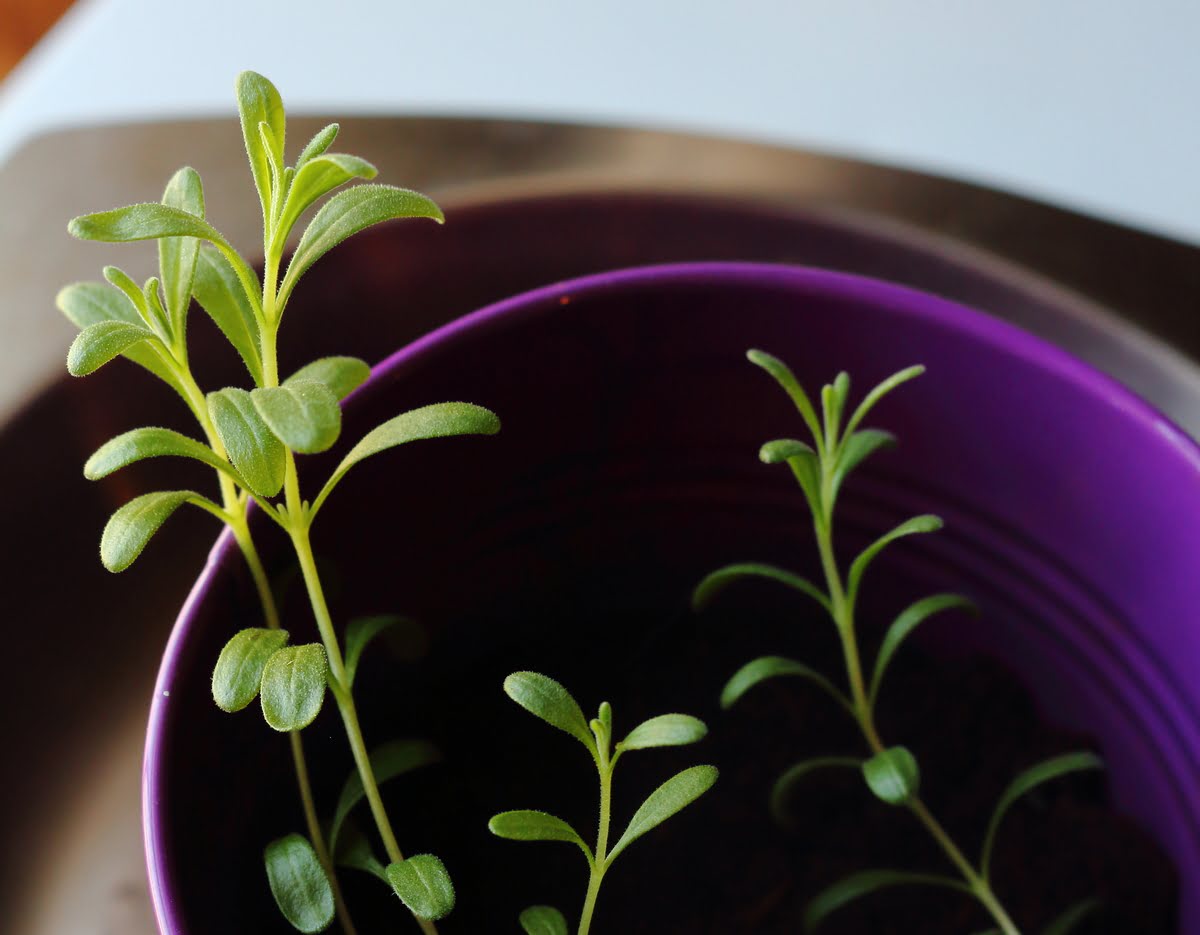
- Height and Vigor: The height and overall vigor of your zinnia seedlings are also important considerations. Ideally, the seedlings should be around 3 to 4 inches (7.5 to 10 cm) tall. Additionally, they should appear healthy, with thick stems and lush foliage. Avoid transplanting seedlings that are weak, leggy, or showing signs of disease or nutrient deficiencies, as they may struggle to recover after transplanting.
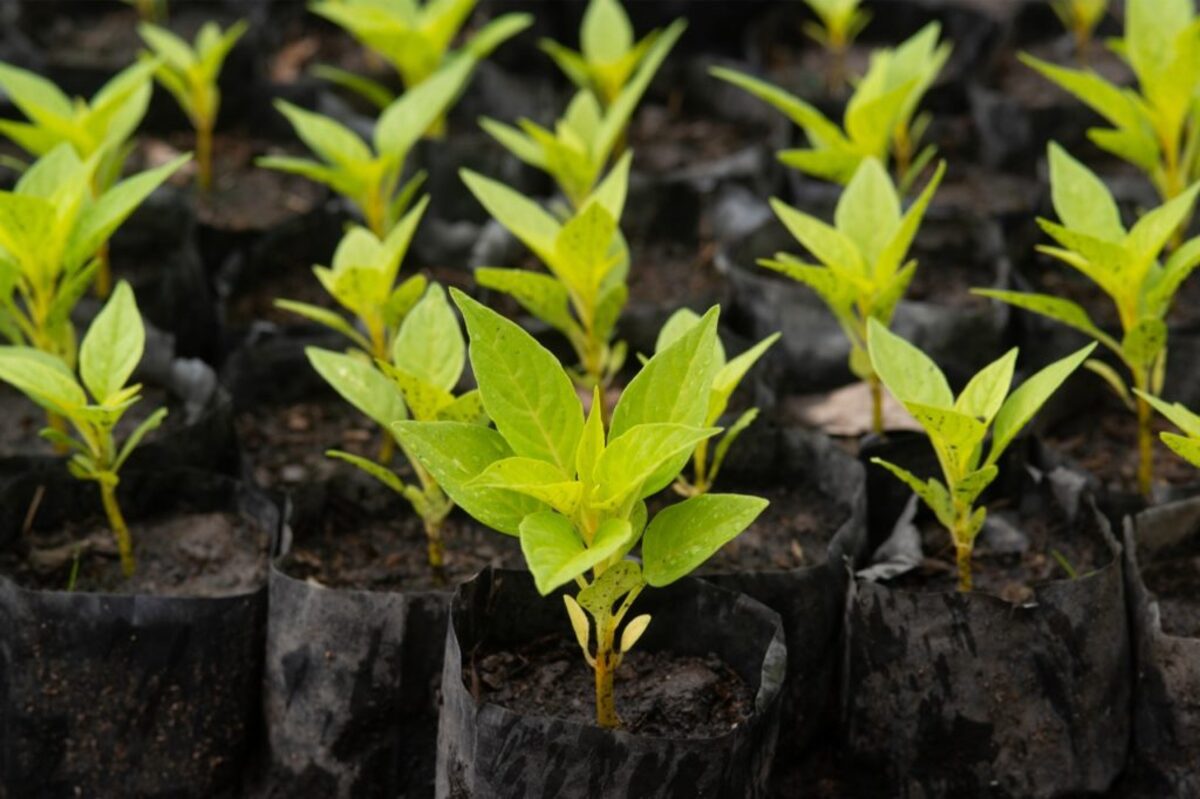
- Avoiding Overgrown Seedlings: While it’s important to have seedlings that are well-developed, it is equally crucial to avoid letting them become overgrown in their indoor containers. Overgrown seedlings can become root-bound, meaning their roots become crowded and tangled, negatively impacting their ability to establish after transplanting. Regularly monitor the size and development of your seedlings and transplant them before they become too large for their containers.
- Hardening Off: Before transplanting, it is beneficial to harden off your zinnia seedlings. This involves gradually exposing them to outdoor conditions, such as sunlight, wind, and fluctuating temperatures, over the course of 7 to 10 days. Hardening off helps acclimate the seedlings to the outdoor environment and reduces transplant shock. Start by placing the seedlings outdoors for a few hours each day, gradually increasing the duration and intensity of exposure.
By transplanting zinnia seedlings that have reached the appropriate size and development stage, you give them the best chance for successful establishment in your garden. The next section will discuss the recommended timeframe for transplanting zinnia seedlings to ensure optimal growth and blooming.
Timeframe for Transplanting
The timeframe for transplanting your zinnia seedlings depends on various factors, including your location, the local climate, and the conditions in your garden. It is essential to choose the right time to ensure the success of your transplants. Here are some considerations for determining the ideal timeframe:
- Last Frost Date: The last frost date in your area serves as a general guideline for when it is safe to transplant zinnia seedlings outdoors. You can find this information by consulting your local agricultural extension office or using online resources. Planting zinnias after the last frost date minimizes the risk of cold damage to your transplants.
- Soil Temperature: Wait until the soil has adequately warmed up before transplanting your zinnia seedlings. Zinnias prefer soil temperatures around 60 to 70°F (15 to 21°C) for optimal growth. Using a soil thermometer can help you monitor the soil temperature and determine if it’s suitable for transplanting.
- Weather Conditions: Consider the current and forecasted weather conditions when deciding on the transplanting timeframe. Avoid transplanting during periods of heavy rain or extreme heat, as these conditions can stress the seedlings. Choose a time when the weather is mild and the soil is slightly moist but not overly saturated.
- Seedling Growth and Development: Assess the size, development, and overall health of your zinnia seedlings. As mentioned earlier, it is best to wait until they have at least two to three sets of true leaves and are around 3 to 4 inches (7.5 to 10 cm) tall. These signs indicate that the seedlings are strong and mature enough to handle transplantation.
Transplanting zinnia seedlings when the soil has warmed up, the risk of frost has passed, and the seedlings are of the appropriate size and development stage is crucial for their successful establishment. Taking these factors into consideration will help you determine the optimal time to transplant your zinnia seedlings into the garden.
How to Transplant Zinnia Seedlings
Transplanting zinnia seedlings requires some careful steps to ensure their successful transition from indoor containers to the garden. Here’s a step-by-step guide on how to transplant your zinnia seedlings:
- Choose the Right Location: Select a sunny spot in your garden with well-drained soil. Zinnias thrive in full sun, so make sure the location receives at least 6 to 8 hours of direct sunlight each day.
- Prepare the Planting Holes: Dig holes in the garden soil that are slightly larger than the root ball of each seedling. Space the holes according to the mature size of the zinnia variety you are growing, usually around 6 to 12 inches (15 to 30 cm) apart.
- Water the Seedlings: Before transplanting, thoroughly water your zinnia seedlings in their containers. This will help ensure that the root ball stays intact during the transplanting process.
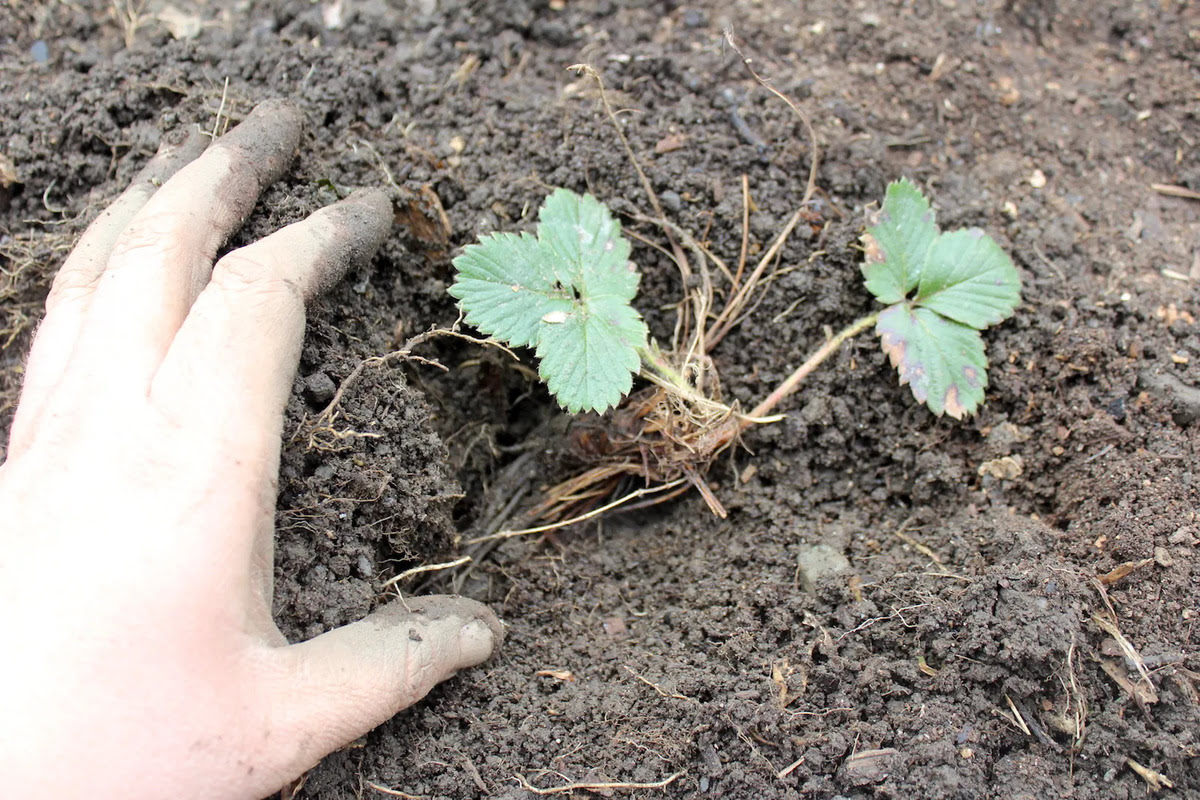
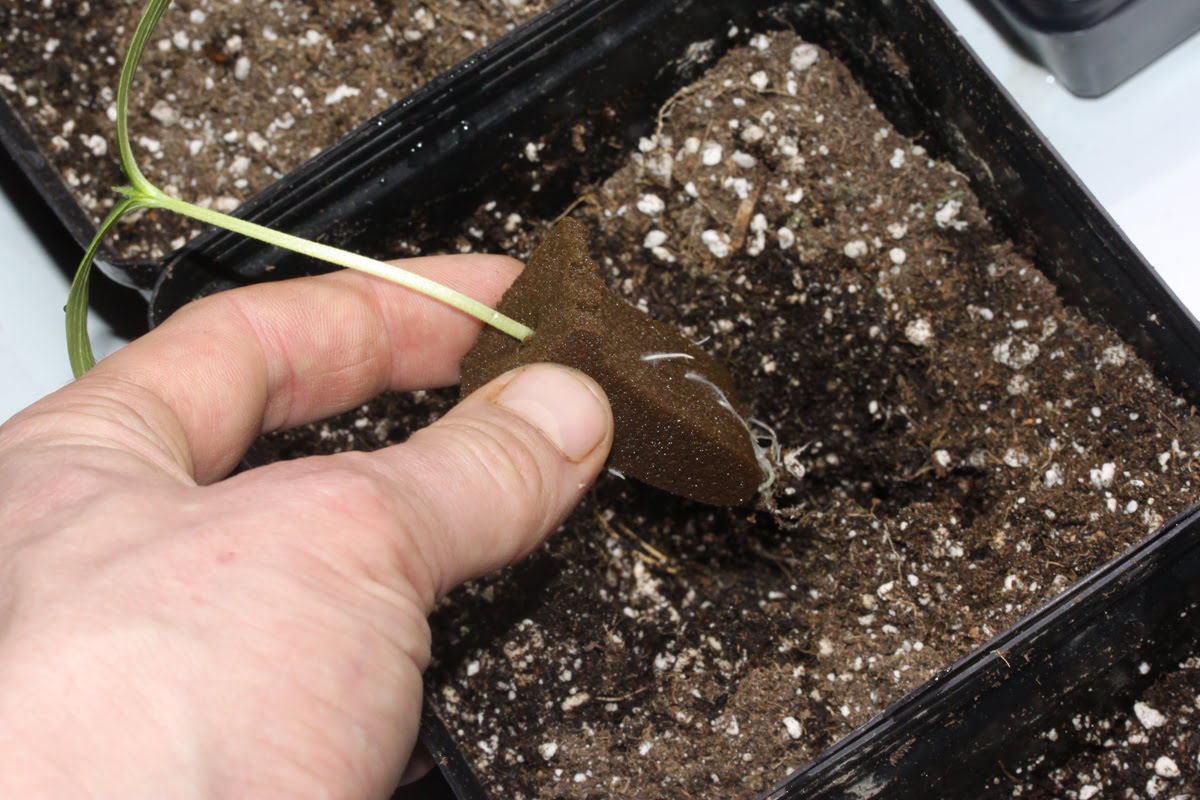
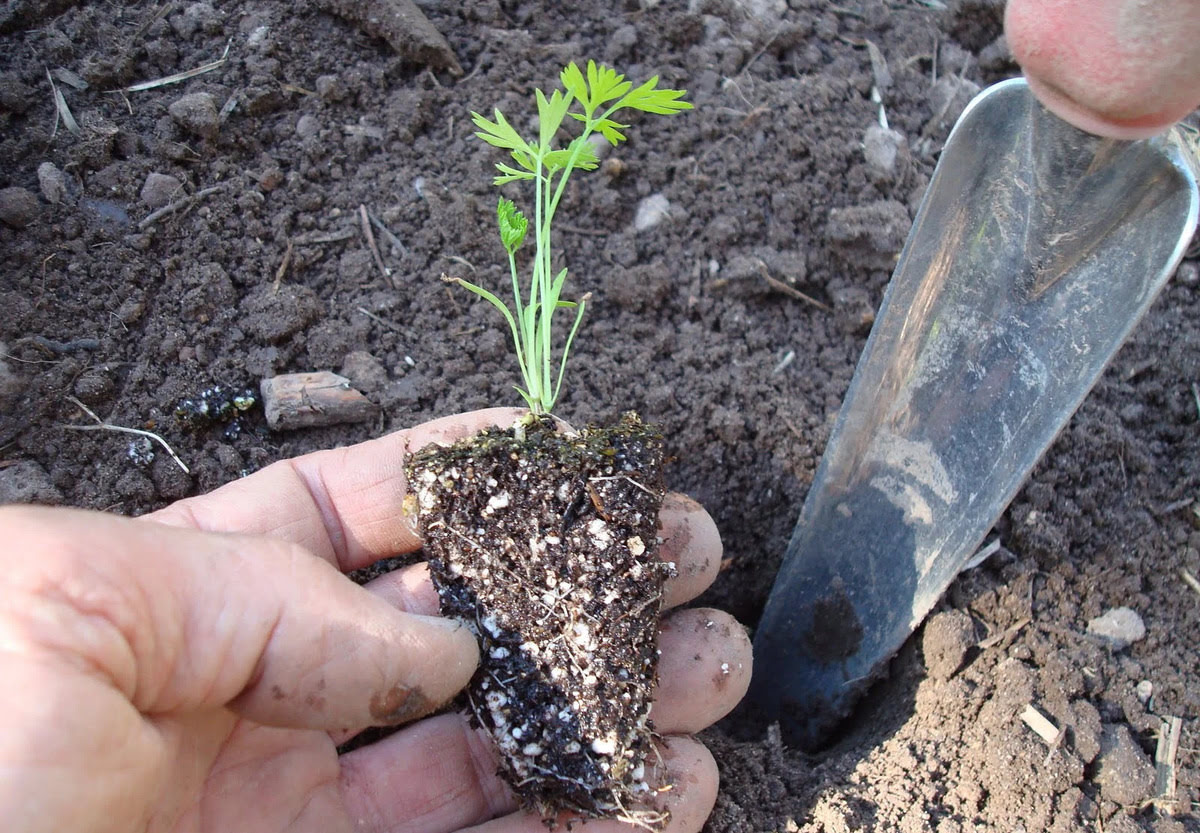
- Remove the Seedlings: Gently loosen the soil around the seedlings in their containers and carefully lift them out, holding onto the seedlings by their leaves and avoiding damaging the stems or roots.
- Plant at the Same Depth: Place each seedling into its respective planting hole, making sure to plant it at the same depth it was growing in its container. Firmly press the soil around the base of the seedling to secure it in place.
- Water Thoroughly: After planting, thoroughly water the seedlings again, providing them with a good soak to help settle the soil and encourage root establishment. Avoid watering too close to the stem to prevent rotting.
- Mulch for Moisture Retention: Apply a layer of organic mulch, such as straw or wood chips, around the base of the seedlings. This helps retain moisture in the soil, suppresses weed growth, and regulates soil temperature.
- Provide Support (Optional): If you are growing taller varieties of zinnias, consider placing stakes or installing a trellis around the plants to provide support as they grow. This will help prevent damage from strong winds and keep the plants upright.
Following these steps will help ensure a smooth and successful transplanting process for your zinnia seedlings. Once transplanted, it’s important to provide proper aftercare to help your zinnias establish themselves in their new environment, which we will discuss in the next section.
Aftercare Tips
After transplanting your zinnia seedlings into the garden, it’s important to provide proper aftercare to promote their growth and ensure their long-term success. Here are some important tips to keep in mind:
- Watering: Adequate watering is crucial for the establishment of your transplanted zinnias. Keep the soil evenly moist, but not overly saturated. Water deeply at the base of the plants to encourage deep root growth, rather than shallow watering that can lead to weak roots.
- Mulching: Maintain a layer of organic mulch around your zinnia plants. Mulch helps conserve soil moisture, suppress weeds, and regulate soil temperature. Make sure to keep the mulch a few inches away from the stems to prevent rotting.
- Staking (if needed): If you are growing taller varieties of zinnias, provide support by staking the plants or installing a trellis. This prevents the plants from bending or breaking due to heavy blooms or strong winds.
- Pruning: Regularly remove faded or spent flowers, a practice known as deadheading. This not only keeps your zinnias looking tidy but also encourages continuous blooming. Additionally, if your plants become overcrowded, you can thin them out by selectively removing weaker or crowded stems.
- Fertilizing: Zinnias are relatively low-maintenance plants when it comes to fertilization. However, if your soil is lacking in nutrients, you can apply a balanced slow-release fertilizer or an organic fertilizer designed for flower gardens. Follow the recommended application rates on the fertilizer packaging.
- Pest and Disease Control: Monitor your zinnias for signs of common pests, such as aphids, caterpillars, or spider mites. If necessary, treat infestations using environmentally friendly pest control methods or organic insecticides. Additionally, ensure good air circulation around the plants to reduce the risk of diseases like powdery mildew.
- Enjoy and Harvest: Once your zinnias begin to bloom, take time to enjoy their vibrant colors and delightful fragrance. You can also harvest zinnia blooms for bouquets or floral arrangements. Regularly cutting the flowers for indoor display can encourage more blooms to develop.
By following these aftercare tips, you will provide your transplanted zinnias with the best possible conditions for healthy growth and abundant blooming. With proper care and attention, your zinnias will reward you with a beautiful and colorful garden display throughout the growing season.
Conclusion
Transplanting zinnia seedlings requires careful consideration of various factors, including soil readiness, outdoor temperature, seedling size and development, and the optimal timeframe for transplantation. By taking these factors into account and following proper transplanting techniques, you can ensure the successful establishment of your zinnias in your garden.
Preparing the soil with adequate organic matter, ensuring proper drainage, and maintaining the right pH levels create a favorable environment for your zinnia seedlings. Waiting until all danger of frost has passed and nighttime temperatures consistently stay above 50°F (10°C) prevents cold stress and promotes healthy growth.
Choosing well-sized and developed seedlings, as well as hardening them off, gives them a better chance at establishing themselves in the garden. Proper transplanting techniques, such as planting at the same depth and watering thoroughly, minimize stress and help the seedlings take root successfully.
After transplanting, providing proper aftercare, including adequate watering, mulching, and supporting taller varieties, ensures the continued growth and blooming of your zinnias. Regular removal of faded flowers and monitoring for pests and diseases contribute to healthy plant growth.
By following these guidelines and understanding the specific needs of your zinnias, you can create a vibrant and thriving garden filled with the beauty of these stunning annual flowers. So go ahead, transplant your zinnia seedlings with confidence, and enjoy the colorful rewards of your efforts throughout the growing season.