Home>Types of Gardening>Edible Gardening>When To Transplant Artichoke Seedlings
Edible Gardening
When To Transplant Artichoke Seedlings
Published: January 7, 2024
Learn when to transplant your artichoke seedlings in your edible gardening journey! Discover the best timing and techniques for successful artichoke transplanting.
(Many of the links in this article redirect to a specific reviewed product. Your purchase of these products through affiliate links helps to generate commission for Chicagolandgardening.com, at no extra cost. Learn more)
Table of Contents
Introduction
Welcome to the world of edible gardening! There’s nothing quite like the satisfaction of growing your own fresh and delicious produce. If you’re new to gardening or looking to expand your skills, edible gardening is a great place to start. Among the many vegetables you can grow, artichokes are a unique and delightful addition to any garden.
Artichokes are not only visually striking with their majestic, spiky leaves and vibrant purple or green flower buds, but they are also incredibly versatile in the kitchen. Whether you enjoy them steamed, roasted, grilled, or stuffed, artichokes are a delicious and healthy addition to your culinary repertoire.
One important aspect of successfully growing artichokes is knowing when to transplant the seedlings. Transplanting is the process of moving seedlings from their initial container or seed tray to your garden beds or larger pots. This critical step ensures that the seedlings have enough space, nutrients, and sunlight to thrive and eventually produce those beautiful artichoke buds.
In this article, we will delve into the optimal time for transplanting artichoke seedlings, as well as the indicators to look for when determining if your seedlings are ready for the next stage. We will also guide you through the preparation and transplanting process, as well as the essential aftercare required to ensure your transplanted artichoke seedlings flourish in their new environment.
So, grab your gardening gloves and let’s dive into the world of artichoke seedling transplantation!
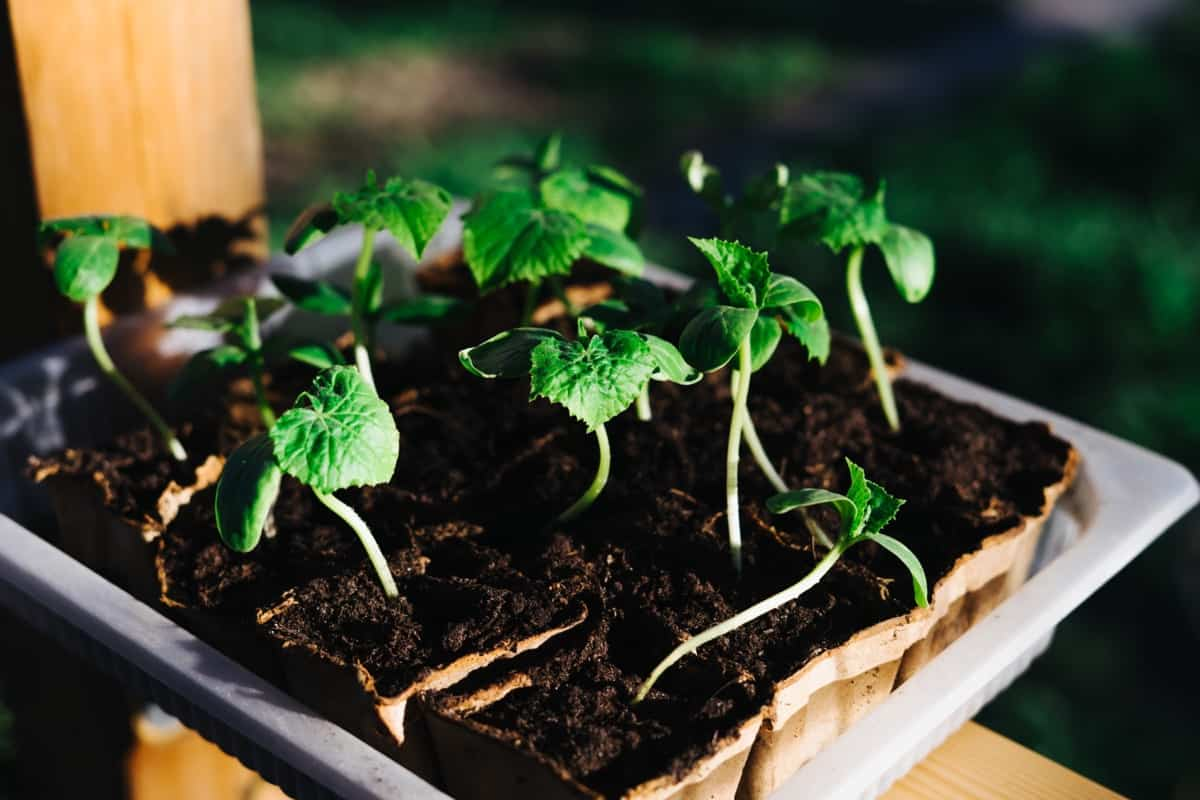
Understanding Artichoke Seedlings
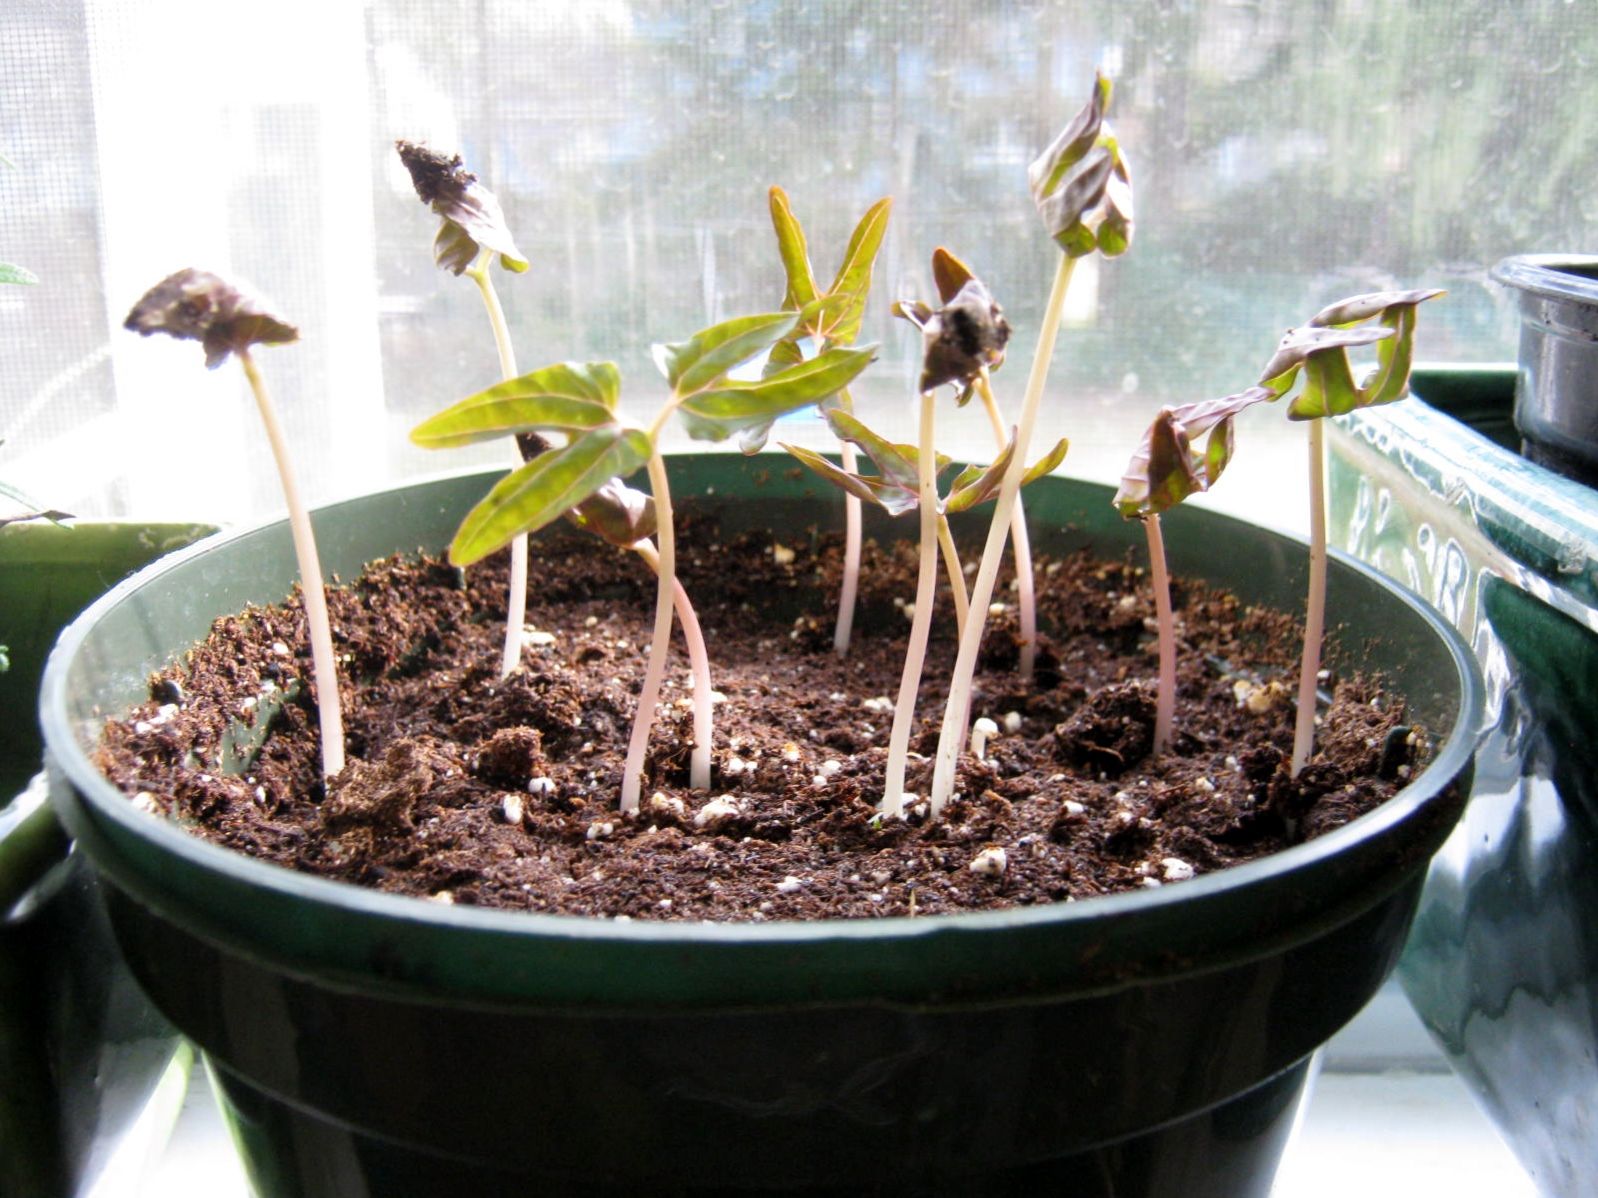
Before we delve into the intricacies of transplanting artichoke seedlings, it’s essential to have a solid understanding of these delicate young plants. Artichoke seedlings are the early stage of growth for artichoke plants, and they require careful attention and nurturing to ensure their successful development.
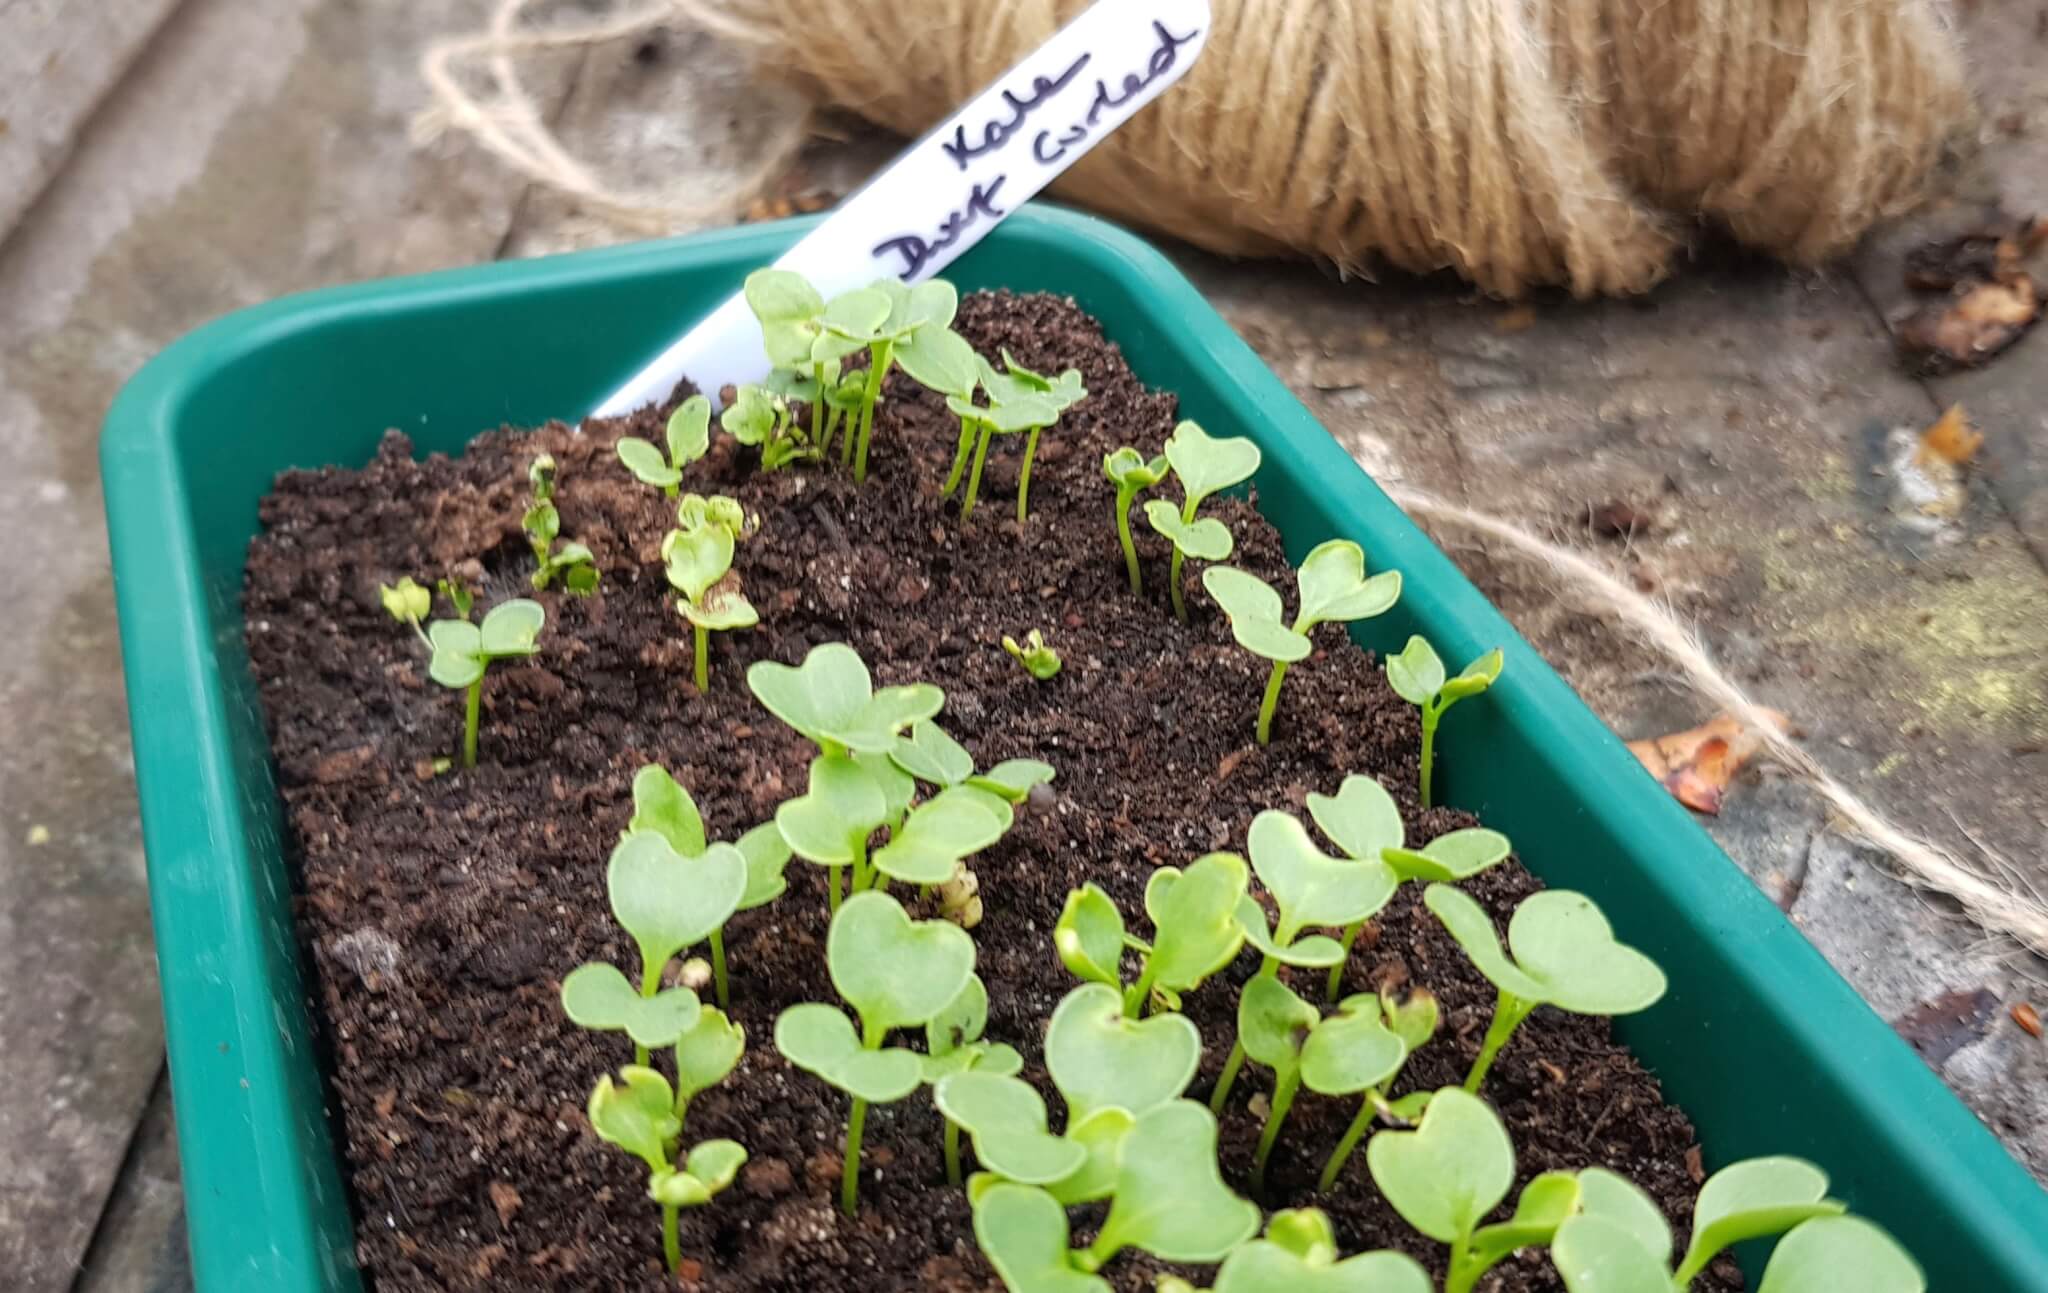
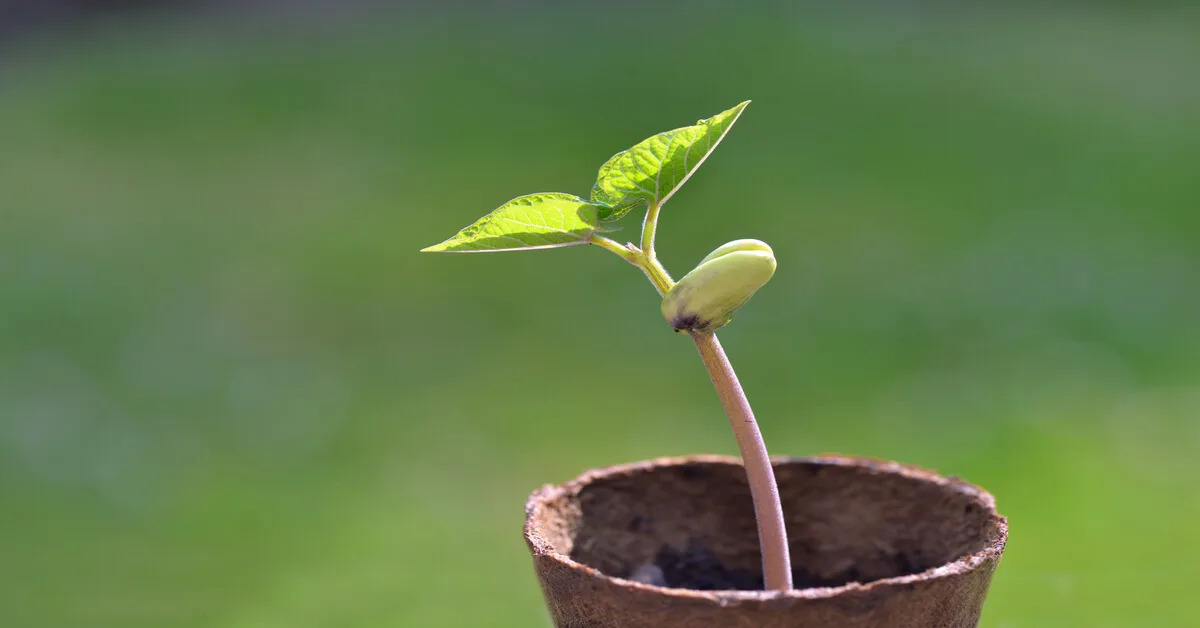
Artichoke seedlings typically have two primary leaves known as cotyledons. These initial leaves serve as the energy source for the seedling until the first true leaves emerge. The true leaves will have a distinct spiky shape, similar to the mature artichoke leaves. As the seedling grows, more true leaves will unfurl, forming the characteristic foliage of the artichoke plant.
It’s important to note that artichoke seedlings have specific environmental requirements to thrive. They prefer well-draining soil that is rich in organic matter, with a slightly acidic to neutral pH level. Adequate sunlight is crucial for their growth, requiring at least 6 to 8 hours of direct sunlight per day. If you don’t have access to full sun, partial shade can be tolerated, but it may result in slower growth.
Additionally, artichoke seedlings are sensitive to cold temperatures. They thrive best in areas with mild winters and warm summers. If you live in a region with harsh winters, it’s advisable to start your artichoke seeds indoors or in a greenhouse to protect them from frost and extreme cold conditions.
Understanding the specific needs and characteristics of artichoke seedlings will greatly contribute to your success in growing healthy and robust plants. Now that you have a grasp on what makes these seedlings unique, let’s explore the optimal time to transplant them into your garden beds or larger pots.
Optimal Transplanting Time
Timing is key when it comes to transplanting artichoke seedlings. You want to ensure that the seedlings are strong enough to handle the transition and have the best chance of thriving in their new environment. The optimal time for transplanting artichoke seedlings depends on various factors, including your local climate and the maturity of the seedlings.
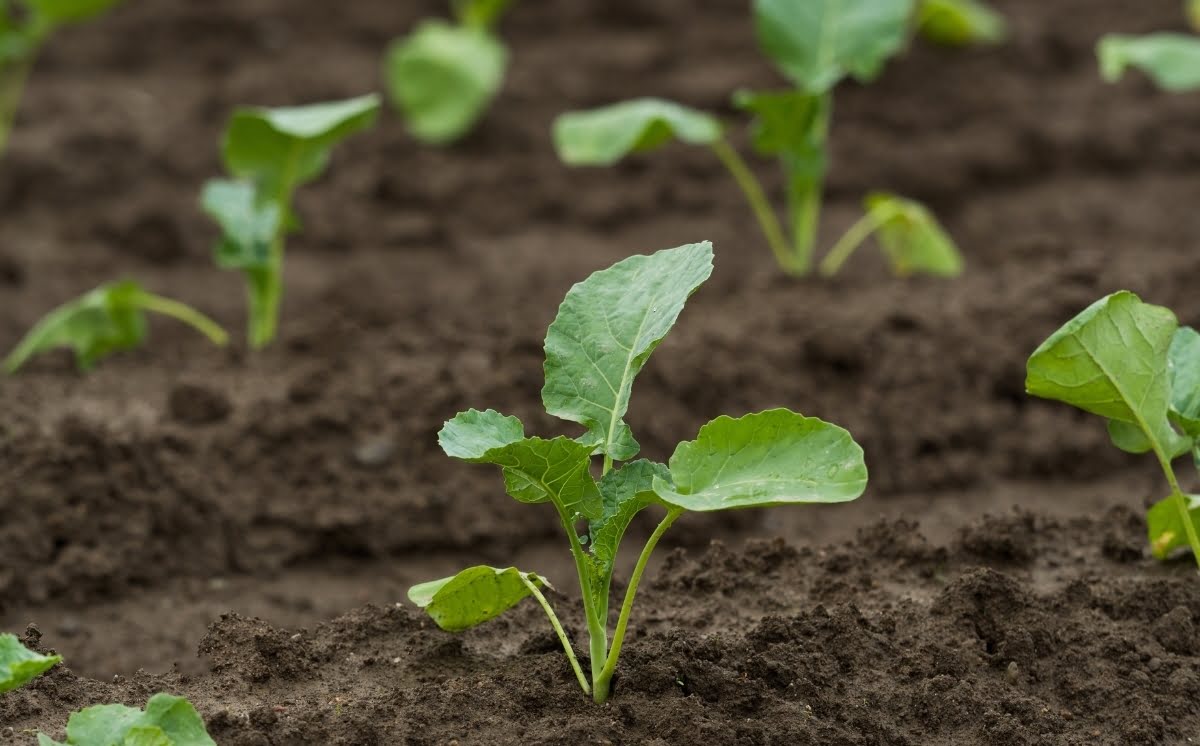
In general, artichoke seedlings are ready for transplanting when they have developed their first set of true leaves. These leaves will be larger and have a spiky appearance, resembling the leaves of mature artichoke plants. This stage usually occurs around 6 to 8 weeks after germination.
However, it’s essential to take into account the local climate and weather conditions. Artichokes thrive in cool, Mediterranean climates with mild winters and warm summers. If you live in a region with a short growing season or harsh winters, you may need to start your artichoke seeds indoors to ensure they have enough time to grow to a transplantable size.
Transplanting artichoke seedlings too early in cold or unfavorable conditions can stunt their growth and reduce their chances of survival. On the other hand, waiting too long to transplant them can result in root-bound seedlings that struggle to establish themselves in the new location.
As a general guideline, aim to transplant your artichoke seedlings after the last frost date in your area or when the soil temperature reaches a consistent minimum of 60°F (15°C). This typically falls in the spring, but it’s crucial to monitor local weather patterns and consult gardening references specific to your region for more accurate timing.
By choosing the optimal transplanting time, you set your artichoke seedlings up for success and ensure they have the best possible start in their new home. Now that you know when to transplant, let’s explore the indicators that will help you determine if your seedlings are ready for the next step.
Indicators for Transplanting
Knowing the right time to transplant your artichoke seedlings is crucial, but it’s equally important to look for specific indicators to ensure that the seedlings are ready for the transition. By paying attention to these indicators, you can increase the chances of successful transplantation and promote healthy growth in your artichoke plants.
One of the key indicators for transplanting artichoke seedlings is the development of a robust root system. Gently lift a few seedlings from their containers and inspect the roots. If the roots have begun to fill the container and are showing signs of circling or entanglement, it’s a good sign that the root system is well-developed and ready for transplantation.
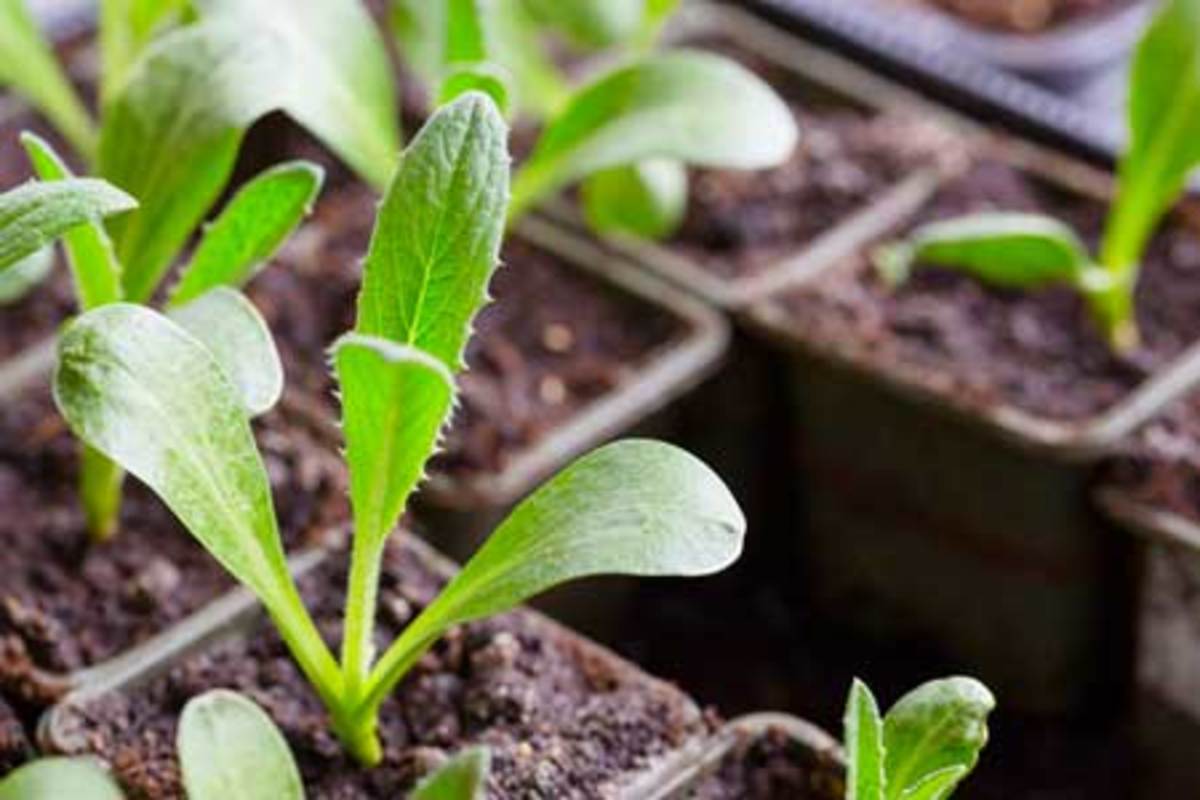
Another indicator to consider is the overall size and vigor of the seedlings. Artichoke seedlings should have a height of at least 4 to 6 inches (10 to 15 cm) and a sturdy stem. The foliage should be lush and vibrant, indicating that the seedlings are actively photosynthesizing and producing energy for growth.
It’s also important to observe the spacing between the leaves. If the leaves are crowded and overlapping, it may be a sign that the seedlings need more space to grow. Transplanting them into larger containers or directly into the garden beds will provide the necessary room for their expanding foliage.
Additionally, look for signs that the seedlings are becoming too large for their current containers. If you notice stunted growth, yellowing leaves, or increased susceptibility to pests and diseases, these are all indications that the seedlings are outgrowing their space and need to be transplanted.
Lastly, consider the weather conditions and the forecast for the next few weeks. Transplanting artichoke seedlings during a period of calm weather, with mild temperatures and minimal rainfall, will give them the best chance of acclimating to their new environment. Avoid transplanting during periods of extreme heat or cold to avoid unnecessary stress on the seedlings.
By paying attention to these indicators, you can confidently determine when your artichoke seedlings are ready for transplanting. The next section will guide you through the necessary steps to prepare your seedlings for the transplantation process.
Preparing Seedlings for Transplanting
Before you transplant your artichoke seedlings into their permanent growing location, it’s essential to properly prepare them for the transition. Taking the time to prepare your seedlings will help minimize transplant shock and ensure their successful establishment in their new environment. Here are some crucial steps to follow when preparing your seedlings for transplanting:
1. Harden off the seedlings: Artichoke seedlings that have been growing indoors or in a controlled environment need to be gradually exposed to outdoor conditions. This process is known as hardening off and helps toughen up the seedlings before transplanting. Start by placing the seedlings outside in a sheltered location for a few hours each day, gradually increasing the time and exposure to direct sunlight over the course of 1-2 weeks.
2. Water adequately: Ensure that your seedlings are adequately watered in the days leading up to transplanting. Moist but not waterlogged soil is ideal. This will help ensure that the roots are hydrated and the seedlings are in the best condition for transplantation.
3. Prepare the transplant site: Clear the selected transplant site of any weeds or debris. Dig the soil to loosen it and incorporate organic matter such as compost or well-rotted manure to improve soil fertility and drainage. Artichokes prefer well-draining soil, so amending heavy clay soils with sand or coarse organic matter will help create the optimal growing conditions.
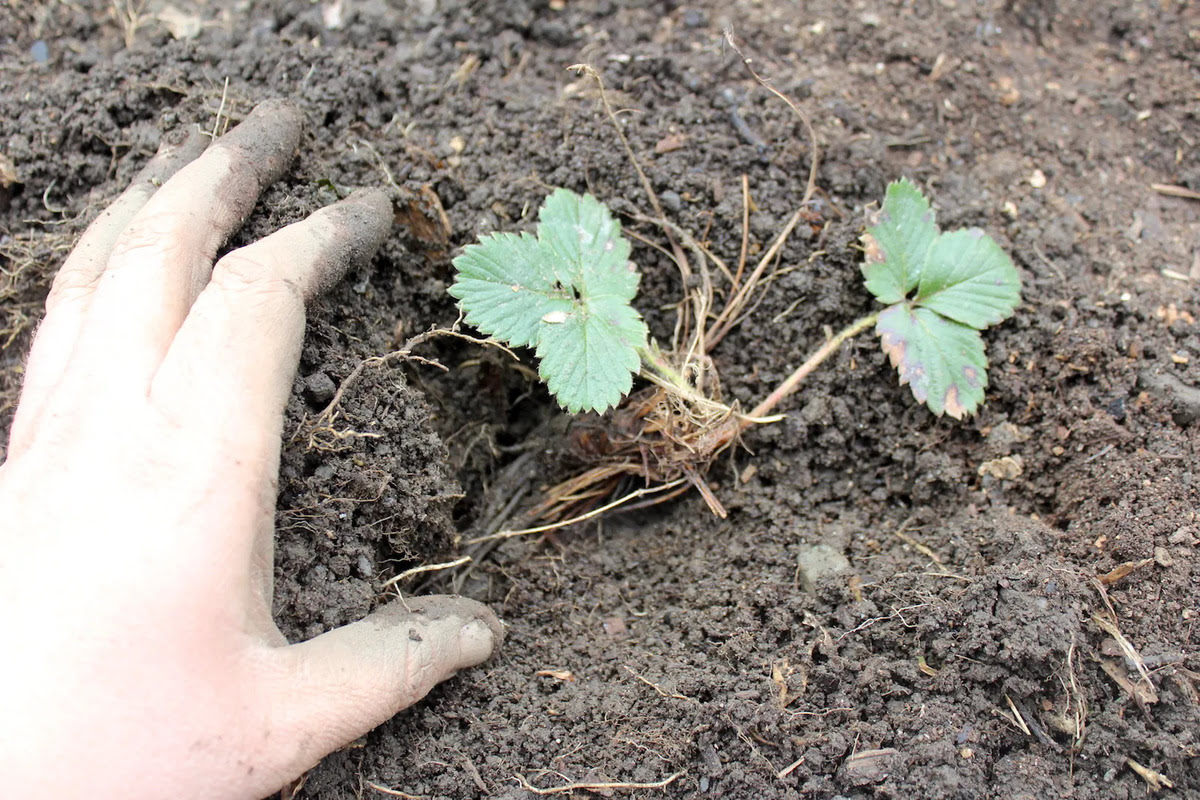
4. Dig the planting holes: Dig holes in the prepared transplant site that are slightly larger than the root ball of the seedlings. Space the holes at least 3 to 4 feet (0.9 to 1.2 meters) apart to allow enough room for the artichoke plants to spread as they grow.
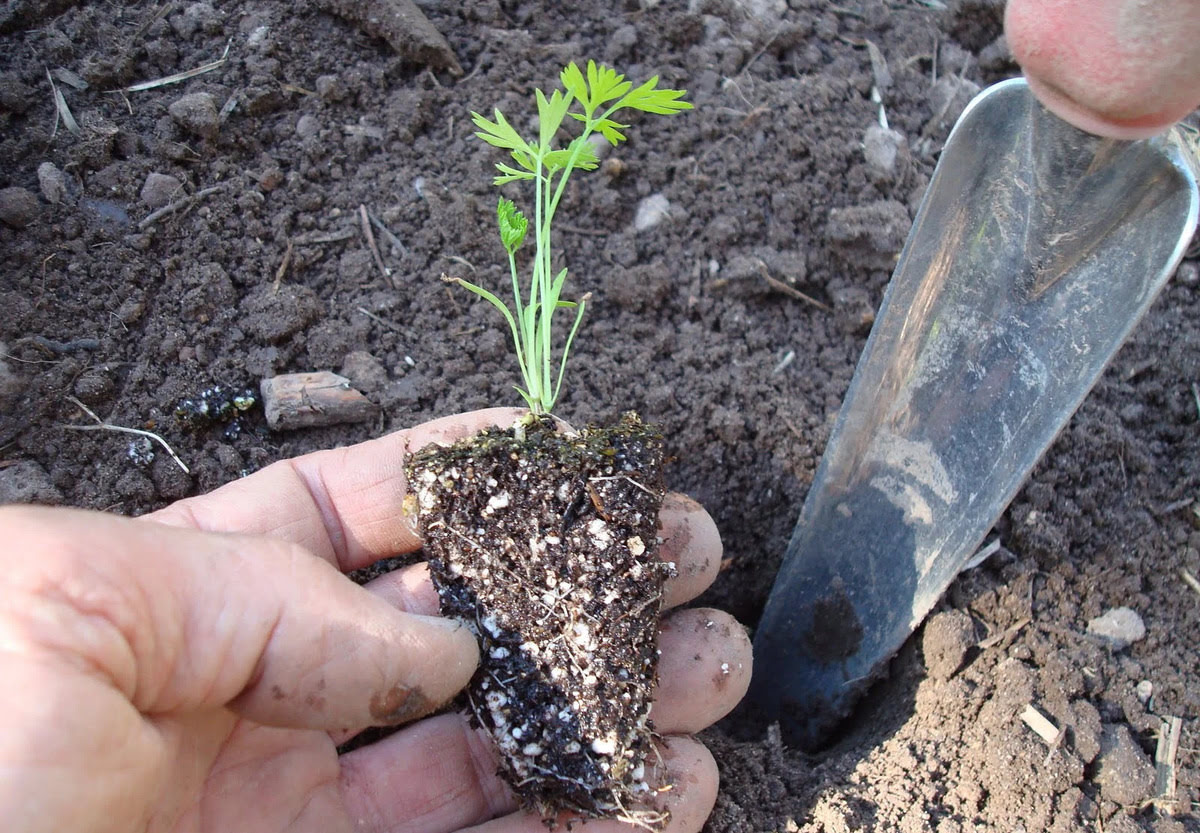
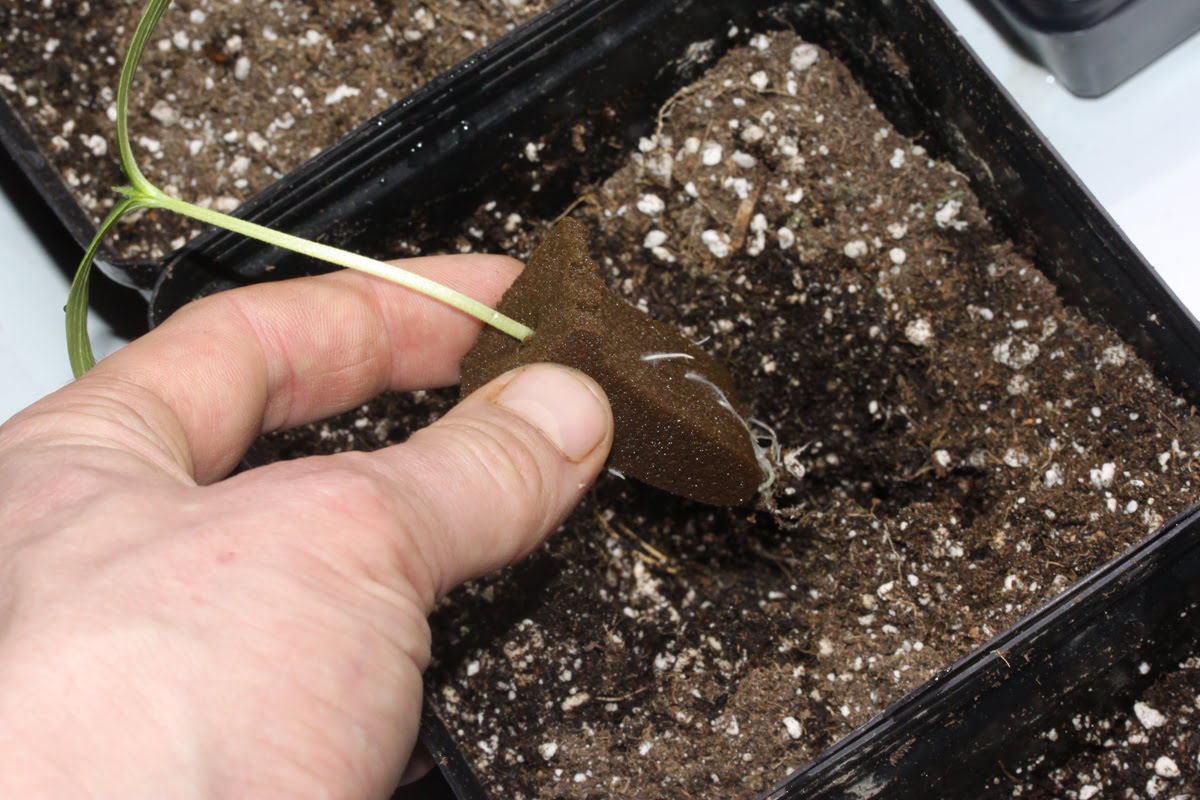
5. Transplant with care: Gently remove the seedlings from their containers or seed trays, taking care not to damage the delicate roots. Place each seedling into a prepared planting hole, ensuring that the top of the root ball is level with the soil surface. Fill the hole with soil, gently firming it around the plant to eliminate any air pockets.
6. Water thoroughly: After transplanting, water the seedlings thoroughly to help settle the soil and eliminate air pockets around the roots. Aim to keep the soil consistently moist in the following weeks, but avoid overwatering, as it can lead to root rot.
By following these preparatory steps, you will set your artichoke seedlings up for a successful transition into their new home. The next section will guide you through the process of transplanting the seedlings into their designated spots.
Transplanting Artichoke Seedlings
Now that you have prepared your artichoke seedlings for transplanting, it’s time to carefully move them to their new growing location. Transplanting is a delicate process, and following the correct steps will help ensure the seedlings’ successful establishment in their new environment. Here’s a step-by-step guide on how to transplant your artichoke seedlings:
1. Choose the optimal time: As mentioned earlier, transplant your seedlings after the last frost date in your area or when the soil temperature reaches a consistent minimum of 60°F (15°C). Transplanting during mild weather conditions will minimize stress on the seedlings.
2. Dig the planting holes: Dig holes in the prepared transplant site that are slightly larger than the root ball of the seedlings. Space the holes at least 3 to 4 feet (0.9 to 1.2 meters) apart to allow sufficient room for the artichoke plants to grow.
3. Gently remove the seedlings: Carefully remove the artichoke seedlings from their containers or seed trays, making sure to handle the delicate roots with care. If the seedlings are root-bound, gently loosen the roots to encourage outward growth.
4. Place the seedlings in the planting holes: One by one, place each seedling into a prepared planting hole, ensuring that the top of the root ball is level with the soil surface. Avoid planting the seedlings too deep, as this can lead to rotting or stunted growth.
5. Fill the holes with soil: Fill the holes around the seedlings with soil, gently firming it around the plant to eliminate any air pockets. Take care not to compact the soil too tightly, as this can hinder root growth and drainage.
6. Water thoroughly: After transplanting, water the seedlings thoroughly to settle the soil and ensure good root-to-soil contact. Aim to keep the soil consistently moist in the following weeks, but avoid overwatering, as it can lead to root rot.
7. Mulch the area: Apply a layer of organic mulch around the transplanted seedlings to help retain moisture, regulate soil temperature, and suppress weed growth. Leave a small gap between the mulch and the plant stems to prevent moisture-related issues.
Remember to monitor your transplanted artichoke seedlings closely in the following days and weeks. Provide them with adequate water, protect them from extreme weather conditions, and keep an eye out for any signs of stress or nutrient deficiencies. With proper care, your artichoke seedlings will settle into their new home and thrive as they continue to grow.
Aftercare for Transplanted Seedlings
Transplanting artichoke seedlings is just the beginning of their journey towards becoming productive plants. Aftercare is crucial to ensure the continued growth and development of your transplanted seedlings. Here are some essential steps you can take to provide necessary aftercare for your artichoke plants:
1. Watering: Proper watering is essential to help your transplanted artichoke seedlings establish themselves. Provide a deep watering at least once a week, ensuring that the soil is moist but not saturated. During hot and dry periods, you may need to water more frequently to prevent the soil from drying out.
2. Fertilizing: Artichokes are heavy feeders and benefit from regular fertilization. Apply a balanced, organic fertilizer every 4-6 weeks during the growing season to provide essential nutrients. Additionally, incorporating compost or well-rotted manure into the soil annually will enhance soil fertility.
3. Mulching: Maintain a layer of organic mulch around the base of the plants to conserve moisture, suppress weed growth, and moderate soil temperature. Use materials such as straw, wood chips, or leaves and ensure the mulch is 2-3 inches deep. Avoid piling mulch directly against the stems to prevent moisture-related issues.
4. Pruning: Regular pruning helps promote healthy growth and encourages the development of multiple artichoke buds. Remove any dead or damaged leaves, as well as any side shoots that compete for resources. Pruning can also prevent overcrowding and improve air circulation, reducing the risk of diseases.
5. Pest management: Monitor your artichoke plants regularly for pests and take appropriate action to manage them. Common pests that can affect artichokes include aphids, slugs, snails, and caterpillars. Consider using organic pest control methods or companion planting as a preventive measure.
6. Winter protection: In regions with cold winters, artichokes may need protection to survive. Apply a thick layer of mulch around the base of the plants to insulate them from freezing temperatures. You can also cover the plants with frost blankets or move potted artichokes to a sheltered location.
7. Harvesting: Once your artichoke plants reach maturity, you can start harvesting the flower buds. Harvest them when the buds are tight and compact. Use a sharp knife to cut the bud, leaving about an inch of stem attached. Regular harvesting will encourage the growth of new buds.
By providing proper aftercare, you can nurture and strengthen your transplanted artichoke seedlings, ensuring their long-term health and productivity. Pay attention to their needs, address any issues promptly, and enjoy the journey of growing your own delectable artichokes.
Conclusion
Congratulations! You are now equipped with the knowledge and understanding of how to successfully transplant artichoke seedlings. By following the optimal transplanting time, identifying key indicators, and properly preparing and caring for your seedlings, you have set the stage for their healthy growth and eventual harvest of delicious artichokes.
Remember, artichokes are unique and rewarding plants to grow in your edible garden. From the striking foliage to the delectable flower buds, they offer both visual appeal and culinary versatility. With proper care and attention, your artichoke seedlings will transform into thriving plants that will amaze and delight you.
As you embark on this edible gardening journey, continue to learn and adapt your methods based on your specific growing conditions and experiences. Remember to check local gardening references and consult fellow gardeners for guidance specific to your region.
So, roll up your sleeves, get your hands dirty, and enjoy the process of tending to your artichoke seedlings. Through patience, dedication, and a little bit of green-thumb magic, you’ll soon be enjoying the rewards of your edible garden in the form of delectable, homegrown artichokes!