Home>Types of Gardening>Ornamental Gardening>When To Transplant Thyme Seedlings
Ornamental Gardening
When To Transplant Thyme Seedlings
Modified: February 9, 2024
Find out the optimal timing for transplanting your thyme seedlings in your ornamental gardening journey. Maximize the success of your transplanting efforts with our expert tips.
(Many of the links in this article redirect to a specific reviewed product. Your purchase of these products through affiliate links helps to generate commission for Chicagolandgardening.com, at no extra cost. Learn more)
Table of Contents
- Introduction
- Factors to Consider Before Transplanting Thyme Seedlings
- Signs that Thyme Seedlings are Ready for Transplanting
- Best Time to Transplant Thyme Seedlings
- Steps to Transplant Thyme Seedlings Successfully
- Potential Challenges and Solutions During Thyme Seedling Transplantation
- Aftercare Tips for Transplanted Thyme Seedlings
- Conclusion
Introduction
Ornamental gardening is a fulfilling and rewarding hobby, allowing enthusiasts to express their creativity and add beauty to their outdoor spaces. One popular ornamental plant that gardeners often choose is thyme. With its delicate foliage, aromatic scent, and culinary uses, thyme is a versatile herb that can be a lovely addition to any garden.
However, growing thyme from seedlings requires careful attention and proper transplanting techniques to ensure their successful establishment in the garden. Timing plays a crucial role in determining when to transplant thyme seedlings, as well as understanding the signs that indicate they are ready for the move.
In this article, we will explore the factors to consider before transplanting thyme seedlings, the best time to transplant them, and the steps to ensure their successful transplantation. We will also discuss potential challenges and provide aftercare tips to ensure the healthy growth of transplanted thyme seedlings.
So, whether you are a beginner gardener or an experienced one looking to expand your herb garden, this article will serve as a comprehensive guide to help you successfully transplant thyme seedlings and enjoy the beauty and benefits of this aromatic herb.
Factors to Consider Before Transplanting Thyme Seedlings
Before diving into the process of transplanting thyme seedlings, it is essential to consider a few factors to ensure their successful establishment in the new location. By taking these factors into account, you can minimize stress on the plants and increase their chances of thriving in their new environment.
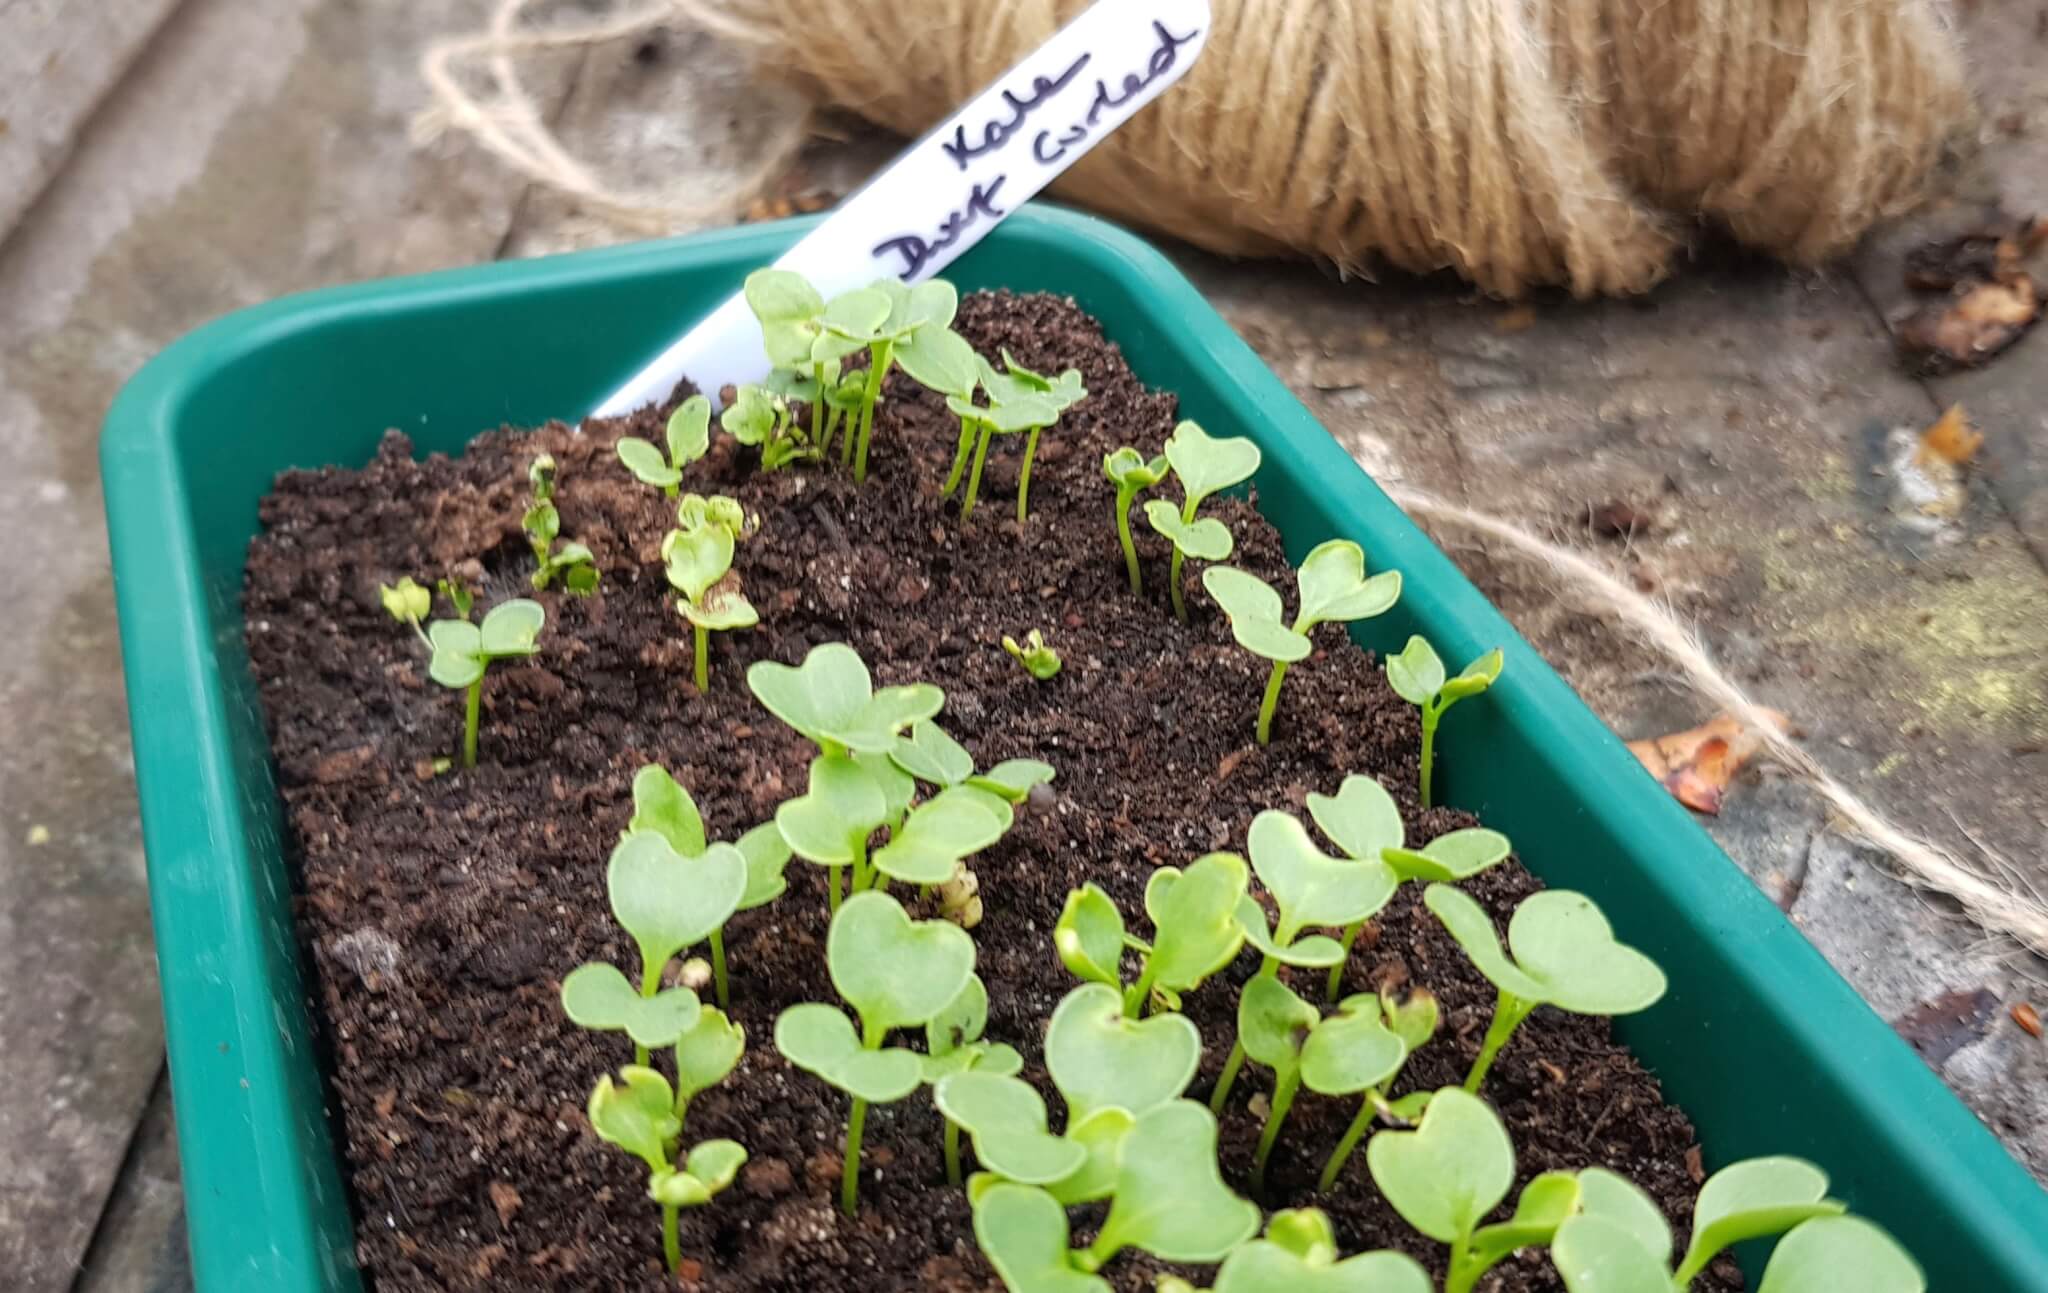
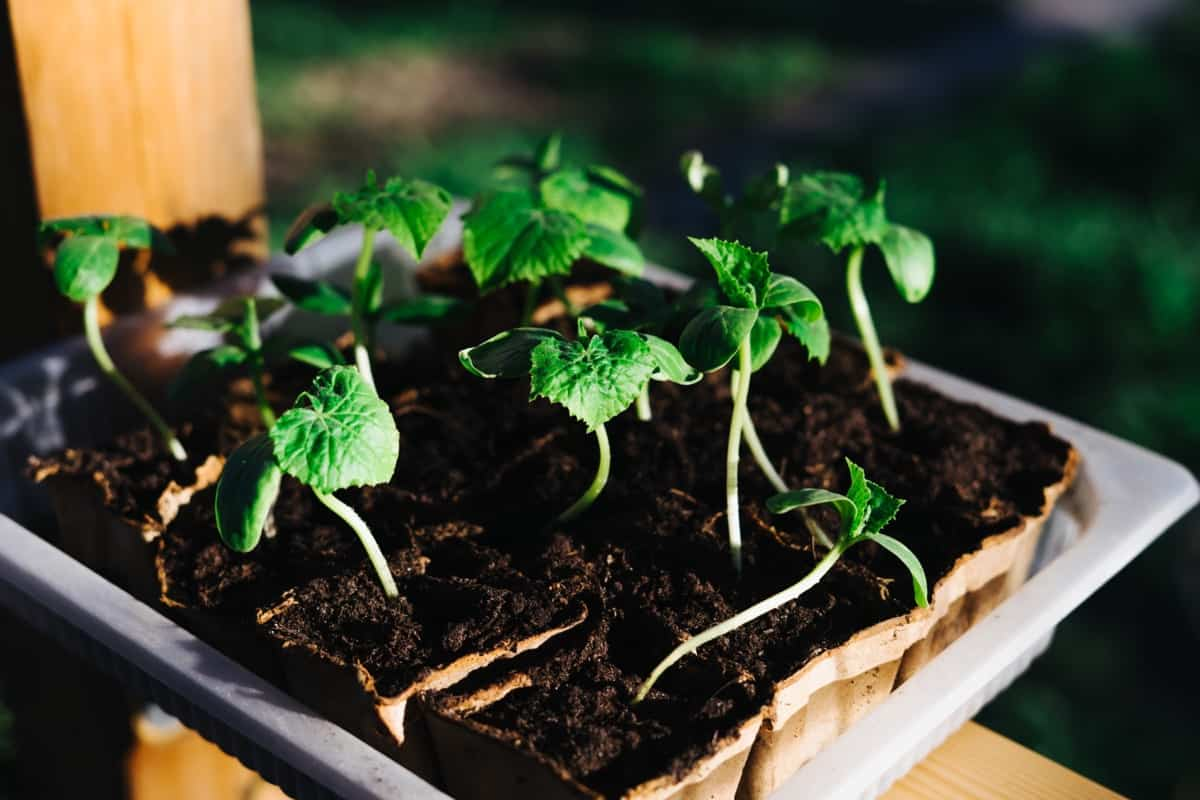
1. Maturity of Seedlings: It is crucial to wait until the thyme seedlings have reached a certain level of maturity before attempting to transplant them. Transplanting immature seedlings can shock the plants and hinder their growth. Aim for seedlings that have developed a strong root system and have at least two sets of true leaves.
2. Weather and Temperature: Consider the weather conditions at the time of transplantation. Thyme seedlings are more likely to thrive when transplanted during mild weather conditions with temperatures ranging around 60-70°F (15-21°C). Avoid transplanting during extreme heat, as it can stress the plants, or during frosty conditions, which can damage or kill the young seedlings.
3. Soil Preparation: Prepare the transplanting site in advance by cultivating the soil and incorporating organic matter such as compost or well-aged manure. Thyme prefers well-draining soil with a pH of around 6.0 to 8.0. Ensure that the soil is loose and free from weeds or debris that can hinder the growth of the newly transplanted seedlings.
4. Location: Choose an appropriate location for the thyme seedlings. Thyme thrives in full sun, so select a spot that receives at least 6-8 hours of direct sunlight per day. Additionally, consider the proximity to other plants, as thyme can spread and may crowd neighboring plants if not given enough space.
5. Watering: Proper watering is essential both before and after transplanting. Water the seedlings thoroughly a day or two before transplanting to ensure they are well-hydrated. After transplanting, provide adequate water to help the seedlings establish their roots in the new location. Monitor the moisture level and avoid overwatering, as it can lead to root rot.
By considering these factors, you can optimize the conditions for successful thyme seedling transplantation. These considerations will help minimize transplant shock and provide a favorable environment for the seedlings to thrive and establish themselves in their new home.
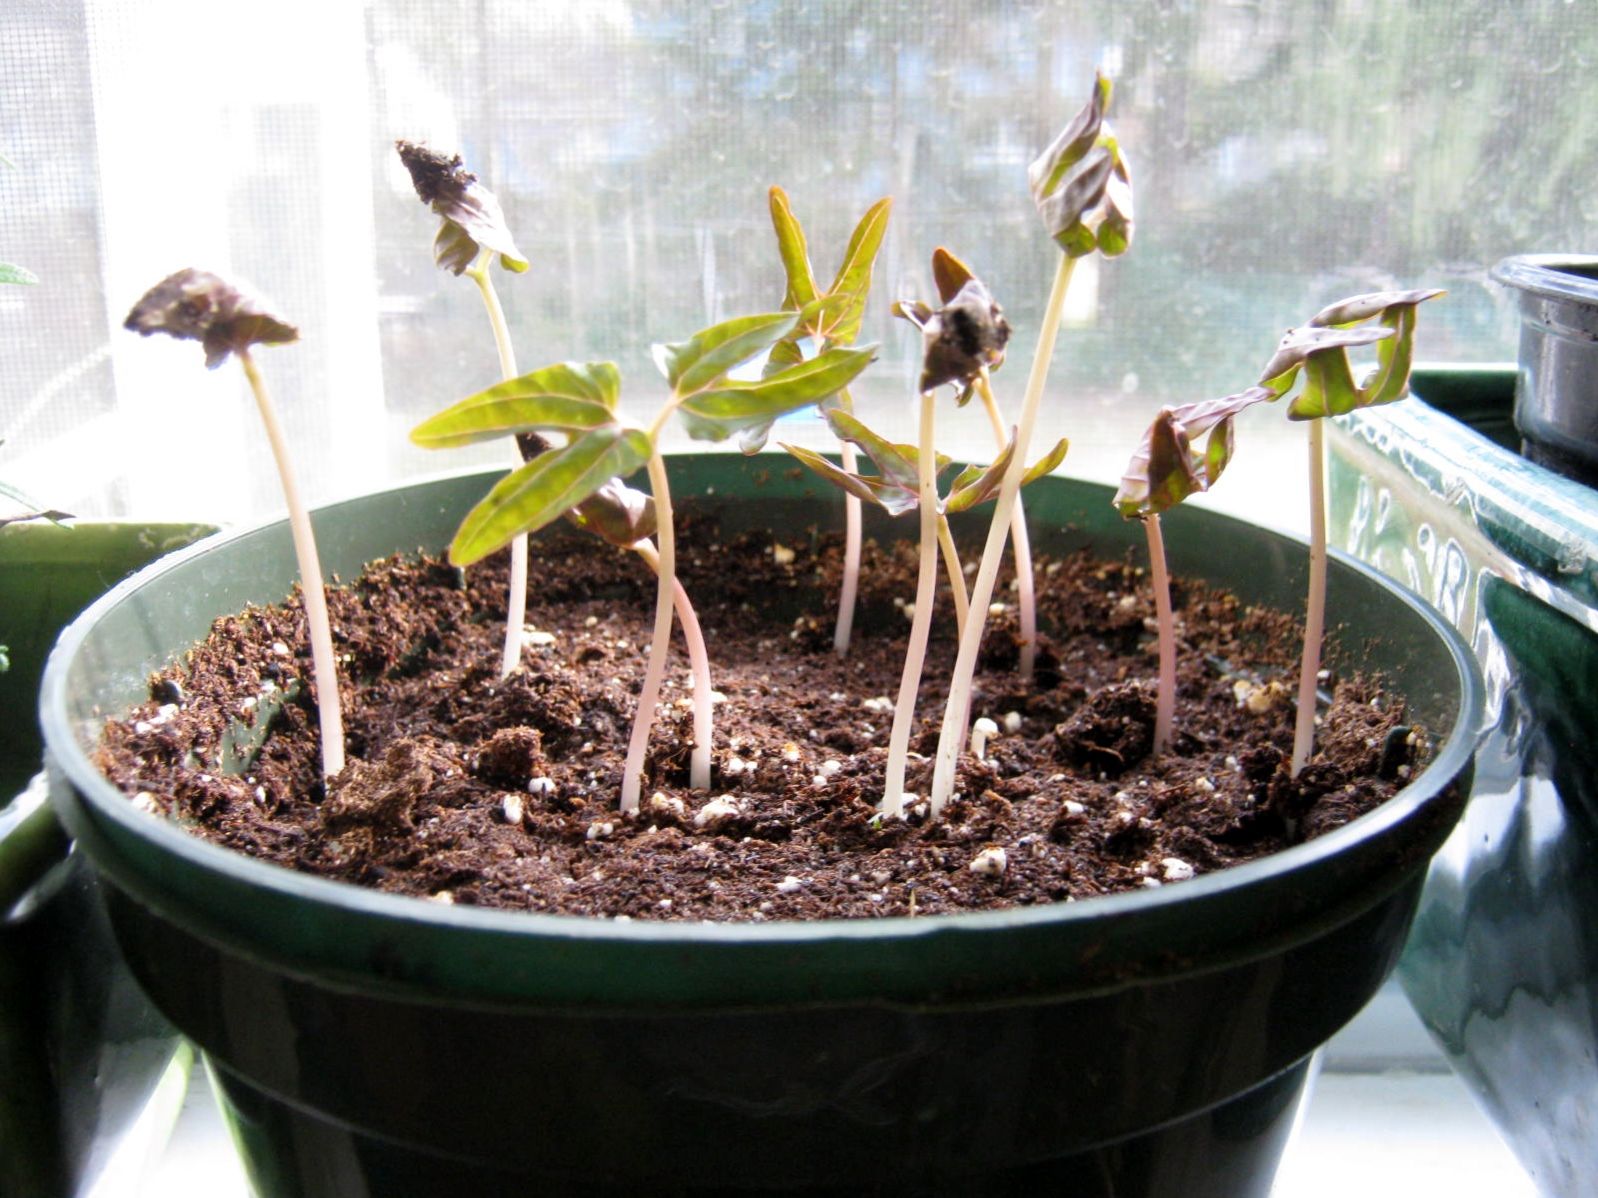
Signs that Thyme Seedlings are Ready for Transplanting
Transplanting thyme seedlings at the right time is crucial for their successful establishment in the garden. It is important to observe the seedlings closely and look for certain signs that indicate they are ready to be transplanted. By waiting for these signs, you can ensure that the seedlings are strong and mature enough to handle the transition.
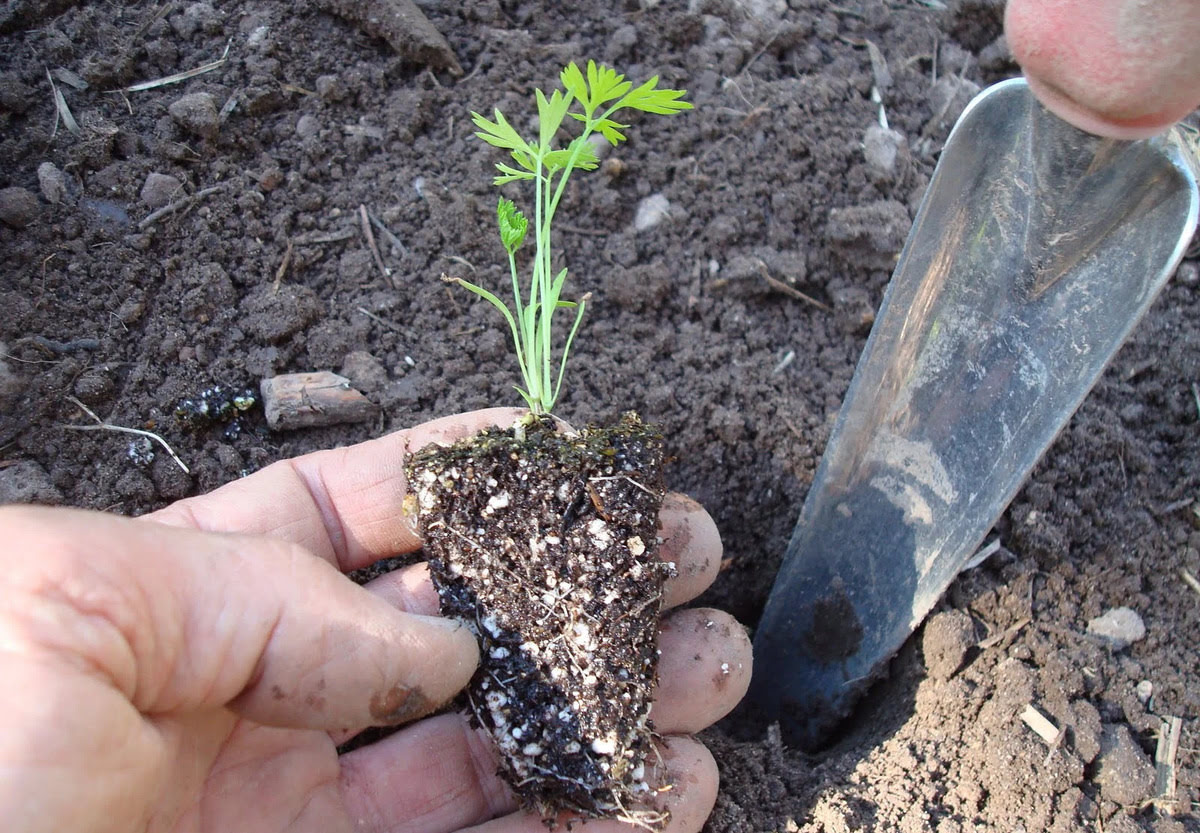
1. Strong Root Development: Take a close look at the root system of the thyme seedlings. Transplanting should be done when the roots have developed enough to hold the soil together. Gently lift a few seedlings from the tray and check for a dense, healthy root system that fills the container.
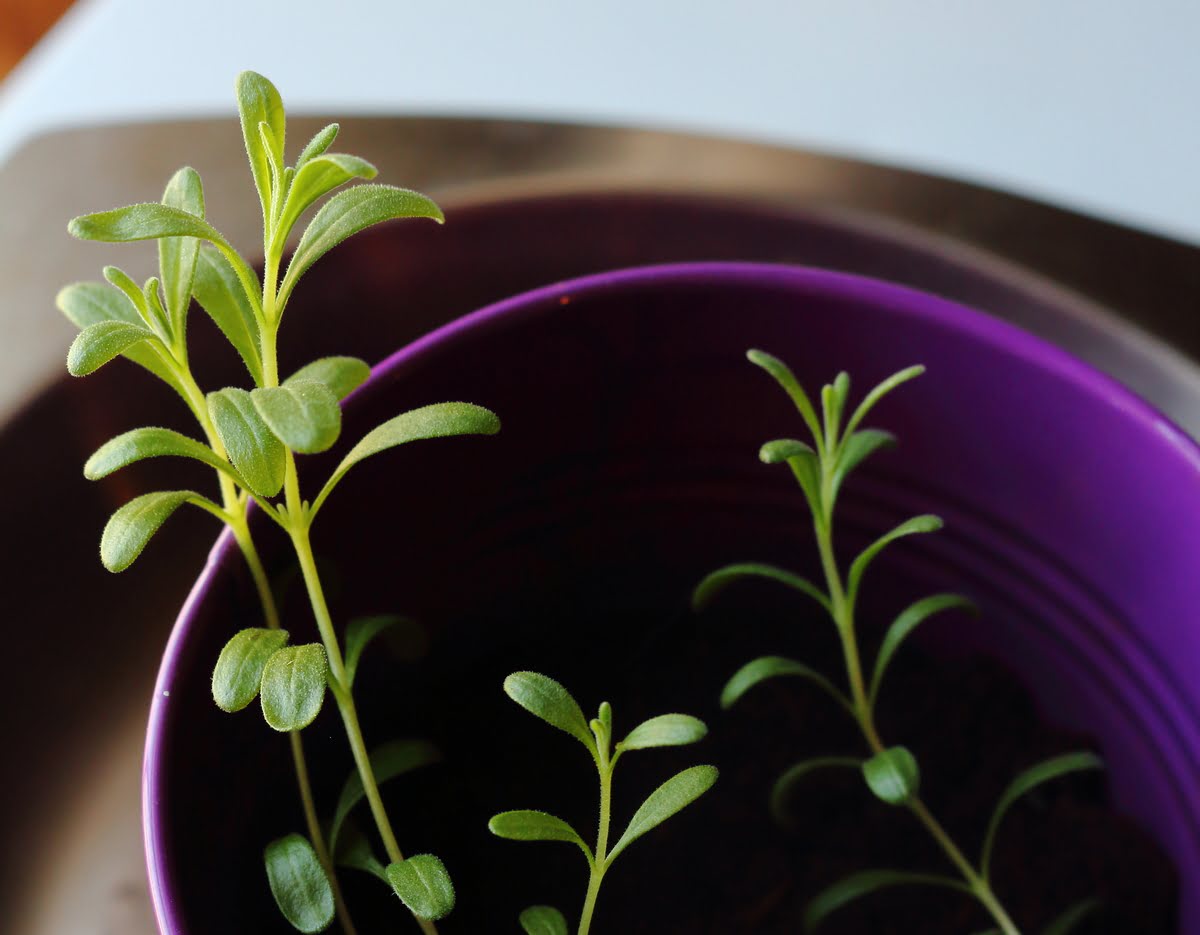
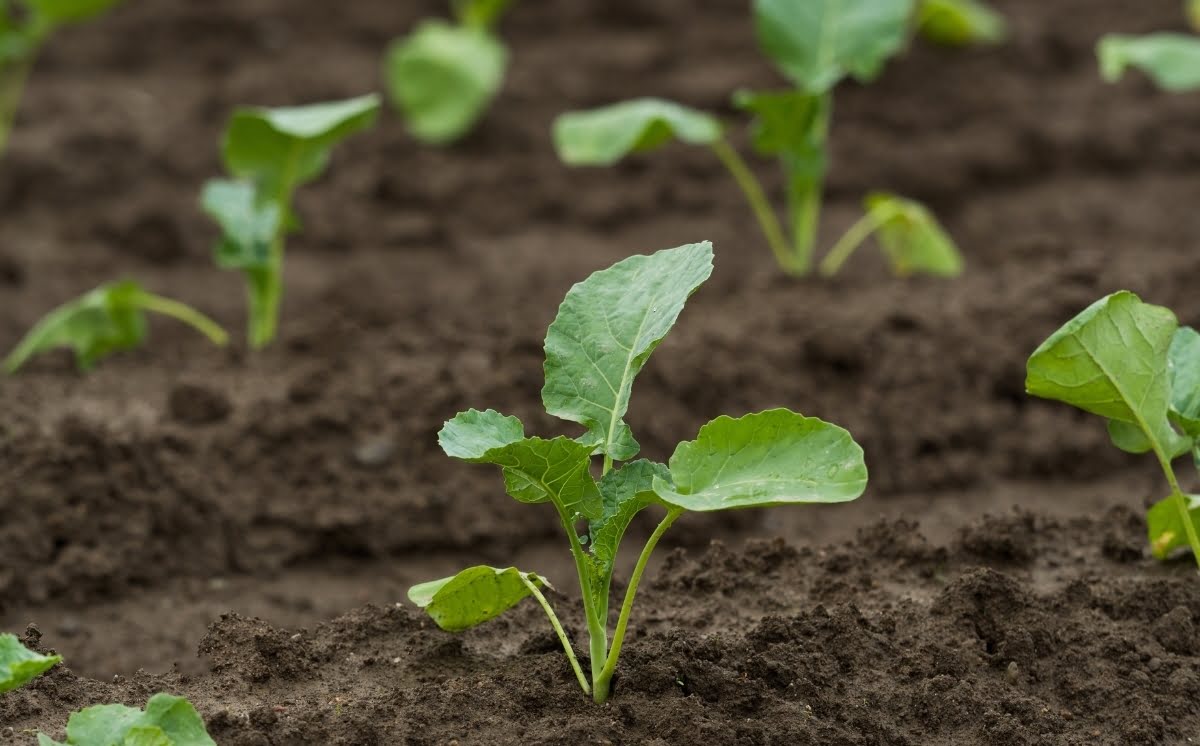
2. Lush and Compact Growth: Look for seedlings that exhibit dense and compact growth. Healthy thyme seedlings will have abundant foliage and a well-developed bushy appearance. Avoid transplanting spindly or weak-looking seedlings, as they may struggle to establish themselves in the new environment.
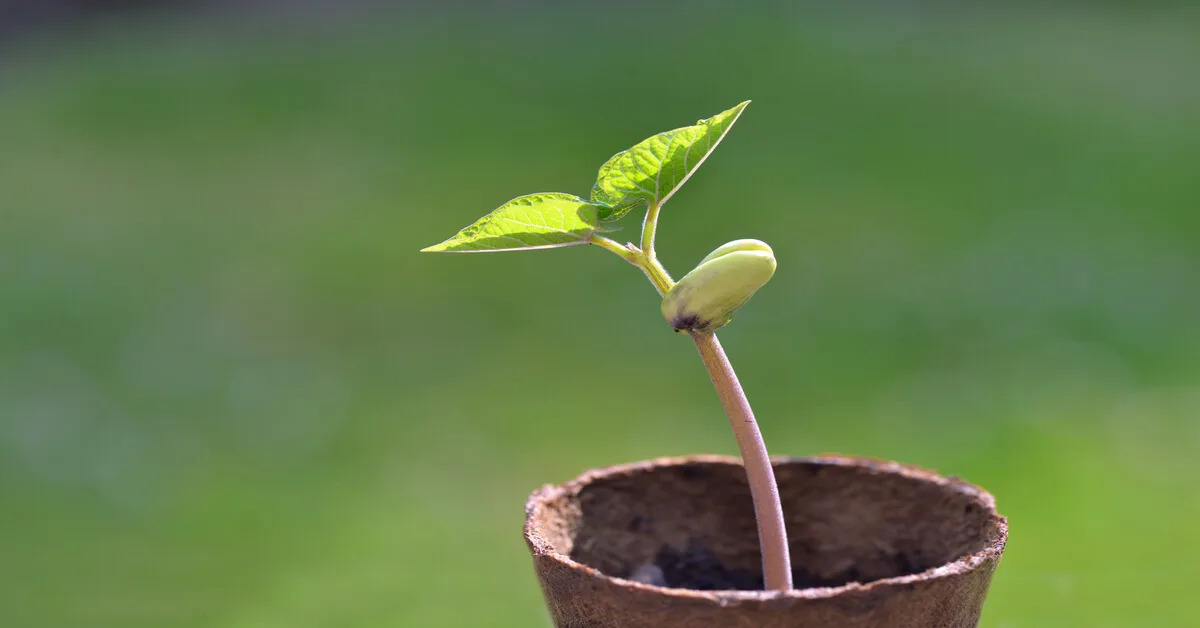
3. True Leaves: Thyme seedlings typically start with a pair of cotyledon leaves, which are the first leaves to appear. However, it is important to wait for the emergence of true leaves. True leaves are the second set of leaves that develop after the cotyledon leaves and resemble the mature leaf shape. This indicates that the seedlings are mature enough to move to the garden.
4. No Risk of Frost: Thyme is a tender herb that is sensitive to frost. Ensure that all risks of frost have passed before transplanting the seedlings into the garden. Late spring or early summer is usually the best time for transplantation when the weather is consistently warm.
5. Minimal Fragility: Handle the seedlings gently to see if they show any signs of fragility. Transplanting should be done when the seedlings are strong enough to withstand the stress of being uprooted. If the seedlings are too delicate and easily damaged, they may need more time to develop before transplantation.
Observing these signs will help you determine the optimal time for transplanting thyme seedlings. By waiting for strong root development, compact growth, true leaves, frost-free conditions, and minimal fragility, you can ensure that the seedlings are ready to thrive in their new garden home.
Best Time to Transplant Thyme Seedlings
The timing of transplanting is crucial for the successful establishment of thyme seedlings in the garden. Choosing the right time ensures that the seedlings have the best chance to adapt and thrive in their new environment. While the precise timing may vary depending on your specific location and climate, there are some general guidelines to consider.
The best time to transplant thyme seedlings is typically in the late spring or early summer when the risk of frost has passed and the weather is consistently warm. This period provides optimal conditions for the seedlings to grow and adjust to their new surroundings.
Transplanting during cooler months or when the ground is still cold can stress the seedlings and slow down their growth. On the other hand, transplanting during extreme heat can cause the seedlings to become dehydrated and struggle to establish roots.
It’s important to note that the specific timing may also depend on the growth stage of your thyme seedlings. Wait until the seedlings have developed a strong root system, at least two sets of true leaves, and a bushy, compact growth. This indicates their readiness for transplantation.
If you are unsure about the exact timing, you can consult with local gardening experts or consider checking with your local agricultural extension office for specific recommendations based on your region’s climate and growing season.
Overall, the best time to transplant thyme seedlings is during mild, warm weather conditions, with a focus on avoiding frost and extreme heat. By choosing the right time, you will give your thyme seedlings the best chance to establish healthy roots and thrive in their new garden habitat.
Steps to Transplant Thyme Seedlings Successfully
Transplanting thyme seedlings requires careful preparation and attention to ensure their successful transition from their current pots to the garden. Following these steps will help you transplant your thyme seedlings successfully:
- Prepare the transplanting site: Choose a sunny location in your garden with well-draining soil. Remove any weeds or debris, and loosen the soil to improve its structure and aeration.
- Water the seedlings: Thoroughly water the thyme seedlings a day or two before transplanting. This will help ensure that the roots are properly hydrated for the move.
- Dig appropriate planting holes: Dig holes in the garden bed that are slightly larger than the size of the seedling’s root ball. Space the holes about 6-12 inches apart to allow for proper growth and airflow.
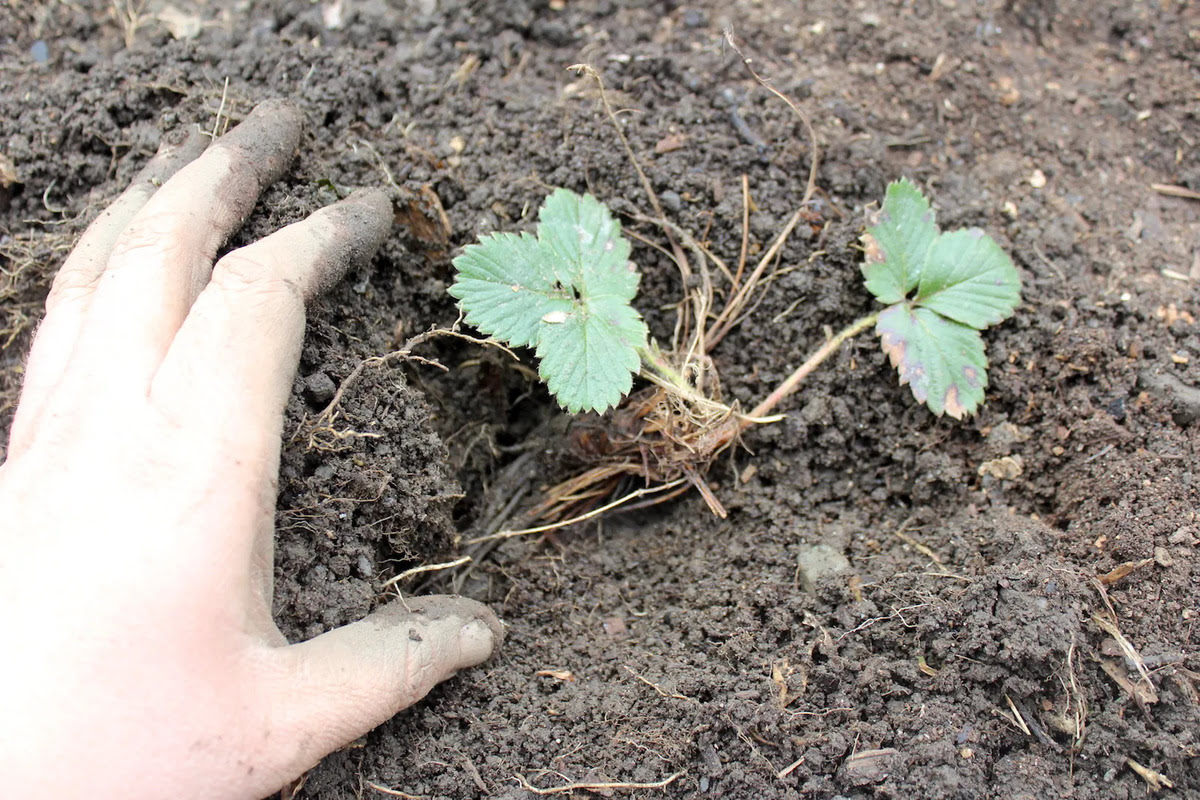
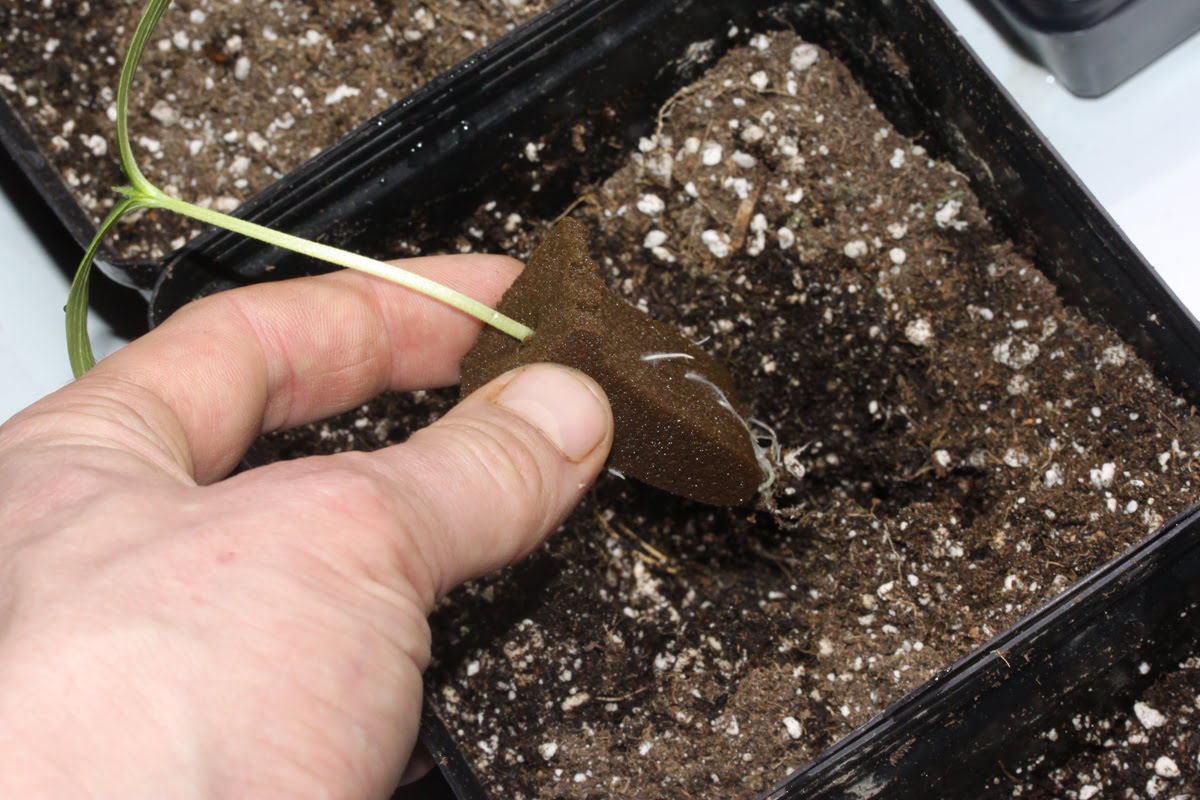
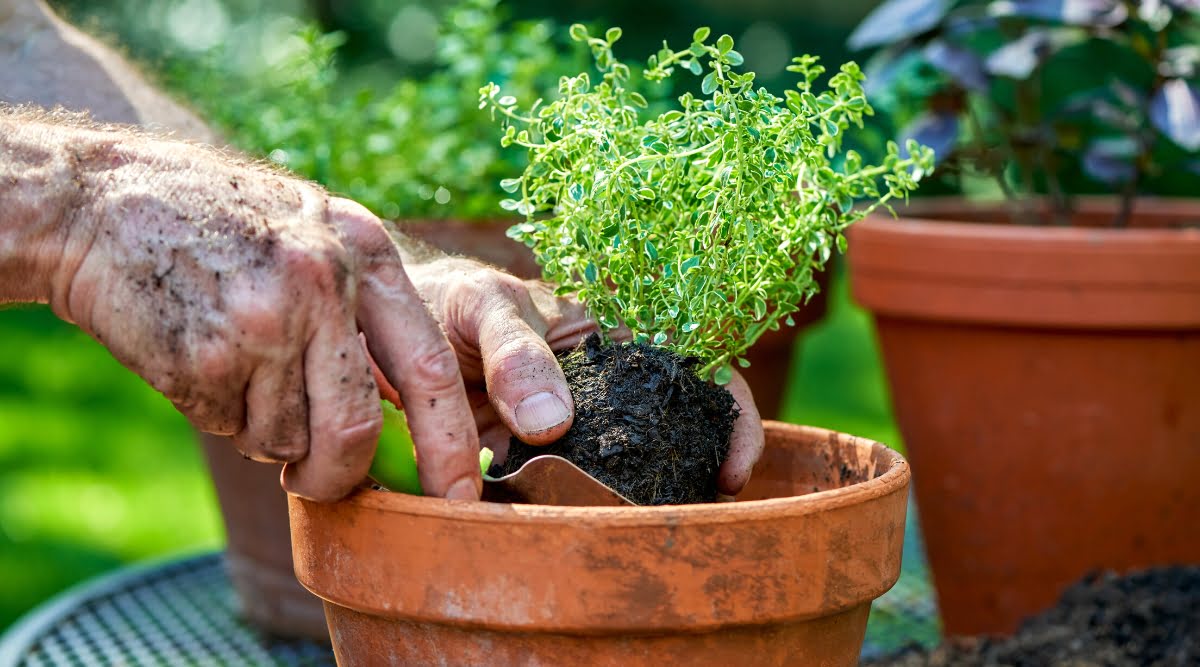
- Gently remove the seedlings from their pots: Carefully loosen the soil around the seedlings in their pots to avoid damaging the roots. If the seedlings are stuck, gently tap the bottom of the pots or use a small tool to ease them out.
- Place the seedlings in the holes: Hold each seedling by its leaves or the top of the root ball, avoiding touching the delicate stems, and place it in the prepared hole. Make sure that the top of the root ball is level with or slightly above the ground surface.
- Backfill the holes: Fill the holes around the seedlings with soil, gently pressing it down to eliminate air pockets. Take care not to compact the soil too firmly, as it can hinder root growth.
- Water the transplanted seedlings: Give the transplanted seedlings a deep watering, ensuring that the soil is thoroughly moistened. This helps settle the soil and encourages root establishment.
- Add mulch: Apply a layer of organic mulch, such as straw or wood chips, around the thyme seedlings. Mulch helps retain moisture, suppresses weeds, and regulates soil temperatures.
- Monitor and provide aftercare: Keep a close eye on the transplanted seedlings for the first few weeks. Water them regularly, ensuring that the soil remains evenly moist but not waterlogged. Protect the seedlings from extreme weather conditions and pests. Provide support if necessary as the seedlings grow.
By following these steps, you can ensure that your thyme seedlings are properly transplanted into the garden, with minimal stress and a higher chance of successful establishment and growth.
Potential Challenges and Solutions During Thyme Seedling Transplantation
While transplanting thyme seedlings is generally a straightforward process, there are a few potential challenges that you may encounter. Being aware of these challenges and understanding how to overcome them will help ensure a successful transplantation. Here are some common challenges and their corresponding solutions:
1. Transplant shock: Thyme seedlings may experience transplant shock due to the disruption of their root system during transplantation. This can cause wilting, stunted growth, or even death of the seedlings.
Solution: To minimize transplant shock, carefully handle the seedlings and avoid damaging their roots. Keep the roots adequately hydrated by watering them before and after transplantation. Providing shade or a protective covering for the first few days can also help reduce stress and aid in recovery.
2. Soil compatibility: Thyme prefers well-draining soil, but sometimes the garden soil may not provide the ideal conditions for the seedlings to thrive.
Solution: Amend the soil with organic matter, such as compost or well-rotted manure, to improve its structure and drainage. This will create a more suitable environment for the thyme seedlings. Additionally, consider growing thyme in containers or raised beds if the soil quality is consistently poor.
3. Weeds and competition: Weeds can compete with thyme seedlings for water, nutrients, and sunlight, hindering their growth and development.
Solution: Regularly remove weeds from the surrounding area of the transplanted thyme seedlings. Apply a layer of mulch around the plants to suppress weed growth and conserve soil moisture. This will give the thyme seedlings a competitive edge and ensure their optimal growth.
4. Inadequate water and drainage: Proper watering is vital during the establishment period, as both overwatering and underwatering can stress the thyme seedlings.
Solution: Provide consistent and adequate water to the transplanted seedlings. Water deeply but infrequently, allowing the top inch of soil to dry out between waterings. Use your fingers to check the moisture level in the soil and adjust watering accordingly. Ensure that the planting area has good drainage to prevent waterlogging, as excessive moisture can lead to root rot.
5. Pests and diseases: Thyme seedlings can sometimes be susceptible to pests, such as aphids or thrips, as well as diseases like powdery mildew or root rot.
Solution: Monitor the plants regularly for signs of pest infestation or disease. Use organic pest control methods, such as insecticidal soaps or neem oil, to manage pests. Ensure good air circulation around the plants to prevent fungal diseases. If necessary, treat any diseases promptly with appropriate fungicides, following label instructions.
By being prepared for these potential challenges and having the right solutions at hand, you can overcome them and ensure the healthy growth and establishment of your transplanted thyme seedlings.
Aftercare Tips for Transplanted Thyme Seedlings
After transplanting thyme seedlings into the garden, it is essential to provide proper aftercare to ensure their healthy growth and establishment. Implementing these aftercare tips will help your thyme seedlings thrive in their new environment:
1. Watering: Continue to water the transplanted seedlings regularly, especially during the first few weeks. Keep the soil evenly moist, but avoid overwatering, as it can lead to root rot. Adjust watering frequency depending on weather conditions and the moisture needs of the plants.
2. Mulching: Apply a layer of organic mulch around the thyme seedlings. Mulch helps retain soil moisture, suppresses weed growth, and regulates soil temperature. Maintain a mulch layer of about 2-3 inches, being careful not to push the mulch up against the plant stems to prevent rotting.
3. Fertilization: Thyme is a relatively low-maintenance herb that does not require heavy fertilization. Avoid applying excessive amounts of fertilizer, as it can lead to leafy growth at the expense of flavor and aroma. If needed, use a balanced organic fertilizer sparingly, following the manufacturer’s instructions.
4. Pruning: Regular pruning of thyme can help maintain its shape, encourage bushier growth, and prevent it from becoming leggy. Snip off any dead or damaged branches, and trim back the plant after flowering to encourage fresh growth.
5. Pest and disease management: Keep an eye out for common pests, such as aphids or thrips, as well as diseases like powdery mildew. Early detection is key to effective pest and disease management. Use organic pest control methods, such as insecticidal soaps or neem oil, if necessary. Monitor the plants closely and take appropriate action at the first sign of pests or diseases.
6. Supporting the plants: Depending on the variety, thyme plants may benefit from some form of support as they grow. Consider using small stakes or trellises to support trailing or vining varieties, especially if you want to train them to climb or cascade.
7. Harvesting: Once your thyme plants have become established, you can start harvesting the leaves for culinary or medicinal purposes. Harvest in the morning when the essential oils are most concentrated. Trim the stems just above a pair of leaves to encourage branching and continuous growth.
8. Winter protection: Depending on your climate, some thyme varieties may need protection during the winter months. Consider mulching heavily around the base of the plants, or cover them with a frost cloth or mini hoop tunnel to provide insulation and protect them from freezing temperatures.
By following these aftercare tips, you can ensure that your transplanted thyme seedlings receive the necessary care and attention, allowing them to flourish and provide you with aromatic foliage and flavor all season long.
Conclusion
Transplanting thyme seedlings is an essential step to ensure their successful growth and establishment in the garden. By considering factors such as maturity, weather conditions, soil preparation, and location, you can determine the optimal time for transplantation. Signs like strong root development, lush growth, true leaves, and a frost-free environment indicate the readiness of the thyme seedlings for transplanting.
Following the necessary steps, such as preparing the transplanting site, gently removing the seedlings from their pots, and backfilling the holes, will help ensure a smooth transition. Overcoming potential challenges like transplant shock, soil compatibility, weeds, and pests requires proper handling and proactive measures.
Aftercare is crucial for the healthy growth of transplanted thyme seedlings. Consistent watering, properly applied mulch, minimal fertilization, occasional pruning, and pest and disease management contribute to their overall success. Providing support to certain varieties, harvesting the leaves for culinary or medicinal purposes, and protecting the plants during winter ensure their continued growth and resilience.
Transplanting thyme seedlings is a rewarding experience that allows you to enjoy the beauty, fragrance, and culinary benefits of this versatile herb. With proper care and attention, your transplanted thyme seedlings will thrive in their new garden home, enhancing the aesthetics of your outdoor spaces and providing you with a fresh supply of aromatic foliage for culinary delights.
So, whether you’re a seasoned gardener looking to expand your herb collection or a beginner eager to embark on a gardening adventure, transplanting thyme seedlings is a gratifying process that will bring beauty, fragrance, and flavor to your garden.