Home>Types of Gardening>Edible Gardening>When To Transplant Celosia Seedlings
Edible Gardening
When To Transplant Celosia Seedlings
Modified: January 22, 2024
Learn when and how to transplant celosia seedlings in your edible gardening journey. Find the best time and techniques for successful transplantation.
(Many of the links in this article redirect to a specific reviewed product. Your purchase of these products through affiliate links helps to generate commission for Chicagolandgardening.com, at no extra cost. Learn more)
Table of Contents
Introduction
In the world of gardening, one of the most gratifying experiences is watching your plants grow from tiny seedlings into bountiful harvests. If you’re a fan of edible gardening, you know that choosing the right time to transplant your seedlings is crucial for their success.
Transplanting, in simple terms, means moving seedlings from their initial growing containers to their permanent garden location. This process allows them to establish strong root systems and thrive in their new environment. However, transplanting at the wrong time can lead to stress for the plants and reduced productivity.
Timing is essential when it comes to transplanting edible plants like celosia seedlings. Celosia, also known as cockscomb, is a colorful and versatile plant that adds beauty to any garden. These vibrant flowers come in various shapes and sizes, making them a popular choice among garden enthusiasts. Whether you have started your celosia plants from seeds or purchased young seedlings, knowing when to transplant them is crucial for their overall health and growth.
This article will guide you through the factors to consider when transplanting celosia seedlings, the ideal timing for transplantation, and the necessary steps to ensure a successful transplant. By following these guidelines, you’ll be able to give your celosia seedlings the best chance to flourish and produce beautiful blooms for you to enjoy.
Factors to Consider
Before diving into the specific timing for transplanting celosia seedlings, there are a few factors that you should consider. These factors will help you determine the readiness of your seedlings and ensure a smooth transition to their new home in the garden. Take a look at the following considerations:
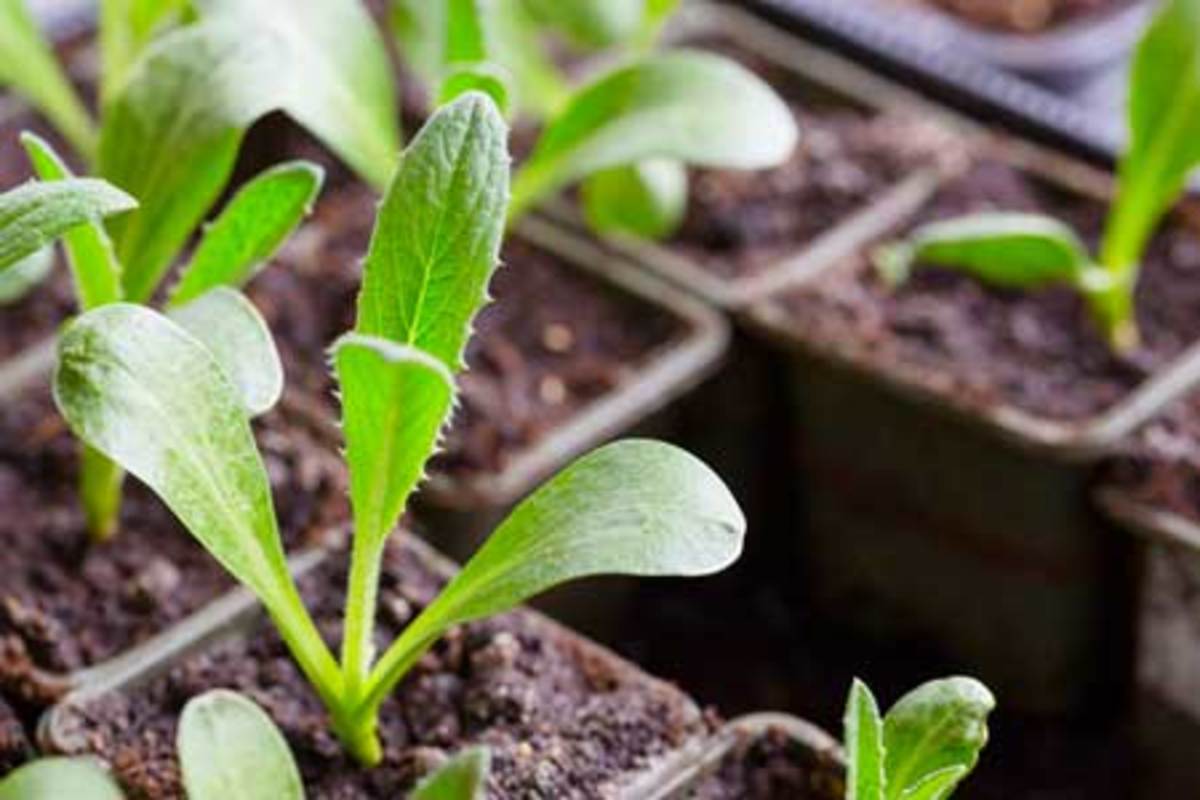
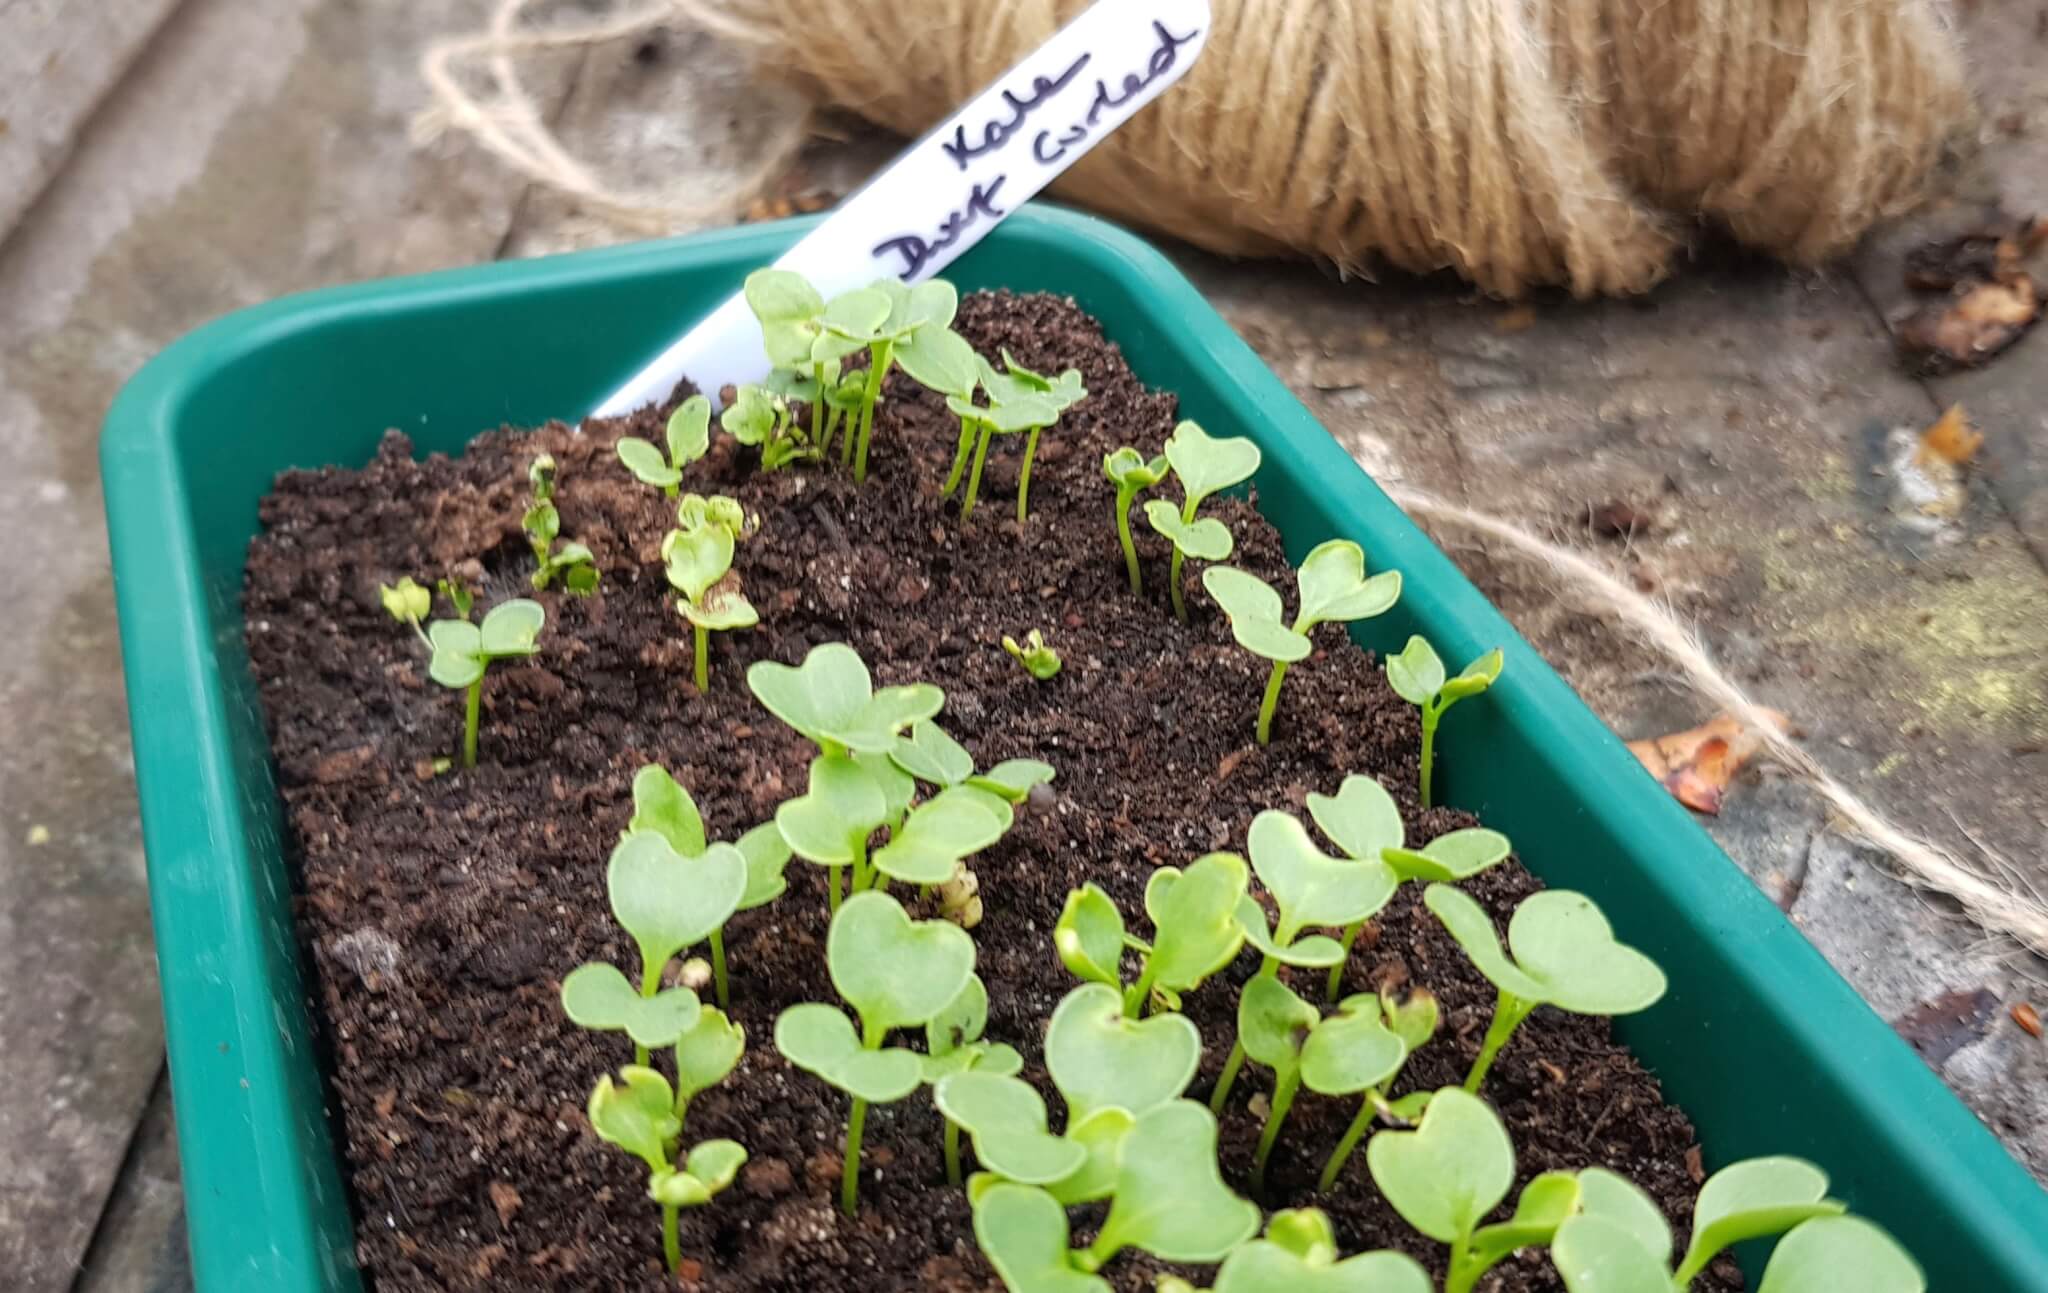
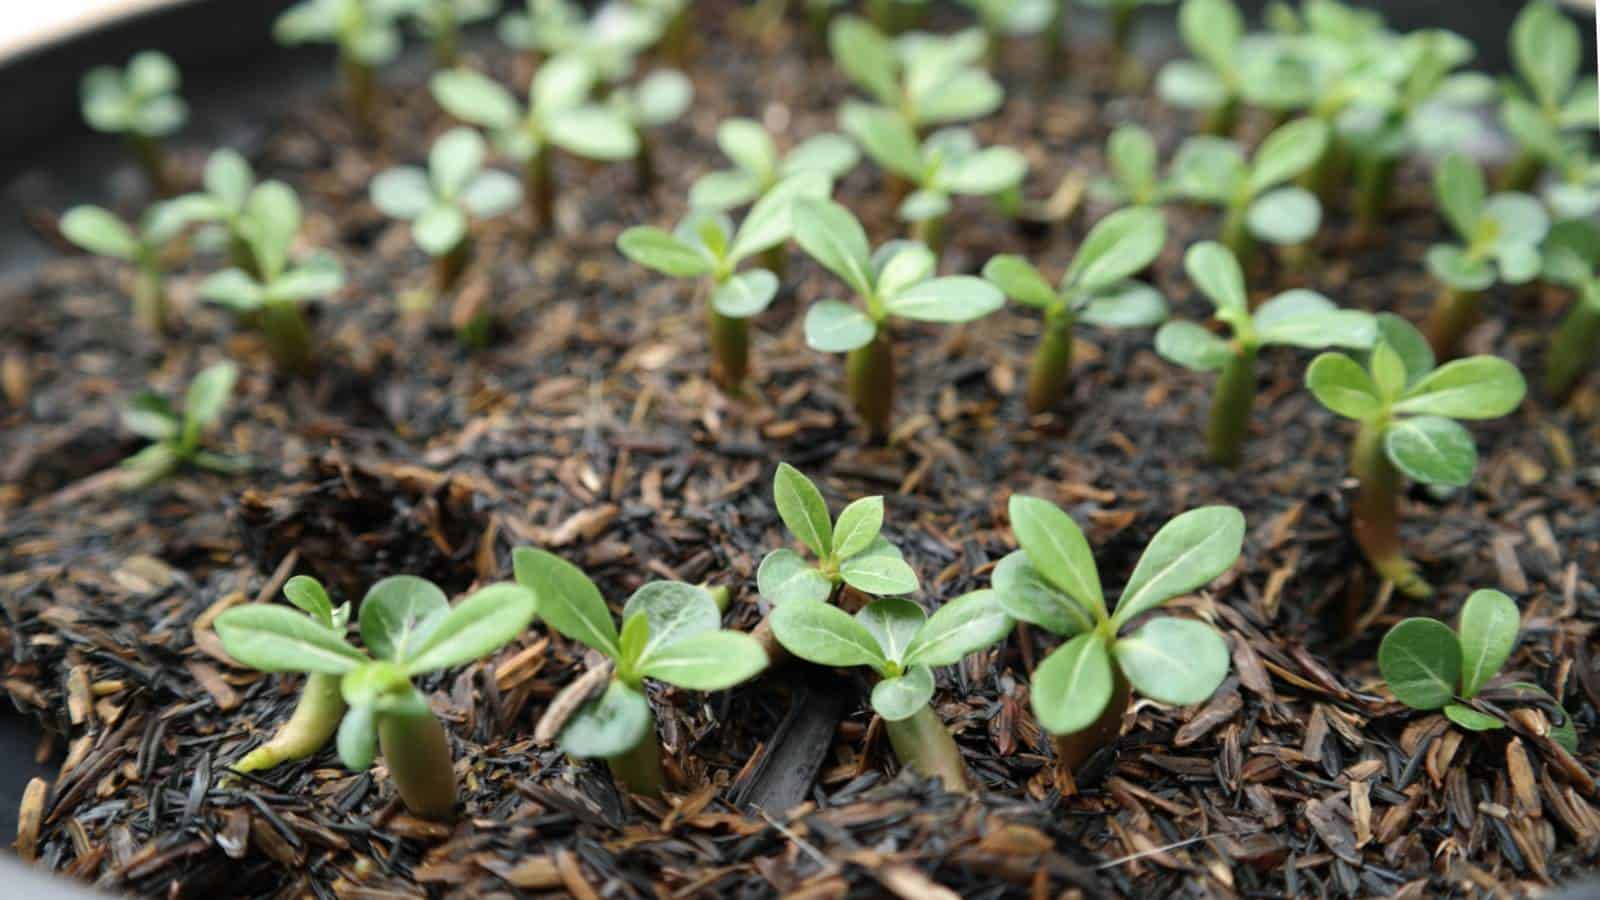
- Size and Development: The size and development of your celosia seedlings play a significant role in determining their readiness for transplanting. Ideally, seedlings should have developed strong stems, be at least a few inches tall, and have a good set of leaves before being moved.
- Weather Conditions: Consider the current and forecasted weather conditions. Transplanting during extreme temperatures, such as during frost or heatwaves, can be stressful for the seedlings. It’s best to choose a time when the weather is mild and the risk of temperature fluctuations is lower.
- Soil Moisture: Check the moisture content of the soil in the seedling containers. The soil should be lightly moist but not overly saturated. Transplanting into dry or waterlogged soil can shock the seedlings and hinder their growth.
- Plant Hardening: “Hardening off” refers to the process of gradually acclimating seedlings to outdoor conditions. If your seedlings have been growing indoors or in a controlled environment, expose them to outdoor conditions for a few hours each day in the week leading up to transplanting. This will allow them to adjust to changes in temperature, sunlight, and wind.
- Garden Site Preparation: Ensure that the garden site where you plan to transplant your celosia seedlings is well-prepared. Clear any weeds, amend the soil if necessary, and ensure proper drainage. A healthy, fertile soil will provide your seedlings with the best growing conditions.
By considering these factors, you’ll be able to assess the readiness of your celosia seedlings and make an informed decision on when to transplant them. This will increase their chances of survival and promote healthier growth in their new garden environment.
Timing for Transplanting
Timing is crucial when it comes to transplanting celosia seedlings. Waiting too long or moving them too early can impact their growth and overall health. It’s important to consider both the outdoor weather conditions and the maturity of the seedlings.
In general, celosia seedlings are ready to be transplanted outdoors after the last frost date has passed in your area. Frost can be detrimental to seedlings, so it’s crucial to ensure they won’t be exposed to freezing temperatures. Check with your local agricultural extension office or consult a reliable gardening resource to find out the specific last frost date for your region.
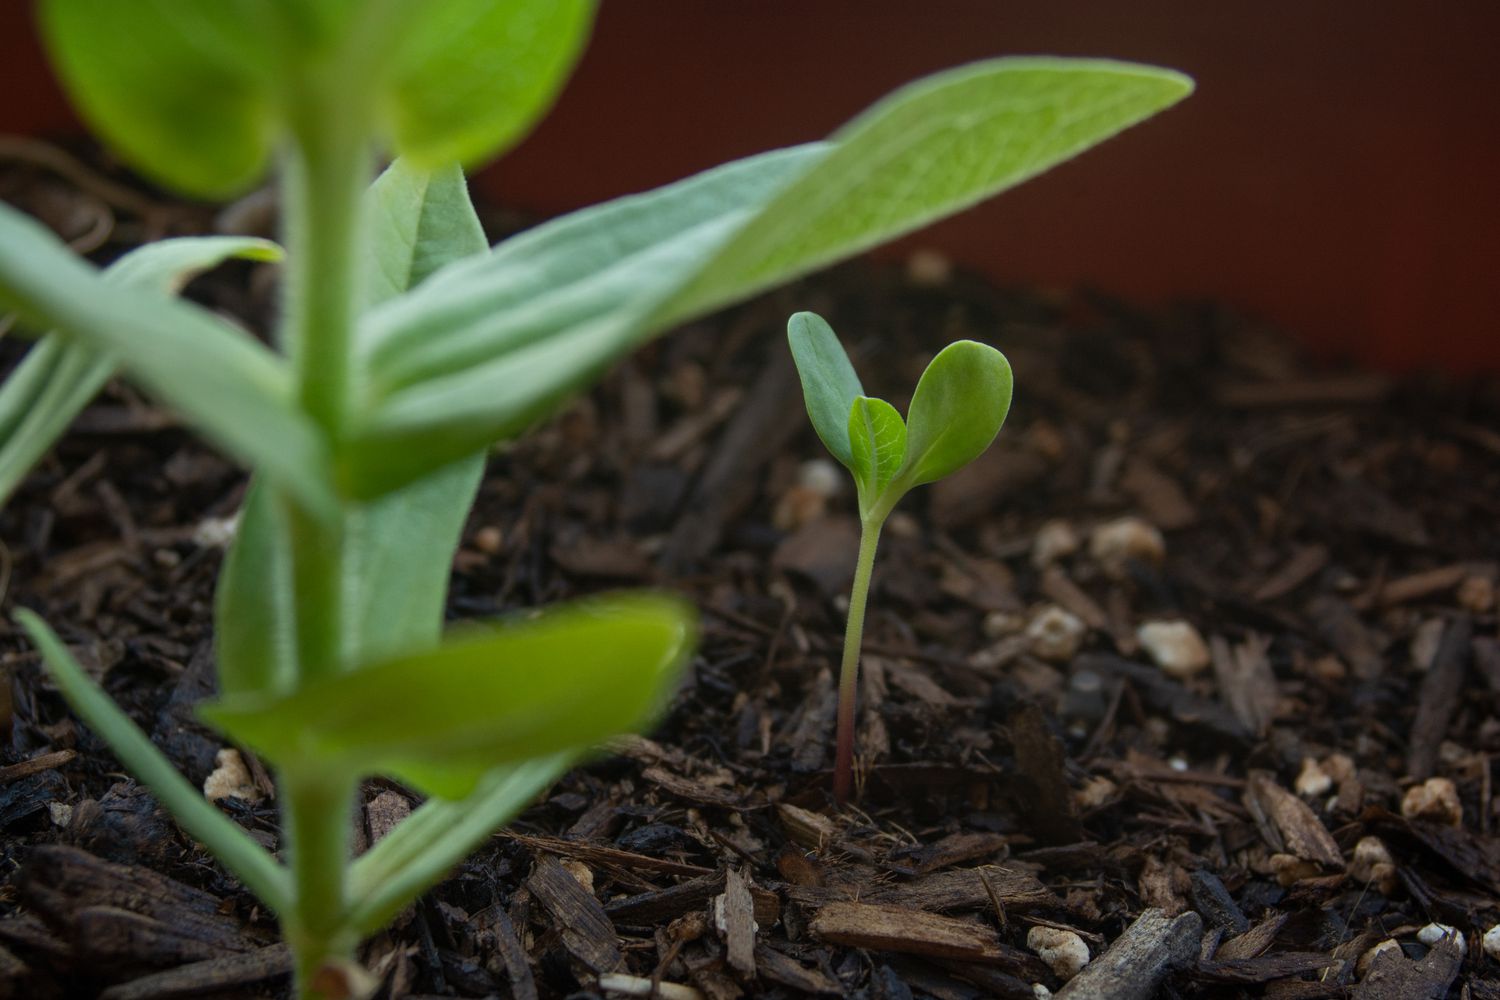
Typically, celosia seedlings should be around six to eight weeks old before transplanting. By this time, they should have developed a strong root system and sturdy stems. Pay attention to the true leaves, which are the second set of leaves that appear after the initial seedling leaves. Once these true leaves are well-developed, it indicates that the seedlings are mature enough to be transplanted.
Transplanting celosia seedlings too early can expose them to the risk of cold temperatures and frost damage. On the other hand, waiting too long can cause the seedlings to become root-bound or stunted in their containers, hindering their growth potential.
Remember, the timing for transplanting celosia seedlings can vary depending on your specific climate and growing conditions. Keep an eye on weather patterns, and if there are unexpected cold snaps or extreme heatwaves, it’s best to wait for more favorable conditions.
Transplanting celosia seedlings at the right time will give them the best chance to establish themselves in the garden and thrive throughout the growing season.
Preparing Seedlings for Transplant
Before transplanting your celosia seedlings into the garden, it’s important to properly prepare them for the transition. Taking the time to prepare your seedlings will help minimize shock and increase their chances of successful establishment. Follow these steps to ensure your seedlings are ready for transplant:
- Watering: Thoroughly water the seedlings a day or two before transplanting. This will help ensure they are adequately hydrated and make it easier to remove them from their containers without damaging the roots.
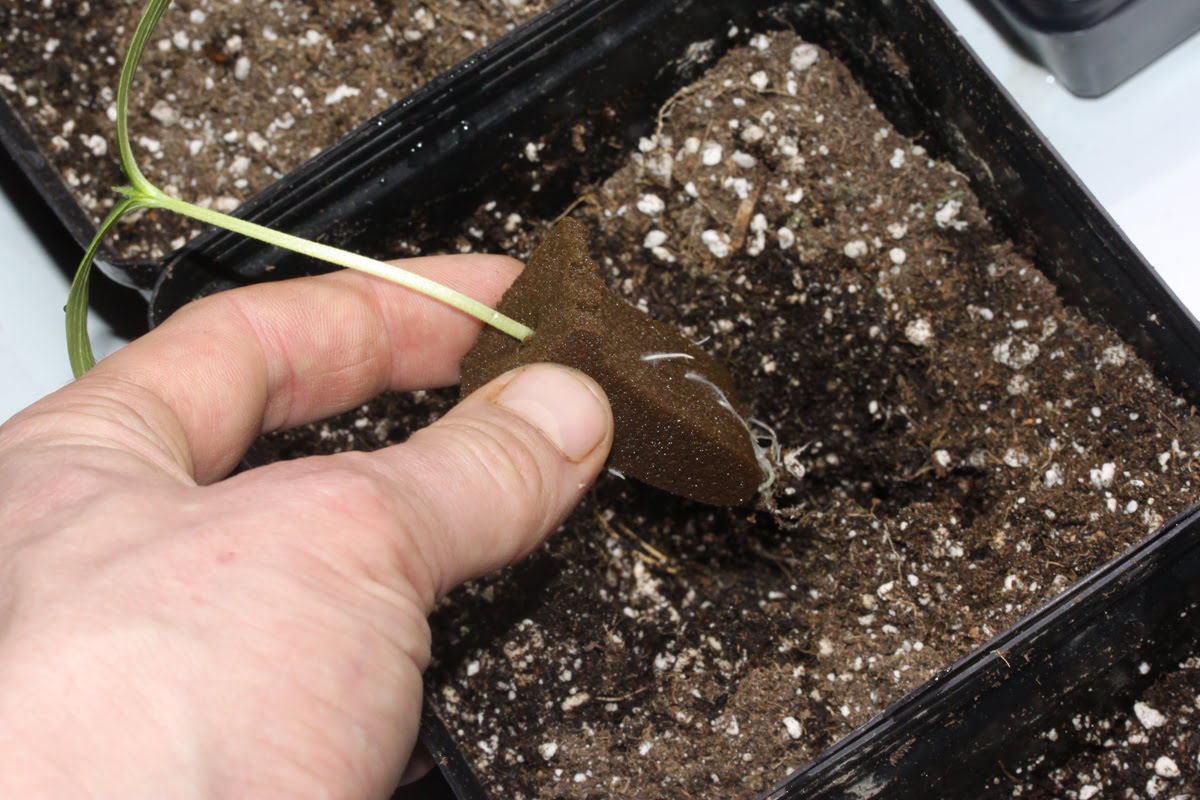
- Loosening the Roots: Gently tap and squeeze the sides of the seedling containers to loosen the roots. This will help the plant easily slide out of the container during transplanting.
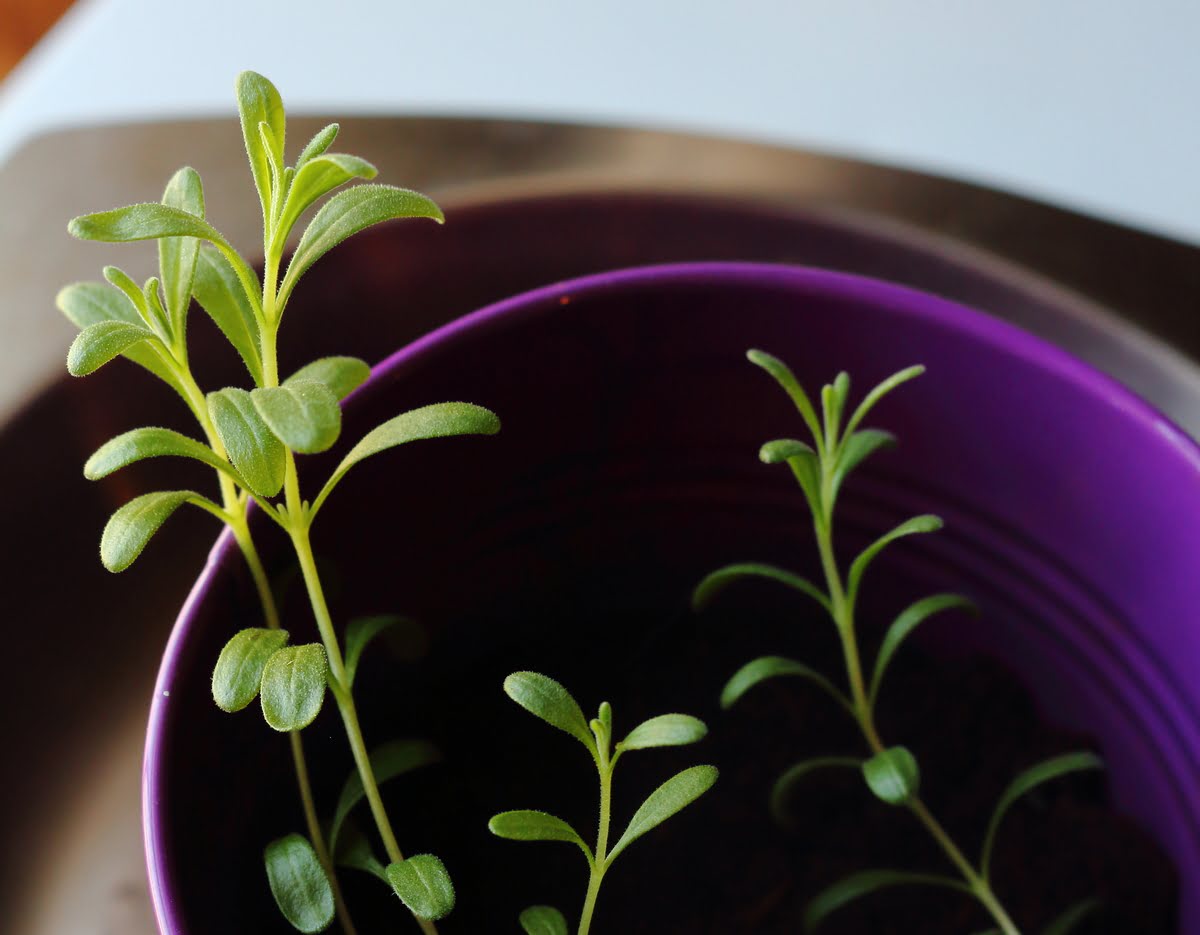
- Pruning: If your seedlings are leggy or have developed long stems, consider giving them a light pruning. Trim back some of the excess growth, focusing on removing the tallest and weak-looking stems. This will encourage more compact and healthier growth after transplantation.
- Soil Mix: Prepare a well-draining soil mix for the seedlings’ new home in the garden. Celosia plants thrive in fertile soil with a good balance of organic matter. Incorporate compost or well-rotted manure into the soil to provide nutrients and improve soil structure.
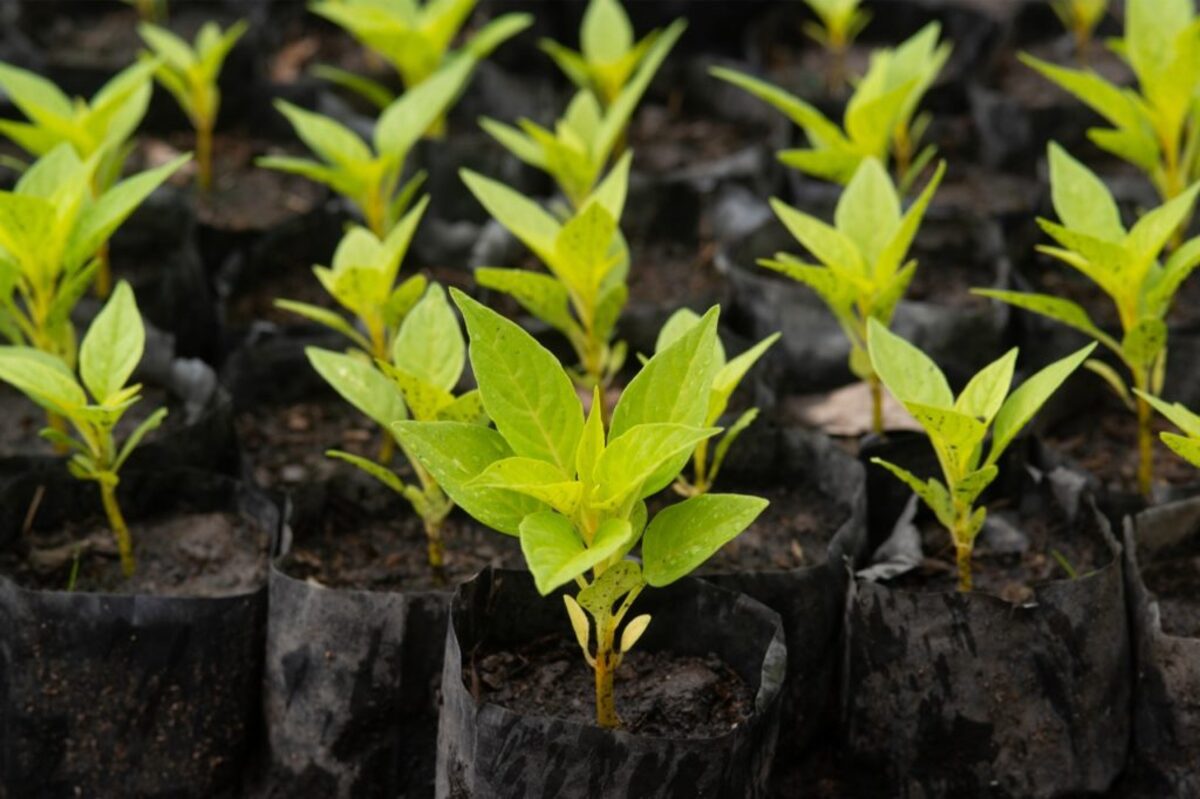
- Transplanting Containers: Choose appropriate containers for transplanting the seedlings. Peat pots or biodegradable containers are ideal as they can be planted directly into the ground. This minimizes root disturbance and reduces stress on the seedlings.
By following these steps, you’ll ensure that your celosia seedlings are well-prepared for transplanting. This will help them establish quickly in their new garden location and promote healthy growth as they adapt to their surroundings.
Choosing the Right Location
Choosing the right location for transplanting your celosia seedlings is essential for their long-term growth and productivity. Consider the following factors when selecting the ideal spot in your garden:
- Sunlight: Celosia plants thrive in full sunlight, so choose a location that receives at least 6 to 8 hours of direct sunlight each day. Adequate sunlight ensures that the plants can photosynthesize effectively, leading to strong growth and vibrant blooms.
- Soil Quality: Celosia plants prefer well-draining soil that is rich in organic matter. Before transplanting, test the soil to ensure it has a neutral pH and is well-balanced in nutrients. If necessary, amend the soil with compost, aged manure, or other organic matter to improve its fertility and structure.
- Protection from Wind: Strong winds can damage celosia plants, especially those with delicate flower heads. Consider planting them in a location that provides some protection from strong gusts. A fence, tall plants, or a sheltered spot in the garden can offer the necessary wind protection.
- Space: Celosia plants come in various sizes, so choose a location that can accommodate the mature size of your specific celosia variety. Optimal spacing between the plants allows for proper air circulation, reduces the risk of disease, and promotes overall plant health.
- Companion Plants: Consider planting celosia near companion plants that benefit each other. For instance, marigolds, petunias, or salvias can provide aesthetic appeal while also repelling common garden pests. Companion planting can enhance the health and vitality of your celosia plants.
By carefully selecting the right location for transplanting your celosia seedlings, you’ll provide them with optimal growing conditions. This will lead to vigorous growth, abundant blooms, and a successful gardening season.
Transplanting Techniques
Transplanting celosia seedlings is a delicate process that requires attention to detail and careful handling. Follow these recommended techniques to ensure a successful transplant:
- Timing: Choose a calm, cloudy day or transplant in the early morning or late afternoon to minimize stress on the seedlings. Avoid transplanting on hot, sunny days as it can cause excessive wilting and shock.
- Prepare the Holes: Dig holes in the garden that are slightly larger than the root ball of the seedling. Ensure the holes are spaced according to the mature size of the celosia plants to allow for proper growth and airflow.
- Moisten the Soil: Water the holes before transplanting to provide a moist environment for the roots. This will help the seedlings establish quickly and reduce the risk of transplant shock.
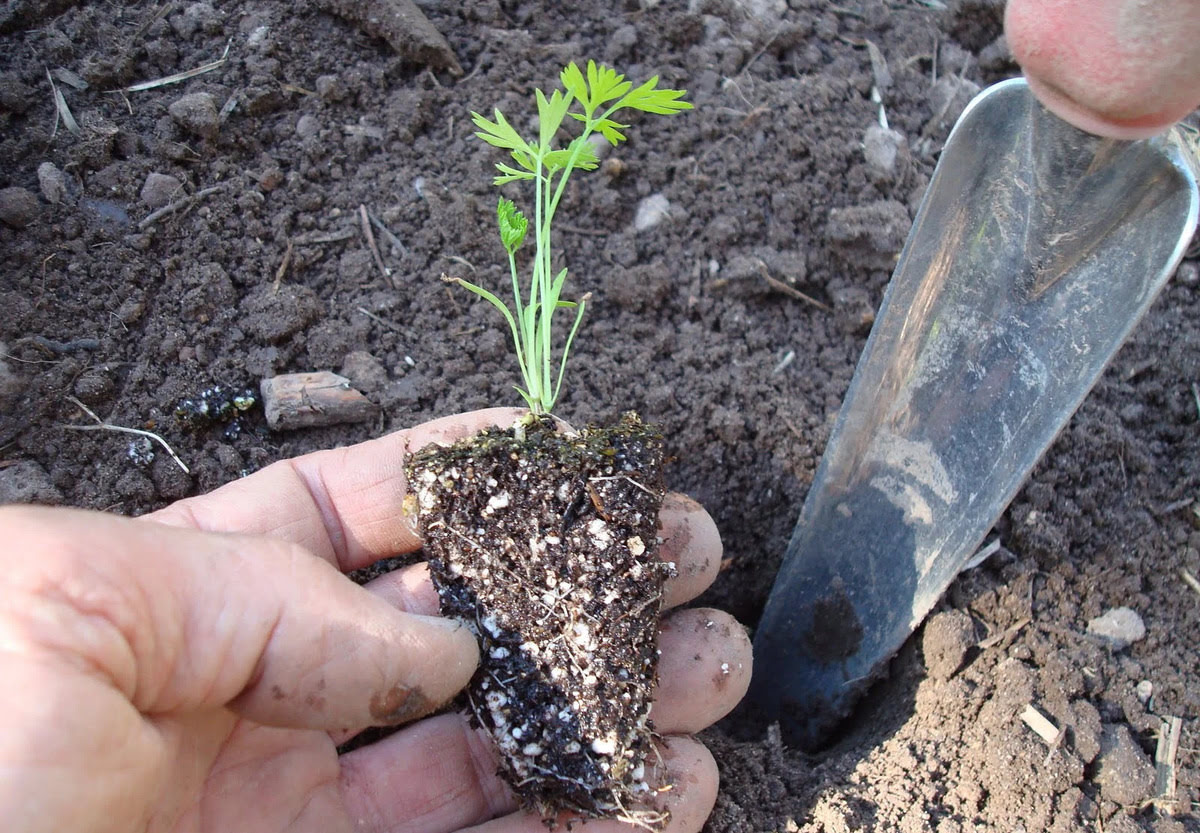
- Gently Remove Seedlings: Carefully remove the seedlings from their containers, holding them by the root ball or leaves. Avoid pulling on the delicate stems, as it can damage the plants.
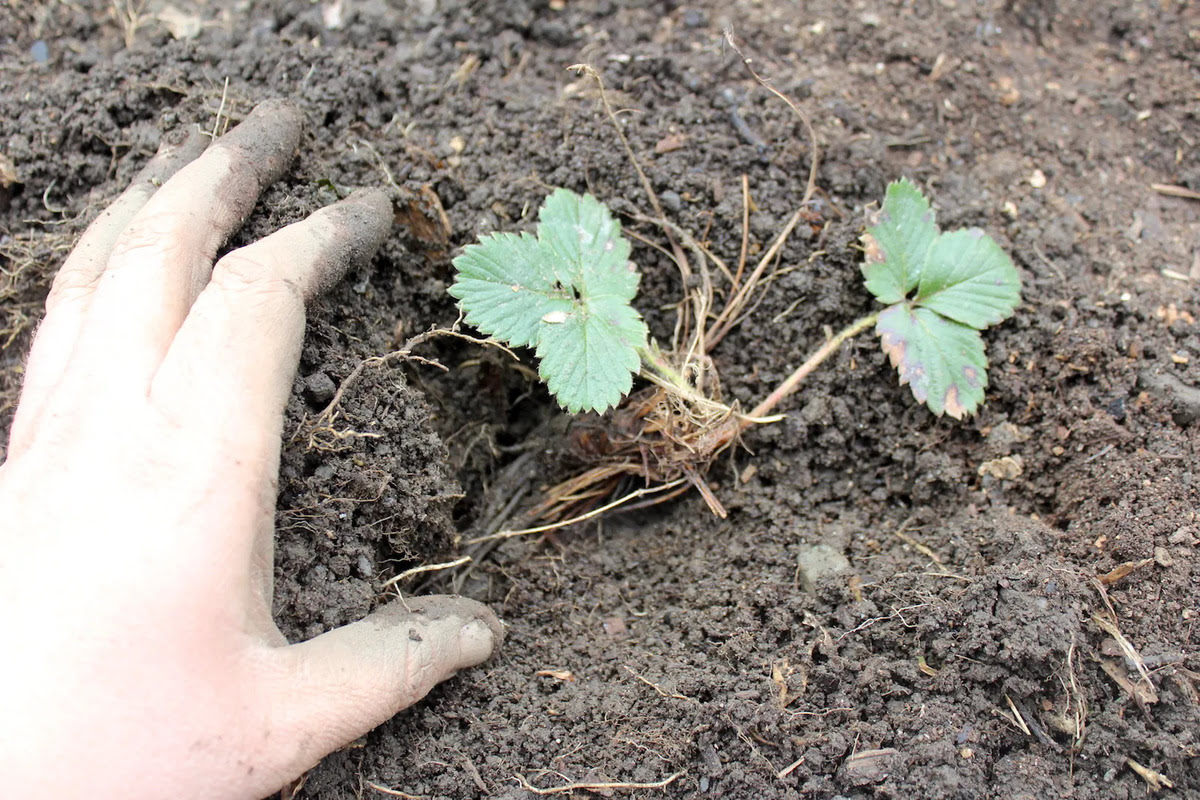
- Planting Depth: Plant the seedlings at the same depth as they were in their containers. Firmly press the soil around the roots to eliminate air pockets and provide stability.
- Watering: After transplanting, water the seedlings thoroughly to settle the soil and encourage root establishment. Continue to water regularly, keeping the soil consistently moist but not waterlogged.
- Mulching: Apply a layer of organic mulch around the base of the seedlings, leaving a small gap around the stem. Mulch helps retain moisture, suppress weeds, and regulate soil temperature, aiding in the seedlings’ establishment.
- Provide Support (if necessary): If you’re growing tall or floppy varieties of celosia, consider providing support with stakes or a trellis. This will prevent the plants from bending or breaking in strong winds or heavy rain.
By following these transplanting techniques, you’ll ensure that your celosia seedlings are transplanted with minimal stress and have the best chance at thriving in their new garden environment.
Caring for Transplanted Seedlings
After transplanting your celosia seedlings into the garden, providing proper care is crucial for their continued growth and success. Follow these essential care tips to ensure your transplanted seedlings thrive:
- Watering: Water your celosia seedlings regularly, especially during dry periods. Keep the soil consistently moist but avoid overwatering, as excessive moisture can lead to root rot. Water at the base of the plants to avoid wetting the foliage, which can promote disease.
- Fertilizing: Feed your transplanted celosia seedlings with a balanced organic fertilizer or a slow-release granular fertilizer. Follow the recommended dosage on the product label, and apply the fertilizer evenly around the base of the plants. This will provide essential nutrients for healthy growth and abundant blooms.
- Weeding: Regularly remove weeds from around your celosia seedlings. Weeds compete with plants for nutrients, water, and sunlight, which can hinder their growth. Mulching can also help suppress weed growth and maintain a tidy and weed-free garden bed.
- Pruning: As your celosia plants grow, remove any dead, diseased, or damaged leaves and flowers. This will improve airflow, prevent the spread of disease, and encourage the plant to focus its energy on producing new blooms.
- Pest and Disease Management: Monitor your celosia seedlings for common pests such as aphids, snails, and slugs. If a pest infestation occurs, treat with appropriate organic pest control methods. Additionally, be on the lookout for signs of diseases such as powdery mildew or leaf spot. Regular inspection and early intervention can help prevent and manage these issues.
- Supporting Tall Varieties: If you’re growing tall celosia varieties, provide support such as stakes or a trellis to prevent the plants from bending or breaking under their weight. As the plants grow, gently tie the stems to the support structure to keep them upright and sturdy.
- Deadheading: Regularly remove faded or spent flowers from your celosia plants. Deadheading encourages the production of new blooms and prolongs the flowering period of the plant.
By implementing these care practices, you’ll ensure that your transplanted celosia seedlings receive the necessary attention for healthy growth, vibrant blooms, and an overall flourishing garden.
Conclusion
Transplanting celosia seedlings is an important step in the journey of cultivating a beautiful and productive edible garden. By considering the factors for transplanting, choosing the right timing and location, and following proper techniques for transplanting and caring for the seedlings, you can ensure their successful establishment in the garden.
Remember to assess the size and development of the seedlings, consider the weather conditions, prepare them for transplanting, and choose a suitable location that meets their requirements for sunlight, soil quality, and protection from wind. Use appropriate techniques when transplanting, such as moistening the soil, gently removing the seedlings from their containers, and planting them at the correct depth.
Once your celosia seedlings are safely transplanted, provide them with proper care by watering, fertilizing, weeding, pruning, managing pests and diseases, supporting tall varieties, and deadheading spent flowers. These care practices will promote healthy growth, abundant blooms, and an overall thriving garden.
With patience, dedication, and a little bit of gardening know-how, you can enjoy the vibrant colors and unique shapes of celosia flowers in your own edible garden. Whether you’re growing them for their beauty or as a source of cut flowers, celosia plants are sure to bring joy and satisfaction to your gardening endeavors.
So, get your celosia seedlings ready, choose the perfect spot in your garden, and enjoy the process of transplanting and caring for these stunning plants. Happy gardening!