Home>Gardening Techniques>Plant Care>How To Transplant Redbud Seedlings
Plant Care
How To Transplant Redbud Seedlings
Published: January 2, 2024
Learn the essential steps for transplanting redbud seedlings and ensure their proper development. Discover expert plant care tips to promote healthy growth.
(Many of the links in this article redirect to a specific reviewed product. Your purchase of these products through affiliate links helps to generate commission for Chicagolandgardening.com, at no extra cost. Learn more)
Table of Contents
- Introduction
- Step 1: Collecting Redbud Seedlings
- Step 2: Preparing the Transplanting Site
- Step 3: Digging Up the Redbud Seedlings
- Step 4: Transplanting the Redbud Seedlings
- Step 5: Watering and Mulching the Transplanted Seedlings
- Step 6: Caring for Transplanted Redbud Seedlings
- Step 7: Monitoring Growth and Development
- Conclusion
Introduction
Welcome to the world of Redbud seedlings! If you’re a plant enthusiast or just starting your journey in gardening, you may have come across these beautiful and vibrant trees. Redbuds, also known as Cercis, are prized for their stunning flowers and unique foliage. These deciduous trees are native to North America and have become a popular choice among gardeners for their ornamental value.
Transplanting Redbud seedlings can be a rewarding experience, as it allows you to bring these captivating trees into your own landscape. Whether you have received Redbud seeds as a gift, or you have been nurturing them from small saplings, transplanting them into a suitable location is essential for their growth and survival.
In this guide, we will take you through the steps of successfully transplanting Redbud seedlings, enabling them to thrive and flourish in their new environment. From collecting the seedlings to caring for them after transplantation, we will cover all the necessary information to ensure your Redbuds get off to a healthy start.
Before we jump into the details, it’s important to note that timing is crucial when it comes to transplanting Redbud seedlings. The best time to transplant them is during the dormant season, which is typically during late winter or early spring. This allows the seedlings to establish their root systems before the onset of hot summer weather. So, without further ado, let’s delve into the step-by-step process of transplanting Redbud seedlings!
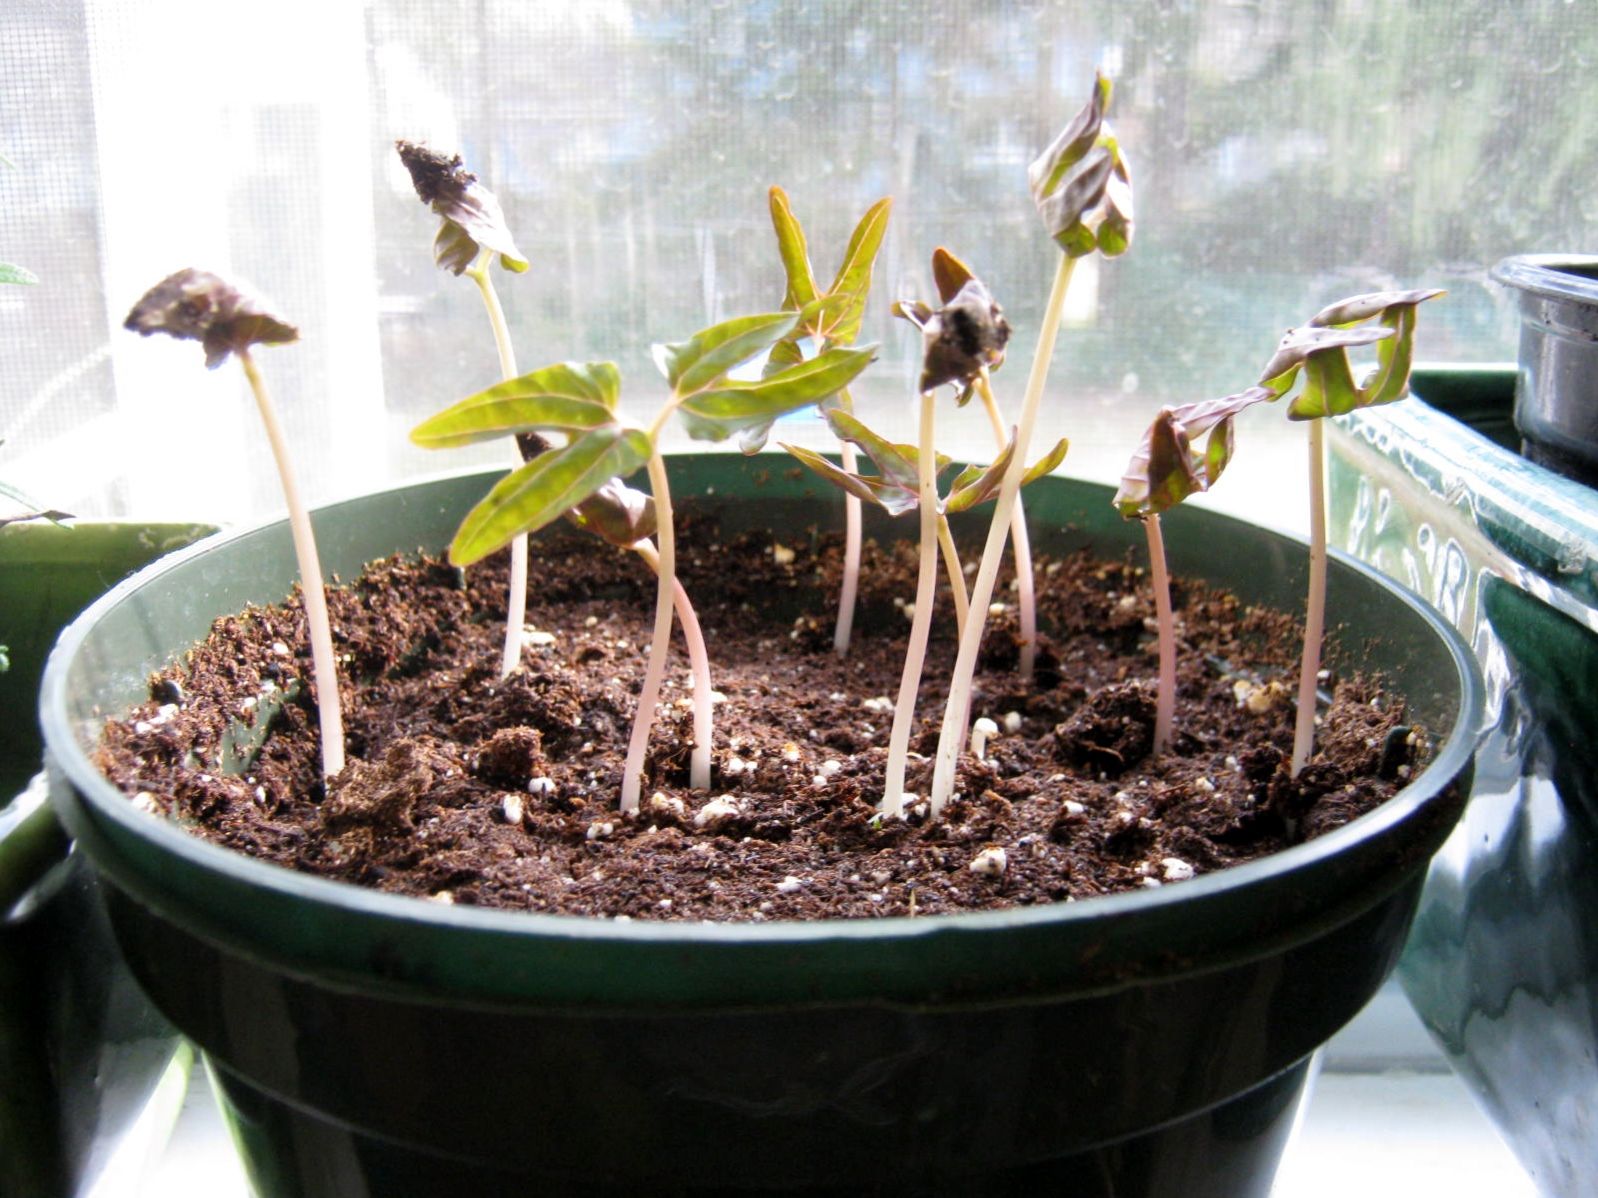
Step 1: Collecting Redbud Seedlings
The first step in transplanting Redbud seedlings is to collect them from their current location. There are several ways to obtain Redbud seedlings, depending on your circumstances and preferences. Here are a few methods you can use:
- Grow from seeds: If you’re starting from scratch, Redbud seeds can be obtained from mature trees or purchased from a reputable seed supplier. Collect the seed pods in late summer or early fall when they turn brown and begin to dry. Remove the seeds from the pods and store them in a cool, dry place until you’re ready to sow them. It may take a few weeks for the seeds to germinate, so be patient.
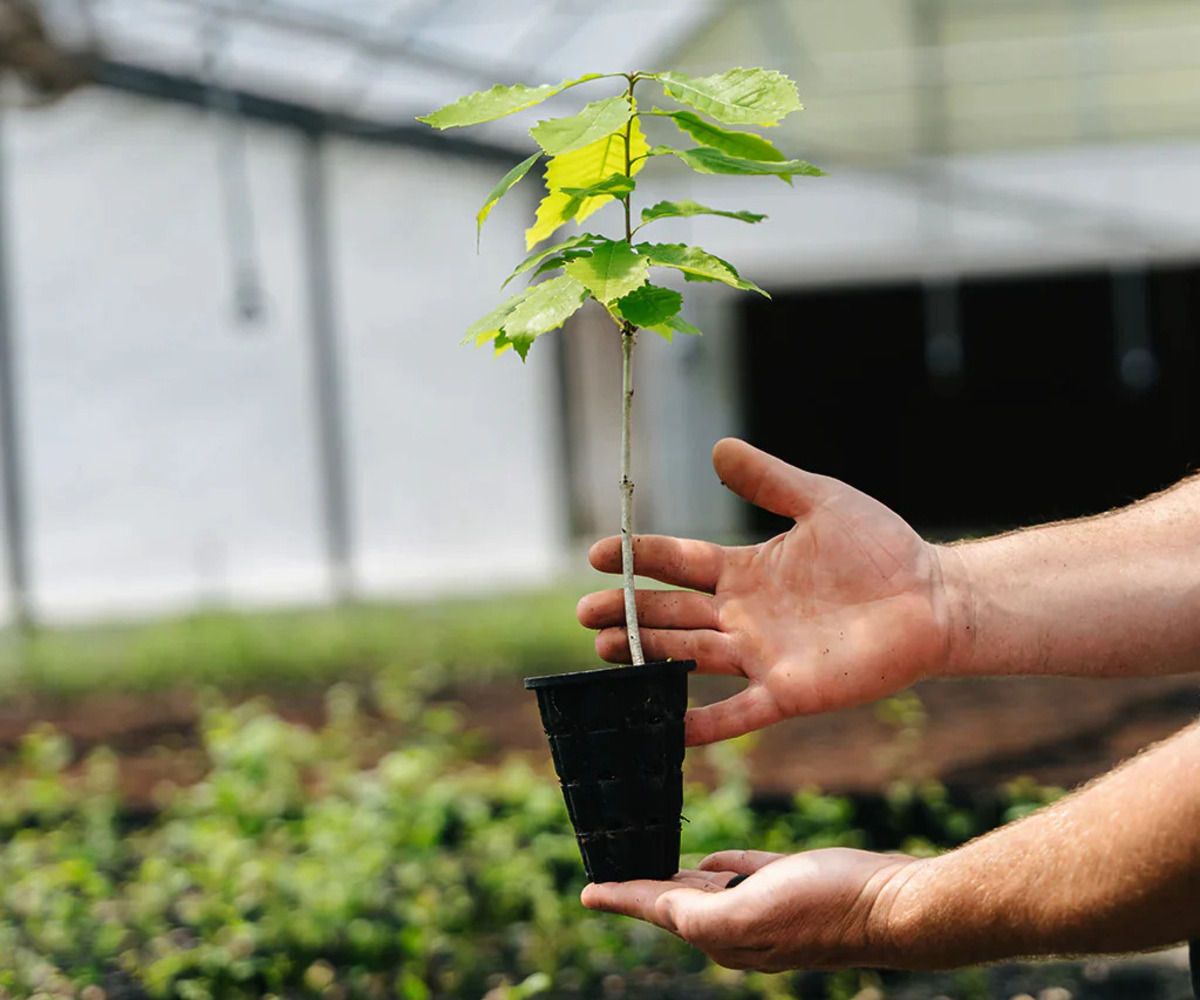
- Purchase saplings: If you prefer a faster route, you can buy Redbud saplings from nurseries or garden centers. These young trees are usually already a year or two old and have a higher success rate in transplanting.
- Obtain from a friend or neighbor: Check with friends or neighbors who have Redbud trees in their yards. They may be willing to share some seedlings with you. You can also ask local gardening groups or online communities if anyone has extra Redbud seedlings they’re willing to donate or sell for a reasonable price.
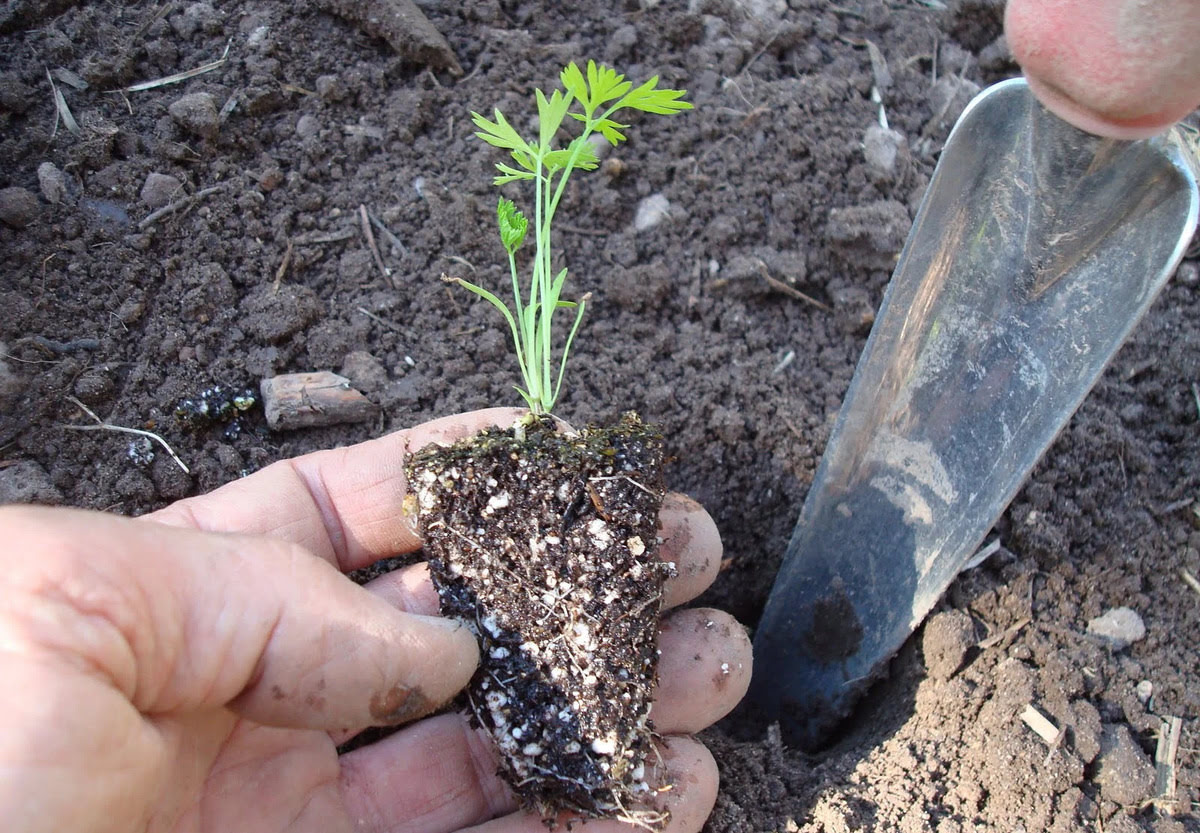
When collecting Redbud seedlings, it’s essential to handle them with care. Use a small shovel or trowel to carefully dig around the root zone of the seedlings, avoiding any damage to the roots. Lift the seedling out of the ground or gently loosen the soil if it’s a container-grown sapling.
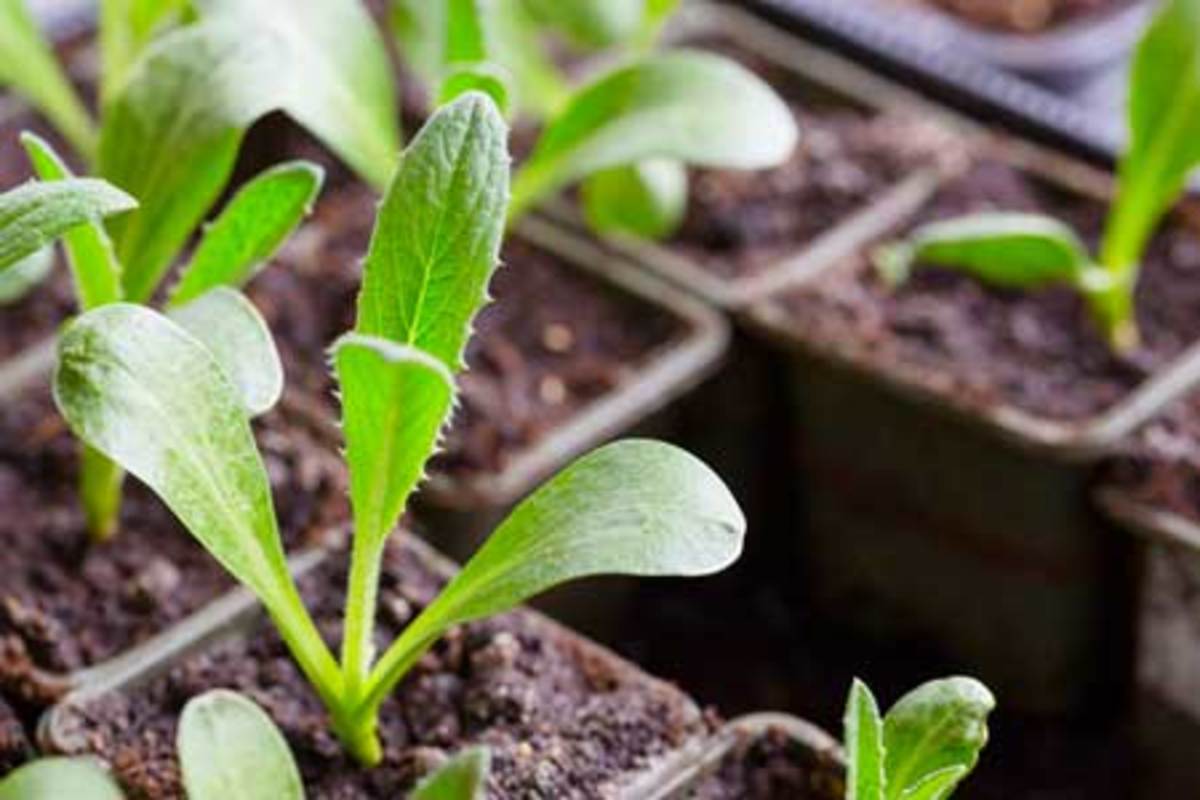
Remember to choose healthy-looking seedlings with well-developed root systems. Avoid seedlings with signs of disease, pests, or stunted growth, as they may not survive the transplanting process. By selecting strong and vigorous Redbud seedlings, you set them up for success in their new location.
Once you have collected the Redbud seedlings, it’s time to prepare the transplanting site. Read on to the next section to learn how to create an ideal environment for your Redbud seedlings to thrive.
Step 2: Preparing the Transplanting Site
Before transplanting your Redbud seedlings, it’s crucial to prepare the site where they will be relocated. The right environment will provide the necessary conditions for your seedlings to establish and grow successfully. Here’s how to prepare the transplanting site:
- Choose a suitable location: Redbuds thrive in well-draining soil and prefer full sun or partial shade. Look for a spot in your garden that receives at least six hours of direct sunlight per day. Avoid areas with compacted soil or heavy clay, as these conditions can hinder the growth of the roots.
- Clear the area: Remove any weeds, grass, or debris from the transplanting site. Competition from other plants can restrict the growth of the Redbud seedlings. Clearing the area ensures that the seedlings have access to the necessary nutrients and space to develop.
- Improve the soil: Redbuds prefer slightly acidic soil with a pH range of 5.5 to 7. If your soil is alkaline or compacted, consider amending it with organic matter such as compost or well-rotted manure. This improves the soil structure, drainage, and nutrient content, creating an optimal growing environment for the seedlings.
- Dig a planting hole: Dig a hole that is wider and slightly deeper than the root ball of the Redbud seedling. This gives the roots room to spread out and establish themselves. The hole should be large enough to accommodate the entire root system without bending or crowding the roots.
Once you have prepared the transplanting site, you are ready to move on to the next step: digging up the Redbud seedlings. This step requires some careful handling to avoid damaging the roots. Keep reading to learn the proper technique for digging up the seedlings.
Step 3: Digging Up the Redbud Seedlings
Now that you have prepared the transplanting site, it’s time to carefully dig up the Redbud seedlings. This step requires some precision to ensure minimal damage to the roots and a successful transplantation process. Follow these steps to dig up the Redbud seedlings:
- Prepare the tools: Gather a garden trowel, shovel, or transplanting spade. These tools will help you dig around the root zone of the seedling without causing excessive disturbance.
- Water the seedlings: Before you begin digging, water the seedlings thoroughly. Moist soil makes it easier to loosen and remove the seedlings without damaging the roots.
- Start digging: Begin digging around the base of the seedling, keeping a distance of about 6 inches from the main stem. Insert your tool deep enough to get under the root ball without cutting or damaging the roots.
- Loosen the soil: Gently loosen the soil around the seedling by wiggling your tool back and forth. This loosens the root ball and allows for easier removal.
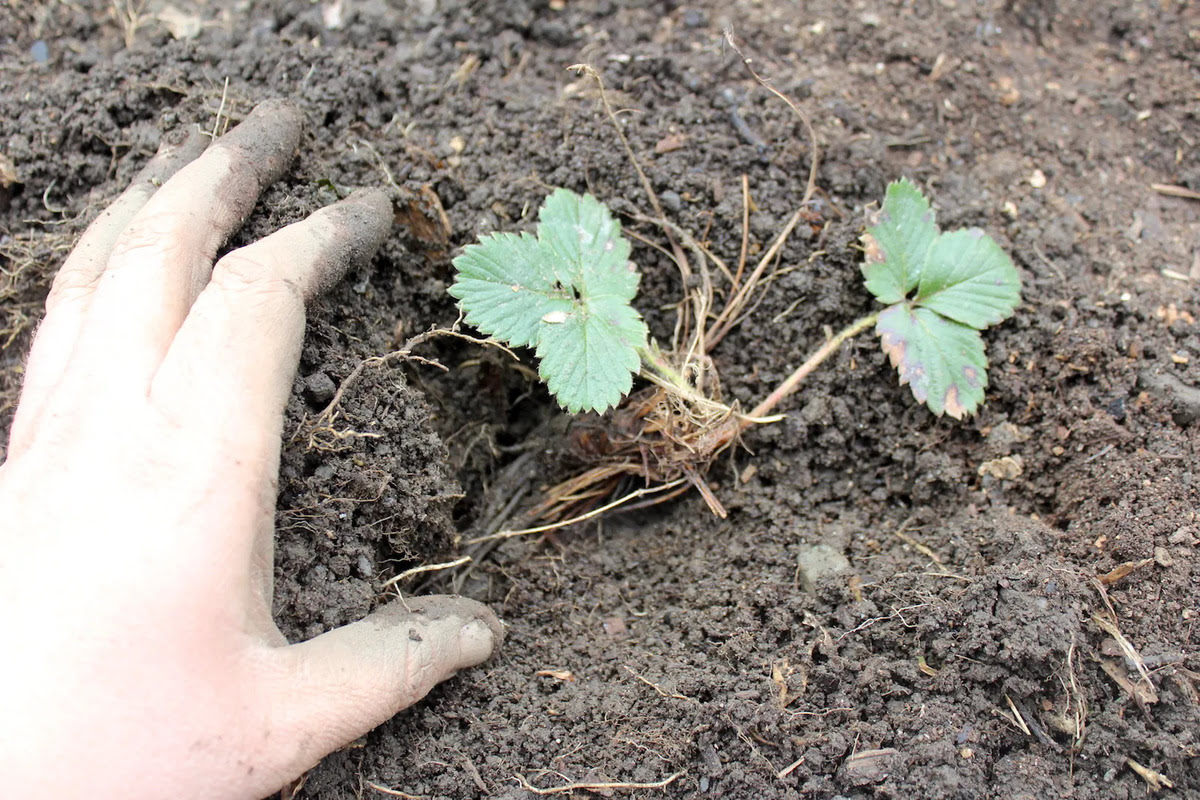
- Lift the seedling: Carefully lift the seedling out of the ground by holding the base of the stem or the root ball. Avoid pulling or tugging on the stem or branches, as this can cause damage.
- Inspect the roots: Examine the roots of the seedling to ensure they are intact and healthy. If any damaged or dead roots are present, trim them with clean and sharp pruning shears.
Remember to handle the Redbud seedlings with care to avoid any unnecessary stress or damage. Keep the roots protected and moist during the transplantation process to prevent them from drying out. Once you have successfully dug up the Redbud seedlings, it’s time to move on to the next step: transplanting them into their new home. Read on to learn how to properly transplant the seedlings.
Step 4: Transplanting the Redbud Seedlings
Now that you have carefully dug up the Redbud seedlings, it’s time to transplant them into their new home. This step is vital for ensuring the seedlings’ successful establishment and growth. Follow these steps to transplant the Redbud seedlings:
- Place the seedling in the planting hole: Gently lower the seedling into the prepared planting hole, ensuring that the top of the root ball is level with or slightly above the surrounding soil. Avoid burying the stem or planting the seedling too deep, as this can result in rotting or suffocation of the roots.
- Backfill the hole: Carefully fill the hole with the soil mixture, ensuring all spaces around the roots are filled. Use your hands or a small garden shovel to lightly firm the soil around the seedling, providing stability and eliminating air pockets.
- Water the transplanted seedling: After backfilling the hole, thoroughly water the transplanted seedling. This helps to settle the soil and ensures proper root-to-soil contact. It also provides immediate hydration to the seedling and helps reduce transplant shock.
- Apply mulch: Spread a layer of organic mulch, such as wood chips or shredded bark, around the base of the seedling. This helps to conserve moisture, suppress weed growth, and regulate soil temperature. Leave a gap around the stem to prevent moisture buildup and potential rot.
Transplanting Redbud seedlings can be a delicate process, but with proper care and attention, your seedlings will have a better chance of thriving in their new environment. Once the seedlings are transplanted, it’s important to provide the necessary care to help them settle in and establish their root systems. We will explore the crucial steps for post-transplant care in the next section. Continue reading to learn how to water and mulch the transplanted Redbud seedlings.
Step 5: Watering and Mulching the Transplanted Seedlings
After transplanting the Redbud seedlings, proper watering and mulching are vital to their survival and future growth. Watering ensures the seedlings receive enough moisture, while mulching helps conserve moisture and provide additional protection. Follow these steps for watering and mulching your transplanted Redbud seedlings:
- Watering: Regular and adequate watering is crucial during the initial stages of transplanting. Water the seedlings deeply immediately after transplanting to ensure the soil is moistened down to the root zone. Thereafter, water the seedlings consistently, keeping the soil evenly moist but not soggy. Avoid overwatering, as this can lead to root rot. As the seedlings establish and roots start to grow, gradually reduce the frequency of watering, allowing the soil to dry slightly between waterings.
- Mulching: Apply a layer of organic mulch around the base of the transplanted seedlings, leaving a gap around the stem to prevent moisture accumulation. The mulch should be about 2-3 inches deep and extend to the drip line of the seedlings. Mulching helps conserve soil moisture, suppress weed growth, regulate soil temperature, and provide protection for the roots. Make sure to keep the mulch a few inches away from the stem to prevent rotting.
- Maintaining moisture: Regularly monitor the moisture level of the soil around the Redbud seedlings. Stick your finger into the soil up to the first knuckle to check moisture levels. If the soil feels dry, it’s time to water. Adjust the watering schedule based on weather conditions, as seedlings may require more frequent watering during hot and dry periods. Remember, consistent moisture is key to the successful establishment of the seedlings.
Proper watering and mulching play a crucial role in the post-transplant care of Redbud seedlings. These practices help create a favorable environment, promote healthy root development, and reduce transplant shock. With proper care, your transplanted Redbud seedlings will be well on their way to thriving in their new location. In the next step, we will explore the ongoing care required for the transplanted Redbud seedlings. Continue reading to learn how to care for and monitor the growth and development of your Redbud seedlings.
Step 6: Caring for Transplanted Redbud Seedlings
Caring for transplanted Redbud seedlings is crucial to ensure their continued growth and overall health. Proper care involves providing the necessary conditions for the seedlings to thrive and monitoring their progress. Follow these steps to care for your transplanted Redbud seedlings:
- Regular watering: Water the seedlings regularly, especially during the first growing season. Aim to keep the soil evenly moist, but avoid overwatering. As the seedlings mature and establish their roots, adjust the watering schedule, allowing the soil to dry out slightly between waterings.
- Fertilizing: Redbud seedlings generally do not require excessive fertilization. However, if the soil is nutrient-poor, you can apply a balanced, slow-release fertilizer once a year in the spring. Follow the instructions on the fertilizer label for proper application rates.
- Pruning: Pruning is usually not necessary for young Redbud seedlings. However, if there are any damaged, crossing, or weak branches, you can prune them back to promote a more desirable growth form. Always use clean and sharp pruning tools to minimize the risk of infection.
- Protection from pests and diseases: Monitor the seedlings for any signs of pests or diseases such as leaf spots, cankers, or insect infestations. If you notice any issues, consult a local garden center or extension service for appropriate treatment options.
- Protecting from extreme weather: Redbud seedlings can be sensitive to harsh weather conditions. During hot summers, provide shade or use a shade cloth to protect the seedlings from excessive sun exposure. In cold winter months, consider wrapping the trunk with burlap or applying a layer of mulch around the base to insulate the roots.
- Mulching: Maintain a layer of mulch around the base of the Redbud seedlings to conserve moisture and suppress weed growth. Refresh the mulch annually to maintain its effectiveness.
- Regular monitoring: Keep a close eye on the seedlings’ growth and overall health. Look for any signs of stress, such as wilting or yellowing leaves, and take appropriate measures to address the issue.
By following these care guidelines, you can provide your transplanted Redbud seedlings with the best possible conditions for their growth and development. Remember to be attentive to their needs and adjust your care routine accordingly. In the next step, we will explore how to monitor the growth and development of your Redbud seedlings. Continue reading to learn more!
Step 7: Monitoring Growth and Development
Monitoring the growth and development of your transplanted Redbud seedlings is essential for assessing their health and making any necessary adjustments to their care regimen. By keeping a close eye on their progress, you can ensure that they are thriving and address any issues that may arise. Follow these steps to effectively monitor the growth and development of your Redbud seedlings:
- Observe foliage: Regularly inspect the leaves of your Redbud seedlings for any signs of discoloration, wilting, or spots. Healthy foliage should be vibrant green and free from blemishes. Any changes or abnormalities may indicate potential issues with nutrient deficiencies, pests, or diseases.
- Inspect stems and branches: Check the stems and branches of your seedlings for any signs of damage, such as cracks, wounds, or girdling. These issues can hinder the transport of water and nutrients throughout the plant. Prune any damaged or diseased branches promptly to promote healthy growth.
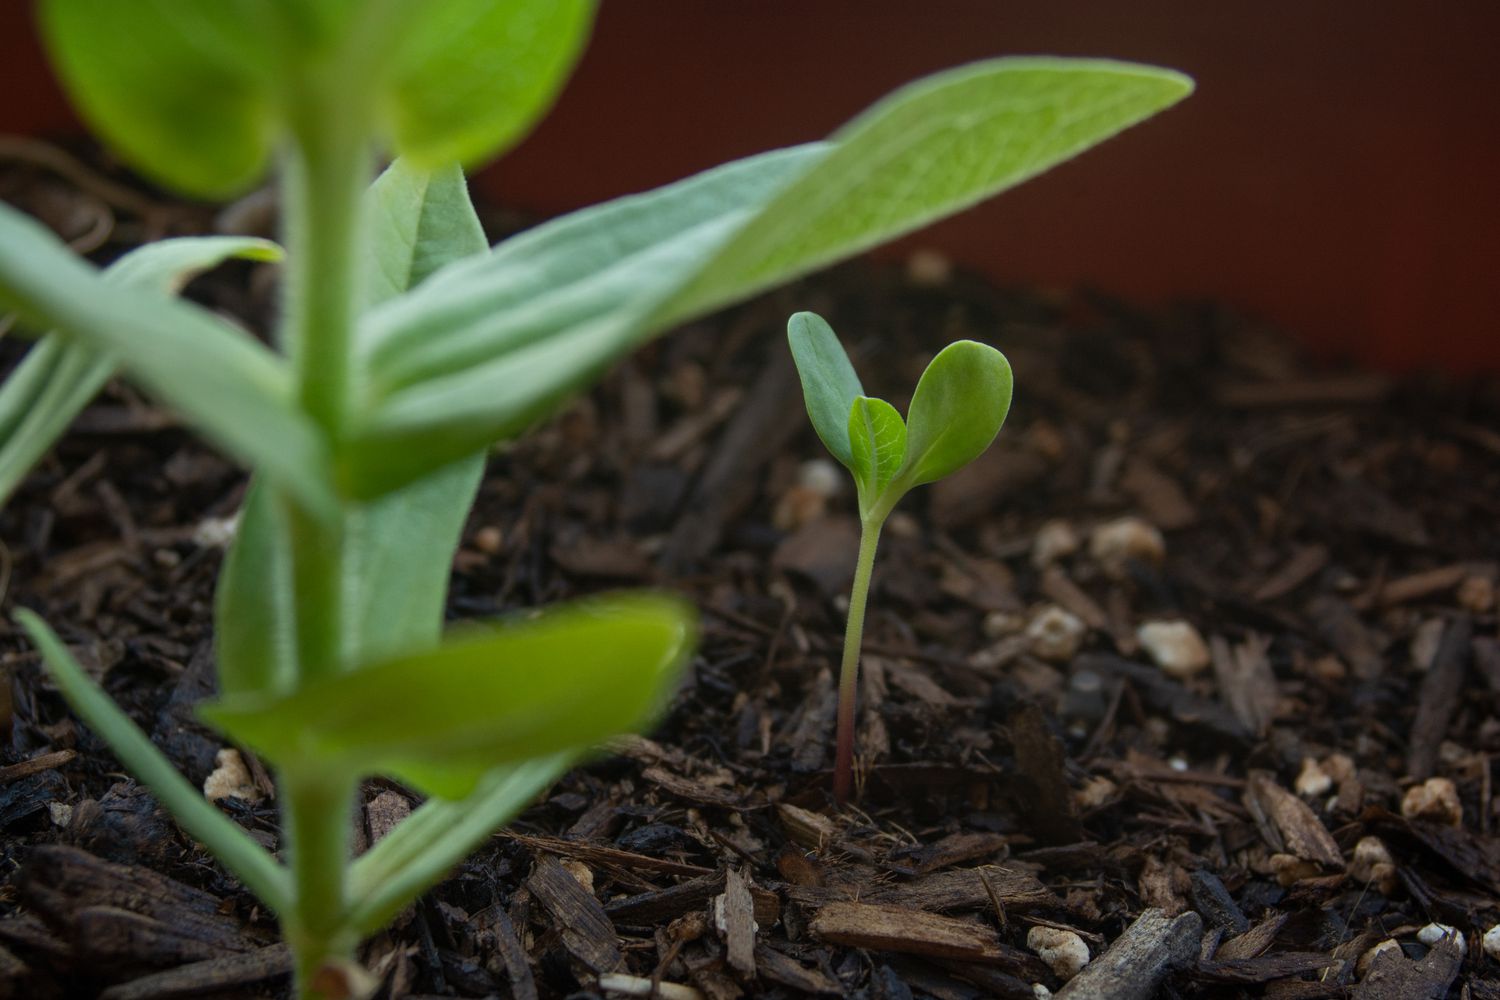
- Monitor growth rate: Keep track of how your Redbud seedlings are progressing in terms of height and overall growth. Although growth can vary depending on environmental factors and individual genetics, steady growth is an indication of healthy seedlings. If you notice stunted growth or lack of vigor, it may be necessary to reassess the care and environmental conditions.
- Assess root development: Gently dig around the base of your seedlings to assess the development of their root systems. Healthy root growth is crucial for plant stability and nutrient absorption. Look for well-developed, white roots that spread outwards. If you notice limited root growth or root rot, it may be necessary to adjust the watering or drainage conditions.
- Keep a gardening journal: Maintain a gardening journal to record observations, measurements, and any changes you make to the care routine. This documentation will help you track the progress of your Redbud seedlings over time and identify patterns or trends.
- Seek professional advice: If you encounter any difficulties or are unsure about the health of your Redbud seedlings, don’t hesitate to consult a local garden center or extension service. They can provide expert advice and guidance specific to your region and help address any concerns you may have.
By monitoring the growth and development of your Redbud seedlings, you can make necessary adjustments to their care routine and ensure their continued success. Remember to be patient, as it takes time for these trees to establish themselves and reach their full potential. With proper care and attention, your Redbud seedlings will reward you with their stunning beauty for years to come.
Conclusion
Congratulations on successfully transplanting your Redbud seedlings! By following the step-by-step process outlined in this guide, you have provided them with the best possible chance to thrive and bring beauty to your landscape. From collecting the seedlings to caring for them after transplanting, each step plays a crucial role in ensuring their successful establishment.
Remember that transplanting Redbud seedlings requires careful attention and patience. It’s important to choose healthy seedlings, prepare the transplanting site, and properly handle the roots during the digging process. Once transplanted, providing adequate water, mulch, and ongoing care will help the seedlings establish and grow into healthy trees.
As you continue to care for your transplanted Redbud seedlings, monitor their growth and development closely. Regularly inspect their foliage, stems, and roots for any signs of stress, pests, or diseases. Make adjustments to their care routine as needed, and seek professional advice if necessary.
With time and proper care, your Redbud seedlings will grow into magnificent trees, gracing your landscape with their vibrant flowers and unique foliage. Enjoy the beauty they bring to your garden and the satisfaction of knowing you successfully nurtured them from seedlings. Happy gardening!