Home>Types of Gardening>Ornamental Gardening>How To Transplant Daffodil Bulbs

Ornamental Gardening
How To Transplant Daffodil Bulbs
Modified: February 10, 2024
Learn how to transplant daffodil bulbs for a vibrant and blooming garden. Discover the best techniques and tips for successful ornamental gardening.
(Many of the links in this article redirect to a specific reviewed product. Your purchase of these products through affiliate links helps to generate commission for Chicagolandgardening.com, at no extra cost. Learn more)
Table of Contents
Introduction
Ornamental gardening is a beautiful and rewarding hobby that allows you to create stunning landscapes and showcase your creativity. One popular aspect of ornamental gardening is growing and transplanting daffodil bulbs, which add vibrant colors and a touch of elegance to any garden.
Transplanting daffodil bulbs is a process that involves uprooting bulbs from one location and repositioning them to another. Whether you are moving bulbs to improve their growth conditions, create new planting beds, or simply to redesign your garden, knowing the proper techniques is essential for their survival and future bloom.
In this article, we will guide you through the process of transplanting daffodil bulbs, providing step-by-step instructions and expert tips to ensure success. We will explore the best time to transplant, how to prepare the soil, separating bulbs, choosing the right location, and the actual process of planting them in their new home. Additionally, we will cover essential aspects such as watering, mulching, and ongoing care to help your transplanted daffodil bulbs thrive for years to come.
By following the techniques and guidelines outlined in this article, you can successfully transplant your daffodil bulbs and enjoy the beauty they bring to your garden. So, let’s dive into the exciting world of daffodil bulb transplantation and discover how to create stunning displays of color and aroma in your very own outdoor oasis.
Choosing the Right Time
Timing is crucial when it comes to transplanting daffodil bulbs. The optimal time to uproot and replant these bulbs is during their dormant period, which typically occurs in late summer or early autumn.
Transplanting bulbs during their dormant phase allows them to adjust to their new environment more easily and minimizes the risk of transplant shock. It also gives them ample time to establish their roots before the arrival of harsh winter conditions.
Keep in mind that daffodil bulbs need a certain amount of chilling hours to ensure proper blooming in the following spring. Therefore, it’s essential to transplant them early enough, allowing them to experience several weeks of cold temperatures before the ground freezes.
On the other hand, avoid transplanting daffodil bulbs while they are actively growing or in bloom. Disturbing them during this stage can disrupt their growth cycle and diminish their ability to produce flowers in the upcoming season.
If you’re unsure about the right time to transplant daffodil bulbs in your specific region, consult with a local gardening expert or nursery. They can provide valuable insights based on your growing zone and climate conditions.
By choosing the optimal time to transplant daffodil bulbs, you’ll maximize their chances of adapting successfully to their new location and ensure a spectacular display of blooms when spring arrives.
Preparing the Soil
Before transplanting daffodil bulbs, it’s crucial to prepare the soil in the new location to provide them with optimal growing conditions. Here are some steps to follow:
- Remove any weeds or grass: Clear the area of any competing vegetation, as daffodil bulbs need space and nutrients to thrive.
- Loosen the soil: Use a garden fork or a tiller to gently loosen the soil to a depth of at least 12 inches. This helps create a loose and well-draining environment for the bulbs.
- Amend the soil: Daffodil bulbs prefer well-draining soil rich in organic matter. Add compost or well-rotted manure to the soil to improve its fertility and texture. Aim for a ratio of one part organic matter to three parts native soil.
- Test the soil: Consider conducting a soil test to determine its pH level and nutrient composition. Daffodils thrive in slightly acidic to neutral soil, with a pH range between 6.0 and 7.0. If necessary, adjust the pH by adding lime (to increase alkalinity) or sulfur (to increase acidity).
- Ensure proper drainage: Daffodils dislike soggy conditions, as it can lead to bulb rot. If your soil has poor drainage, consider incorporating sand or gravel to improve it.
It’s important to note that daffodils are generally tolerant of a wide range of soil conditions, but ensuring proper soil preparation can significantly enhance their growth and blooming potential.
Once the soil is properly prepared, it’s time to dig up the daffodil bulbs from their current location and get them ready for transplanting.
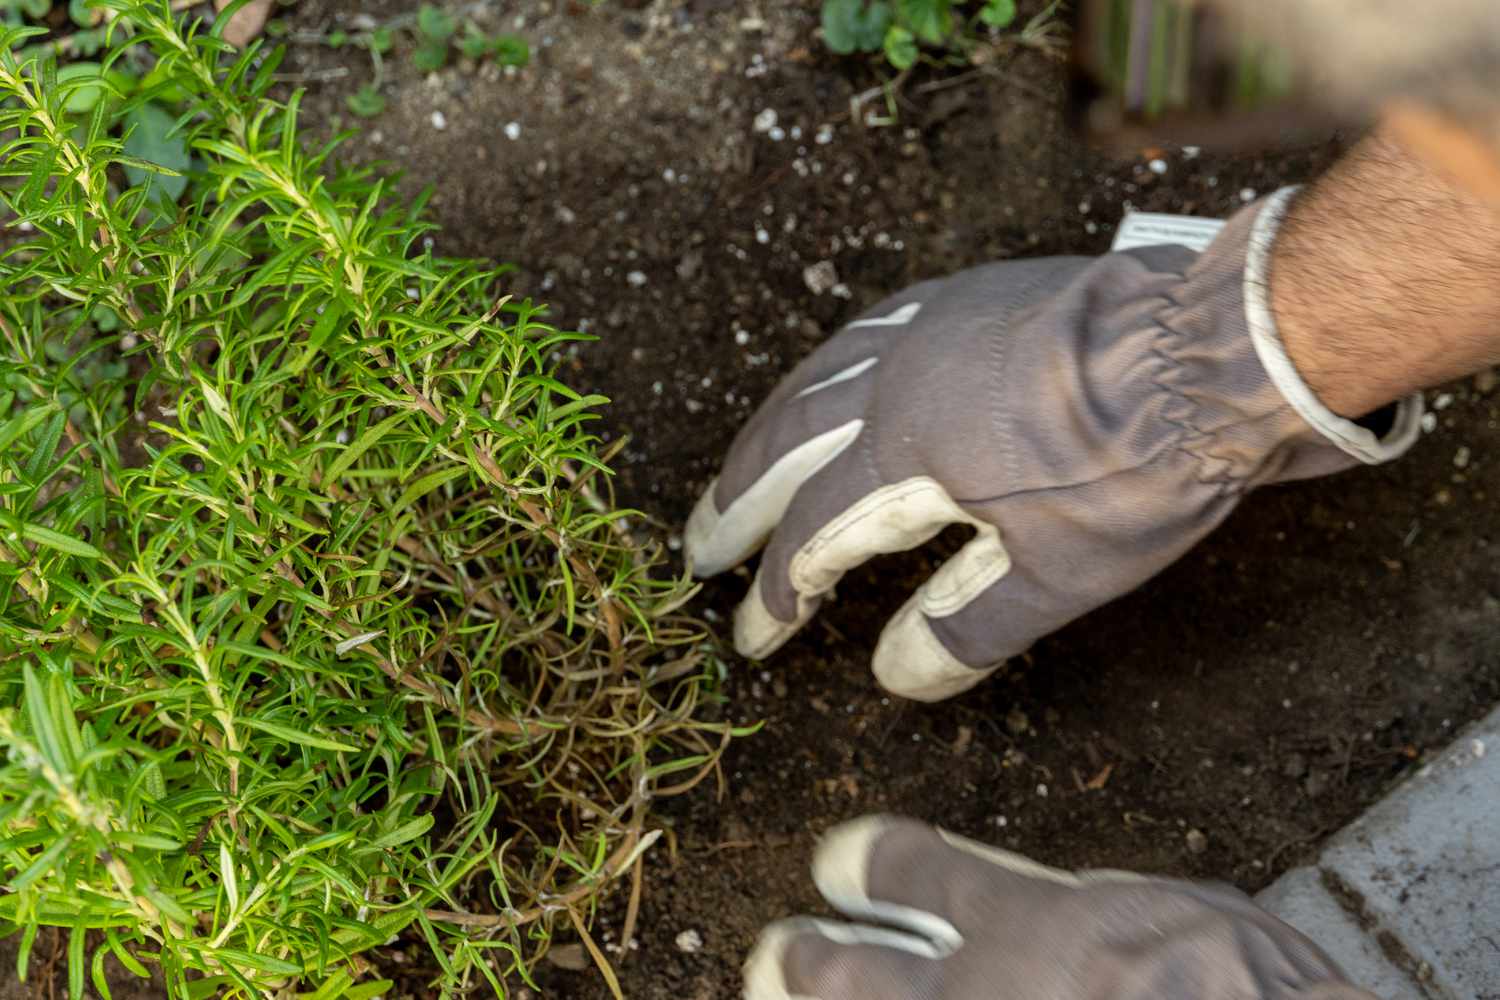
Digging Up the Bulbs
When transplanting daffodil bulbs, it’s essential to carefully dig them up from their current location to avoid damaging the bulbs. Here are the steps to follow:
- Wait until foliage has withered: Daffodil bulbs store nutrients in their foliage after blooming to support their growth. It’s important to wait until the foliage has turned yellow and withered before digging up the bulbs. This usually occurs in late spring or early summer.
- Prepare the tools: Gather a garden fork or a small shovel and a gardening knife or trowel. These tools will help loosen the soil and carefully extract the bulbs.
- Locate the bulbs: Gently probe the soil around the base of the daffodil plants to locate the bulbs. Be careful not to damage or sever the bulbs with the gardening tools.
- Loosen the soil: Insert the garden fork or shovel into the soil a few inches away from the bulb cluster. Gently pry the tool upwards to loosen the soil and create space around the bulbs.
- Remove the bulbs: Once the soil is loosened, use your hands or the gardening knife to carefully lift the bulbs out of the ground. Be gentle and avoid applying excessive force to prevent any damage.
- Inspect the bulbs: Examine the bulbs for any signs of disease or damage. Discard any bulbs that appear soft, mushy, or discolored, as they are likely infected or rotting.
After digging up the bulbs, it’s crucial to handle them with care to prevent bruising or injury. Keep the bulbs in a cool and dry place until you are ready to transplant them in their new location.
Now that you have successfully dug up the daffodil bulbs, it’s time to separate and prepare them for transplantation.
Separating Bulbs
When transplanting daffodil bulbs, you may often find that they have multiplied and formed tight clusters or clumps. It’s important to separate these bulbs to give each one enough space to grow and thrive. Here’s how to separate daffodil bulbs:
- Inspect the bulb cluster: Examine the bulb cluster you have dug up, and identify individual bulbs that have formed on the sides or underneath the main bulb. These are known as offsets or bulbils.
- Remove the offsets: Gently remove the offsets from the main bulb using your hands or a gardening knife. Be careful not to damage the roots or any existing shoots on the offsets.
- Separate the bulbs: If the main bulbs have become overcrowded or have formed into a tight clump, carefully separate them. Gently pull them apart or use a clean, sharp knife to cut through the roots that connect them.
- Inspect and discard damaged bulbs: Examine each separated bulb and discard any that appear damaged, diseased, or soft. Healthy bulbs should feel firm and have no signs of rot or mold.
- Divide as desired: Depending on your transplanting goals, you can divide the bulbs into smaller groups or individual bulbs. This allows you to create new planting beds, expand existing ones, or share extras with fellow gardeners.
Separating the bulbs not only provides each bulb with more room to grow but also helps prevent overcrowding and ensures better access to nutrients and water. It’s an important step in maintaining the health and vigor of your daffodil bulbs.
Once the bulbs are separated, it’s time to select the perfect location for their new home.
Selecting the New Location
Choosing the right location for transplanting your daffodil bulbs is crucial for their growth and overall aesthetics in your garden. Consider the following factors when selecting the new location:
- Sunlight: Daffodils thrive in full sun to partial shade, with a minimum of six hours of direct sunlight each day. Select an area that receives adequate sunlight throughout the day to promote healthy growth and vibrant blooms.
- Soil Drainage: Daffodils prefer well-drained soil, as they are prone to bulb rot in waterlogged areas. Select a location with soil that allows excess water to drain freely, avoiding areas that retain water or have poor drainage.
- Soil Fertility: While daffodils are relatively adaptable to various soil conditions, they perform best in fertile soil amended with organic matter. Choose a location with soil that is rich in nutrients and has a slightly acidic to neutral pH level.
- Complementary Plants: Consider the overall design and aesthetics of your garden when selecting a location for your daffodil bulbs. Choose areas where they can complement other plants and create visually appealing combinations. For example, daffodils look stunning when planted among early spring blooming perennials or under deciduous trees.
- Accessibility: Think about the practicality of the location. Select an area that is easily accessible for maintenance tasks such as watering, deadheading, and dividing bulbs in the future.
Take your time and explore different areas of your garden to find the perfect spot for your transplanted daffodil bulbs. Once you have chosen the location, it’s time to prepare the holes for planting.
Digging New Holes
Preparing the planting holes properly is essential to ensure the successful transplantation of daffodil bulbs. Follow these steps to dig the new holes:
- Measure the spacing: Daffodil bulbs should typically be spaced about 4 to 6 inches apart, depending on the bulb size. Measure and mark the desired spacing in the new planting area.
- Prepare the soil: Use a garden fork or a small shovel to loosen the soil in the marked locations. Remove any rocks, weeds, or other debris that may impede bulb growth.
- Depth guidelines: Daffodil bulbs should be planted at a depth that is approximately three times the bulb’s height. Use a ruler or gardening tool to ensure consistent planting depths across all the holes.
- Dig the holes: Use a trowel or a bulb planter to dig holes in the prepared spots. Make the holes wide enough to accommodate the bulbs comfortably and ensure proper spacing.
- Loosen the soil at the bottom: Gently loosen the soil at the bottom of each hole to improve drainage and provide room for the bulb roots to grow.
As you dig the new holes, take into consideration the overall design and layout of your garden. Create visually appealing groupings or drifts of daffodil bulbs to maximize the impact of their vibrant colors.
Once all the new holes are ready, it’s time to transplant the daffodil bulbs into their new home!
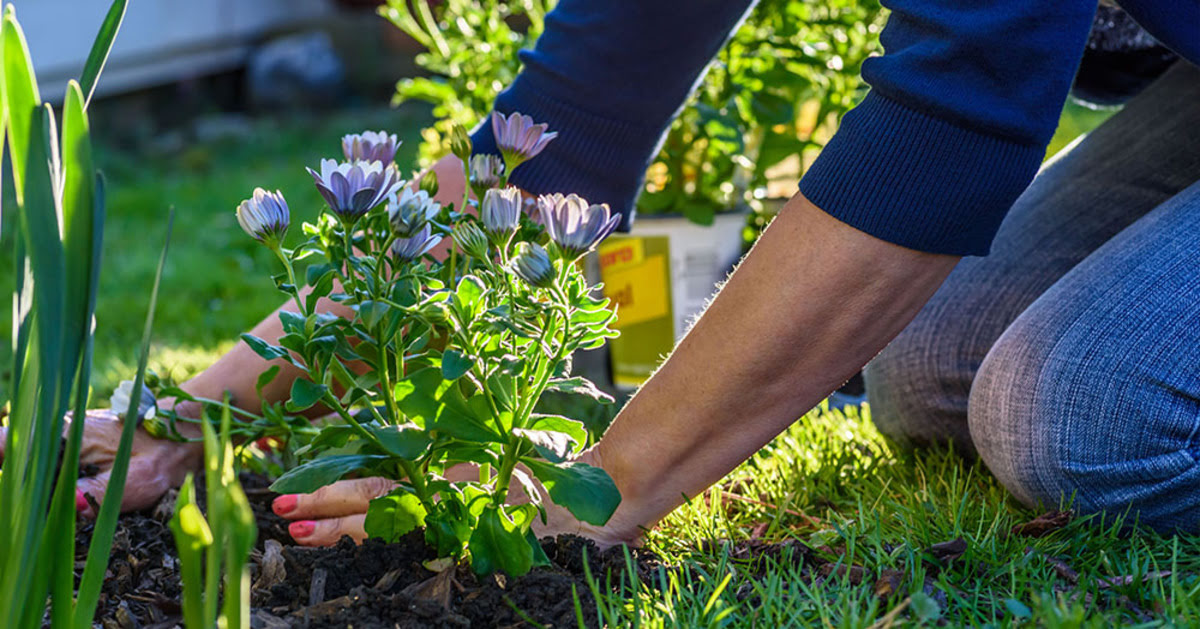
Transplanting the Bulbs
Now that you have prepared the new holes, it’s time to transplant the daffodil bulbs. Follow these steps to ensure a smooth and successful transplantation:
- Place the bulbs: Carefully place each bulb in the prepared hole, ensuring the pointed end faces upward. Position the bulbs at the recommended planting depth, usually around 6 to 8 inches deep.
- Space the bulbs: Maintain the recommended spacing between bulbs to allow for proper air circulation and growth. Make adjustments as needed to achieve the desired arrangement.
- Backfill the soil: Gently backfill the hole with soil, ensuring that the bulbs are covered completely and the soil is lightly packed. Avoid compacting the soil too much, as it may hinder bulb growth and prevent drainage.
- Water the bulbs: After transplanting, thoroughly water the newly planted bulbs. This helps settle the soil and ensures that the bulbs make good contact with the surrounding soil. Watering also kick-starts root growth and initiates bulb development.
- Mulch the area: Apply a layer of organic mulch, such as straw or shredded bark, around the bulbs. Mulching helps conserve moisture, suppresses weed growth, and provides insulation against extreme temperature fluctuations.
- Label the area: To keep track of the newly transplanted bulbs, place labels or markers in the ground nearby. This will help you identify the area during the dormant period or when the foliage dies back.
Ensure to take care when handling the bulbs to avoid injury or damage. Handling bulbs with gentle hands and following proper planting techniques will help them establish well in their new location.
With the bulbs transplanted and well-cared for, it’s time to focus on watering and providing ongoing care.
Watering and Mulching
Proper watering and mulching are vital for the successful establishment and continued growth of transplanted daffodil bulbs. Here’s what you need to know:
Watering:
After transplanting, it’s important to provide adequate water to help the bulbs settle into their new location and promote root development. Follow these watering guidelines:
- Water the newly transplanted bulbs immediately after planting to ensure good soil contact and help eliminate air pockets.
- Continue to water the bulbs regularly, providing about an inch of water per week during the growing season, especially if rainfall is insufficient.
- Water deeply at each watering session to encourage the roots to grow deeply into the soil.
- Avoid overwatering, as it can lead to bulb rot and other fungal diseases. Allow the soil to dry out slightly between watering sessions.
Mulching:
Applying a layer of mulch around the transplanted daffodil bulbs offers multiple benefits:
- Mulch helps conserve moisture in the soil, reducing the need for frequent watering.
- It suppresses weed growth, which can compete with the bulbs for nutrients and sunlight.
- Mulch acts as insulation, protecting the bulbs from extreme temperature fluctuations.
- Organic mulch breaks down over time, enriching the soil with organic matter.
To mulch the daffodil bulb area:
- Apply a layer of organic mulch, such as straw, shredded bark, or compost, around the bulbs.
- Ensure that the mulch layer is around 2 to 3 inches thick, but keep it a few inches away from the base of the bulbs to prevent rotting.
- Replenish the mulch as needed to maintain an adequate layer, especially after heavy rainfall or as the mulch decomposes over time.
By providing proper watering and mulching, you can create favorable conditions for the transplanted daffodil bulbs to grow and thrive in their new location.
Caring for Transplanted Bulbs
After transplanting daffodil bulbs, providing ongoing care will ensure their continued health and optimal growth. Here are some important care tips:
- Regular watering: Continue to water the transplanted bulbs regularly, especially during dry spells. Adequate moisture is essential for their growth and blooming.
- Feeding the bulbs: Daffodils benefit from fertilization to replenish nutrients in the soil. Apply a balanced slow-release fertilizer in early spring or according to the manufacturer’s instructions.
- Deadheading: After the daffodil blooms fade, remove the spent flowers to prevent seed production. This allows the plant to redirect its energy towards bulb development rather than seed formation.
- Leave the foliage: Allow the foliage to remain intact until it turns yellow and dies back naturally. This process allows the bulbs to absorb and store energy for the following year’s growth and blooming.
- Dividing bulbs: Over time, daffodil clumps can become overcrowded and may benefit from division. Every few years, dig up the bulbs during their dormant period, separate them, and replant them with adequate spacing.
- Protect from pests: Daffodils are generally resistant to most pests and diseases. However, certain animals like deer, rabbits, and rodents may find them tasty. Take necessary measures to protect the bulbs from these potential threats.
Remember to stay attentive to the specific needs of your daffodil bulbs and make adjustments accordingly. Each garden and environment is unique, so it’s essential to monitor their growth and respond accordingly.
By caring for your transplanted daffodil bulbs, you will ensure a healthy and vibrant display of blooms year after year.
Congratulations on Transplanting Your Daffodil Bulbs!
Transplanting daffodil bulbs can be a rewarding and enjoyable experience that allows you to create new garden designs and breathe new life into your landscape. By following the proper techniques outlined in this article, you can ensure the successful transplantation of your daffodil bulbs and enjoy their vibrant blooms for years to come.
We discussed the importance of choosing the right time to transplant, preparing the soil, digging up the bulbs, separating them, selecting the new location, digging new holes, transplanting the bulbs, and providing necessary care such as watering, mulching, and ongoing maintenance.
Remember to pay attention to the specific needs of daffodil bulbs, such as their ideal soil conditions, sunlight requirements, and proper watering techniques. By providing them with these optimal conditions, you are setting them up for success and ensuring their growth and flowering potential will be maximized.
Transplanting daffodil bulbs may require some patience and effort, but the reward of seeing them flourish in their new location is truly worth it. The burst of vibrant colors and sweet fragrance they bring to your garden will be a sight to behold and a source of joy.
Now that you have the knowledge and steps to transplant your daffodil bulbs, it’s time to roll up your sleeves and get started. So, gather your tools, pick the perfect location, and embark on this gardening adventure to create a stunning display of daffodils in your own outdoor oasis.
Happy gardening and enjoy the beauty of your transplanted daffodil bulbs!