Home>Gardening News and Trends>Latest News>How To Rehydrate Herbs
Latest News
How To Rehydrate Herbs
Modified: January 22, 2024
Learn the latest news and techniques on how to rehydrate herbs for maximum freshness and flavor. Enhance your culinary skills with our expert tips and tricks.
(Many of the links in this article redirect to a specific reviewed product. Your purchase of these products through affiliate links helps to generate commission for Chicagolandgardening.com, at no extra cost. Learn more)
Table of Contents
- Introduction
- Why Rehydrate Herbs
- Choosing the Right Herbs for Rehydration
- Step 1: Gathering the Herbs
- Step 2: Preparing the Rehydration Solution
- Step 3: Placing the Herbs in the Solution
- Step 4: Allowing the Herbs to Rehydrate
- Step 5: Removing and Storing the Rehydrated Herbs
- Tips and Tricks for Rehydrating Herbs
- Conclusion
Introduction
Welcome to the world of herbs! These aromatic and flavorful plants have been used for centuries in culinary, medicinal, and cosmetic purposes. However, like any other plant, herbs can lose their freshness and vitality over time. That’s where rehydrating herbs comes in.
Rehydration is the process of restoring moisture and rejuvenating dried herbs, bringing them back to life. This simple yet impactful technique can significantly enhance the flavor, aroma, and overall quality of your herbs, allowing you to enjoy their full potential in your cooking and other applications.
Whether you have a stash of dried herbs in your pantry that need reviving, or you simply want to upgrade your herb-growing game by rehydrating fresh herbs, this guide will cover all the essential steps and tips to help you become a pro at rehydrating herbs.
In this article, we will delve into the importance of rehydrating herbs, discuss the types of herbs that are best suited for rehydration, and provide a step-by-step guide on how to rehydrate them effectively. So, let’s dive in and unlock the secrets of rehydrating herbs!
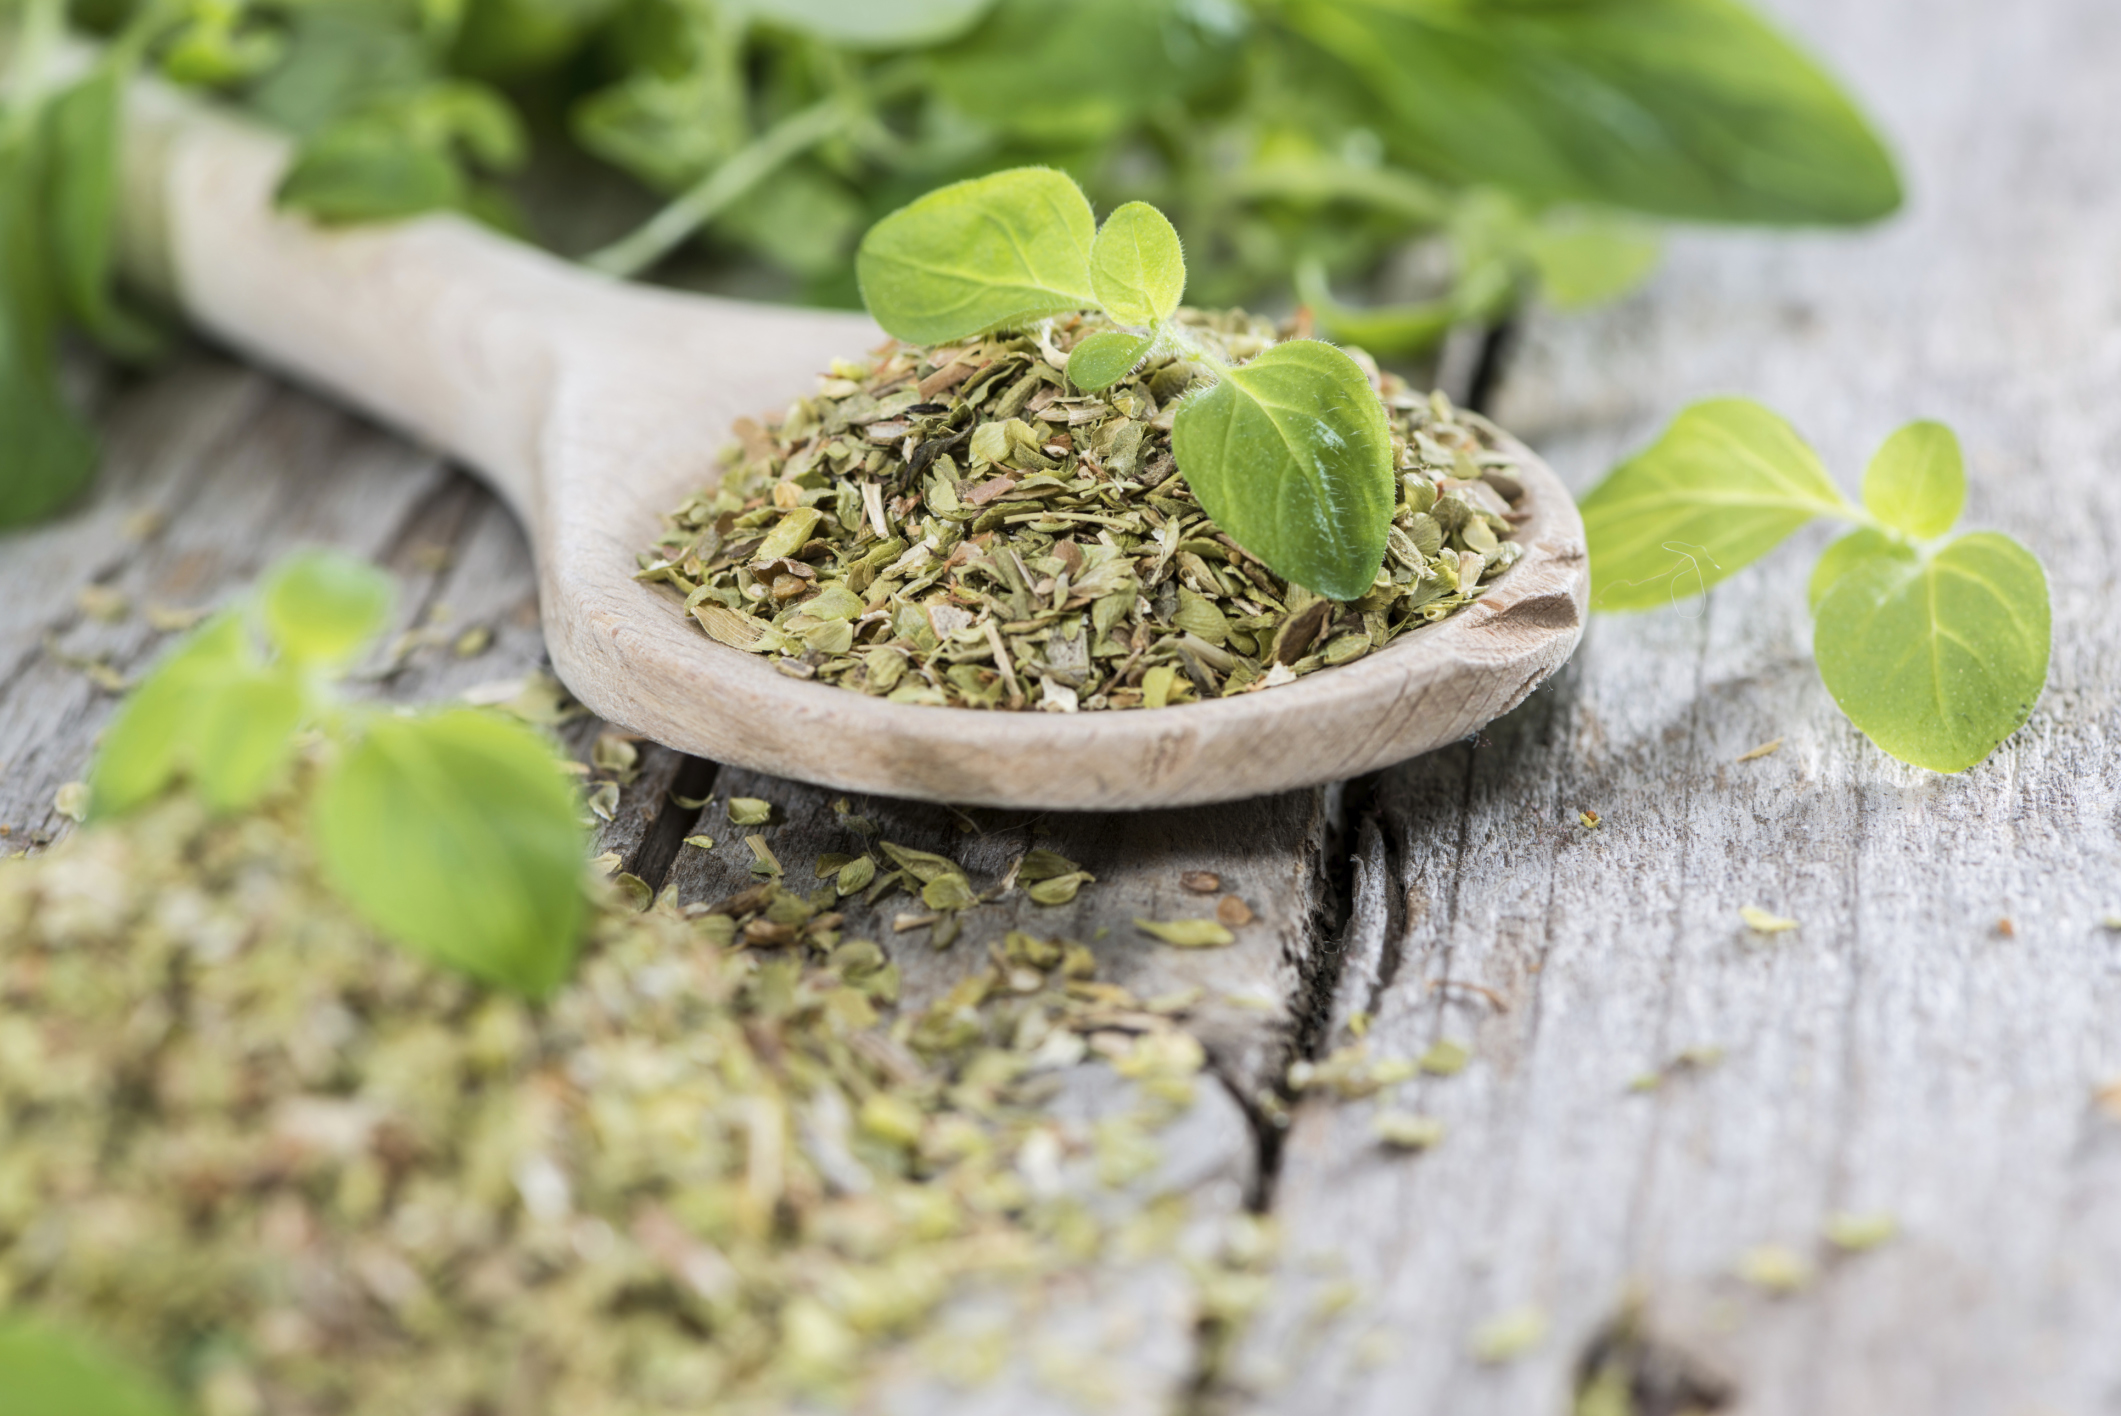
Why Rehydrate Herbs
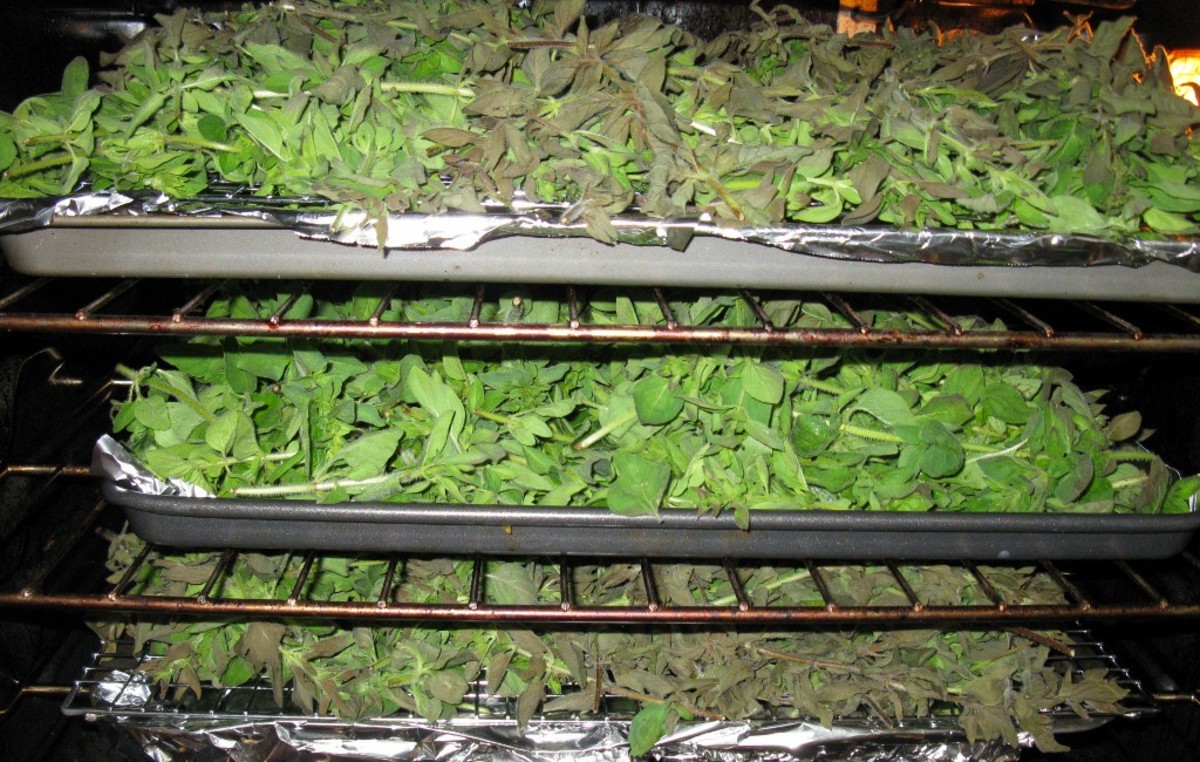
When herbs are dried, whether through natural air drying or by using a dehydrator, they lose a significant amount of moisture. While dried herbs still retain their flavors and some medicinal properties, rehydrating them can take their potential to a whole new level. Here are a few reasons why rehydrating herbs is worth the effort:
- Enhanced Flavor: Rehydrating herbs brings back their natural moisture, which helps intensify their flavors. The herbs become more vibrant and aromatic, adding depth to your dishes and making them more enjoyable.
- Improved Texture: Dried herbs can be brittle and lack the desired texture. By rehydrating them, the herbs regain their plumpness and become more tender, making them easier to chop or incorporate into recipes.
- Increased Nutritional Value: Rehydrating herbs can help unlock and restore some of their lost nutrients during the drying process. Freshly rehydrated herbs may contain higher levels of vitamins, minerals, and antioxidants compared to their dried counterparts.
- Cost-effective Solution: Rehydrating herbs allows you to make the most of your dried herb stash. Instead of constantly buying fresh herbs, rehydration offers a budget-friendly alternative by revitalizing the herbs you already have.
- Flexibility in Recipes: When herbs are rehydrated, they become easier to incorporate into various recipes. Whether you’re making sauces, marinades, soups, or salads, rehydrated herbs blend seamlessly and distribute their flavors evenly.
Rehydrating herbs is not only beneficial for culinary purposes but also for herbal remedies, beauty treatments, and aromatherapy. The rejuvenated herbs can be used in infusions, homemade skincare products, or even as fragrant additions to your surroundings.
Now that you understand the advantages of rehydrating herbs, let’s explore the different types of herbs that are best suited for rehydration.
Choosing the Right Herbs for Rehydration
Not all herbs are created equal when it comes to rehydration. While most herbs can be rehydrated successfully, some are more suitable and yield better results. Here are some factors to consider when choosing the right herbs for rehydration:
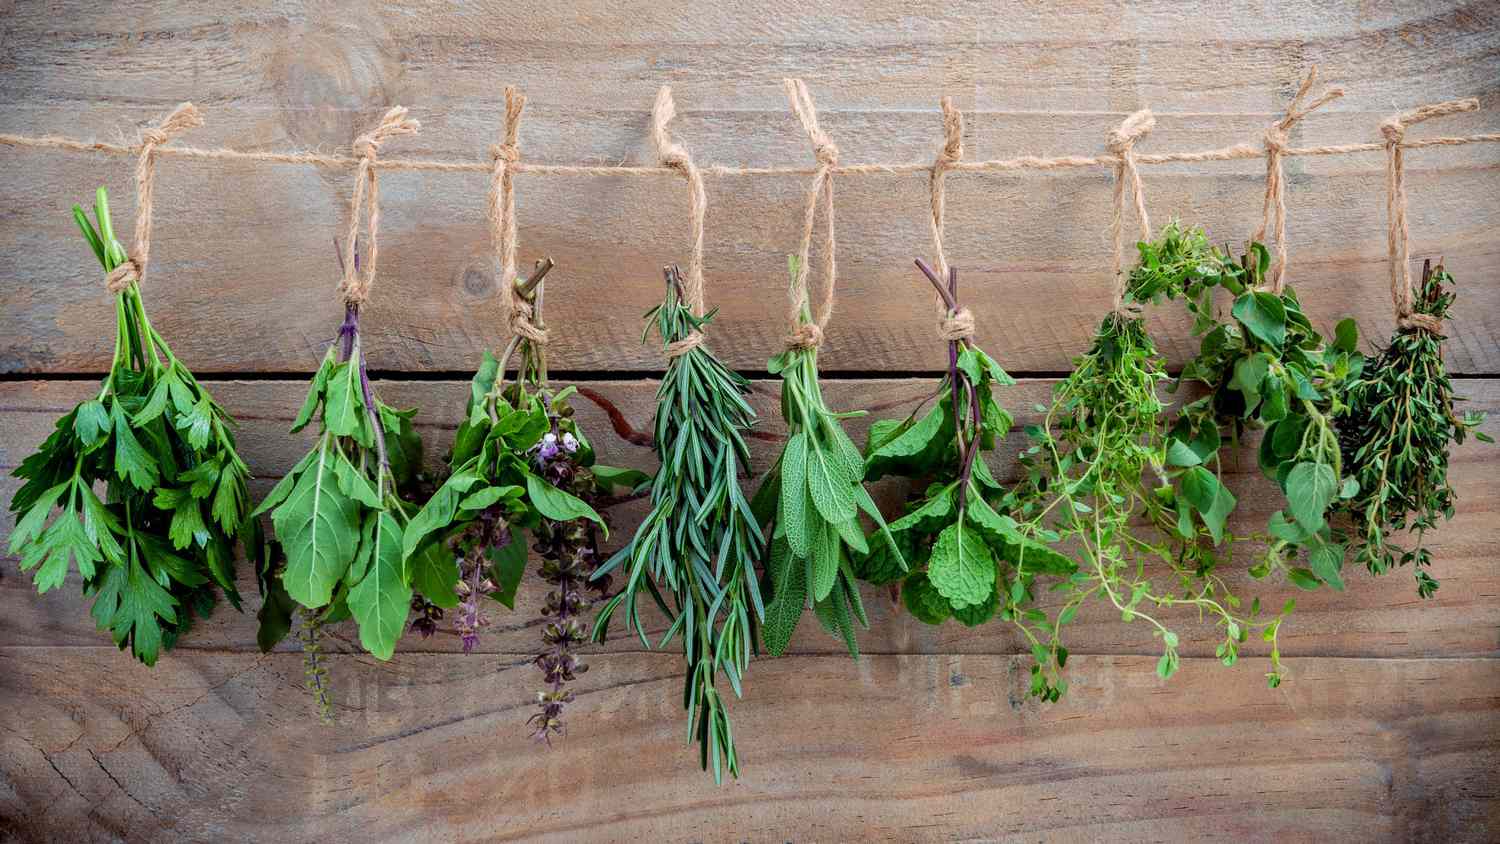
- Herb Varieties: Some herbs, such as basil, parsley, mint, and cilantro, are known for their high water content and are excellent candidates for rehydration. These herbs tend to rehydrate well and retain their vibrant flavors.
- Quality of Dried Herbs: The quality of the dried herbs you’re starting with will influence the outcome of the rehydration process. Opt for dried herbs that are still relatively intact, with minimal crumbling or discoloration.
- Preferably Whole or Large Cut: Whole dried herbs or those that have been roughly chopped into larger pieces tend to rehydrate more evenly compared to finely ground or powdered herbs.
- Consider Culinary Use: When selecting herbs for rehydration, it’s helpful to consider their intended use in your recipes. Choose herbs that complement the flavors of the dish you plan to prepare.
- Aroma and Taste: Pay attention to the aroma and taste of the dried herbs. Opt for herbs that have retained their characteristic scent and flavor, as these qualities will be enhanced during rehydration.
While these are general guidelines, don’t be afraid to experiment with rehydrating different herbs. You may uncover unexpected flavor combinations or find new ways to elevate your dishes with rehydrated herbs.
Now that you have an idea of the herbs that work well for rehydration, let’s move on to the step-by-step process of rehydrating herbs.
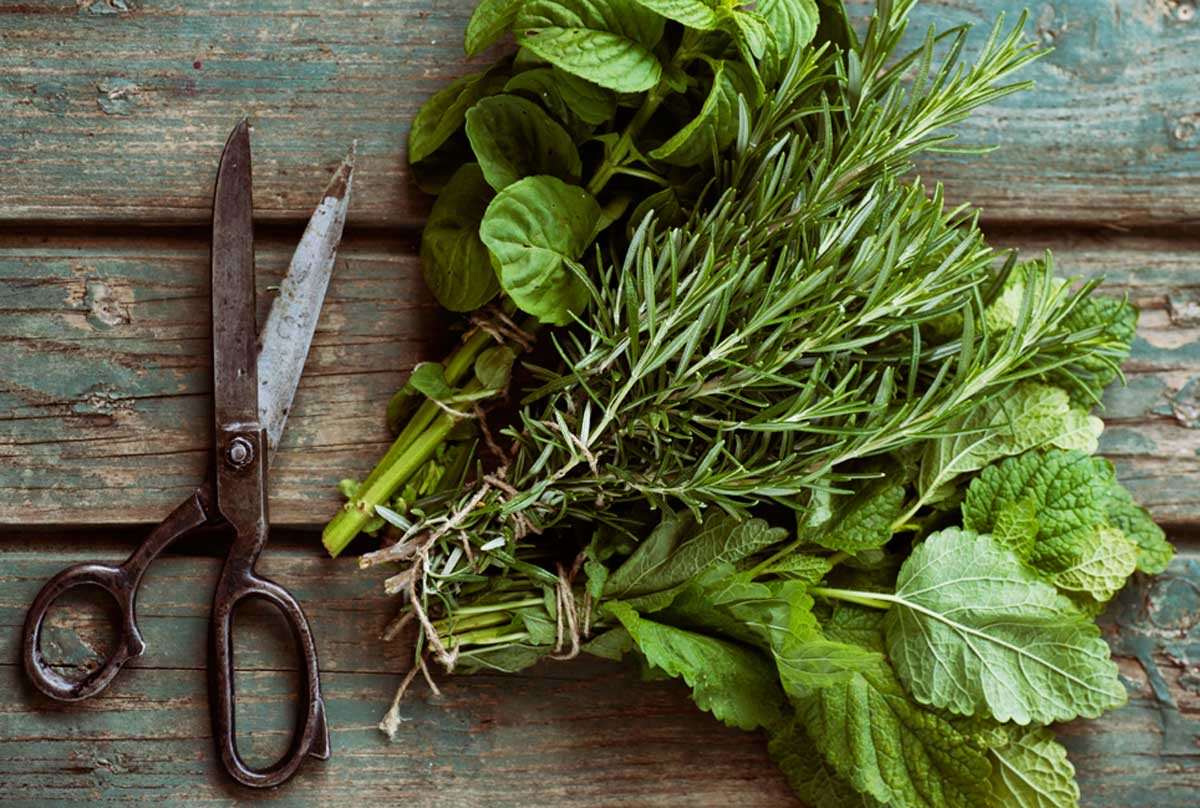
Step 1: Gathering the Herbs
The first step in rehydrating herbs is to gather the dried herbs you wish to revive. Whether you have dried herbs from your garden or store-bought ones, ensure that they are still within their expiration date and have been stored properly.
If you are using store-bought dried herbs, check the packaging for any specific instructions or recommendations for rehydration. Some herbs may require slightly different methods or soaking times, so it’s essential to follow any guidelines provided.
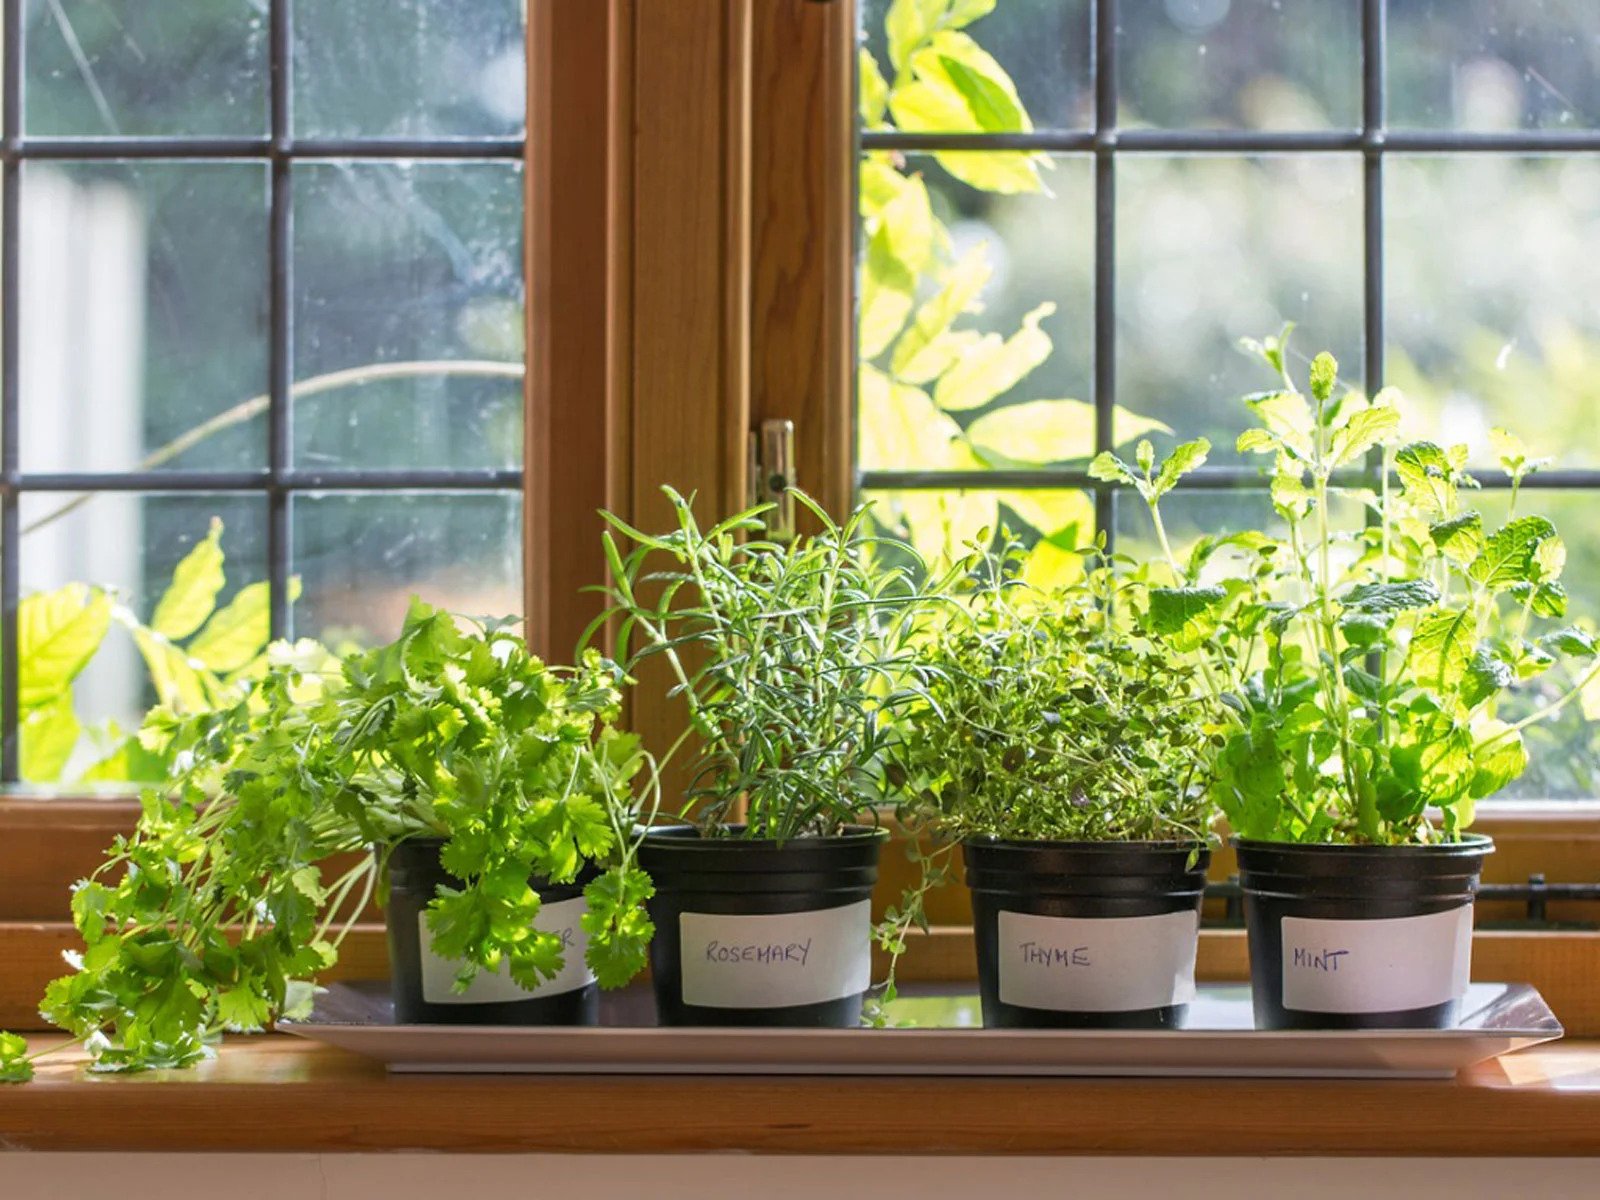
If you have dried herbs from your garden, it’s best to harvest and dry them when they are at their peak flavor and aroma. Properly dried herbs will retain more of their essential oils, resulting in higher quality rehydrated herbs.
Once you have gathered your dried herbs, inspect them for any signs of spoilage, insect infestation, or discoloration. Discard any herbs that appear damaged or have an off smell, as they may negatively affect the flavor of the rehydrated herbs.
If you prefer to use fresh herbs for rehydration, ensure that they are clean and free from any debris. Gently rinse them in cold water and pat them dry with a clean towel before proceeding with the rehydration process.
Gathering the herbs is an important initial step in the rehydration process. By selecting high-quality dried herbs or freshly harvested herbs, you are setting the stage for successful herb revival. Now that you have your herbs ready, let’s move on to the next step: preparing the rehydration solution.
Step 2: Preparing the Rehydration Solution
After gathering your dried or fresh herbs, the next step in the rehydration process is to prepare the rehydration solution. This solution will help restore moisture to the herbs and revitalize them.
The rehydration solution can vary depending on personal preference, the type of herb, and its intended use. Here are a few common methods for preparing the rehydration solution:
- Water: The simplest and most commonly used rehydration solution is plain water. Fill a bowl or container with enough water to fully submerge the herbs. If you prefer, you can use filtered or purified water to ensure the best quality.
- Broth or Stock: For herb-infused recipes, using a broth or stock as the rehydration solution can add extra flavor. Heat the broth or stock and allow it to cool before adding the dried herbs. The herbs will absorb the flavorful liquid as they rehydrate.
- Citrus or Fruit Juice: Adding citrus or fruit juice to the rehydration solution can impart a refreshing and tangy flavor to the herbs. You can use lemon juice, lime juice, orange juice, or any other fruit juice that complements the herb’s flavor profile.
- Herbal Infusions: For a more herbal infusion, consider using tea or herbal infusions as the rehydration solution. Brew your favorite tea or herbal blend and allow it to cool before adding the herbs.
The quantity of the rehydration solution will depend on the amount of herbs you are rehydrating. Make sure that the herbs are fully submerged in the solution, allowing them to absorb the moisture evenly.
Remember to take into consideration the flavors and intended use of the rehydrated herbs when choosing the rehydration solution. Once you have prepared the solution, it’s time to move on to the next step: placing the herbs in the solution.
Step 3: Placing the Herbs in the Solution
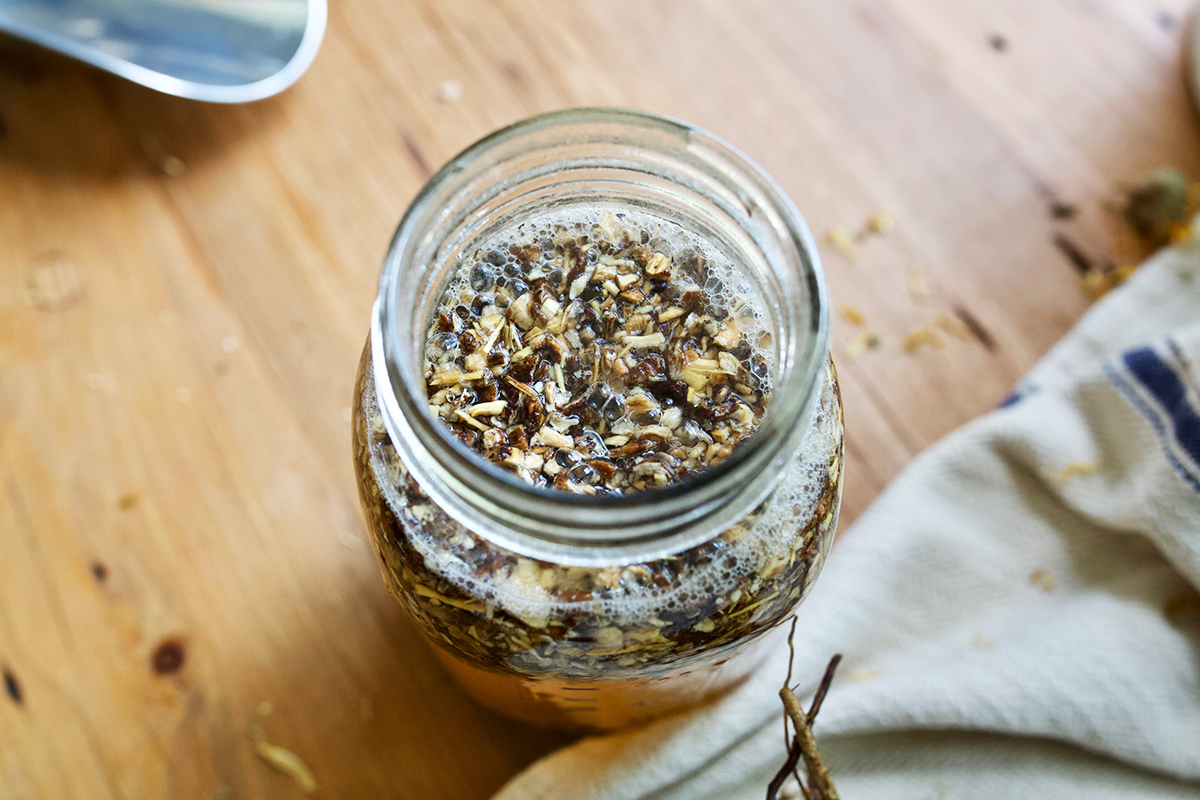
With your rehydration solution prepared, it’s time to proceed to the next step: placing the dried or fresh herbs in the solution. This step allows the herbs to start absorbing moisture and begin the rehydration process.
If you are using dried herbs, carefully add them to the rehydration solution, ensuring that they are fully submerged. Gently press down on the herbs to ensure they are covered by the liquid. Avoid overcrowding the container, as this can prevent the herbs from rehydrating evenly.
If you prefer to use fresh herbs, submerge them in the rehydration solution and gently press them down to ensure they are fully immersed. The fresh herbs will rehydrate quicker than dried ones, so keep an eye on them to avoid over-soaking.
Allow the herbs to sit in the rehydration solution for a specific amount of time, as determined by the herb variety or recipe. The rehydration time can range from a few minutes to several hours, depending on the herb and your desired level of rehydration.
During this time, it is recommended to cover the container to prevent evaporation and to help the herbs retain moisture. This cover can be a lid, plastic wrap, or a clean kitchen towel.
While the herbs are rehydrating, you may notice the liquid changing color or becoming infused with the flavors of the herbs. This is a promising sign that the rehydration process is underway.
Remember to be patient and avoid rushing the process. The rehydration time will vary depending on the herb type and its initial moisture content. Keep an eye on the herbs and periodically check their rehydration progress.
Now that the herbs are in the rehydration solution, it’s time for the magic to happen. Allow the herbs to absorb the moisture and revitalize their flavor and texture. The next step will guide you on how to determine when the herbs are fully rehydrated and ready for use.
Step 4: Allowing the Herbs to Rehydrate
Once the herbs are placed in the rehydration solution, it’s crucial to give them ample time to rehydrate fully. This step allows the herbs to absorb the moisture and regain their plumpness, flavor, and aroma.
The rehydration time will vary depending on the herb variety, the desired level of rehydration, and the specific recipe you plan to use the herbs in. Some herbs may only need a few minutes to rehydrate, while others may require several hours.
It’s essential to refer to specific guidelines or recipes for the recommended rehydration time for the herbs you are working with. This information will ensure that the herbs are fully rehydrated and ready to be used in your culinary creations.
While the herbs are rehydrating, keep an eye on their progress. You may notice that the herbs start to plump up, becoming softer and more flexible. The color of the herbs may also start to regain vibrancy as they absorb the rehydration solution.
During this step, it’s important to resist the temptation to rush the process by increasing the rehydration time or adding extra moisture. Over-rehydration can result in waterlogged and mushy herbs, affecting their flavor and texture.
On the other hand, if you notice that the herbs are not rehydrating adequately within the recommended time frame, you may need to extend the rehydration period slightly. Keep in mind that the rehydration process can be influenced by various factors, including the initial moisture content of the herbs and the temperature of the rehydration solution.
Once the herbs have reached the desired level of rehydration, it’s time to proceed to the next step: removing and storing the rehydrated herbs.
Note: Some delicate herbs, like basil or mint, may rehydrate very quickly, so it’s important to monitor their progress closely to prevent over-soaking.
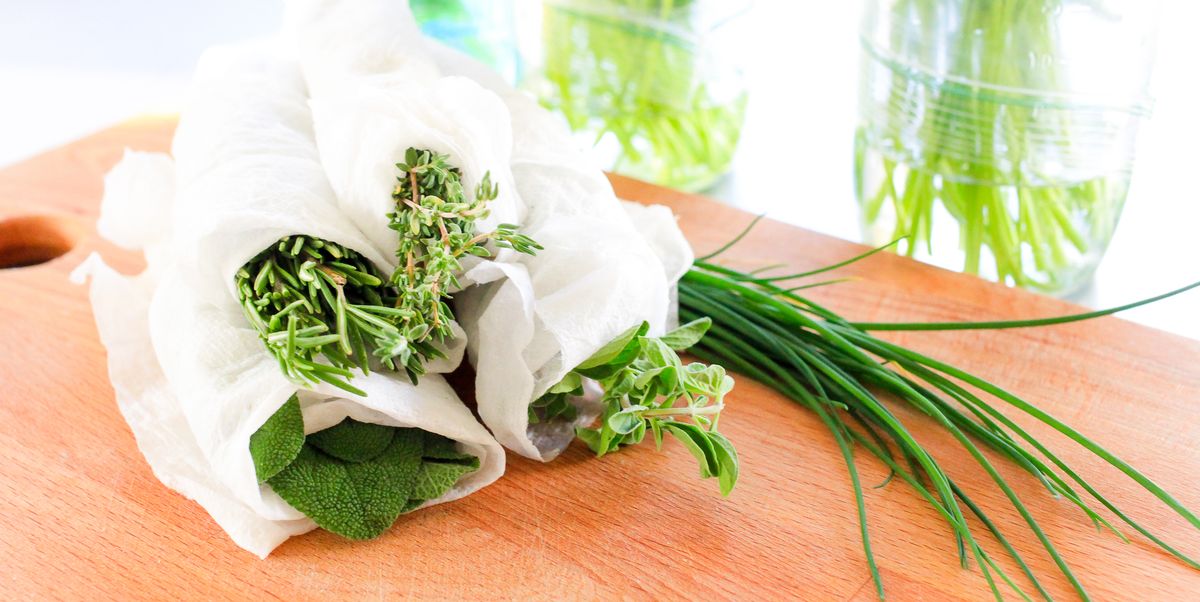
Step 5: Removing and Storing the Rehydrated Herbs
After the herbs have successfully rehydrated, it’s time to remove them from the rehydration solution and store them properly for future use. This final step ensures that the herbs maintain their rejuvenated qualities and are readily accessible when you need them.
Carefully remove the rehydrated herbs from the solution, allowing any excess liquid to drain off. Gently pat the herbs dry with a clean kitchen towel or paper towel to remove any remaining moisture.
If you have rehydrated a large quantity of herbs and don’t plan to use them all at once, you can divide them into smaller portions for easier storage and preservation.
Store the rehydrated herbs in an airtight container or a ziplock bag to keep them fresh and prevent moisture loss. Make sure to label the container or bag with the herb’s name and the date of rehydration to ensure you use the herbs within their optimal time frame.
It is recommended to store the rehydrated herbs in the refrigerator to extend their shelf life. The cool temperature of the fridge will help maintain their flavor and aroma for a longer period.
Alternatively, you can also freeze the rehydrated herbs in ice cube trays or freezer bags for longer-term storage. Freezing preserves the herbs while retaining their potency and flavor. When needed, simply thaw out the desired portion of herbs and use them as you would with fresh herbs.
When using the rehydrated herbs in recipes, you can typically substitute them in a 1:1 ratio for fresh herbs. However, keep in mind that rehydrated herbs may have a slightly different texture compared to fresh ones, so adjust accordingly to achieve the desired result.
By properly storing the rehydrated herbs, you can enjoy the benefits of their enhanced flavors and textures in various culinary creations, such as soups, stews, sauces, or marinades.
With the rehydrated herbs successfully stored, you have completed the final step of the rehydration process. Now, you can confidently incorporate these revitalized herbs into your dishes for an elevated culinary experience.
Tips and Tricks for Rehydrating Herbs
Rehydrating herbs is a simple process, but a few tips and tricks can help you achieve the best results. Here are some handy tips to enhance your herb rehydration experience:
- Respect the Herb’s Delicacy: Some herbs, like basil or cilantro, can be more delicate and prone to bruising. Handle them gently during the rehydration process to preserve their appearance and flavor.
- Use Warm Rehydration Solutions: For faster rehydration, you can try using warm or lukewarm rehydration solutions instead of cold fluids. The warm temperature can help the herbs absorb moisture more quickly.
- Experiment with Flavor Infusions: Get creative and infuse extra flavors into your herbs by adding spices, garlic, or citrus zest to the rehydration solution. This can help create unique and flavorful combinations for your culinary experiments.
- Save the Rehydration Liquid: The liquid used to rehydrate the herbs may contain valuable flavors. Consider saving and utilizing this liquid in your recipes to enhance the herb’s taste and aroma even further.
- Monitor Rehydration Times: Different herbs have varying moisture absorption rates, so it’s essential to pay attention to the rehydration times mentioned in recipes or guidelines. Over-soaking can lead to loss of flavor and texture.
- Use Rehydrated Herbs as Garnishes: Rehydrated herbs can make beautiful and vibrant garnishes for your dishes. Sprinkle a few plump leaves or finely chop the rehydrated herbs and use them to add visual appeal to your culinary creations.
- Combine Dried and Fresh Herbs: Experiment with using a combination of dried and freshly rehydrated herbs to achieve a balance of flavors and textures. This can add complexity to your dishes and showcase the best of both worlds.
- Label and Date Your Herb Storage Containers: Properly labeling containers ensures you can easily identify the stored herbs and their rehydration dates. This practice helps maintain organization and ensures you use the herbs within their optimal time frame.
- Adjust Seasonings in Recipes: Keep in mind that rehydrated herbs may have a more concentrated flavor than fresh herbs. Adjust the other seasonings in your recipes accordingly to achieve the desired balance and prevent overpowering flavors.
- Don’t Be Afraid to Experiment: Rehydrating herbs opens up a world of flavor possibilities. Don’t be afraid to try new combinations, techniques, or herb varieties. Embrace creativity and have fun exploring the potential of rehydrated herbs in your culinary adventures.
By incorporating these tips and tricks into your herb rehydration process, you can elevate your dishes with revitalized flavors, inviting aromas, and stunning visual appeal. So, let your culinary creativity flourish with rehydrated herbs!
Conclusion
Rehydrating herbs is a wonderful technique that allows you to revitalize dried herbs and amplify their flavors, textures, and aromas. By following the simple steps outlined in this guide, you can bring your herbs back to life and unlock their full potential in your culinary creations.
Through the process of rehydration, dried herbs become plump, tender, and bursting with vibrant flavors. The rehydrated herbs are a flavorful addition to various dishes, from soups and stews to sauces and marinades.
Remember to choose the right herbs for rehydration, consider the rehydration solution, and give the herbs sufficient time to absorb the moisture. Properly storing the rehydrated herbs ensures their longevity and accessibility for future use.
With the tips and tricks provided, you can further enhance your rehydration experience and experiment with different flavor combinations. Don’t hesitate to explore the world of rehydrated herbs, as they can elevate your culinary creations to new heights.
So, go ahead and bring those dried herbs back to life. Discover the joys of rehydration and fill your kitchen with the enticing aromas and flavors of freshly revitalized herbs!