Home>Gardening News and Trends>Latest News>How To Grind Herbs
Latest News
How To Grind Herbs
Modified: January 22, 2024
Discover the latest news and techniques on how to grind herbs effectively. Achieve maximum flavor and aroma with our step-by-step guide.
(Many of the links in this article redirect to a specific reviewed product. Your purchase of these products through affiliate links helps to generate commission for Chicagolandgardening.com, at no extra cost. Learn more)
Table of Contents
Introduction
Welcome to the world of herbal cooking! Grinding herbs is an essential skill for any culinary enthusiast or herbalist. It allows you to unlock the full flavor and aroma of various herbs, enhancing the taste and fragrance of your dishes. Whether you’re making a homemade spice blend, herbal tea, or adding a pinch of fresh ground herbs to your favorite recipes, learning how to grind herbs properly can take your culinary creations to the next level.
Why grind herbs, you may ask? Well, grinding herbs releases their essential oils, which contain the concentrated flavors and aromas that we seek in our cooking. By grinding the herbs, you are breaking down their cell walls, allowing these oils to be easily released and incorporated into your dishes.
However, to achieve the best results, it’s crucial to use the right tools and equipment for grinding herbs. There are several methods to choose from, each with its own advantages and considerations. In this article, we will explore the different options available and provide you with practical tips and tricks to make the most out of your herb grinding experience.
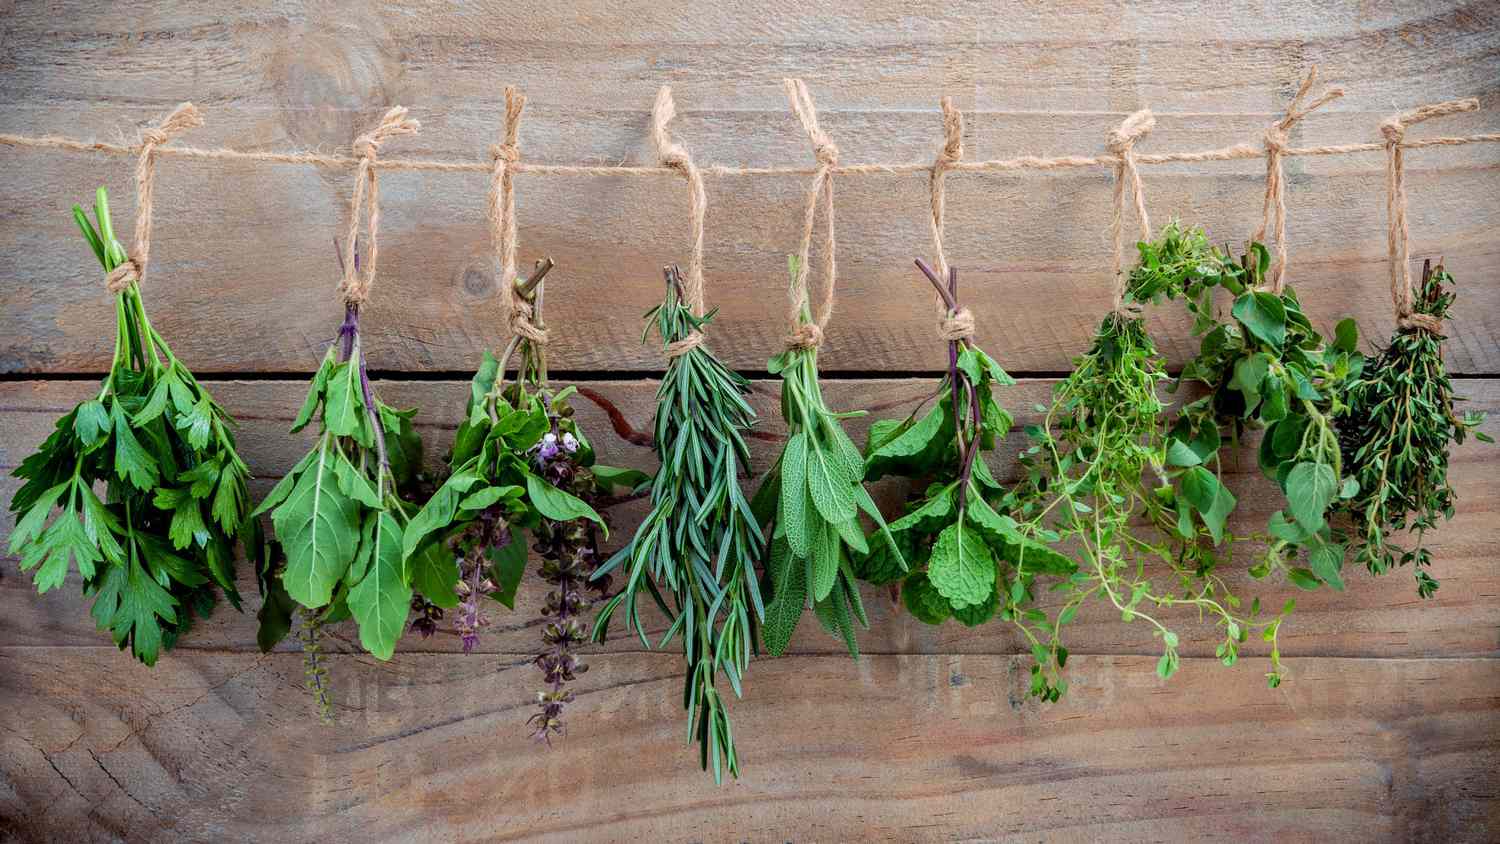
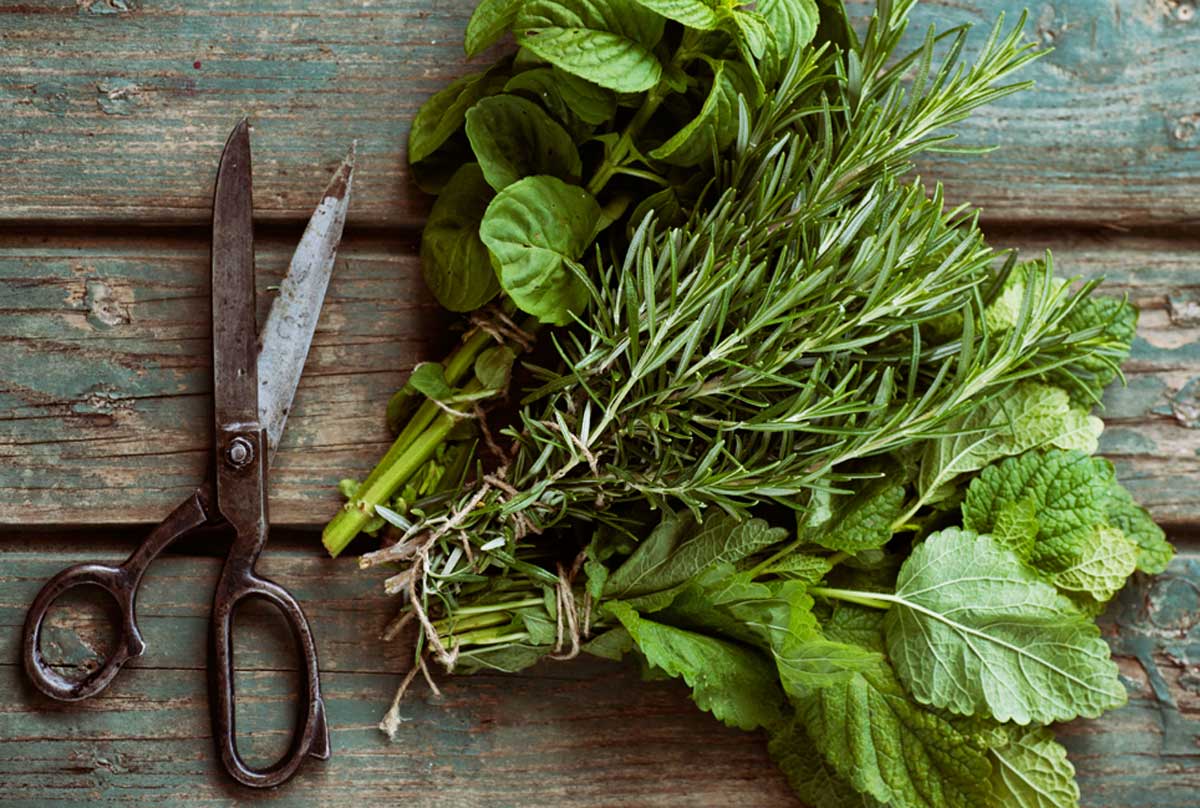
Before we dive into the practical aspects, let’s talk about selecting the right herbs for grinding. Not all herbs are suitable for grinding, and some may even lose their flavor and potency when subjected to this process. It’s important to choose fresh, high-quality herbs that are known for their robust flavors and aromas. Popular choices include rosemary, thyme, oregano, basil, coriander, and many others. Experimentation is key when it comes to finding the perfect combination of herbs for your taste preferences.
Now that you understand why grinding herbs is important and have an idea of the herbs to use, it’s time to gather the necessary tools and equipment for the task. Whether you prefer the traditional approach or modern gadgets, we have you covered. So, let’s get started on this flavorful journey of grinding herbs!
Why Grind Herbs?
Grinding herbs may seem like an extra step in the cooking process, but it offers numerous benefits that make it well worth the effort. Here are a few reasons why grinding herbs is essential for enhancing your culinary experience:
- Unlocking Flavor and Aroma: When you grind herbs, you release their essential oils, which contain the concentrated flavors and aromas that give each herb its unique character. These oils are responsible for the delightful fragrance and taste that can elevate your dishes to new heights.
- Enhanced Texture: Grinding herbs not only releases their oils but also breaks them down into finely ground particles. This helps to distribute the flavors and textures more evenly throughout your dish, ensuring that every bite is infused with the herb’s essence.
- Customization: By grinding your own herbs, you have complete control over the texture and intensity of the final product. You can adjust the coarseness or fineness of the grind to suit your specific needs and preferences. This allows you to tailor the flavor profile of your dishes and create unique culinary masterpieces.
- Preservation of Freshness: Grinding herbs at home ensures that you are using fresh herbs at the peak of their flavor and nutritional value. Pre-ground herbs may lose their potency over time, leading to a less vibrant taste. By grinding herbs as needed, you can preserve their freshness and enjoy the full benefits of their aromatic qualities.
- Versatility: Once you have ground herbs at your disposal, you can utilize them in a variety of culinary applications. From seasoning meats and vegetables to infusing oils and making herbal teas, the possibilities are endless. Incorporating freshly ground herbs into your cooking opens up a world of creative and delicious options.
Grinding herbs is not only beneficial for cooking but also for herbal medicine and holistic wellness practices. Ground herbs are easier to incorporate into remedies, tinctures, and skincare products, allowing you to harness their medicinal properties more effectively.
Now that you understand the importance of grinding herbs let’s explore the tools and techniques required to embark on this flavorful journey.
Tools and Equipment Required
Before you begin grinding herbs, it’s essential to have the right tools and equipment at your disposal. The choice of equipment will depend on personal preference, the quantity of herbs you plan to grind, and the desired texture of the ground herbs. Here are some common tools used for grinding herbs:
- Mortar and Pestle: A classic and versatile tool, the mortar and pestle consists of a bowl-shaped mortar and a pestle used for grinding. This method allows for precise control over the texture and is ideal for small quantities of herbs.
- Spice Grinder: Also known as a coffee grinder, a spice grinder is an electric appliance specifically designed for grinding spices, herbs, and other dry ingredients. It offers convenience, speed, and the ability to grind larger quantities of herbs at once.
- Blender or Food Processor: If a spice grinder is not available, a blender or food processor can be used as an alternative. However, keep in mind that the texture may not be as finely ground compared to other methods.
- Pestle and Mortar Set: Similar to the traditional mortar and pestle, a pestle and mortar set is a smaller version and is often made of non-porous materials such as ceramic or stainless steel. This is a great option for grinding small amounts of herbs without taking up too much storage space.
- Mezzaluna: A mezzaluna is a half-moon-shaped blade with handles on both ends. This tool is used by rocking it back and forth on a chopping board to finely chop and mince herbs. While it may not provide the same texture as grinding, it can be an efficient tool for chopping herbs into small, uniform pieces.
When selecting your tools, consider factors such as durability, ease of use, and the amount of space you have available in your kitchen. It’s also important to ensure that your chosen tool is clean and dry before grinding herbs to prevent any cross-contamination of flavors.
Now that you have an understanding of the tools and equipment needed, let’s move on to selecting the right herbs for grinding.
Selecting the Right Herbs
Choosing the right herbs for grinding is crucial to ensure that you achieve the desired flavors and aromas in your culinary creations. Here are some factors to consider when selecting herbs for grinding:
Freshness: Opt for fresh herbs whenever possible. Fresh herbs have a vibrant color, crisp texture, and potent fragrance, all of which contribute to the overall taste experience. Avoid herbs that are wilted, discolored, or have a strong, unpleasant odor.
Flavor Profile: Different herbs offer distinct flavors and aromas. Consider the taste profile you want to achieve in your dish and select herbs accordingly. For example, basil adds a sweet and slightly peppery flavor, while rosemary imparts a robust and aromatic taste.
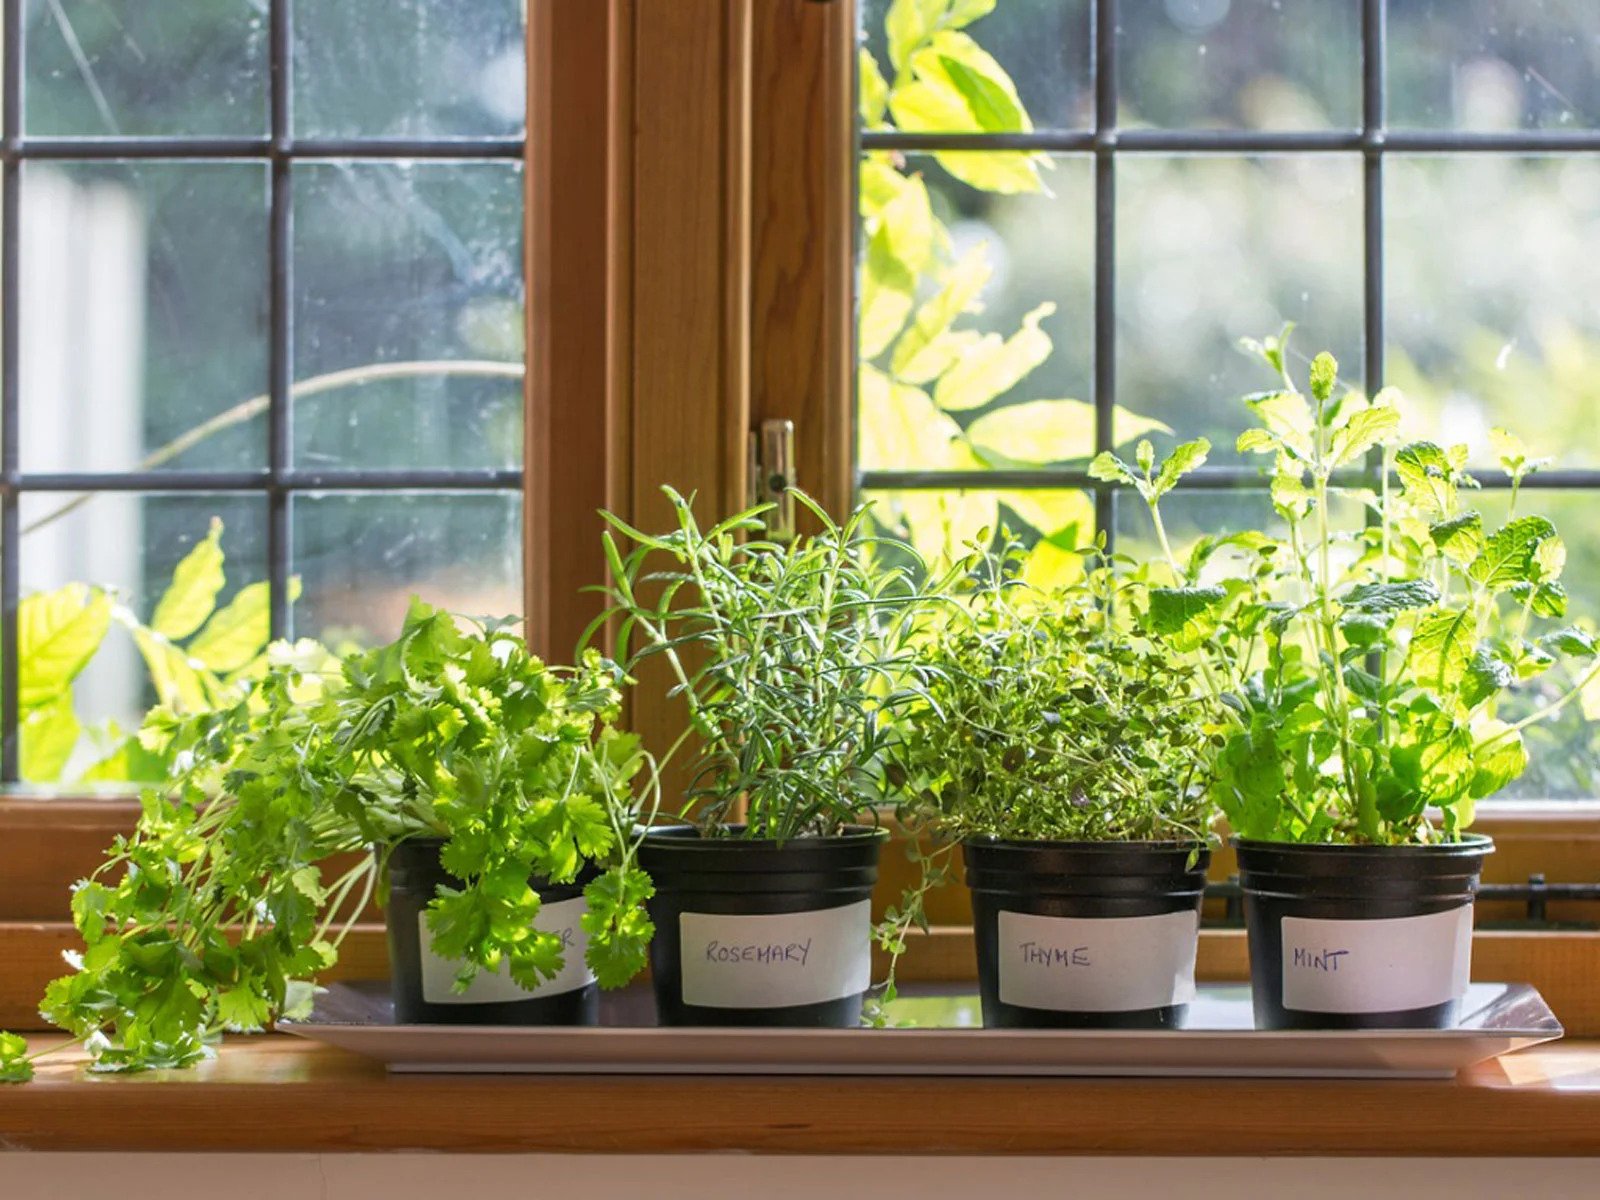
Availability: Choose herbs that are readily available in your region or can be easily grown in your garden. This ensures a fresh supply of herbs and reduces the chances of relying on pre-packaged or dried options.
Culinary Purpose: Determine the purpose of using the herbs. Some herbs are ideal for infusing oils and vinegars, while others are better suited for seasoning meats, vegetables, or making herbal teas. Consider the specific culinary applications you have in mind when selecting herbs for grinding.
Combinations: Don’t be afraid to experiment with different herb combinations. Mixing complementary herbs can create complex and unique flavors. For example, a blend of thyme, oregano, and rosemary can be used to season roasted vegetables or grilled meats.
Popular herbs for grinding include rosemary, thyme, oregano, basil, cilantro, parsley, mint, and sage. Each herb offers its own distinct characteristics, allowing you to bring a world of flavors to your dishes.
Remember to harvest herbs at the peak of their flavor, usually in the morning before the heat of the day. It’s best to use fresh herbs immediately after harvesting, but if necessary, they can be stored in the refrigerator in a damp paper towel or in a glass of water to maintain their freshness for a short period.
Now that you have selected the perfect herbs, it’s time to prepare them for grinding. In the next section, we will discuss the different methods of preparing herbs before grinding.
Preparing the Herbs
Before you begin grinding, it’s important to properly prepare the herbs to ensure optimal results. Here are some steps to follow for preparing herbs:
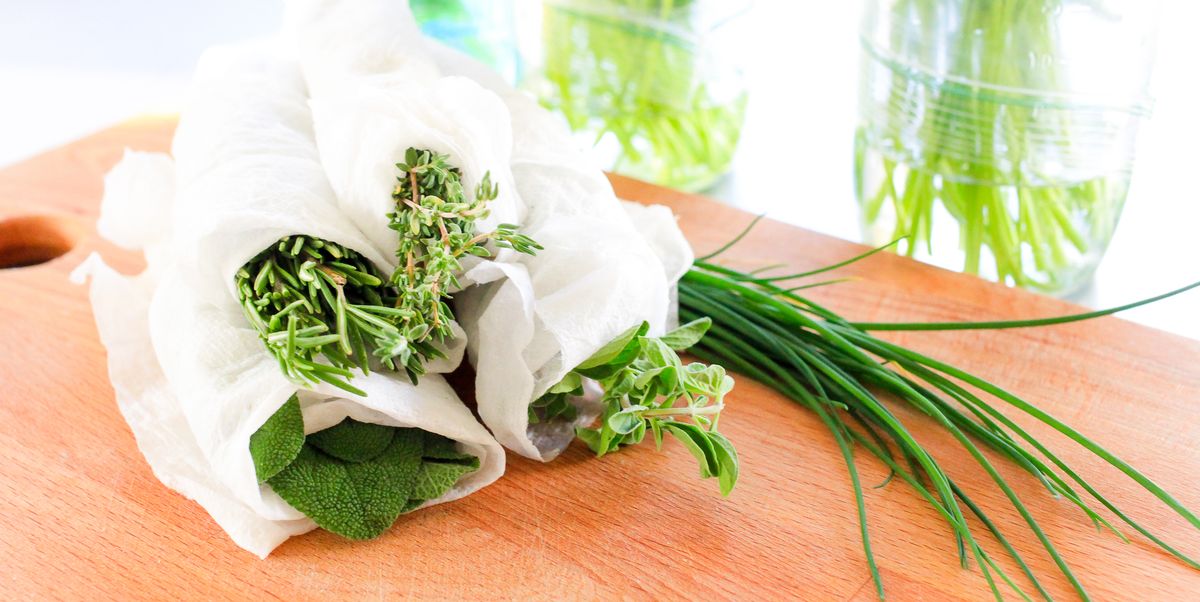
Washing the Herbs: Start by washing the herbs under cold running water to remove any dirt or debris. Gently pat them dry with a clean kitchen towel or paper towels. This step is particularly important if you’re using fresh herbs from your garden or the farmer’s market.
Removing Stems and Tough Parts: Depending on the herb, you may need to remove any tough stems or thicker parts that won’t grind easily. For example, for rosemary and thyme, strip the leaves off the woody stems. With soft herbs like basil or parsley, you can include the stems, as they hold a lot of flavor.
Chopping or Tearing: For larger herbs or those with thick leaves, you may want to chop or tear them into smaller pieces before grinding. This helps to ensure even grinding and prevents the herbs from getting tangled in the grinding tool.
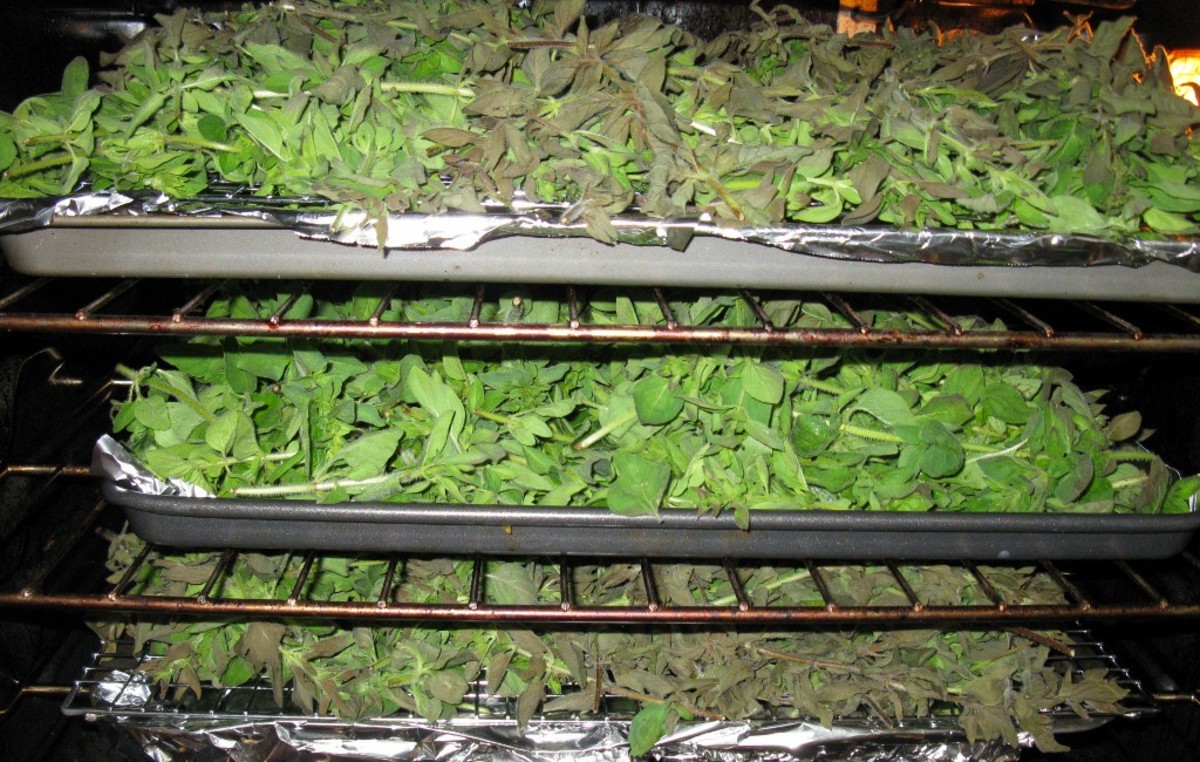
Drying the Herbs: If you’re working with fresh herbs, you may want to dry them slightly before grinding. This can be done by spreading the herbs on a clean kitchen towel or baking sheet and allowing them to air dry for a few hours or gently patting them dry with paper towels. Drying the herbs helps remove excess moisture, which can affect the grinding process.
Freezing the Herbs: Another option is to freeze the herbs before grinding. Freezing herbs can make them easier to handle and minimizes the chance of heating them up during the grinding process, which might negatively affect their flavor. Simply place the herbs in a freezer bag or container and freeze them until they’re solid before grinding.
It’s important to note that the preparation steps may vary depending on the specific herb and the grinding method you plan to use. Experimentation is key to finding the preparation technique that works best for you and your culinary creations.
Now that the herbs are washed, trimmed, and prepped, it’s time to explore the different grinding methods available. In the next section, we will discuss three popular methods: a mortar and pestle, a spice grinder, and a blender or food processor.
Different Grinding Methods
There are several methods to choose from when it comes to grinding herbs. The method you choose will depend on personal preference, the tools and equipment available, and the desired texture of the ground herbs. Let’s explore three popular grinding methods:
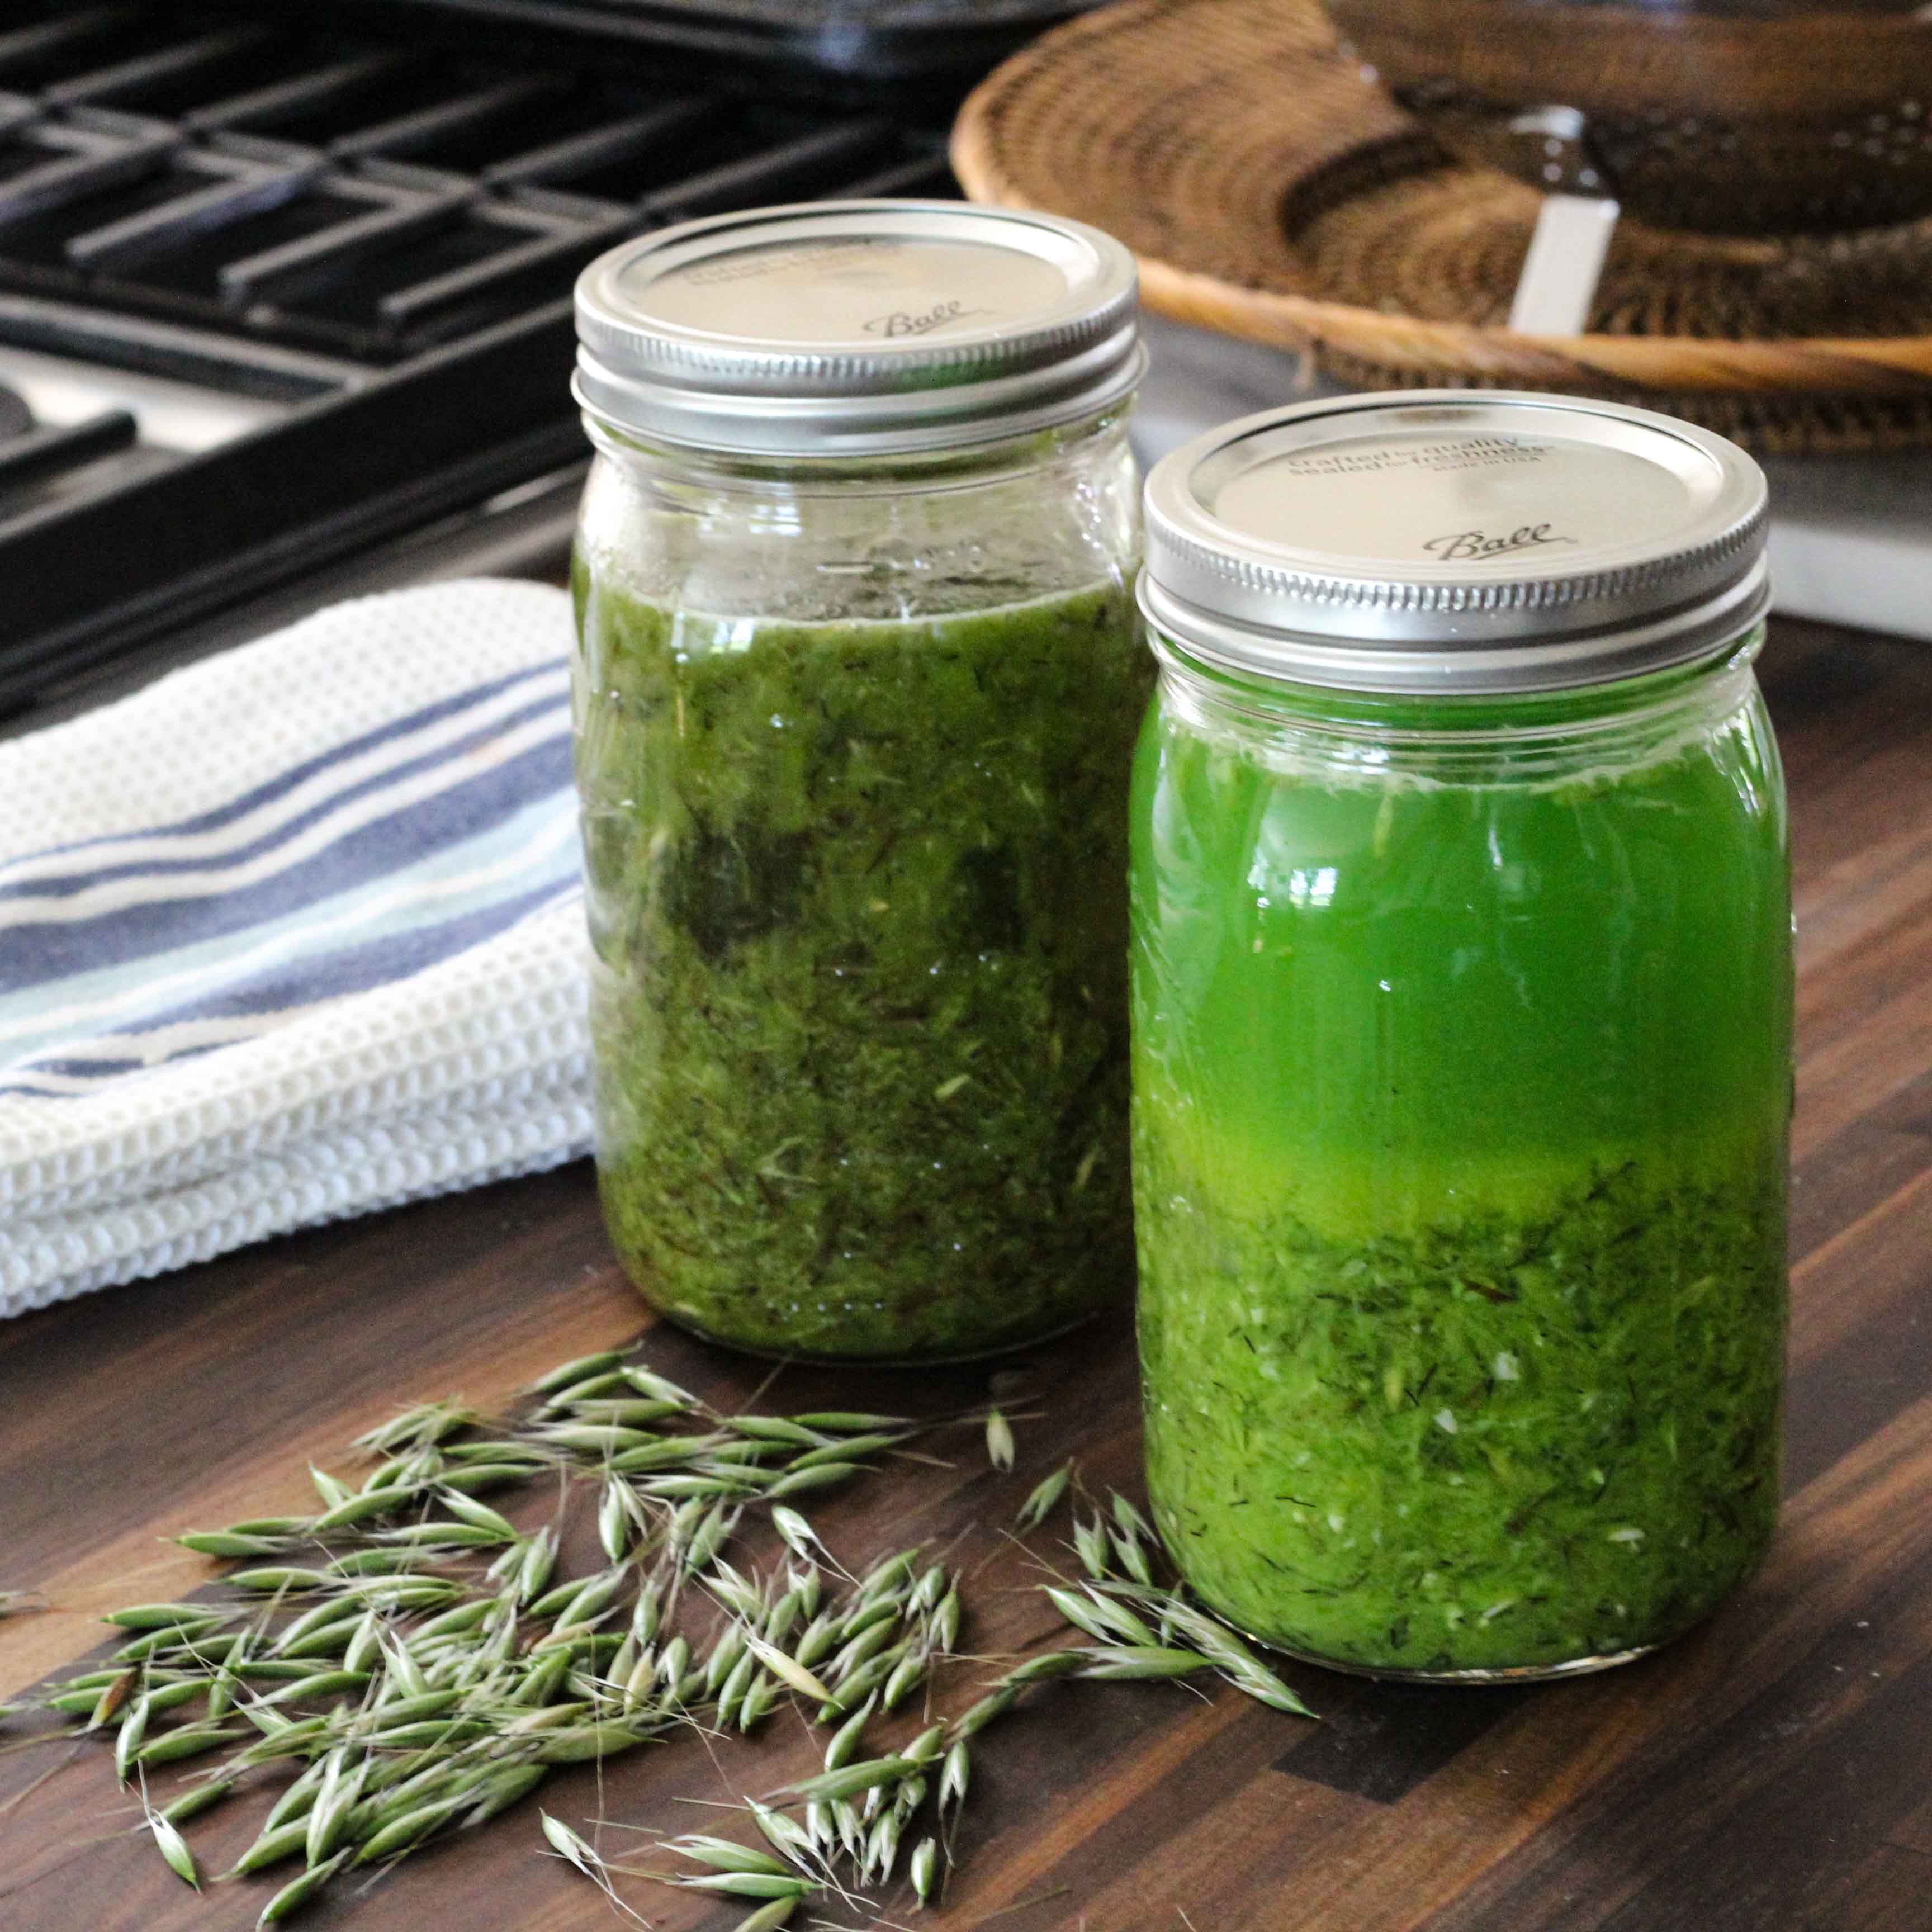
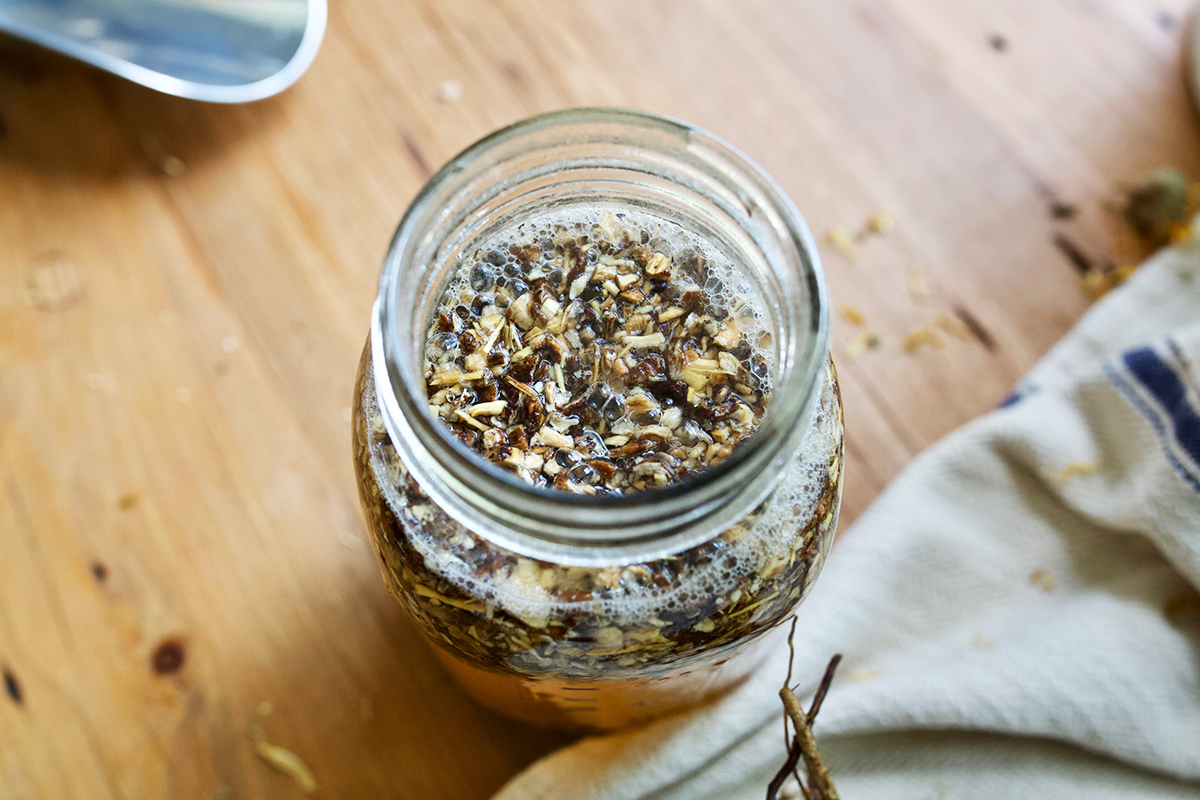
Using a Mortar and Pestle: This traditional method is perfect for those who enjoy a hands-on approach to grinding herbs. Start by placing a small amount of herbs in the mortar. Use the pestle to gently crush and grind the herbs in a circular motion. Apply pressure to break down the herbs and release their essential oils. For a fine grind, continue grinding until you achieve the desired consistency. The mortar and pestle offer precise control over the texture and are ideal for small quantities of herbs.
Using a Spice Grinder: A spice grinder, also known as a coffee grinder, is an electric appliance designed specifically for grinding spices, herbs, and other dry ingredients. It is a convenient option for grinding larger quantities of herbs at once. Simply add the herbs to the grinder, cover, and pulse until you achieve the desired texture. Be sure to follow the manufacturer’s instructions and avoid overfilling the grinder to ensure even grinding.
Using a Blender or Food Processor: If you don’t have a spice grinder, a blender or food processor can be used as an alternative. While this method is not as precise as using a mortar and pestle or a spice grinder, it can still yield satisfactory results. Start by adding a small amount of herbs to the blender or food processor and pulse in short bursts until finely ground. Keep in mind that the texture may not be as finely ground compared to other methods, so keep a close eye on it to avoid over-processing.
Regardless of the method you choose, it’s important to grind the herbs in short pulses or intervals to prevent overheating. Heat can negatively affect the flavor and aroma of the herbs. It’s also a good idea to grind the herbs in small batches to maintain control over the grind consistency.
Once the herbs are ground to the desired texture, it’s time to store them properly to preserve their freshness and flavor. Let’s explore some tips for storing ground herbs in the next section.
Using a Mortar and Pestle
The mortar and pestle is a classic and versatile tool for grinding herbs. It allows for precision and control over the texture of the ground herbs, making it a preferred method for many cooking enthusiasts. Here’s how to use a mortar and pestle for grinding herbs:
- Select the Right Size: Choose a mortar and pestle that is appropriate for the quantity of herbs you plan to grind. A larger mortar will be more suitable for grinding larger batches, while a smaller one may be more convenient for smaller quantities.
- Add the Herbs: Place a small amount of herbs into the mortar. It’s best to grind herbs in small batches for better control over the grinding process and to ensure even results.
- Apply Pressure: Use the pestle to apply gentle pressure and grind the herbs. Begin by crushing and grinding the herbs in a circular motion, using the pestle to break down the herbs and release their essential oils. Continue grinding until you achieve the desired texture.
- Adjust Technique: The grinding technique can vary depending on the herb and desired outcome. For a coarser grind, use a more vigorous grinding motion. For a finer grind, use a lighter touch and grind in smaller circular motions.
- Be Patient: Grinding herbs with a mortar and pestle requires time and patience. Take breaks between grinding and assess the texture of the herbs. If they’re not finely ground enough, continue grinding until you achieve the desired consistency.
Using a mortar and pestle allows you to have full control over the texture, ensuring that the herbs are ground to the desired coarseness. It also allows you to release the essential oils at a slower pace, resulting in an intense flavor and aroma.
After grinding, transfer the ground herbs to a clean, airtight container and store them in a cool, dark place. This will help preserve their freshness and flavor for an extended period. Remember to label the container with the herb’s name and the date of grinding for future reference.
The mortar and pestle method is a great option for grinding small quantities of herbs and provides a more hands-on and traditional approach to the process. However, if you’re looking for a quicker and more efficient way to grind herbs in larger quantities, you may want to explore other methods, such as using a spice grinder or a blender/food processor as discussed in the previous section.
Now that you know how to use a mortar and pestle, let’s move on to the next section where we will explore the process of grinding herbs using a spice grinder.
Using a Spice Grinder
A spice grinder, also known as a coffee grinder, is a convenient tool for grinding herbs, spices, and other dry ingredients. This electric appliance offers speed, efficiency, and the ability to grind larger quantities of herbs at once. Here’s how to use a spice grinder to grind your herbs:
- Select the Right Grinder: Choose a spice grinder that is specifically designed for grinding herbs and spices. Avoid using the same grinder that you use for coffee, as it may leave residual flavors or aromas that can impact the taste of your herbs.
- Add the Herbs: Place a small amount of herbs into the spice grinder. It’s important not to overload the grinder, as this can impede the grinding process and result in unevenly ground herbs.
- Cover and Pulse: Seal the grinder with its lid and pulse the grinder in short bursts. This helps ensure that the herbs are ground evenly and allows for better control over the texture. Avoid continuously running the grinder to prevent overheating the herbs.
- Check Consistency: After pulsing, open the grinder and check the consistency of the ground herbs. If they are not finely ground enough, pulse the grinder for a little longer until you reach the desired texture. Be cautious not to over-process the herbs, as this can result in a powdery texture.
- Keep Grinding Surface Dry: Ensure that the grinding chamber and blades are dry before using the spice grinder. Moisture can cause the herbs to clump together and affect the grinding process.
Using a spice grinder provides convenience and efficiency when it comes to grinding larger quantities of herbs. It allows for consistent results and a finer grind, which is beneficial for releasing the flavors and aromas of the herbs.
After grinding, transfer the ground herbs to a clean, airtight container and store them in a cool, dark place. This will help preserve their freshness and flavor for a longer period. Remember to label the container with the herb’s name and the date of grinding for easy reference.
If you don’t have a spice grinder, you can also use a blender or food processor as an alternative method for grinding herbs. However, keep in mind that the texture may not be as finely ground compared to using a dedicated spice grinder or a mortar and pestle, so adjust the grinding time accordingly.
In the next section, we will explore how to grind herbs using a blender or food processor, providing an option for those who don’t have access to a spice grinder or prefer a more versatile grinding tool.
Using a Blender or Food Processor
If you don’t have a spice grinder or mortar and pestle, a blender or food processor can serve as an alternative for grinding herbs. Although this method may not yield as fine of a texture as with dedicated grinding tools, it can still be effective for achieving satisfactory results. Here’s how to use a blender or food processor to grind herbs:
- Prepare the Herbs: Ensure that the herbs are clean and dry before adding them to the blender or food processor. Remove any tough stems or undesirable parts that won’t grind easily.
- Add the Herbs: Place a small amount of herbs into the blender or food processor. Be sure not to overload the container, as this may hinder the grinding process and result in unevenly ground herbs.
- Pulse in Short Bursts: Cover the blender or food processor and pulse in short bursts to grind the herbs. Stop and scrape down the sides as necessary to ensure even grinding. Be cautious not to over-process the herbs, as this can result in a coarser texture or unevenly ground herbs.
- Check and Repeat: After pulsing, check the consistency of the ground herbs. If the texture is not fine enough, continue pulsing in short bursts until you achieve the desired grind. Remember to periodically check the texture to avoid over-processing.
- Avoid Overheating: Since blenders and food processors generate heat, it’s important to avoid prolonged grinding. Overheating can affect the flavors and aromas of the herbs. If necessary, take breaks between pulsing to allow the machine to cool down.
Using a blender or food processor for grinding herbs offers convenience, especially when dealing with larger quantities. However, keep in mind that the texture may not be as finely ground compared to using dedicated grinding tools like a mortar and pestle or a spice grinder. Adjust the grinding time and technique accordingly to achieve the desired consistency.
Similar to other grinding methods, transfer the ground herbs to a clean, airtight container and store them in a cool, dark place to maintain their freshness and flavor. Ensure proper labeling with the herb’s name and the date of grinding for easy reference.
Now that you know how to use a blender or food processor to grind herbs, you have a versatile grinding option available. In the next section, we will discuss tips and tricks to enhance your herb grinding experience.
Storing Ground Herbs
Properly storing ground herbs is crucial to maintain their freshness, flavor, and potency over time. Here are some tips for storing ground herbs:
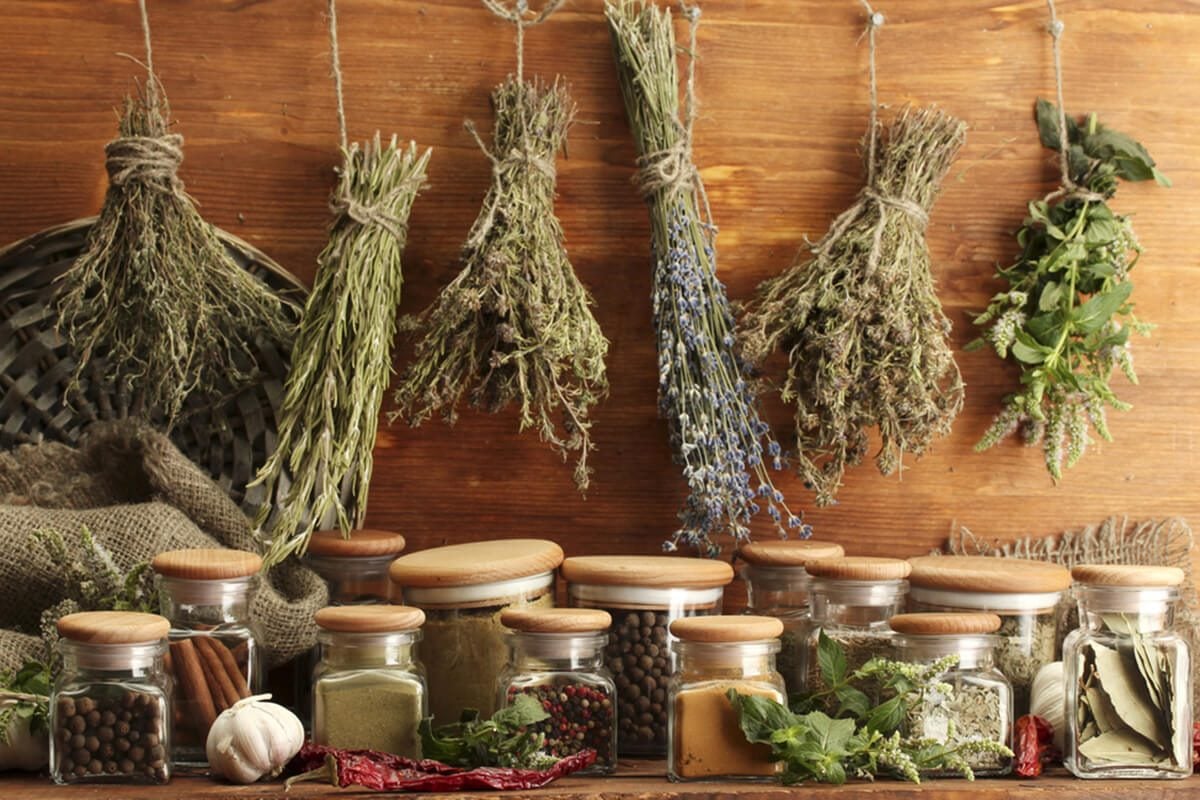
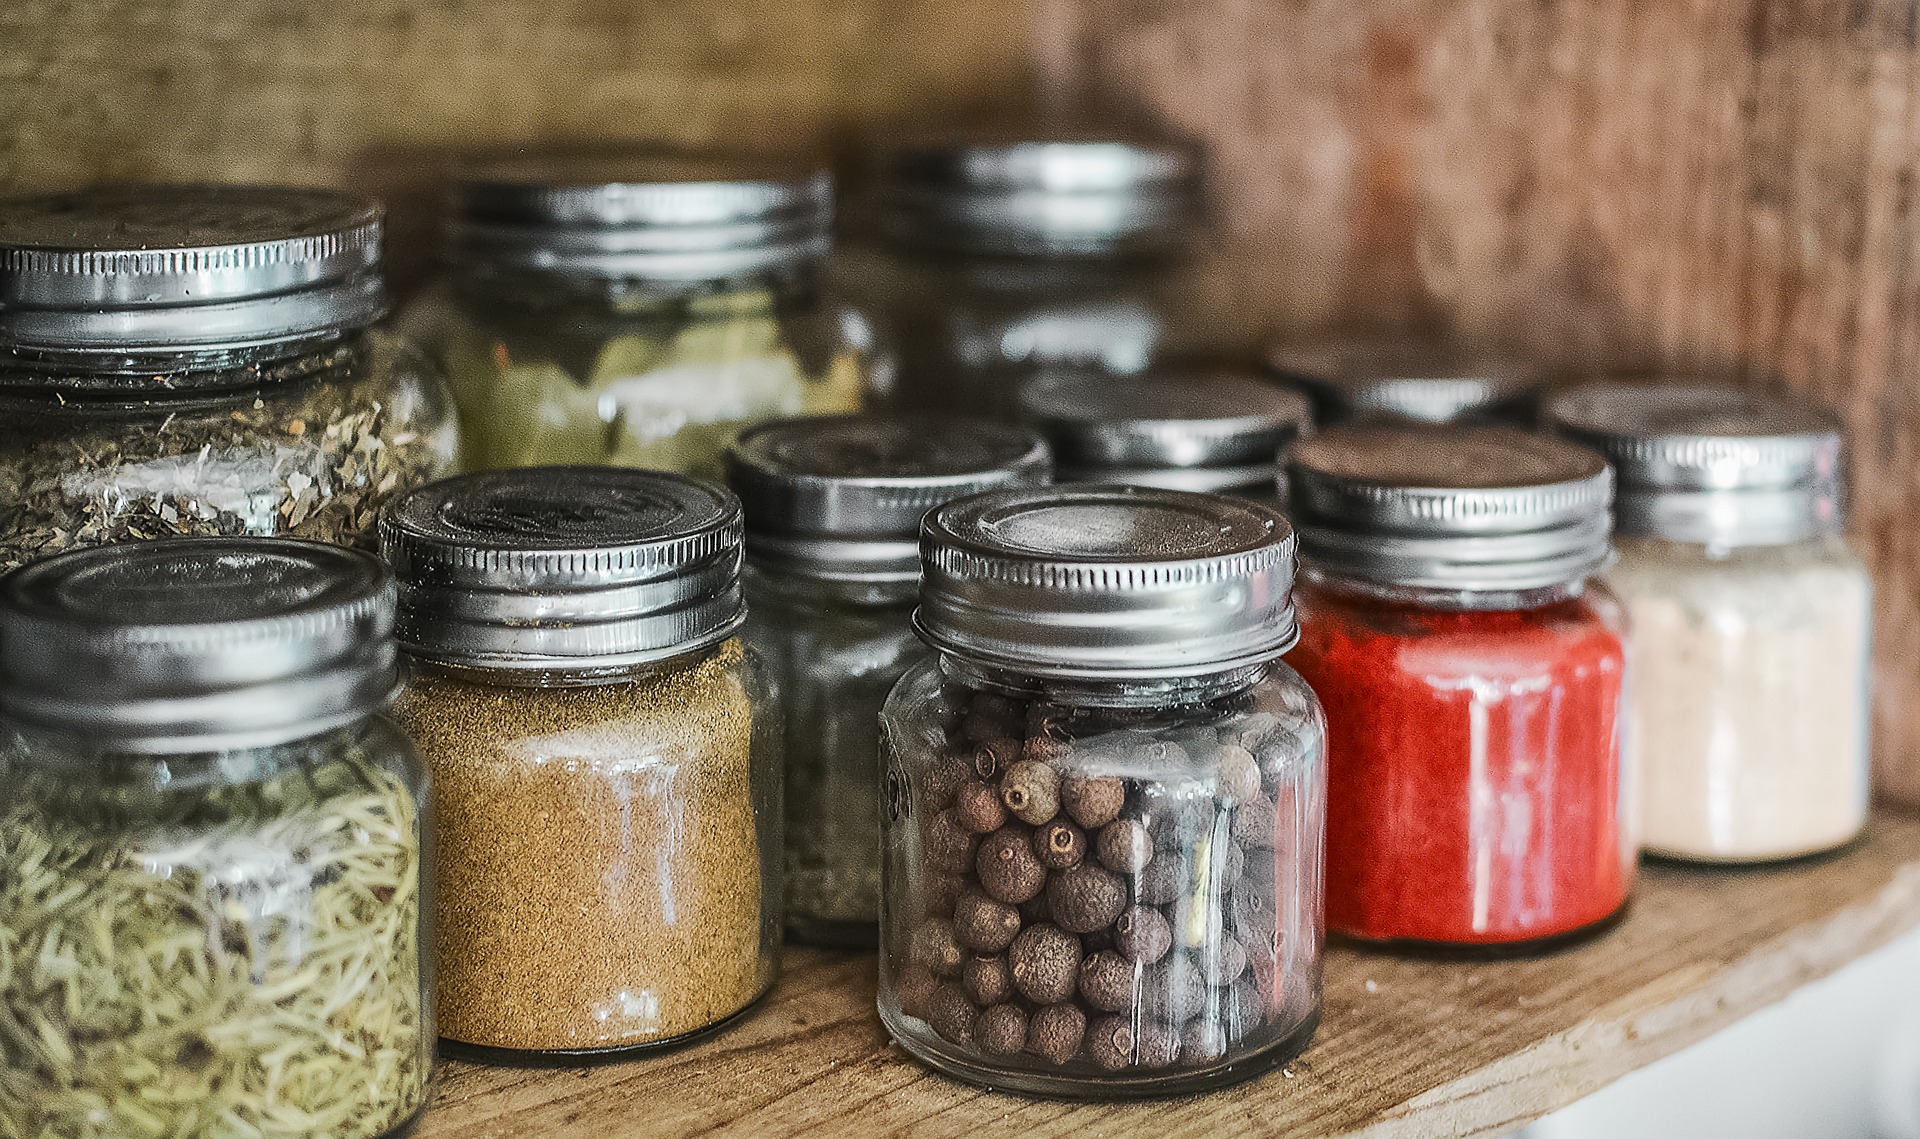
- Use Airtight Containers: Transfer the ground herbs into clean, airtight containers to protect them from air, moisture, and light. Glass jars with tight-fitting lids or small spice jars work well for this purpose.
- Label and Date: Clearly label the containers with the name of the herb and the date it was ground. This ensures easy identification and helps you keep track of the freshness of your herbs.
- Store in a Cool, Dark Place: Place the containers in a cool, dark pantry or cupboard, away from direct sunlight, heat, and humidity. Exposure to light and heat can degrade the flavor and aromatic properties of the herbs.
- Avoid Excessive Opening: Minimize unnecessary exposure to air by avoiding excessive opening of the containers. The more air the herbs come into contact with, the quicker their flavors and aromas may deteriorate.
- Keep Away from Moisture: Moisture can cause the ground herbs to clump or develop mold. Ensure that the containers are tightly sealed and stored in a dry environment.
- Keep Away from Strong Odors: Herbs have a tendency to absorb odors from their surroundings. Avoid storing ground herbs near strong-smelling substances and spices to maintain their true flavors.
- Consider Freezing: If you have ground a large quantity of herbs and won’t be able to use them before they lose freshness, consider freezing them. Place the ground herbs in an airtight container or freezer-safe bag and store them in the freezer. Freezing helps preserve their flavors and extends their shelf life.
When using the stored ground herbs, remember to adjust the quantity based on their potency. Ground herbs may have a more intense flavor compared to their whole counterparts, so use them in moderation and taste as you go to achieve the desired flavor profile in your dishes.
By following these storage tips, you can ensure that your ground herbs remain fresh and flavorful for a longer duration. Now that you know how to store your ground herbs properly, let’s move on to some additional tips and tricks to help you enhance your herb grinding experience.
Tips and Tricks
Grinding herbs can be a delightful and rewarding process. To enhance your herb grinding experience, here are some helpful tips and tricks:
- Start with Fresh Herbs: For the best flavor and aroma, use fresh herbs whenever possible. Harvest herbs from your garden or choose high-quality herbs from the market to ensure optimal results.
- Grind in Small Batches: To maintain control over the texture and prevent overheating, grind herbs in small batches. This ensures even grinding and allows you to achieve the desired consistency.
- Experiment with Blends: Don’t be afraid to mix different herbs together to create unique flavor profiles. Blending herbs can enhance the complexity and depth of your dishes, so explore different combinations and find your favorites.
- Grind Just Before Use: To maximize the flavors and aromas, consider grinding herbs just before using them. This ensures that the essential oils are freshly released and at their peak potency.
- Keep Tools Clean and Dry: Clean and dry your grinding tools thoroughly before and after each use. This prevents cross-contamination of flavors and ensures the best grinding results.
- Store in Smaller Containers: It’s preferable to store ground herbs in smaller containers. This reduces the air exposure each time you open the container, helping to maintain the freshness of the herbs.
- Use Ground Herbs as Soon as Possible: While properly stored ground herbs can retain their freshness for several months, it’s best to use them as soon as possible for the most vibrant and potent flavors.
- Grind Non-Perishable Herbs in Advance: Some herbs, such as dried herbs like bay leaves or woody herbs like rosemary, can be ground in advance and stored for longer periods. Grinding them ahead of time can save preparation time in the kitchen without sacrificing flavor.
- Label and Organize: If you have a collection of different ground herbs, label them clearly and organize them for easy access. This helps you quickly find the right herb you need during cooking or baking sessions.
- Share and Enjoy: Share your freshly ground herbs with friends and family, and enjoy the pleasure of cooking with homemade spice blends. The satisfaction of using your own ground herbs is unmatched and adds a personal touch to your culinary creations.
These tips and tricks will help you elevate your herb grinding experience and make the most out of the flavors and aromas that herbs can bring to your cooking. So, let your creativity and culinary exploration guide you as you embark on this flavorful journey.
Conclusion
Grinding herbs is an essential skill that allows you to unlock the full spectrum of flavors and aromas that herbs impart to your dishes. Whether you choose to use a mortar and pestle, a spice grinder, or a blender/food processor, each method offers its own advantages and considerations. The choice of grinding method boils down to personal preference, the quantity of herbs you need, and the desired texture of the ground herbs.
When grinding herbs, it’s crucial to start with fresh, high-quality herbs for the best results. Selecting the right herbs and properly preparing them ensures that their flavors and aromas shine through. Storing the ground herbs in airtight containers, away from light, heat, and moisture, helps maintain their freshness and potency over time.
Remember to experiment with different herb combinations, adjust the grind to your liking, and label and organize your ground herbs for easy access. These tips and tricks will enhance your herb grinding experience and allow you to unleash your culinary creativity.
So, whether you’re grinding herbs for homemade spice blends, seasoning meats and vegetables, or creating aromatic herbal teas, the process of grinding herbs adds a touch of artisanal craftsmanship to your cooking. Embrace this ancient practice that has stood the test of time, and let the vibrant flavors and fragrant aromas of freshly ground herbs elevate your culinary creations to new heights.
Now, armed with knowledge and techniques, it’s time to embark on your own herb grinding adventure. Enjoy the process, savor the aromas, and delight in the flavorful results that await you in the world of freshly ground herbs!