Home>Gardening Techniques>DIY Projects>How Do You Decarb Herbs
DIY Projects
How Do You Decarb Herbs
Modified: January 22, 2024
Learn how to decarb herbs with this beginner-friendly DIY project. Discover the importance of decarboxylation and unlock the full potential of your herbs.
(Many of the links in this article redirect to a specific reviewed product. Your purchase of these products through affiliate links helps to generate commission for Chicagolandgardening.com, at no extra cost. Learn more)
Table of Contents
- Introduction
- What is Decarboxylation?
- Why Decarb Herbs?
- The Science Behind Decarboxylation
- Methods of Decarboxylating Herbs
- Oven Decarboxylation
- Sous Vide Decarboxylation
- Using a Decarboxylation Device
- Decarboxylating Herbs in a Mason Jar
- Tips and Tricks for Successful Decarboxylation
- How to Store Decarboxylated Herbs
- Conclusion
Introduction
Welcome to the world of DIY projects! If you’re someone who enjoys experimenting and creating things from scratch, then you’ve come to the right place. In this article, we will dive into the fascinating process of decarboxylating herbs. Whether you’re an avid cannabis enthusiast or a culinary genius looking to infuse your dishes with unique flavors, understanding how to decarb herbs is a fundamental skill to have in your toolkit.
Decarboxylation is the process of activating the compounds found in herbs, such as THC in cannabis, through the application of heat. By decarbing herbs, you unlock their full potential and unleash a range of beneficial effects. It’s an essential step to make herbs more potent and effective, whether you plan to use them for medicinal purposes or to enhance the flavors in your cooking.
In this article, we will explore the science behind decarboxylation and its importance in optimizing the effects of herbs. We’ll also delve into various methods of decarboxylating herbs, such as using an oven, sous vide technique, or specialized decarboxylation devices. Additionally, we’ll provide tips and tricks for a successful decarb, as well as guidelines for storing your decarboxylated herbs.
So, whether you’re a novice looking to expand your DIY skillset or a seasoned pro in the world of DIY projects, join us on this journey to discover the art and science of decarboxylating herbs. Get ready to elevate your herbs to a whole new level of potency and flavor!
What is Decarboxylation?
Decarboxylation is a chemical process that involves removing a carboxyl group from a compound, resulting in the activation of its properties. When it comes to herbs, decarboxylation refers specifically to the activation of cannabinoids, such as THC and CBD, found in cannabis plants. This process is crucial to unleash the full potential of these compounds and unlock their various therapeutic and recreational effects.
In its raw state, cannabis contains cannabinoids in their acidic form, like THCA and CBDA. These compounds are not psychoactive and do not have the same medicinal benefits as their activated counterparts. Decarboxylation is the process by which these acidic cannabinoids are converted into their non-acidic form, like THC and CBD, through the application of heat.
The decarboxylation process involves breaking down the acidic compounds through the removal of a carbon dioxide molecule. This occurs when the cannabis is exposed to heat, causing a chemical reaction that transforms the inactive compounds into the active ones. It is this activation that makes the cannabinoids bioavailable, allowing them to interact with the body’s endocannabinoid system.
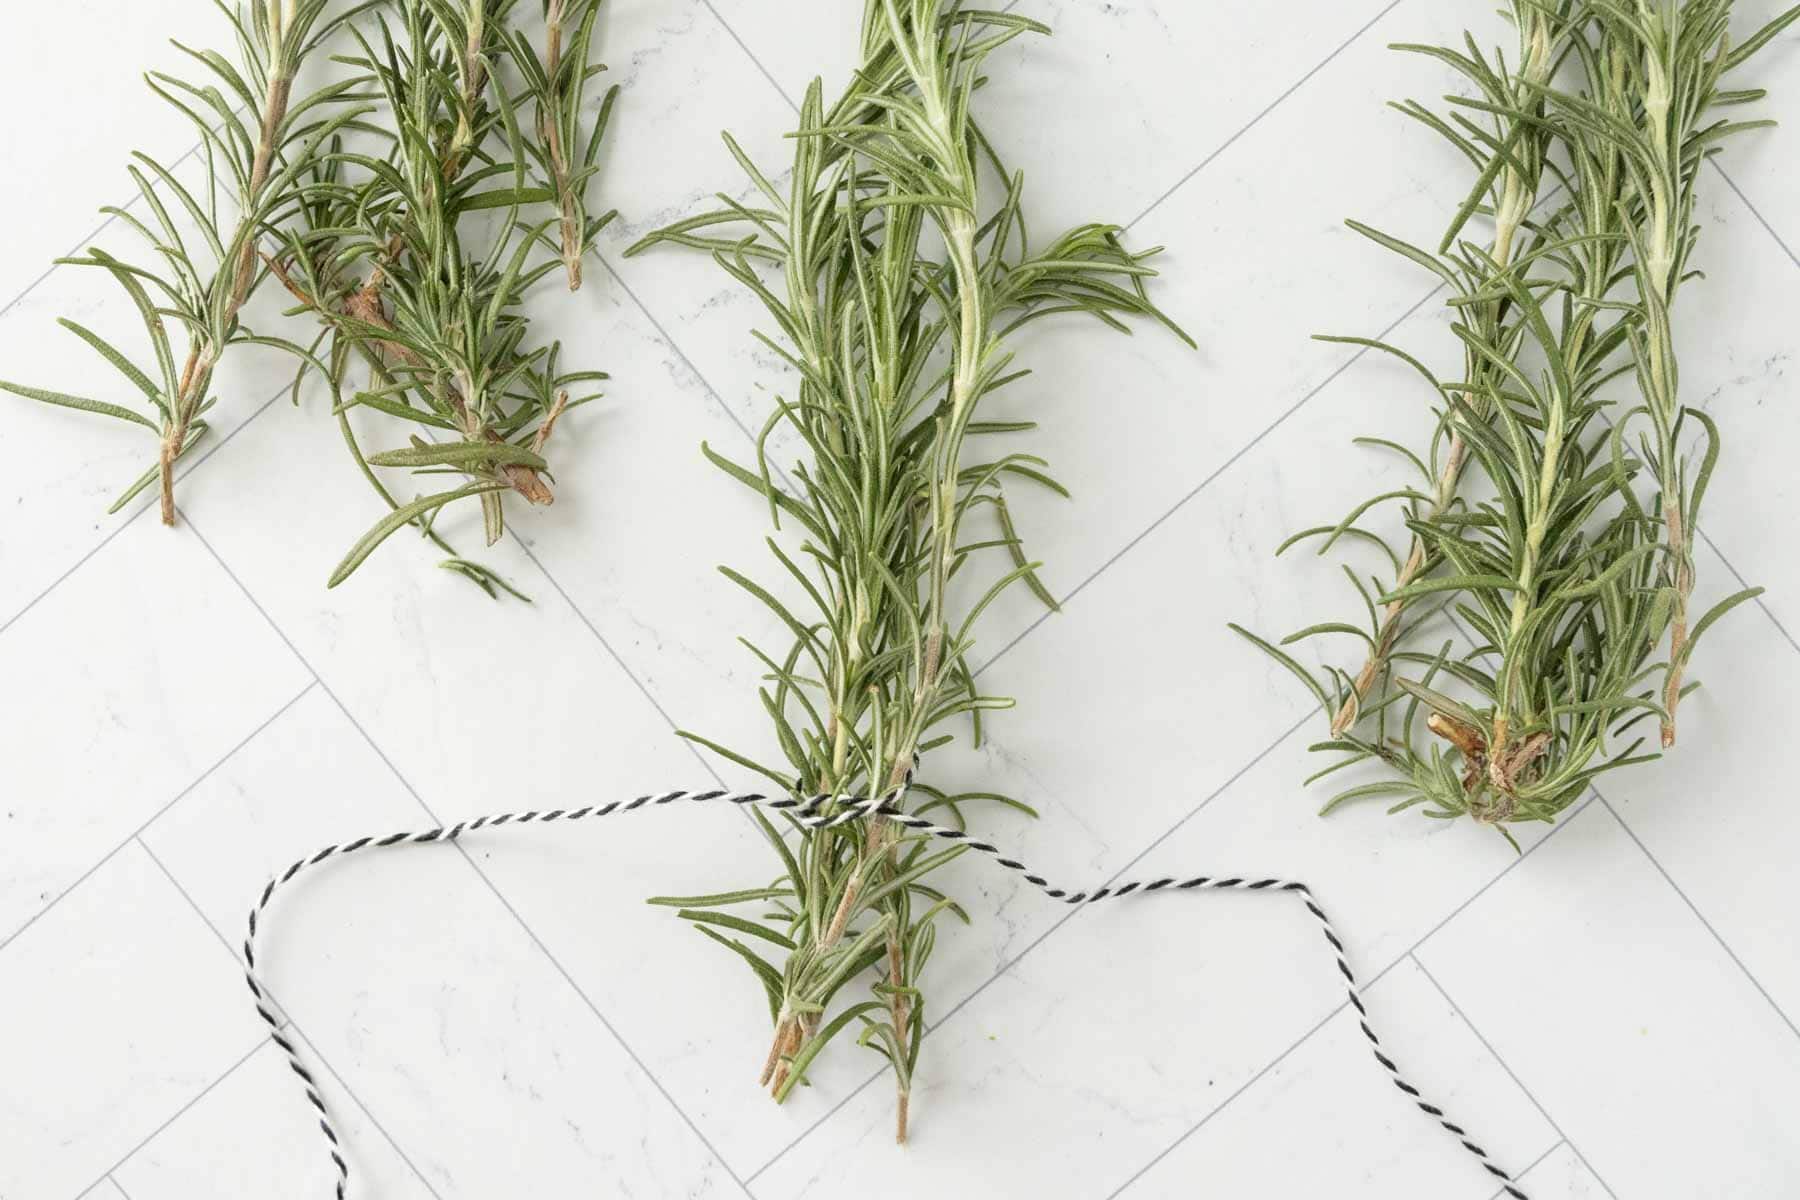
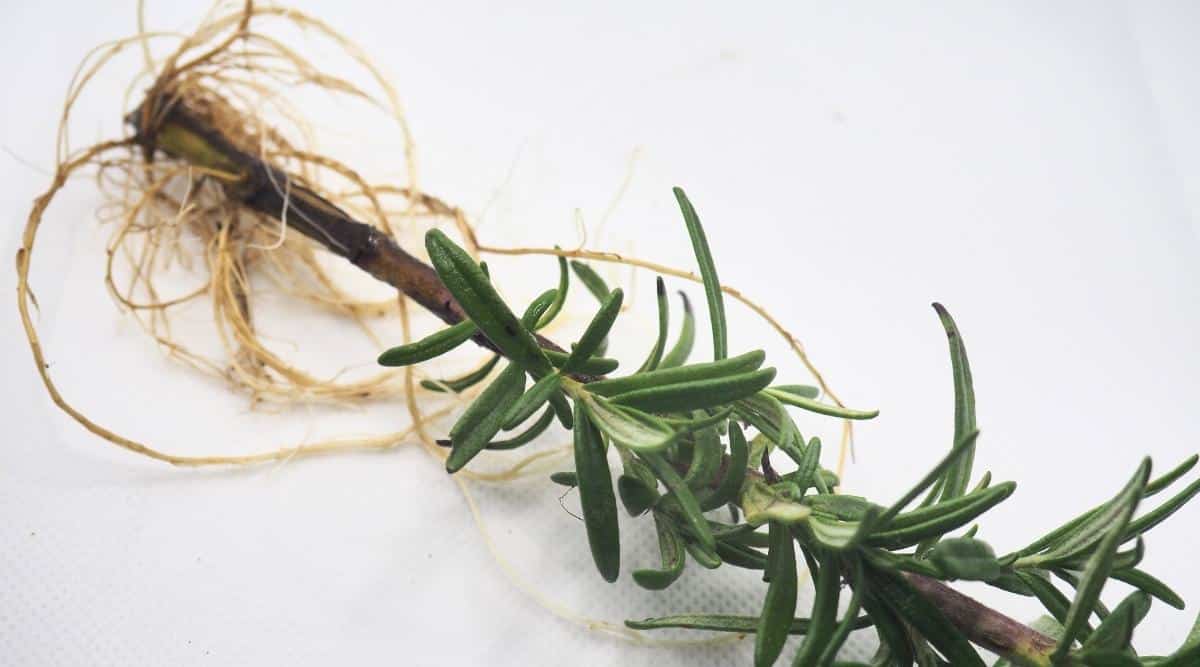
Decarboxylation is not only limited to cannabis. Other herbs, such as rosemary, oregano, and lavender, can also benefit from the decarbing process. By heating these herbs, the aromatic compounds are released, intensifying the flavors and enhancing their therapeutic properties.
Now that we understand the essence of decarboxylation, let’s explore why it is essential to decarb herbs, especially when it comes to cannabis.
Why Decarb Herbs?
The process of decarboxylating herbs, especially cannabis, offers numerous benefits that enhance both medicinal and culinary experiences. Let’s take a closer look at why decarbing herbs is crucial.
Unlocking the Full Potential: When herbs, such as cannabis, are decarboxylated, the cannabinoids are activated, allowing them to interact with the body’s receptors. This activation is essential for experiencing the full range of therapeutic effects that herbs have to offer. Whether you’re seeking pain relief, relaxation, or a boost in creativity, decarbing herbs ensures maximum potency and effectiveness.
Elevated Culinary Experience: Decarboxylation is not only limited to medicinal benefits, but it also plays a crucial role in the culinary world. When you decarb herbs like rosemary or oregano, you enhance their flavors and release their aromatic compounds. This can elevate the taste and aroma of your dishes to new heights, making your culinary creations even more enjoyable.
Improved Bioavailability: The decarboxylation process increases the bioavailability of the herbs’ active compounds. This means that when you consume decarboxylated herbs, the body can more easily absorb and utilize these compounds. Whether you’re ingesting, inhaling, or topically applying decarbed herbs, you can expect a more efficient and effective delivery of their desired effects.
Customizable Dosage: Decarboxylation allows you to have greater control over the potency and dosage of the herbs you’re using. By knowing the exact levels of activated compounds in your decarbed herbs, you can regulate and tailor the dosage to match your specific needs. This is particularly important for individuals seeking a consistent and predictable experience with their herbs.
Versatile Applications: Decarbed herbs offer a wide range of applications. From creating infused oils and butters for cooking to crafting tinctures, edibles, or topical products, the possibilities are virtually endless. Decarboxylation opens up a world of DIY projects where you can experiment and explore different ways to incorporate herbs into your lifestyle.
As you can see, decarboxylating herbs is a vital step to unlock their full potential, whether you’re using them for medicinal purposes or to enhance your culinary creations. Understanding the science and benefits behind decarbing allows you to take control of your herbal experience and explore the wide range of possibilities that herbs have to offer.
The Science Behind Decarboxylation
Decarboxylation is not a complex process, but it is rooted in the science of chemical reactions. To understand the science behind decarboxylation, we need to delve into the molecular structure of cannabinoids.
Cannabinoids, like THC and CBD, are compounds that contain a carboxyl group (-COOH) attached to their molecular structure. This carboxyl group makes the cannabinoids inactive, resulting in little to no psychoactive or therapeutic effects. To activate these compounds, the carboxyl group needs to be removed through decarboxylation.
Decarboxylation is a chemical reaction that occurs when heat is applied to the plant material containing cannabinoids. During this process, the heat breaks the bond between the carbon atom (C) and the oxygen atom (O) in the carboxyl group, resulting in the release of carbon dioxide (CO2).
The removal of the carboxyl group transforms the inactive, acidic cannabinoids into their active, non-acidic forms. For example, decarboxylation converts THCA (tetrahydrocannabinolic acid) into THC (tetrahydrocannabinol), which is the compound responsible for the psychoactive effects of cannabis.
The decarboxylation process also affects the potency of the cannabinoids. Overheating or prolonged exposure to high temperatures can cause degradation and a loss of potency. On the other hand, under-decarboxylating the herbs may result in lower potency and weaker effects.
The optimal temperature and duration for decarboxylation depend on the specific herb being decarbed. For cannabis, the recommended temperature range is between 220-245°F (105-118°C) for about 30-60 minutes. However, other herbs may require different temperature settings and durations to achieve the desired results.
It’s important to note that decarboxylation is not a one-size-fits-all process. Factors such as the moisture content of the herb, the size and density of the plant material, and the desired potency levels can all influence the decarboxylation process.
Understanding the science behind decarboxylation empowers you to optimize the activation of cannabinoids and achieve the desired effects from your herbs. Experimentation and finding the right balance of temperature and time for the specific herbs you’re decarbing will help you unlock their full potential and enhance your herbal experience.
Methods of Decarboxylating Herbs
Decarboxylating herbs can be achieved through various methods, each offering its own set of advantages and considerations. Let’s explore some popular methods of decarboxylation:
Oven Decarboxylation: This is one of the most common and accessible methods for decarbing herbs. Preheat your oven to the recommended temperature for decarboxylation (usually between 220-245°F or 105-118°C). Grind your herbs into a consistent texture and spread them evenly on a baking sheet or parchment paper. Place the baking sheet in the oven and monitor the temperature throughout the process. Stir the herbs occasionally to ensure even decarboxylation. After the desired time, remove the herbs and allow them to cool before use.
Sous Vide Decarboxylation: Sous vide is a precise method that involves placing your herbs in a vacuum-sealed bag and immersing them in a water bath at the precise temperature required for decarboxylation. This method offers more control over the temperature and minimizes the risk of overheating or burning the herbs. Maintain the desired temperature for the recommended time, then remove the bag and allow it to cool before use.
Using a Decarboxylation Device: There are specialized decarboxylation devices available on the market that simplify the process. These devices allow you to set the desired temperature and time and provide consistent results. Simply place your herbs in the device, set the parameters, and let it work its magic. These devices are convenient for those who want an effortless and precise decarboxylation process.
Decarboxylating Herbs in a Mason Jar: This method involves placing your ground herbs in a mason jar and sealing it tightly. The jar is then placed in an oven or water bath at the recommended temperature for decarboxylation. The sealed environment helps contain the aromas and prevents the loss of volatile compounds. However, it’s important to monitor the pressure build-up in the jar and release it periodically to prevent any accidents or explosions.
When deciding which method to use, consider factors like convenience, control over temperature, and the equipment available to you. Regardless of the method chosen, it’s crucial to follow recommended temperatures and times to ensure successful decarboxylation.
Remember, the goal is to achieve a consistent temperature throughout the herb material to ensure even decarboxylation. Experimenting with different methods will allow you to find the one that works best for your herbs and personal preferences.
Oven Decarboxylation
Oven decarboxylation is one of the most accessible and widely used methods for decarbing herbs, including cannabis. It offers a simple and effective way to activate the desired compounds in your herbs. Here’s a step-by-step guide on how to decarboxylate herbs using your oven:
1. Preheat your oven: Start by preheating your oven to the recommended temperature for decarboxylation. The ideal temperature range for decarbing herbs, including cannabis, is typically between 220-245°F (105-118°C).
2. Prepare the herbs: Grind your herbs into a consistent texture. This helps ensure even decarboxylation and allows for better heat distribution. A grinder or food processor can be used to achieve the desired texture.
3. Spread the herbs: Take a baking sheet or line a baking tray with parchment paper. Spread the ground herbs evenly on the sheet, creating a thin layer. This will promote even heat distribution and avoid clumping.
4. Place in the oven: Place the baking sheet with the herbs in the preheated oven. It’s important to monitor the temperature throughout the process, ensuring that it stays within the recommended range.
5. Stir occasionally: To promote even decarboxylation, gently stir the herbs on the baking sheet every 10 minutes or so. This will help prevent any hot spots and ensure that all parts of the herb material are exposed to heat evenly.
6. Monitor the process: Decarboxylation time can vary depending on factors like the moisture content of the herb and the desired potency levels. Generally, it takes around 30-60 minutes for decarboxylation to occur. Keep an eye on the herbs to avoid overheating or burning them.
7. Cool and store: Once the desired decarboxylation time has been reached, remove the baking sheet from the oven. Allow the herbs to cool completely before using or storing them. Keep in mind that the herbs may be quite fragrant, so proper ventilation is recommended.
Oven decarboxylation is a straightforward and reliable method for activating the compounds in your herbs. It offers flexibility in terms of batch size and requires minimal equipment, making it accessible to DIY enthusiasts of all levels.
Remember to follow recommended temperatures and times for decarboxylation to achieve optimal results. If in doubt, it’s always a good idea to start on the lower end of the temperature range and increase gradually if needed. This way, you can ensure that you achieve the desired potency without risking overheating or degrading the herb material.
Now that you have mastered oven decarboxylation, you are ready to explore the wide range of possibilities that activated herbs can offer. Get creative in the kitchen or experiment with different DIY projects to make the most of your decarbed herbs!
Sous Vide Decarboxylation
Sous vide decarboxylation is a precise and controlled method for decarbing herbs, including cannabis. By using a water bath and vacuum-sealed bags, you can maintain a consistent temperature throughout the process, resulting in optimal activation of the desired compounds. Here’s a step-by-step guide on how to decarboxylate herbs using the sous vide technique:
1. Gather your materials: You’ll need a sous vide cooker, a vacuum sealer or ziplock bags, a water bath container, and a thermometer to monitor the water temperature.
2. Set up the water bath: Fill a large container with water, ensuring it’s deep enough to fully submerge your vacuum-sealed bags. Attach the sous vide cooker to the container and set the desired temperature for decarboxylation.
3. Prepare the herbs: Grind your herbs to a uniform texture. This ensures consistent heat distribution and promotes even decarboxylation. Place the ground herbs in a vacuum-sealed bag or a ziplock bag, ensuring the bag is airtight.
4. Submerge and seal the bag: Place the sealed bag of herbs into the water bath, making sure it is fully submerged. If using a ziplock bag, slowly lower it into the water, allowing the pressure to squeeze out any excess air before sealing it completely.
5. Monitor the temperature: Use a thermometer to monitor the water temperature constantly, ensuring it stays within the recommended range for decarboxylation (usually between 220-245°F or 105-118°C). Adjust the setting on the sous vide cooker if necessary to maintain the desired temperature.
6. Decarb the herbs: Allow the herbs to sit in the water bath for the recommended time for decarboxylation. Generally, a range of 60-90 minutes is suggested, but you can adjust the time based on the desired potency and the herb being decarbed.
7. Cool and use: Once the decarboxylation time has passed, carefully remove the bag from the water bath. Allow it to cool completely before opening. The herbs are now ready for use in various culinary or medicinal applications.
Sous vide decarboxylation offers precise temperature control, minimizing the risk of overheating or burning the herbs. The vacuum-sealed bags help maintain the desired moisture levels and prevent any aromas from escaping, resulting in a more controlled and efficient decarboxylation process.
Although this method requires specific equipment, it offers the benefit of easily replicable and consistent results. It is especially favorable for those who appreciate the accuracy and precision that sous vide cooking provides.
Now that you’ve learned the sous vide decarboxylation technique, you can confidently experiment with different herbs and fine-tune the process to achieve the desired results. Prepare to elevate your culinary masterpieces or create potent herbal remedies with the power of precisely decarbed herbs!
Using a Decarboxylation Device
Using a specialized decarboxylation device is a convenient and foolproof method for decarbing herbs. These devices are designed specifically for the decarboxylation process, allowing you to set the desired temperature and time for optimal activation of the desired compounds. Here’s a step-by-step guide on how to use a decarboxylation device:
1. Acquire a decarboxylation device: Purchase a decarboxylation device designed for this specific purpose. There are various models available on the market, each with its own features and functionalities.
2. Prepare the herbs: Grind your herbs to a consistent texture, ensuring even heat distribution during the decarboxylation process. Having a uniform texture will result in more efficient activation of the desired compounds.
3. Fill the device: Open the decarboxylation device and place the ground herbs into the container. Follow the manufacturer’s instructions regarding the maximum capacity and any specific guidelines for proper use.
4. Set the temperature and time: Using the control panel or settings of the device, set the desired temperature and duration for decarboxylation. Refer to the manufacturer’s instructions or recommended guidelines for herbs to ensure accurate settings.
5. Activate the device: Once the temperature and time are set, activate the device and allow it to perform the decarboxylation process. The device will maintain a constant temperature, ensuring optimal activation of the desired compounds without the need for monitoring or adjustment.
6. Cool and store the herbs: After the decarboxylation process is complete, carefully remove the container from the device. Allow the herbs to cool completely before using or storing them. Remember to store the decarboxylated herbs in airtight containers away from heat and light to preserve their potency.
Using a decarboxylation device takes the guesswork out of the process and offers consistent results with minimal effort. These devices are designed to provide precision and control, ensuring that your herbs are activated to their full potential.
When choosing a decarboxylation device, consider factors such as capacity, temperature controls, ease of use, and any additional features that may suit your specific needs. Reading reviews and comparing different models will help you find the device that best fits your requirements.
Whether you’re a beginner or a seasoned herb enthusiast, using a decarboxylation device allows for a hassle-free and efficient decarboxylation experience. Enjoy the convenience and reliability of this method as you unlock the potential of your herbs for culinary or medicinal purposes.
Decarboxylating Herbs in a Mason Jar
Decarboxylating herbs in a mason jar is a unique method that offers an enclosed environment for the decarboxylation process. This method can help contain the aromas and prevent the loss of volatile compounds, making it an appealing option for those who want to minimize odor during the decarbing process. Here’s a step-by-step guide on decarboxylating herbs in a mason jar:
1. Gather the materials: Collect your herb material, preferably already ground to a consistent texture, a mason jar with a tight-fitting lid, and an oven or water bath setup.
2. Prepare the herbs: Grind your herbs to a uniform consistency. Evenly distribute the ground herbs in the mason jar, leaving some headspace at the top for the herbs to expand slightly during the process.
3. Seal the mason jar: Securely close the lid of the mason jar, ensuring a tight seal. This is important to maintain the enclosed environment required for decarboxylation.
4. Preheat the oven or water bath: If using an oven, preheat it to the recommended temperature for decarboxylation. If using a water bath, set up the water bath and heat it to the desired temperature.
5. Place the mason jar: Carefully place the sealed mason jar in the oven or immerse it in the water bath, ensuring it is fully submerged. If using the oven, you can set the mason jar directly on the oven rack or place it on a baking sheet for easier handling.
6. Decarboxylate the herbs: Allow the mason jar to stay in the oven or water bath for the recommended duration, usually around 30-60 minutes. This time can vary depending on factors like herb moisture and desired potency levels.
7. Cool and store: Once the decarboxylation time is complete, carefully remove the mason jar from the oven or water bath. Allow it to cool completely before opening. Store the decarboxylated herbs in airtight containers away from heat and light to preserve their potency.
Decarboxylating herbs in a mason jar provides the advantage of a contained environment, which may help reduce the aroma during the decarbing process. However, it’s essential to monitor the pressure build-up within the jar periodically. If necessary, gently release the pressure by slightly loosening the lid to prevent any accidents or explosions.
This method allows for a convenient and enclosed decarboxylation process, giving you the freedom to experiment with different herbs while maintaining control over the decarbing environment.
Remember to follow recommended temperatures and times to ensure successful decarboxylation. As with any decarboxylation method, it’s also important to practice proper ventilation and be mindful of the potential aroma that may be released during the process.
Now that you know how to decarboxylate herbs in a mason jar, you can confidently explore new DIY projects and enjoy the benefits of activated herbs in your culinary creations and herbal preparations.
Tips and Tricks for Successful Decarboxylation
Decarboxylation is a crucial step in unlocking the full potential of your herbs. To ensure successful decarboxylation, here are some helpful tips and tricks to keep in mind:
1. Grind your herbs to a consistent texture: Consistency is key when it comes to decarboxylation. Grinding your herbs to a uniform texture helps ensure even heat distribution, resulting in more efficient and effective activation of the desired compounds.
2. Monitor the temperature: Whether using an oven, a water bath, or a specialized decarboxylation device, it’s crucial to monitor the temperature throughout the process. Use a reliable thermometer to ensure that the temperature stays within the recommended range for effective decarboxylation.
3. Adjust the time and temperature based on the herb: Different herbs may require different temperature settings and durations for optimal decarboxylation. Be sure to research and follow specific guidelines for each herb to achieve the desired effects.
4. Keep an eye on moisture content: Moisture content can affect the decarboxylation process. High moisture levels may result in longer decarbing times, while excessively dry herbs may lead to faster decarboxylation. Ensure your herbs are appropriately dried but not overly dehydrated for optimal results.
5. Avoid overcrowding the decarboxylation container: Whether using a mason jar, a baking sheet, or another type of container, it’s important not to overload it with herbs. Leave enough space for proper air circulation and even heat distribution.
6. Stir or agitate the herbs for even decarboxylation: If using methods like oven decarboxylation or sous vide, gently stir or agitate the herbs at intervals. This helps ensure that all parts of the herbs are exposed to heat evenly, leading to consistent decarboxylation.
7. Practice proper ventilation: Decarboxylation can release strong aromas, especially when decarbing herbs like cannabis. Make sure to ventilate the area properly during and after the process to minimize any lingering odors.
8. Store decarboxylated herbs properly: Once the decarboxylation process is complete, store your herbs in airtight containers away from heat and light. This helps preserve their potency and flavor for future use.
9. Experiment and adjust: Decarboxylation can be a bit of trial and error, especially when working with different herbs and specific preferences. Feel free to experiment with different temperatures, times, and methods to find what works best for your desired results.
10. Take notes: Keep a record of your decarboxylation experiments, noting the temperature, time, and results. This will help you fine-tune your process and achieve consistent and desired outcomes in the future.
By following these tips and tricks, you can ensure successful decarboxylation of your herbs, whether you’re using them for culinary purposes or crafting medicinal preparations. Remember that practice and experimentation are key to refining your decarbing skills and fully unlocking the potential of your herbs.
How to Store Decarboxylated Herbs
Proper storage is crucial for preserving the potency and flavor of your decarboxylated herbs. Here are some guidelines on how to store your decarboxylated herbs:
1. Use airtight containers: Transfer your decarboxylated herbs to airtight containers, such as glass jars with tight-fitting lids or vacuum-sealed bags. Airtight containers help prevent exposure to air, moisture, and light, which can degrade the quality of the herbs over time.
2. Store in a cool, dark place: Find a cool and dark location to store your decarboxylated herbs. Light and heat can cause the herbs to degrade faster, leading to a loss of potency and flavor. A pantry, cupboard, or a dedicated herb storage area are ideal options.
3. Avoid extreme temperature changes: Keep your decarboxylated herbs away from areas prone to temperature fluctuations, such as near stoves, ovens, or windows. Extreme temperature changes can affect the herbs’ quality and overall longevity.
4. Label and date the containers: To keep track of your herbs and ensure freshness, label each container with the herb’s name and the date of decarboxylation. This information will be valuable when monitoring the shelf life of your herbs.
5. Store in smaller quantities: It’s best to store your decarboxylated herbs in smaller quantities to minimize exposure to air each time you open the container. This helps maintain the herbs’ quality and potency for longer durations.
6. Avoid moisture: Moisture can lead to mold and degradation of your decarboxylated herbs. Make sure the herbs are completely cooled before packaging them in airtight containers to prevent any moisture or condensation buildup.
7. Minimize oxygen exposure: Oxygen exposure can accelerate the degradation of your decarboxylated herbs. If using jars, fill them up as much as possible to reduce the amount of air in the container. If using bags, remove as much air as possible before sealing them.
8. Be mindful of odor: Decarboxylated herbs, especially cannabis, can have a strong aroma. Consider selecting containers that provide an extra layer of odor control, such as UV-resistant glass jars or discreet storage options, if necessary.
9. Check for freshness: Over time, the potency and flavor of decarboxylated herbs can diminish. Periodically check the herbs for any signs of spoilage, loss of aroma, or decreased potency. If the herbs no longer have the desired effects or exhibit off-putting smells, it’s time to consider replacing them.
By following these storage guidelines, you can maintain the quality, potency, and flavor of your decarboxylated herbs for an extended period. Proper storage allows you to enjoy the full benefits of your activated herbs whenever you’re ready to incorporate them into your culinary creations or medicinal preparations.
Conclusion
Decarboxylation is a crucial process that brings out the full potential of herbs, whether you’re using them for medicinal purposes or culinary delights. Understanding the science behind decarboxylation and utilizing the various methods available allows you to harness the benefits of activated herbs.
From oven decarboxylation to sous vide techniques, using a decarboxylation device, or decarbing herbs in a mason jar, each method has its own advantages and considerations. Experimentation and finding the right approach for your specific needs and preferences will lead to successful decarboxylation.
Remember to be mindful of factors such as temperature, time, texture, and moisture content when decarboxylating herbs. These elements impact the effectiveness and potency of the final product.
Proper storage of decarboxylated herbs is essential for preserving their quality. Utilize airtight containers, store in a cool and dark place, and be mindful of moisture and oxygen exposure to maximize the shelf life of your activated herbs.
Whether you’re an avid home cook looking to infuse dishes with flavor or a health-conscious individual seeking the therapeutic benefits of herbs, mastering the art of decarboxylation allows you to elevate your DIY projects and create unique and potent herbal creations.
So, roll up your sleeves and embark on the journey of decarboxylating herbs. Unleash their hidden potential, unlock incredible flavors, and harness the extraordinary benefits of activated herbs for an enhanced culinary and wellness experience.