Home>Gardening Techniques>DIY Projects>How To Make Essential Oils From Herbs
DIY Projects
How To Make Essential Oils From Herbs
Modified: January 22, 2024
Learn how to create your own essential oils from herbs with these easy to follow DIY projects. Discover the benefits and get started today!
(Many of the links in this article redirect to a specific reviewed product. Your purchase of these products through affiliate links helps to generate commission for Chicagolandgardening.com, at no extra cost. Learn more)
Table of Contents
- Introduction
- Understanding Essential Oils
- Choosing the Right Herbs for Making Essential Oils
- Harvesting and Preparing the Herbs
- Distillation Methods for Making Essential Oils
- Steam Distillation Technique
- Cold Press Technique
- Solvent Extraction Technique
- Blending and Storing Essential Oils
- Safety Precautions for Working with Essential Oils
- Conclusion
Introduction
Are you looking to add some DIY creativity to your life? Making essential oils from herbs is a fascinating and fulfilling project that allows you to harness the natural power of plants for various purposes. Whether you want to create homemade skincare products, natural remedies, or fragrant aromatherapy blends, making essential oils at home can be both rewarding and cost-effective.
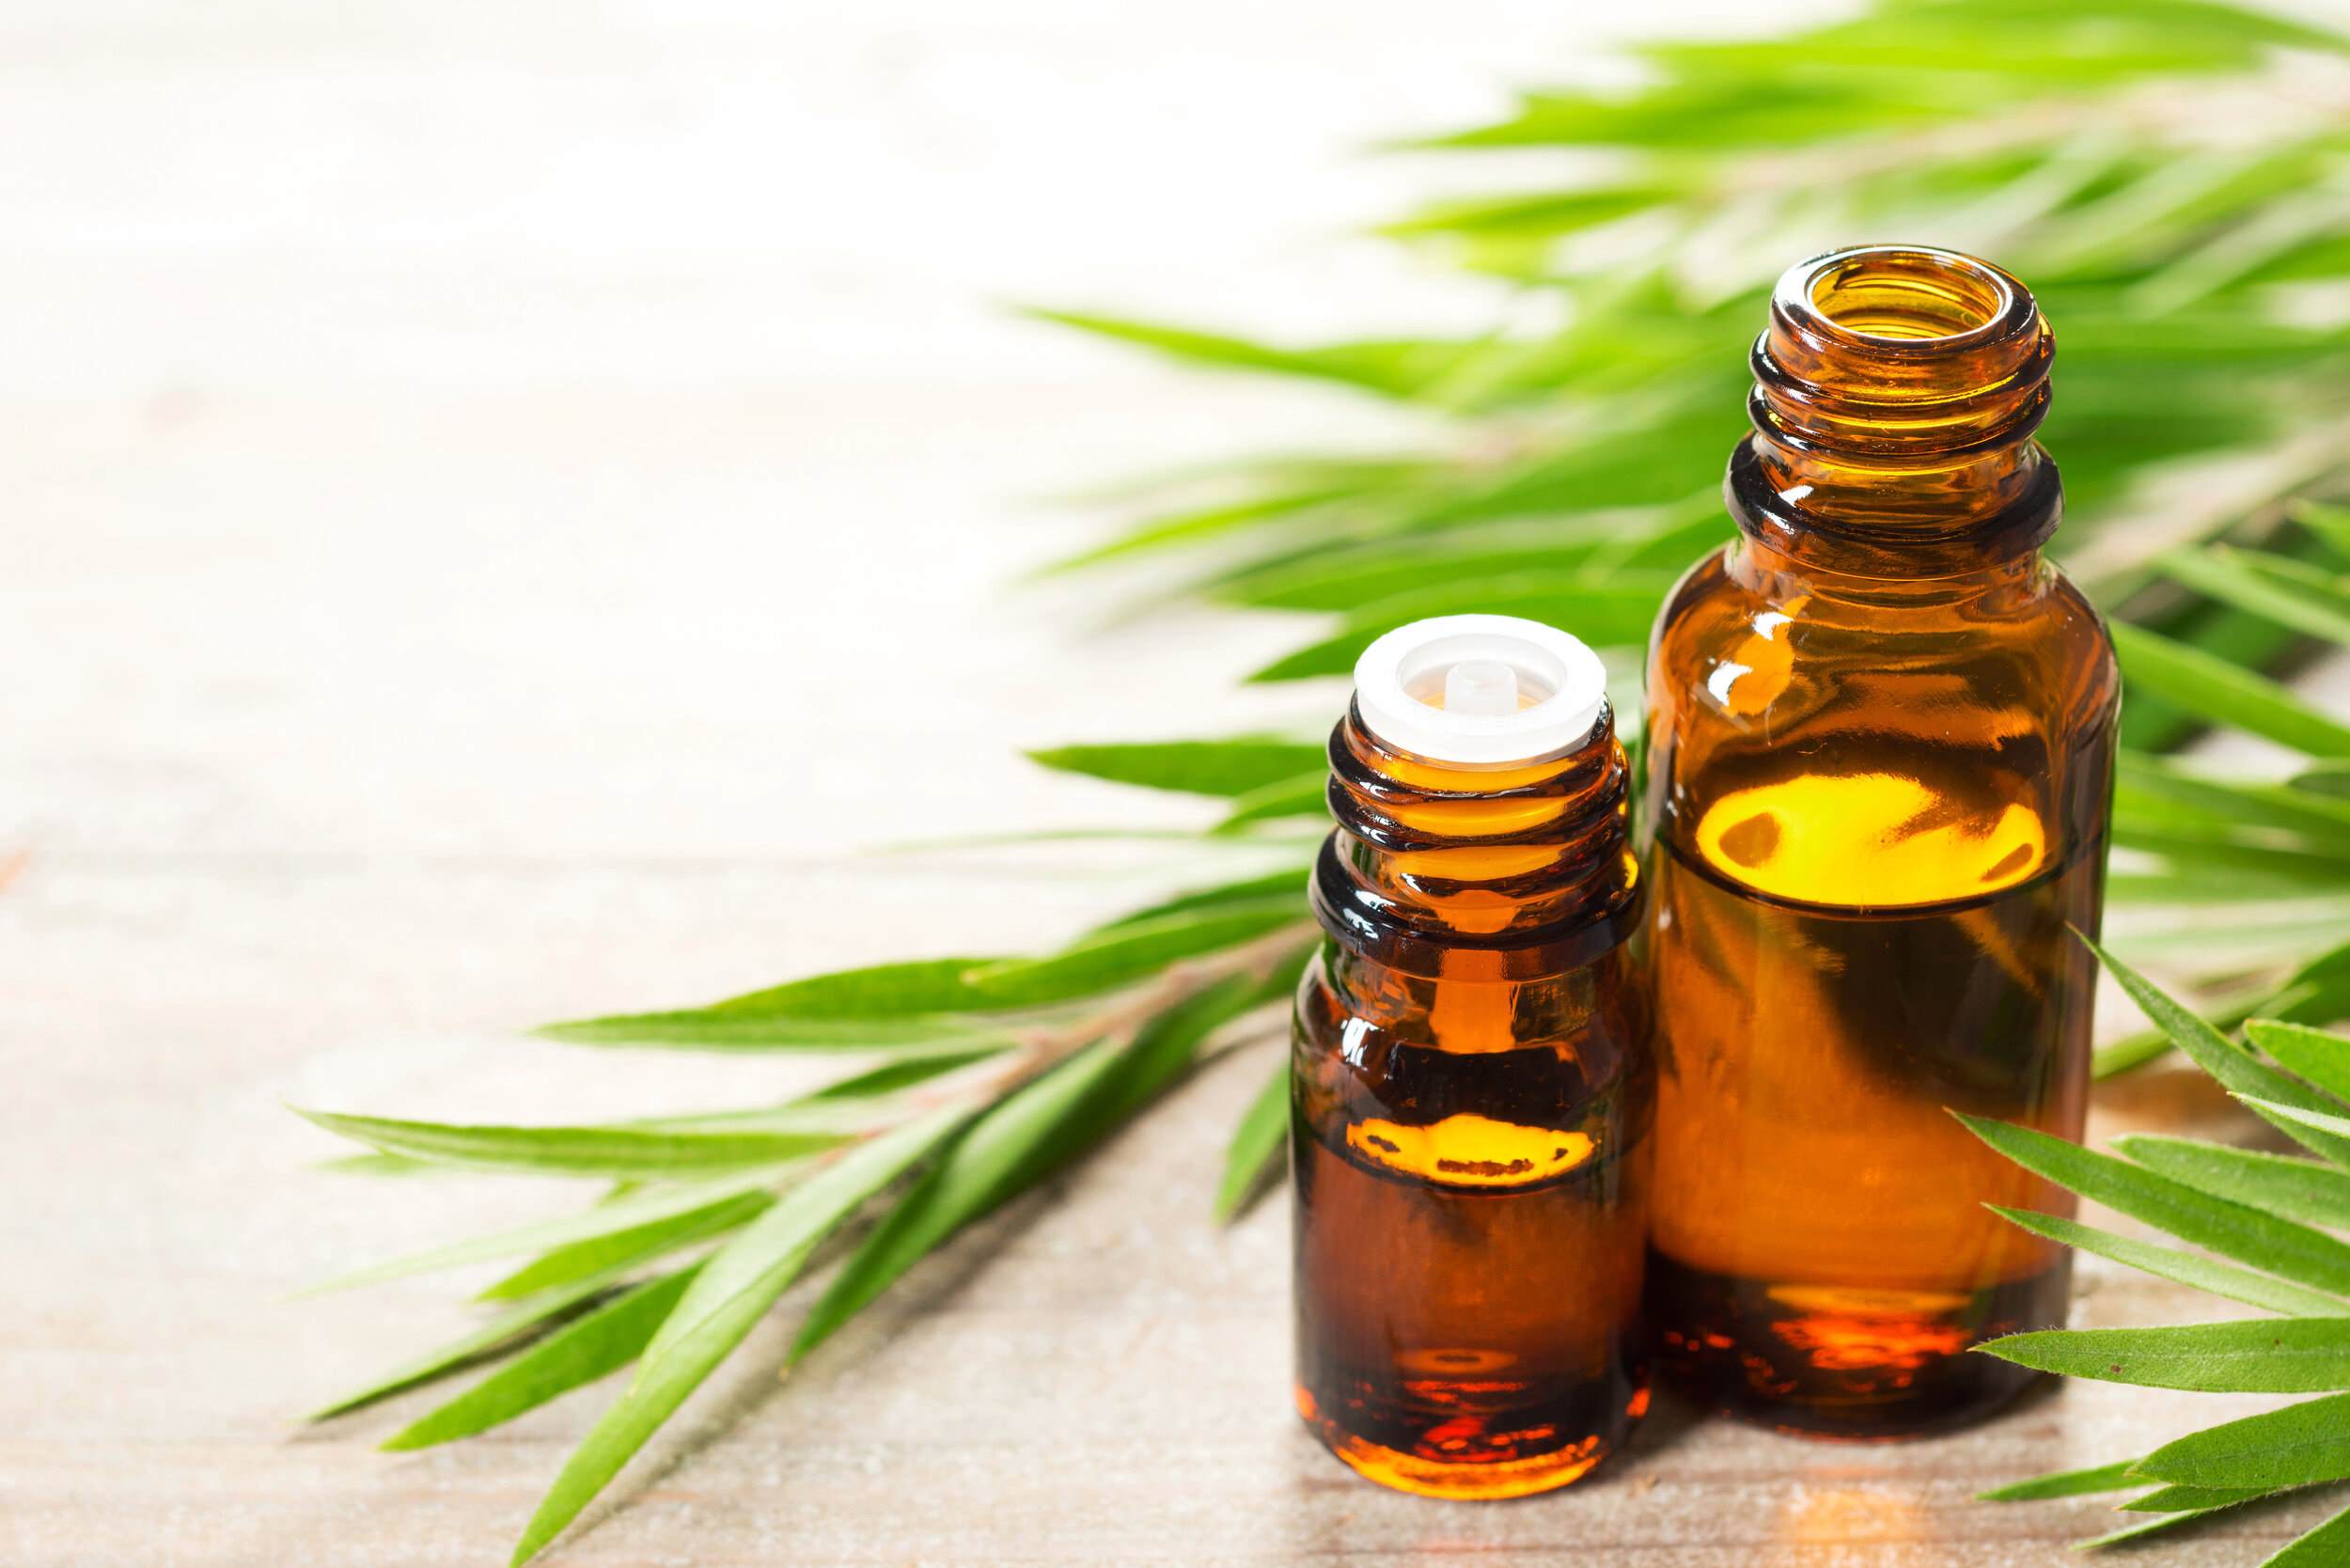
Essential oils are concentrated liquids that capture the unique aromatic compounds found in plants. They have been used for centuries in traditional medicine, beauty treatments, and even spiritual practices. Each essential oil possesses its own distinct properties, ranging from soothing and calming to invigorating and uplifting.
One of the biggest advantages of making your own essential oils is that you have full control over the process. You can choose the herbs you prefer, ensuring the resulting oils align with your specific needs and preferences. Furthermore, by making essential oils at home, you can avoid potential additives or synthetic fragrances that are commonly found in commercial products.
In this comprehensive guide, we will explore the step-by-step process of making essential oils from herbs. We will discuss the different methods of distillation, the herbs suitable for oil extraction, blending and storing techniques, as well as safety precautions to consider. So, roll up your sleeves and let’s dive into the wonderful world of DIY essential oil making!
Understanding Essential Oils
Before delving into the process of making essential oils, it is essential to understand what exactly they are and how they are obtained.
Essential oils are highly concentrated extracts derived from plants. They are typically obtained through a process called distillation, which involves capturing the aromatic compounds that are present in various parts of the plant, such as the leaves, flowers, bark, or roots.
These aromatic compounds, also known as volatile oils, give each essential oil its unique scent and properties. They can be beneficial for physical, mental, and emotional well-being, making essential oils a versatile tool in natural healing and self-care.
It is important to note that essential oils are different from carrier oils. Carrier oils, such as coconut oil or jojoba oil, are used to dilute essential oils before applying them to the skin. They act as a base and help to safely deliver the benefits of the essential oil.
When using essential oils, it is crucial to understand their individual properties and potential effects. Some essential oils, like lavender or chamomile, are known for their calming and soothing properties, making them ideal for relaxation and sleep support. On the other hand, citrus oils like lemon or orange are often used for their uplifting and energizing effects.
Additionally, essential oils can possess antimicrobial, antifungal, or antiviral properties, making them useful for cleaning and purifying the air, as well as for supporting the immune system. However, it is important to use essential oils responsibly and according to recommended guidelines, as they are highly potent substances.
By understanding the unique qualities of different essential oils, you can tailor your homemade creations to suit your specific needs. The next section will guide you in selecting the right herbs for making essential oils, so you can enjoy the benefits of nature’s botanical wonders.
Choosing the Right Herbs for Making Essential Oils
When it comes to making essential oils from herbs, selecting the right plants is crucial. The herbs you choose will determine the aroma, properties, and potential benefits of the resulting essential oil. Here are some factors to consider when choosing herbs for your DIY essential oil projects:
- Aroma: Consider the scents that appeal to you and the purpose of the essential oil. For example, if you want a calming and soothing oil, herbs like lavender or chamomile are excellent choices. If you prefer a more uplifting and energizing scent, you may opt for herbs like peppermint or lemon.
- Properties: Each herb has its own unique properties and potential benefits. Do some research to understand the properties of different herbs and how they align with your desired outcome. For example, eucalyptus is known for its respiratory support, while tea tree oil is valued for its antimicrobial properties.
- Availability: Consider the availability of the herbs in your area. Some herbs may be more readily accessible in certain regions, while others may be harder to find. If certain herbs are not readily available, you can explore online options or consider growing them in your own garden.
- Suitability for Distillation: Not all herbs are suitable for making essential oils through distillation. Some herbs have a higher concentration of aromatic compounds and oil content, making them ideal for essential oil extraction. Examples of herbs commonly used for essential oil extraction include lavender, rosemary, thyme, and peppermint.
It is important to note that not all herbs are safe for making essential oils, and some may even be toxic. Research each herb thoroughly and ensure that it is safe for use and suitable for extracting essential oils.
Ultimately, the choice of herbs for making essential oils is a personal one. Experiment with different combinations and explore the vast array of herbs available to find the scents and properties that resonate with you. In the next section, we will discuss how to harvest and prepare the herbs for the essential oil extraction process.
Harvesting and Preparing the Herbs
Once you have chosen the herbs for making essential oils, it’s time to harvest and prepare them for the extraction process. Here are the steps to follow:
- Timing: Harvest your herbs at the right time to ensure maximum potency. Different herbs have different peak times for essential oil production. Typically, it is best to harvest herbs in the morning after the dew has dried, as this is when their essential oil content is highest.
- Choose Healthy Plants: Select healthy herb plants that are free from pests or diseases. Healthy plants tend to produce higher quality essential oils.
- Prune the Herbs: Trim the herbs to remove any dead or damaged leaves, stems, or flowers. This will ensure that you are working with the freshest and most vibrant parts of the plant.
- Wash and Dry: If needed, gently wash the herbs to remove any dirt or debris. Pat them dry with a clean towel or use a salad spinner to remove excess moisture. It is important to ensure that the herbs are completely dry before proceeding with the extraction process, as water can interfere with the distillation process.
- Chop or Crush: Depending on the distillation method you will be using, you may need to chop or crush the herbs. This can help release the essential oil from the plant material and facilitate the extraction process.
It’s worth noting that the exact preparation steps may vary depending on the herb and the distillation method you will be using. Research the specific requirements for the herbs you have selected to ensure you are following the most appropriate procedures.
By properly harvesting and preparing your herbs, you lay the foundation for extracting high-quality essential oils that retain the aromatic potency of the plants. In the next section, we will explore the different distillation methods for making essential oils at home.
Distillation Methods for Making Essential Oils
When it comes to making essential oils at home, there are several distillation methods you can employ to extract the aromatic compounds from your chosen herbs. Let’s explore three popular techniques:
- Steam Distillation Technique: This is the most common method used for extracting essential oils from plants. It involves placing the herbs in a steam distillation apparatus, where steam is passed through the plant material. The steam causes the release of essential oils, which then condense and are collected in a separate container. This method is suitable for most herbs and allows for a high yield of essential oils.
- Cold Press Technique: The cold press method is primarily used for extracting essential oils from citrus fruits, such as oranges, lemons, or grapefruits. It involves manually squeezing or pressing the fruits to release the essential oil from the peel. This technique is simple and requires minimal equipment, making it a popular choice for home DIY projects.
- Solvent Extraction Technique: Solvent extraction is a more complex method used for certain plant materials that are heat-sensitive or have a low essential oil content. It involves soaking the herbs in a solvent, such as ethanol or hexane, which dissolves the essential oil. The solvent is then evaporated, leaving behind the concentrated essential oil. This method requires caution, as some solvents can be flammable or pose health risks if not handled properly.
It is important to note that each distillation method has its advantages and limitations. Some herbs may yield better results with a specific technique, so it’s worth researching the most suitable method for the herbs you are working with.
As you gain experience and confidence in making essential oils, you can experiment with different distillation methods to see which one works best for you and the specific herbs you are using. In the next section, we will dive deeper into the steam distillation technique, which is widely utilized in essential oil extraction.
Steam Distillation Technique
The steam distillation technique is widely used for extracting essential oils from a variety of herbs. It is a gentle and effective method that ensures the preservation of the aromatic compounds while separating them from the plant material. Here’s a step-by-step guide to using the steam distillation method:
- Create Your Distillation Setup: You will need a steam distillation apparatus, which typically consists of a boiling flask, a condenser, and a collection vessel. Set up the apparatus according to the manufacturer’s instructions.
- Prepare the Herbs: Depending on the specific herb, you may need to chop, crush, or bruise the plant material to facilitate the release of essential oils. Place the prepared herbs into the boiling flask of the distillation apparatus.
- Add Water: Fill the boiling flask with water, ensuring that the level is below the herbs. It is important not to overfill the flask, as the water should not come into direct contact with the herbs.
- Start Heating: Place the boiling flask on a heat source and heat it gradually. As the water heats up, steam will be produced, carrying the essential oil from the herbs with it. The steam will then pass through the condenser, which cools and condenses it back into a liquid.
- Collect the Essential Oil: The condensed essential oil, also known as the hydrosol, will flow into the collection vessel. Once the distillation process is complete, carefully collect the essential oil from the vessel.
- Separate the Essential Oil from the Hydrosol (optional): The hydrosol may contain traces of essential oil. If desired, you can separate the essential oil from the hydrosol using a separator or a separatory funnel.
It is important to note that the duration of the steam distillation process may vary depending on the herb and the equipment being used. Some herbs may require longer distillation times to extract the maximum amount of essential oil.
Remember to follow safety precautions during the distillation process, such as wearing protective gloves and goggles, working in a well-ventilated area, and keeping flammable materials away from heat sources.
The steam distillation technique allows you to extract essential oils from a wide range of herbs, preserving their natural scents and therapeutic properties. In the next section, we will explore the cold press technique, which is commonly used for extracting essential oils from citrus fruits.
Cold Press Technique
The cold press technique is a simple and straightforward method used specifically for extracting essential oils from citrus fruits, such as oranges, lemons, and grapefruits. This method allows you to capture the bright and invigorating scents of these fruits. Here’s a step-by-step guide to using the cold press technique:
- Select and Prepare the Citrus Fruits: Choose fresh and organic citrus fruits for the best results. Wash the fruits thoroughly to remove any dirt or residue.
- Peel the Fruits: Use a citrus zester or a sharp knife to carefully remove the outer peel of the fruits. Try to avoid including the white pith beneath the peel, as it can add bitterness to the essential oil. Only the colored part of the peel contains the aromatic oils.
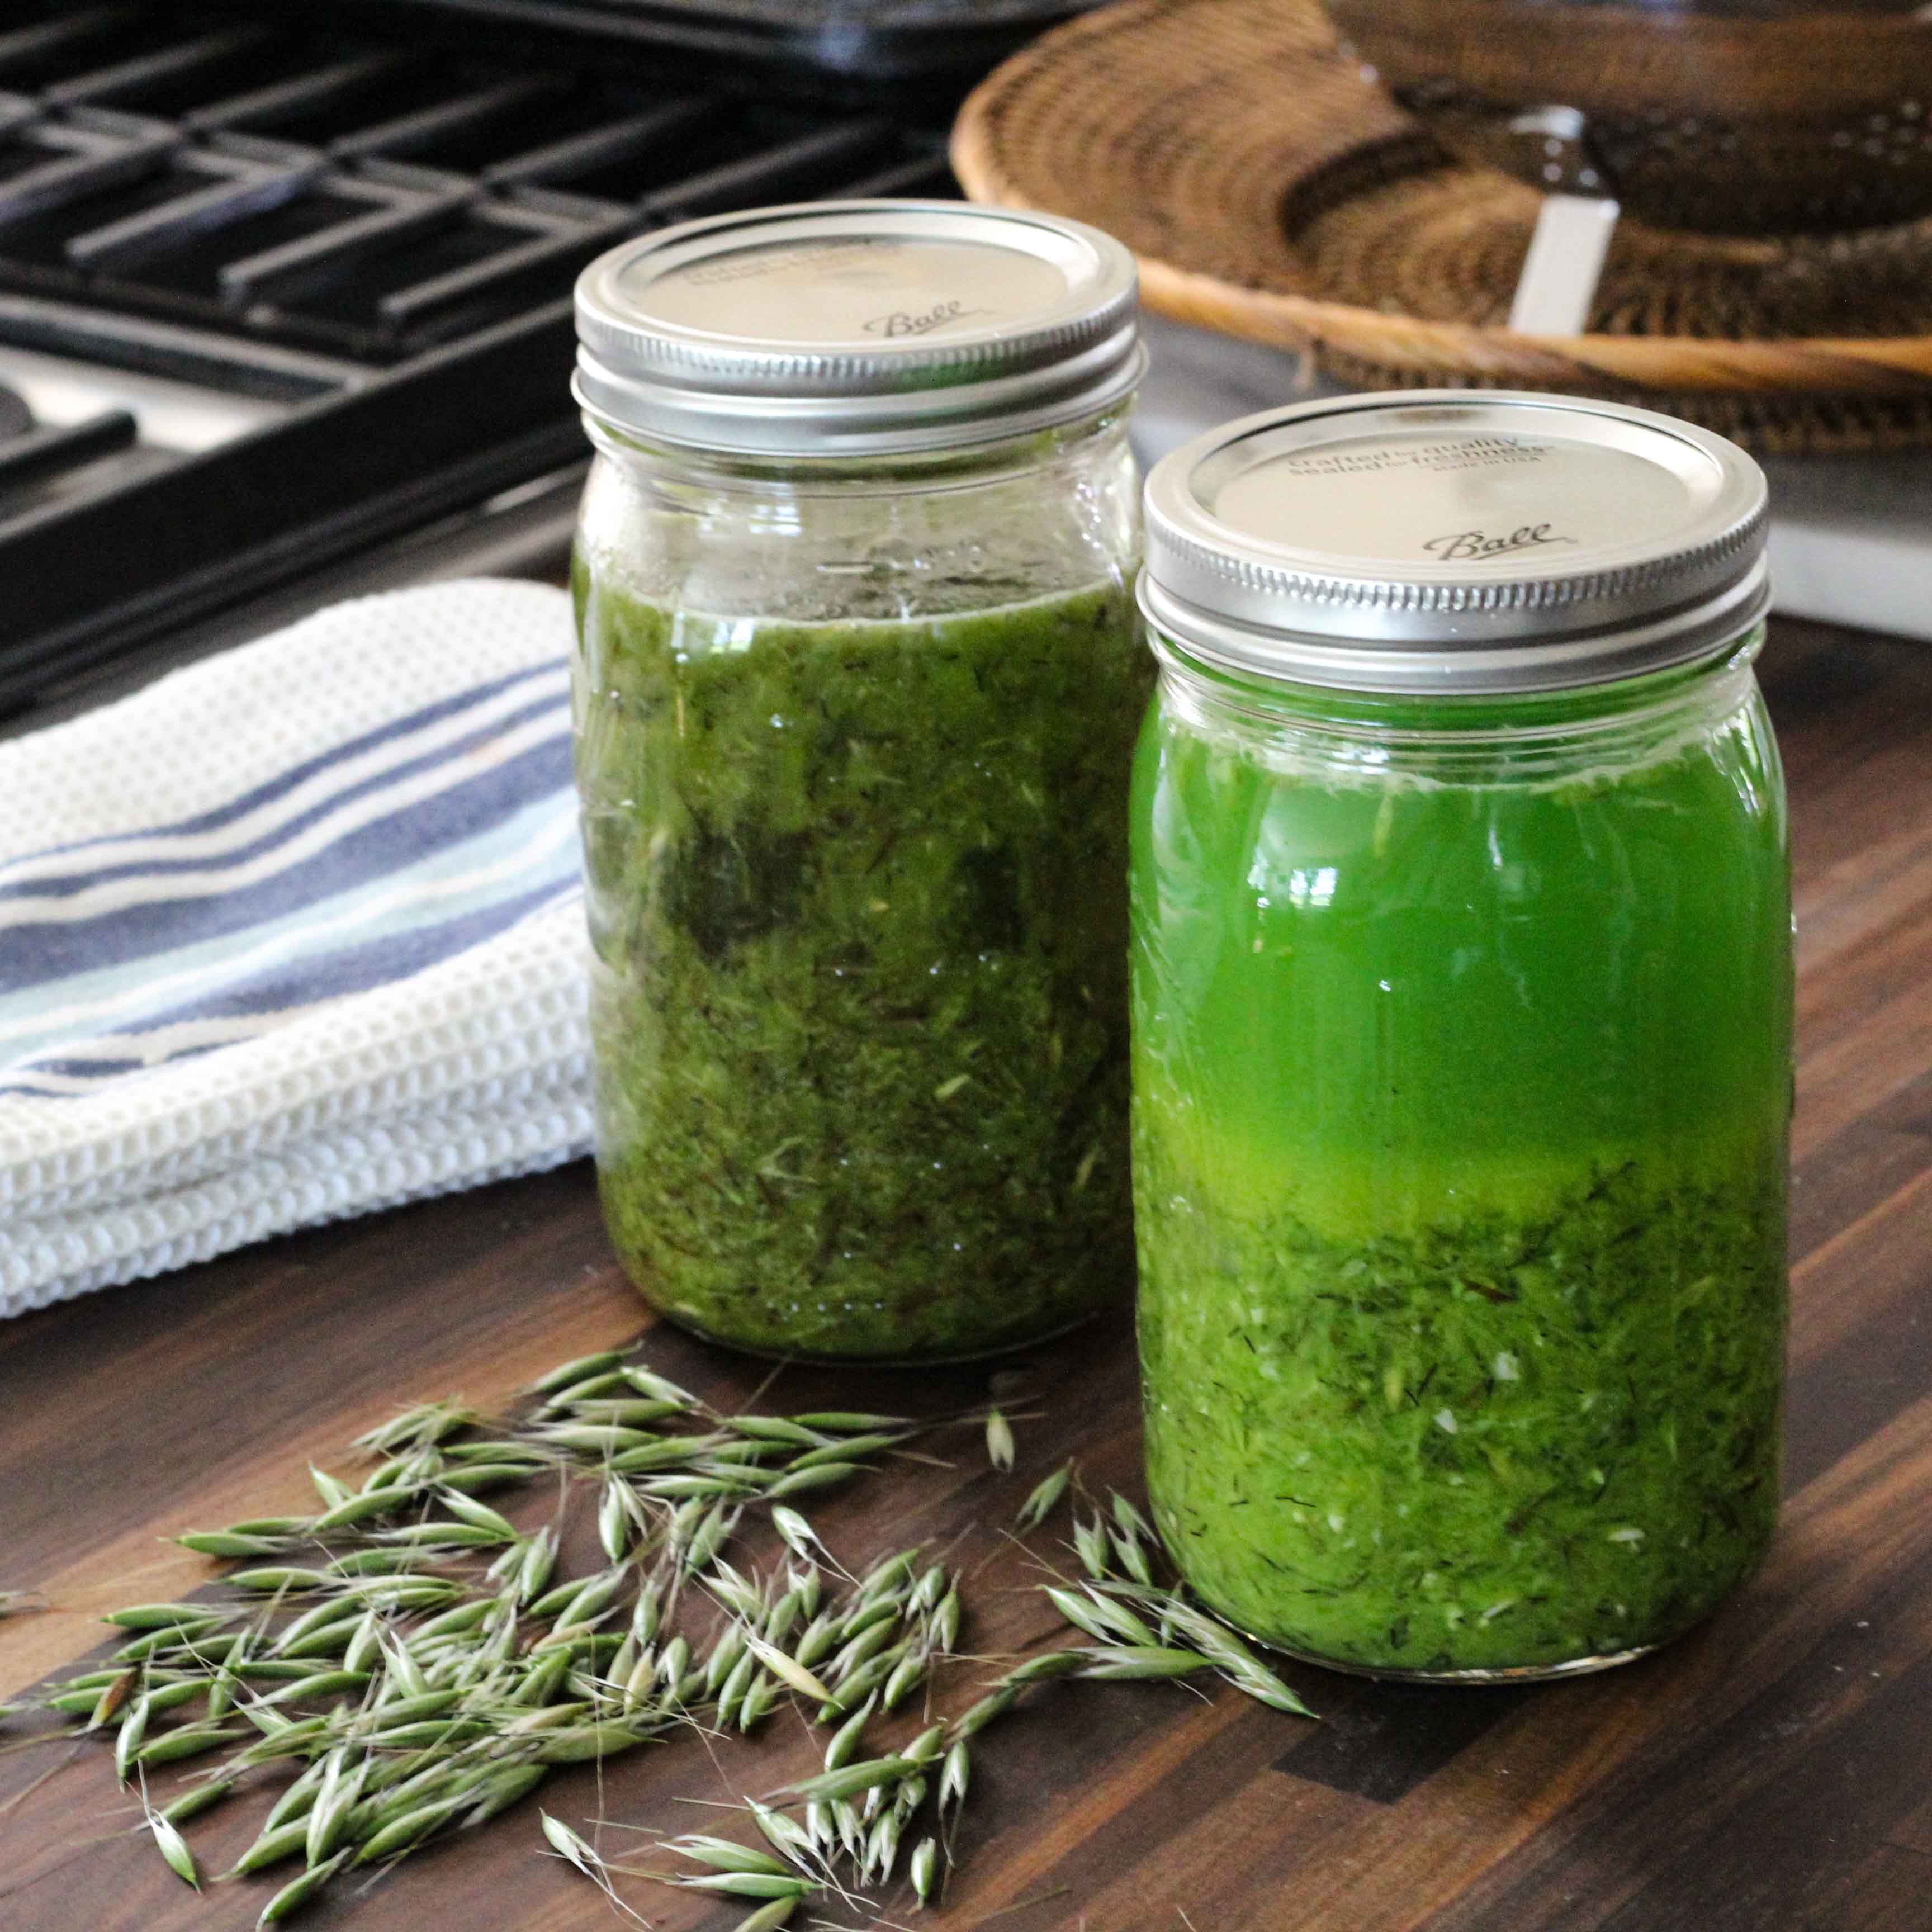
- Collect the Peel: Place the citrus peels in a clean glass jar, making sure not to overcrowd them. The jar should have a tight-fitting lid to preserve the freshness of the peels.
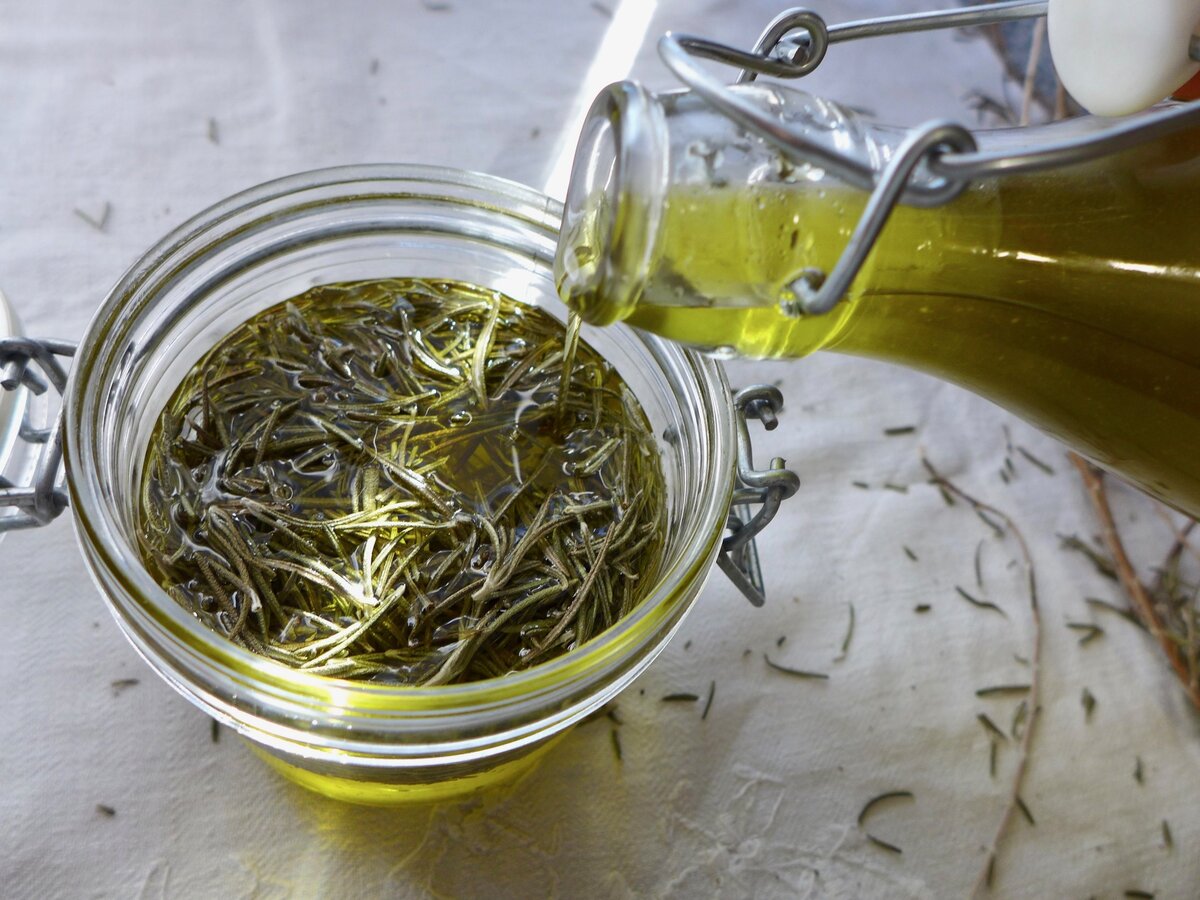
- Maceration: Pour a carrier oil, such as jojoba oil or almond oil, into the jar to cover the peels completely. The carrier oil will help to extract the essential oils from the peels. Close the lid tightly and shake the jar gently to ensure even distribution.
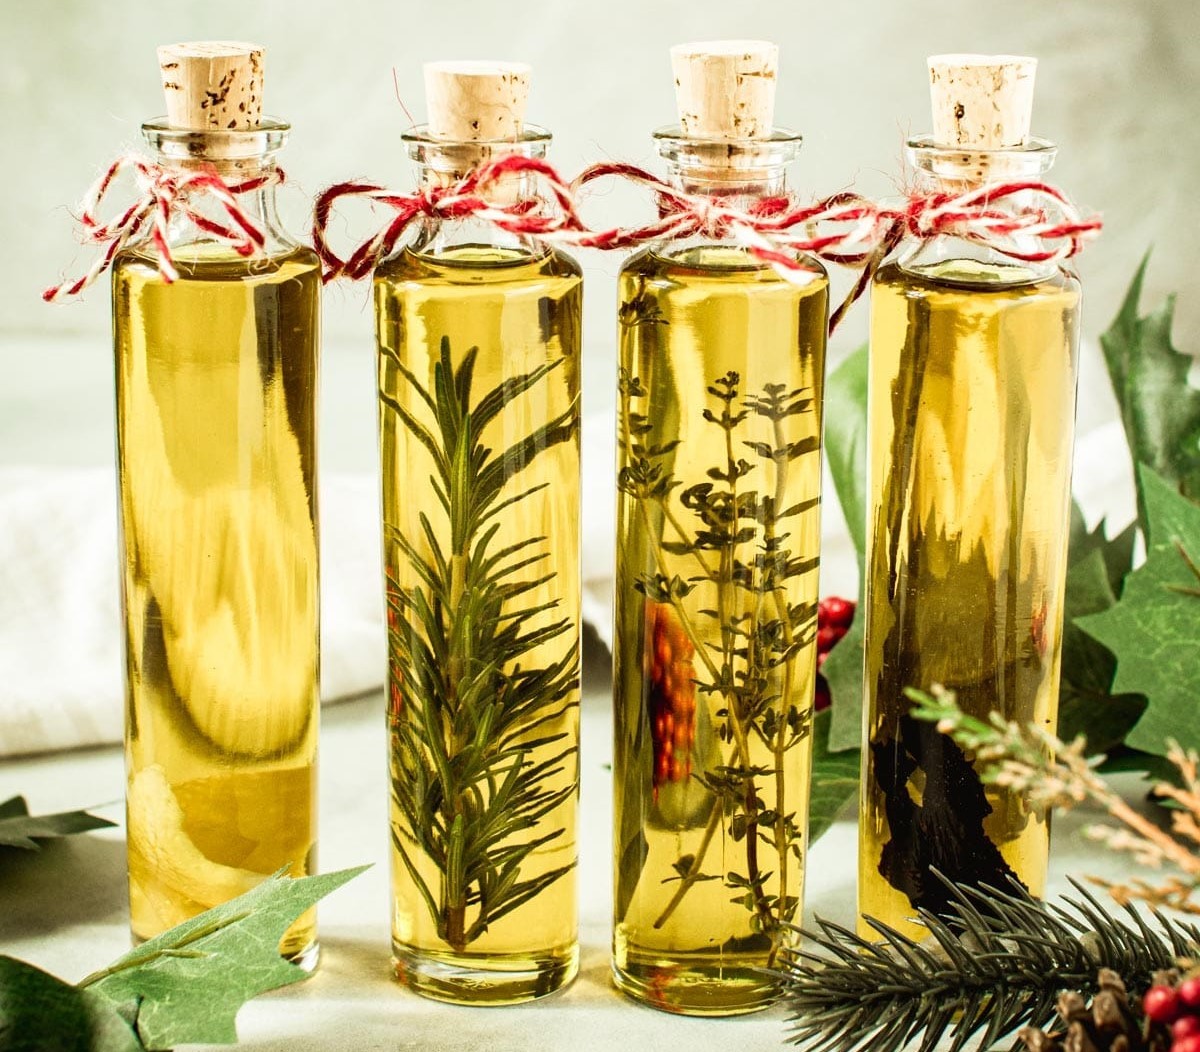
- Infusion: Leave the jar undisturbed in a cool, dark place for about two weeks. During this time, the citrus peels will infuse the carrier oil with their vibrant and aromatic oils.
- Straining: After two weeks, strain the oil using a fine-mesh sieve or cheesecloth to remove the citrus peels. Squeeze out any excess oil from the peels to collect as much essential oil as possible.
- Storage: Transfer the strained essential oil into a dark glass bottle with a tight-fitting lid. Store the bottle in a cool, dark place to maintain the freshness and potency of the essential oil.
The cold press technique is an excellent method for capturing the essence of citrus fruits in their purest form. The resulting essential oil can be used in homemade perfumes, soaps, and skincare products or simply enjoyed for its uplifting and refreshing aroma.
It’s important to note that the cold press technique is specific to citrus fruits and may not yield satisfactory results with other herbs or plant materials. For non-citrus herbs, the steam distillation or solvent extraction technique would be more appropriate.
In the next section, we will explore the solvent extraction technique, which is often used for plant materials that are heat-sensitive or have a low essential oil content.
Solvent Extraction Technique
The solvent extraction technique is a more complex method used for extracting essential oils from plant materials that are heat-sensitive or have a low essential oil content. It involves using a solvent, such as ethanol or hexane, to dissolve the essential oil from the plant material. Here’s an overview of the solvent extraction technique:
- Choose the Plant Material: Select the plant material you wish to extract essential oil from. Keep in mind that this method is typically preferred for materials like delicate flowers or plants with a low oil content.
- Prepare the Plant Material: The plant material needs to be properly prepared for the extraction process. This may involve grinding, chopping, or crushing the material to increase the surface area for better solvent penetration.
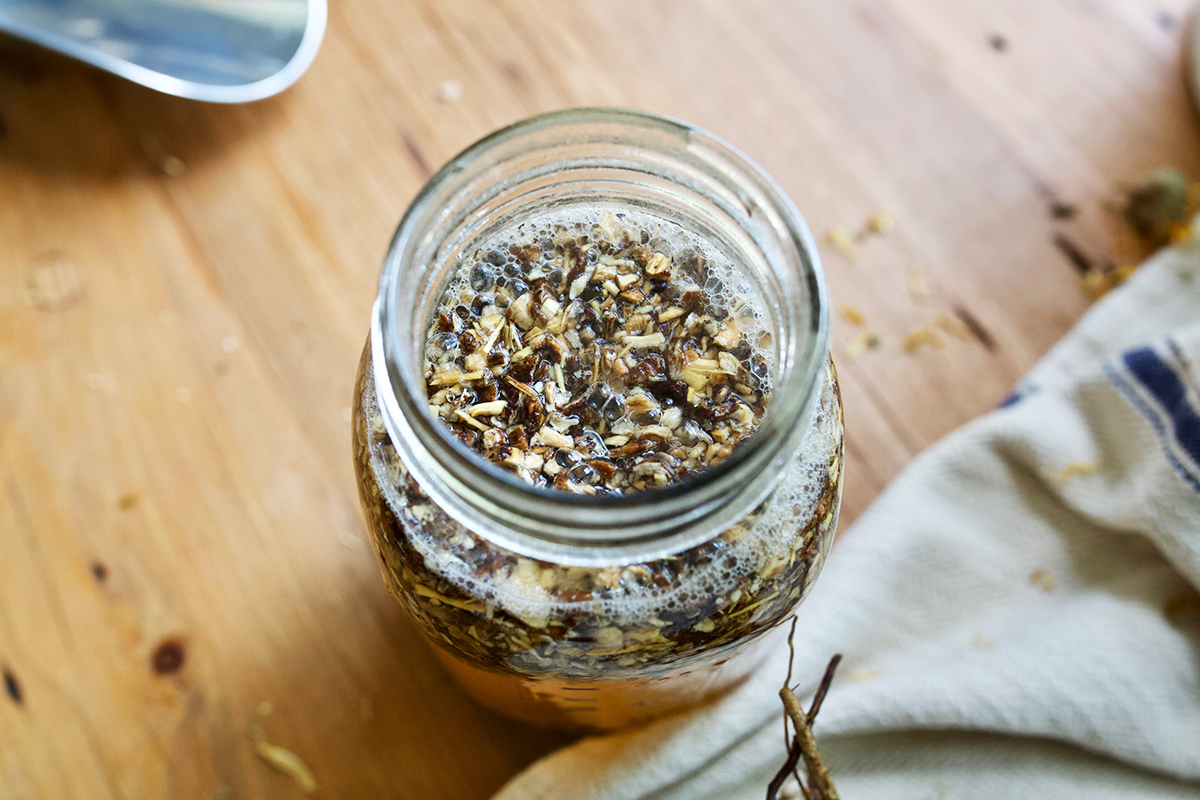
- Soaking: Place the prepared plant material in a container and cover it with the solvent of your choice (e.g. ethanol, hexane). Ensure the plant material is fully submerged in the solvent.
- Extraction: Allow the plant material to soak in the solvent for a specific duration, typically a few days to a few weeks, depending on the plant material and desired extraction strength. During this time, the solvent will dissolve the essential oil from the plant material.
- Separation: After the extraction period, the solvent containing the dissolved essential oil is separated from the plant material. This can be done by using a filter or a separating funnel to collect the solvent while leaving the plant material behind.
- Evaporation: The collected solvent, which now contains the essential oil, is then subjected to gentle evaporation. This process allows the solvent to evaporate, leaving behind the concentrated essential oil.
- Storage: Transfer the concentrated essential oil into a dark glass bottle with a tightly sealed lid to preserve its potency. Store it in a cool, dark place to maintain its stability.
The solvent extraction technique can be effective in capturing essential oils from plant materials that would be difficult to extract using other methods. However, it is important to exercise caution when working with solvents, as they can be flammable and pose health risks. It is best to conduct this extraction method in a well-ventilated area and follow specific safety guidelines to ensure proper handling and disposal of solvents.
By utilizing the solvent extraction technique, you can extract essential oils from delicate plant materials and enjoy their unique aromas and therapeutic benefits.
Now that we’ve explored the different distillation methods, it’s time to delve into the next step of the process: blending and storing your homemade essential oils.
Blending and Storing Essential Oils
Once you have successfully extracted your essential oils, the next step is to blend and store them properly to ensure their longevity and usability. Here are some key considerations when it comes to blending and storing essential oils:
- Blending: Essential oil blending allows you to create unique aromatic compositions that suit your preferences and desired therapeutic effects. Take note of the properties and scents of each essential oil and experiment with different combinations to find the perfect balance.
- Dilution: Essential oils are highly concentrated and potent, so it’s important to dilute them before use. Use a carrier oil, such as jojoba oil or sweet almond oil, to dilute the essential oil. The general rule of thumb is to use a 2-3% dilution rate, which means adding 12-18 drops of essential oil to every ounce (30 mL) of carrier oil.
- Storage Containers: Essential oils should be stored in dark glass containers, such as amber or cobalt blue bottles. The dark glass helps to protect the oils from sunlight and UV rays that can degrade their quality. Make sure the containers have a tight-fitting lid to prevent air exposure, which can also degrade the oils.
- Storage Conditions: To maintain the freshness and potency of your essential oils, store them in a cool, dry place away from direct sunlight and heat sources. Excessive heat or light exposure can cause the oils to deteriorate and lose their therapeutic properties.
- Labeling: Properly label your essential oil bottles with the name of the oil and the date of extraction. This will help you keep track of their shelf life and ensure you use them within their recommended timeframe.
- Shelf Life: While essential oils do not spoil, their potency can diminish over time. Different oils have varying shelf lives, ranging from 1-5 years. Citrus oils, for example, tend to have a shorter shelf life compared to oils derived from woods or resins. It’s best to use your homemade essential oils within their respective shelf lives for optimal results.
Remember to always conduct a patch test before using any essential oil on your skin, as some people may have sensitivities or allergies. If any irritation occurs, discontinue use immediately.
By taking proper care in blending and storing your essential oils, you can ensure their longevity and maintain their therapeutic benefits. In the next section, we will discuss some essential safety precautions to consider when working with essential oils.
Safety Precautions for Working with Essential Oils
While essential oils offer numerous benefits, it is important to handle them with caution and prioritize safety. Here are some essential safety precautions to consider when working with essential oils:
- Proper Dilution: Essential oils are highly concentrated and should never be used undiluted on the skin. Always dilute them with a suitable carrier oil before topical application to avoid skin irritation or sensitization.
- Patch Testing: Before using a new essential oil, perform a patch test by applying a diluted solution on a small area of skin. Wait 24 hours and observe for any adverse reactions or sensitivities before using it more extensively.
- Keep Out of Reach of Children and Pets: Essential oils should be stored in a secure place, out of the reach of children and pets. Some essential oils can be toxic if ingested or used improperly, so it’s important to keep them safely stored.
- Avoid Contact with Eyes and Mucous Membranes: Essential oils should not come into direct contact with the eyes or mucous membranes. If accidental contact occurs, rinse thoroughly with water and seek medical attention if necessary.
- Pregnancy and Nursing: Some essential oils are not recommended for use during pregnancy or while nursing. Consult with a qualified healthcare professional before using essential oils if you are pregnant, nursing, or have any preexisting medical conditions.
- Photosensitivity: Certain citrus essential oils, such as bergamot or grapefruit, can cause photosensitivity and increase the skin’s sensitivity to sunlight. Avoid sun exposure or use appropriate sun protection after applying these essential oils topically.
- Essential Oil Allergies: Be aware of any known allergies or sensitivities you may have to specific essential oils. If you have a history of allergies, asthma, or skin sensitivities, exercise caution and perform patch tests before using new essential oils.
- Storage and Handling: Store essential oils in a cool, dry place away from direct sunlight and heat sources. Keep the bottles tightly sealed and properly labeled to avoid any mix-ups. When handling essential oils, avoid direct skin contact and protect your eyes with goggles if necessary.
It’s important to educate yourself on the specific safety guidelines for each essential oil you work with, as certain oils may have unique precautions or usage restrictions. Following these safety precautions will help ensure a safe and enjoyable experience when using essential oils.
Now that you are equipped with the knowledge of essential oil safety, you can confidently explore the wonderful world of DIY essential oil projects!
Conclusion
Embarking on the journey of making essential oils from herbs is a fulfilling and enriching experience. By harnessing the power of nature, you can create personalized blends tailored to your specific needs and preferences. Throughout this comprehensive guide, we have explored the various aspects of DIY essential oil making, from understanding the essence of essential oils to choosing the right herbs, distillation methods, blending, and safety precautions.
Understanding the properties and benefits of different essential oils allows you to create blends that promote relaxation, rejuvenation, or support overall well-being. By carefully selecting and harvesting herbs, you can ensure the highest quality essential oils that retain their potent aromatic compounds.
The distillation methods, whether steam distillation, cold pressing, or solvent extraction, offer unique approaches to extracting essential oils from herbs. Each technique requires specific equipment and procedures, so it’s important to choose the method that suits your chosen herbs and preferences.
Blending essential oils allows for a wide range of creative possibilities. Experimenting with different combinations of oils can result in unique aromas and therapeutic effects. Diluting essential oils and properly storing them in dark glass containers with proper labeling ensures their longevity and maintains their potency.
It is essential to prioritize safety when working with essential oils. Diluting them correctly, conducting patch tests, and following proper handling and storage practices are imperative to prevent adverse reactions and ensure a safe experience.
With this newfound knowledge and understanding, you can embark on your own DIY essential oil projects. Whether you’re creating natural perfumes, soothing skincare products, or aromatic blends for relaxation, making essential oils from herbs allows you to tap into the vast benefits of nature and embrace the world of natural wellness.
So, get ready to immerse yourself in the enchanting scents, healing properties, and endless creative possibilities that come with making essential oils from herbs. Let nature be your guide as you embark on this beautiful and aromatic journey!