Home>Gardening Techniques>Plant Care>How To Infuse Oil With Herbs For Hair

Plant Care
How To Infuse Oil With Herbs For Hair
Published: September 26, 2023
Learn how to infuse oil with herbs for hair care. Discover the benefits of plant-based oils and boost your hair health naturally.
(Many of the links in this article redirect to a specific reviewed product. Your purchase of these products through affiliate links helps to generate commission for Chicagolandgardening.com, at no extra cost. Learn more)
Table of Contents
- Introduction
- Benefits of Using Herb-Infused Oil for Hair
- Choosing the Right Herbs for Hair Infusions
- Methods of Infusing Oil with Herbs
- Preparing the Herbs for Infusion
- Cold Infusion Method
- Hot Infusion Method
- Stovetop Infusion Method
- Crockpot Infusion Method
- Straining and Storing Infused Oil
- How to Use Herb-Infused Oil for Hair Care
- Conclusion
Introduction
Welcome to the world of herb-infused oil for hair care! If you’re looking for a natural and effective way to nourish and enhance the health of your hair, then you’ve come to the right place. Herb-infused oils have been used for centuries in various cultures for their therapeutic benefits, and they have gained popularity in recent years for their ability to promote stronger and healthier hair.
Using herb-infused oil for your hair not only provides a multitude of benefits but also allows you to personalize your hair care routine according to your specific needs. Whether your goal is to strengthen your hair strands, prevent hair loss, moisturize your scalp, or promote hair growth, there is a herb-infused oil that can address your concerns.
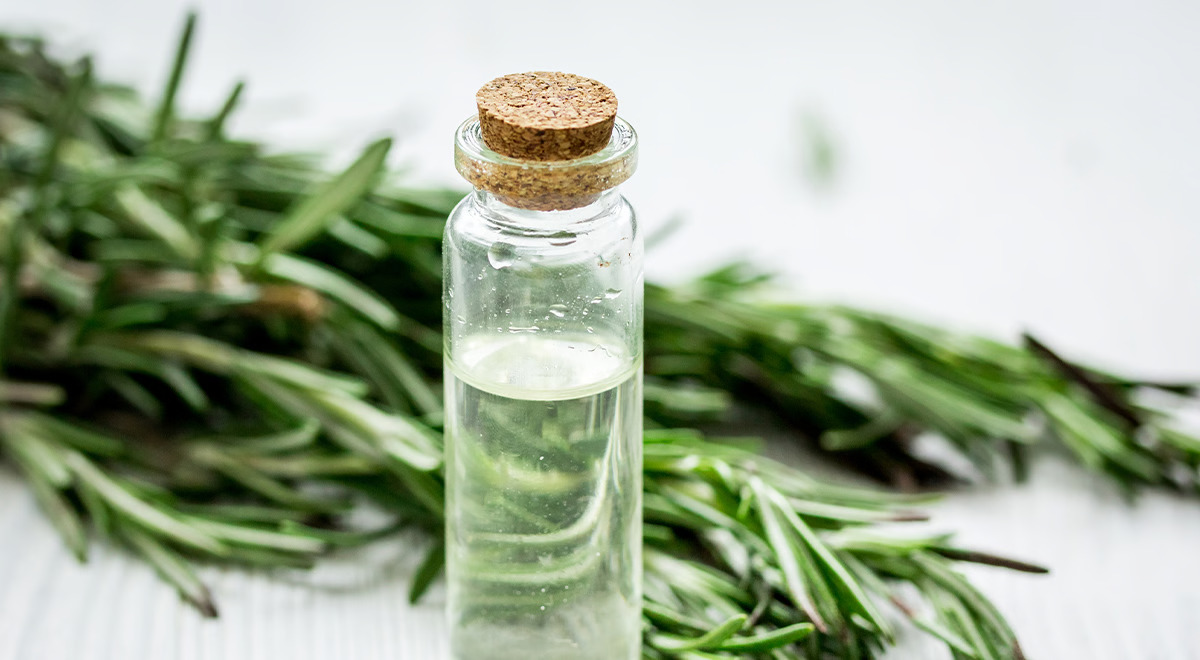
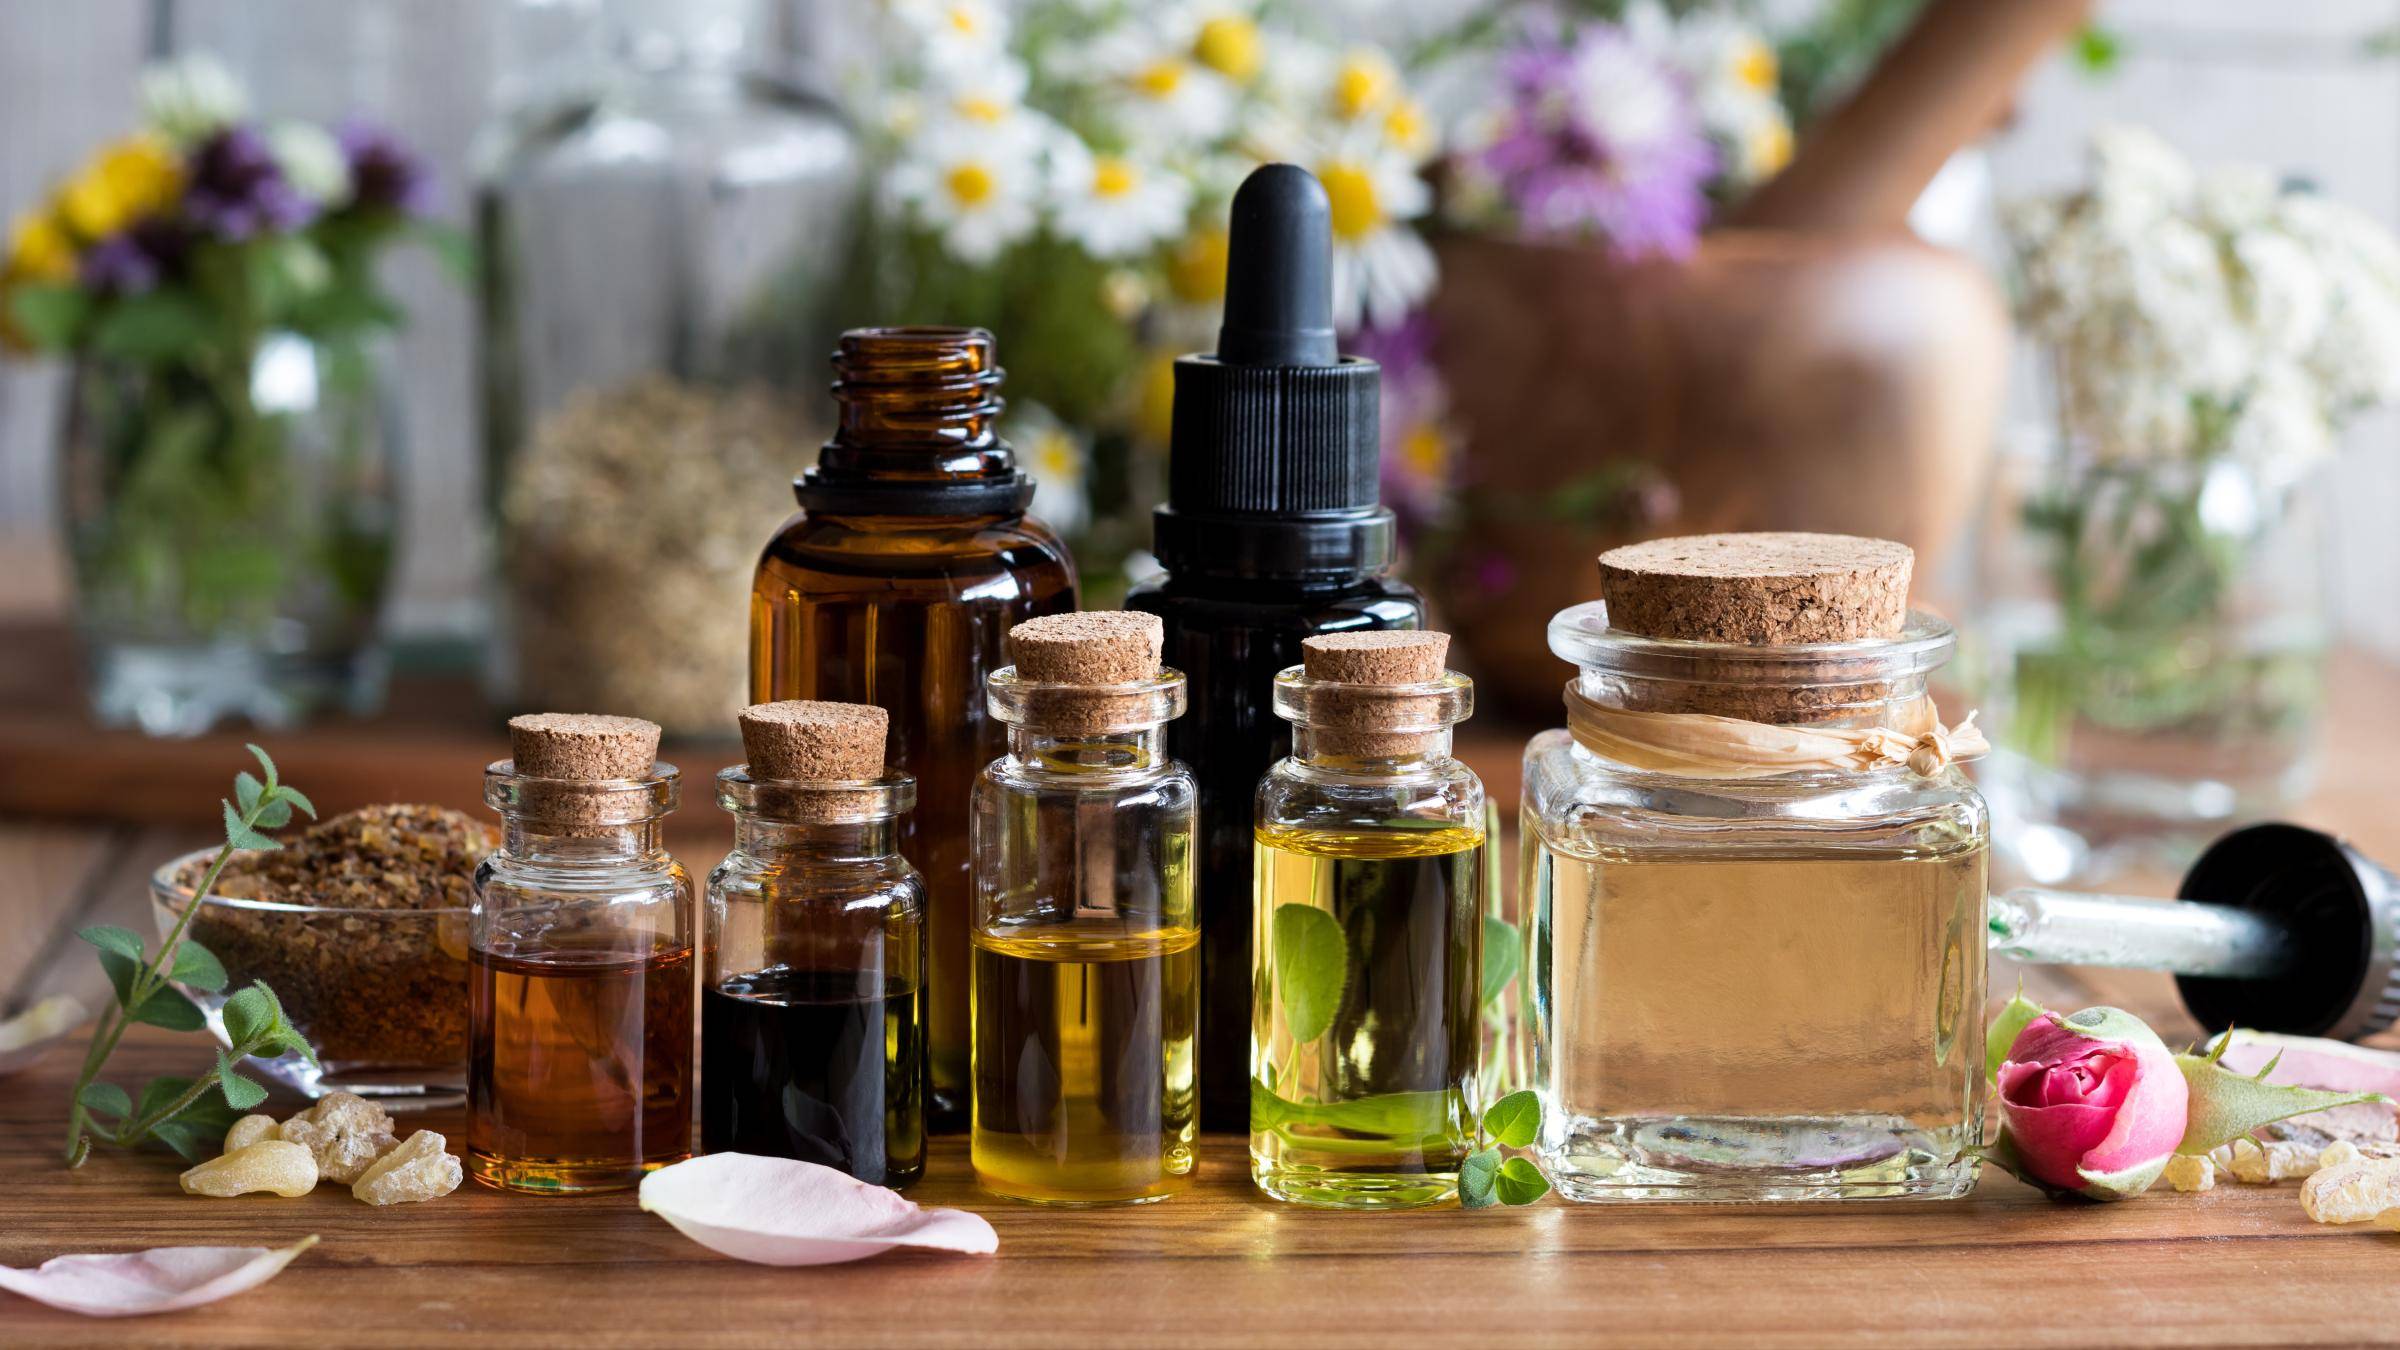
The process of infusing oil with herbs involves extracting the active compounds from herbs and transferring them into a carrier oil, such as olive oil, coconut oil, or jojoba oil. These infused oils retain the therapeutic properties of the herbs, making them a potent and natural solution for addressing various hair concerns.
Not only do herb-infused oils offer numerous benefits for your hair, but they also provide a sensory experience that can be both relaxing and rejuvenating. The aroma and texture of these oils make them a delight to use, whether you’re massaging them into your scalp or applying them as a pre-wash treatment.
In this article, we will explore the benefits of using herb-infused oil for hair care and guide you through the process of infusing oil with herbs. We will also discuss different methods of infusion, how to choose the right herbs for your hair concerns, and how to use herb-infused oil in your hair care routine.
So, get ready to embark on a journey of natural hair care as we delve into the world of herb-infused oil and discover its incredible benefits for healthier and more beautiful hair.
Benefits of Using Herb-Infused Oil for Hair
Using herb-infused oil for hair care offers a wide range of benefits that can help you achieve healthier, stronger, and more beautiful hair. Here are some of the key advantages of incorporating herb-infused oil into your hair care routine:
- Nourishes and moisturizes: Herb-infused oils are rich in vitamins, minerals, and fatty acids that provide deep nourishment and hydration to your hair and scalp. This helps to prevent dryness, reduce frizz, and promote overall hair health.
- Strengthens hair strands: Many herbs that are commonly used in hair infusions, such as rosemary and horsetail, contain properties that help strengthen the hair shaft, reducing breakage and promoting stronger, more resilient hair.
- Promotes hair growth: Certain herbs, like lavender and peppermint, have been shown to stimulate hair growth by improving blood circulation to the scalp and follicles. Using herb-infused oils can help nourish the scalp and create an optimal environment for hair growth.
- Prevents hair loss: Some herbs, such as nettle and saw palmetto, possess properties that can help prevent hair loss by blocking the production of a hormone called DHT, which contributes to hair thinning and baldness.
- Calms scalp irritation: Chamomile and calendula are known for their soothing and anti-inflammatory properties. Using herb-infused oil can help calm scalp irritation, reduce itchiness, and alleviate conditions like dandruff and eczema.
- Enhances shine and luster: Herb-infused oils, such as olive oil and argan oil, can create a natural shine and luster in your hair, making it look healthier and more vibrant.
- Protects against environmental damage: Many herbs contain antioxidants that protect the hair from damage caused by environmental factors like pollution and UV rays. Herb-infused oils act as a barrier, preserving the hair’s integrity and preventing it from becoming brittle and dull.
By incorporating herb-infused oil into your hair care routine, you can reap these benefits and boost the overall health and appearance of your hair. Now that you understand the advantages, let’s explore the different herbs that you can use for your hair infusions in the next section.
Choosing the Right Herbs for Hair Infusions
When it comes to creating herb-infused oil for your hair, choosing the right herbs is key. Different herbs offer different benefits for hair health, so it’s important to select ones that align with your specific needs and concerns. Here are some popular herbs that are commonly used in hair infusions:
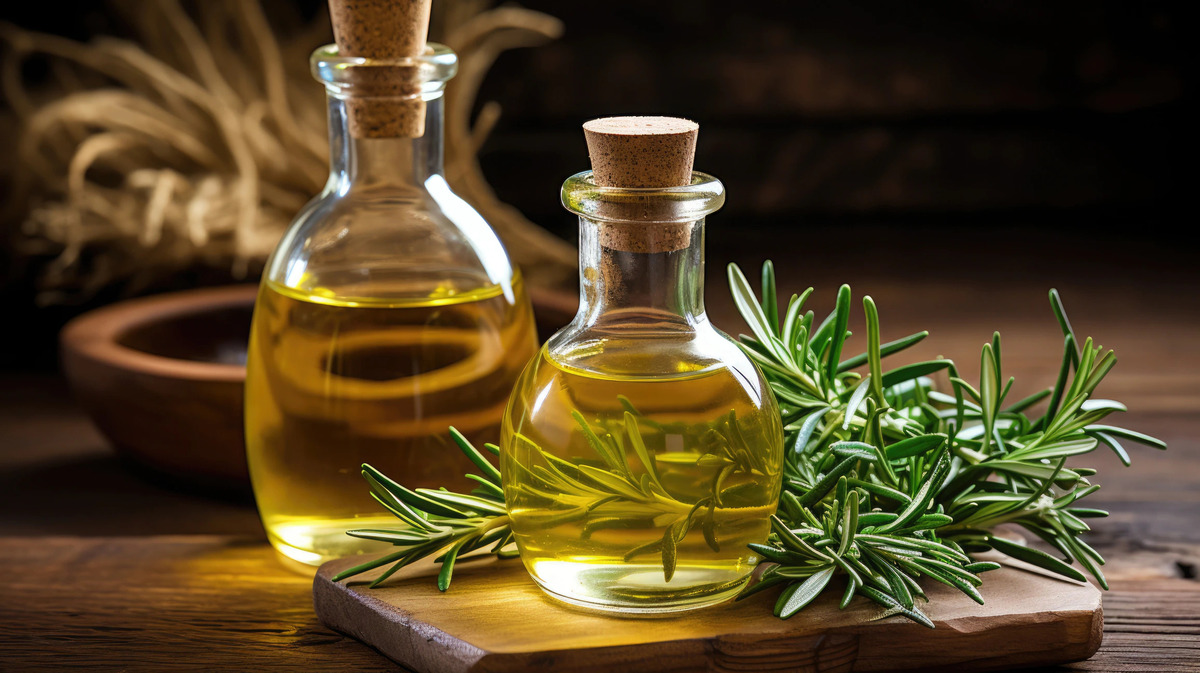
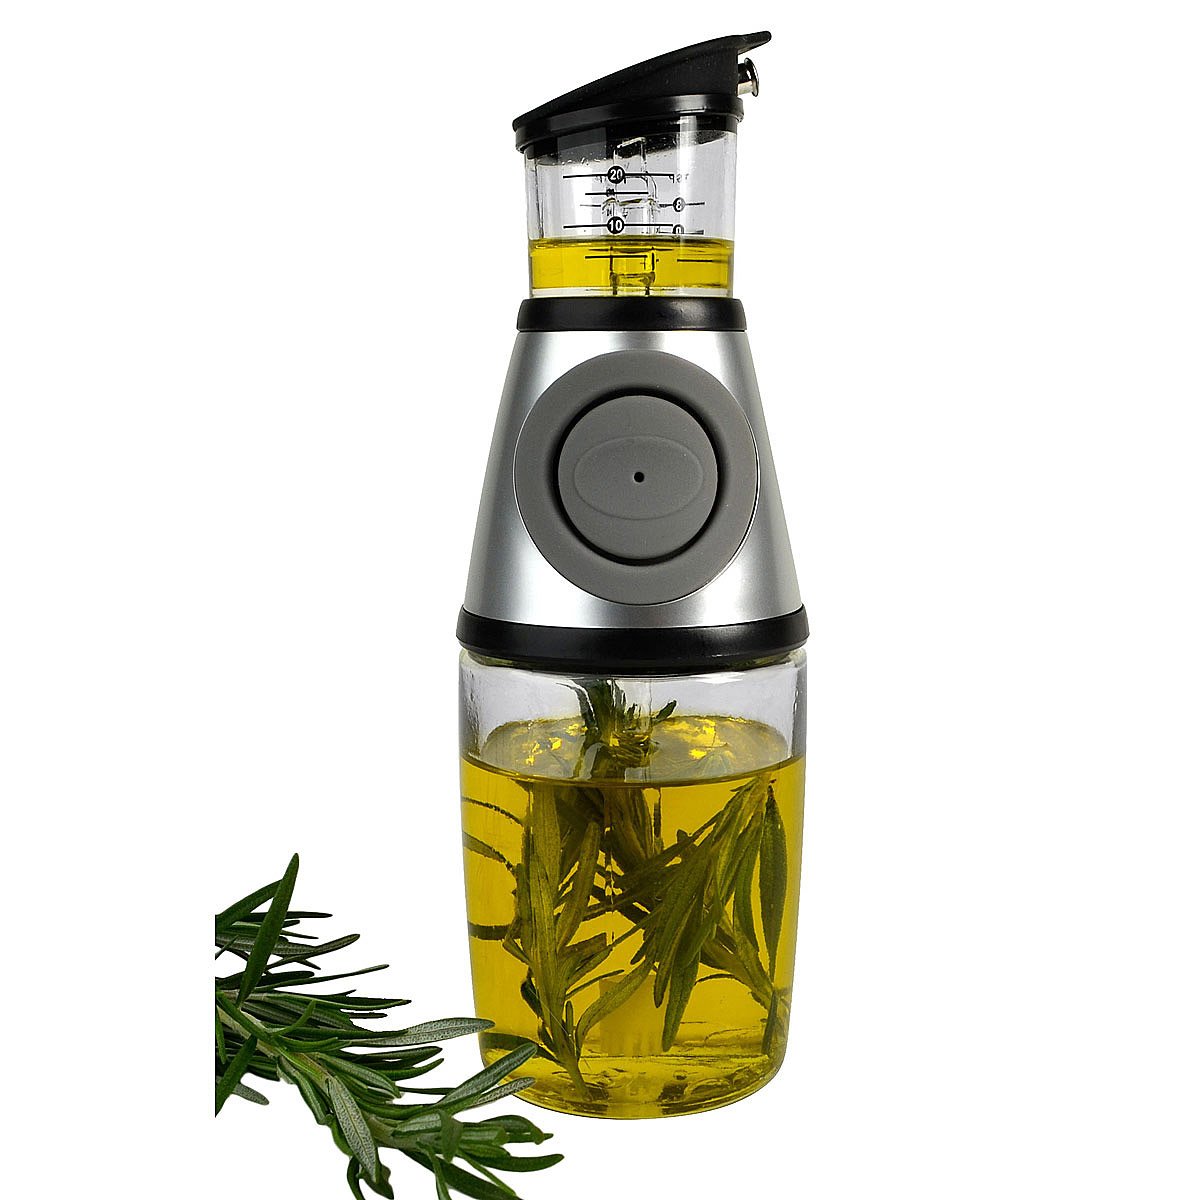
- Rosemary: Known for its stimulating properties, rosemary helps to promote hair growth and improve circulation to the scalp. It is also effective in preventing dandruff and adding shine to the hair.
- Lavender: With its calming and soothing properties, lavender is ideal for those with a sensitive scalp. It can help reduce inflammation, prevent hair loss, and promote a healthy scalp environment for hair growth.
- Nettle: Nettle is rich in vitamins and minerals that nourish the hair and scalp. It is particularly beneficial for those experiencing hair loss or thinning as it helps to strengthen hair follicles and promote regrowth.
- Chamomile: Chamomile is known for its soothing and anti-inflammatory properties, making it perfect for those with an itchy or irritated scalp. It can also enhance the natural highlights in blonde or light-colored hair.
- Peppermint: Peppermint has a cooling and invigorating effect on the scalp, promoting blood circulation and stimulating hair growth. It also helps to control excess oil production and unclog hair follicles.
- Horsetail: Horsetail is rich in silica, a mineral that strengthens hair strands and promotes healthy growth. It can also help reduce split ends and prevent breakage.
- Calendula: Calendula possesses soothing and anti-inflammatory properties that can help calm scalp irritations and conditions such as dandruff and eczema. It also promotes scalp health, thus supporting hair growth.
Remember that these are just a few examples, and there are many other herbs you can explore and experiment with. It’s essential to consider your specific hair concerns and desired outcomes when selecting herbs for your infusions.
You can use a single herb or create a blend of herbs to customize your hair oil according to your needs. Combining complimentary herbs can enhance the overall effectiveness of your infusion.
Next, we will dive into the various methods of infusing oil with herbs to extract their beneficial properties and create your own herb-infused oil for hair care.
Methods of Infusing Oil with Herbs
There are several methods you can use to infuse oil with herbs, each offering its own unique benefits and considerations. By selecting the method that suits your preference and time constraints, you can successfully extract the herbal properties and create a potent herb-infused oil for your hair. Here are some popular methods:
- Cold Infusion Method: This method involves placing dried herbs in a clean glass jar and covering them with carrier oil. The jar is then sealed and left to steep in a cool, dark place for several weeks, allowing the oil to gradually absorb the herbal compounds. While this method takes longer, it is gentle and preserves the integrity of the herbs.
- Hot Infusion Method: In this method, the oil and herbs are gently heated together in a double boiler or a slow cooker for a certain period of time. The heat helps to speed up the infusion process and extract the active compounds from the herbs. This method is quicker than cold infusion and is suitable for those who prefer a faster turnaround time.
- Stovetop Infusion Method: Similar to the hot infusion method, this technique involves gently heating the oil and herbs in a saucepan on the stovetop. It is important to keep the heat low and monitor the process closely to avoid overheating or burning the herbs.
- Crockpot Infusion Method: Using a crockpot or slow cooker, the herbs and oil are combined and left to infuse on a low heat setting for several hours. This method offers convenience as it requires minimal supervision and is ideal for those who prefer a hands-off approach.
Each method has its advantages and considerations, so choose the method that aligns with your preferred level of involvement and the time you can dedicate to the infusion process. Remember to use high-quality, organic herbs and carrier oils for the best results.
Now that you are familiar with the different methods of infusing oil with herbs, let’s move on to the next step: preparing the herbs for infusion.
Preparing the Herbs for Infusion
Before you can start infusing oil with herbs, it’s important to properly prepare the herbs for maximum extraction of their beneficial properties. Here are the steps to prepare the herbs for infusion:
- Drying the Herbs: If you are using fresh herbs, it’s crucial to dry them thoroughly before starting the infusion process. This helps to remove any excess moisture that can lead to mold or spoilage. Spread the herbs in a single layer on a clean, dry surface in a well-ventilated area. Allow them to air dry for about a week, or you can use a dehydrator or oven at a low temperature until they become crisp.
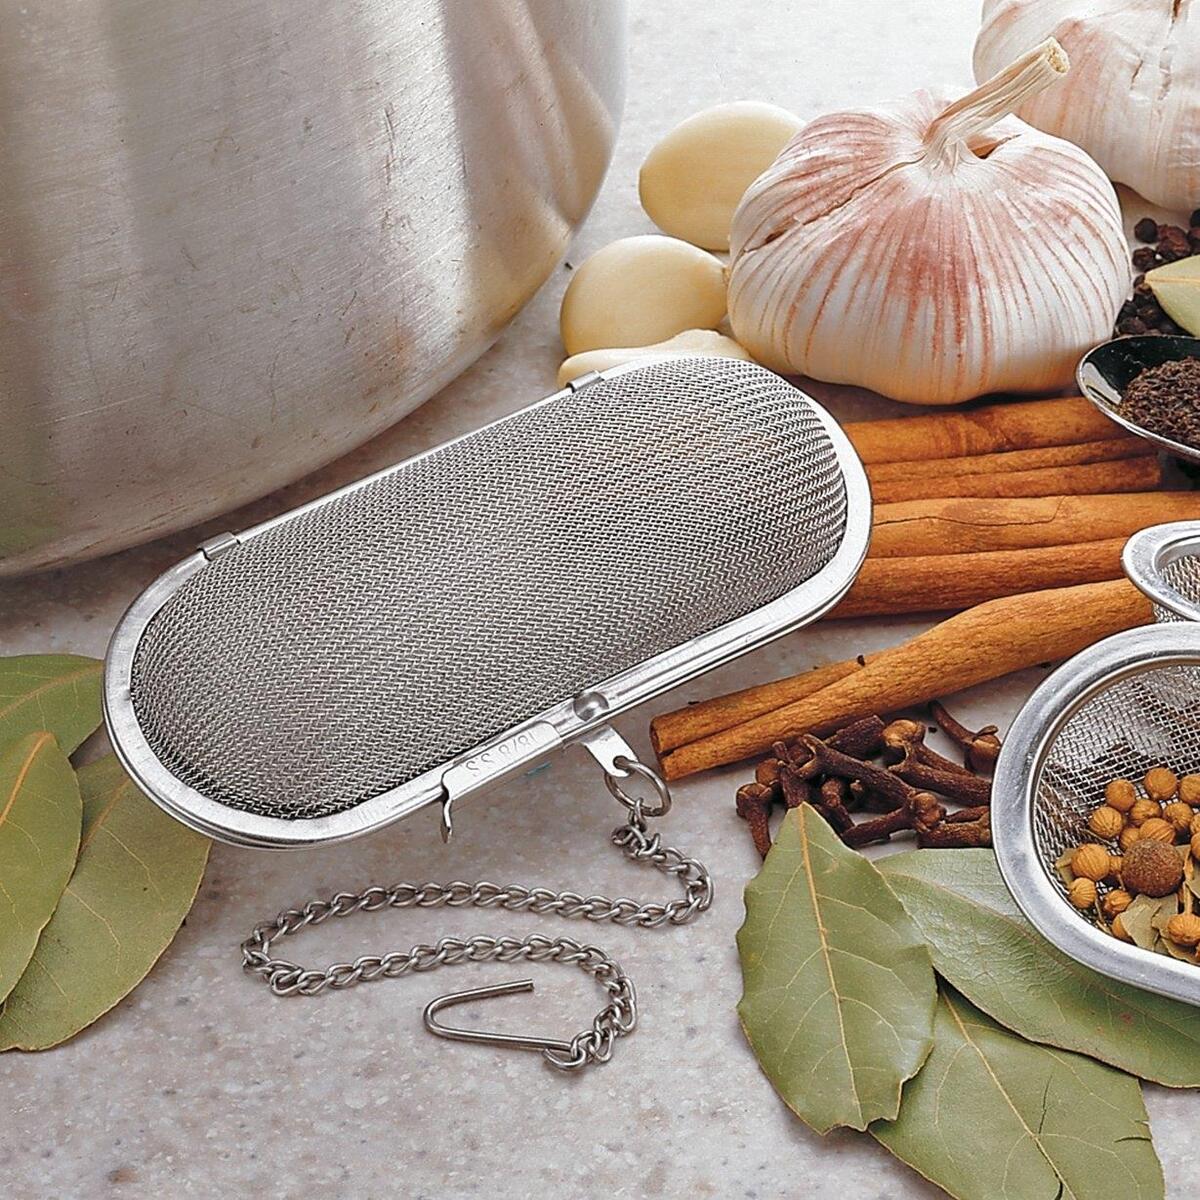
- Crushing or Chopping the Herbs: Once the herbs are dry, you can further enhance the extraction process by gently crushing or chopping them. This helps to release the oils and compounds present in the herbs, making them more accessible during the infusion. You can use a mortar and pestle, a food processor, or simply crush them with your hands.
- Proper Storage: Properly storing your dried herbs is essential to maintain their quality and potency. Place them in airtight containers, away from direct sunlight and moisture. Label each container with the name and date to keep track of their freshness.
Remember to handle the herbs with clean, dry hands to prevent any contamination. By following these steps, you will ensure that your herbs are ready for infusion and will yield the best results in your herb-infused oil.
Now that your herbs are prepared, it’s time to explore the different methods of infusing oil with herbs in more detail. Choose the method that suits your preferences and equipment availability, and let’s proceed to the next section.
Cold Infusion Method
The cold infusion method is a simple and gentle way to extract the beneficial properties of herbs and infuse them into oil. This method takes a longer time compared to other methods, but it preserves the integrity of the herbs and allows for a gradual, thorough extraction. Here are the steps to follow for the cold infusion method:
- Select Your Herbs: Choose the dried herbs that you want to infuse into your oil. You can use a single herb or create a blend of herbs based on your desired benefits. Make sure to use high-quality, organic herbs for the best results.
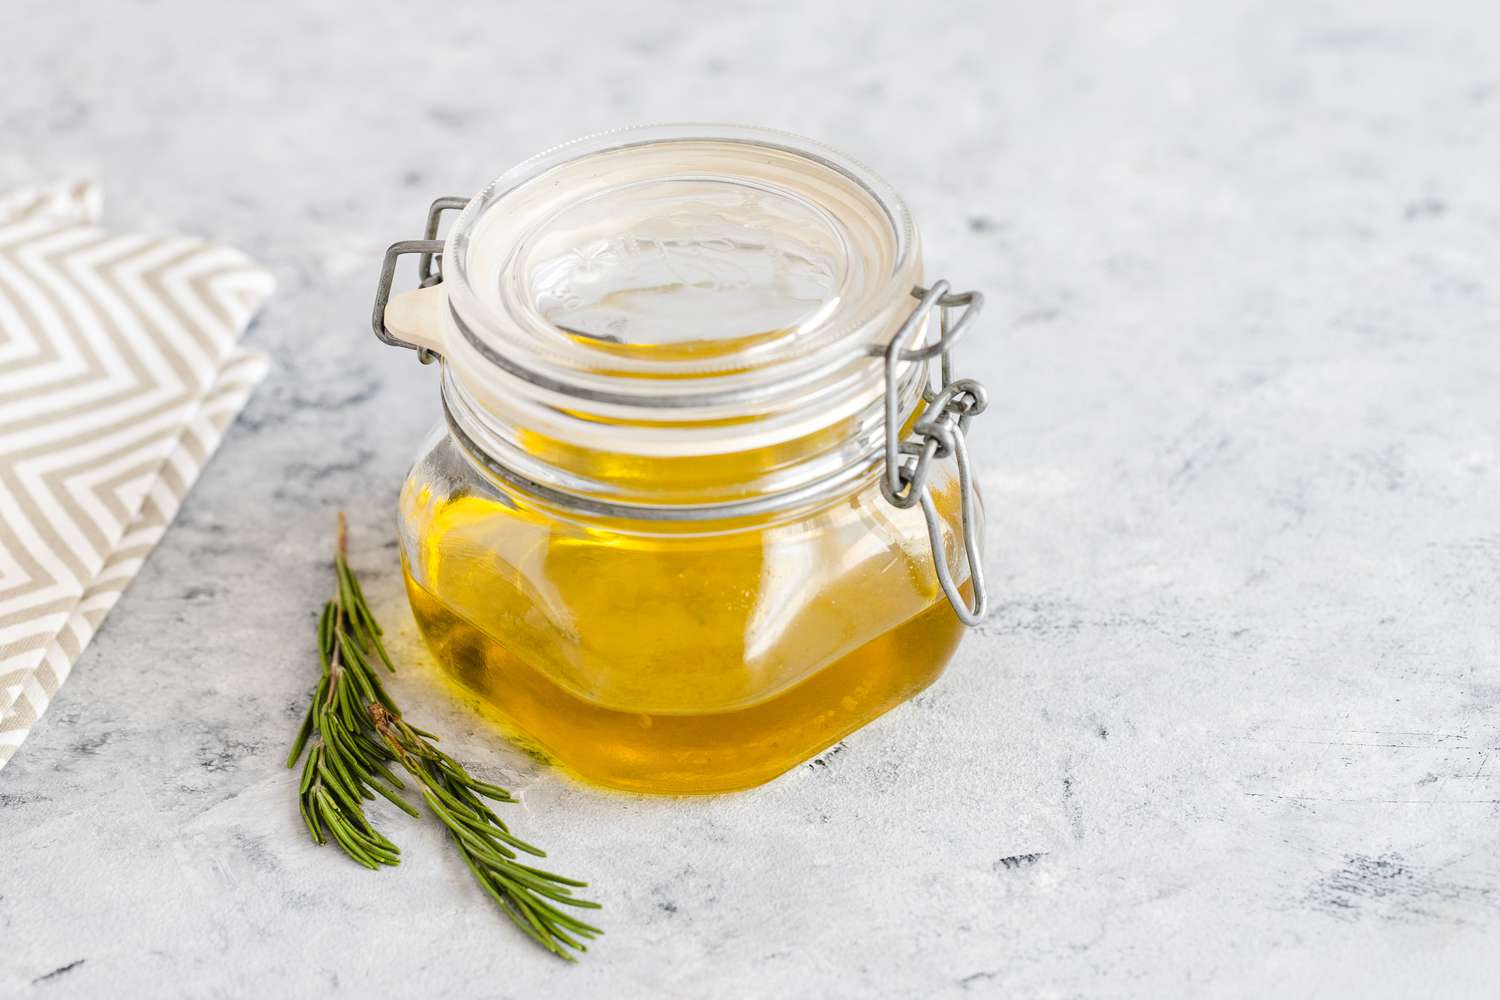
- Prepare the Container: Clean and sterilize a glass jar or container to ensure it is free from any bacteria or contaminants. You can wash it with hot, soapy water and rinse it thoroughly.
- Add Herbs and Oil: Place the dried herbs into the sterilized glass jar and pour the carrier oil of your choice over them, making sure the herbs are fully submerged. You can use oils like olive oil, coconut oil, or jojoba oil as your carrier oil.
- Seal and Store: Seal the jar tightly with a lid and give it a gentle shake to distribute the herbs evenly. Store the jar in a cool, dark place like a cupboard or pantry. Let the mixture steep for at least four to six weeks to allow the herbs to infuse into the oil.
- Check and Strain: After the steeping period, check the oil to ensure it has taken on the herbal properties. Give the jar a gentle shake to mix the contents. Strain the oil using a fine-mesh strainer or cheesecloth to separate the infused oil from the herbs. Squeeze the herbs to extract as much oil as possible.
- Store and Label: Transfer the infused oil into a clean, sterilized glass bottle or container. Label it with the name of the infused oil and the date of preparation for future reference.
Remember to handle the herbs and oils with clean hands and clean utensils to maintain hygiene and prevent any contamination. The cold infusion method allows for a slow and gentle extraction, resulting in a high-quality herb-infused oil that can be used for various hair care purposes.
Now that you have a grasp of the cold infusion method, let’s move on to explore other methods of infusing oil with herbs.
Hot Infusion Method
The hot infusion method is a quicker alternative to the cold infusion method. By gently heating the herbs and oil together, you can expedite the extraction process and infuse the oil with the beneficial properties of the herbs. Here are the steps to follow for the hot infusion method:
- Select Your Herbs: Choose the dried herbs that you want to infuse into your oil. Depending on your desired benefits, you can select a single herb or create a blend of different herbs.
- Prepare the Container: Clean and sterilize a heat-safe glass jar or container. Ensure that it is completely dry before proceeding.
- Combine Herbs and Oil: Place the dried herbs into the sterilized glass jar and pour the carrier oil of your choice over them. Make sure the herbs are fully submerged in the oil.
- Gently Heat the Mixture: Set up a double boiler by filling a saucepan with water and placing the jar with the herb and oil mixture inside. Heat the water on low to medium heat and gently warm the oil. Avoid overheating or boiling the oil as it may degrade the beneficial properties of the herbs.
- Infuse the Oil: Allow the herbs and oil to infuse over low heat for 1-2 hours, occasionally stirring the mixture. This helps to facilitate the extraction of the herbal properties into the oil.
- Strain the Oil: Once the infusion is complete, remove the jar from the heat. Strain the oil using a fine-mesh strainer or cheesecloth to separate the infused oil from the herbs. Squeeze the herbs gently to extract any remaining oil.
- Transfer and Store: Transfer the infused oil into a clean, sterilized glass bottle or container. Label it with the name of the infused oil and the date of preparation. Store the oil in a cool, dark place away from direct sunlight.
Remember to use caution when heating the oil and herbs to avoid any accidents or burns. The hot infusion method allows for a faster extraction of the herbal properties, resulting in a potent herb-infused oil that can be used for various hair care needs.
Now that you are familiar with the hot infusion method, let’s explore another method: the stovetop infusion method.
Stovetop Infusion Method
The stovetop infusion method is a convenient way to infuse oil with herbs. With this method, you can gently heat the oil and herbs on the stovetop to extract the beneficial properties effectively. Here are the steps to follow for the stovetop infusion method:
- Select Your Herbs: Choose the dried herbs you want to infuse into your oil. You can use a single herb or create a blend of herbs based on your hair care needs and preferences.
- Prepare the Container: Clean and sterilize a heat-safe glass jar or container. Ensure that it is completely dry before starting the infusion process.
- Combine Herbs and Oil: Place the dried herbs into the sterilized glass jar and pour the carrier oil of your choice over them. Make sure the herbs are fully submerged in the oil.
- Gently Heat the Mixture: Place a saucepan on the stovetop and add enough water to create a water bath. Put the jar containing the herb and oil mixture into the water bath, ensuring that the water level is below the rim of the jar. Turn the heat to low and allow the water to simmer.
- Infuse the Oil: Let the herb and oil mixture infuse over low heat for 1-2 hours. Stir the mixture occasionally to promote the extraction of the herbal properties into the oil. Monitor the heat to prevent the oil from overheating or boiling.
- Strain the Oil: After the infusion period, carefully remove the jar from the water bath. Strain the oil through a fine-mesh strainer or cheesecloth to separate the infused oil from the herbs. Gently press the herbs to extract any remaining oil.
- Transfer and Store: Transfer the strained infused oil into a clean, sterilized glass bottle or container. Label it with the name of the infused oil and the date of preparation. Store the oil in a cool, dark place away from direct sunlight.
It is important to maintain a gentle and controlled heat during the stovetop infusion process to preserve the integrity of the herbs and ensure optimal extraction of their properties. With this method, you can create a customized herb-infused oil that is ready to enhance the health and beauty of your hair.
Now that you have learned about the stovetop infusion method, let’s explore another method: the crockpot infusion method.
Crockpot Infusion Method
The crockpot infusion method is a convenient and hands-off approach to infusing oil with herbs. With this method, you can achieve a thorough infusion by allowing the oil and herbs to steep over an extended period of time on a low heat setting. Here are the steps to follow for the crockpot infusion method:
- Select Your Herbs: Choose the dried herbs that you want to infuse into your oil. Consider your hair care needs and preferences when selecting the herbs for your infusion.
- Prepare the Crockpot: Ensure that your crockpot or slow cooker is clean and in good working condition. It is best to dedicate the crockpot solely for the purpose of herbal infusions to avoid any flavor transfers.
- Combine Herbs and Oil: Place the dried herbs into the crockpot and pour the carrier oil of your choice over them. Make sure the herbs are fully submerged in the oil.
- Infuse Over Low Heat: Set the crockpot to the lowest heat setting and allow the herb and oil mixture to infuse for several hours. The recommended infusion time is around 4-6 hours, but you can adjust it based on the strength and potency you desire.
- Strain the Oil: Once the infusion time is complete, turn off the crockpot and let the mixture cool slightly. Strain the oil through a fine-mesh strainer or cheesecloth into a clean, sterilized glass jar or container. Gently press the herbs to extract any remaining oil.
- Transfer and Store: Transfer the strained infused oil into the glass jar or container. Label it with the name of the infused oil and the date of preparation. Store the oil in a cool, dark place away from direct sunlight.
The crockpot infusion method is a convenient option as it requires minimal supervision compared to other methods. The low and steady heat of the crockpot allows for a gradual extraction of the herbal properties into the oil, resulting in a potent and aromatic herb-infused oil for your hair care needs.
Now that you have learned about the crockpot infusion method, you are equipped with various techniques to create your own herb-infused oil. In the next section, we will explore how to strain and store the infused oil for optimal use and longevity.
Straining and Storing Infused Oil
Once you have completed the infusion process and extracted the herbal goodness into your oil, it’s time to strain and store the infused oil for future use. Proper straining and storage practices will help maintain the quality and potency of your herb-infused oil. Here’s what you need to do:
- Set Up Your Straining Equipment: Place a fine-mesh strainer or a cheesecloth over a clean container or funnel. The strainer or cheesecloth will help remove any solid particles or plant matter from the infused oil.
- Strain the Oil: Slowly pour the infused oil through the strainer or cheesecloth, allowing it to flow into the container below. Gently press on the herbs to extract as much oil as possible, but avoid applying excessive pressure, as it may result in the transfer of unwanted particles.
- Clarify the Oil (Optional): For a clearer final product, you can perform a secondary filtration process by lining the strainer or funnel with a coffee filter or a double layer of cheesecloth. This additional step helps remove any remaining sediment or fine particles.
- Store the Infused Oil: Transfer the strained oil into clean, sterilized glass bottles or containers with airtight lids. It’s essential to choose dark-colored glass bottles that can protect the oil from exposure to light. Label the containers with the name of the infused oil and the date of preparation.
- Select an Ideal Storage Location: Store the infused oil in a cool, dark place away from direct sunlight, heat, and humidity. Excessive exposure to light and heat can cause the oil to degrade and lose its potency. A pantry or a cabinet away from the stovetop is suitable for storage.
- Check for Rancidity: Over time, infused oils can become rancid, resulting in an unpleasant scent and compromised quality. It’s a good practice to periodically check your stored infused oils for any signs of rancidity. If an oil smells off or looks cloudy, it’s best to discard it and prepare a fresh batch.
By following these steps for straining and storing your infused oil, you can ensure its longevity and maintain its potency for future use. Now that you know how to properly store your infused oil, let’s explore how to incorporate it into your hair care routine in the next section.
How to Use Herb-Infused Oil for Hair Care
Now that you have your very own herb-infused oil, it’s time to incorporate it into your hair care routine. Here are some ways you can use herb-infused oil to promote healthier and more beautiful hair:
- Scalp Massage: Gently warm a small amount of the infused oil and apply it to your scalp. Using your fingertips, massage the oil into your scalp in circular motions. This helps stimulate blood circulation, nourish the hair follicles, and promote a healthy environment for hair growth.
- Pre-Wash Treatment: Apply the infused oil to your hair from roots to ends as a pre-wash treatment. Leave it on for about 30 minutes or overnight for a deep conditioning experience. This helps to moisturize and nourish the hair, leaving it soft and shiny.
- Hot Oil Treatment: Warm a generous amount of the infused oil and apply it to damp hair. Cover your hair with a shower cap or a towel, and leave it on for 15-30 minutes. The heat helps the oil penetrate the hair shaft, providing deep hydration and nourishment.
- Leave-In Conditioner: After washing your hair, apply a small amount of the infused oil to the lengths and ends of your hair as a leave-in conditioner. This helps to detangle the hair, control frizz, and add moisture and shine.
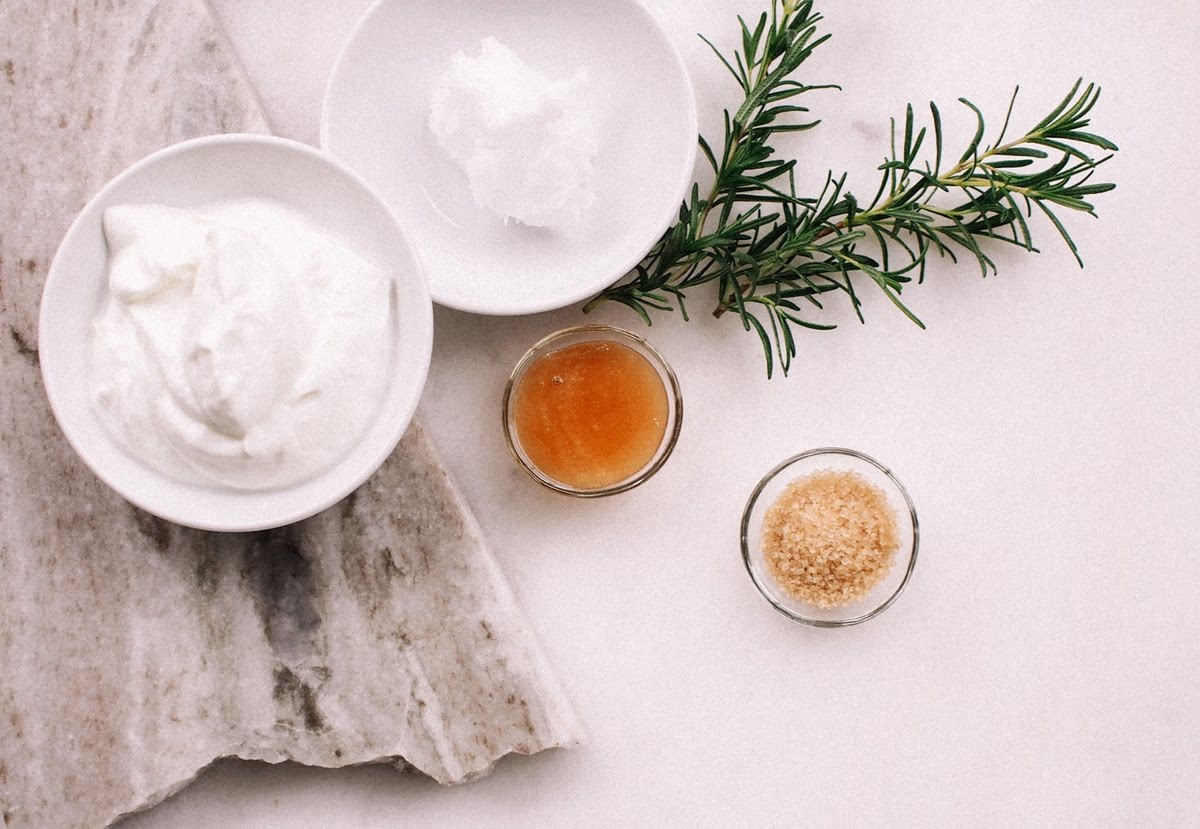
- DIY Hair Masks: Combine the herb-infused oil with other hair-nourishing ingredients like yogurt, honey, or avocado to create a DIY hair mask. Apply the mixture to your hair, leave it on for 20-30 minutes, and rinse thoroughly for luscious and revitalized locks.
- Split End Treatment: Apply a small amount of the infused oil to the ends of your hair to help nourish and combat split ends. This can be done on dry hair to provide extra moisture and prevent further damage.
- Boosting Hair Products: Add a few drops of the infused oil to your regular shampoo, conditioner, or styling products to enhance their nourishing properties. This allows you to enjoy the benefits of the herbs in your everyday hair care routine.
Remember to start with a small amount of infused oil and adjust according to the length and thickness of your hair. Experiment with different application methods and find what works best for your hair type and desired results.
Using herb-infused oil regularly will help promote healthy, strong, and luscious hair. Incorporate it into your hair care routine and enjoy the natural benefits that these herbal infusions provide.
Now that you know how to use herb-infused oil for hair care, let’s wrap up with a recap of the information presented in this article.
Conclusion
Incorporating herb-infused oil into your hair care routine is a natural and effective way to nourish and enhance the health of your hair. From promoting hair growth to preventing hair loss, soothing the scalp, and adding shine, herb-infused oils offer a wide range of benefits. By choosing the right herbs and using different infusion methods such as cold infusion, hot infusion, stovetop infusion, or crockpot infusion, you can create a personalized herb-infused oil that caters to your specific hair care needs.
Through proper preparation, including drying and crushing the herbs, and following the infusion methods carefully, you can achieve potent and aromatic herb-infused oils. Straining and storing the oils correctly help to maintain their quality and prolong their shelf life.
Once you have your herb-infused oil, there are numerous ways to incorporate it into your hair care routine. Whether through scalp massages, pre-wash treatments, hot oil treatments, leave-in conditioners, or DIY hair masks, you can enjoy the natural benefits of the herbs and achieve healthier and more beautiful hair.
Remember to choose high-quality, organic herbs and carrier oils for your infusions and conduct patch tests to check for any potential allergies or sensitivities. It’s also essential to be consistent with your herb-infused oil usage and allow ample time to notice the positive results.
So, go ahead and embrace the power of nature with herb-infused oil for your hair care. Explore different herbs, infusion methods, and application techniques to create a truly personalized and effective hair care routine. Enjoy the sensory experience and the nourishing benefits that herb-infused oil brings to your hair. Here’s to healthier, stronger, and more beautiful locks!