Home>Gardening Techniques>DIY Projects>How To Extract Rosemary Oil

DIY Projects
How To Extract Rosemary Oil
Modified: January 29, 2024
Learn how to extract rosemary oil at home with this step-by-step DIY project. Discover the benefits of rosemary oil and enjoy its aromatic properties.
(Many of the links in this article redirect to a specific reviewed product. Your purchase of these products through affiliate links helps to generate commission for Chicagolandgardening.com, at no extra cost. Learn more)
Table of Contents
Introduction
Welcome to the wonderful world of DIY projects! If you’re a fan of natural remedies and homemade products, then you’re in for a treat with this guide on how to extract rosemary oil. Rosemary oil is not only a versatile ingredient in cooking, but it also offers a wide range of health and beauty benefits. By creating your own rosemary oil at home, you have complete control over the quality and purity of your final product. Plus, it’s a fun and rewarding project that allows you to connect with the natural world and harness the power of this aromatic herb.
Whether you’re a seasoned DIY enthusiast or just starting out, this step-by-step guide will walk you through the process of extracting rosemary oil. We’ll cover everything from harvesting the rosemary to drying the leaves, preparing the oil, infusing it with rosemary, and finally, straining and storing your homemade rosemary oil.
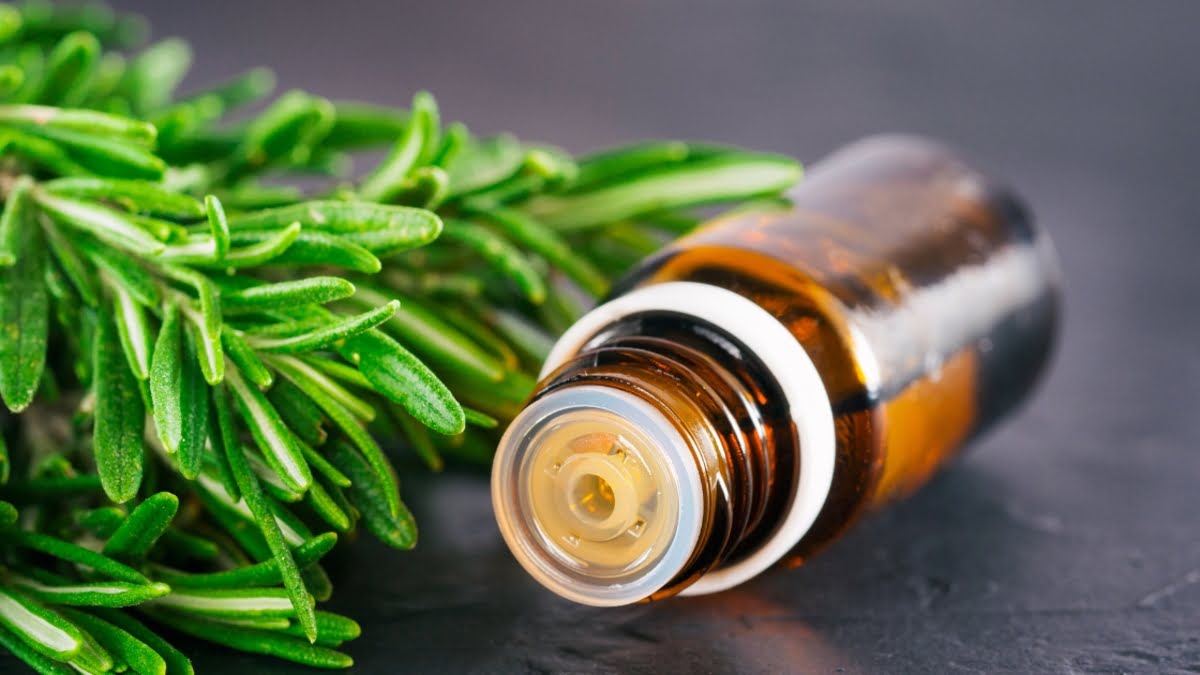
Before we dive in, let’s talk a little bit about why rosemary oil is so special. Rosemary (Scientific name: Rosmarinus officinalis) is a fragrant herb that has been used for centuries for its culinary and medicinal properties. It is rich in antioxidants, anti-inflammatory compounds, and essential oils that are known for their numerous health benefits. Rosemary oil can help improve digestion, boost cognitive function, relieve stress, promote hair growth, and even soothe sore muscles.
By creating your own rosemary oil, you’ll have a natural and versatile product that you can incorporate into your daily routine. From adding a few drops to your favorite recipes and homemade skincare products to using it for aromatherapy or massage, the possibilities are endless. So, let’s get started on this exciting DIY project and unlock the amazing benefits of rosemary oil!
Materials Needed
To extract rosemary oil, you’ll need a few supplies that are easily accessible. Here’s a list of the materials you’ll need before you get started:
- Fresh rosemary sprigs: Look for healthy and pesticide-free rosemary plants. You’ll need a good amount of rosemary to yield a sufficient amount of oil.
- Glass jar with a tight-fitting lid: Choose a glass jar that is large enough to hold your rosemary sprigs and oil. Make sure it has a secure lid to prevent any leakage. Opt for dark-colored glass to protect the oil from sunlight.
- Carrier oil: You’ll need a carrier oil of your choice to blend with the rosemary. Popular carrier oil options include olive oil, almond oil, coconut oil, or jojoba oil. Make sure the carrier oil is of high quality and suitable for topical use.
- Heat source: You’ll need a heat source to gently warm the oil and accelerate the infusion process. This can be a stove, a slow cooker, or even a double boiler.
- Cheesecloth or fine mesh strainer: To strain the rosemary leaves from the oil, you’ll need a cheesecloth or a fine mesh strainer. This will ensure that your final product is free from any plant material.
- Dark glass bottles: Once you’ve strained the oil, you’ll need small dark glass bottles with airtight lids for storing the rosemary oil. Make sure to label the bottles with the date and content.
With these materials in hand, you’re all set to embark on your journey to extract the aromatic and beneficial rosemary oil. Gather your supplies, and let’s move on to the step-by-step process of making your own rosemary oil!
Step 1: Harvesting Rosemary
The first step in extracting rosemary oil is to harvest fresh rosemary sprigs. Harvesting rosemary at the right time ensures that you obtain the best-quality leaves for your oil. Follow these steps to harvest rosemary:
- Choose the right time: Rosemary is best harvested in the morning, after the dew has dried, and before the sun becomes too intense. This is when the plant’s essential oils are most concentrated.
- Select healthy sprigs: Look for healthy rosemary sprigs that are free from disease or damage. Opt for new growth or the tips of the branches, as they tend to have higher oil content.
- Use clean and sharp pruners: To avoid damaging the plant, use clean and sharp pruners or scissors to cut the sprigs. This ensures a clean cut and minimizes the risk of introducing any contaminants.
- Trim from the bottom: Start trimming the sprigs from the bottom of the plant by cutting just above a set of leaves. Leave some leaves on the plant to allow for proper growth and regrowth. Avoid cutting too much from a single plant to maintain its health.
Remember, harvesting from your own organic rosemary plant is ideal. If you don’t have access to fresh rosemary, consider purchasing organic rosemary from a trusted source. The quality and freshness of the rosemary will greatly impact the final result of your rosemary oil.
Now that you have harvested your fresh rosemary sprigs, proceed to the next step: drying the rosemary leaves.
Step 2: Drying Rosemary Leaves
After harvesting the rosemary sprigs, it’s time to dry the leaves. Drying the rosemary leaves removes moisture, allowing for better preservation and extraction of the essential oils. Follow these steps to dry your rosemary leaves:
- Remove any excess moisture: Gently pat the rosemary sprigs with a clean cloth or paper towel to remove any excess moisture. This helps in preventing mold or bacterial growth during the drying process.
- Tie the sprigs into small bundles: Gather a few rosemary sprigs and tie them together at the stems using a string or natural twine. This allows for better air circulation and prevents the leaves from touching each other.
- Hang the bundles upside down: Find a well-ventilated area, away from direct sunlight, and hang the rosemary bundles upside down. You can use a rack, a clothesline, or hooks to hang the bundles. Make sure the leaves are not cramped together.
- Allow the rosemary to dry completely: It typically takes about 1-2 weeks for the rosemary leaves to dry completely. Check the leaves regularly to ensure they are drying properly and not developing any mold. When the leaves are dry, they will crumble easily between your fingers.
During the drying process, the rosemary leaves will shrink and darken in color. This is completely normal and indicates that the moisture has been fully removed. It’s important to dry the rosemary properly to ensure the best flavor and aroma for your rosemary oil.
Once the rosemary leaves are completely dry, move on to the next step: preparing the oil for infusion.
Step 3: Preparing the Oil
With your dried rosemary leaves ready, it’s time to prepare the oil for infusion. The carrier oil you choose will act as a base for extracting the aromatic compounds from the rosemary. Follow these steps to prepare the oil:
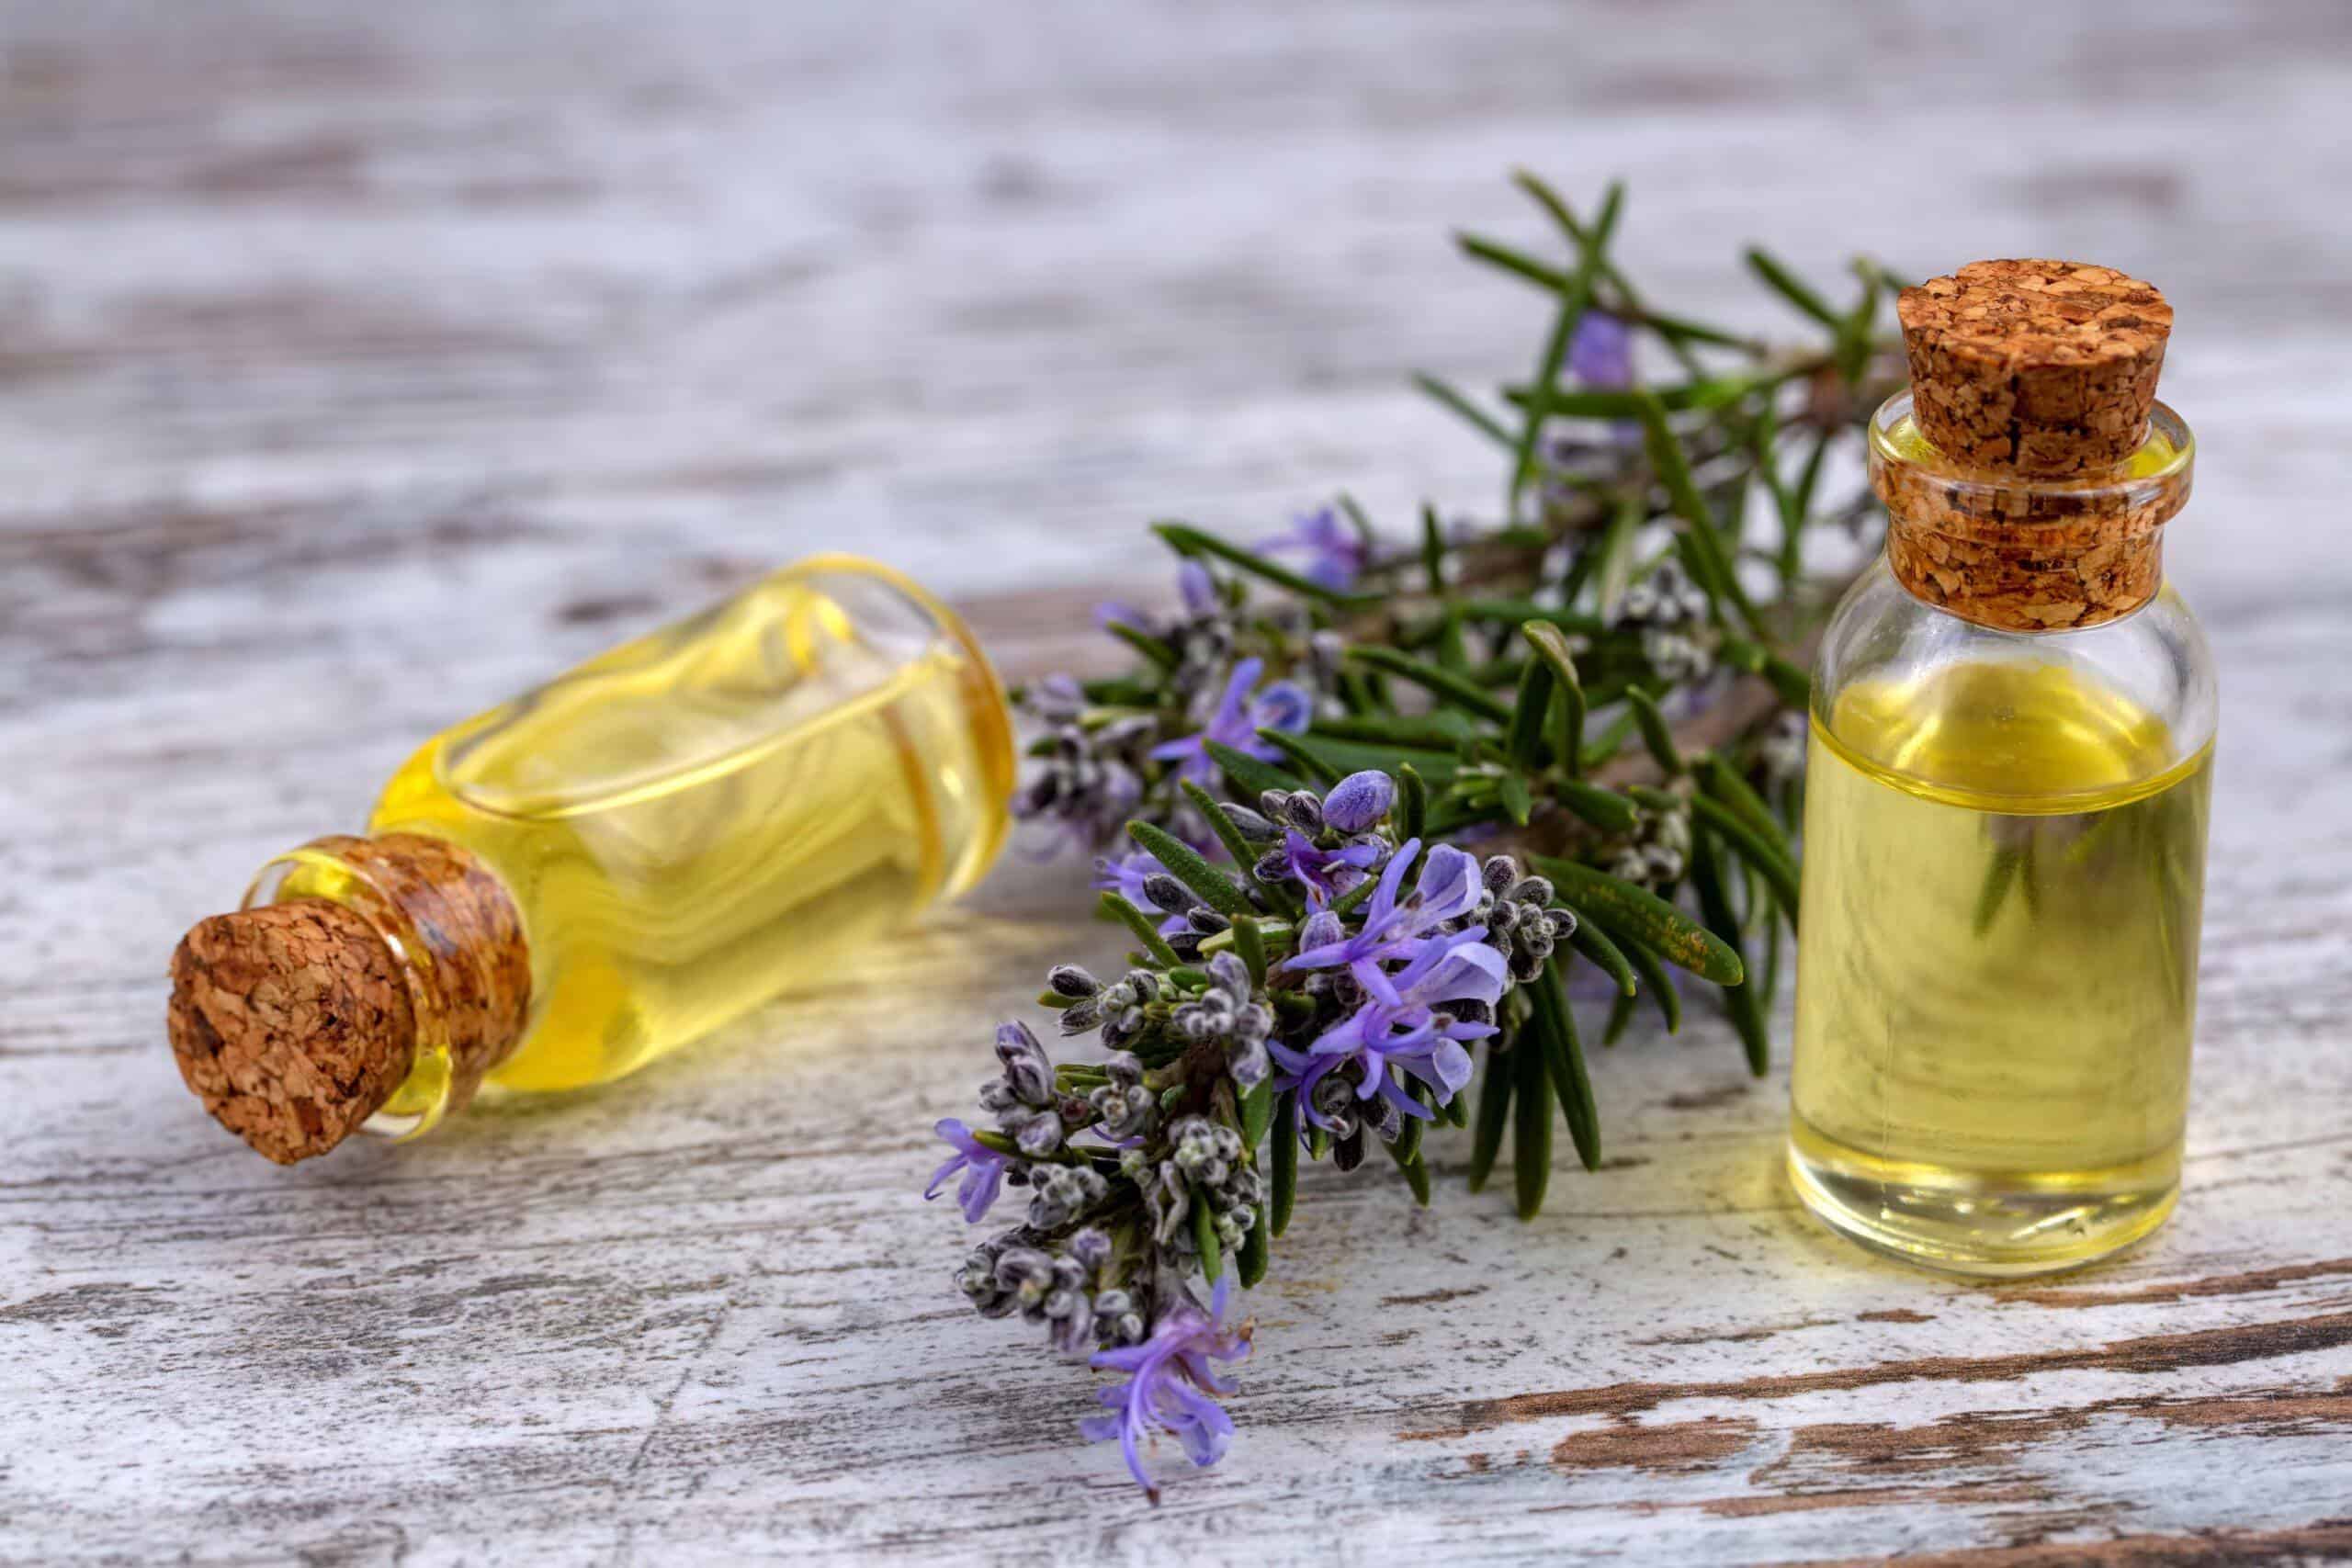
- Choose your carrier oil: Select a high-quality carrier oil that suits your preferences and needs. Olive oil, almond oil, coconut oil, or jojoba oil are popular choices for making rosemary oil. Consider the scent, texture, and properties of the carrier oil when making your decision.
- Measure the oil and jar: Determine the amount of oil you’ll need based on the quantity of rosemary you have and the size of your jar. It’s generally recommended to use a ratio of 1 part rosemary to 2 parts carrier oil. Measure the oil and pour it into your clean glass jar.
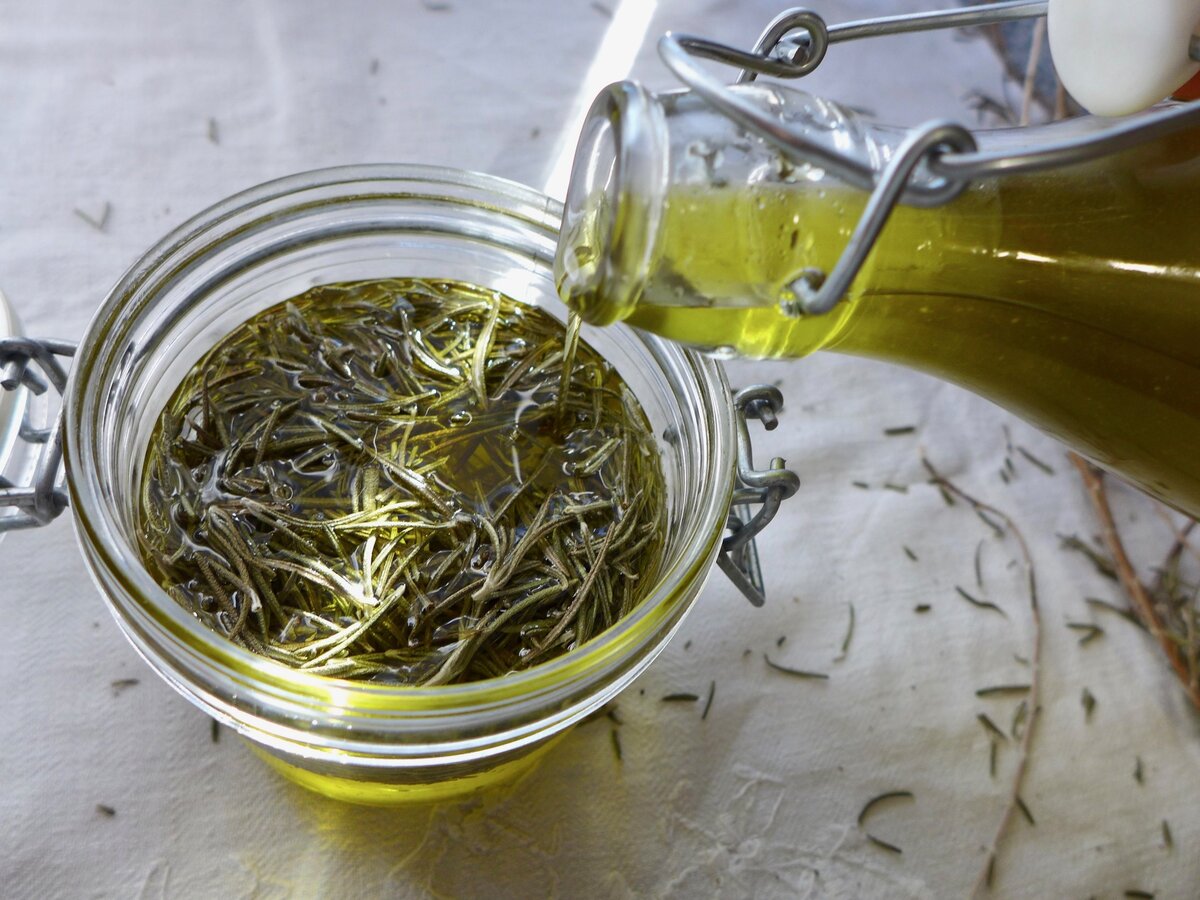
- Add the dried rosemary leaves: Take the dried rosemary leaves and crush or break them into smaller pieces. This will help release more of the aromatic compounds during the infusion process. Add the crushed rosemary leaves to the jar with the carrier oil.
- Ensure full coverage: Make sure the rosemary leaves are fully submerged in the oil. Give the jar a gentle shake or stir to ensure even distribution. If needed, add more oil to cover the rosemary completely.
- Seal the jar: Securely close the jar with a tight-fitting lid. This will help prevent any contaminants from entering and maintain the freshness of the oil.
Now that your carrier oil and rosemary leaves are combined in a jar, it’s time to move on to the next step: infusing the oil with rosemary through gentle heating.
Step 4: Infusing the Oil with Rosemary
Infusing the oil with rosemary is the key step in extracting the aromatic properties and benefits of the herb. This process involves gently heating the oil to help release and transfer the essential oils from the rosemary leaves into the carrier oil. Follow these steps to infuse your oil:
- Choose a gentle heat source: Place your sealed jar in a heat-safe container, such as a saucepan, slow cooker, or a double boiler. The heat source should provide gentle and consistent heat without overheating the oil.
- Heat the oil: Turn on the heat source to low or medium-low heat. Allow the oil to warm slowly, ensuring that it doesn’t reach its smoke point. The ideal temperature for infusion is around 100-120°F (38-49°C).
- Monitor the temperature: Use a kitchen thermometer to monitor the temperature of the oil periodically. Avoid overheating, as it can degrade the quality of the oil and its beneficial compounds.
- Let it infuse: Allow the rosemary to infuse in the warm oil for at least 4-6 hours. You can leave it longer for a more intense flavor and aroma, but avoid exceeding 24 hours to prevent the oil from becoming rancid.
- Stir occasionally: While the oil is infusing, give it a gentle stir every once in a while. This helps in distributing the rosemary leaves and promotes better extraction of the essential oils.
Infusing the oil allows the volatile compounds in the rosemary leaves to blend with the carrier oil, creating a beautifully fragrant and beneficial product. Once the infusion is complete, it’s time to move on to the next step: straining and storing your rosemary oil.
Step 5: Straining and Storing the Rosemary Oil
After the infusion period, it’s time to strain the rosemary oil to remove any plant material and ensure a smooth final product. Follow these steps to strain and store your rosemary oil:
- Prepare a straining method: Set up a straining system using a cheesecloth or a fine mesh strainer. Place the straining material over a clean glass jar or bowl to collect the strained oil.
- Strain the oil: Carefully pour the infused oil through the cheesecloth or strainer, allowing the oil to drip into the jar or bowl. Gently press or squeeze the rosemary leaves in the strainer to extract as much oil as possible. This will help ensure that the oil is free from any plant particles.
- Discard the used rosemary leaves: Once you have strained the oil, discard the used rosemary leaves. Compost them or use them for other purposes, such as adding them to homemade potpourri or making herb-infused bath salts.
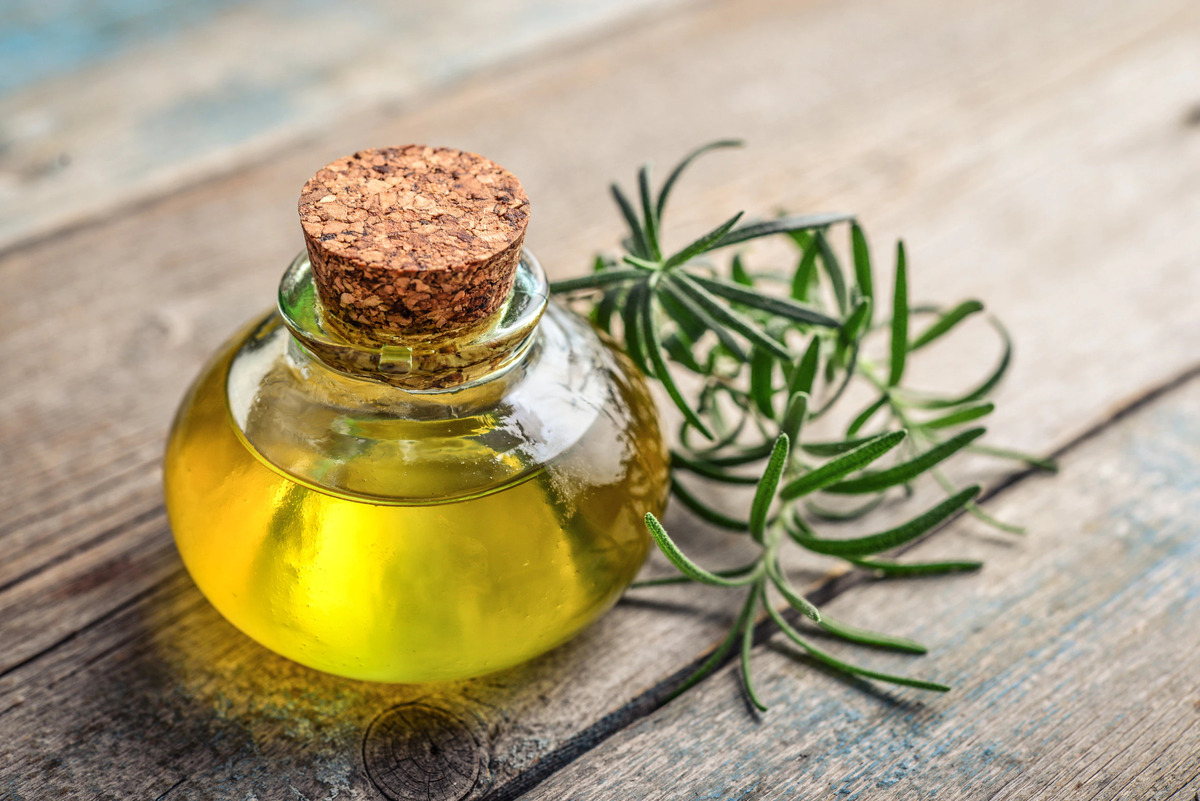
- Transfer the oil to storage bottles: Using a funnel, transfer the strained rosemary oil into dark glass bottles with airtight lids. Dark glass helps protect the oil from sunlight and extends its shelf life. Make sure to label the bottles with the date and contents.
- Store in a cool, dark place: To maintain the quality of your rosemary oil, store it in a cool, dark place like a pantry or a cupboard. Exposure to light and heat can degrade the oil over time.
By straining and storing your rosemary oil properly, you can enjoy the benefits of your homemade creation for an extended period. Remember to check the oil regularly for any signs of spoilage, such as an off smell or appearance.
Now that you have successfully strained and stored your rosemary oil, it’s time to explore some tips on how to use this versatile DIY product!
Tips for Using Rosemary Oil
Congratulations on creating your own homemade rosemary oil! Now that you have this versatile and aromatic product, here are some tips on how to make the most out of it:
- Culinary uses: Add a few drops of rosemary oil to your favorite recipes for a burst of flavor. It pairs well with roasted vegetables, grilled meats, marinades, dressings, and sauces.
- Aromatherapy: Use rosemary oil in a diffuser to create a stimulating and invigorating atmosphere. Its fresh and herbaceous scent can help improve concentration, alleviate mental fatigue, and promote mental clarity.
- Skincare: Incorporate rosemary oil into your skincare routine. Mix a few drops with a carrier oil, such as jojoba or almond oil, for a rejuvenating facial massage or add it to your DIY skincare recipes like creams, lotions, or scrubs.
- Haircare: Boost your hair’s health and shine by adding a few drops of rosemary oil to your shampoo or conditioner. It can help stimulate hair growth, reduce dandruff, and improve scalp health.
- Aches and pains: Rosemary oil has analgesic properties that can be beneficial for relieving muscle aches and pains. Dilute it with a carrier oil and massage it into the affected areas for soothing relief.
- Household cleaning: Harness the natural antibacterial properties of rosemary oil by adding it to your homemade cleaning solutions. It can help freshen the air, sanitize surfaces, and give your home a pleasant scent.
- Stress relief: Inhale the aroma of rosemary oil directly from the bottle or add a few drops to a warm bath to promote relaxation, reduce stress, and calm your mind and body.
- Seek professional advice: If you have any specific medical conditions or concerns, it’s always best to consult a healthcare professional or aromatherapist before using rosemary oil therapeutically.
Remember to start with small amounts when using rosemary oil and perform a patch test on your skin to check for any allergic reactions. Each person may react differently to essential oils, so pay attention to your body’s response.
Now it’s time to enjoy the benefits of your homemade rosemary oil and explore the various ways you can incorporate it into your daily life!
Conclusion
Congratulations! You have successfully learned how to extract rosemary oil through this DIY project. By following the steps outlined in this guide, you have created a versatile and aromatic oil that can be used for culinary, therapeutic, and beauty purposes. By harvesting fresh rosemary, drying the leaves, infusing them with a carrier oil, and straining and storing the oil, you have created a homemade product that is free from additives and tailored to your preferences.
Rosemary oil offers a wide range of benefits, from improving digestion and boosting mental clarity to promoting hair growth and relieving muscle aches. Its versatility allows it to be seamlessly incorporated into various aspects of your life, whether it’s in the kitchen, for aromatherapy, skincare, or household cleaning.
Remember to always use high-quality ingredients and store your rosemary oil properly in a cool, dark place. Regularly check for any signs of spoilage and discard if needed. Additionally, seek professional advice before using rosemary oil therapeutically, especially if you have any specific medical conditions or concerns.
Now that you have the knowledge and skills to extract rosemary oil, indulge in the wonderful properties and fragrance of this natural remedy. Enjoy the convenience and satisfaction of creating your own homemade products while reaping the benefits of rosemary oil in your daily life. Happy DIY-ing!