Home>Gardening Techniques>DIY Projects>How To Make Rosemary Extract With Alcohol

DIY Projects
How To Make Rosemary Extract With Alcohol
Published: February 1, 2024
Learn how to make DIY rosemary extract with alcohol in this step-by-step guide. Create your own natural remedy for cooking and skincare with just a few simple ingredients.
(Many of the links in this article redirect to a specific reviewed product. Your purchase of these products through affiliate links helps to generate commission for Chicagolandgardening.com, at no extra cost. Learn more)
Table of Contents
Introduction
Welcome to the world of DIY projects! If you’re looking to add a personal touch to your everyday life and unleash your creativity, then you’re in the right place. DIY projects not only provide a sense of satisfaction and accomplishment but also offer the opportunity to save money and create unique items tailored to your specific taste and needs.
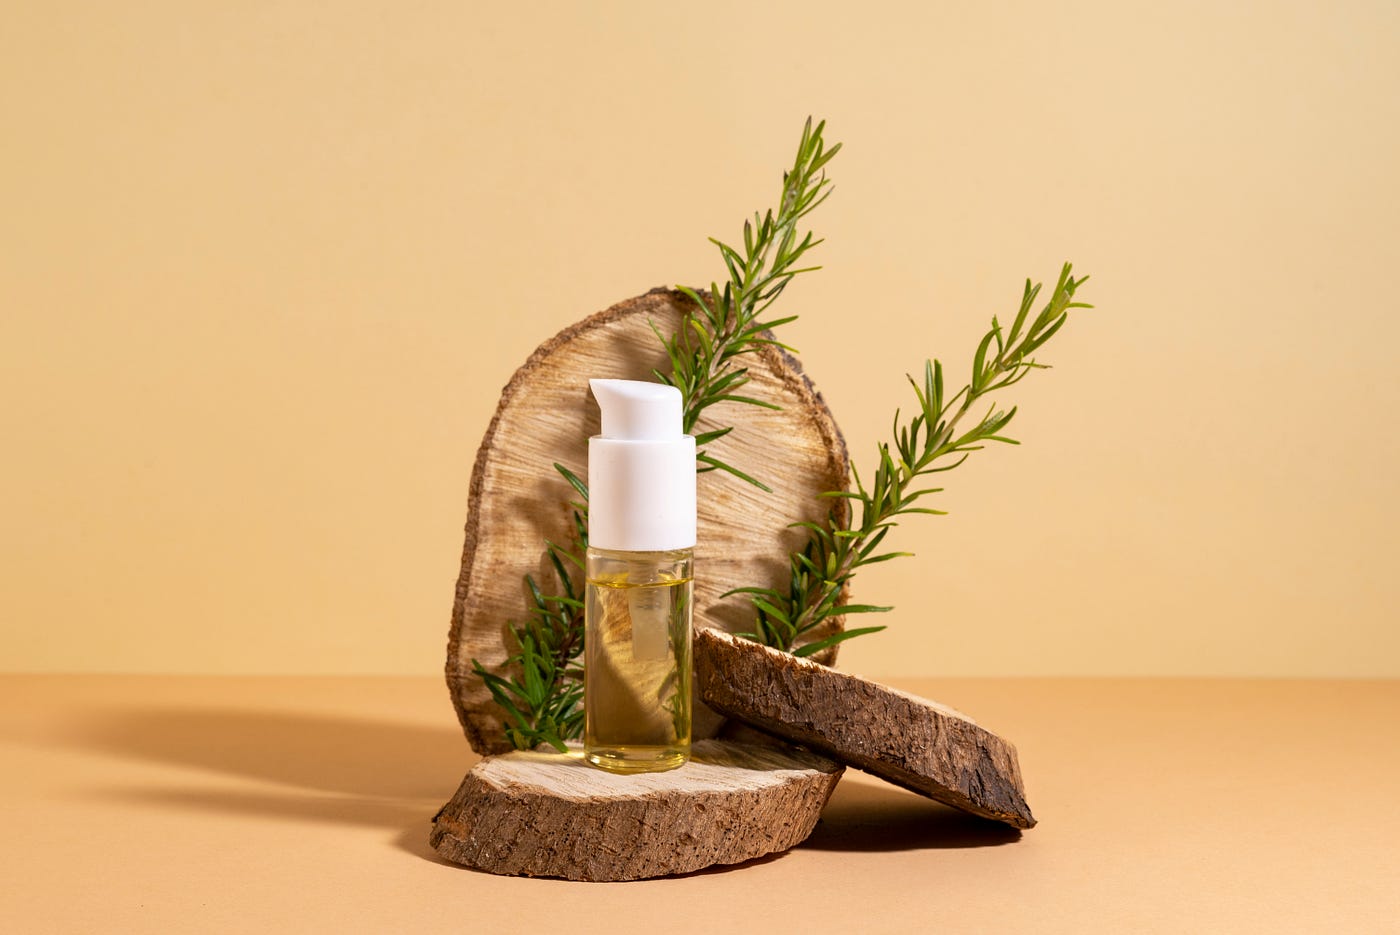
One popular category of DIY projects is making homemade extracts, such as rosemary extract. Rosemary extract is a versatile ingredient that can be used in a variety of recipes, from culinary dishes to homemade beauty products. By making your own rosemary extract, you’ll have full control over the quality of the ingredients and can ensure that it is free from any unwanted additives.
In this article, we’ll guide you step-by-step on how to make rosemary extract using alcohol. Alcohol is commonly used as a solvent in herbal extract preparations due to its ability to effectively extract the medicinal properties of plants. Not only does alcohol serve as a powerful extraction agent, but it also acts as a natural preservative, allowing your rosemary extract to have a longer shelf life.
So, roll up your sleeves and get ready to embark on a delightful DIY project as we take you through the process of harvesting, preparing, and infusing rosemary with alcohol to create your very own homemade rosemary extract. Get ready to add a burst of natural flavor and aroma to your dishes or incorporate it into your beauty routine!
Materials Needed
Before you begin the process of making rosemary extract with alcohol, it’s essential to gather all the necessary materials. Having everything on hand will ensure a smooth and efficient DIY project experience. Here are the materials you’ll need:
- Fresh rosemary sprigs – ideally, choose organic rosemary to ensure the highest quality extract
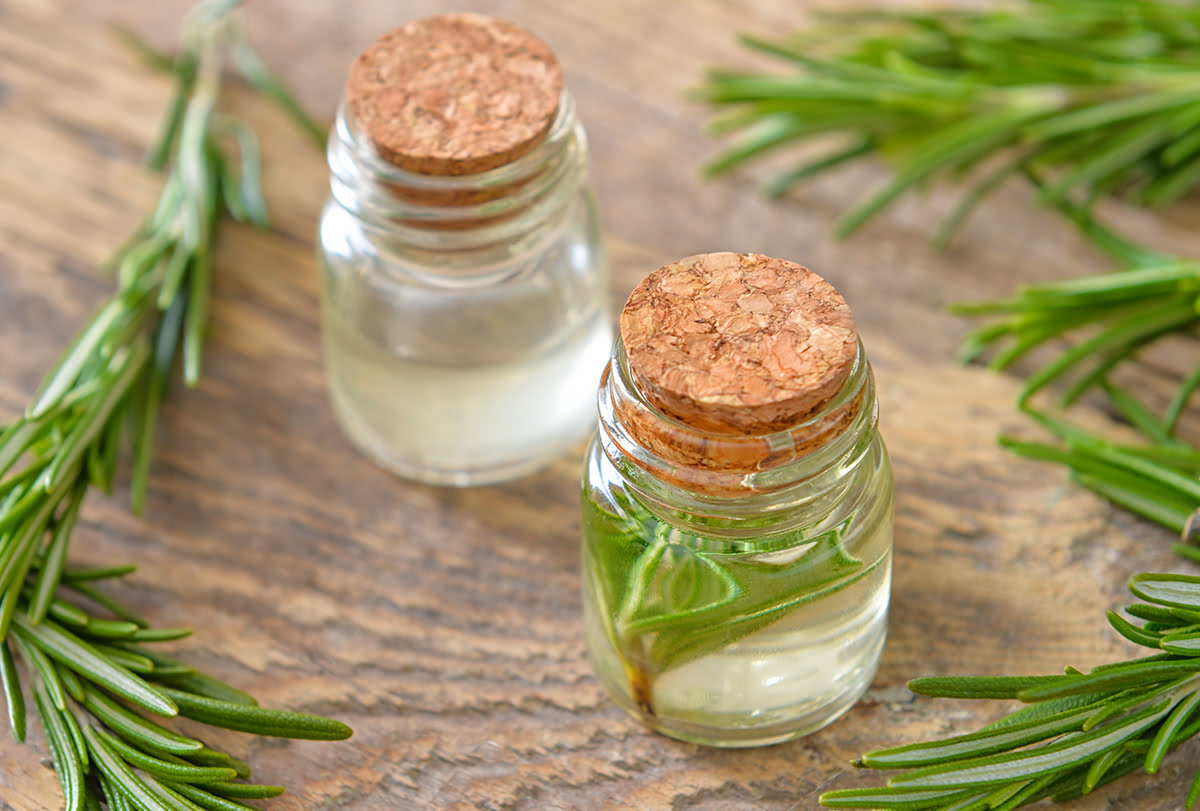
- A clean, sterilized glass jar with a tight-fitting lid – this will be used to hold the rosemary and alcohol mixture
- High-proof alcohol – such as vodka or grain alcohol with at least 80% alcohol content; this will serve as the solvent to extract the beneficial properties of rosemary
- A mortar and pestle or a sharp knife – for chopping or crushing the rosemary sprigs to release its essential oils
- A fine mesh strainer or cheesecloth – to strain the mixture and remove any plant matter
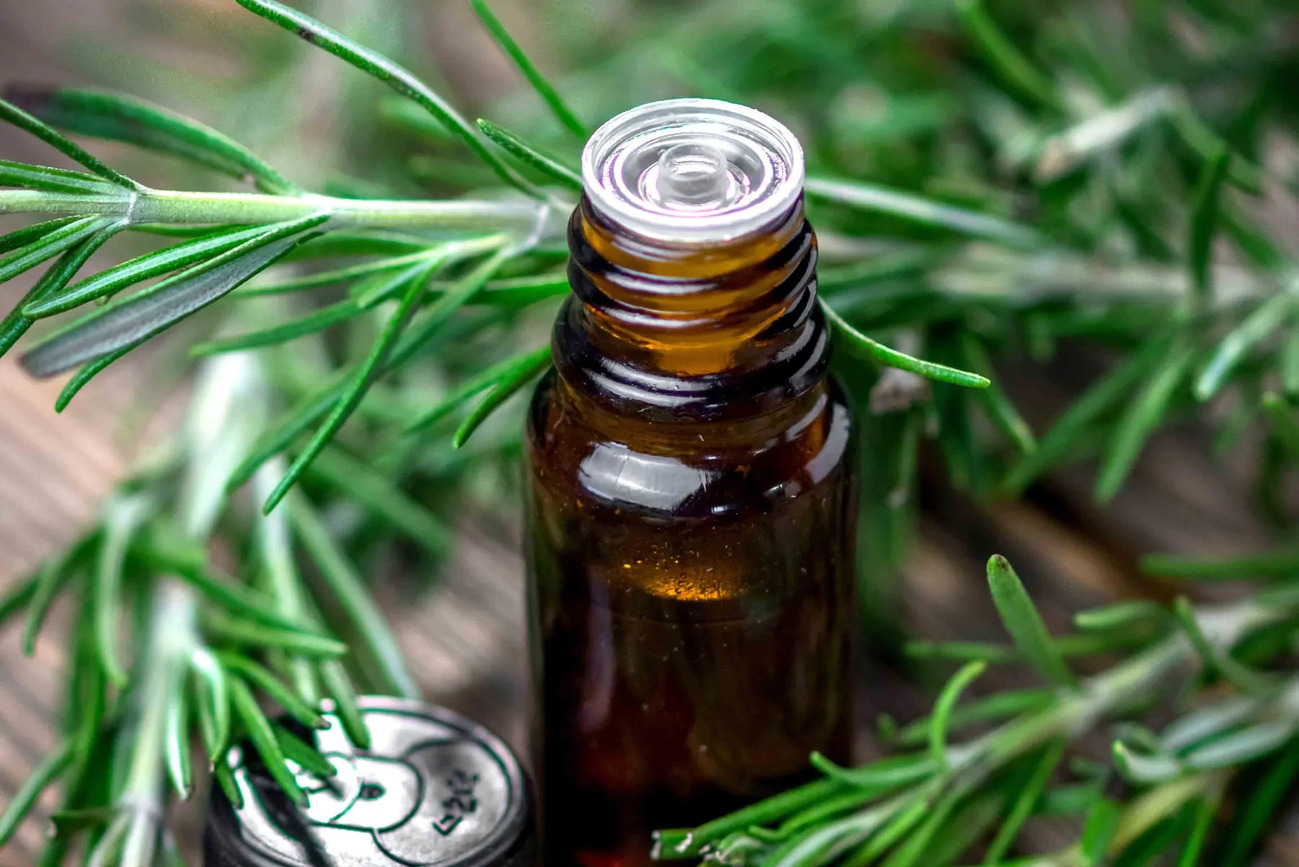
- Amber glass bottles with droppers or small jars – to store the extracted rosemary extract
- Labels – to properly identify and date your homemade rosemary extract
It’s important to note that the quality of your materials can significantly impact the final outcome of your rosemary extract. Using fresh, high-quality rosemary and a high-proof alcohol will yield a more potent and flavorful extract. Additionally, using glass jars and bottles will prevent any unwanted chemical reactions that may occur with plastic containers.
Now that you have all the necessary materials at hand, let’s move on to the step-by-step process of making your own rosemary extract with alcohol.
Step 1: Harvesting Rosemary
The first step in making rosemary extract is to harvest fresh rosemary sprigs from your garden or purchase them from a reputable source. Harvesting fresh rosemary ensures that you’re getting the most potent and flavorful extract.
When choosing rosemary sprigs, look for ones that are vibrant green and fragrant. The best time to harvest rosemary is in the morning when the essential oils are at their peak. Gently pluck the sprigs from the plant, taking care not to damage the remaining rosemary plant.
You can harvest as much rosemary as you need for your extract. However, it’s important to note that for every cup of alcohol, you’ll typically need about 1/4 to 1/2 cup of rosemary sprigs. Adjust the quantity based on your preference and the size of your glass jar.
Remember, it’s always a good practice to harvest responsibly and leave enough rosemary on the plant to ensure its continued growth.
Once you have harvested your fresh rosemary, move on to the next step: cleaning the rosemary sprigs.
Step 2: Cleaning the Rosemary
After harvesting the rosemary sprigs, it’s important to clean them thoroughly before using them in your rosemary extract. This step ensures that any dirt, debris, or potential pests are removed, resulting in a clean and safe final product.
Begin by gently rinsing the rosemary sprigs under cool running water. Gently rub the leaves between your fingers to remove any dirt or dust. Alternatively, you can fill a bowl with cool water and submerge the rosemary sprigs, swishing them around to dislodge any impurities.
Pat the rosemary sprigs dry with a clean kitchen towel or let them air dry completely. Ensure there is no excess moisture, as it can introduce unwanted bacteria or mold into your rosemary extract.
Once your rosemary sprigs are clean and dry, it’s time to move on to preparing the alcohol solution for the extraction process.
Step 3: Preparing the Alcohol Solution
Before you can combine the rosemary and alcohol to make the extract, you’ll need to prepare the alcohol solution. The alcohol serves as a solvent to extract the beneficial compounds from the rosemary and acts as a natural preservative.
The ideal choice for the alcohol solution is a high-proof alcohol with at least 80% alcohol content. Vodka or grain alcohol are commonly used options. The high alcohol content ensures efficient extraction and helps prevent any microbial growth in the extract.
To prepare the alcohol solution:
- Measure out the desired amount of alcohol based on the amount of rosemary you have. A general rule of thumb is to use one part rosemary to four parts alcohol.
- Pour the alcohol into a clean glass jar with a tight-fitting lid. Make sure the jar is large enough to accommodate the rosemary sprigs.
That’s it! Your alcohol solution is now ready to receive the rosemary and begin the extraction process. In the next step, we’ll cover how to combine the rosemary and alcohol to create the infused mixture.
Step 4: Combining Rosemary and Alcohol
Now that you have prepared the alcohol solution, it’s time to combine it with the harvested rosemary to create the infused mixture for your extract.
Follow these steps to combine the rosemary and alcohol:
- Take the cleaned and dried rosemary sprigs and either chop them into small pieces or gently crush them using a mortar and pestle. This will help release the essential oils and flavors of the rosemary.
- Place the chopped or crushed rosemary sprigs into the glass jar containing the alcohol solution.
- Ensure that the rosemary is fully submerged in the alcohol. If needed, you can use a clean utensil, such as a spoon or chopstick, to gently press down and immerse the rosemary.
Remember to choose a glass jar that is large enough to comfortably hold the rosemary and allow for the alcohol to completely cover it. The tight-fitting lid will prevent any evaporation or contamination during the infusion process.
Once the rosemary is submerged in the alcohol, you’re ready to move on to the next step: infusing the mixture.
Step 5: Infusing the Mixture
Now that you have combined the rosemary and alcohol, it’s time to let the mixture infuse. During this phase, the rosemary will gradually release its essential oils and flavors into the alcohol, creating a concentrated and aromatic extract.
Here’s how to infuse the mixture:
- Once the rosemary and alcohol are combined in the glass jar, tightly seal the lid to ensure the mixture remains airtight.
- Place the jar in a cool, dark location, such as a pantry or cupboard.
- Let the mixture steep for at least 2 to 4 weeks, shaking the jar gently every few days to facilitate the extraction process.
During the infusion period, the alcohol will gradually take on the flavor, aroma, and beneficial properties of the rosemary. The longer you let the mixture infuse, the stronger and more concentrated the extract will become.
Be patient during this step, as the waiting time allows the alcohol to thoroughly extract the essence of the rosemary. You can periodically check the progress and do a taste test to determine the desired strength of the extract.
Once the infusion period is complete, it’s time to move on to the next step: straining the rosemary extract.
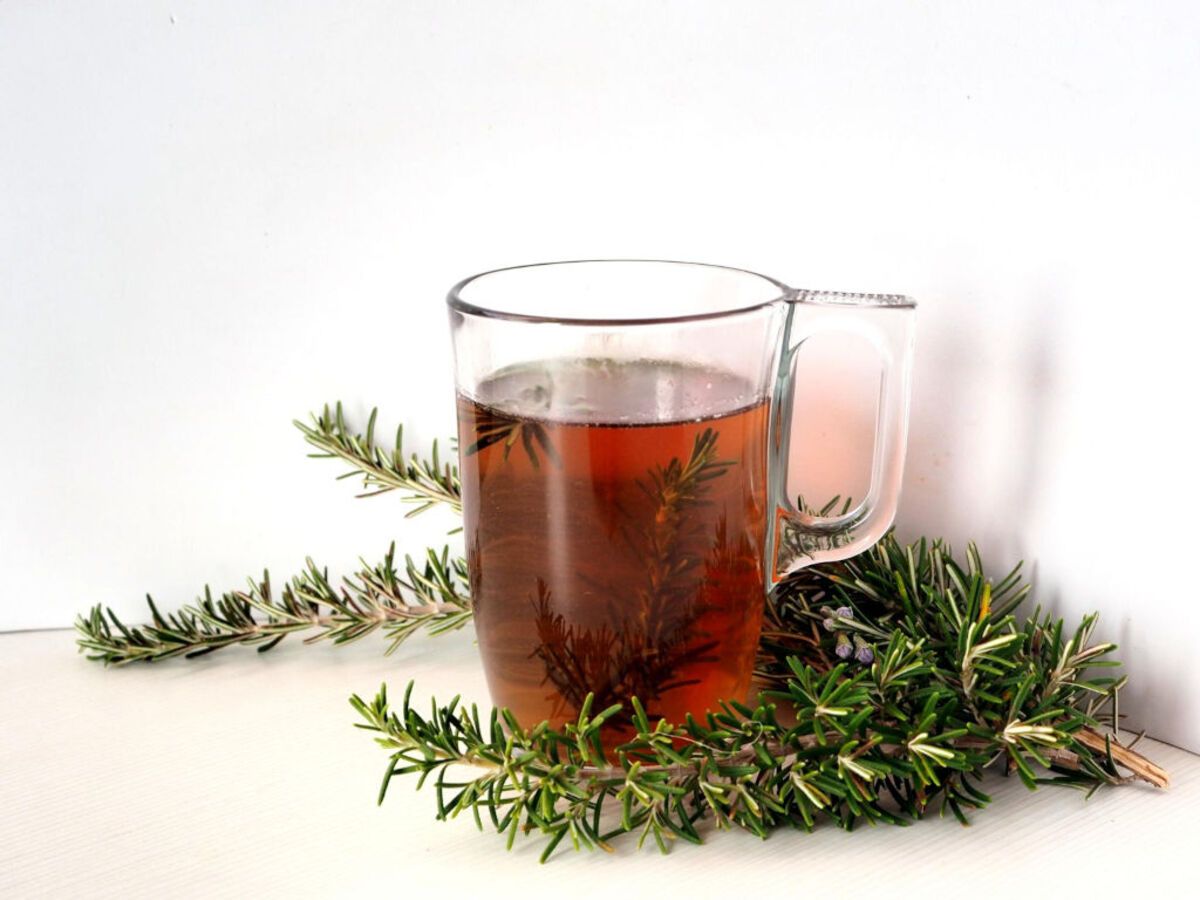
Step 6: Straining the Rosemary Extract
After the infusion period, it’s time to strain the rosemary extract to remove any plant matter and obtain a smooth, clear final product.
Follow these steps to strain the rosemary extract:
- Get a fine mesh strainer or cheesecloth and place it over a clean container or bowl.
- Carefully pour the infused mixture into the strainer, allowing the liquid to pass through while catching any solid particles, such as pieces of rosemary, in the strainer.
- Use a spoon or spatula to press down gently on the mixture in the strainer to extract any remaining liquid.
- Continue the straining process until all the liquid has passed through, leaving behind only the solid plant matter.
Ensure that you extract as much liquid as possible from the mixture, as this is where the concentrated flavors and beneficial compounds reside.
Once you’ve strained the rosemary extract, discard the leftover plant matter and move on to the final step: storing the rosemary extract.
Step 7: Storing the Rosemary Extract
Now that you have successfully strained the rosemary extract, it’s time to store it properly to maintain its potency and freshness.
Follow these steps to store the rosemary extract:
- Transfer the strained rosemary extract into amber glass bottles with droppers or small jars. Amber glass helps protect the extract from light exposure, which can deteriorate its quality over time.
- If using dropper bottles, carefully fill each bottle, leaving a little space at the top to allow for easy dispensing.
- Apply labels to each bottle, clearly indicating the contents and the date of extraction. This will help you keep track of the extract’s freshness.
- Store the bottles in a cool, dark place, such as a pantry or kitchen cabinet, away from direct sunlight and heat sources.
Proper storage is crucial in maintaining the quality and potency of the rosemary extract. When stored correctly, the extract can last for several months to a year.
Remember to label your bottles, as this will not only help you identify the extract easily but also make for a neat and organized collection of homemade extracts.
That’s it! You’ve successfully made your own homemade rosemary extract with alcohol. You can now enjoy the natural flavors and benefits of rosemary in your culinary creations or incorporate it into your beauty routine.
Give yourself a pat on the back for completing this delightful DIY project. Now, go ahead and show off your homemade rosemary extract to family and friends!
Conclusion
Congratulations on successfully creating your own rosemary extract with alcohol! By following the step-by-step process outlined in this article, you’ve unlocked the power of DIY projects and taken control of the flavors and benefits you can add to your dishes and beauty products.
Homemade rosemary extract allows you to enjoy the fresh, vibrant flavors and aromatic properties of rosemary in a convenient and versatile form. Whether you use it to enhance your culinary creations or incorporate it into your skincare routine, the extract offers a natural and personalized touch that store-bought versions simply can’t match.
Remember, the quality of your rosemary and alcohol, as well as proper harvesting, cleaning, and infusing techniques, play crucial roles in the final outcome of your extract. Take pride in using fresh, high-quality ingredients and giving attention to detail throughout the process.
Now that you have the knowledge and skills to create your own rosemary extract, don’t limit yourself to just one type! You can explore other herbs and spices to make a variety of homemade extracts, such as lavender, peppermint, or vanilla. The possibilities are endless, and your creativity knows no bounds!
So, gather your materials, roll up your sleeves, and let your DIY spirit shine as you delve into the world of homemade extracts. With each new creation, you’ll develop your skills, expand your knowledge, and create products that are uniquely yours. Happy DIY-ing!