Home>Gardening Techniques>DIY Projects>How To Make Rosemary Soap
DIY Projects
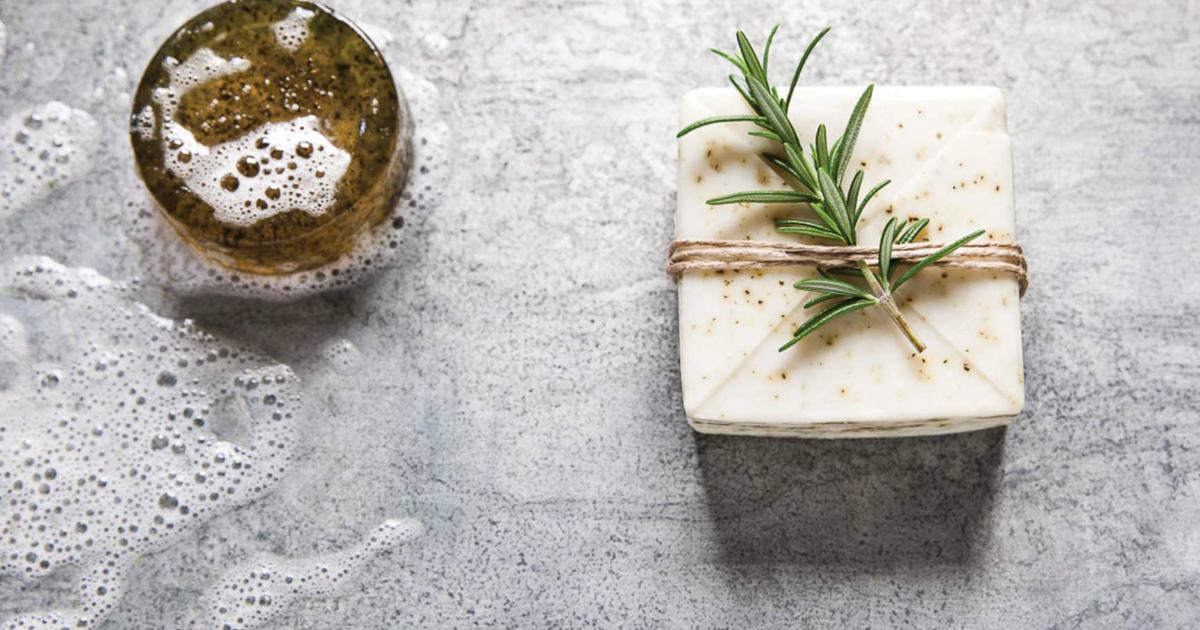
How To Make Rosemary Soap
Published: February 2, 2024
Learn how to make rosemary soap with this DIY project guide. Create your own fragrant and soothing soap bars at home using simple ingredients and step-by-step instructions.
(Many of the links in this article redirect to a specific reviewed product. Your purchase of these products through affiliate links helps to generate commission for Chicagolandgardening.com, at no extra cost. Learn more)
Table of Contents
- Introduction
- Materials needed
- Step 1: Gathering the ingredients
- Step 2: Preparing the rosemary infusion
- Step 3: Melting the soap base
- Step 4: Adding the rosemary infusion and essential oil
- Step 5: Pouring the soap mixture into molds
- Step 6: Letting the soap cure
- Step 7: Cutting and storing the soap
- Conclusion
Introduction
Welcome to the world of DIY soap making! Making your own soap can be a rewarding and fulfilling experience. Not only do you have control over the ingredients and fragrance, but you can also customize the soap to suit your personal preferences. In this article, we will guide you through the process of making rosemary soap, a delightful and aromatic addition to your bath and skincare routine.
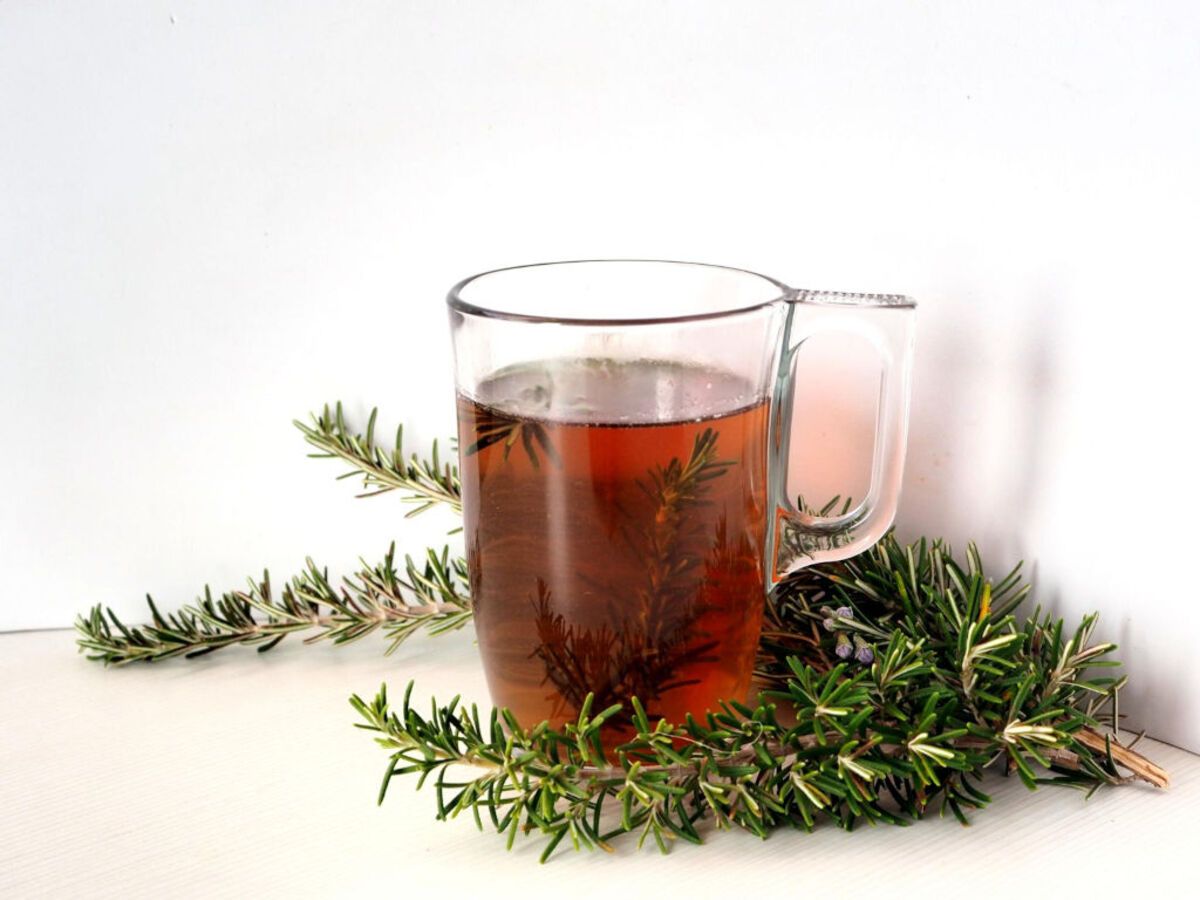
Rosemary, with its invigorating scent and numerous health benefits, is a beloved herb that has been used for centuries. Incorporating rosemary into soap not only adds a refreshing fragrance but also delivers its antioxidant and anti-inflammatory properties to your skin.
In this tutorial, we will provide a step-by-step guide on how to make rosemary soap. We will cover the materials you need, as well as the process of infusing the soap with rosemary and incorporating essential oils for a delightful aroma. So, let’s gather our ingredients and embark on this DIY soap making adventure!
Materials needed
Before we dive into the soap making process, let’s gather all the materials we will need:
- Soap base: Choose a high-quality melt-and-pour soap base. You can opt for a clear or opaque base, depending on your preference.
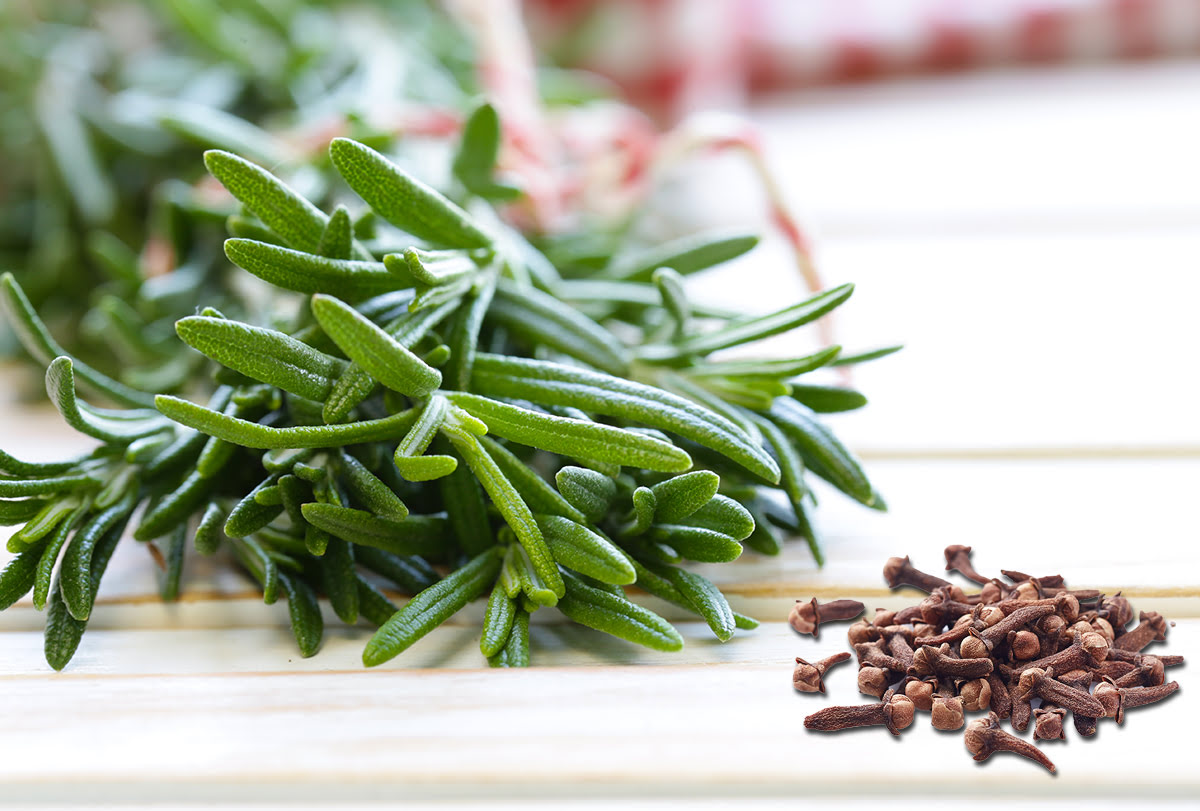
- Rosemary: Fresh or dried rosemary leaves are essential for infusing the soap. Make sure to use organic rosemary for the best results.
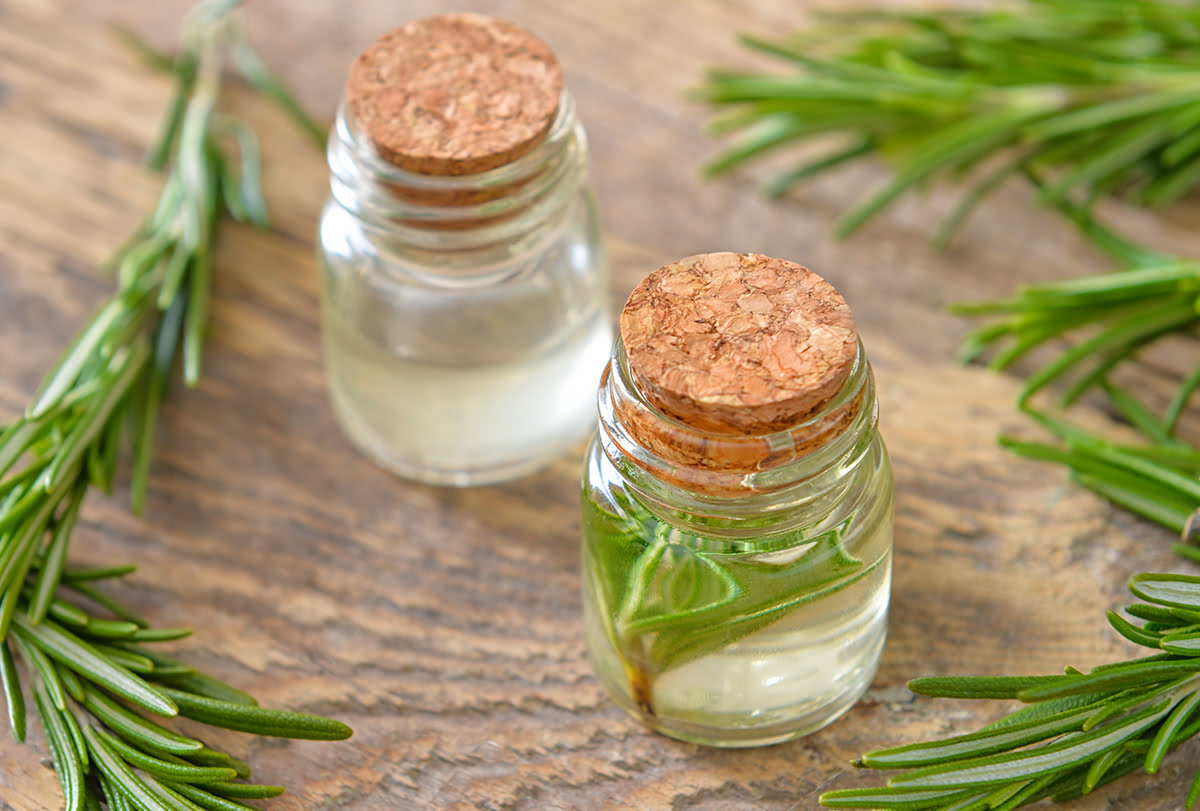
- Essential oil: Select an essential oil that complements the fragrance of rosemary. Some popular choices include lavender, peppermint, or lemon.
- Optional additives: You can add additional ingredients such as natural colorants (like dried flower petals or clay) or exfoliants (like oatmeal or coffee grounds) to enhance the soap’s appearance and texture.
- Heat-safe containers: You will need separate containers for melting the soap base, preparing the rosemary infusion, and mixing the essential oil.
- Molds: Choose silicone molds in various shapes and sizes to create unique soap bars.
- Measuring tools: A kitchen scale, measuring spoons, and a thermometer will ensure accurate measurements throughout the soap making process.
- Stirring utensils: Have separate heat-resistant utensils for mixing the soap base, stirring the rosemary infusion, and blending the essential oil.
- Protective equipment: Wear gloves, safety glasses, and an apron to protect yourself from any potential spills or splashes.
Once you have gathered all the necessary materials, you are ready to embark on your soap making journey. The materials listed above are the foundation for making rosemary soap, but feel free to explore and customize your soap recipe with additional ingredients that suit your preferences.
Step 1: Gathering the ingredients
Before we start making rosemary soap, it’s important to gather all the necessary ingredients. Here’s a list of what you’ll need:
- Soap base
- Rosemary
- Essential oil
- Optional additives
- Heat-safe containers
- Molds
- Measuring tools
- Stirring utensils
- Protective equipment
The soap base is the foundation of your soap and can be purchased at craft stores or online. Choose a high-quality melt-and-pour soap base, which is easy to work with as a beginner.
Next, you’ll need rosemary to infuse the soap with its delightful fragrance and beneficial properties. You can use fresh or dried rosemary leaves, whichever is more convenient for you. Ensure that the rosemary is organic for the best results.
Choose an essential oil that complements the scent of rosemary. Lavender, peppermint, or lemon are popular choices that pair well with the herb’s earthy aroma. Essential oils not only add fragrance to your soap but also offer additional therapeutic benefits.
Optional additives such as natural colorants (like dried flower petals or clay) or exfoliants (like oatmeal or coffee grounds) can be included to enhance the soap’s appearance and texture. These additives are entirely optional and can be adjusted to your preference.
Collect a few heat-safe containers for melting the soap base, preparing the rosemary infusion, and mixing the essential oil. These containers will be used at different stages of the soap making process.
Choose silicone molds in various shapes and sizes to create unique soap bars. The molds should be flexible, making it easy to remove the hardened soap later on.
Measuring tools such as a kitchen scale, measuring spoons, and a thermometer will ensure that you accurately measure the ingredients and monitor the temperature during the soap making process.
Stirring utensils are essential for mixing the soap base, stirring the rosemary infusion, and blending the essential oil. Use separate utensils for each stage to prevent cross-contamination.
Lastly, don’t forget to wear protective equipment such as gloves, safety glasses, and an apron. This will help protect you from any potential spills or splashes that may occur during the soap making process.
Once you have gathered all the necessary ingredients and tools, you’re ready to move on to the next step: preparing the rosemary infusion.
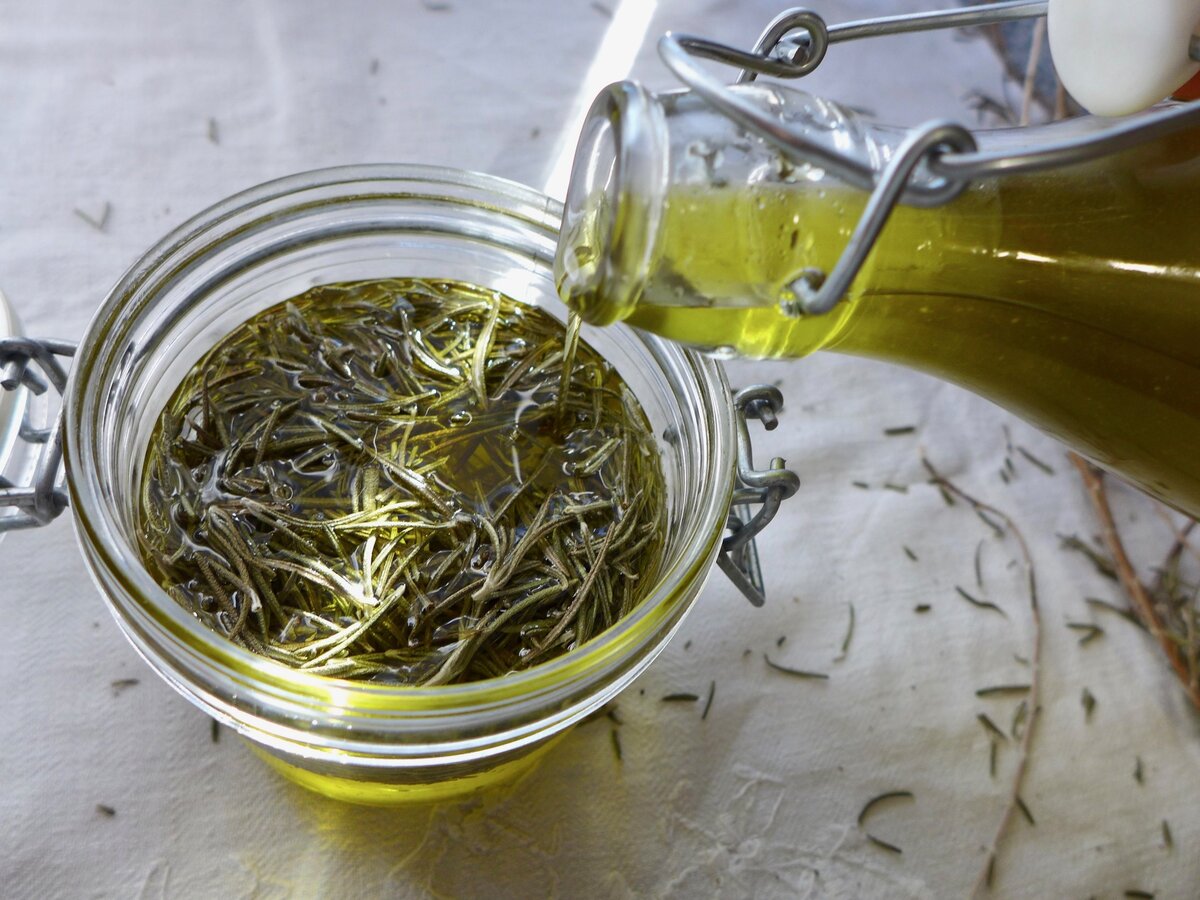
Step 2: Preparing the rosemary infusion
Now that you have gathered all the ingredients for making rosemary soap, it’s time to prepare the rosemary infusion. This infusion will help infuse the soap with the delightful fragrance and therapeutic properties of rosemary. Follow these steps:
- Start by measuring out the desired amount of rosemary. You can use either fresh or dried rosemary leaves. A general guideline is to use 1 tablespoon of rosemary per 1 cup of soap base for a subtle fragrance. Adjust the amount of rosemary based on your preference.
- Next, bring a pot of water to a gentle simmer on the stove. Place a heat-safe glass or stainless steel bowl on top of the pot, creating a double boiler setup.
- Add the measured rosemary leaves to the bowl and pour enough melted soap base over the rosemary to cover it completely. The soap base should be melted beforehand using the instructions provided by the manufacturer.
- Allow the rosemary to steep in the soap base for about 15-20 minutes. Stir occasionally to ensure that the rosemary is evenly distributed and the fragrance is released.
- Carefully remove the bowl from the double boiler setup and strain the infused soap base through a fine-mesh sieve or cheesecloth to remove any rosemary leaves or debris.
- Transfer the rosemary-infused soap base into a clean heat-safe container, ready for the next step of melting and molding.
By infusing the soap base with rosemary, you not only add a pleasant scent but also incorporate the beneficial properties of the herb into your soap. Rosemary is known for its antioxidant and anti-inflammatory properties, which can provide nourishing benefits to your skin.
Now that you have successfully prepared the rosemary infusion, it’s time to move on to the next step: melting the soap base.
Step 3: Melting the soap base
With the rosemary infusion ready, it’s time to move on to the next step: melting the soap base. Follow these instructions to ensure a smooth and successful melting process:
- First, cut the soap base into small, uniform chunks. This will help it melt more quickly and evenly. Aim for chunks that are around 1-inch in size.
- Place the soap chunks into a heat-safe container or a double boiler setup. If using a microwave-safe container, heat the soap base in short 30-second bursts, stirring in between, until it is fully melted. If using a double boiler, ensure that the water in the bottom pot is simmering gently and the heat-safe container with the soap chunks is on top.
- Stir the soap base gently and frequently as it melts to prevent scorching or burning. A heat-resistant spatula or spoon works well for this purpose.
- Continue heating and stirring until the soap base is completely melted and smooth. The melted soap base should be free of any lumps or solid chunks.
- Once the soap base is fully melted, remove it from the heat source and let it cool slightly. A temperature of around 130-140°F (54-60°C) is ideal for the next step: adding the rosemary infusion and essential oil.
It’s important to note that the melting process may vary depending on the specific soap base you are using. Always refer to the instructions provided by the manufacturer to ensure proper melting and temperature guidelines.
Now that the soap base is melted and smooth, it’s time to move on to the next step: adding the rosemary infusion and essential oil.
Step 4: Adding the rosemary infusion and essential oil
With the melted soap base prepared, it’s time to add the rosemary infusion and essential oil to create a beautifully scented soap. Follow these steps to incorporate these aromatic ingredients:
- Start by measuring out the desired amount of rosemary infusion. The amount will depend on your personal preference for the strength of the rosemary scent. A typical guideline is to use around 1-2 tablespoons of rosemary infusion per cup of melted soap base.
- Add the measured rosemary infusion to the melted soap base. Stir gently but thoroughly to ensure even distribution of the infusion throughout the soap base.
- Next, measure out the essential oil you have chosen to complement the rosemary scent. The amount of essential oil needed will vary depending on the specific oil and desired fragrance strength. As a general guideline, use around 10-20 drops of essential oil per cup of melted soap base.
- Add the essential oil to the soap base and stir gently to incorporate it evenly. Take care not to overmix, as excessive stirring can introduce air bubbles into the soap mixture.
Adding the rosemary infusion and essential oil not only enhances the fragrance of the soap but also brings additional therapeutic benefits. The aromatic properties of essential oils can provide a sense of relaxation, invigoration, or calmness, depending on the oil you choose.
Once you have thoroughly mixed the rosemary infusion and essential oil into the soap base, you’re ready to move on to the next step: pouring the soap mixture into molds.
Step 5: Pouring the soap mixture into molds
Now that the soap mixture is well-infused with rosemary and essential oil, it’s time to pour it into molds. Follow these steps to create beautifully shaped soap bars:
- Prepare your molds by coating them with a thin layer of oil or a non-stick spray. This will help in releasing the soap easily once it has hardened. Silicone molds are recommended for their flexibility and ease of use.
- Slowly and carefully pour the soap mixture into the molds. Fill each mold to the desired level, leaving enough space for the soap to expand slightly as it solidifies. You can use a spoon or spatula to help guide the mixture and eliminate any air bubbles.
- Once the soap mixture is poured into the molds, gently tap the molds on a solid surface to release any trapped air bubbles. This will help create smooth and uniform soap bars. You can use a toothpick or skewer to swirl the mixture in each mold for a marbled effect if desired.
- Allow the soap to cool and harden in the molds for several hours or overnight. The exact time will depend on the size and thickness of your soap bars. It’s best to follow the recommendations provided by the soap base manufacturer.
During the cooling process, the soap will solidify and take on the shape of the molds. This is an exciting stage where you can see your soap bars come to life!
Once the soap has completely hardened, gently remove it from the molds. If there is any resistance, you can place the molds in the freezer for a short period of time to help release the soap. Carefully pop out the soap bars, and they are now ready for the next step: curing.
Step 6: Letting the soap cure
After unmolding the soap bars, it’s important to let them cure before using or packaging them. Curing allows the soap to harden further and enhances its quality and longevity. Follow these steps to properly cure your rosemary soap:
- Place the soap bars on a drying rack or a clean, dry surface where they can be exposed to air on all sides. Allow enough space between the bars to promote proper airflow.
- Let the soap cure in a cool, dry, and well-ventilated area. Avoid direct sunlight or excess humidity, as these conditions can negatively affect the curing process.
- Allow the soap to cure for at least 4-6 weeks. During this time, the soap will continue to harden and any excess moisture will evaporate. This will result in a harder, longer-lasting bar of soap with a smoother texture.
- Optionally, you can rotate the bars occasionally to ensure even drying. This can help prevent any moisture buildup and promote uniform curing.
- While waiting for the soap to cure, take this time to create decorative labels or packaging to showcase your homemade rosemary soap.
It’s important to note that the curing time may vary depending on various factors, such as the ingredients used and the climate. By allowing the soap to fully cure, you are ensuring a high-quality product that is gentler on the skin and provides a more satisfying lather.
Once the soap is fully cured, it’s time to move on to the final step: cutting and storing the soap bars.
Step 7: Cutting and storing the soap
After the curing period, it’s time to cut and store your beautifully crafted rosemary soap bars. Follow these steps to prepare them for use or gifting:
- Using a sharp knife or soap cutter, carefully cut the cured soap loaf into individual bars of your desired size and shape. Ensure that the blade is clean and sharp to achieve clean and precise cuts.
- Trim any uneven edges or imperfections from the cut bars, if necessary. This will give your soap bars a polished appearance.
- Once cut, inspect each soap bar for any air pockets or imperfections that may have formed during the curing process. Smooth out any rough edges or air bubbles with your fingers or a wet cloth.
- Store the cut soap bars in a cool, dry place. Ideally, keep them in a well-ventilated area such as a linen closet or bathroom shelf. Avoid storing them in airtight containers, as this can lead to moisture buildup and reduce the lifespan of the soap.
- If you plan to gift or sell the soap bars, consider using decorative packaging or wrapping them in tissue paper, cloth bags, or organza pouches. This will protect the soap and add a personal touch.
By cutting and storing the soap bars properly, you are ensuring that they remain in optimal condition until they are ready for use. This final step completes the soap-making process, and you can now enjoy the delightful fragrance and benefits of your homemade rosemary soap.
Congratulations! You have successfully made your own rosemary soap from scratch. With practice and creativity, you can continue to experiment with different soap bases, fragrances, and additives to create unique and personalized soap creations.
Conclusion
Congratulations on successfully making your own batch of homemade rosemary soap! By following the steps outlined in this tutorial, you have created an aromatic and beneficial soap that can enhance your bath and skincare routine. Making soap from scratch allows you to have control over the ingredients, customize the fragrance, and create unique designs.
Rosemary, with its invigorating scent and therapeutic properties, adds a special touch to your soap. The infusion of rosemary and the addition of essential oils provide a refreshing and rejuvenating experience. Not only does rosemary soap cleanse your skin, but it also offers antioxidant and anti-inflammatory benefits.
Throughout this process, you gathered the necessary ingredients, prepared a rosemary infusion, melted the soap base, added the infusion and essential oil, poured the soap mixture into molds, allowed it to cure, and finally, cut and stored the soap bars. Each step brings you closer to the final result – a beautiful, fragrant, and nourishing soap that you can proudly use or gift to others.
Remember, soap making is a creative and enjoyable process that allows you to experiment with different scents, colors, and ingredients. Feel free to explore and personalize your soap recipes to align with your preferences and skincare needs. With practice, you’ll become more skilled and confident in creating unique soap creations.
Now that you’ve successfully completed this rosemary soap-making project, you can expand your DIY skills and take on new soap-making adventures. Whether you’re exploring different herbal infusions, experimenting with natural colorants, or adding exfoliants for texture, the possibilities are endless.
So have fun, get creative, and keep enjoying the wonderful world of DIY soap making! Your rosemary soap is just the beginning of an exciting journey into the world of homemade skincare products.