Home>Gardening Techniques>DIY Projects>How To Make Extract From Herbs
DIY Projects
How To Make Extract From Herbs
Modified: January 22, 2024
Learn how to make your own herbal extracts with this easy DIY project. Discover the benefits of extracting herbs and create your own natural remedies at home.
(Many of the links in this article redirect to a specific reviewed product. Your purchase of these products through affiliate links helps to generate commission for Chicagolandgardening.com, at no extra cost. Learn more)
Table of Contents
Introduction
Welcome to the fascinating world of herbal extracts! Extracts are concentrated forms of herbal compounds that have been used for centuries for their medicinal and therapeutic properties. Making your own extracts at home is not only a cost-effective method, but it also allows you to have full control over the quality and potency of the final product. Whether you’re a seasoned herbalist or a DIY enthusiast, this guide will walk you through the step-by-step process of making extracts from herbs.
Extracts are essentially the essence of the plant, capturing its beneficial compounds in a concentrated form. They can be used in various ways, including as herbal remedies, flavoring agents in cooking and beverages, and in natural skincare products. The process of making an extract involves extracting the active compounds from the herb using a suitable solvent and then straining and storing the resulting liquid.
By making your own extracts, you have the flexibility to choose specific herbs that align with your needs and preferences. Plus, it can be a rewarding and educational experience to dive into the world of botanicals and experiment with creating your own unique blends. Whether you’re looking to make a soothing lavender extract for relaxation or a potent ginger extract for digestive health, the possibilities are endless!
In this comprehensive guide, we will cover everything you need to know to make extracts from herbs at home. From gathering and preparing the herbs to extracting the active compounds and storing the final product, we will walk you through each step in detail. So, let’s roll up our sleeves and get started on this exciting DIY project!
Step 1: Gather Your Herbs
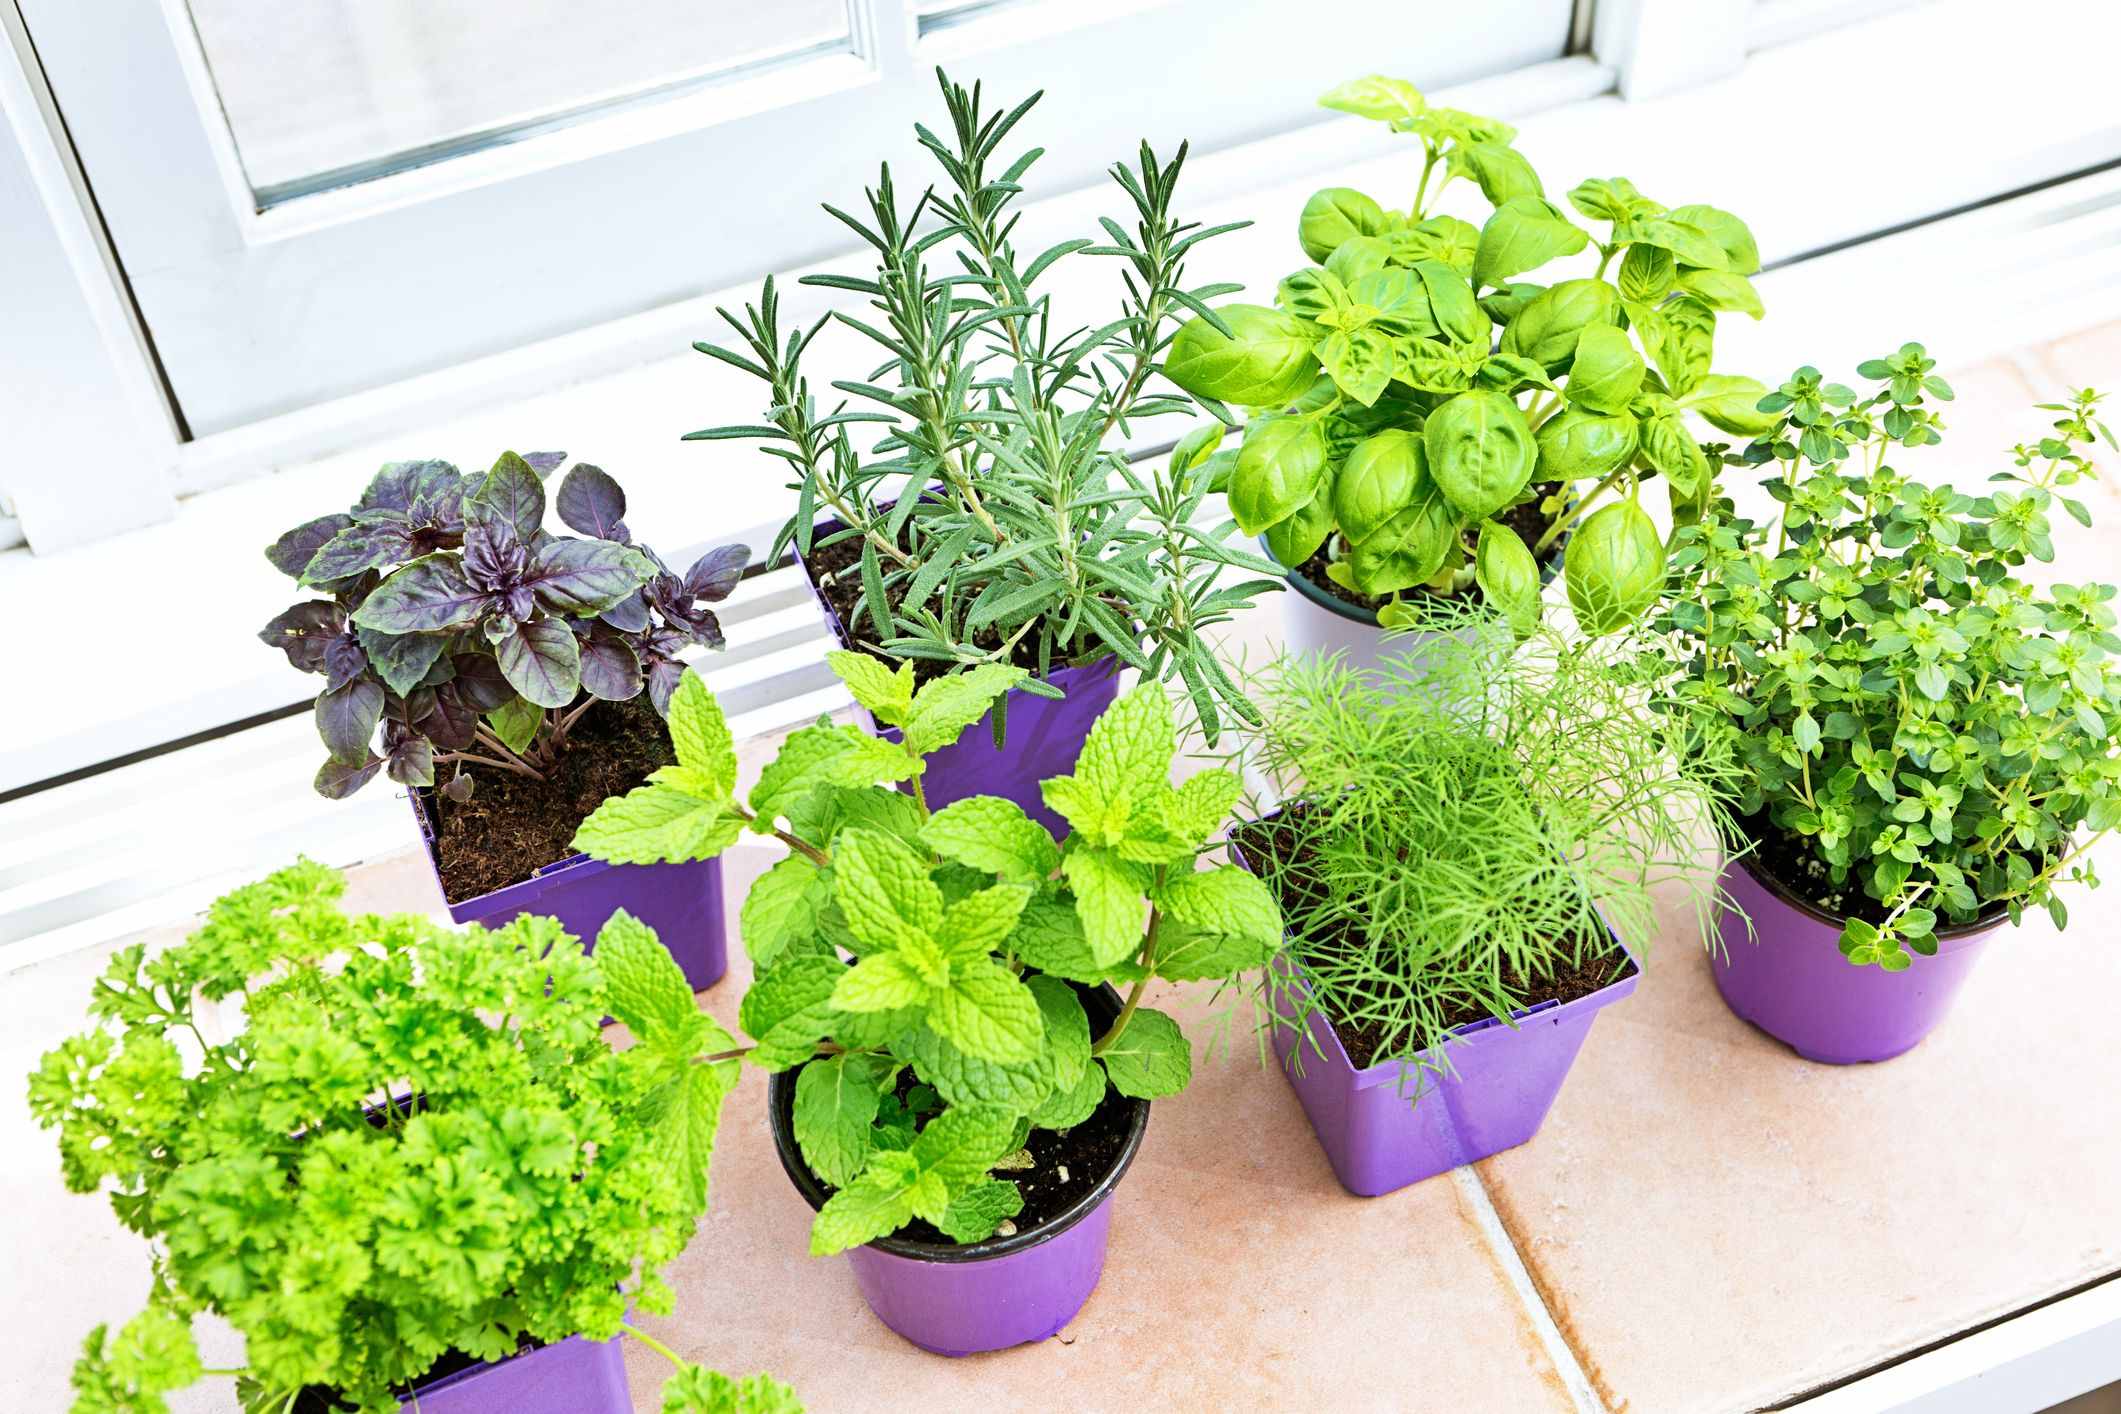
The first step in making herbal extracts is gathering the herbs of your choice. The type of herb you select will depend on your desired outcome or the specific properties you are looking to extract. You can choose to use one herb for a single-extract or combine several herbs to create your own unique blend of extracts.
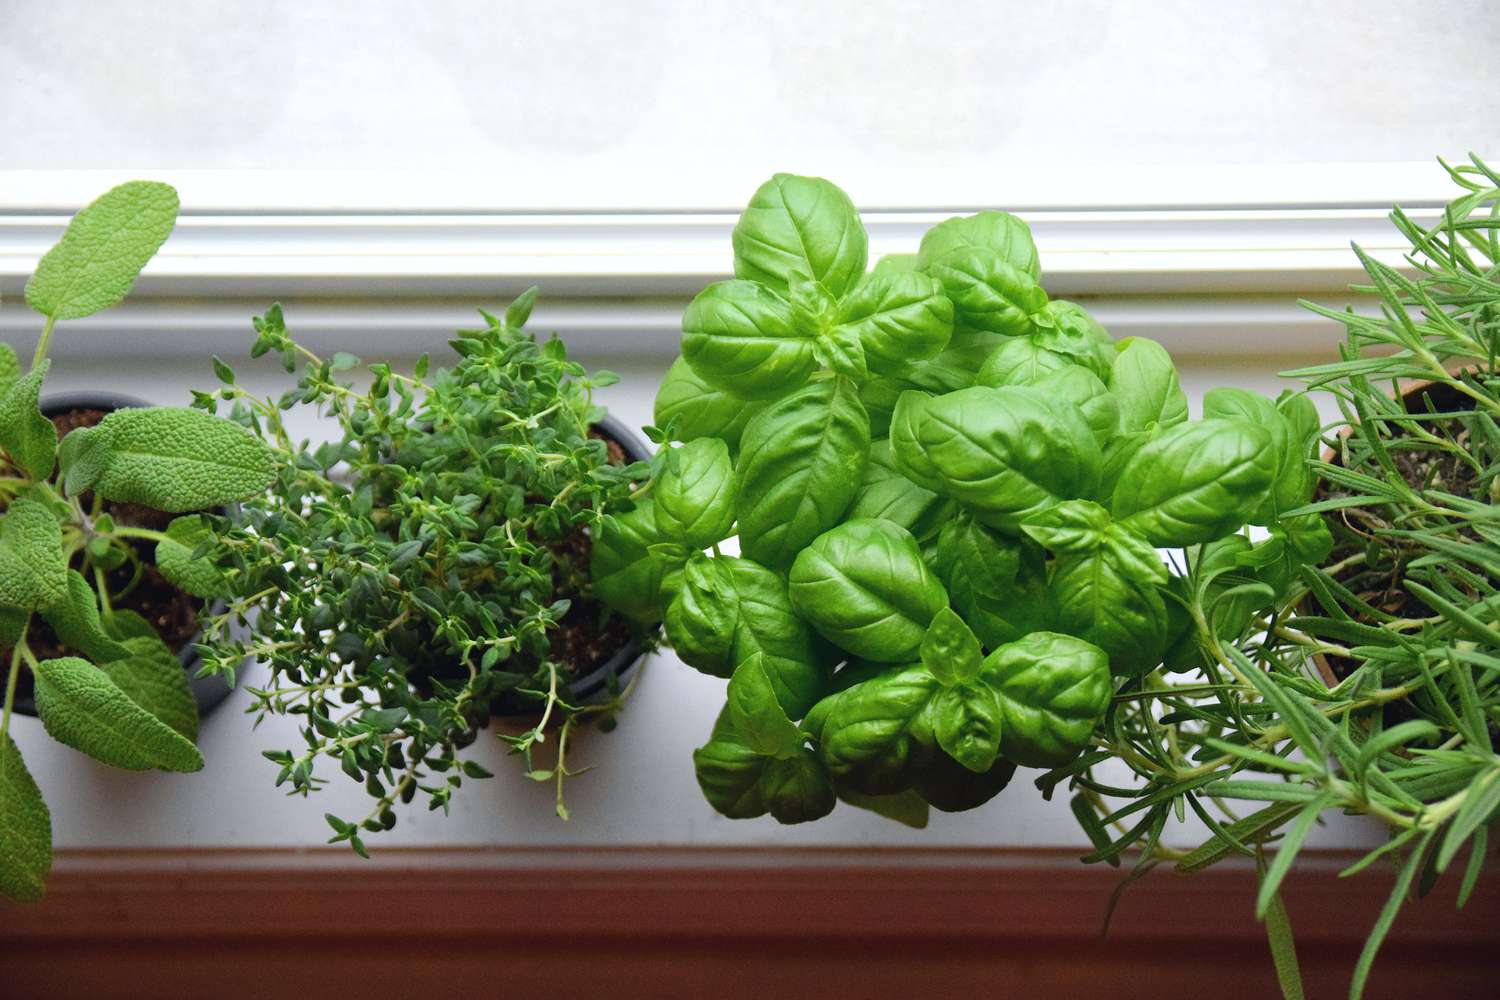
When selecting herbs, it’s important to choose fresh, high-quality plants. If possible, harvest your own herbs from your garden or source them from a reputable supplier. Look for herbs that are vibrant in color, free from wilted or damaged leaves, and have a strong aroma.
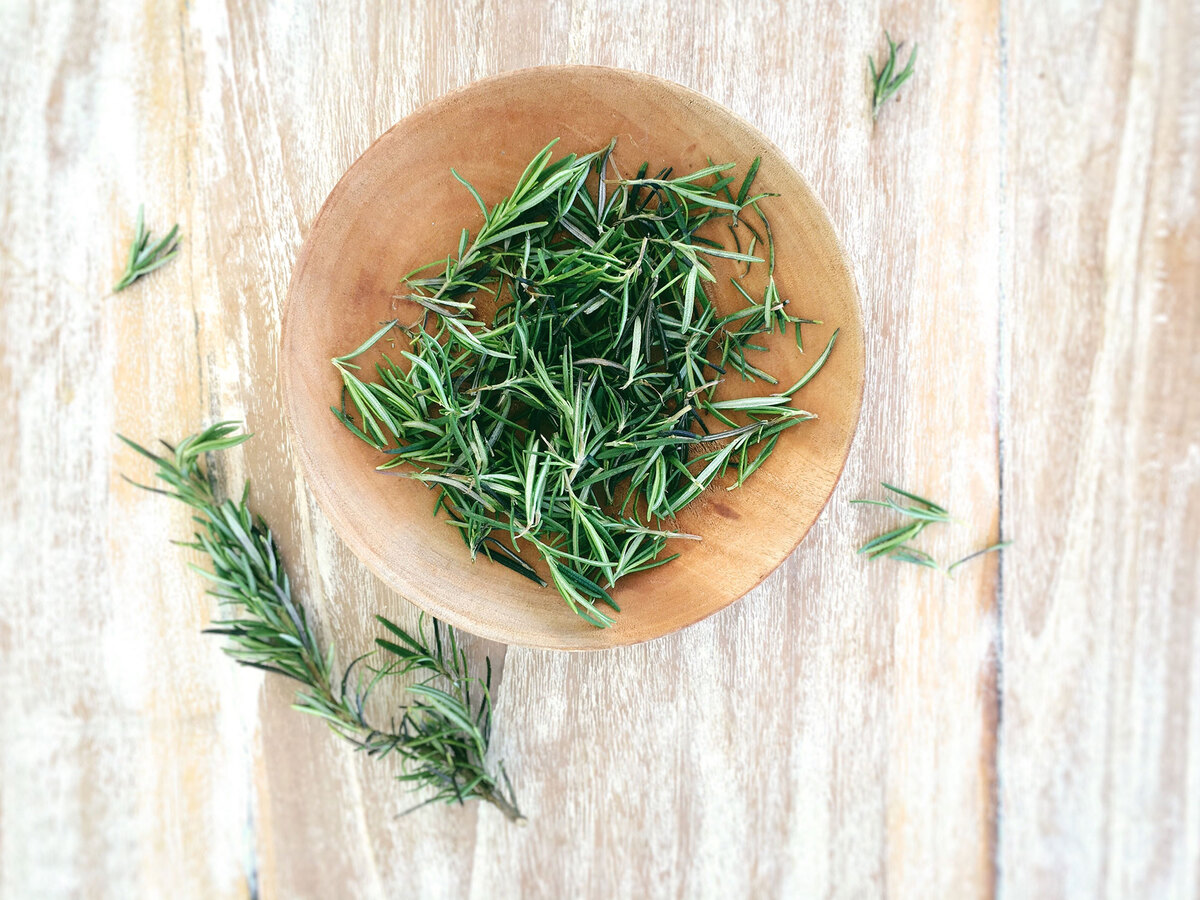
If you don’t have access to fresh herbs, you can also use dried herbs. Dried herbs can be purchased from health food stores or herbal suppliers. Ensure that the dried herbs are stored properly and are not expired.
Consider the specific properties you want to extract from the herbs. For example, if you are looking for a calming extract, herbs like chamomile or lavender would be suitable. For immune-boosting properties, herbs like echinacea or elderberry can be used. Do some research to determine which herbs align with your desired outcomes.
It’s important to note that while many common culinary herbs can be used for extracts, some plants may have toxic or harmful properties. Make sure to do thorough research and consult with a herbalist or health professional if you are unsure about the safety of a particular herb.
Once you have gathered your herbs, take the time to inspect and remove any debris or insects that may be present. Gently rinse the herbs with water to remove any dust or dirt. Pat them dry using a clean cloth or paper towel.
Remember, the quality of your herbs will greatly impact the final quality and potency of your extract, so it’s worth taking the time to gather fresh, high-quality ingredients.
Step 2: Clean and Dry Your Herbs
Once you have gathered your herbs, the next step is to clean and dry them properly. Properly cleaning and drying your herbs ensures that they are free from any contaminants and moisture, which can affect the quality and shelf life of your extract.
Start by gently removing any dirt, debris, or insects from the herbs. Fill a large bowl or basin with cool water and submerge the herbs. Gently swish them around to dislodge any dirt or dust. You can also use a soft brush to lightly scrub the leaves, if necessary.
After rinsing, carefully pat the herbs dry with a clean towel or paper towel. It’s crucial to remove as much moisture as possible to prevent mold or bacterial growth during the drying process.
There are various methods you can use to dry your herbs:
- Air drying: This is the most common and easiest method. Gather small bunches of herbs and tie them with a string or rubber band. Hang the bundles upside down in a well-ventilated area out of direct sunlight. Ensure that the herbs are not overcrowded, allowing sufficient air circulation. The drying process can take anywhere from one to three weeks, depending on the humidity level and type of herb.
- Oven drying: If you’re in a hurry or live in a humid environment, you can use an oven to dry your herbs. Preheat your oven to its lowest temperature setting. Place the herbs on a baking sheet lined with parchment paper, ensuring that they are spread out in a single layer. Leave the oven door slightly ajar to allow moisture to escape. Check the herbs frequently to prevent burning, and remove them when they are dry and crumbly.
- Dehydrator: If you have a food dehydrator, you can use it to dry your herbs. Follow the manufacturer’s instructions for the specific temperature and drying time.
Regardless of the method you choose, it’s important to check the herbs regularly during the drying process. Properly dried herbs should be brittle and crumble easily when touched.
Once your herbs are fully dried, remove the leaves from the stems, if necessary. Store the dried herbs in airtight containers in a cool, dark place. Properly dried and stored herbs can retain their potency for up to a year.
Remember, the cleanliness and thoroughness of the drying process are essential to ensure the quality and longevity of your herbal extracts.
Step 3: Choose a Solvent
Choosing the right solvent is an important step in making herbal extracts. The solvent is responsible for extracting the active compounds from the herbs and creating the concentrated liquid form of the extract.
There are several solvents commonly used for extracting herbs, and the choice of solvent depends on the properties of the herb and the desired outcome of the extract. Here are some common solvents used for herbal extraction:
- Alcohol: Alcohol is one of the most popular solvents for making herbal extracts due to its ability to extract a wide range of compounds. It is effective in extracting both water-soluble and oil-soluble constituents. Common types of alcohol used include vodka, brandy, or grain alcohol. The alcohol percentage usually ranges between 40% to 60%. Higher alcohol percentages can extract more plant constituents but may also extract more unwanted compounds.
- Glycerin: Glycerin is a sweet, thick liquid that is commonly used as a solvent for making alcohol-free herbal extracts. Glycerin extracts are often used in preparations for children, individuals with alcohol sensitivities, or for those who prefer alcohol-free options. However, glycerin has a lower extraction power compared to alcohol, so it may not extract all the properties of the herb.
- Vinegar: Vinegar, such as apple cider vinegar or white vinegar, can be used as a solvent for certain herbs. It is particularly suitable for extracting minerals and some water-soluble compounds. Vinegar extracts may have a distinct flavor and aroma, so it is important to consider the compatibility of the herb with the vinegar base.
- Water: Water is often used as a solvent for making infusions or decoctions. It is particularly effective in extracting water-soluble constituents, such as vitamins, minerals, and certain phytochemicals. However, water extracts may not capture all the constituents present in the herb, especially those that are oil-soluble.
When choosing a solvent, consider the properties of the herb and the desired outcome. Additionally, take into account any sensitivities or preferences you may have, such as avoiding alcohol-based extracts or seeking alcohol-free alternatives.
It is important to note that not all herbs are suitable for extraction using certain solvents. Some herbs may have specific extraction requirements or may be better suited for other methods of preparation, such as infusions or decoctions. Research and consult reliable sources to ensure you are using the appropriate solvent for each herb.
Experimentation and personal preference play a role in the selection of solvents as well. It may be useful to start with a small batch and try different solvents to determine which one yields the desired results in terms of potency, flavor, and aroma.
Once you have chosen your solvent, you’re ready to move on to the next step of preparing the solvent for extraction.
Step 4: Prepare the Solvent
After selecting the appropriate solvent for your herbal extract, the next step is to prepare the solvent before extracting the active compounds from the herbs. Preparing the solvent properly ensures that it is ready to effectively extract the desired properties from the herbs.
If you are using alcohol as the solvent, you may not need to prepare it further, as commercial alcohol is typically ready for use. However, if you want to increase the alcohol percentage for stronger extraction, you can do so by diluting high-proof alcohol with distilled water.
For glycerin-based extracts, it is generally recommended to dilute the glycerin with distilled water. The ratio of glycerin to water can vary, but a common ratio is 1 part glycerin to 1 part water. This helps to balance the viscosity, sweetness, and extraction power of the glycerin while still maintaining its solvent properties.
If you are using vinegar as the solvent, you can dilute it with distilled water to achieve the desired acidity and extraction capabilities. The vinegar-to-water ratio can vary depending on the herb and your personal preference. Start with a 1:1 ratio and adjust accordingly.
Water-based extracts typically involve making infusions or decoctions. In these cases, it is important to use distilled or filtered water to avoid any impurities or contaminants that may affect the quality of the extract. Boil the water and allow it to cool slightly before using it to extract the properties from the herbs.
It’s worth noting that the preparation of the solvent may vary depending on specific recipes or recommendations for certain herbs. Some herbs may require additional steps, such as infusing the solvent with other ingredients or heating it to enhance extraction. Research the specific requirements for the herbs you are using to ensure you are preparing the solvent correctly.
In addition to preparing the solvent, you may also want to sterilize the containers you will be using to store the extract. Clean the containers with hot, soapy water, rinse thoroughly, and allow them to air dry. This helps to maintain the integrity and quality of the extract over time.
By properly preparing the solvent, you are ensuring that it is optimized for its role in extracting the active compounds from the herbs. This sets the stage for an effective and high-quality herbal extract in the next steps of the process.
Step 5: Extract the Herbs
Now that you have gathered your herbs, prepared the solvent, and cleaned your containers, it’s time to extract the active compounds from the herbs. This step involves combining the herbs with the solvent and allowing them to steep or macerate to release their beneficial properties.
There are different methods you can use to extract the herbs:
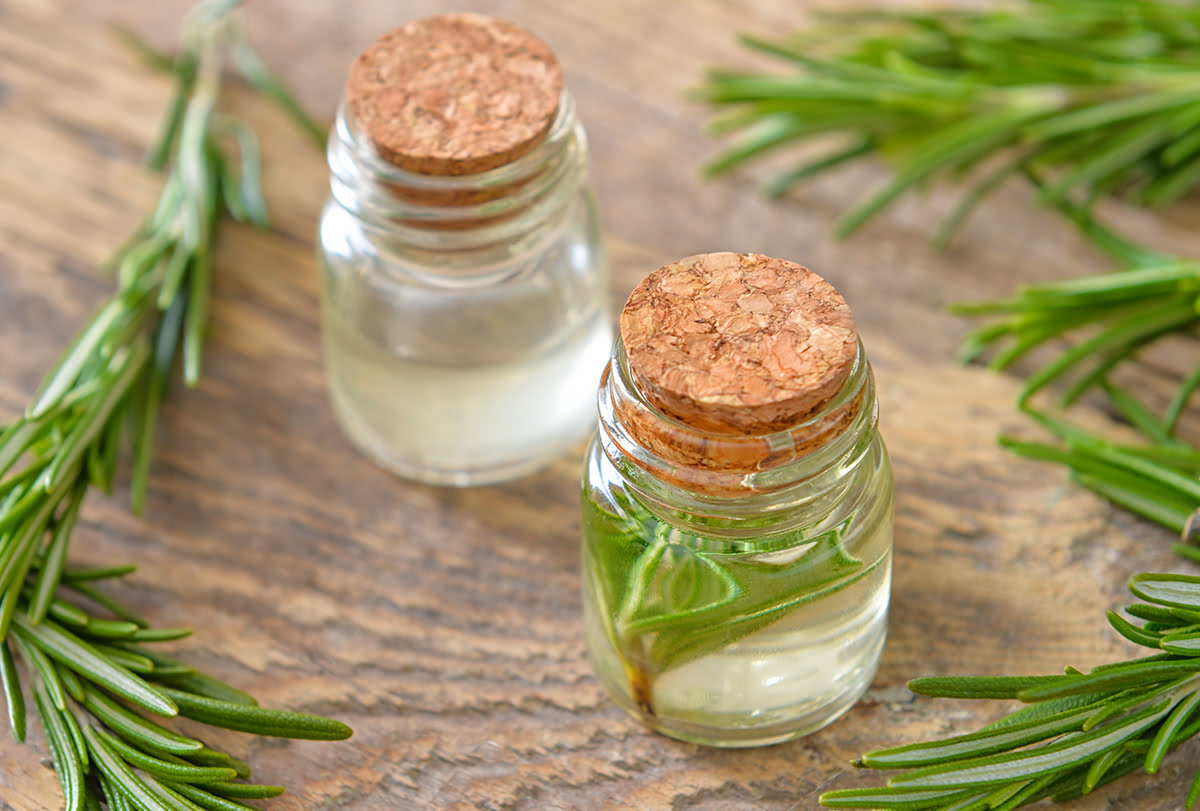
- Maceration: Maceration is the most common method for making herbal extracts. Start by finely chopping or grinding the herbs to increase the surface area and enhance the extraction process. Place the herbs in a clean glass jar and cover them completely with the solvent. Make sure there is enough solvent to fully submerge the herbs. Seal the jar tightly and give it a gentle shake to ensure the herbs are evenly distributed in the solvent. Place the jar in a cool, dark place and let it sit for a designated period of time, usually 4 to 6 weeks. During this time, the solvent will leach out the active compounds from the herbs, creating a concentrated extract.
- Hot extraction: This method involves gently heating the solvent and herbs to accelerate the extraction process. Place the herbs and the solvent in a heat-resistant container, such as a mason jar or stainless steel pot. Heat the mixture on a low temperature setting, without bringing it to a boil, for a designated period of time. This method is particularly useful for herbs with dense or tough plant materials. Keep in mind that some herbs may lose certain volatile compounds or delicate aromatics during the heating process.
- Cold extraction: Cold extraction is often used for more delicate herbs that may be sensitive to heat. It involves combining the herbs and the solvent in a glass jar and letting it sit in the refrigerator or a cool, dark place for a prolonged period, typically 4 to 6 weeks. This slow and gentle method allows the active compounds to be gradually extracted without the use of heat.
Regardless of the extraction method you choose, it is important to store the jar or container in a cool, dark place to protect the extract from light and heat. Light and heat can degrade the active compounds and reduce the potency and effectiveness of the extract.
During the extraction period, it’s a good idea to gently shake or stir the jar every few days to ensure proper mixing and distribution of the herbs in the solvent. This helps to enhance the extraction process and maximize the extraction of the beneficial properties.
The extraction period can vary depending on the herb and the desired potency. It’s recommended to follow a recipe or consult research-based guidelines for the specific herb you are using. This will ensure that you extract the optimal amount of active compounds while avoiding overextraction, which may lead to bitter or unpleasant-tasting extracts.
After the designated extraction period is complete, you’re ready to move on to the next step of straining and storing the extract.
Step 6: Strain and Store the Extract
Once the extraction period is complete, it’s time to strain the extract and transfer it to suitable storage containers. This step ensures that any remaining plant material is removed, leaving you with a clean and concentrated extract.
Start by preparing a straining setup. You can use a fine-mesh sieve, cheesecloth, or a nut milk bag to strain the extract. Place the straining material over a clean container or bowl to catch the liquid while allowing any plant material to be filtered out.
Carefully pour the extracted mixture into the strainer, allowing it to slowly pass through and collect in the container below. Gently press or squeeze the plant material to extract as much liquid as possible. Take your time to ensure a thorough straining process, as any remaining plant material can affect the quality and shelf life of the extract.
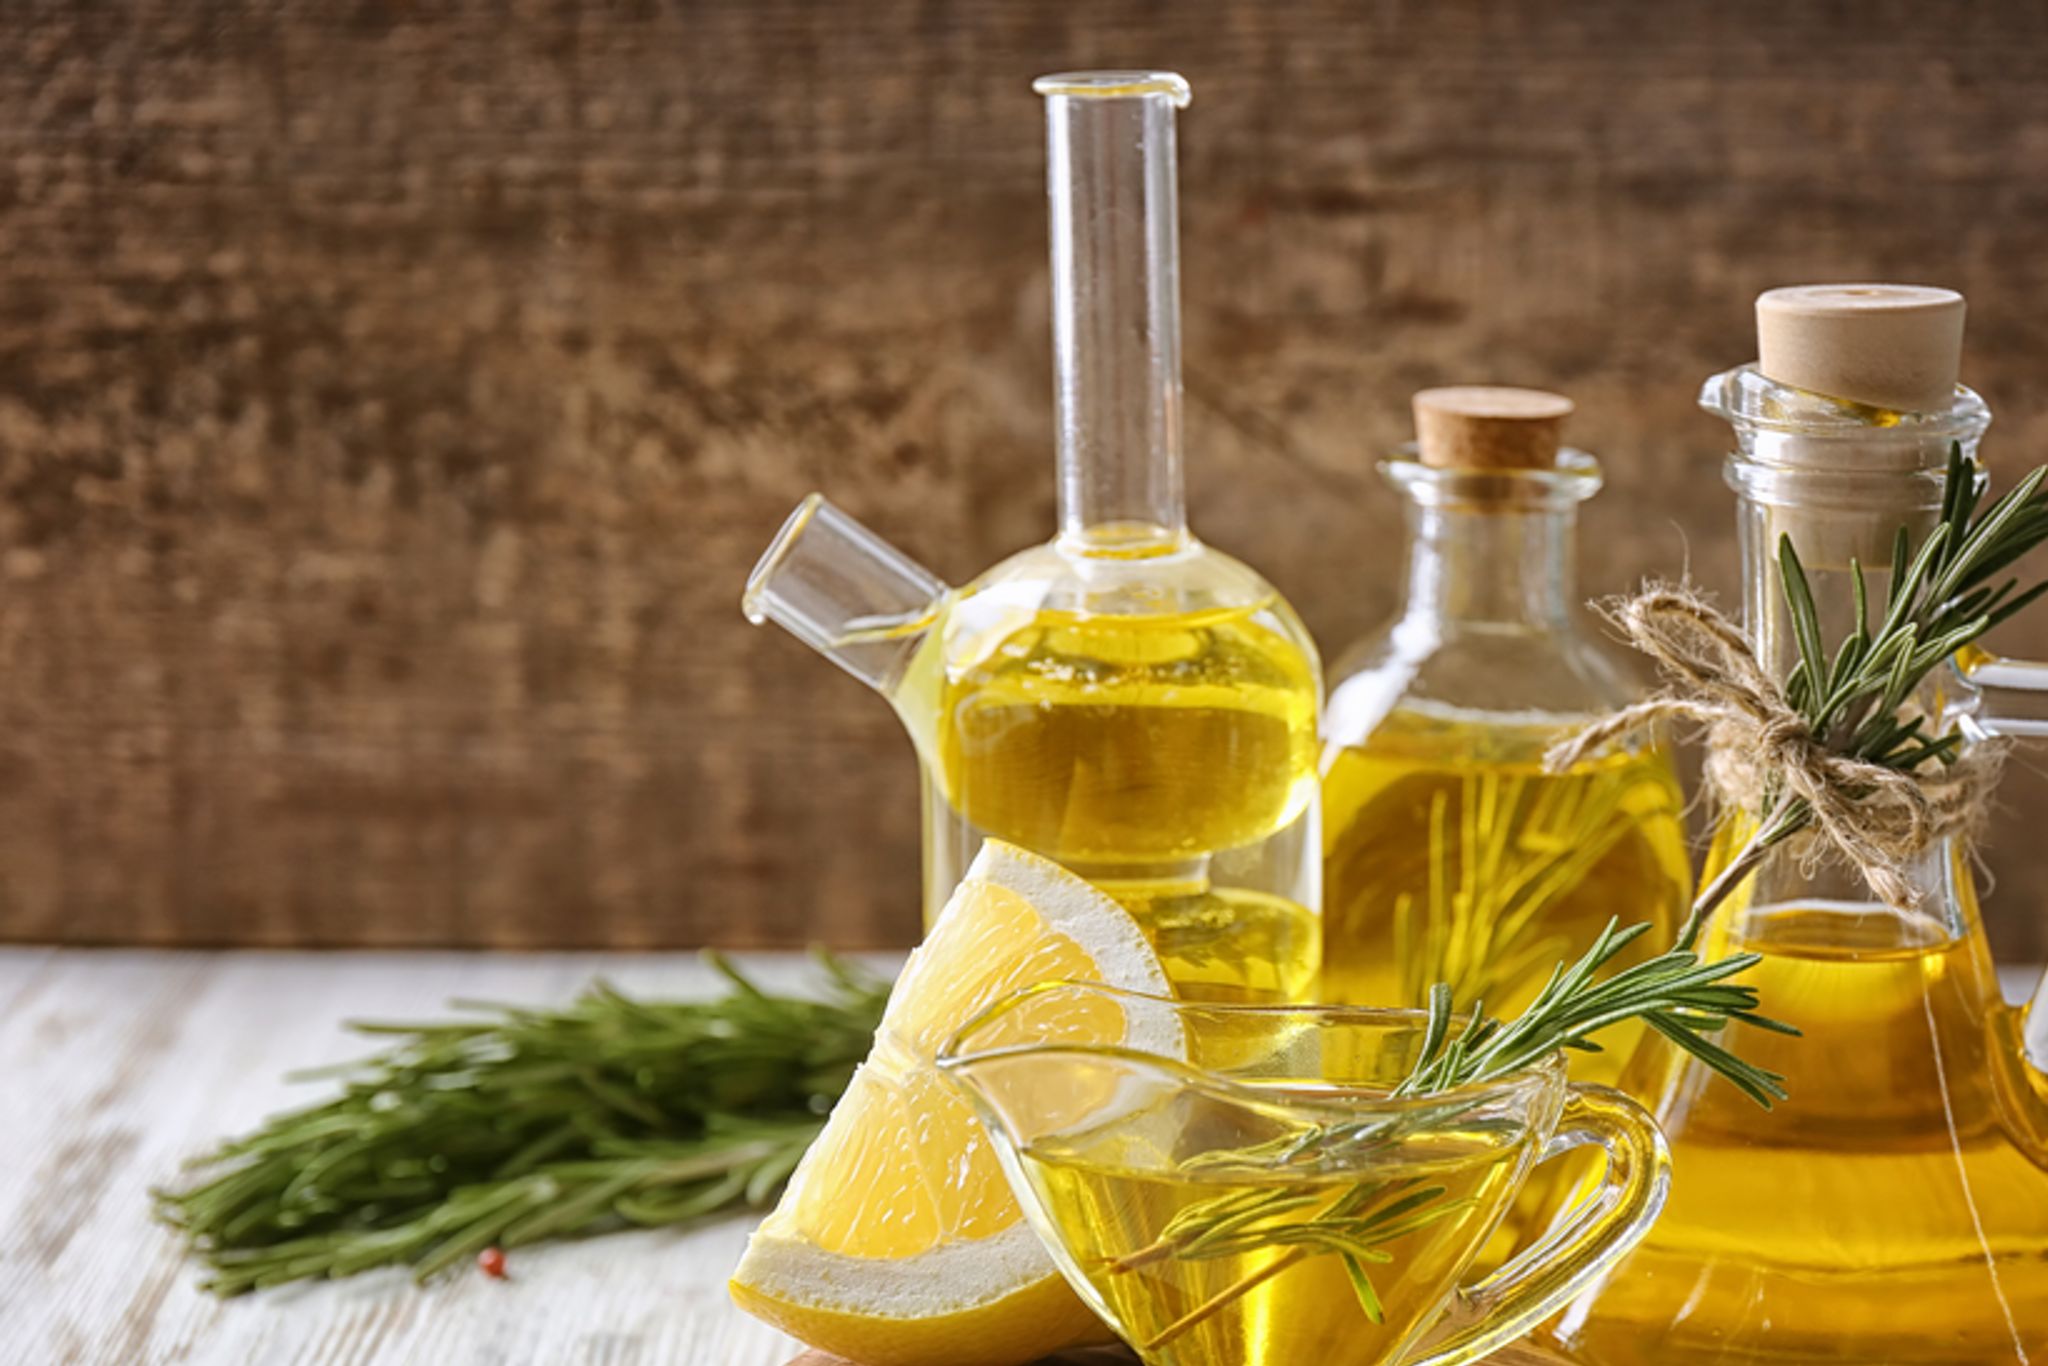
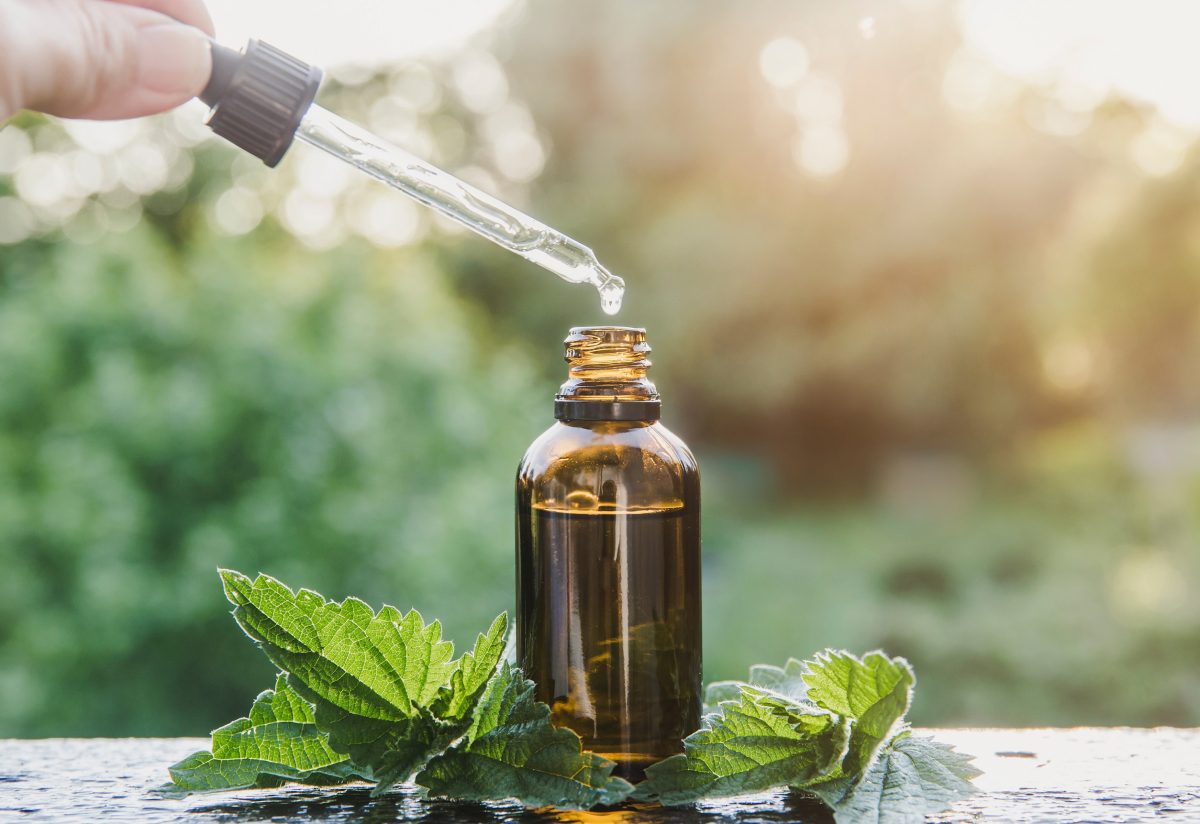
Once you have strained the extract, it’s time to transfer it to proper storage containers. Use amber or dark glass bottles with airtight lids to protect the extract from light and air. The dark-colored glass helps to prevent light degradation, while the airtight lids minimize exposure to oxygen, which can affect the potency and quality of the extract.
Before pouring the extract into the bottles, make sure they are clean and sterilized. Wash the bottles with hot soapy water and rinse thoroughly. You can also sterilize them by placing them in boiling water for a few minutes or using a dishwasher with a sterilization setting. Allow the bottles to air dry before transferring the extract.
Carefully pour the strained extract into the clean, dry bottles, leaving a small space at the top for expansion. Seal the bottles tightly to prevent air and moisture from entering. Label each bottle with the herb used and the date of extraction to keep track of the contents and shelf life.
Store the bottles in a cool, dark place away from direct sunlight and heat sources. Proper storage helps to maintain the potency and quality of the extract for an extended period. Most herbal extracts have a shelf life of around one to two years, but it’s always best to consult specific guidelines or research for the individual herb you have used.
Remember to check the bottles periodically for any signs of spoilage, such as off odors, discoloration, or mold. If you notice any of these signs, it’s best to discard the extract and make a fresh batch.
Now that you have successfully strained and stored your herbal extract, you can enjoy its numerous benefits in various ways. Whether you incorporate it into your daily wellness routine, use it in cooking and baking, or create your own herbal remedies, the possibilities are endless.
By following these steps and putting your own personal touch into the process, you can create high-quality, customized herbal extracts to enhance your DIY projects and promote a healthy and natural lifestyle.
Conclusion
Congratulations! You have successfully embarked on a journey to create your own herbal extracts. By following the step-by-step process outlined in this guide, you have learned how to gather and prepare herbs, choose the right solvent, extract the beneficial properties, and properly store the finished product.
Making your own extracts allows you to have full control over the quality, potency, and customization of the final product. By selecting specific herbs and solvents, you can tailor the extracts to your desired outcomes, whether it be for medicinal purposes, culinary adventures, or natural skincare products.
Remember, the quality and freshness of the herbs, as well as the proper extraction and storage techniques, are essential to produce high-quality herbal extracts. Taking the time to research, experiment, and refine your methods will help you to create extracts that are not only effective but also enjoyable to use.
As you continue on your herbal extract journey, explore new herbs, try different extraction techniques, and expand your knowledge of the properties and uses of various plants. Keep in mind that herbal extracts are powerful substances, so it’s important to educate yourself about dosage, potential interactions, and any contraindications associated with specific herbs.
Enjoy the process of creating your own extracts and let your creativity run wild. Blend different herbs together to create unique flavor profiles or experiment with various solvents to delve into the subtleties of different extraction methods. The possibilities are endless, and the more you practice, the more you will enhance your DIY skills and deepen your understanding of herbalism.
So, go ahead and unleash your inner herbalist. Embrace the art of making herbal extracts, and experience the full spectrum of benefits that these natural remedies have to offer.