Home>Gardening Basics>Understanding Soil>How To Make Potting Soil From Topsoil
Understanding Soil
How To Make Potting Soil From Topsoil
Modified: February 9, 2024
Learn how to make potting soil from topsoil and improve your understanding of soil with our easy step-by-step guide. Create nutrient-rich soil for healthy plant growth.
(Many of the links in this article redirect to a specific reviewed product. Your purchase of these products through affiliate links helps to generate commission for Chicagolandgardening.com, at no extra cost. Learn more)
Table of Contents
Introduction
Welcome to the world of gardening! Whether you’re a seasoned gardener or just starting out, understanding the importance of soil is crucial for successful plant growth. The quality of the soil significantly impacts the health and vitality of your plants, making it essential to use a well-balanced and nutrient-rich potting soil.
While there are many commercial potting soils available on the market, making your own from topsoil can offer numerous benefits. Not only does it give you more control over the composition of the soil, but it can also be a cost-effective and sustainable option.
In this article, we will guide you through the process of making potting soil from topsoil, step by step. By following our instructions and adding necessary amendments, you can create a high-quality potting mix that will provide optimal conditions for your plants’ growth.
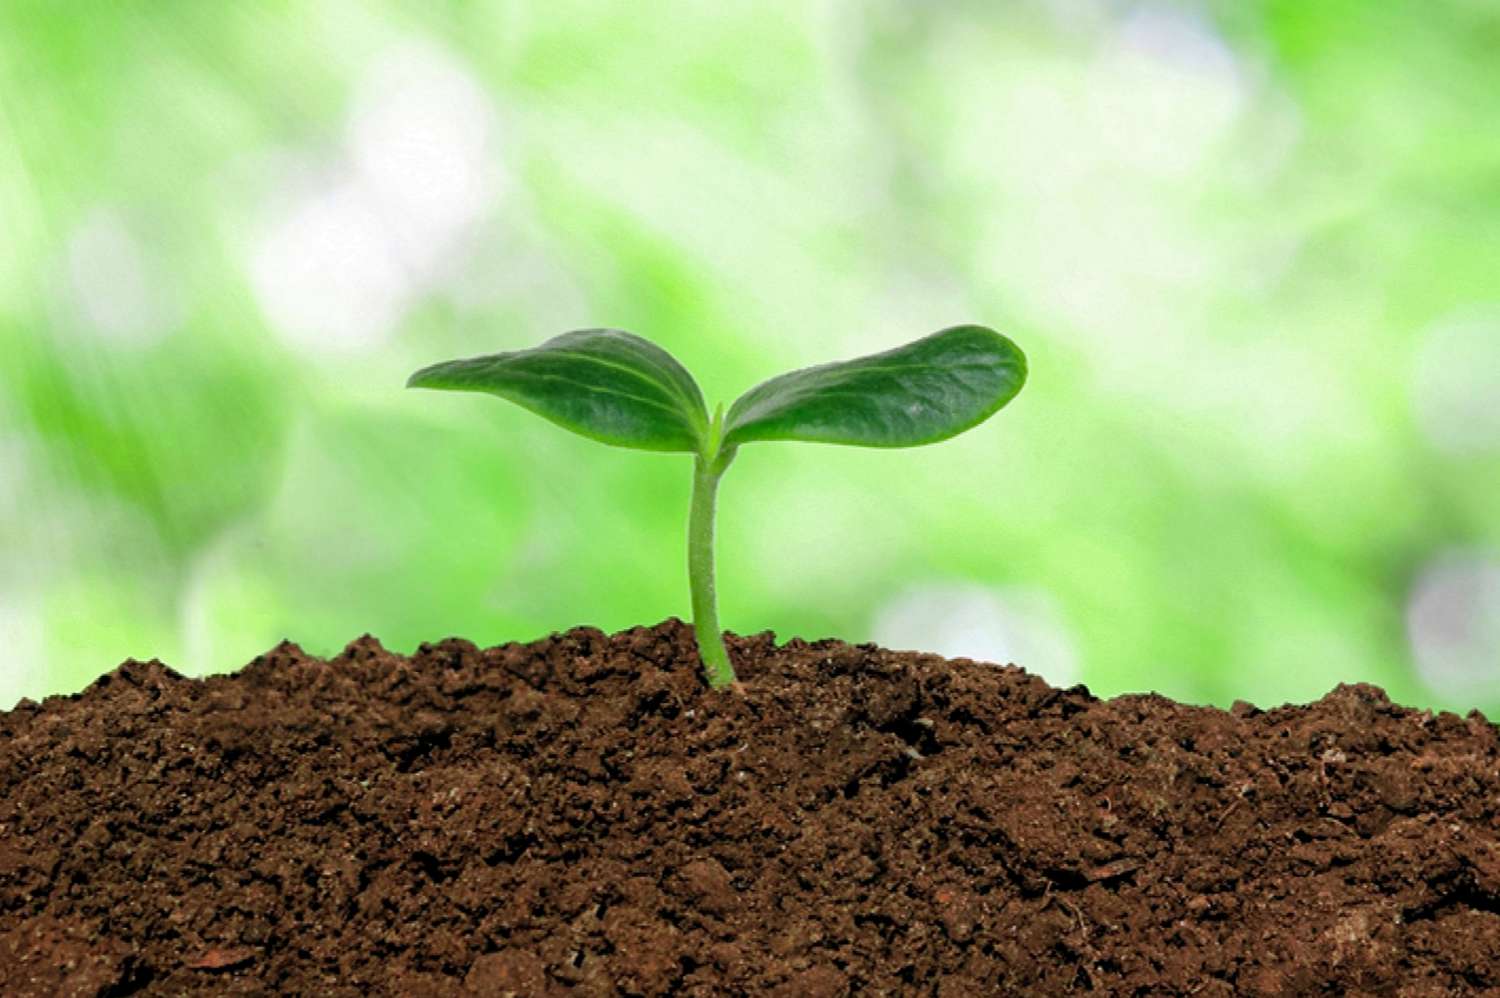
Before we dive into the steps, it is essential to understand the basic requirements of potting soil. A good potting mix should have excellent drainage while retaining enough moisture for the plants’ roots. It should also provide adequate nutrients and support for root development.
Now, let’s roll up our sleeves and get started on creating your very own potting soil from topsoil!
Step 1: Gathering Materials
Before you begin making your potting soil, it’s essential to gather all the necessary materials. Here’s a list of what you’ll need:
- Topsoil: Start with good quality topsoil as the base for your potting mix. Topsoil is rich in organic matter and minerals, providing a solid foundation for your plants.
- Compost: Compost is a key ingredient in potting soil, as it adds nutrients and improves soil structure. If you don’t have your own compost, you can purchase it from a garden center or nursery.
- Perlite or Vermiculite: These materials help improve drainage and aeration in the potting mix. Perlite is a lightweight volcanic rock, while vermiculite is a natural mineral that retains moisture.
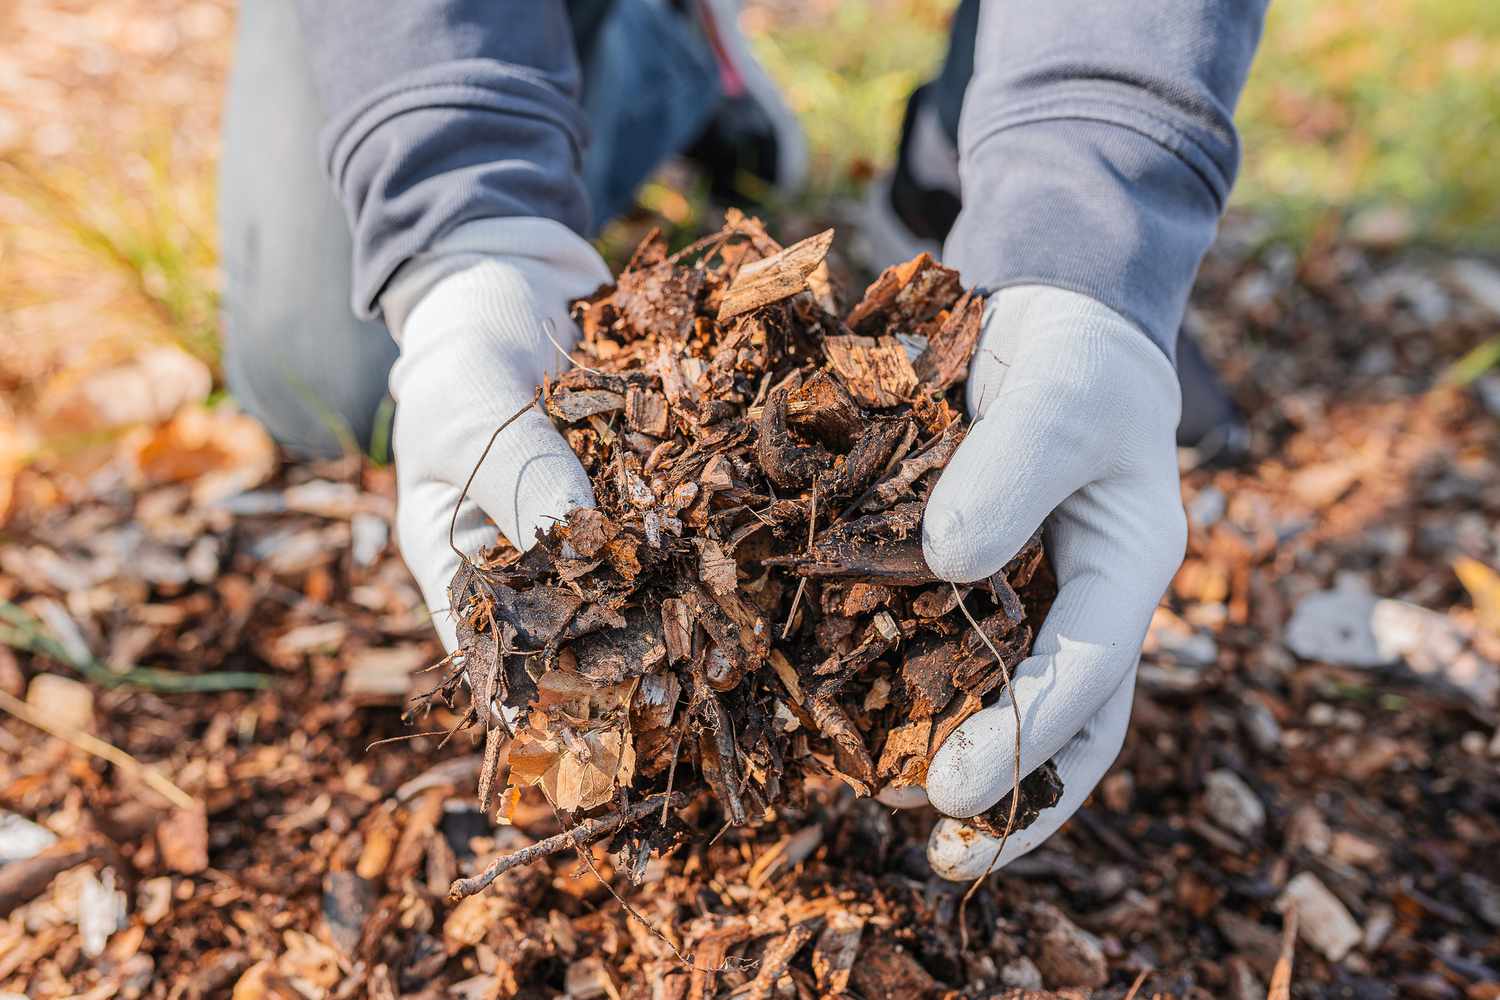
- Pine Bark or Coconut Coir: Pine bark or coconut coir can be used as an organic amendment to improve the water-holding capacity and structure of the potting soil.
- Fertilizer: Choose a slow-release organic fertilizer that provides essential nutrients over time. Look for a balanced NPK ratio (nitrogen, phosphorus, and potassium).
- Optional Amendments: Depending on your plants’ needs, you may want to include additional amendments such as peat moss, lime, or bone meal.
- Measuring Tools: To ensure accurate proportions, have measuring cups or a scale ready to measure the ingredients.
- Mixing Container: Use a large plastic container or a wheelbarrow to mix the ingredients thoroughly.
- Gloves and Mask: Protect your hands and lungs by wearing gloves and a mask when handling the materials.
Now that you have all the necessary materials, you’re ready to move on to the next step: preparing the topsoil.
Step 2: Preparing the Topsoil
Now that you have gathered all the necessary materials, it’s time to prepare the topsoil for your potting mix. Follow these steps to ensure your topsoil is ready to use:
- Remove Debris: Start by removing any rocks, sticks, or other debris from the topsoil. You want to ensure that you have a clean base to work with.
- Break Up Clumps: If the topsoil is compacted or contains large clumps, use a garden fork or a hoe to break them up. This will help improve the soil’s texture and allow for better root development.
- Sift the Soil: If you have the time and equipment, consider sifting the topsoil to remove any small stones or roots. This step is optional, but it will result in a finer and more uniform potting mix.
- Moisten the Soil: Before adding any amendments or mixing the ingredients, moisten the topsoil slightly. The soil should be evenly damp but not overly wet. This will make it easier to mix the ingredients thoroughly.
Preparing the topsoil is an important step as it sets the foundation for your potting mix. By removing debris, breaking up clumps, sifting the soil (if desired), and moistening it properly, you are ensuring that your plants will have a suitable medium for growth.
Now that your topsoil is prepared, it’s time to move on to the next step: adding amendments to improve the quality of the potting mix.
Step 3: Adding Amendments
Now that you have prepared the topsoil, it’s time to enhance its quality by adding amendments. These amendments will help improve drainage, fertility, and overall nutrient content in the potting mix. Follow these steps to add the necessary amendments:
- Compost: Add compost to the topsoil in a ratio of approximately 25-30% by volume. Mix it well to distribute the organic matter throughout the soil. Compost adds valuable nutrients and improves the soil structure, promoting healthy plant growth.
- Perlite or Vermiculite: To improve drainage and aeration, add perlite or vermiculite in a ratio of about 10-15% by volume. These materials prevent the potting mix from becoming overly compacted while retaining enough moisture for plant roots.
- Pine Bark or Coconut Coir: Depending on availability, you can add pine bark or coconut coir in a ratio of approximately 10-15% by volume. These organic amendments enhance the water-holding capacity of the potting mix and improve its overall structure.
- Fertilizer: Incorporate a slow-release organic fertilizer into the potting mix. Follow the manufacturer’s instructions for the correct application rate based on the volume of the mix. The fertilizer will provide essential nutrients to support healthy plant growth over an extended period.
- Optional Amendments: If desired, you can add additional amendments such as peat moss, lime, or bone meal based on the specific needs of your plants. Make sure to follow recommended application rates for these amendments.
By adding these amendments to your potting mix, you are creating an enriched and balanced soil medium that will provide optimal conditions for plant growth. Each amendment serves a specific purpose, whether it’s improving drainage, enhancing fertility, or providing essential nutrients.
Once you have added the necessary amendments, it’s time to move on to the next step: mixing all the ingredients together to create a well-blended potting soil.
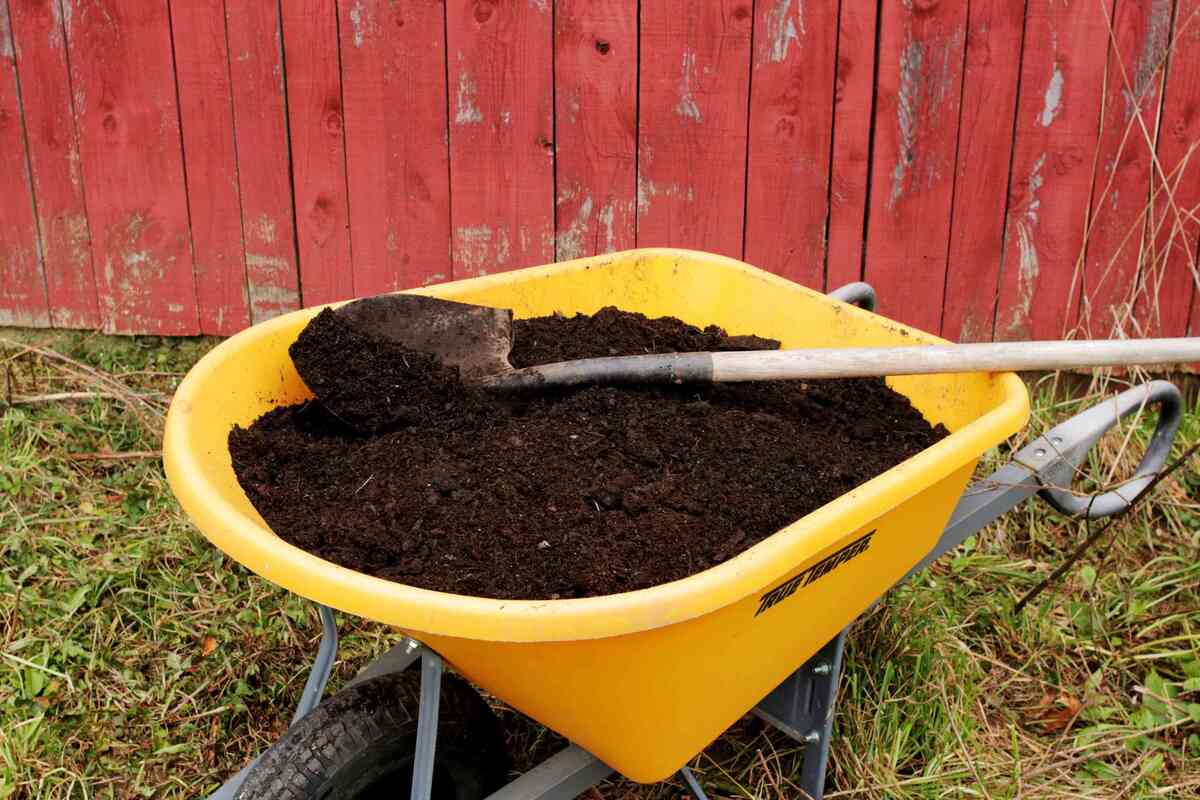
Step 4: Mixing the Ingredients
Now that you have added the necessary amendments to your topsoil, it’s time to mix all the ingredients together to create a well-blended potting soil. Follow these steps to ensure thorough mixing:
- Transfer the Materials: Transfer the prepared topsoil and all the amendments into a large mixing container, such as a plastic tub or wheelbarrow.
- Start Mixing: Using a garden spade or a large trowel, begin mixing the ingredients together. Make sure to turn the soil and amendments over, incorporating them evenly throughout the mix.
- Break Up Clumps: As you mix, break up any clumps or chunks of soil or amendments that you come across. Ensure that the potting mix has a consistent texture and is free of large clumps.
- Continue Mixing: Keep turning and mixing the ingredients until you achieve a uniform consistency. This ensures that all the amendments and topsoil are distributed evenly throughout the potting mix.
- Check for Moisture: As you mix, check the moisture level of the potting soil. It should be slightly damp but not overly wet. Add a small amount of water if needed, but be cautious not to make the mix too soggy.
Mixing the ingredients thoroughly is crucial to achieve a well-balanced potting soil. This step ensures that all the amendments and topsoil are combined evenly, allowing for consistent nutrient distribution and proper moisture retention.
Once you have mixed the ingredients thoroughly, your homemade potting soil is ready for use! However, before you start planting, it’s essential to test and adjust the pH and nutrient levels, which we will cover in the next step.
Step 5: Testing and Adjusting
Before using your homemade potting soil, it’s important to test it and make any necessary adjustments to ensure optimal plant growth. Testing the pH level and nutrient content will help determine if the potting mix is suitable for your specific plants. Follow these steps to test and adjust your potting soil:
- pH Testing: Use a pH testing kit or pH meter to measure the acidity or alkalinity of your potting soil. Different plants thrive in different pH ranges, so it’s essential to know the pH level of your mix. Follow the instructions provided with the testing kit to obtain accurate results.
- pH Adjustment: Based on the desired pH range for your plants, make any necessary adjustments to the pH of the potting soil. If the pH is too high (alkaline), you can lower it by adding organic matter like peat moss or sulfur. If the pH is too low (acidic), you can raise it by adding limestone or wood ash.
- Nutrient Testing: Conduct a nutrient test to determine if your potting soil provides adequate nutrients for plant growth. You can utilize soil testing kits available at garden centers or send a soil sample to a laboratory for analysis. The test results will indicate any nutrient deficiencies or excesses.
- Nutrient Adjustment: If your potting soil test reveals nutrient deficiencies, you can add specific organic fertilizers or amendments to address those nutrient requirements. Follow the recommended application rates for the specific nutrients based on the test results.
- Retesting and Adjusting: After making pH and nutrient adjustments, retest your potting soil to ensure that it falls within the desired pH range and provides adequate nutrients. Make further adjustments if necessary until the soil is well-balanced.
Testing and adjusting your potting soil will help create an ideal growing environment for your plants. By ensuring the pH level is suitable and the nutrient content is optimized, you can provide the best conditions for root development, nutrient uptake, and overall plant health.
Once you have performed the necessary tests and adjustments, your potting soil is ready to be used for planting. In the next step, we will discuss proper storage techniques to maintain the quality of your homemade potting soil.
Step 6: Storing the Potting Soil
Proper storage of your homemade potting soil is crucial to maintain its quality and usability over time. Follow these guidelines to store your potting soil effectively:
- Container Selection: Choose a suitable container for storing your potting soil. Plastic bins with tight-fitting lids or large resealable bags work well. Ensure that the container is clean and dry before use.
- Labeling: Label the container with the date of preparation and the ingredients used. This will help you keep track of the age of the potting soil and its composition.
- Moisture Control: Proper moisture control is essential to prevent the potting soil from becoming too dry or overly damp. Aim for a slightly moist consistency when storing the mix. If the soil feels dry, lightly mist it with water before sealing the container. If it feels too wet, spread it out on a tarp or newspaper to allow it to dry before storing.
- Storage Location: Find a cool, dry, and well-ventilated area to store your potting soil. Extreme temperatures and humidity can degrade the quality of the mix over time. Avoid storing the soil near sources of heat, direct sunlight, or areas prone to moisture buildup.
- Regular Inspections: Periodically check the stored potting soil for any signs of mold, pests, or unusual odors. If any issues are detected, discard the affected portion and consider adjusting the storage conditions if necessary.
- Expiration Date: While potting soil does not have a specific expiration date, it is generally recommended to use it within one to two years of preparation. Over time, the nutrient content may diminish or the mix may become compacted, affecting its performance. Freshening up the soil by adding compost or amendments can help rejuvenate older mixes.
By following proper storage practices, you can preserve the quality and usability of your potting soil for an extended period. This allows you to have a readily available supply of high-quality soil whenever you need it for your gardening projects.
Now that you know how to store your potting soil, you can confidently use it for all your future planting endeavors. Enjoy the rewards of nurturing your plants in a nutrient-rich and well-balanced potting mix!
Conclusion
Creating your own potting soil from topsoil can be a rewarding and cost-effective way to provide your plants with the ideal growing medium. By following the step-by-step process outlined in this article, you can ensure that your homemade potting soil is well-balanced, nutrient-rich, and provides optimal conditions for plant growth.
Starting with good quality topsoil, adding compost, perlite or vermiculite, and organic amendments like pine bark or coconut coir, and incorporating a slow-release organic fertilizer, you can customize your potting soil to meet the specific needs of your plants.
Testing and adjusting the pH level and nutrient content of your potting soil ensures that it provides an optimal environment for plant growth. By maintaining proper moisture control and storing the potting soil in a cool, dry place, you can preserve its quality and usability for longer periods.
Remember to periodically check your stored potting soil for any signs of degradation and refresh older mixes with compost or amendments, if needed. With these practices in place, you’ll have a reliable supply of high-quality potting soil for all your gardening endeavors.
Now that you have the knowledge and skills to make your own potting soil, it’s time to put it into practice and watch your plants thrive in a medium you created yourself. Happy gardening!