Home>Gardening Basics>Understanding Soil>How To Make A Topsoil Screener
Understanding Soil
How To Make A Topsoil Screener
Modified: January 22, 2024
Learn how to create an efficient topsoil screener and enhance your understanding of soil properties and composition. Ensure optimal gardening and landscaping results by mastering soil screening techniques.
(Many of the links in this article redirect to a specific reviewed product. Your purchase of these products through affiliate links helps to generate commission for Chicagolandgardening.com, at no extra cost. Learn more)
Table of Contents
Introduction
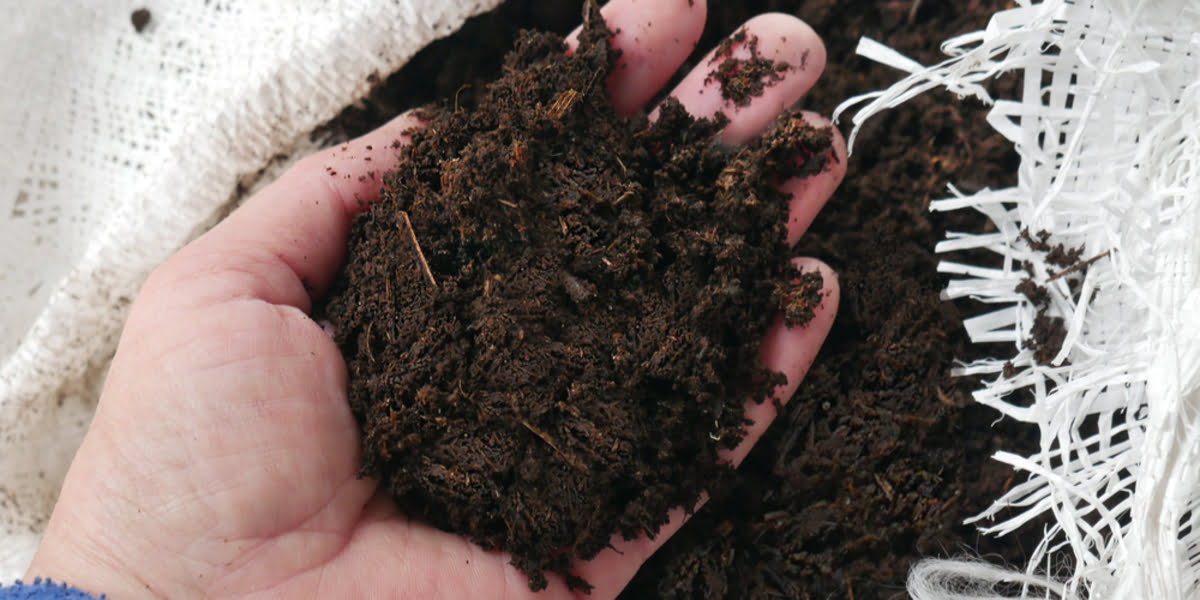
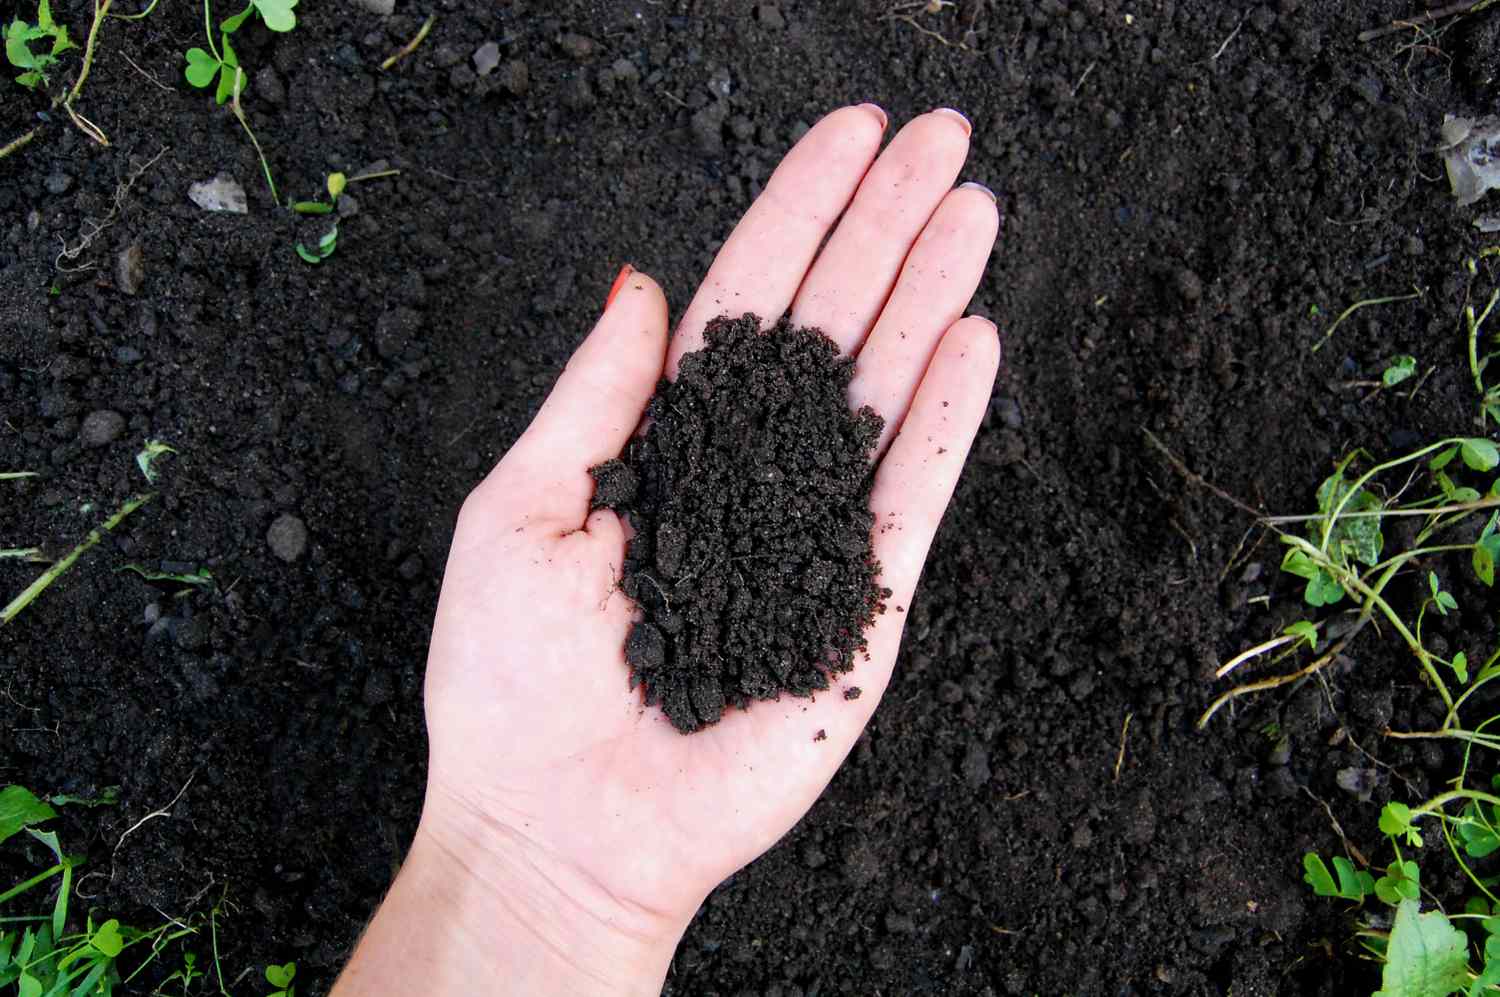
When it comes to gardening and landscaping, having good quality topsoil is essential for the success of your plants and the overall health of your garden. Topsoil provides the foundation for healthy root development, nutrient absorption, water retention, and proper drainage. However, not all topsoil is created equal, and sometimes you may need to sift out rocks, debris, and other unwanted materials to ensure you’re working with the best soil possible.
Commercial topsoil screeners can be expensive, but with a little creativity and some basic DIY skills, you can build your own topsoil screener at a fraction of the cost. This article will guide you through the process of building a topsoil screener step by step, using easily accessible materials and tools.
By making your own topsoil screener, you have the flexibility to customize it to suit your needs and the size of your gardening projects. Whether you’re working on a small backyard garden or a larger landscaping project, a topsoil screener will help ensure that the soil you’re using is free from debris and of the highest quality.
Building a topsoil screener not only saves you money but also allows you to have full control over the screening process. You can adjust the screen size to filter out larger or smaller particles depending on your requirements. It’s a practical and cost-effective solution that any gardening enthusiast can undertake.
In the following sections, we will outline the materials you’ll need, the steps involved in constructing a topsoil screener, and provide tips for testing and using your homemade screener effectively.
Materials Needed
Before you begin building your topsoil screener, it’s important to gather all the necessary materials. Most of these items can be easily found at your local hardware store or repurposed from things you may already have on hand. Here’s a list of the materials you’ll need:
- 4 pieces of sturdy wood, such as 2×4 or 4×4 boards, for the frame
- Mesh screening material, like hardware cloth or chicken wire
- Screws or nails to attach the screening material
- Support legs, either purchased or made from wood or metal
- Handles for easy maneuverability
- Wheels for portability (optional, but highly recommended)
- Measuring tape
- Saw or power tools for cutting the wood
- Screwdriver or drill
- Staple gun or hammer
Keep in mind that the sizes and quantities of materials listed above may vary depending on the dimensions of the topsoil screener you plan to build. It’s a good idea to measure the space where you’ll be using the screener and adjust the materials accordingly.
Additionally, you may also want to consider using weather-resistant or treated wood if your topsoil screener will be exposed to the elements. This will help prolong its lifespan and ensure it remains sturdy and durable over time.
Now that you have the necessary materials, it’s time to move on to the construction process. The next section will guide you through building the frame of your topsoil screener.
Step 1: Gathering the Required Components
Before you start building your topsoil screener, it’s important to gather all the necessary components. This step ensures that you have everything you need on hand and saves you from any interruptions during the construction process. Here’s a breakdown of the components you’ll need:
- 4 sturdy wood pieces: These will serve as the frame of your topsoil screener. You can use 2×4 or 4×4 boards, depending on the size and strength you require.
- Mesh screening material: Choose a material that is durable and has small enough holes to effectively filter out rocks, debris, and other unwanted particles. Hardware cloth or chicken wire are commonly used options.
- Screws or nails: You will need these to attach the screening material to the frame. Make sure they are sturdy enough to hold everything in place securely.
It’s a good idea to measure and cut the wood pieces to the desired dimensions before moving on to the next step. Using a measuring tape, determine the length and height you want for your topsoil screener. This will depend on the volume of soil you plan to work with and the space available in your garden or landscaping project.
Once you have the wood pieces cut to size, make sure they are smooth and free from any splinters or rough edges. Sand down any rough spots and ensure that the corners are square for a professional finish.
Next, gather the mesh screening material. Measure it according to the size of the wood frame and cut it with a sharp pair of scissors or wire cutters. Leave a bit of extra material on each side to allow for attachment to the frame.
Lastly, gather the screws or nails that will be used to secure the screening material to the frame. Make sure you have enough to evenly distribute along the edges, ensuring a secure fit.
With all the required components gathered, you’re now ready to move on to the next step: building the frame of your topsoil screener.
Step 2: Building the Frame
Now that you have gathered all the necessary components, it’s time to start building the frame for your topsoil screener. This step forms the foundation of your screener, providing stability and support for the screening material. Follow these steps to construct the frame:
- Place two of the wood pieces parallel to each other on a flat surface, with the desired width of your topsoil screener.
- Take the remaining two wood pieces and position them perpendicular to the first two, forming a rectangular shape.
- Adjust the wood pieces, ensuring that they are aligned and squared at the corners. Use a measuring tape to double-check the dimensions and make any necessary adjustments.
- Once the frame is aligned, secure the corners by driving screws or nails through the overlapping pieces of wood.
- Continue reinforcing the frame by adding additional screws or nails along each side, evenly spaced apart.
- Check the frame for stability and make any needed adjustments. It should be sturdy and able to withstand the pressure of the screening process.
While building the frame, it’s important to pay attention to detail and ensure that all corners are square and the wood pieces are securely joined together. This will guarantee a sturdy and stable foundation for your topsoil screener.
Once you have completed this step, you’re now ready to move on to the next phase: attaching the screening material to the frame.
Step 3: Attaching the Screening Material
With the frame of your topsoil screener built, it’s time to attach the screening material. This step is crucial as it allows you to filter out unwanted debris and ensure that only quality topsoil passes through. Follow these steps to attach the screening material:
- Lay the frame flat on a work surface, ensuring that all sides are easily accessible.
- Unroll the mesh screening material and place it over the frame, ensuring that it covers the entire surface area.
- Secure one side of the screening material to the frame using staples, screws, or nails. Start at one corner and work your way along the edge, spacing the fasteners evenly.
- Tug on the screening material to ensure it is taut and free from any wrinkles or sagging. This will ensure proper sifting and prevent any blockages.
- Move to the opposite side of the frame and repeat the process of securing the screening material.
- Repeat steps 3-5 for the remaining two sides of the frame, ensuring that all sides are securely fastened.
As you attach the screening material, it’s important to check periodically for proper tension and alignment. Adjust the material if needed, ensuring that it is evenly stretched across the frame and free from any gaps or loose areas.
Once the screening material is securely attached, inspect the entire frame to ensure there are no loose staples, screws, or nails that could potentially cause injury during use. Trim any excess screening material that hangs over the edges of the frame for a clean finish.
With the screening material securely attached, you have completed the crucial step of constructing the filtering mechanism of your topsoil screener. Next, we will proceed to building the support legs to provide stability and convenience during use.
Step 4: Constructing the Support Legs
After completing the frame and attaching the screening material, it’s time to construct the support legs for your topsoil screener. These legs will provide stability and ensure that the screener stands securely during use. Follow these steps to construct the support legs:
- Decide on the desired height of your topsoil screener and mark this measurement on each of the four corners of the frame.
- Cut four pieces of wood or metal to the appropriate length for the legs, ensuring that they are all equal in size.
- Position the legs against the corners of the frame, aligning them with the marked measurements.
- Secure the legs to the frame by driving screws or nails through the legs and into the frame. Make sure they are tightly attached to provide stability.
- If using wooden legs, reinforce the connection by adding additional screws or nails along the sides of the legs.
- Once the legs are securely attached, check the stability and adjust them if needed. They should support the weight of the topsoil screener without wobbling or tipping over.
When constructing the support legs, it’s important to choose materials that are sturdy and durable. Wood or metal are common choices for these legs, but you can use any material that provides the required strength and stability.
Consider adding additional reinforcements, such as diagonal bracing or cross beams, to further enhance the stability of the support legs. This will ensure that your topsoil screener remains steady even during vigorous sifting.
With the support legs in place, your topsoil screener is now equipped to handle the sifting process. However, if you desire a more portable solution, continue to the next step where we will add handles and wheels for increased mobility.
Step 5: Adding Handles and Wheels for Portability
In this step, we will enhance the portability of your topsoil screener by adding handles and wheels. This will allow you to easily move and transport the screener to different areas of your garden or landscaping project. Follow these steps to add handles and wheels:
- Decide on the placement of the handles. These are typically attached to the sides of the frame, near the top, for easy gripping.
- Measure and mark the desired locations for the handles on each side of the frame.
- Secure the handles to the frame using screws or bolts, ensuring that they are securely attached and able to bear the weight of the screener.
- If desired, add additional reinforcement, such as brackets or metal plates, to strengthen the connection between the handles and the frame.
- Next, determine the placement of the wheels. Two wheels are typically installed on one end of the frame, diagonally opposite the handles, to provide balance and ease of movement.
- Using appropriate mounting hardware, attach the wheels to the frame at the designated locations. Ensure that they are securely fastened and able to withstand the weight of the screener.
- Test the mobility of your topsoil screener by gently pushing or pulling it. The screener should move smoothly and without any resistance from the wheels.
When selecting handles and wheels for your topsoil screener, choose sturdy and durable options that are suitable for outdoor use. Handles with a comfortable grip and wheels that can roll smoothly over various terrains are recommended.
Additionally, consider using locking mechanisms on the wheels to keep the screener in place during use. This will prevent any unwanted movement or accidental tipping.
With handles and wheels added, your topsoil screener is now portable and easy to maneuver. In the next step, we will discuss how to effectively test the performance of your homemade screener.
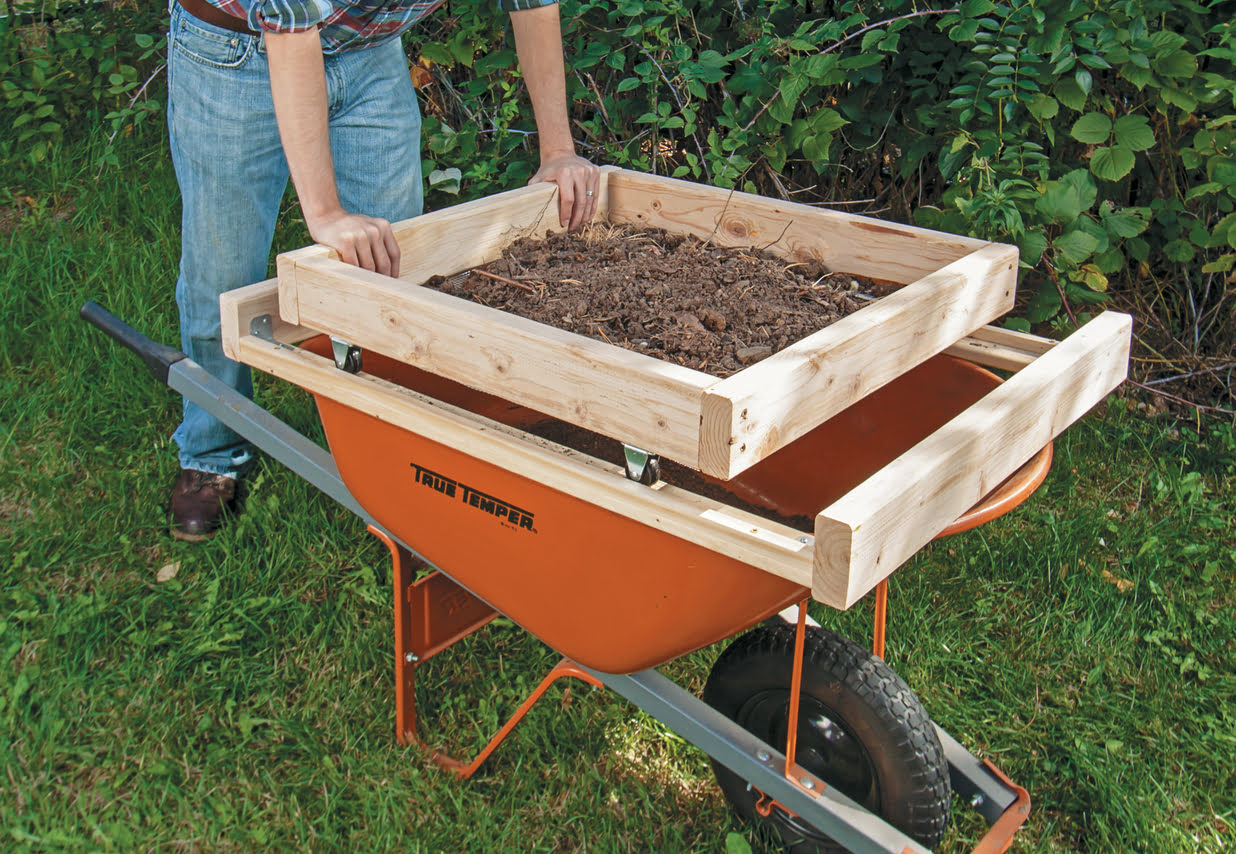
Step 6: Testing the Topsoil Screener
Now that your topsoil screener is complete, it’s time to put it to the test and ensure that it effectively sifts out unwanted debris, leaving you with high-quality topsoil for your gardening or landscaping needs.
Follow these steps to test the performance of your topsoil screener:
- Gather a sample of soil that you want to screen. This can be from your garden or any other area where you need to remove rocks, roots, or other debris.
- Place the sample of soil onto the screening material of the topsoil screener.
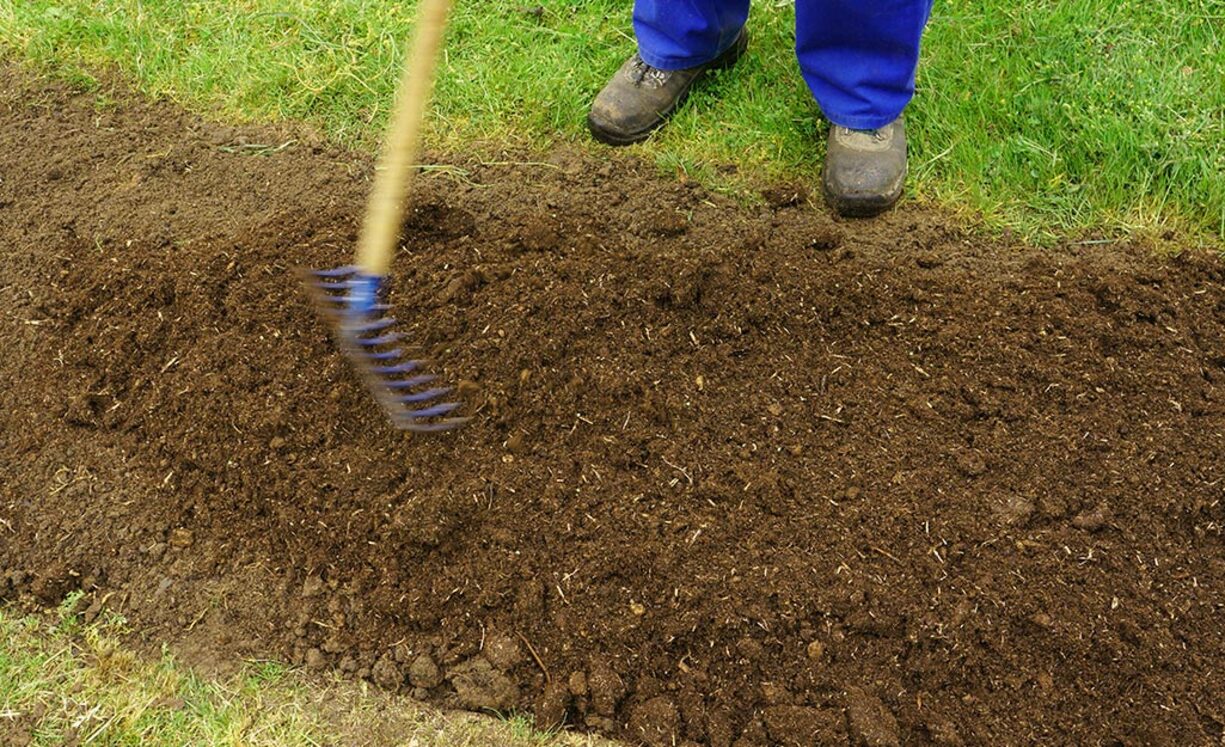
- Using a rake or shovel, spread the soil evenly across the surface of the screener.
- Gently shake or agitate the frame of the screener, allowing the soil to pass through the screening material while the rocks and debris remain on top.
- Observe the filtered soil that falls through the screening material. It should be free from larger particles and debris, indicating that the topsoil screener is working effectively.
- Inspect the remaining rocks and debris on top of the screening material. This shows the effectiveness of the screener in separating unwanted materials from the soil.
- If necessary, make adjustments to the screening material or the shaking motion to further improve the filtration process.
By testing your topsoil screener, you can ensure that it is functioning correctly and producing the desired results. If you notice any issues or areas for improvement, don’t hesitate to make adjustments and modifications to enhance the performance.
Remember, the purpose of the topsoil screener is to provide you with clean and high-quality soil for gardening or landscaping purposes. Regularly testing and maintaining the screener will ensure that it continues to meet your needs and helps you achieve the best results in your projects.
With the testing phase complete, you can now confidently use your homemade topsoil screener to filter and sift soil for various gardening or landscaping projects.
Conclusion
Building your own topsoil screener can be a rewarding and cost-effective way to ensure the quality of the soil in your garden or landscaping projects. By following the step-by-step process outlined in this article, you have learned how to gather the necessary materials, construct the frame, attach the screening material, add support legs, incorporate handles and wheels for portability, and test the performance of your homemade topsoil screener.
Not only does building your own topsoil screener save you money, but it also gives you the flexibility to customize the size and specifications to meet your unique needs. Whether you have a small backyard garden or a larger landscaping project, a topsoil screener can help ensure that you’re working with the best soil possible by removing rocks, roots, and other debris.
Remember to always consider the quality and durability of the materials you use, ensuring that your topsoil screener remains sturdy and efficient. Regular maintenance and testing will guarantee its optimal performance in the long run.
So why wait? Start building your own topsoil screener today and take control of the quality of your soil. With this DIY project, you can enjoy the satisfaction of creating a valuable tool that will support the health and success of your plants, enabling you to create a thriving and beautiful garden.