Home>Gardening Basics>Understanding Soil>How To Make Soil

Understanding Soil
How To Make Soil
Published: February 7, 2024
Learn how to make soil by understanding its composition, nutrients, and the best techniques for improving soil health. Get expert tips and advice for successful gardening.
(Many of the links in this article redirect to a specific reviewed product. Your purchase of these products through affiliate links helps to generate commission for Chicagolandgardening.com, at no extra cost. Learn more)
Table of Contents
- Introduction
- Step 1: Understanding the Composition of Soil
- Step 2: Collecting Organic Matter
- Step 3: Preparing the Soil Site
- Step 4: Adding Organic Matter to the Soil
- Step 5: Incorporating Amendments into the Soil
- Step 6: Testing the Soil pH
- Step 7: Mixing Soil Thoroughly
- Step 8: Allowing Soil to Settle
- Step 9: Maintaining and Nurturing the Soil
- Conclusion
Introduction
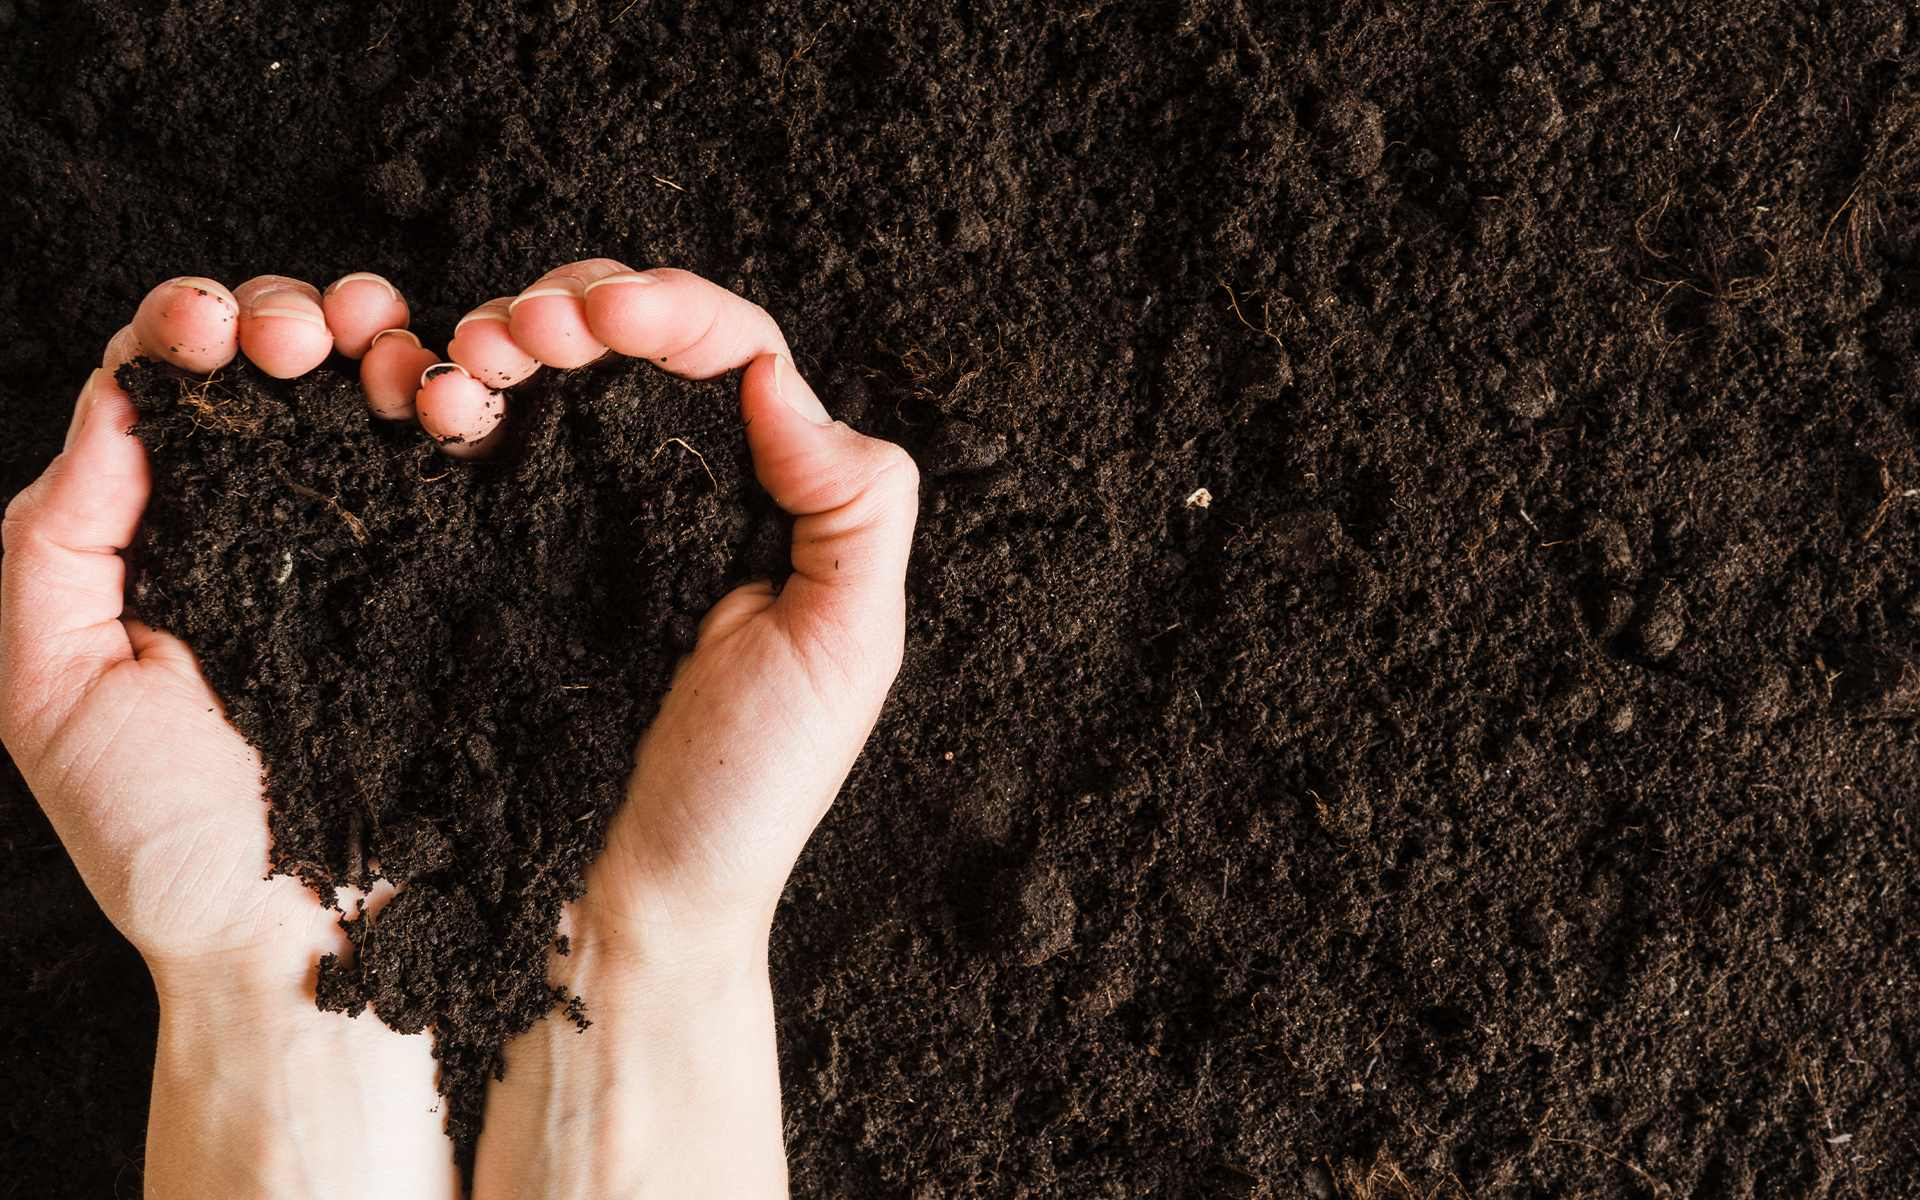
Soil is the foundation of life. It is the medium that nurtures and sustains plants, providing them with essential nutrients, water, and support. Understanding soil is crucial for gardeners, farmers, and anyone interested in cultivating healthy and thriving plants. Whether you are starting a new garden or looking to improve the quality of your existing soil, this guide will provide you with the knowledge and steps needed to make your own soil.
Making soil is not just about digging a hole and filling it with dirt. It is about creating a balanced and fertile growing medium that will support the needs of your plants. By taking the time to understand the composition of soil and how to improve it, you can create an optimal environment for plant growth and ensure the long-term health and productivity of your garden.
In this guide, we will walk you through the step-by-step process of making soil. From understanding the composition of soil to incorporating organic matter and amendments, we will cover everything you need to know to create nutrient-rich and well-draining soil. So let’s dive in and explore the fascinating world of soil!
Step 1: Understanding the Composition of Soil
Before you can start making soil, it is important to understand its composition. Soil is made up of a combination of inorganic particles, organic matter, water, air, and living organisms. Each component plays a vital role in the overall health and fertility of the soil.
Inorganic particles, such as sand, silt, and clay, make up the mineral portion of the soil. These particles differ in size and shape, which affects the soil’s texture and drainage properties. Sandy soil, for instance, has larger particles and drains quickly, while clay soil has smaller particles and retains more moisture.
Organic matter is another essential component of soil. It consists of decomposed plant and animal materials, such as leaves, twigs, and compost. Organic matter improves the soil’s structure, water-holding capacity, and nutrient content. It also provides a food source for beneficial soil organisms.
Water and air are crucial for soil health. Water acts as a carrier for nutrients, allowing them to be absorbed by plant roots. It also provides hydration for plants and contributes to the overall soil moisture balance. Air, on the other hand, allows for oxygen to reach the roots, facilitating respiration and nutrient uptake.
Living organisms, including bacteria, fungi, earthworms, and insects, are vital to the soil ecosystem. They decompose organic matter, release nutrients, improve soil structure, and control pests and diseases. A healthy soil ecosystem promotes nutrient cycling and enhances plant growth.
By understanding the composition of soil, you can assess its quality and make informed decisions on how to improve it. Soil testing kits are available to measure pH levels, nutrient content, and organic matter percentage. These tests provide valuable information that will guide you in choosing the right amendments and organic materials for your soil.
Now that we have laid the groundwork by understanding the composition of soil, let’s move on to the next step: collecting organic matter.
Step 2: Collecting Organic Matter
Organic matter is a key component in making nutrient-rich soil. It helps improve soil structure, enhances nutrient retention, promotes microbial activity, and increases water-holding capacity. Collecting organic matter can be done in various ways, and there are several sources you can tap into to enrich your soil.
One of the easiest ways to collect organic matter is by composting. Composting involves the decomposition of organic materials like food scraps, yard waste, and leaves. By composting these materials, you can create a rich and fertile compost that can be incorporated into your soil. Simply set up a compost bin or pile in your backyard and add organic matter regularly. Turn the compost every few weeks to ensure proper decomposition.
In addition to composting, you can also collect organic matter through mulching. Mulching involves covering the soil surface with organic materials like straw, wood chips, or leaves. Mulch helps retain moisture, suppress weed growth, and protect the soil from erosion. As the organic materials break down over time, they contribute to the soil’s organic matter content.
Another source of organic matter is animal manure. Manure from herbivorous animals, such as cows, horses, or chickens, contains valuable nutrients and organic material. However, it’s important to use well-aged or composted manure to avoid the risk of weed seeds or pathogens. Apply manure to your soil and incorporate it thoroughly before planting.
If you don’t have access to compost, mulch, or animal manure, you can also purchase organic matter from garden centers or nurseries. Look for well-composted materials like garden soil, mushroom compost, or leaf mold. These products can be added directly to the soil or used as a top dressing.
Remember, when collecting organic matter, it’s important to choose materials that are free from pesticides, chemicals, or pollutants. These substances can have negative effects on the soil and the plants growing in it. Opt for organic and sustainable sources whenever possible.
Now that you know how to collect organic matter, let’s move on to step 3: preparing the soil site.
Step 3: Preparing the Soil Site
Preparing the soil site is a crucial step in making soil. It involves creating the right conditions for optimal plant growth and ensuring proper drainage, aeration, and nutrient availability. This step sets the foundation for a healthy and productive garden or planting area.
Start by clearing the area of any existing vegetation, weeds, or debris. This will give you a clean slate to work with and prevent competition for nutrients and space. Use a garden fork or shovel to remove any large rocks or roots that may hinder plant root development.
Next, consider the drainage of the site. Poor drainage can lead to waterlogged soil and root rot, while excessive drainage can cause the soil to dry out too quickly. To improve drainage, you can incorporate organic matter into the soil. This will help loosen compacted soil and create air pockets for better water movement.
Aeration is another critical factor for soil preparation. Compact soil can restrict root growth and inhibit the availability of oxygen to the roots. Use a garden fork or a mechanical aerator to loosen the soil, allowing air to penetrate more easily.
Once the soil is adequately prepared, it’s time to assess its nutrient content and pH level. Soil testing kits can provide valuable information about the soil’s nutrient deficiencies and pH balance. Based on the test results, you can determine which amendments or fertilizers to add to the soil to optimize its nutrient composition.
Amending the soil with organic matter or other nutrient-rich materials is often necessary to ensure the proper fertility of the soil. Incorporate the amendments into the soil according to package instructions. This can be done by mixing them thoroughly with a garden fork or rototiller, ensuring an even distribution throughout the soil.
Finally, consider the location and sunlight requirements of the plants you intend to grow. Observe the site and make sure it receives adequate sunlight for the specific plant species. Some plants thrive in full sun, while others prefer partial shade. Adjust your planting strategy accordingly to create an environment where your plants will thrive.
By properly preparing the soil site, you are setting the stage for healthy plant growth. Taking the time to create favorable conditions will ensure that your plants have the best start and can access the necessary nutrients and water for their development.
Now that you have prepared the soil site, it’s time to move on to step 4: adding organic matter to the soil.
Step 4: Adding Organic Matter to the Soil
Adding organic matter is a critical step in making rich and fertile soil. Organic matter improves soil structure, water-holding capacity, and nutrient availability, creating an optimal environment for plant growth. There are several ways to incorporate organic matter into the soil, depending on the type and availability of materials.
One of the most common methods is to mix compost into the soil. Compost is a nutrient-rich material that is created through the decomposition of organic waste. It can be made at home by collecting kitchen scraps, yard trimmings, and other organic materials and allowing them to decompose over time. Spread a layer of compost over the soil surface and mix it in thoroughly to ensure even distribution.
If you don’t have access to compost, you can also use other organic materials like well-rotted manure, leaf mold, or peat moss. These materials can be spread over the soil and mixed in to improve its organic matter content. Make sure to incorporate them thoroughly to avoid creating concentrated pockets of organic matter.
Incorporating cover crops is another effective way to add organic matter to the soil. Cover crops, also known as green manure, are plants that are grown specifically to improve the soil. They are planted and then tilled or mulched into the soil before they reach maturity. Cover crops add organic matter, fix nitrogen from the air, and can help suppress weeds.
When adding organic matter to the soil, it’s important to consider the composition of the existing soil and the specific needs of the plants you intend to grow. Some plants prefer more acidic soil, while others thrive in alkaline conditions. By understanding the pH requirements of your plants, you can choose the right materials or amendments to create an optimal growing environment.
Incorporating organic matter should be done before planting or sowing seeds. This allows the organic materials to decompose and integrate with the soil, providing the nutrients and texture necessary for healthy plant growth. Remember to mix and blend the organic matter thoroughly, ensuring that it is evenly distributed throughout the soil.
By adding organic matter to the soil, you are enriching it with essential nutrients, improving its structure, and creating a thriving ecosystem for beneficial soil organisms. This step sets the stage for robust plant growth and a productive garden.
Now that you have added organic matter to the soil, let’s move on to step 5: incorporating amendments into the soil.
Step 5: Incorporating Amendments into the Soil
Once you have added organic matter to the soil, it’s time to consider incorporating amendments. Amendments are substances that help improve specific aspects of the soil, such as its pH level, nutrient content, or drainage capabilities. Incorporating amendments into the soil can further enhance its fertility and create an optimal environment for plant growth.
One common type of amendment is lime or sulfur. These substances are used to adjust the soil’s pH level. Lime is typically applied to acidic soils to raise the pH and make it more alkaline, while sulfur is used to lower the pH of alkaline soils. It’s important to conduct a soil test beforehand to determine the pH level and the appropriate amount of amendment to add.
If your soil is lacking in specific nutrients, you can incorporate amendments like bone meal, blood meal, or fish emulsion. These amendments provide a concentrated source of nutrients, such as nitrogen, phosphorus, and potassium, that plants need for healthy growth. Follow the instructions on the packaging regarding application rates and techniques.
Incorporating organic amendments like composted manure or green manure cover crops is another effective way to improve soil fertility. These amendments not only add organic matter but also introduce beneficial microbes and enhance nutrient availability in the soil. Mix them thoroughly into the soil to ensure proper distribution.
In some cases, soil may have poor drainage, leading to waterlogged conditions that can drown plant roots. In such situations, incorporating amendments like perlite or vermiculite can improve the soil’s drainage capabilities. These lightweight materials create air pockets in the soil, allowing excess water to drain more efficiently.
When incorporating amendments, it’s crucial to follow the recommended application rates and techniques. Adding too much of an amendment can lead to imbalanced soil nutrient levels or pH levels. Conversely, adding too little may not have a significant effect on improving soil conditions. Refer to instructions on the packaging or consult a local agricultural extension office for guidance.
After incorporating amendments, mix them thoroughly with the soil to ensure even distribution. Use a garden fork or a rototiller to blend the amendments into the top few inches of soil. This will help create a uniform soil composition and ensure that the amendments are readily available to your plants’ roots.
By incorporating amendments into the soil, you can address specific soil deficiencies and optimize the growing conditions for your plants. This step enhances the overall fertility and health of the soil, setting the stage for successful plant growth and a bountiful garden.
Now that you have incorporated amendments into the soil, let’s move on to step 6: testing the soil pH.
Step 6: Testing the Soil pH
Understanding the pH level of your soil is crucial for successful plant growth. pH is a measure of the soil’s acidity or alkalinity and directly impacts nutrient availability to plants. Testing the soil pH allows you to assess whether the soil is within the optimal range for your desired plants and make any necessary adjustments.
Soil pH is measured on a scale of 0 to 14, with 7 being neutral. A pH below 7 indicates acidic soil, while a pH above 7 indicates alkaline soil. Most plants prefer a slightly acidic to neutral pH, typically ranging from 6 to 7.5. However, there are exceptions, as some plants have specific pH preferences.
To test the soil pH, you can use a pH testing kit or send a soil sample to a laboratory for analysis. pH testing kits are widely available and easy to use. They typically involve mixing soil with a testing solution and comparing the resulting color to a chart. Follow the instructions provided with your testing kit for accurate results.
If the test indicates that your soil is too acidic, you can raise the pH by adding lime. Lime, typically in the form of ground limestone, reacts with the soil to neutralize acidity and raise the pH level. The amount of lime needed will depend on the initial pH level and the specific recommendations provided by the testing kit or laboratory analysis.
If the soil is too alkaline, you can lower the pH by adding elemental sulfur. Elemental sulfur reacts with the soil to release sulfuric acid, which lowers the pH level. Again, the amount of sulfur needed will depend on the initial pH level and specific recommendations.
It’s important to note that adjusting soil pH takes time and should be done gradually. A rapid change in pH can shock plants and impact their growth. It’s best to add amendments, such as lime or sulfur, at least several months before planting to allow the pH to stabilize.
In some cases, you may have specific plants that require soil pH outside the optimal range. In such instances, it’s important to know the preferred pH range for those plants and adjust the soil accordingly. This can be done by using acidifying or alkalizing amendments specific to the needs of those plants.
By testing and adjusting the soil pH, you can create an optimal growing environment for your plants. Providing them with the right pH level ensures that nutrients are available for uptake, leading to healthier and more productive plants.
Now that you have tested the soil pH, let’s move on to step 7: mixing the soil thoroughly.
Step 7: Mixing Soil Thoroughly
After adding organic matter, amendments, and adjusting the pH, it’s crucial to mix the soil thoroughly. Mixing the soil ensures that all the components, such as organic matter and amendments, are evenly distributed, creating a uniform growing medium for your plants.
Start by using a garden fork or a rototiller to loosen the soil. This will help break up any clumps and create a loose and aerated soil structure. Work your way through the entire area, paying attention to any compacted spots or areas that were recently amended.
Next, incorporate the added organic matter and amendments into the soil. This can be done by turning the soil over with a shovel or garden fork, mixing the materials as you go. Make sure to dig deep enough to reach the depth where the plant roots will grow, usually around 6 to 8 inches.
Continue mixing the soil thoroughly until the organic matter and amendments are evenly distributed. Aim for a consistent texture and color throughout the entire soil bed. This will ensure that nutrients, water, and air are accessible to plant roots throughout the growing season.
If you encounter any larger pieces of organic matter or clumps of soil, break them apart and distribute them evenly as you continue mixing. This will prevent any concentrated areas that could hinder root development or affect water and nutrient distribution.
Avoid over-mixing the soil, as excessive tilling can result in a compacted soil structure, poor drainage, and disruption of beneficial soil organisms. Aim for a well-mixed soil with a loose and crumbly texture that allows for root penetration and promotes healthy plant growth.
Take the time to visually inspect the soil as you mix it. Look for any remaining pockets of organic matter or areas that appear devoid of amendments. If necessary, go back and redistribute the materials to ensure an even distribution.
Remember that thorough mixing is crucial for creating a homogenous soil bed that will provide a consistent growing environment for your plants. Taking the time to mix the soil properly at this stage will set a solid foundation for successful plant growth and a productive garden.
Now that you have mixed the soil thoroughly, let’s move on to step 8: allowing the soil to settle.
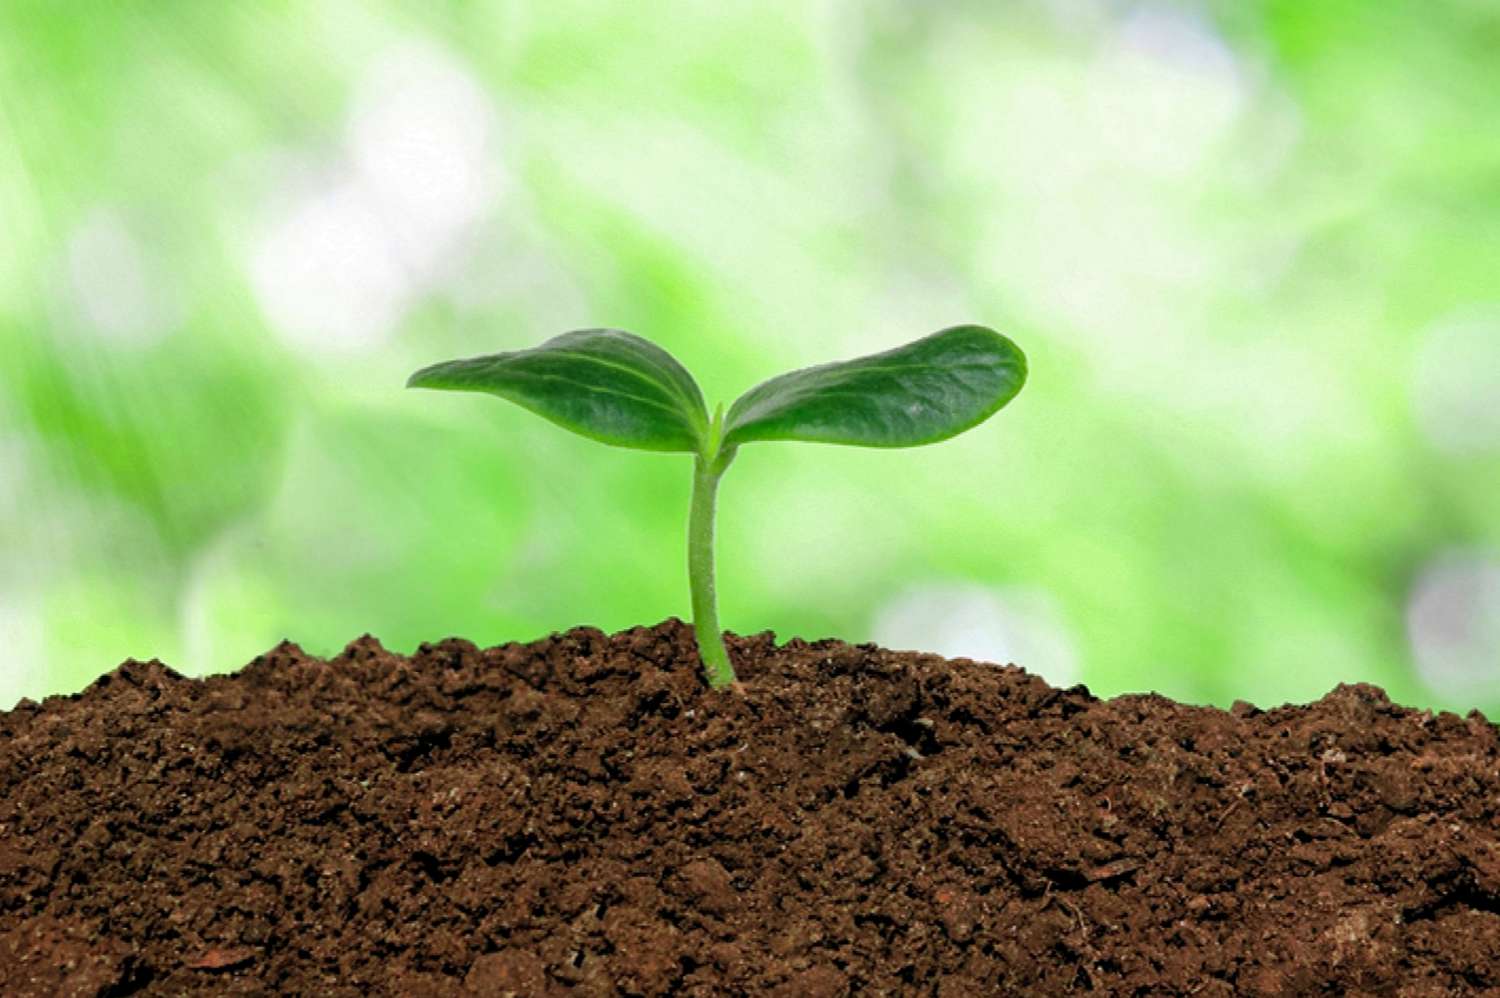
Step 8: Allowing Soil to Settle
After thoroughly mixing the soil, it’s important to allow it to settle before planting your desired vegetation. Allowing the soil to settle allows for the redistribution of particles and nutrients, as well as the establishment of a stable soil structure.
As you mix the soil, air becomes trapped within the soil particles. Additionally, the act of tilling or turning the soil can cause the particles to shift and settle over time. Allowing the soil to settle gives these air pockets a chance to escape and the soil particles to naturally readjust, resulting in a more stable and compact soil structure.
You can facilitate the settling process by lightly watering the soil after mixing. Water helps to compact the soil particles and aids in the removal of excess air pockets. However, be cautious not to overwater, as this can cause the soil to become compacted and waterlogged.
It’s recommended to wait for at least a few days to a couple of weeks, depending on the specific soil composition and environmental conditions, before planting. During this time, you can monitor the soil moisture level and observe any changes in its appearance.
While the soil settles, take the opportunity to observe the drainage characteristics of the soil. Ensure that water infiltrates properly and does not pool or stand on the surface for an extended period. If you notice any issues with drainage, consider amending the soil further to improve its drainage capabilities.
During the settling period, you can also use this time to plan and prepare your planting beds. Lay out your desired plant arrangement, install any necessary trellises or support structures, and make any last-minute adjustments to the soil composition if needed.
By allowing the soil to settle, you are giving it the opportunity to naturally stabilize and establish the ideal conditions for plant growth. This step is vital in ensuring that your plants have a strong foundation for healthy and vigorous development.
Now that you have allowed the soil to settle, let’s move on to step 9: maintaining and nurturing the soil.
Step 9: Maintaining and Nurturing the Soil
Once the soil has settled and you’ve planted your desired vegetation, it’s important to maintain and nurture the soil to ensure its continued health and fertility. By implementing proper soil care practices, you can maximize plant growth, prevent nutrient deficiencies, and create a sustainable garden ecosystem.
One key aspect of soil maintenance is consistent watering. Different plants have varying water requirements, so it’s important to understand the needs of your specific plants. Watering too much or too little can stress the plants and negatively impact the soil. Aim to provide adequate moisture for your plants, ensuring that the soil remains moist but not waterlogged.
Applying organic mulch is another valuable practice for soil maintenance. Mulching helps conserve soil moisture, suppress weed growth, and regulate soil temperature. Organic mulches, such as wood chips, straw, or compost, also break down over time, enriching the soil with organic matter and nutrients. Apply a layer of mulch around your plants, keeping it a few inches away from the plant stems to prevent rot.
Regularly monitoring soil fertility is essential for maintaining optimal plant growth. Conduct periodic soil tests to assess nutrient levels and make informed decisions about fertilization. Based on the test results, you can apply organic or synthetic fertilizers to replenish essential nutrients in the soil. Follow the recommended application rates and timing to avoid over-fertilization, which can lead to nutrient imbalances or environmental pollution.
Encouraging beneficial soil organisms is crucial for nurturing the soil and creating a thriving ecosystem. Earthworms, bacteria, fungi, and other microorganisms play vital roles in nutrient cycling and soil structure formation. Avoid using harsh chemical pesticides and synthetic fertilizers that can harm these beneficial organisms. Instead, opt for organic pest control methods and practices that promote biodiversity.
Rotating crops is an effective way to prevent soil depletion and disease buildup. Different plants have different nutrient requirements and can deplete specific nutrients from the soil. By rotating crops, you can maintain a balance of nutrients and reduce the risk of pests and diseases that target specific plant families. Plan your garden layout strategically and incorporate crop rotation practices in your planting schedule.
Finally, avoid soil compaction by minimizing foot traffic in your garden beds. Compacted soil restricts root development and inhibits the flow of air, water, and nutrients. Use designated walkways or stepping stones to access different areas of your garden and cultivate the soil only when necessary.
Maintaining and nurturing the soil is an ongoing practice that requires observation, care, and attention to detail. By implementing proper soil care techniques, you can create a sustainable and productive garden, ensuring the long-term health and vitality of your plants.
With the completion of step 9, you now have the knowledge and steps required to make your own soil. By understanding soil composition, collecting organic matter, preparing the soil site, adding organic matter and amendments, testing the soil pH, mixing soil thoroughly, allowing it to settle, and maintaining and nurturing the soil, you have taken significant steps towards creating nutrient-rich, well-draining soil for your garden.
Conclusion
Congratulations! By following the step-by-step guide outlined in this article, you now have the knowledge and tools to make your own nutrient-rich, well-draining soil. Understanding the composition of soil, collecting organic matter, preparing the soil site, adding organic matter and amendments, testing the soil pH, mixing soil thoroughly, allowing it to settle, and maintaining and nurturing the soil are all crucial steps in creating a healthy and productive garden or planting area.
By making soil, you have taken control of the foundation of plant growth. You have learned how to assess the composition of soil, improve its fertility, adjust its pH level, and create an optimal growing environment for your plants. This will ultimately lead to healthier, more abundant harvests and thriving vegetation.
Remember to continuously monitor and care for your soil as you tend to your garden. Regularly check its moisture levels, incorporate organic matter, maintain proper drainage, and foster a balanced ecosystem of beneficial organisms. By nurturing your soil, you are ensuring its long-term health and sustainability.
So go forth, armed with the knowledge and skills to make your own soil, and watch as your garden flourishes. The joy and satisfaction of growing your own plants in healthy, vibrant soil are truly rewarding. Happy gardening!