Home>Gardening Techniques>DIY Projects>How To Make A Compost Bin From Pallets

DIY Projects
How To Make A Compost Bin From Pallets
Modified: February 9, 2024
Discover how to easily create a compost bin using pallets with this DIY project. Turn your kitchen waste into nutrient-rich soil for your garden.
(Many of the links in this article redirect to a specific reviewed product. Your purchase of these products through affiliate links helps to generate commission for Chicagolandgardening.com, at no extra cost. Learn more)
Table of Contents
Introduction
Welcome to the world of DIY projects! If you’re looking for a fun and rewarding way to reduce waste and create nutrient-rich soil for your garden, then making a compost bin from pallets is the perfect project for you. Composting is a sustainable practice that not only helps to decrease landfill waste but also provides you with a free and environmentally-friendly source of fertilizer.
Creating your own compost bin using pallets is an affordable and straightforward option that allows you to repurpose materials that might otherwise end up in a landfill. Pallets are readily available and easy to work with, making them an ideal choice for this project.
In this step-by-step guide, we will walk you through the process of building a compost bin from pallets. We’ll cover everything you need to know, from selecting the right pallets to maintaining your compost bin once it’s in place. So, roll up your sleeves and let’s dive in!
Materials Needed
Before you get started on your DIY compost bin project, gather the following materials:
1. Pallets: Depending on the size of the compost bin you want to create, you will need 3 to 4 pallets. Look for pallets made of untreated wood, as chemicals used in treated wood can potentially leach into your compost.
2. Saw: You’ll need a saw to cut the pallets to size, if necessary. A circular saw or a hand saw will work well for this task.
3. Screws or Nails: To secure the pallets together, you will need screws or nails. Choose ones that are appropriate in length for the thickness of the pallets.
4. Hammer or Screwdriver: If you’re using nails, a hammer will be necessary. If you’re using screws, a screwdriver or a drill with a screwdriver bit is needed.
5. Staple Gun (optional): A staple gun can be useful for reinforcing the joints of the pallets, but it’s not essential for the basic structure.
6. Hardware Cloth: This wire mesh will be used to provide airflow and prevent any critters from entering your compost bin. Opt for a wire mesh with small enough openings to keep pests out.
7. Work Gloves: To protect your hands while working with pallets and handling the wire mesh, it’s advisable to wear work gloves.
8. Measuring Tape: This will come in handy for measuring and ensuring the pallets are aligned correctly.
9. Tarp or Compost Bin Liner (optional): If you want to collect the compost liquid, you may want to line the bottom of your compost bin with a tarp or compost bin liner.
Once you have gathered all these materials, you are ready to move on to the next step: choosing the right pallets for your compost bin.
Step 1: Choosing the Pallets
When it comes to selecting the pallets for your compost bin, there are a few things to consider. First and foremost, make sure to choose pallets made of untreated wood. Treated wood may contain chemicals that can leach into your compost and potentially harm your plants. Look for pallets that are labeled as HT (heat-treated) or KD (kiln-dried) as these are likely to be untreated.
In addition to the wood type, consider the size of the pallets. The standard size for pallets is 48 inches by 40 inches, but you can also find different sizes depending on your needs. Decide how big you want your compost bin to be and choose pallets accordingly. Keep in mind that pallets can be cut down to size if necessary, so don’t worry if you can’t find the exact dimensions you’re looking for.
Inspect the pallets for any signs of damage or weakness. Look for broken or cracked boards, as these can affect the structural integrity of your compost bin. Avoid pallets that have been exposed to chemicals or have stains that might indicate potential contamination.
Lastly, consider the condition of the pallets. Pallets that are in relatively good condition and haven’t been exposed to excessive moisture will last longer and provide a more stable structure for your compost bin. Avoid pallets that are excessively warped, rotted, or have a lot of loose boards.
Once you have selected your pallets, you are ready to move on to the next step: preparing the pallets for building your compost bin.
Step 2: Preparing the Pallets
Before you start building your compost bin, it’s important to prepare the pallets to ensure they are clean and safe to use. Follow these steps to prepare the pallets:
1. Clean the pallets: If the pallets are dirty or have debris on them, use a stiff brush or a pressure washer to clean them. Remove any loose nails or staples that might be sticking out.
2. Sand the pallets (optional): If the pallets have rough edges or splinters, you may want to sand them down to make them smoother and safer to handle. Use sandpaper or a power sander to achieve a smooth surface.
3. Remove any remaining nails or staples: Inspect the pallets thoroughly and remove any nails or staples that may be sticking out. This will prevent any accidents or injuries during the construction process.
4. Cut the pallets (if necessary): Depending on the size of the compost bin you want to create, you may need to cut the pallets to the desired length. Measure and mark the pallets using a measuring tape and then use a saw (such as a circular saw or a hand saw) to cut the pallets to size. Remember to wear safety goggles and gloves when using power tools.
5. Reinforce the joints (optional): If you want to add extra stability to your compost bin, you can use a staple gun or screws to reinforce the joints. This step is optional but can help to strengthen the overall structure of the compost bin.
Once you have prepared the pallets, you are now ready to start building your compost bin. In the next step, we will guide you through the process of constructing the compost bin using the prepped pallets.
Step 3: Building the Compost Bin
Now that you have prepared the pallets, it’s time to start building your compost bin. Follow these steps to construct the compost bin:
1. Position the first pallet: Choose one pallet to serve as the back wall of the compost bin. Place it in the desired location, ensuring it is level and stable.
2. Attach the side pallets: Take another pallet and position it perpendicular to the first pallet, forming a corner. Align the edges of the pallets and secure them together using screws or nails. Repeat this step with the remaining pallet(s) to create the desired size and shape of your compost bin.
3. Secure the corners: To provide additional stability, reinforce the corners by attaching scrap wood or metal brackets. This will help to prevent the pallets from shifting or collapsing over time.
4. Reinforce the structure (optional): If desired, you can reinforce the structure by adding additional screws or nails along the edges where the pallets meet. This step is optional but can help to strengthen the overall stability of the compost bin.
5. Check for stability: Shake the compost bin gently to ensure it is stable and secure. Make any necessary adjustments or additions to reinforce the structure if needed.
Once you have built the compost bin structure, it is time to move on to the next step: adding airflow openings to promote proper composting.
Step 4: Adding Airflow Openings
In order for proper composting to occur, it’s important to provide adequate airflow within your compost bin. This step will guide you through adding airflow openings:
1. Determine the location: Decide where you want to place the airflow openings on your compost bin. It’s generally recommended to have at least one opening on each side of the compost bin to ensure good air circulation.
2. Mark the openings: Use a pencil or marker to mark the spots where you will be creating the airflow openings. Make sure the marks are evenly spaced and take into consideration the size and shape of the openings you plan to make.
3. Cut the openings: Use a circular saw or a jigsaw to carefully cut out the marked openings. Start by drilling a pilot hole near each corner of the marked area, then insert the saw blade into the holes and cut along the marked lines. Take your time and use caution to ensure clean and precise cuts.
4. Optionally, add hardware cloth: To prevent animals from entering your compost bin, cover the airflow openings with a layer of hardware cloth. Cut the hardware cloth to fit the size of the openings, leaving a small overlap to secure it in place. Attach the hardware cloth to the bin using screws or staples.
5. Test the airflow: After adding the airflow openings, test the airflow by feeling for a breeze inside the compost bin. If necessary, make adjustments to the size or number of openings to ensure proper ventilation.
By adding airflow openings to your compost bin, you are creating the ideal environment for the decomposition process to occur. The next step will guide you on how to place the compost bin in the right location.
Step 5: Placing the Compost Bin
Choosing the right location for your compost bin is essential for its success. Follow these steps to find the ideal spot:
1. Find a flat and level area: Look for a flat and level area in your yard or garden to place the compost bin. This will help ensure stability and prevent any potential issues with drainage.
2. Consider proximity to the house: Take into account the proximity of the compost bin to your house or other structures. While composting is generally odor-free when done properly, you may still want to place the bin a bit farther away from living areas to minimize any potential odor concerns.
3. Evaluate sunlight exposure: Choose a location that receives a good amount of sunlight. Sunlight helps to speed up the decomposition process and keeps the compost bin warm, which is beneficial for optimal composting.
4. Assess access to water: Make sure the compost bin is easily accessible to a water source. You will need to periodically moisten the compost pile to maintain the right level of moisture for decomposition.
5. Consider convenience: Take into consideration your convenience and ease of use. If possible, place the compost bin near your garden or kitchen for easy access when adding compostable materials.
Once you have chosen the perfect location, it’s time to start filling your compost bin with organic waste. The next step will guide you through the process of filling the bin and creating nutrient-rich compost.
Step 6: Filling the Compost Bin
Now that you have your compost bin in place, it’s time to start filling it with organic waste. Here’s how to go about it:
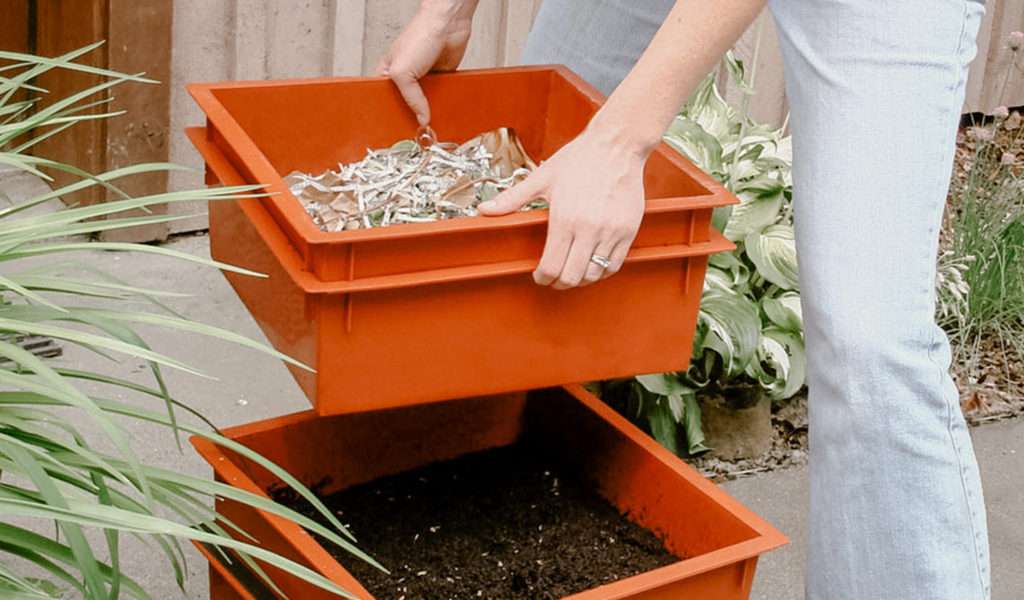
1. Layer the compost pile: Start by adding a layer of organic material to the bottom of the compost bin. This can include kitchen scraps like fruit and vegetable peels, coffee grounds, and eggshells. Alternate between green (nitrogen-rich) and brown (carbon-rich) materials to promote proper decomposition. Green materials can include grass clippings and fresh leaves, while brown materials can include dried leaves, straw, and shredded paper.
2. Add water: After each layer of organic material, lightly moisten the pile with water. It should be damp but not soaking wet. The moisture helps to facilitate the breakdown of the materials and provides the right environment for beneficial microorganisms to thrive.
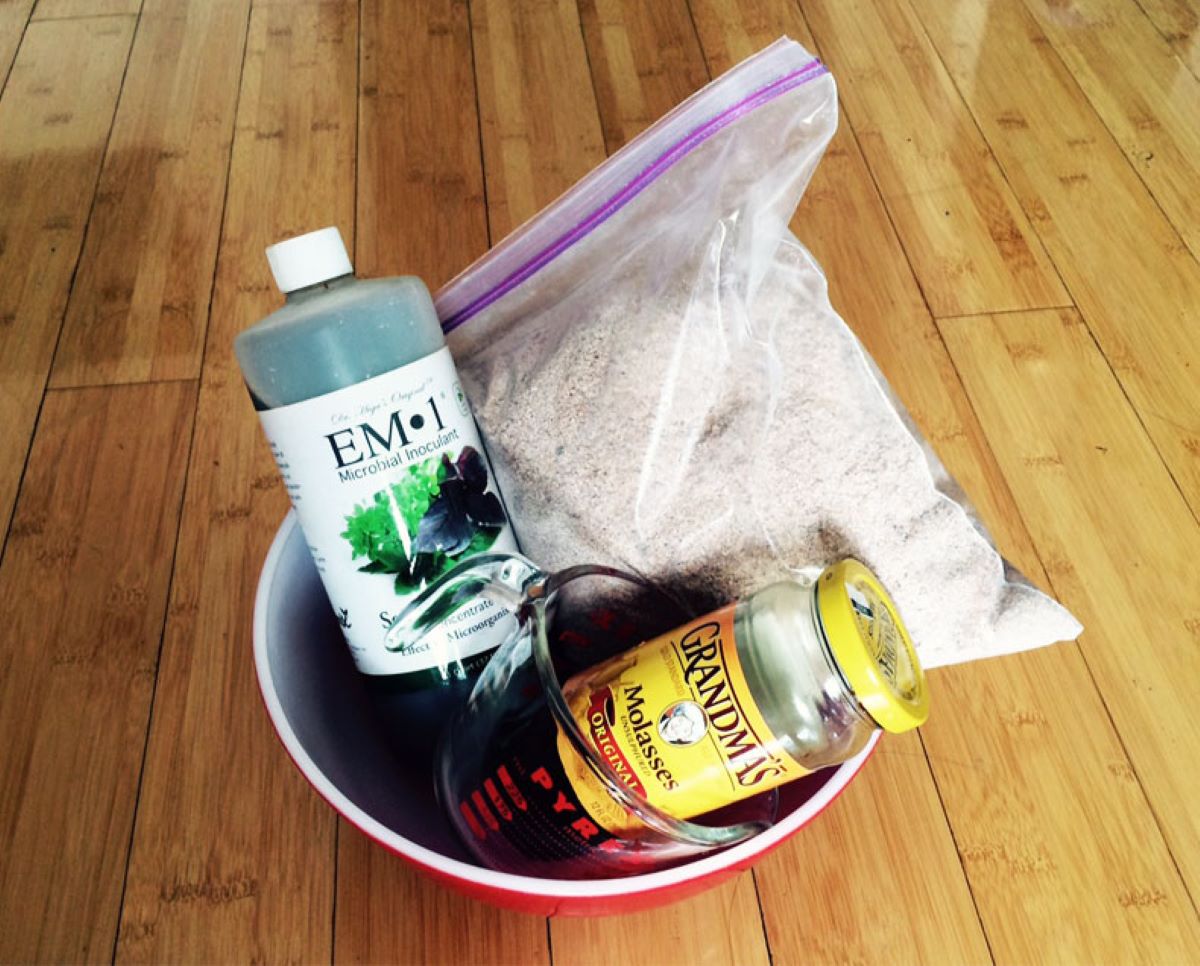
3. Optional: Add compost accelerator: If you want to speed up the decomposition process, you can add a compost accelerator or activator. This is a product specifically designed to introduce beneficial microorganisms to the pile, helping to break down the organic matter more quickly. Follow the instructions on the packaging for proper application.
4. Continue layering: Repeat the process of adding alternating layers of green and brown materials, making sure to moisten the pile as you go along. It’s important to maintain a balance between the carbon and nitrogen-rich materials for optimal composting.
5. Turn the compost: Every few weeks, use a garden fork or a compost turner to aerate and mix the contents of the compost pile. This helps to promote airflow and distribute moisture evenly, speeding up the decomposition process.
6. Monitor the moisture level: Check the moisture level of the compost pile regularly. It should be moist, but not soggy. Add water if it feels too dry or mix in dry materials if it feels too wet. The ideal moisture level is similar to that of a wrung-out sponge.
7. Be patient: Composting is a natural process that takes time. It can take several weeks to months for the organic materials to fully decompose into nutrient-rich compost. Patience and regular maintenance are key.
By following these steps, you’ll be on your way to creating high-quality compost that you can use to enrich your garden or potted plants. The next step will guide you on how to properly maintain your compost bin for optimal results.
Step 7: Maintaining the Compost Bin
Proper maintenance of your compost bin is essential to ensure successful and efficient decomposition of organic materials. Follow these steps to maintain your compost bin:
1. Turn the compost regularly: Every few weeks, use a garden fork or a compost turner to mix and aerate the contents of the compost pile. This helps to promote airflow and distribute moisture, allowing for faster decomposition. Aim to turn the pile at least once a month.
2. Monitor the moisture level: Check the moisture level of the compost pile regularly. It should be moist, similar to a wrung-out sponge. If the pile becomes too dry, add water to moisten it. If it becomes too wet, incorporate dry materials like leaves or shredded paper to absorb excess moisture.
3. Maintain the balance of green and brown materials: Continue adding green and brown materials to the compost bin to maintain a balanced carbon-to-nitrogen ratio. Green materials provide nitrogen, while brown materials provide carbon. Aim for a balance of roughly 3 parts brown to 1 part green.
4. Chop or shred larger materials: To expedite the decomposition process, it’s helpful to chop or shred larger organic materials before adding them to the compost bin. This allows for faster breakdown and better incorporation into the pile.
5. Avoid adding certain materials: While many organic materials can be composted, there are some that should be avoided. These include meat, dairy products, oily foods, pet waste, and weeds with seeds. These materials can attract pests or introduce pathogens into the compost pile.
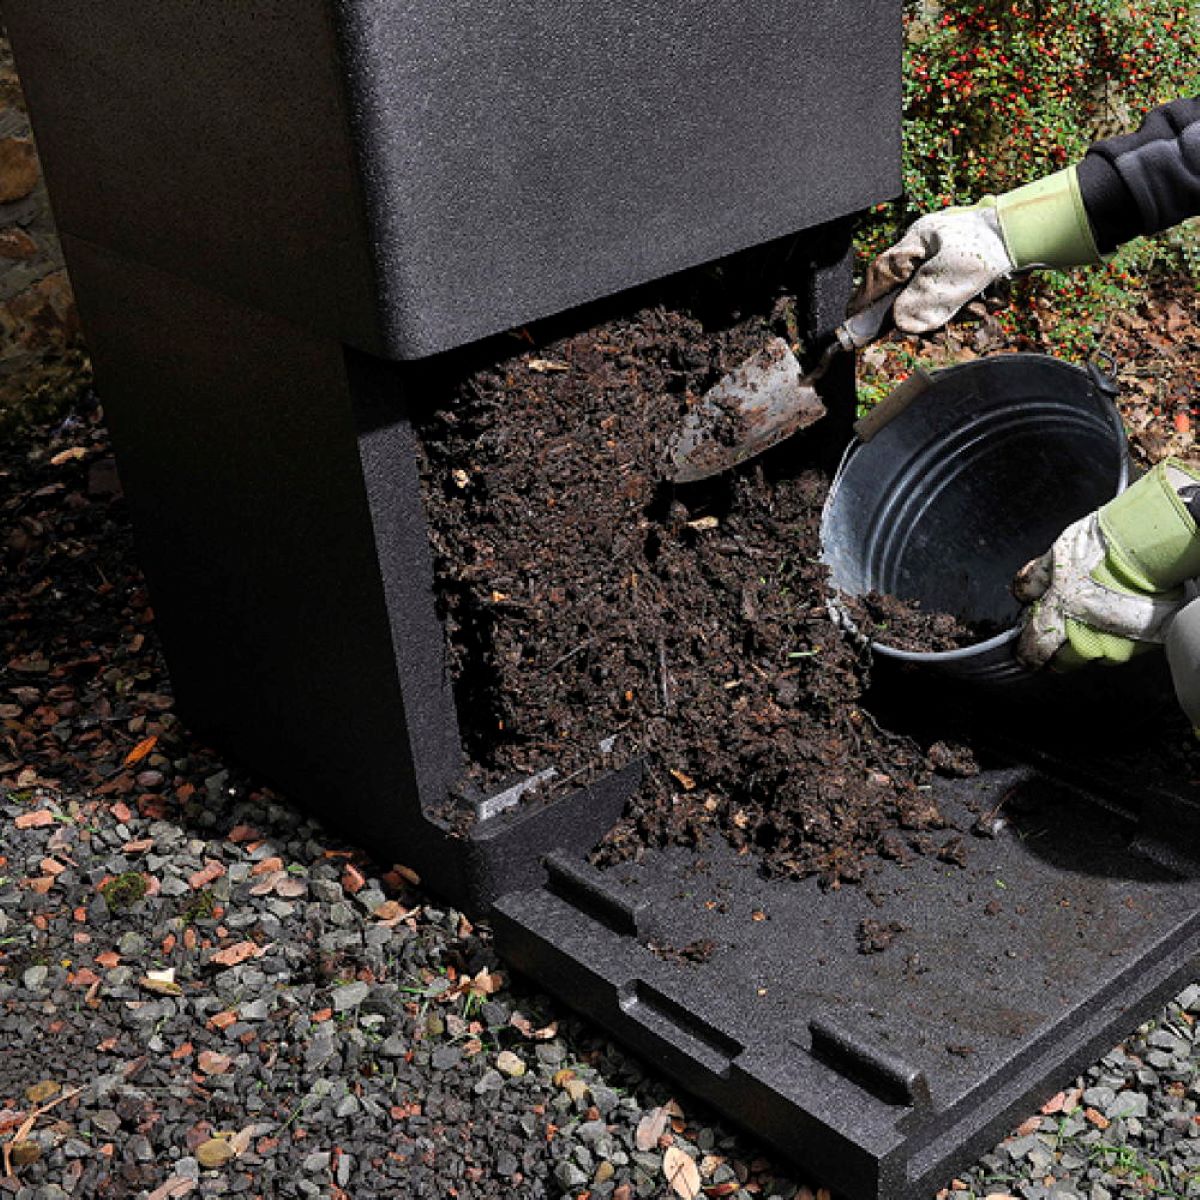
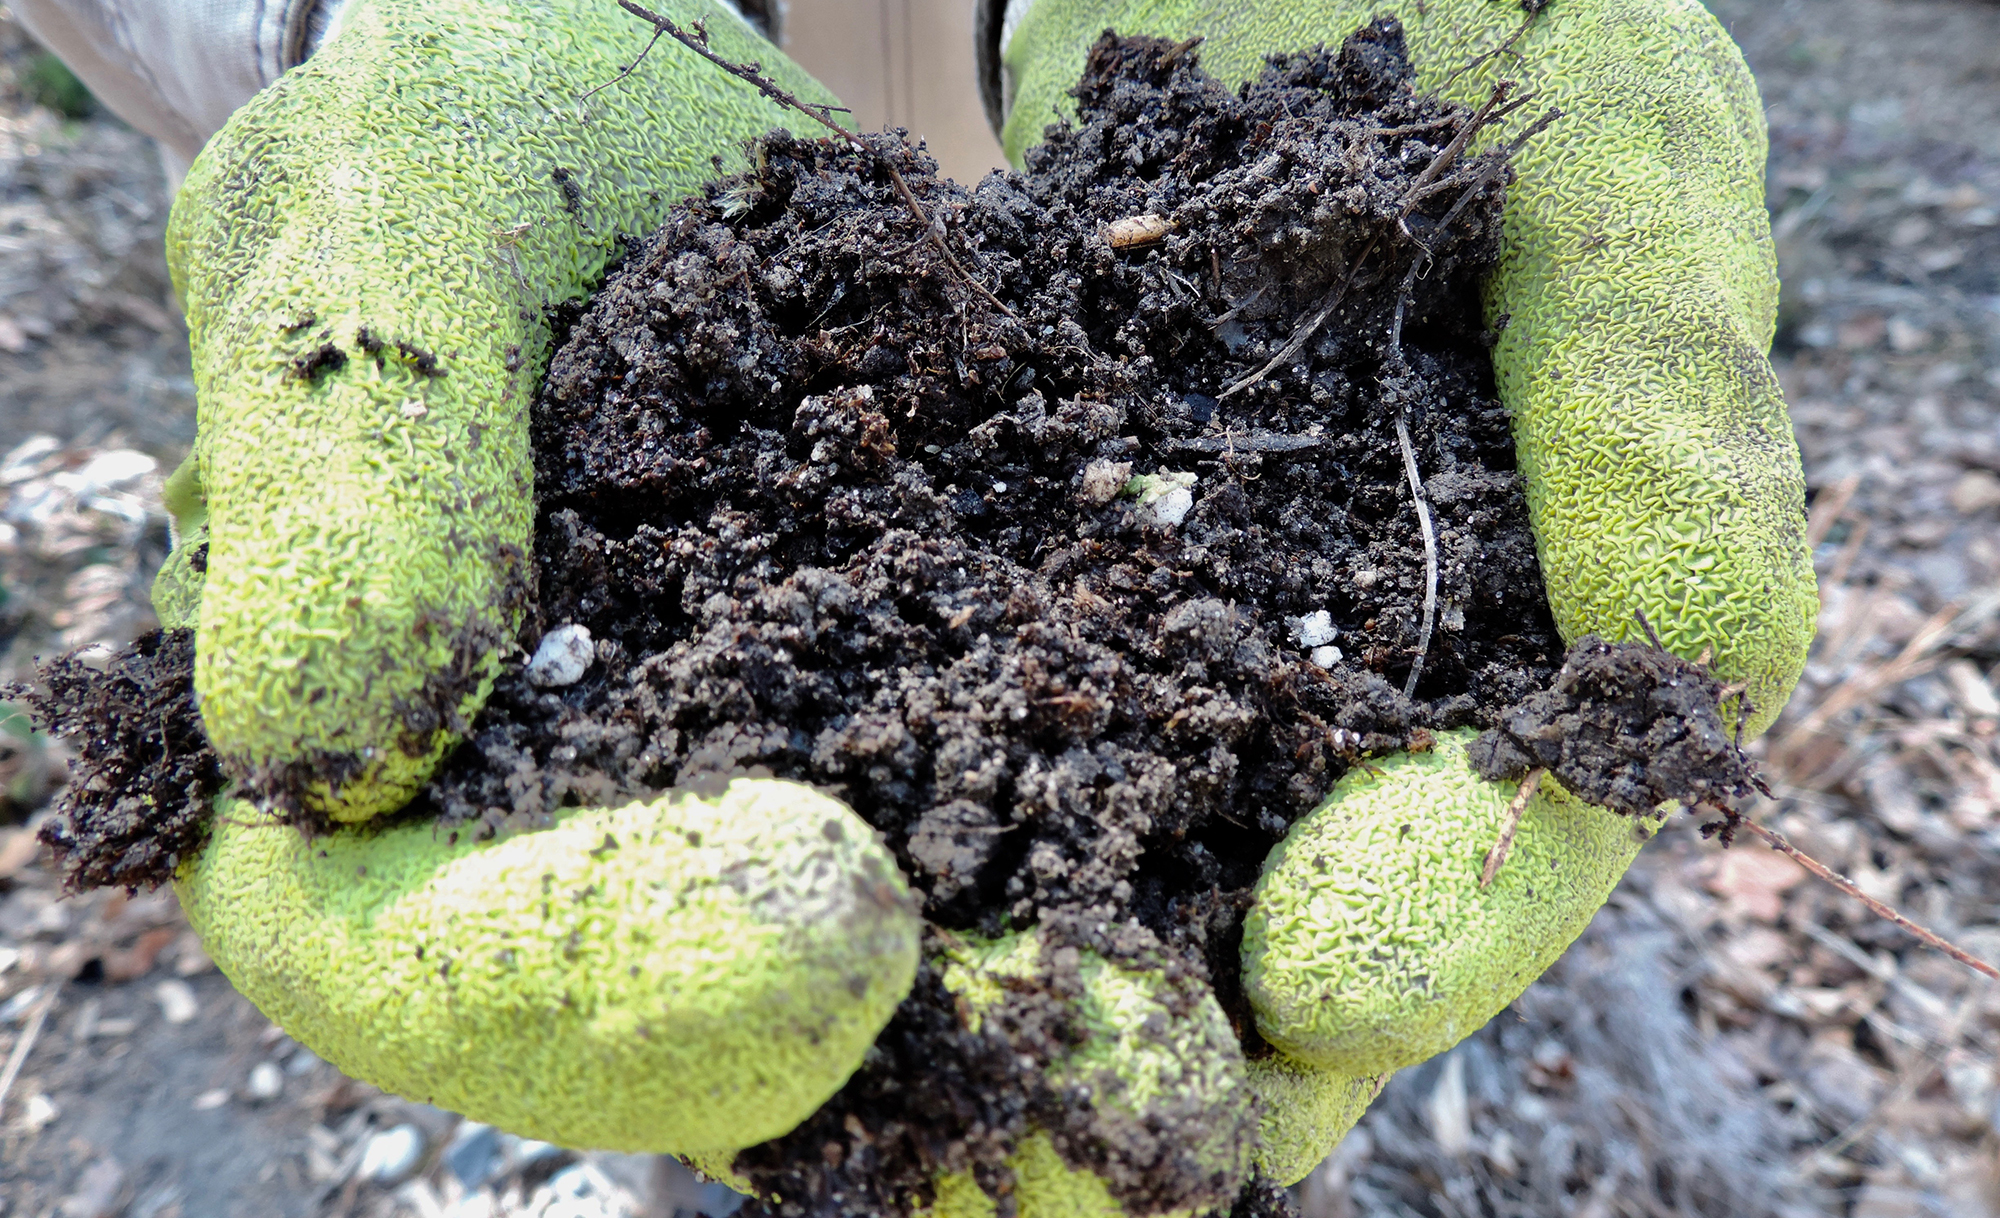
6. Harvest the compost: After several months, the organic materials in the compost bin will have fully decomposed into nutrient-rich compost. You can harvest the finished compost by removing the top layer of unfinished compost and then collecting the mature compost from the bottom of the pile. Use it to enrich your garden soil or potted plants.
7. Maintain a composting calendar: Keep track of when you add new materials to the compost bin and when you turn the pile. This can help you maintain a regular schedule and ensure proper composting.
By following these maintenance practices, you will have a well-maintained compost bin that consistently produces nutrient-rich compost for your gardening needs. Remember to be patient, as the composting process takes time. Enjoy the rewards of your efforts as you witness the transformation of waste into valuable soil amendment.
Conclusion
Congratulations! You have successfully learned how to make a compost bin from pallets and embark on a journey towards sustainable waste management and nutrient-rich soil. By repurposing pallets and using organic materials, you have created an affordable and eco-friendly solution for composting right in your own backyard.
Throughout the steps, we covered everything from choosing the right pallets to maintaining the compost bin for optimal results. Remember to select untreated pallets, prepare them properly, and build a sturdy structure. Adding airflow openings, placing the compost bin in the right location, filling it with a balanced mix of green and brown materials, and maintaining moisture levels are crucial steps in the composting process.
Composting not only reduces waste sent to landfills but also provides you with nutrient-rich compost that improves soil fertility, enhances plant growth, and reduces the need for synthetic fertilizers. It’s a win-win situation for both the environment and your garden.
As you continue your composting journey, don’t forget to monitor the moisture levels, turn the pile regularly, and be mindful of the materials you add. With time and patience, you will witness the transformation of your organic waste into nutrient-dense compost.
Now, armed with your knowledge and DIY skills, go forth and spread the joy of composting to others. Encourage your family, friends, and neighbors to join in and create their own compost bins. Together, we can make a positive impact on the environment and nurture healthier gardens.
So, what are you waiting for? Start composting today and let nature work its magic!