Home>Gardening Techniques>DIY Projects>How To Make A Wooden Compost Bin
DIY Projects
How To Make A Wooden Compost Bin
Modified: January 22, 2024
Learn how to make a wooden compost bin with this step-by-step guide. Perfect for DIY projects, recycle kitchen waste and create nutrient-rich soil!
(Many of the links in this article redirect to a specific reviewed product. Your purchase of these products through affiliate links helps to generate commission for Chicagolandgardening.com, at no extra cost. Learn more)
Table of Contents
- Introduction
- Materials Needed
- Step 1: Choosing the Right Location
- Step 2: Gathering the Tools
- Step 3: Cutting the Wooden Planks
- Step 4: Assembling the Front and Back Panels
- Step 5: Building the Side Panels
- Step 6: Creating the Removable Slats
- Step 7: Attaching the Hinges and Latches
- Step 8: Adding Reinforcements
- Step 9: Finishing Touches
- Conclusion
Introduction
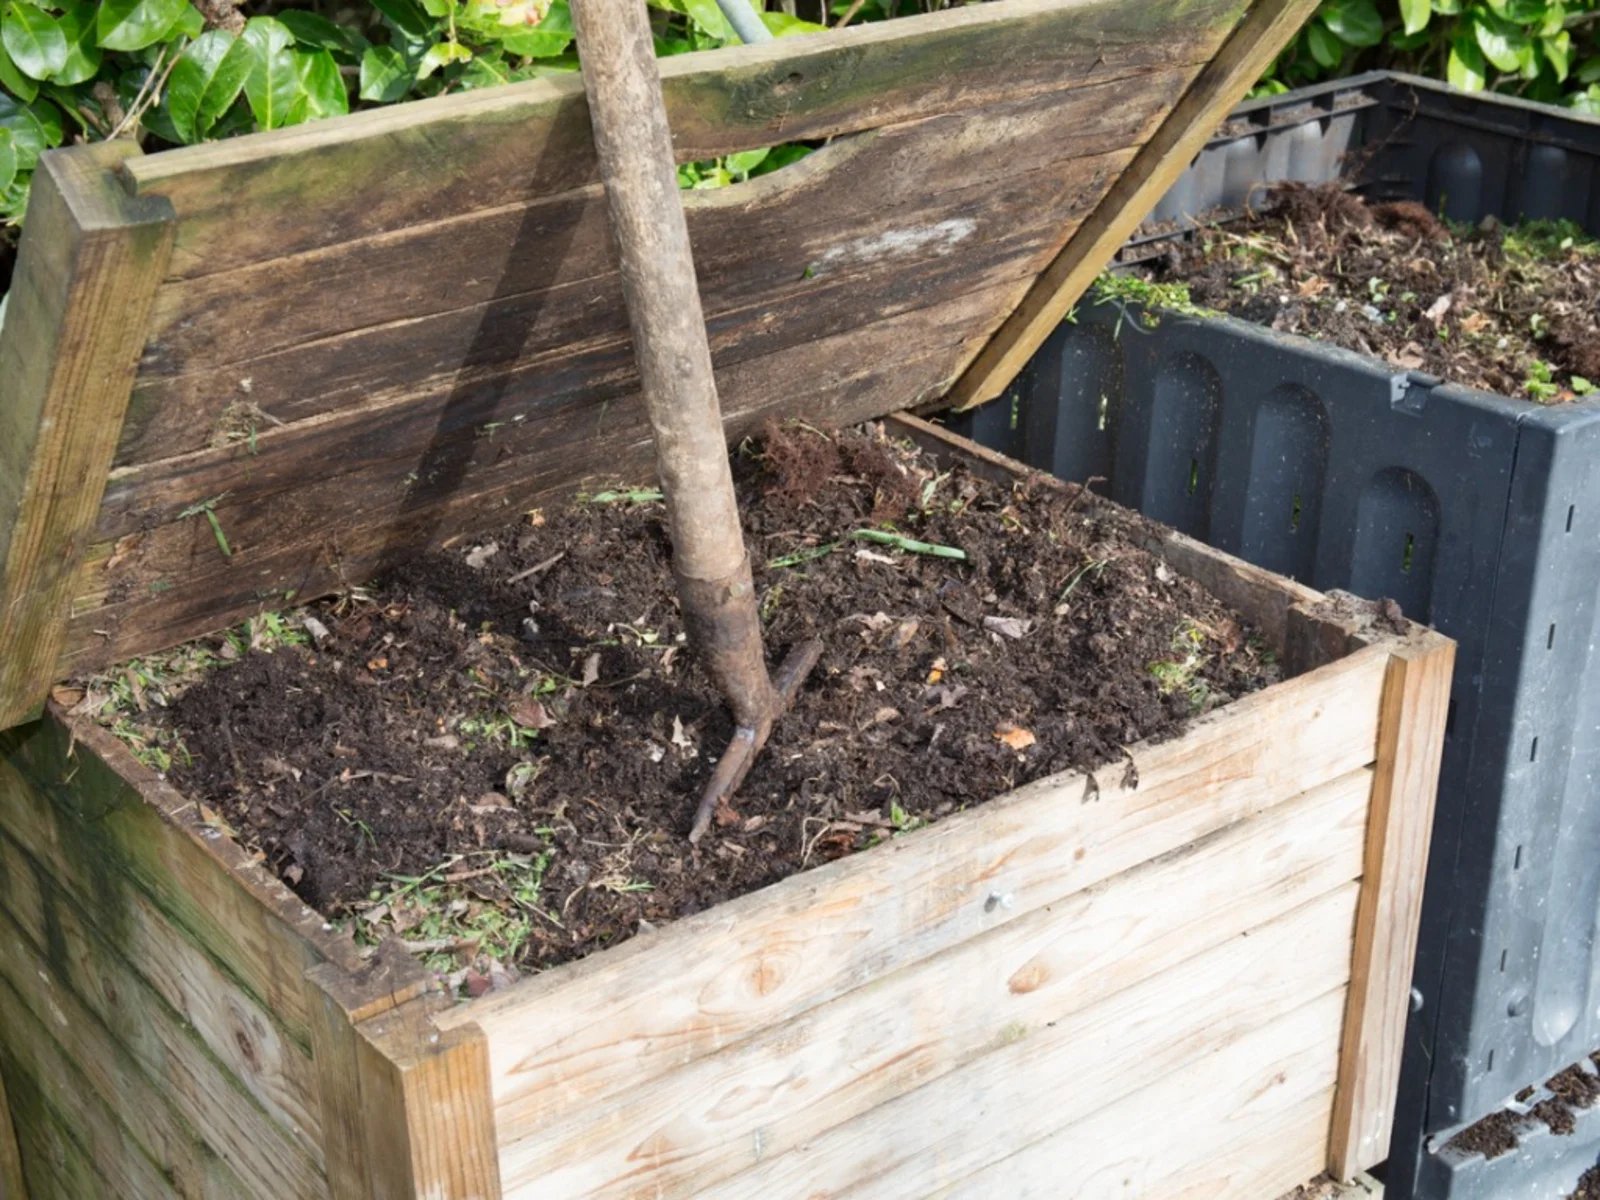
Welcome to the world of DIY projects! If you’re looking for a fun and practical project to tackle, building a wooden compost bin is a great choice. Not only will you be able to reduce your carbon footprint and contribute to a more sustainable lifestyle, but you’ll also have a valuable source of nutrient-rich compost for your garden.
In this guide, we will walk you through the step-by-step process of creating your very own wooden compost bin. Whether you’re a seasoned DIY enthusiast or a beginner looking to develop your skills, this project is suitable for all skill levels. Plus, it’s a perfect opportunity to get outside, get your hands dirty, and enjoy the rewards of a homemade composting system.
Composting is the process of decomposing organic materials, such as kitchen scraps and yard waste, into nutrient-rich soil amendments. By composting, you can divert a significant amount of waste from ending up in landfills and instead use it to nourish your plants naturally. Not only does this reduce the need for chemical fertilizers, but it also improves soil structure and promotes healthy plant growth.
Building a wooden compost bin offers several advantages over other types of composting systems. Wood is a versatile and readily available material that is easy to work with. Additionally, a well-constructed wooden compost bin can provide good airflow, moisture retention, and insulation for the composting process, creating an optimal environment for decomposition.
So, whether you have a big backyard or a small balcony, follow along as we guide you through the process of building your own wooden compost bin. Get ready to minimize waste, maximize sustainability, and nurture your garden with the power of composting!
Materials Needed
Before you begin building your wooden compost bin, gather the following materials:
- Pressure-treated wood planks – These will serve as the main structure of your compost bin. Choose sturdy, durable wood that can withstand outdoor conditions.
- 4×4 lumber – This will be used to create the corner posts for added stability.
- Galvanized screws or nails – These fasteners will securely hold the wooden planks together.
- Hinges and latches – You’ll need these to create a removable door for easy access to your compost pile.
- Mesh or screen – This material will be used to line the bottom and sides of the compost bin, allowing for proper airflow while preventing pests from entering.
- Drill or hammer – You’ll use either of these tools to insert screws or nails into the wood.
- Saw – This will be necessary to cut the wooden planks and 4×4 posts to the desired lengths.
- Measuring tape and pencil – Use these tools to mark measurements and ensure accurate cuts.
- Gloves and safety goggles – It’s essential to protect yourself during the construction process.
- Optional: Paint or wood sealer – If you want to give your compost bin a finished look, consider applying a protective layer of paint or wood sealer.
It’s important to note that the quantity of materials needed will vary depending on the size and design of your compost bin. Take measurements and make a list based on your specific requirements. It’s always a good idea to have a few extra screws or nails on hand, just in case.
Now that you have your materials ready, let’s move on to choosing the right location for your wooden compost bin.
Step 1: Choosing the Right Location
Before you start building your wooden compost bin, it’s crucial to select the perfect location for it. Here are some factors to consider when choosing the right spot:
- Accessibility: Pick a location that is easily accessible for adding organic waste and turning the compost. It should be convenient for you to dump kitchen scraps and yard waste into the bin without having to trek across your entire yard.
- Sunlight: Composting is a microbial process that requires a certain amount of heat. Choose a spot that receives a good amount of sunlight throughout the day. This will help encourage decomposition and speed up the composting process.
- Drainage: The location should have proper drainage to prevent the compost from becoming waterlogged. Ideally, it should be situated on a slightly elevated area or have a slanted surface that allows excess moisture to drain away.
- Proximity to Garden: If you plan to use the compost in your garden, consider locating the bin near your garden beds. This makes it easier to transport the finished compost to where it’s needed.
- Odor Control: While composting should not produce strong odors when done correctly, it’s still a good idea to keep the compost bin away from windows or outdoor seating areas to minimize any potential smells.
Once you have identified the ideal location, mark the area with stakes or spray paint to indicate the perimeter of the compost bin. This will help you stay organized during the construction process.
With the location selected, it’s time to gather the necessary tools for building your wooden compost bin.
Step 2: Gathering the Tools
Now that you have chosen the perfect location for your compost bin, it’s time to gather the tools you’ll need for the construction process. Here are the essential tools you’ll need:
- Measuring tape and pencil: These tools will help you accurately mark and measure the dimensions of the wooden planks.
- Saw: You’ll need a saw to cut the wooden planks and corner posts to the desired lengths. A circular saw or hand saw will work well for this task.
- Drill or hammer: Depending on your preference, you can use a drill with appropriate drill bits or a hammer to insert screws or nails into the wood.
- Screwdriver or screw gun: If you’re using screws to assemble your compost bin, a screwdriver or screw gun will make the task much easier.
- Safety goggles and gloves: Protect your eyes and hands by wearing safety goggles and gloves throughout the construction process.
- Level: A level will ensure that your compost bin is constructed on an even surface, preventing any leaning or instability.
- Optional tools: Depending on your specific design and additional features, you may need additional tools such as a wire cutter, wire mesh stapler, or a paintbrush if you plan to paint or seal the wood.
Make sure to have all the necessary tools and accessories readily available before starting the construction process. This will save you time and make the process smoother.
With your tools at the ready, you’re now prepared to move on to the next step: cutting the wooden planks for your compost bin.
Step 3: Cutting the Wooden Planks
With your tools assembled, it’s time to cut the wooden planks that will form the main structure of your compost bin. Follow these steps to cut the planks to the appropriate sizes:
- Measure and mark the dimensions of each wooden plank according to your compost bin plan. Use a measuring tape and pencil to create accurate marks.
- Secure the wooden plank tightly to a workbench or sawhorses to ensure stability during the cutting process.
- Using a saw appropriate for the task, such as a circular saw or hand saw, carefully cut the wooden plank along the marked lines. Take your time to ensure clean and precise cuts.
- Repeat this process for each wooden plank until you have all the necessary pieces for the front, back, and side panels of your compost bin.
- If your compost bin design includes a hinged door, be sure to cut the necessary planks for the door as well. These planks will be smaller in size to accommodate the hinges and latch.
Remember to prioritize safety while cutting the wooden planks by wearing safety goggles and using caution with the saw. Take breaks as needed and double-check your measurements before making any cuts to minimize errors.
Once you have all the wooden planks cut to size, you can move on to the next step: assembling the front and back panels of your compost bin.
Step 4: Assembling the Front and Back Panels
Now that you have the wooden planks cut to size, it’s time to start assembling the front and back panels of your compost bin. Follow these steps to complete this stage of the construction process:
- Arrange the wooden planks for the front panel in the desired order, making sure they are flush with each other.
- Using galvanized screws or nails, attach the planks together at the corners. Position the screws or nails about 1-2 inches from the edges to ensure a secure connection. Pre-drilling pilot holes can help prevent splitting of the wood.
- Repeat this process to assemble the back panel using the remaining planks.
- Ensure that both the front and back panels are sturdy and well-aligned. Use a level to check for any irregularities or leaning.
Remember to use the appropriate screws or nails for outdoor use, such as galvanized or treated screws, to ensure durability and resistance to moisture. Additionally, double-check your measurements and alignment before attaching the planks together to avoid any issues later on.
Once you have successfully assembled the front and back panels, you’re ready to move on to the next step: building the side panels of your wooden compost bin.
Step 5: Building the Side Panels
With the front and back panels assembled, it’s time to move on to constructing the side panels of your compost bin. Here’s how you can build the side panels:
- Align the first side plank with the corresponding plank on the front panel, ensuring they are flush and level.
- Attach the side plank to the front panel using galvanized screws or nails. Place the screws or nails about 1-2 inches from the edges and pre-drill pilot holes if necessary.
- Repeat this process for the other side of the front panel, attaching the second side plank.
- Measure and cut the remaining side planks to fit between the back panel and the attached side planks. The number of planks needed will depend on the desired height of your compost bin.
- Secure the additional side planks to the existing side planks and back panel using the same method of attaching screws or nails.
As you assemble the side panels, make sure the planks are well-aligned and form a secure connection at the corners. Use a level to ensure the panels are straight and level, adjusting as necessary.
Remember to take your time and be precise when attaching the side planks. This will ensure the stability and structural integrity of your compost bin.
With the side panels in place, you’re now ready to move on to the next step: creating the removable slats for your compost bin.
Step 6: Creating the Removable Slats
Creating removable slats for your compost bin is an essential step that allows for easy access and turning of your compost pile. Follow these steps to complete this stage of the construction process:
- Measure the width of the compost bin between the front and back panels. This measurement will determine the length of your removable slats.
- Cut the wooden planks to the measured length, ensuring they fit snugly between the front and back panels of the compost bin.
- Space out the slats evenly along the height of the bin, leaving enough room for airflow between them.
- Attach hinges to one end of each slat. Make sure to position the hinges at the same height on each slat for consistency.
- Attach the other end of the hinges to the corresponding plank on the front panel of the compost bin. This will allow the slats to swing open and closed for easy access to the compost pile.
By creating removable slats, you will have the flexibility to turn and mix your compost pile without needing to dismantle the entire bin. This not only makes the process more convenient but also promotes better aeration and decomposition within the compost.
Remember to secure the hinges tightly to ensure they can support the weight of the slats. Test the functionality of the slats to ensure they swing open smoothly.
With the removable slats in place, you’re now ready to move on to the next step: attaching the hinges and latches for your compost bin door.
Step 7: Attaching the Hinges and Latches
Attaching hinges and latches is a crucial step in building a functional and accessible compost bin. These components will allow you to easily open and close the door of the bin for adding materials and removing finished compost. Follow these steps to complete this stage of the construction process:
- Position the door of the compost bin in the desired location, aligning it with the front panel.
- Attach the hinges to the outer edge of the door, ensuring they are evenly spaced.
- Secure the other end of the hinges to the corresponding plank on the front panel, creating a strong and stable connection.
- Attach a latch or lock mechanism to the door and the front panel, ensuring it securely holds the door closed.
Take your time to properly align the hinges to maintain the integrity of the door and ensure smooth operation. The latch or lock mechanism will help keep the door closed, preventing any unwanted animals or pests from accessing your compost pile.
It’s important to choose sturdy and weather-resistant hinges and latches, as they will be exposed to outdoor elements. Ensure that the hinges and latches are firmly secured to withstand regular use and the weight of the door.
With the hinges and latches attached, you’re now ready to reinforce your compost bin for added stability and durability.
Step 8: Adding Reinforcements
Adding reinforcements to your wooden compost bin will enhance its stability, longevity, and overall durability. Follow these steps to reinforce your compost bin:
- Measure and cut 4×4 posts to the desired height of your compost bin.
- Place one 4×4 post in each corner of the compost bin, ensuring they are flush with the top edges of the bin.
- Secure the 4×4 posts to the corners of the compost bin using galvanized screws or nails.
- Attach additional 4×4 posts along the top edges of the side panels for extra support.
- If necessary, add cross-braces between the 4×4 posts to further strengthen the structure of the compost bin.
By reinforcing your compost bin with 4×4 posts and cross-braces, you’ll prevent excessive shifting or warping of the wood. This reinforcement is especially important if you have a larger compost bin or plan to compost heavy materials.
When attaching the 4×4 posts, ensure they are securely fastened to the wooden panels, providing a solid foundation for the compost bin. This reinforcement will help maintain the integrity of the structure over time.
With the necessary reinforcements in place, your compost bin is now structurally sound and prepared for the next step: applying any finishing touches.
Step 9: Finishing Touches
Now that you’ve completed the construction of your wooden compost bin, it’s time to add the finishing touches. While these steps are optional, they can enhance the appearance and durability of your compost bin. Here are some ideas for the final touches:
- Paint or stain the exterior: Consider giving your compost bin a fresh coat of paint or stain to protect the wood from weathering and add a decorative touch. Choose a paint or stain that is safe for outdoor use and will withstand the elements.
- Apply a wood sealer: If you prefer the natural look of the wood, you can apply a clear wood sealer to protect it from moisture, fungal growth, and UV damage. This will help prolong the lifespan of your compost bin.
- Install a mesh or screen: To further prevent pests from entering your compost bin, you can attach a fine mesh or screen to the bottom and sides. This will allow for proper airflow while keeping unwanted critters out.
- Add a compost bin cover: Consider creating a cover for your compost bin to protect it from excess rain or snow. This can help regulate moisture levels within the bin and prevent waterlogged compost.
- Create a composting guide or label: Attach a small sign or label to your compost bin, providing instructions or tips on what can and cannot be composted. This can be a helpful reference for anyone who interacts with the bin.
Adding these finishing touches can personalize your compost bin and make it more visually appealing. Additionally, they can contribute to its functionality and longevity, ensuring that you can enjoy the benefits of composting for years to come.
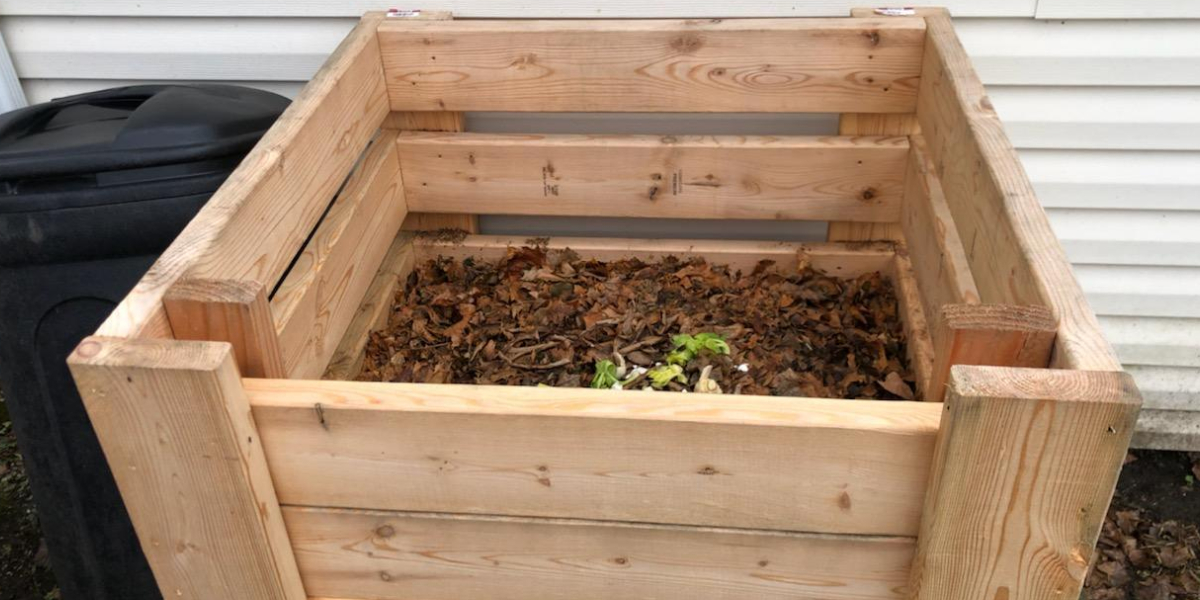
With the finishing touches complete, your homemade wooden compost bin is ready to be put to use. Start composting and enjoy the rewards of nutrient-rich soil for your plants!
Conclusion
Congratulations on successfully creating your wooden compost bin! By undertaking this DIY project, you’ve taken a significant step towards a more sustainable lifestyle and a healthier garden. Building your own compost bin allows you to reduce waste, recycle organic materials, and create nutrient-rich compost to nourish your plants.
Throughout this guide, we’ve walked you through the step-by-step process of building a wooden compost bin. From choosing the right location and gathering the necessary materials and tools to cutting the wooden planks, assembling the panels, and adding the finishing touches – each step has brought you closer to a functional and efficient composting system.
Remember to maintain the health of your compost pile by regularly turning and monitoring its moisture levels. You can continue to add kitchen scraps, yard waste, and other organic materials to feed the decomposition process. Over time, you’ll witness the transformation of these materials into dark, crumbly compost that enriches the soil and contributes to the overall health of your garden.
Now that you have your compost bin up and running, consider sharing your knowledge of composting with others. Encourage friends and family to start their own composting journey or share your experiences in online gardening communities. By spreading awareness and promoting composting, we can all work towards a greener and more sustainable future.
Thank you for joining us in this DIY adventure. We hope that your wooden compost bin brings you joy, satisfaction, and bountiful harvests. Happy composting!