Home>Gardening Techniques>DIY Projects>How To Make A Compost Heap
DIY Projects
How To Make A Compost Heap
Modified: January 22, 2024
Learn how to create your own compost heap with these easy DIY projects. Start recycling and nourishing your garden today!
(Many of the links in this article redirect to a specific reviewed product. Your purchase of these products through affiliate links helps to generate commission for Chicagolandgardening.com, at no extra cost. Learn more)
Table of Contents
Introduction
Welcome to the world of DIY projects! If you’re looking for a rewarding and sustainable project to tackle, then building your own compost heap is the perfect choice. Composting is not only a great way to reduce waste, but it also provides a rich source of organic matter that can be used to fertilize your garden, nourish your plants, and improve soil health.
Creating your own compost heap might seem like an overwhelming task, but with a little knowledge and commitment, it can be a fun and fulfilling project. In this article, we will guide you through the process of building and managing your own compost heap, from choosing the right location to harvesting and using the compost. So, roll up your sleeves and let’s get started!
Before diving into the details, it’s important to understand what a compost heap actually is. Essentially, a compost heap is a designated area where organic waste materials, such as fruit and vegetable scraps, garden trimmings, and even paper and cardboard, are piled together and left to decompose. Over time, these materials break down, transforming into nutrient-rich compost that can nourish plants and improve soil structure.
An important aspect of composting is creating the right conditions for the organic materials to decompose efficiently. This involves providing a balance of carbon-rich (or “brown”) materials, such as dried leaves or straw, and nitrogen-rich (or “green”) materials, such as kitchen scraps or grass clippings. Additionally, a compost heap needs proper aeration, moisture, and temperature to facilitate the decomposition process.
By building and maintaining your own compost heap, you not only reduce waste from going to landfill but also contribute to a healthier environment and more sustainable gardening practices. Plus, the end result is a free and natural fertilizer that can boost the productivity and vitality of your plants.
Now that we understand the basics, let’s delve into the step-by-step process of creating and managing your very own compost heap.
What is a Compost Heap?
A compost heap is a designated area where organic waste materials are piled together and allowed to decompose. It is a simple and natural process of recycling organic matter, such as kitchen scraps, garden waste, and even paper and cardboard, into nutrient-rich compost that can be used to nourish plants and improve soil health.
Composting is a centuries-old practice that mimics nature’s way of recycling organic materials. In nature, fallen leaves, dead plants, and animal waste break down over time, returning valuable nutrients back to the soil. With a compost heap, we accelerate this process by creating the ideal conditions for decomposition.
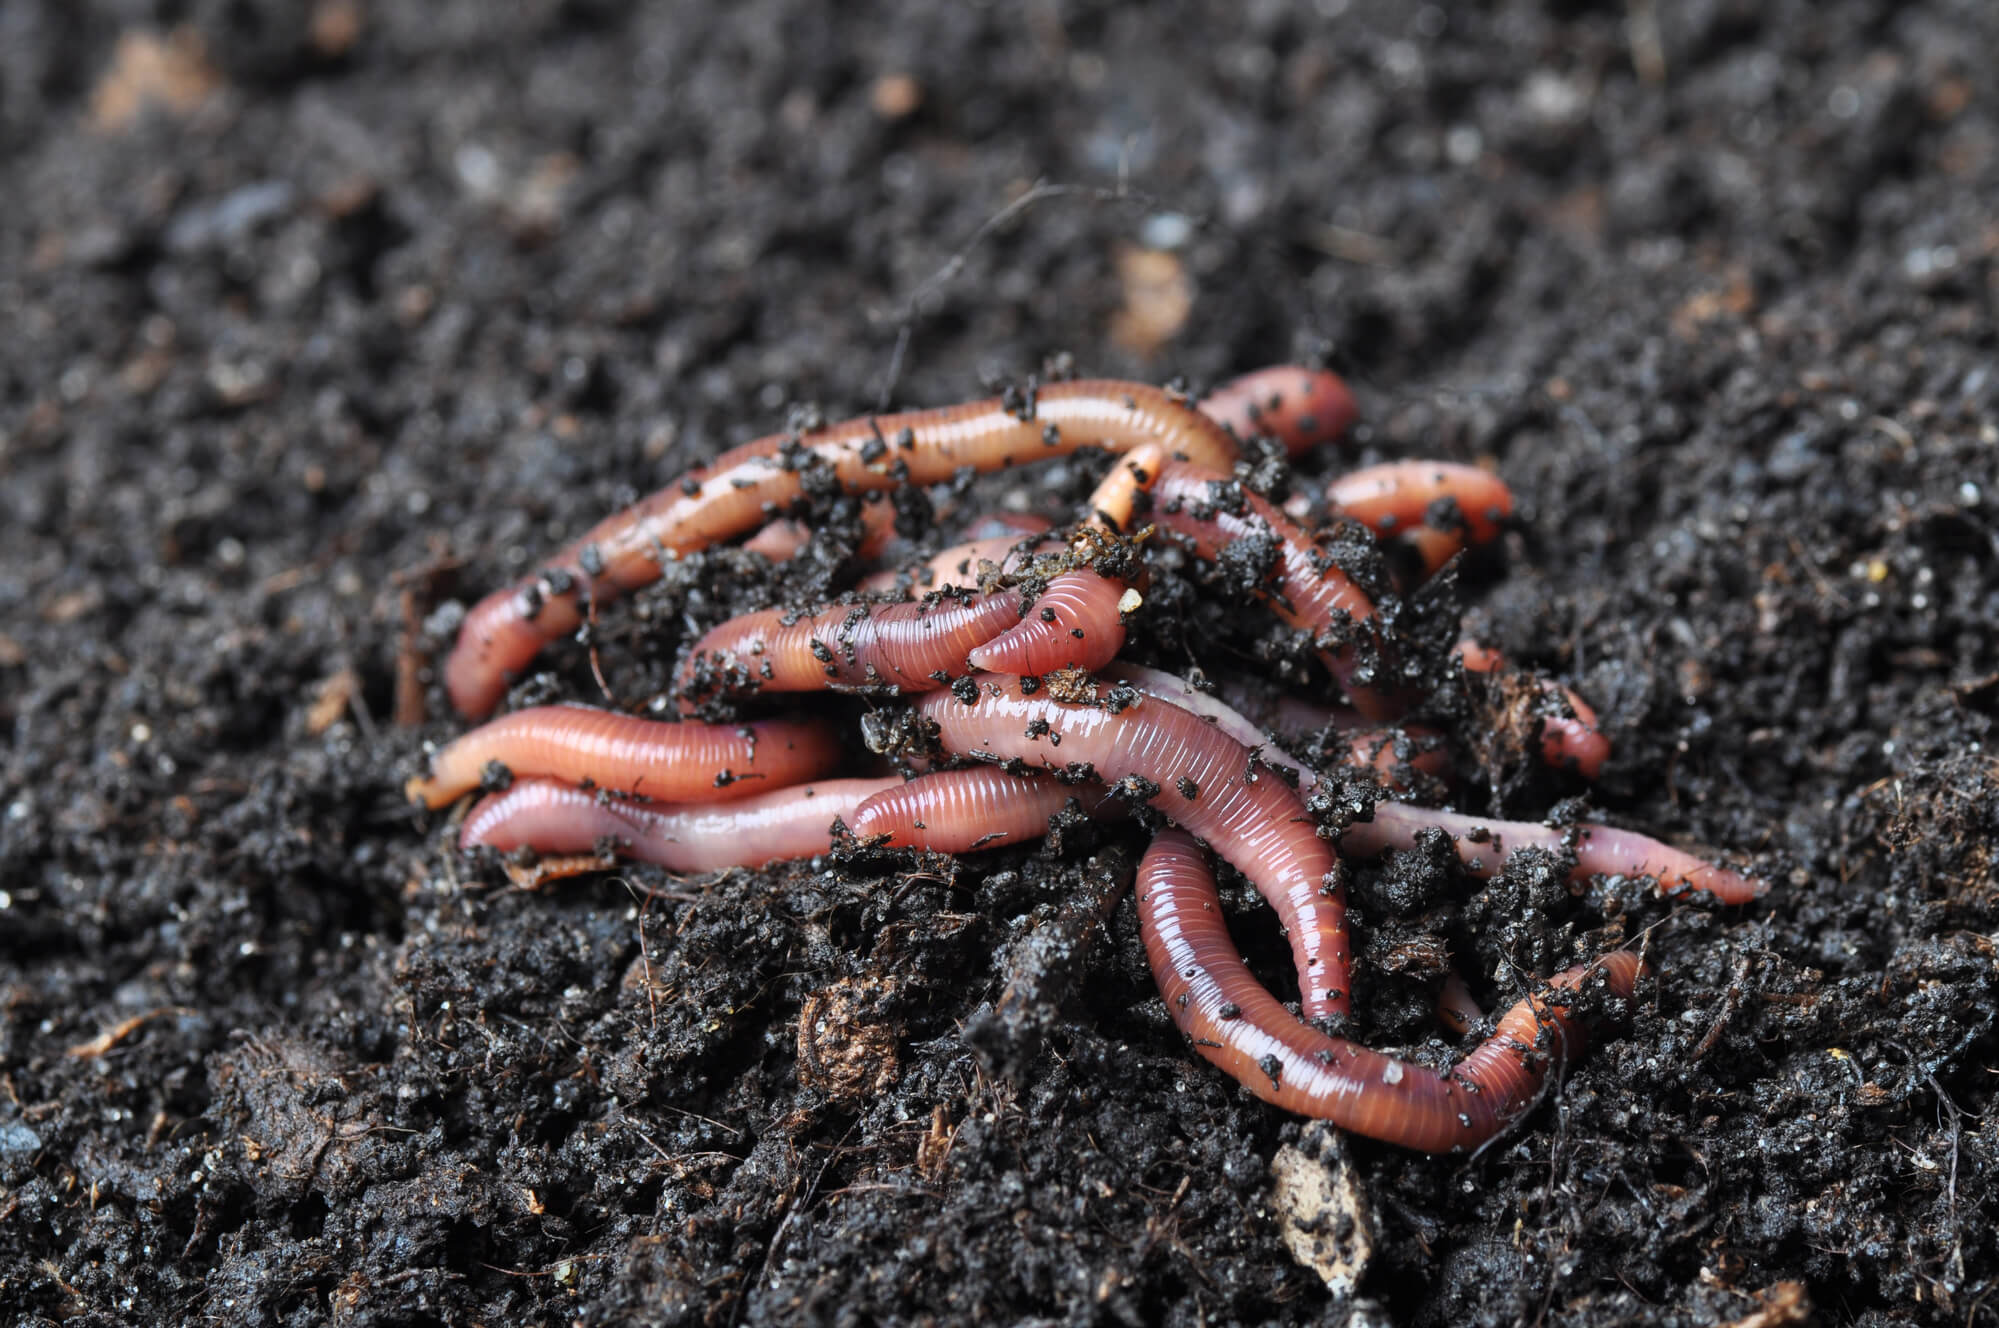
The organic materials in a compost heap undergo a process called aerobic decomposition. This means that the breakdown of organic matter occurs with the presence of oxygen. Beneficial microorganisms, bacteria, fungi, and other decomposers play a vital role in breaking down the organic materials into simpler compounds.
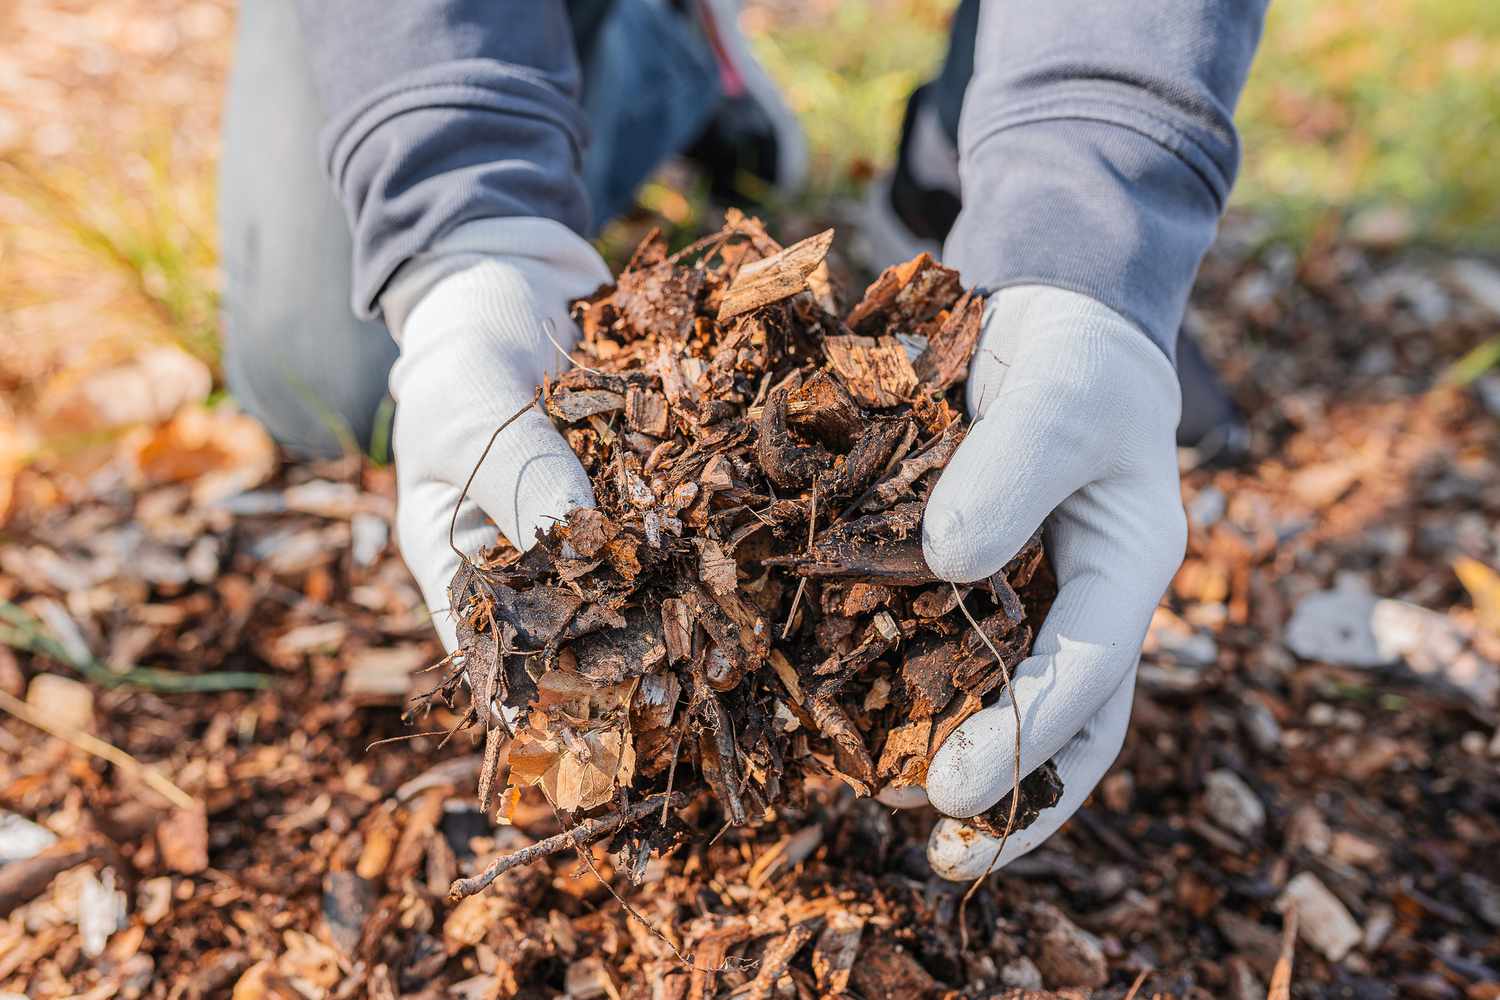
Compost heaps are typically built up of carbon-rich (brown) and nitrogen-rich (green) materials. Carbon-rich materials, such as dried leaves, straw, or wood chips, provide the energy for the microorganisms. Nitrogen-rich materials, such as kitchen scraps, grass clippings, or coffee grounds, provide the necessary nutrients for their growth and activity.
The organic waste materials in a compost heap gradually decompose through a series of stages. Initially, the materials heat up as the microorganisms start breaking them down. This is known as the thermophilic stage, where temperatures can reach around 140-160°F (60-70°C). In this stage, pathogens and weed seeds are killed, making the compost safe to use.
As the decomposition progresses, the temperatures gradually decrease, and the compost enters the mesophilic stage, where mesophilic microorganisms take over. Finally, the compost enters the maturation stage, where it continues to break down slowly and stabilizes into a dark, crumbly, and earthy-smelling material known as humus.
A well-maintained compost heap can take anywhere from a few months to a year to produce finished compost, depending on factors such as temperature, moisture, and the types of materials used. The final compost can be used to enrich garden soil, improve the texture and water holding capacity of the soil, and provide essential nutrients for plants to thrive.
Now that we understand what a compost heap is, let’s explore how to choose the right location for your composting project.
Choosing a Location
When it comes to choosing a location for your compost heap, several factors need to be considered to ensure optimal conditions for decomposition. Here are some key points to keep in mind:
1. Accessibility: Select a location that is easily accessible for adding organic materials and turning the compost. It should be convenient to reach with a wheelbarrow or composting tools.
2. Sunlight: Choose a spot that receives at least partial sunlight. Sunlight helps to speed up the decomposition process by providing warmth and drying out excess moisture. However, if you live in a hot climate, some shade during the peak hours of the day can prevent the compost from drying out too quickly.
3. Drainage: Ensure that the chosen location has good drainage to prevent waterlogging. Excess moisture can lead to anaerobic conditions, slowing down the decomposition process and promoting the growth of harmful bacteria.
4. Proximity to garden: If you plan to use the compost in your garden, it’s ideal to have the compost heap in close proximity to your garden beds or plants. This makes it easier to transport the finished compost and utilize it efficiently.
5. Odor control: Composting can produce some odors, especially during the initial stages of decomposition. Consider locating the compost heap away from areas where the smells may cause a nuisance, such as near windows, outdoor seating areas, or neighboring properties.
6. Space: Make sure you have enough space to accommodate the size of compost heap you desire. A compost heap should ideally be at least 3 feet (1 meter) in length, width, and height to allow for efficient decomposition and proper heat retention.
7. Privacy: While composting is a natural and beneficial process, some people may prefer to have the compost heap hidden from view. Consider placing your compost heap in a discreet area of your yard, behind a hedge, or in a specially designated composting bin or enclosure.
Remember, the location you choose for your compost heap will have an impact on its performance and your overall composting experience. Taking the time to find the right spot will contribute to the successful decomposition of organic materials and ensure a smooth composting process.
Once you have identified the perfect location for your compost heap, it’s time to gather the materials needed to start building your compost pile.
Gathering Materials
Before you start building your compost heap, it’s important to gather the right materials. Composting requires a mix of carbon-rich (brown) and nitrogen-rich (green) materials to create a balanced and nutrient-rich environment for decomposition. Here’s a list of materials you’ll need:
Brown Materials:
- Dried leaves
- Straw or hay
- Wood chips or sawdust
- Shredded newspaper or cardboard
- Twigs or small branches
These carbon-rich materials provide the energy and structure for the microorganisms involved in the composting process. They help create airflow and prevent the compost heap from becoming too compacted.
Green Materials:
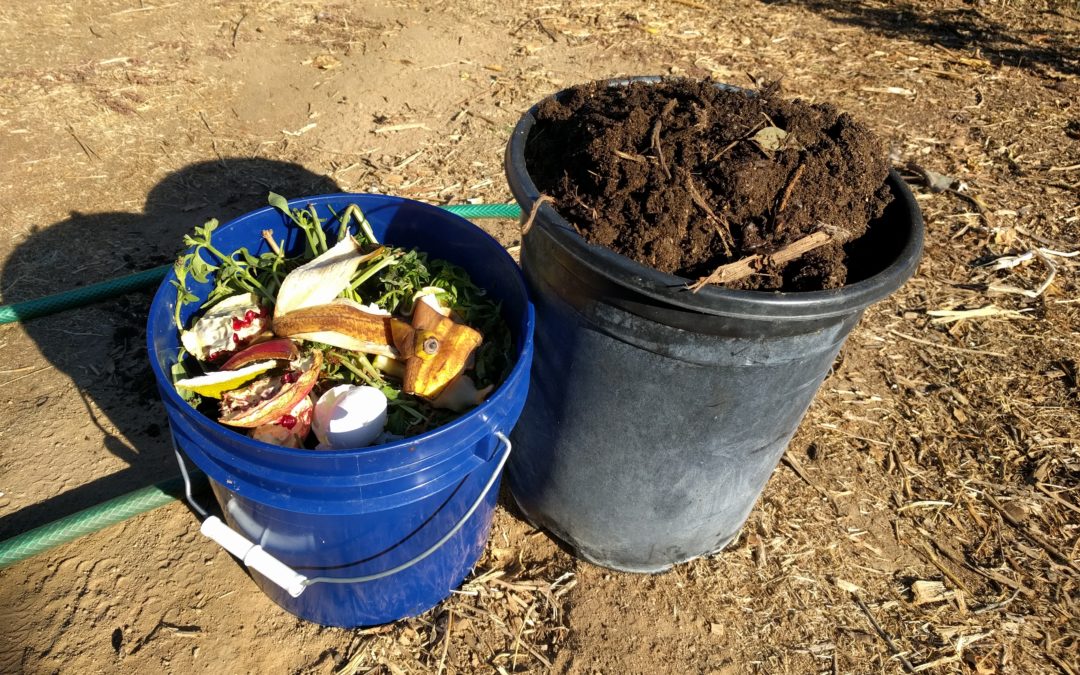
- Vegetable and fruit scraps
- Grass clippings (untreated with herbicides)
- Coffee grounds and tea leaves
- Plant trimmings
- Seaweed or algae
These nitrogen-rich materials provide the essential nutrients and moisture needed to break down the organic matter. These materials are generally higher in nitrogen content compared to brown materials.
Additional Materials:
- Eggshells: Crushed eggshells add calcium to the compost.
- Manure: Well-aged animal manure can accelerate the decomposition process.
- Compost starter: You can use commercially available compost starters to introduce beneficial microorganisms to the compost heap.
It’s important to maintain a proper balance between brown and green materials in your compost heap. Aim for a ratio of approximately 3 parts brown material to 1 part green material. This ratio will ensure that the compost heap decomposes efficiently and avoids unpleasant odors.
Try to gather a variety of materials to create diversity in the compost heap. This diversity will provide a wide range of nutrients and help maintain the right moisture and airflow levels. Avoid adding meat, dairy products, oils, or pet waste to your compost heap, as these can attract pests or introduce harmful pathogens.
Once you have gathered the materials, it’s time to start building your compost heap. In the next section, we will guide you through the process of constructing your very own compost heap.
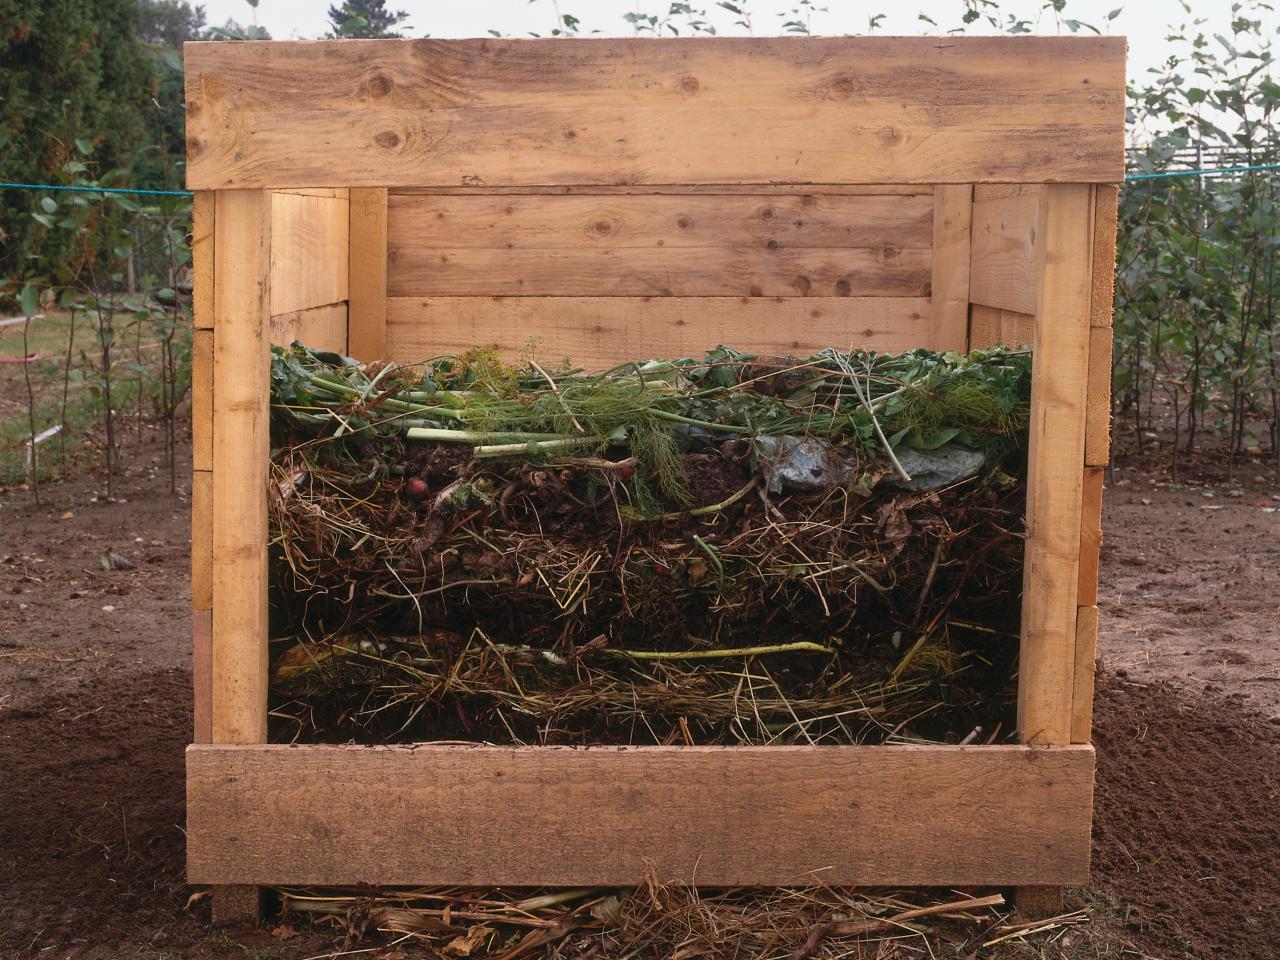
Building the Compost Heap
Now that you have gathered all the necessary materials, it’s time to start building your compost heap. Follow these steps to create a sturdy and efficient composting structure:
1. Choose the right location: Refer back to the “Choosing a Location” section and select a suitable spot for your compost heap.
2. Prepare the site: Clear the area of any debris or vegetation. It’s a good idea to lay down a layer of cardboard or newspaper at the bottom to prevent weeds from growing up into the compost heap.
3. Layer the materials: Start by laying down a thick layer of brown materials as the base of your compost heap. Aim for a layer that is about 6 to 8 inches thick. This layer helps create airflow and facilitate drainage.
4. Add green materials: On top of the brown layer, add a layer of green materials. Make sure to sprinkle them evenly across the heap. If you have a lot of green material, add another layer of brown material on top of it.
5. Moisture: After each layer, lightly moisten the materials with water. The compost heap should be damp, but not waterlogged. Moisture is essential for the decomposition process.
6. Repeat the layers: Continue layering brown and green materials, making sure to maintain the balance. Alternate between the layers until you have used up all your organic waste materials.
7. Mix in additional materials: If you have eggshells or aged manure, you can lightly sprinkle them in between the layers to enhance the nutrient content of the compost.
8. Turn the heap: To promote proper decomposition, it’s important to turn the compost heap every couple of weeks. Use a garden fork or compost turning tool to mix the materials thoroughly. This helps aerate the compost and evenly distribute moisture and nutrients.
9. Monitor the moisture and temperature: Check the moisture level of the compost heap regularly. It should be damp, like a wrung-out sponge. If it’s too dry, moisten it with water. If it’s too wet, add more dry brown materials. Also, keep an eye on the temperature. The compost should remain warm but not hot. Turning the heap regularly helps maintain the temperature.
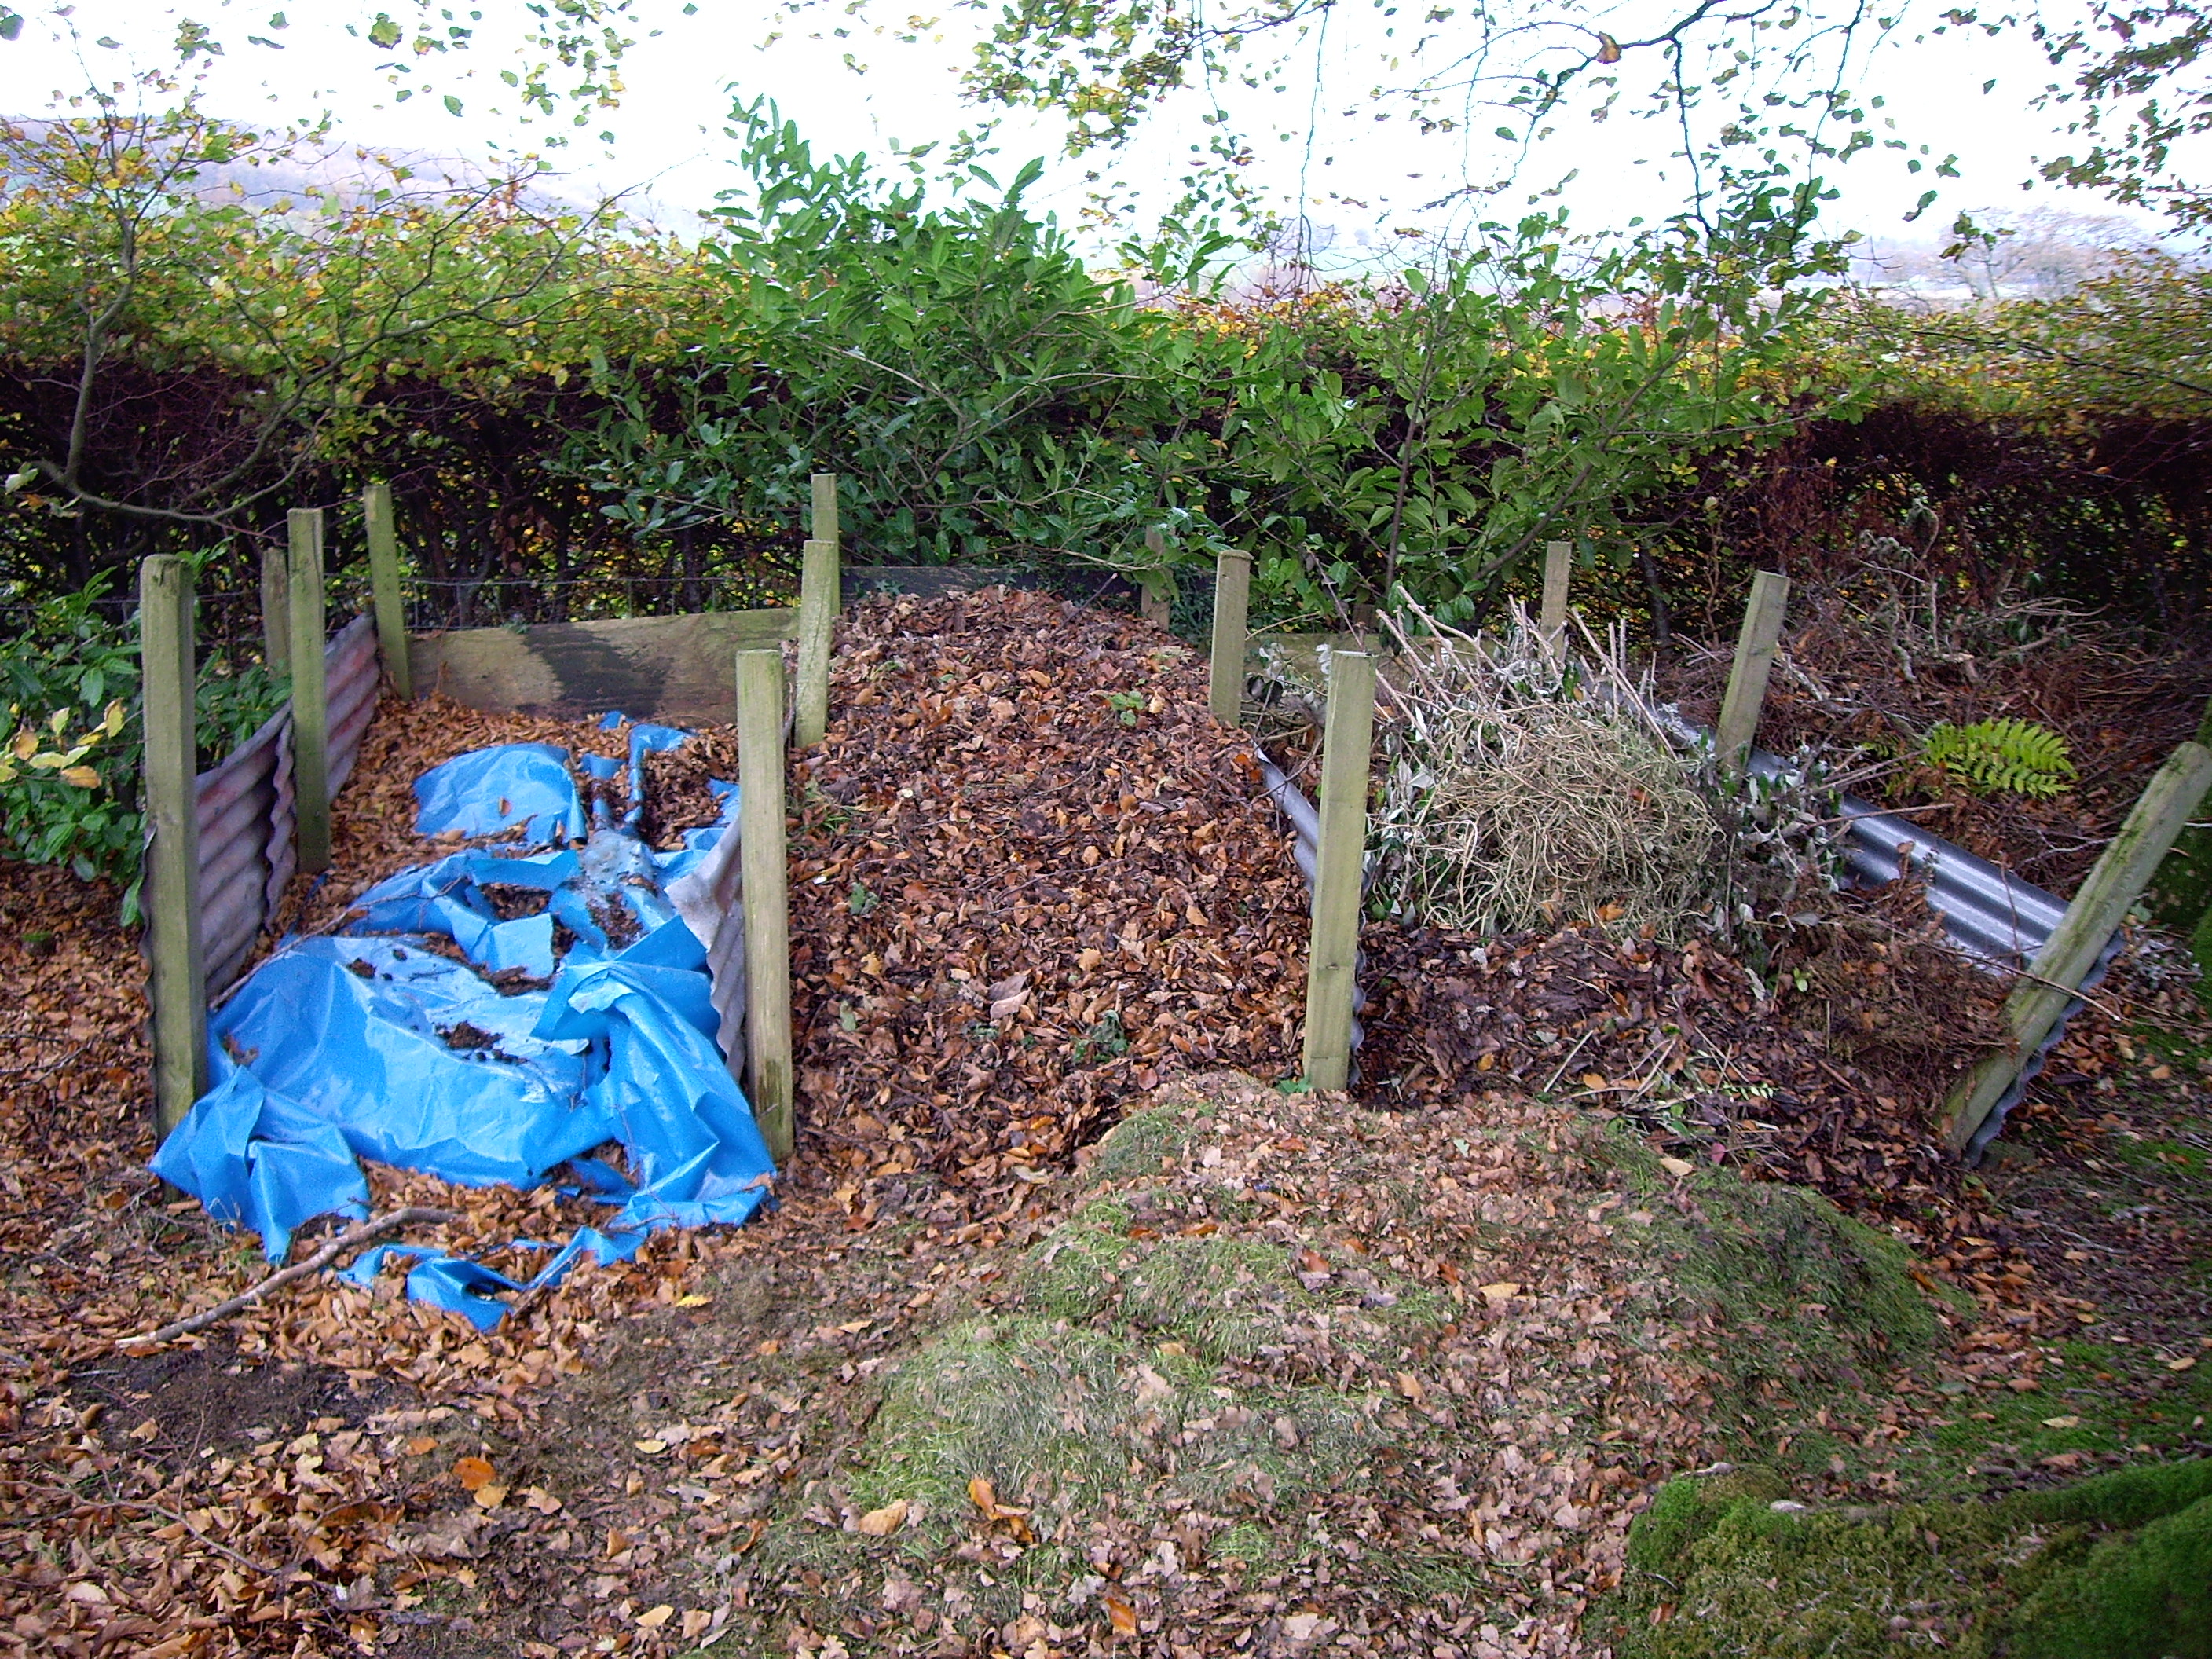
10. Cover the heap: Covering the compost heap with a tarp or compost bin cover can help retain moisture and heat, especially during rainy or cold weather.
Remember, building a compost heap is an ongoing process. As you accumulate more organic waste, continue adding new layers to the heap and turning it to facilitate decomposition. With time and proper management, you will have a rich and nutrient-dense compost that is ready to be used in your garden. In the next section, we will discuss how to manage your compost heap effectively.
Managing the Compost Heap
Once your compost heap is built, it’s important to manage it properly to ensure efficient decomposition and a healthy composting process. Here are some key tips for managing your compost heap:
Turn the heap regularly: Turning the compost heap every few weeks helps mix the materials, promote aeration, and accelerate decomposition. Use a garden fork or compost turning tool to gently mix the layers, ensuring that all parts of the heap are exposed to oxygen.
Monitor moisture levels: Regularly check the moisture content of the compost heap. It should be moist, like a wrung-out sponge. If the heap is too dry, sprinkle it with water. If it’s too wet, add dry brown materials like dried leaves or straw to absorb excess moisture.
Add organic materials: Continue adding organic waste materials to the compost heap regularly. Aim for a good balance of brown and green materials to maintain the ideal carbon-to-nitrogen ratio. Chop or shred larger materials to speed up the decomposition process.
Avoid adding certain materials: Avoid adding meat, dairy products, oils, or pet waste to your compost heap, as these can attract pests and introduce harmful bacteria or pathogens. Stick to plant-based materials and organic kitchen scraps.
Watch out for odors: A well-maintained compost heap should not produce foul odors. If you notice strong smells, it could indicate an imbalance in the compost or too much moisture. Turn the heap and add more brown materials to address the issue.
Manage temperature: The temperature of your compost heap is an indicator of its activity and decomposition process. During the thermophilic stage, the heap should reach temperatures between 140-160°F (60-70°C). If the heap is too hot or not heating up, adjust the moisture levels and turn the compost to maintain optimal conditions.
Keep pests away: To prevent pests from accessing your compost heap, avoid adding food scraps on top of the pile. Bury them in the middle or cover them with a layer of brown materials. Additionally, regularly turning the heap can help deter pests.
Patience is key: Composting is a natural process that takes time. The length of time required for your compost heap to fully decompose depends on several factors, including the materials used, the temperature, and how often it’s turned. Be patient and allow the microorganisms to do their work.
By managing your compost heap effectively, you can accelerate the decomposition process and ensure the production of high-quality compost. Regular maintenance and attention to details will ultimately result in nutrient-rich compost that can be used to enrich your garden soil and promote healthy plant growth. In the next section, we will discuss some common troubleshooting tips for composting.
Troubleshooting
Composting is a natural process, and sometimes challenges may arise along the way. Here are some common troubleshooting tips to help you overcome any issues you might encounter with your compost heap:
Problem: Slow decomposition
– Solution: Ensure that there is a good balance of carbon-rich (brown) and nitrogen-rich (green) materials. Adjust the ratio if necessary. Also, check the moisture level of the heap and turn it regularly to provide adequate aeration.
Problem: Foul odors
– Solution: Foul odors can indicate an imbalance in the compost heap or excessive moisture. Turn the heap to improve aeration and add more brown materials to absorb excess moisture.
Problem: Pests or animals attracted to the heap
– Solution: Avoid adding meat, dairy products, oils, or pet waste to the compost heap, as these can attract pests. Bury food scraps in the middle of the heap or cover them with a layer of brown materials. Regularly turn the heap to discourage pests.
Problem: Excessive heat
– Solution: If the compost heap is consistently too hot, it may indicate high nitrogen content or inadequate aeration. Check the carbon-to-nitrogen ratio and adjust by adding more brown materials. Turning the heap regularly can also help regulate the temperature.
Problem: Too dry compost heap
– Solution: Sprinkle the compost heap with water to moisten it. Ensure proper moisture levels by adding green materials or watering when necessary. Covering the heap with a tarp or compost bin cover can help retain moisture.
Problem: Unwanted weed growth
– Solution: Incorporate additional brown materials, such as newspaper or cardboard, to smother weed growth. Turning the compost regularly can also help suppress weed growth.
Problem: Compost is not mature
– Solution: If your compost is not fully decomposed or mature, give it more time. Continue turning and maintaining the heap, and monitor the temperature and moisture levels. Patience is key in achieving mature compost.
Remember that composting is a continual learning process. Don’t be discouraged by challenges that may arise. With proper troubleshooting and adjustments, you can overcome these obstacles and achieve successful composting. In the next section, we will explore the process of harvesting and using the finished compost.
Harvesting and Using the Compost
After months of patiently tending to your compost heap, the time will come to harvest the finished compost. Here’s how to harvest and make the most of your nutrient-rich compost:
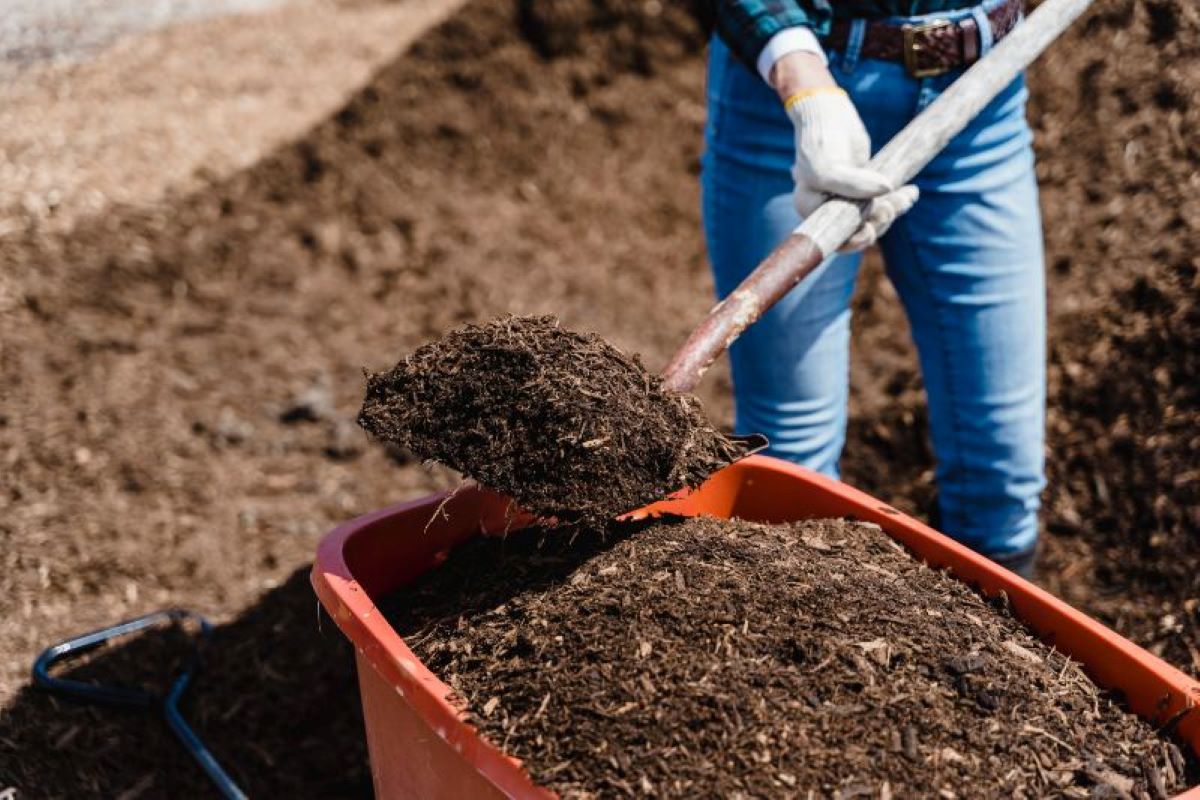
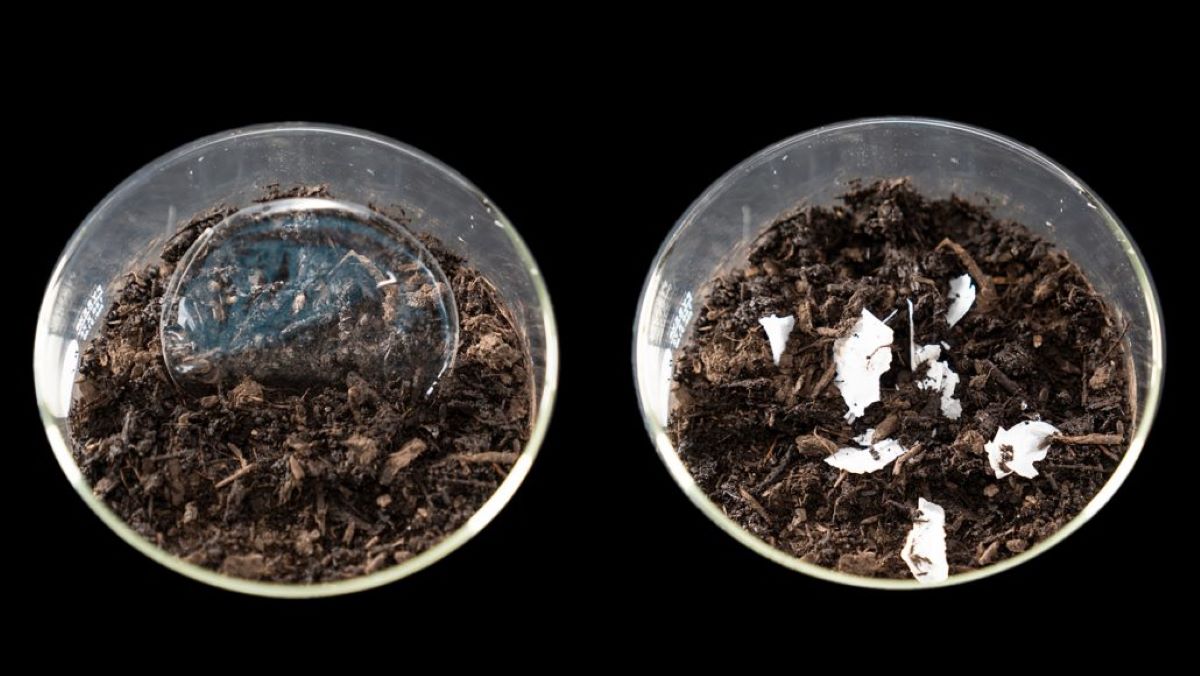
1. Checking for readiness: Before harvesting the compost, check if it is fully decomposed and ready to use. The compost should be dark brown or black, crumbly in texture, and have an earthy smell. It should no longer resemble its original materials.
2. Harvesting techniques: There are a few methods you can use to harvest the compost. One common method is to remove the top layer of unfinished materials and set it aside. Then, use a pitchfork or shovel to carefully scoop out the finished compost from the bottom of the heap. Alternatively, you can use a compost screen or sifter to separate the finished compost from any larger particles or undecomposed materials.
3. Compost storage: Once you have harvested the compost, store it in a covered bin, container, or compost pile away from direct sunlight. This will help retain its moisture content and quality until you are ready to use it.
4. Using the compost: There are various ways to use your harvested compost:
– Garden soil amendment: Mix the compost into your garden soil to improve its structure, fertility, and water-holding capacity. Spread a layer of compost on top of the soil and gently incorporate it using a garden fork or tiller.
– Planting medium: Use the compost as a base for potting mixes or seed-starting mediums. The added nutrients and organic matter will provide healthy growing conditions for your plants.
– Mulching: Spread a layer of compost around the base of your plants to act as a natural mulch. This will help retain moisture, suppress weed growth, and gradually release nutrients into the soil.
– Compost tea: Soak compost in water, strain it, and use the nutrient-rich liquid as compost tea. Spray it on your plants as a foliar feed or use it to water your plants for added nutrition.
5. Continuous composting: As you use up your harvested compost, continue adding new organic waste materials to your compost heap. Maintain the balance of brown and green materials and manage the compost heap following the previous sections’ guidelines to ensure a steady supply of nutrient-rich compost.
By effectively harvesting and utilizing your compost, you can reap the rewards of your hard work and contribute to sustainable gardening practices. Compost serves as a valuable resource that enriches the soil, reduces waste, and supports a healthy ecosystem in your garden.
With the knowledge and skills gained from building and managing your own compost heap, you can continue to embrace the benefits of composting and make a positive impact on the environment. Happy composting!
Conclusion
Congratulations on successfully discovering the world of DIY composting! Building and managing your own compost heap is a rewarding and sustainable project that allows you to reduce waste, improve soil health, and nourish your plants with nutrient-rich compost. By following the steps outlined in this article, you have learned how to create the ideal conditions for decomposition, troubleshoot common issues, and harvest and utilize your finished compost.
Composting is a continuous learning process, and you may encounter challenges along the way. Remember to maintain a balance of carbon-rich (brown) and nitrogen-rich (green) materials, monitor moisture levels, and turn the compost regularly to provide proper aeration. Proper management and patience are key to achieving successful decomposition and yielding high-quality compost.
As you continue your composting journey, remember the significant impact you are making on the environment. By diverting organic waste from landfills and repurposing it into nutrient-rich compost, you contribute to a more sustainable future. Not only does composting reduce greenhouse gas emissions, but it also enhances soil fertility, conserves water, and promotes a thriving ecosystem in your garden.
So, continue to explore the world of composting, experiment with different materials and techniques, and share your knowledge with others. By spreading the importance of composting, we can all play a part in creating a healthier planet for ourselves and future generations.
Embrace the joys of composting, and let your compost heap be a symbol of your commitment to sustainable living and responsible stewardship of the environment. Happy composting!