Home>Gardening Techniques>DIY Projects>How To Make A Compost Bin

DIY Projects
How To Make A Compost Bin
Modified: January 22, 2024
Learn how to make a compost bin with these easy DIY projects. Transform your organic waste into nutrient-rich soil for your garden.
(Many of the links in this article redirect to a specific reviewed product. Your purchase of these products through affiliate links helps to generate commission for Chicagolandgardening.com, at no extra cost. Learn more)
Table of Contents
Introduction
Welcome to the wonderful world of composting! If you’re someone who loves gardening or is looking for eco-friendly ways to reduce waste, composting is the perfect DIY project for you. Composting is the process of decomposing organic materials, such as food scraps, yard waste, and paper, into nutrient-rich compost that can be used to enrich soil and promote healthy plant growth.
Not only does composting help divert waste from landfills, but it also reduces greenhouse gas emissions and conserves water. Plus, it’s a cost-effective way to create your own plant food and reduce the need for chemical fertilizers.
In this article, we will guide you through the process of making your own compost bin. Whether you live in a spacious backyard or a small apartment, there are composting options available for every space and lifestyle. We’ll cover the benefits of composting, choosing the right location for your compost bin, selecting the right materials, building a DIY compost bin, layering the compost materials, maintaining your compost bin, troubleshooting common issues, and harvesting and using your compost.
So, let’s dig in and learn how to turn your kitchen and garden waste into a valuable resource that will nourish your plants and help you become a more sustainable gardener!
Benefits of Composting
Composting offers a wide range of benefits for both the environment and your garden. Here are some of the key advantages:
- Reduces waste: Composting is a fantastic way to divert organic waste from landfills. By composting your kitchen scraps and yard trimmings, you can significantly reduce the amount of waste that ends up in trash bags.
- Enriches soil: Compost is often referred to as “black gold” because of its incredible ability to improve soil quality. When added to your garden beds or potted plants, compost enhances soil structure, increases water retention, and provides essential nutrients for plant growth. It also helps in improving the microbial activity in the soil, promoting a healthy ecosystem for beneficial organisms.
- Reduces the need for chemical fertilizers: Compost is a natural alternative to synthetic fertilizers. By using compost, you can reduce your reliance on chemical-based fertilizers, which can be harmful to the environment. Organic matter in compost releases nutrients slowly, feeding plants gradually, and preventing nutrient runoff.
- Retains moisture: Compost acts as a fantastic moisture retainer, helping your garden withstand dry spells. It improves water infiltration and retention in the soil, reducing the need for frequent watering.
- Suppresses plant diseases: Composting helps create an environment that suppresses certain plant diseases. The beneficial microorganisms present in compost can help ward off harmful pathogens, keeping your plants healthier.
- Reduces carbon footprint: Composting reduces greenhouse gas emissions by diverting organic waste from landfills. In landfills, organic waste decomposes and produces methane, which is a potent greenhouse gas. By composting, you can contribute to reducing carbon emissions and combat climate change.
These are just a few of the many benefits of composting. Whether you are an avid gardener or simply want to be more environmentally conscious, composting is a simple and rewarding practice that can make a significant impact.
Choosing the Right Location for Your Compost Bin
When it comes to setting up your compost bin, choosing the right location is crucial. Here are some factors to consider when selecting the perfect spot:
- Sunlight: Your compost bin should ideally be placed in a spot that receives partial sunlight. Direct sunlight can cause the compost to dry out too quickly, while complete shade may inhibit decomposition. Finding a balance between sun and shade will help maintain optimal conditions for composting.
- Drainage: Make sure your chosen location has proper drainage. Excess moisture from rain or watering should be able to drain away rather than pooling around the compost bin. This will help prevent the compost from becoming soggy and smelly.
- Accessibility: Consider easy access when deciding where to place your compost bin. It should be conveniently located near your kitchen for easy disposal of food scraps, and also accessible from your garden or flower beds for adding yard waste.
- Avoiding odors: While composting is a natural process, it can occasionally produce odors. To minimize any unpleasant smells, choose a location that is downwind from your living areas. It’s also a good idea to keep your compost bin a reasonable distance away from your neighbors’ property to prevent any potential issues.
- Neighborhood restrictions: Check with your local municipality or homeowners’ association for any specific guidelines or restrictions on composting. Some communities may have regulations on the type of composting allowed or the location of compost bins.
- Convenience: Lastly, consider your own convenience and comfort. Ensure that the location is easily accessible for adding materials, turning the compost, and harvesting the finished compost. Finding a spot that fits seamlessly into your daily routine will make composting a hassle-free experience.
By taking these factors into consideration, you can select the perfect location for your compost bin. Remember, the location you choose will play a crucial role in the success of your composting endeavors.
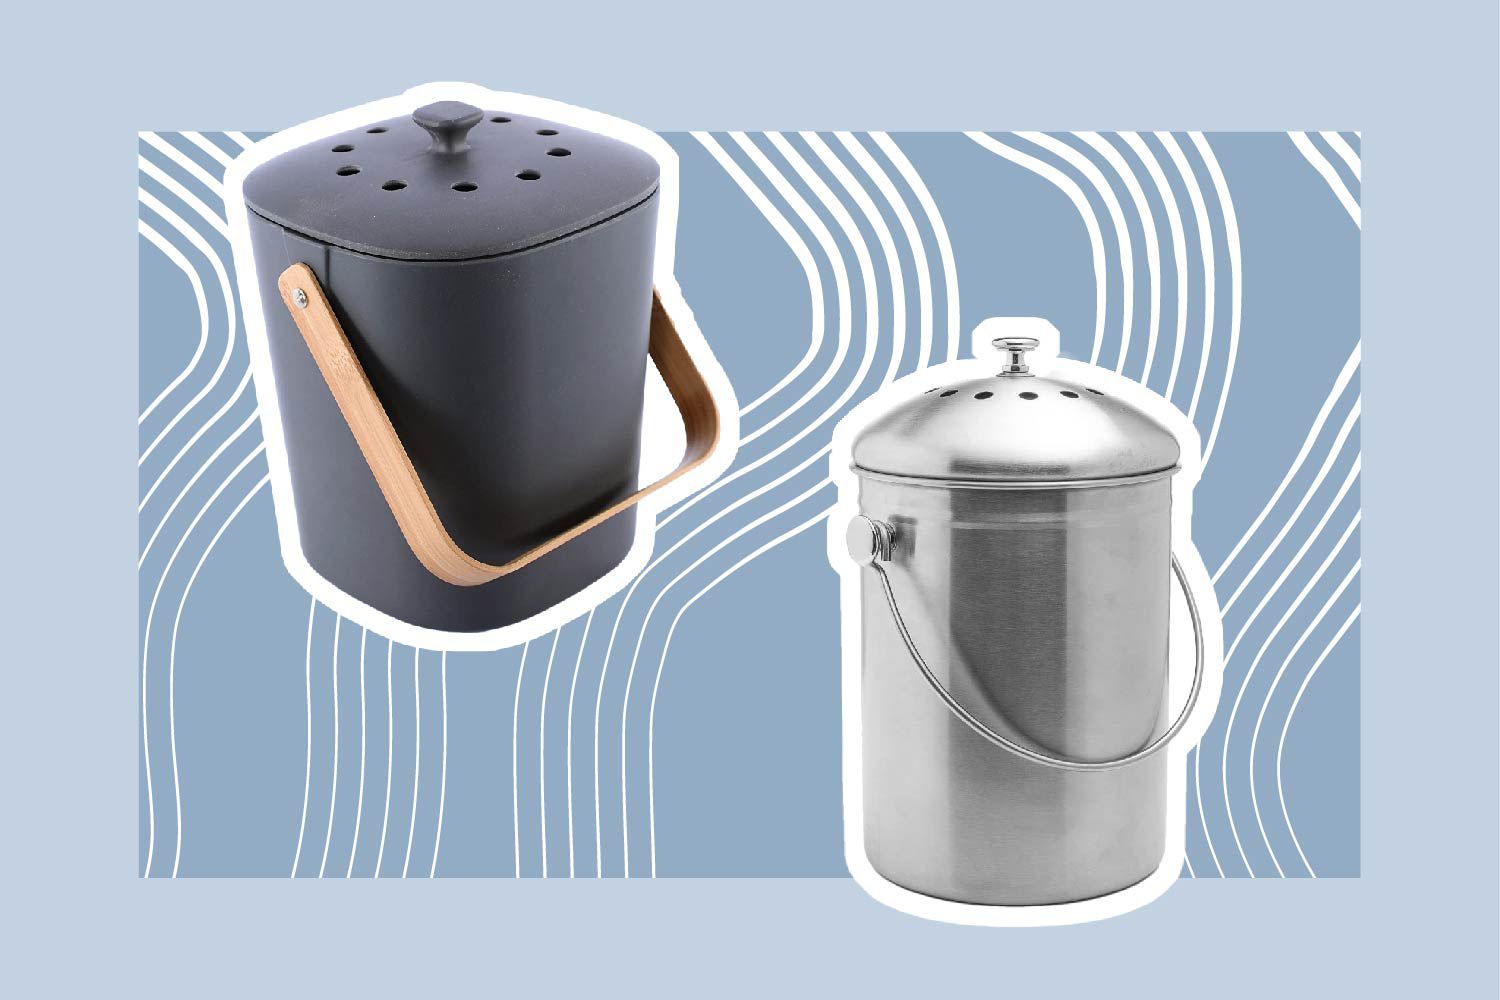
Selecting the Right Materials for Composting
Choosing the right materials for your compost bin is essential to ensure a healthy and balanced decomposition process. Here are some tips for selecting materials suitable for composting:
- Brown materials: Brown materials, such as dried leaves, wood chips, straw, and shredded newspaper, provide carbon to the compost pile. These materials help create aeration and balance the nitrogen-rich green materials. Aim for a ratio of about three parts brown materials to one part green materials.
- Green materials: Green materials are rich in nitrogen and include items like kitchen scraps (vegetable and fruit peels, coffee grounds, etc.), grass clippings, and fresh plant trimmings. These materials provide essential nutrients and moisture to the compost pile.
- Avoid meat and dairy: It’s best to avoid adding meat, fish, dairy products, and oils to your compost. These items can attract pests and create unpleasant odors. Stick to vegetable and fruit scraps, eggshells, and coffee grounds for a healthy compost pile.
- Avoid weeds or diseased plants: It’s important to avoid adding weeds with mature seed heads or plants infected with diseases to your compost. These can transfer seeds or pathogens to your garden when you use the compost as fertilizer. Instead, dispose of these materials separately.
- Avoid treated or glossy materials: Do not include materials that have been treated with pesticides or herbicides in your compost. Additionally, avoid glossy magazines or paper coated with wax or plastic, as they may not break down properly.
- Chop or shred large materials: To speed up the decomposition process, consider chopping or shredding large materials like branches, corn stalks, or garden trimmings. Smaller pieces break down more quickly and efficiently.
- Add water: Maintaining the right moisture level is crucial for composting. Add water to your compost pile if it feels dry, aiming for a consistency similar to a damp sponge. Moisture helps the organisms in the compost break down the materials effectively.
By selecting a good balance of brown and green materials and avoiding certain items, you can create a nutrient-rich compost pile that will break down efficiently and provide excellent results for your garden.
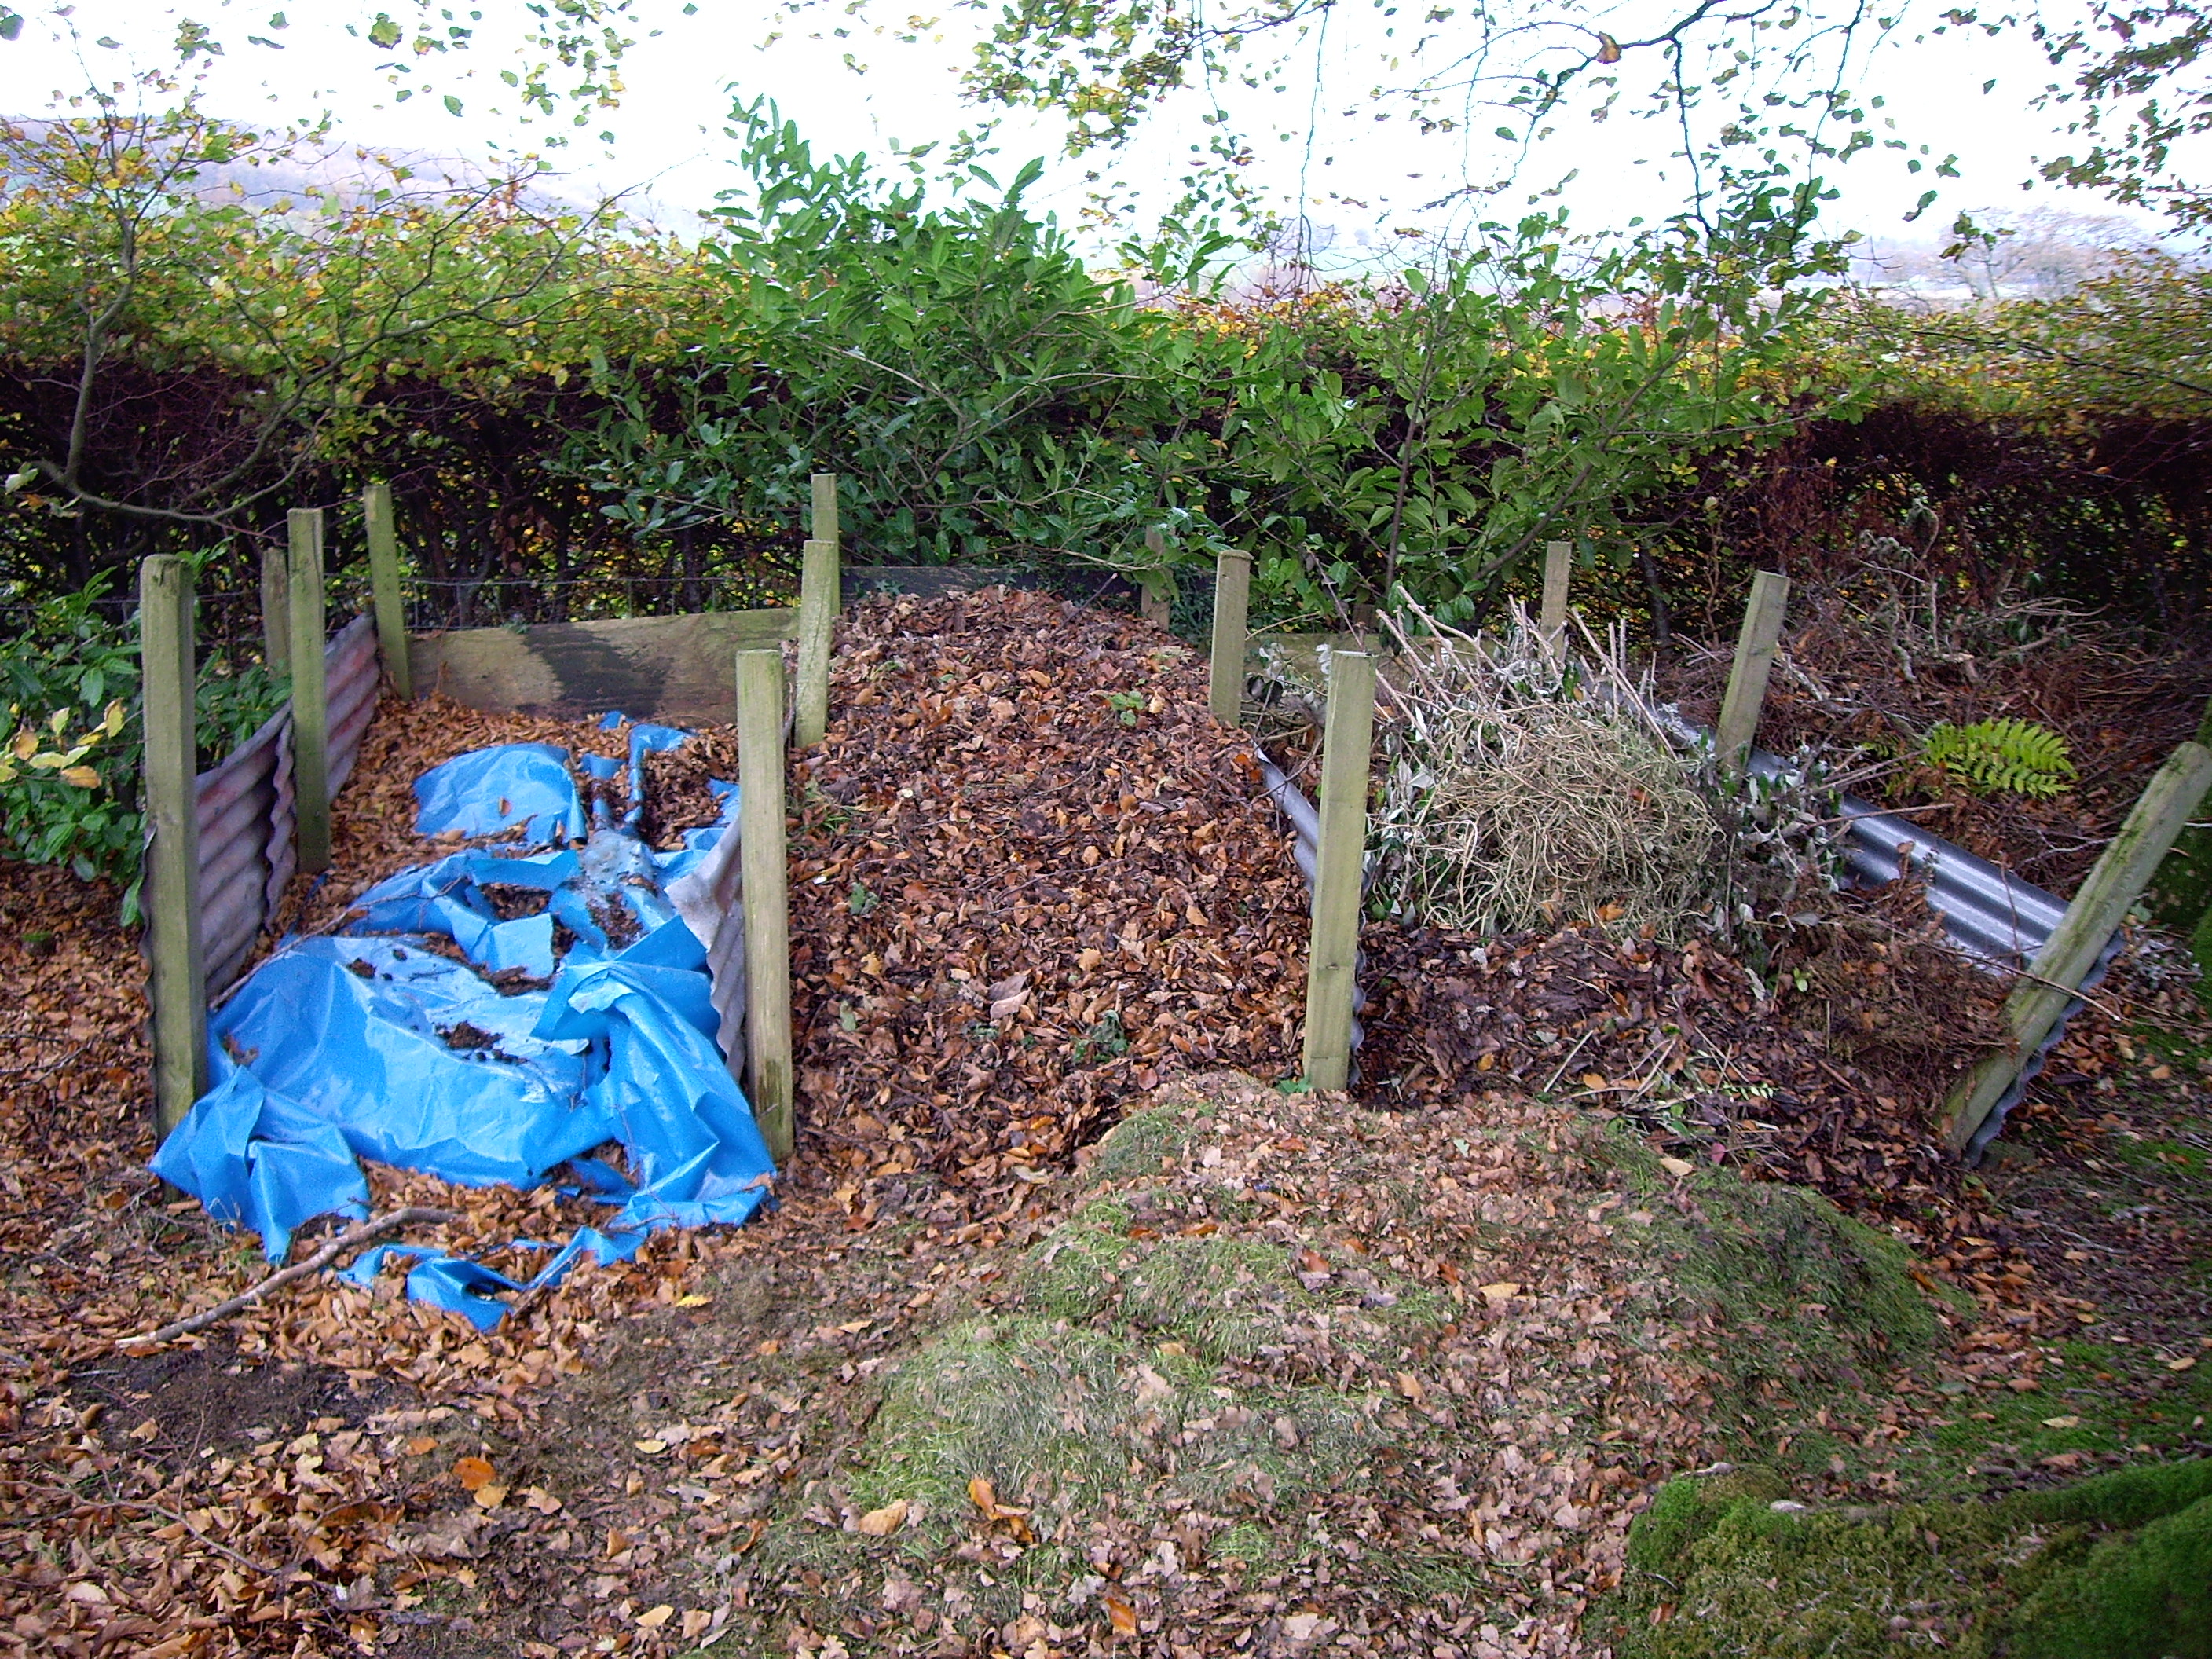
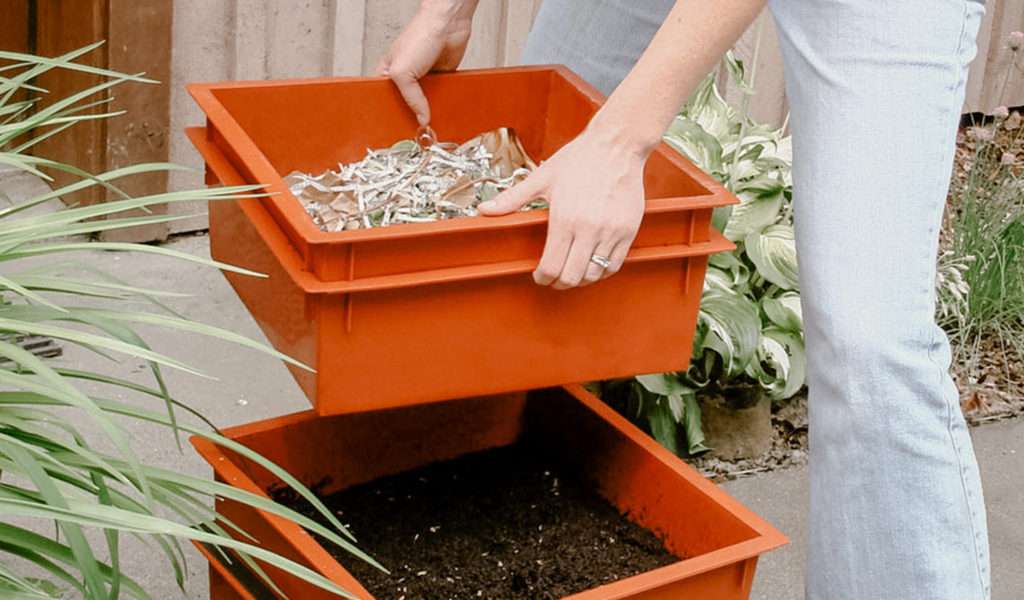
Building a DIY Compost Bin
Building your own compost bin is a cost-effective and customizable way to start composting. Here’s a step-by-step guide to help you create a DIY compost bin:
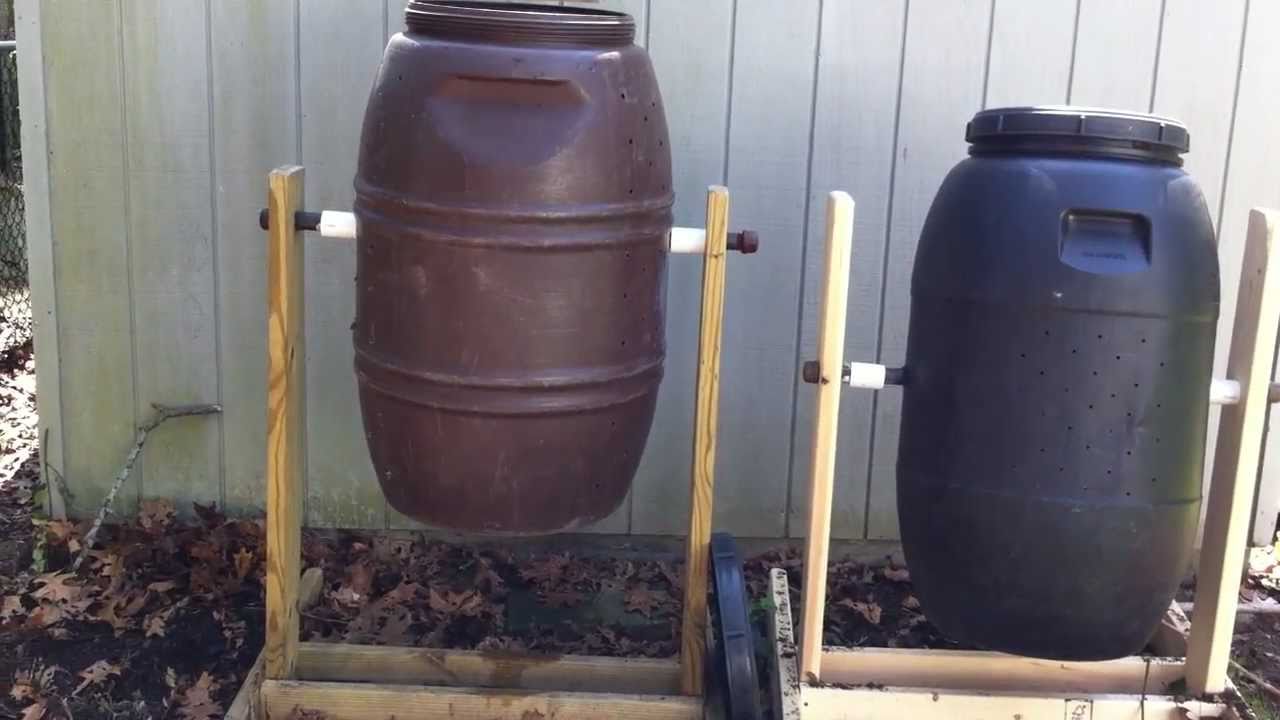
- Choose the type of compost bin: There are various types of compost bins you can build, such as a wooden bin, wire mesh bin, or even a simple homemade bin using recycled materials like pallets or old containers. Choose a design that suits your space and needs.
- Gather the materials: Depending on the type of compost bin you choose, gather the necessary materials. This may include wood, wire mesh, nails or screws, a drill, zip ties, or other tools and materials specific to your chosen design.
- Prepare the location: Clear the area where you plan to place your compost bin. Make sure the ground is level and free from any obstacles like rocks or debris.
- Build the bin: Following your chosen design, start constructing the compost bin. If using wood, cut the pieces to the desired dimensions and assemble them using screws or nails. If using wire mesh, create a cylinder or box shape and secure it with zip ties or wire.
- Add ventilation: Ensure proper airflow by creating ventilation holes or gaps in your compost bin. This will help with aeration and allow beneficial microorganisms to thrive.
- Place the bin in the chosen location: Move your newly constructed compost bin to the prepared location. If necessary, anchor it in place to prevent it from toppling over.
- Line the bottom: To prevent pests from entering your compost, line the bottom of the bin with wire mesh or a layer of small rocks.
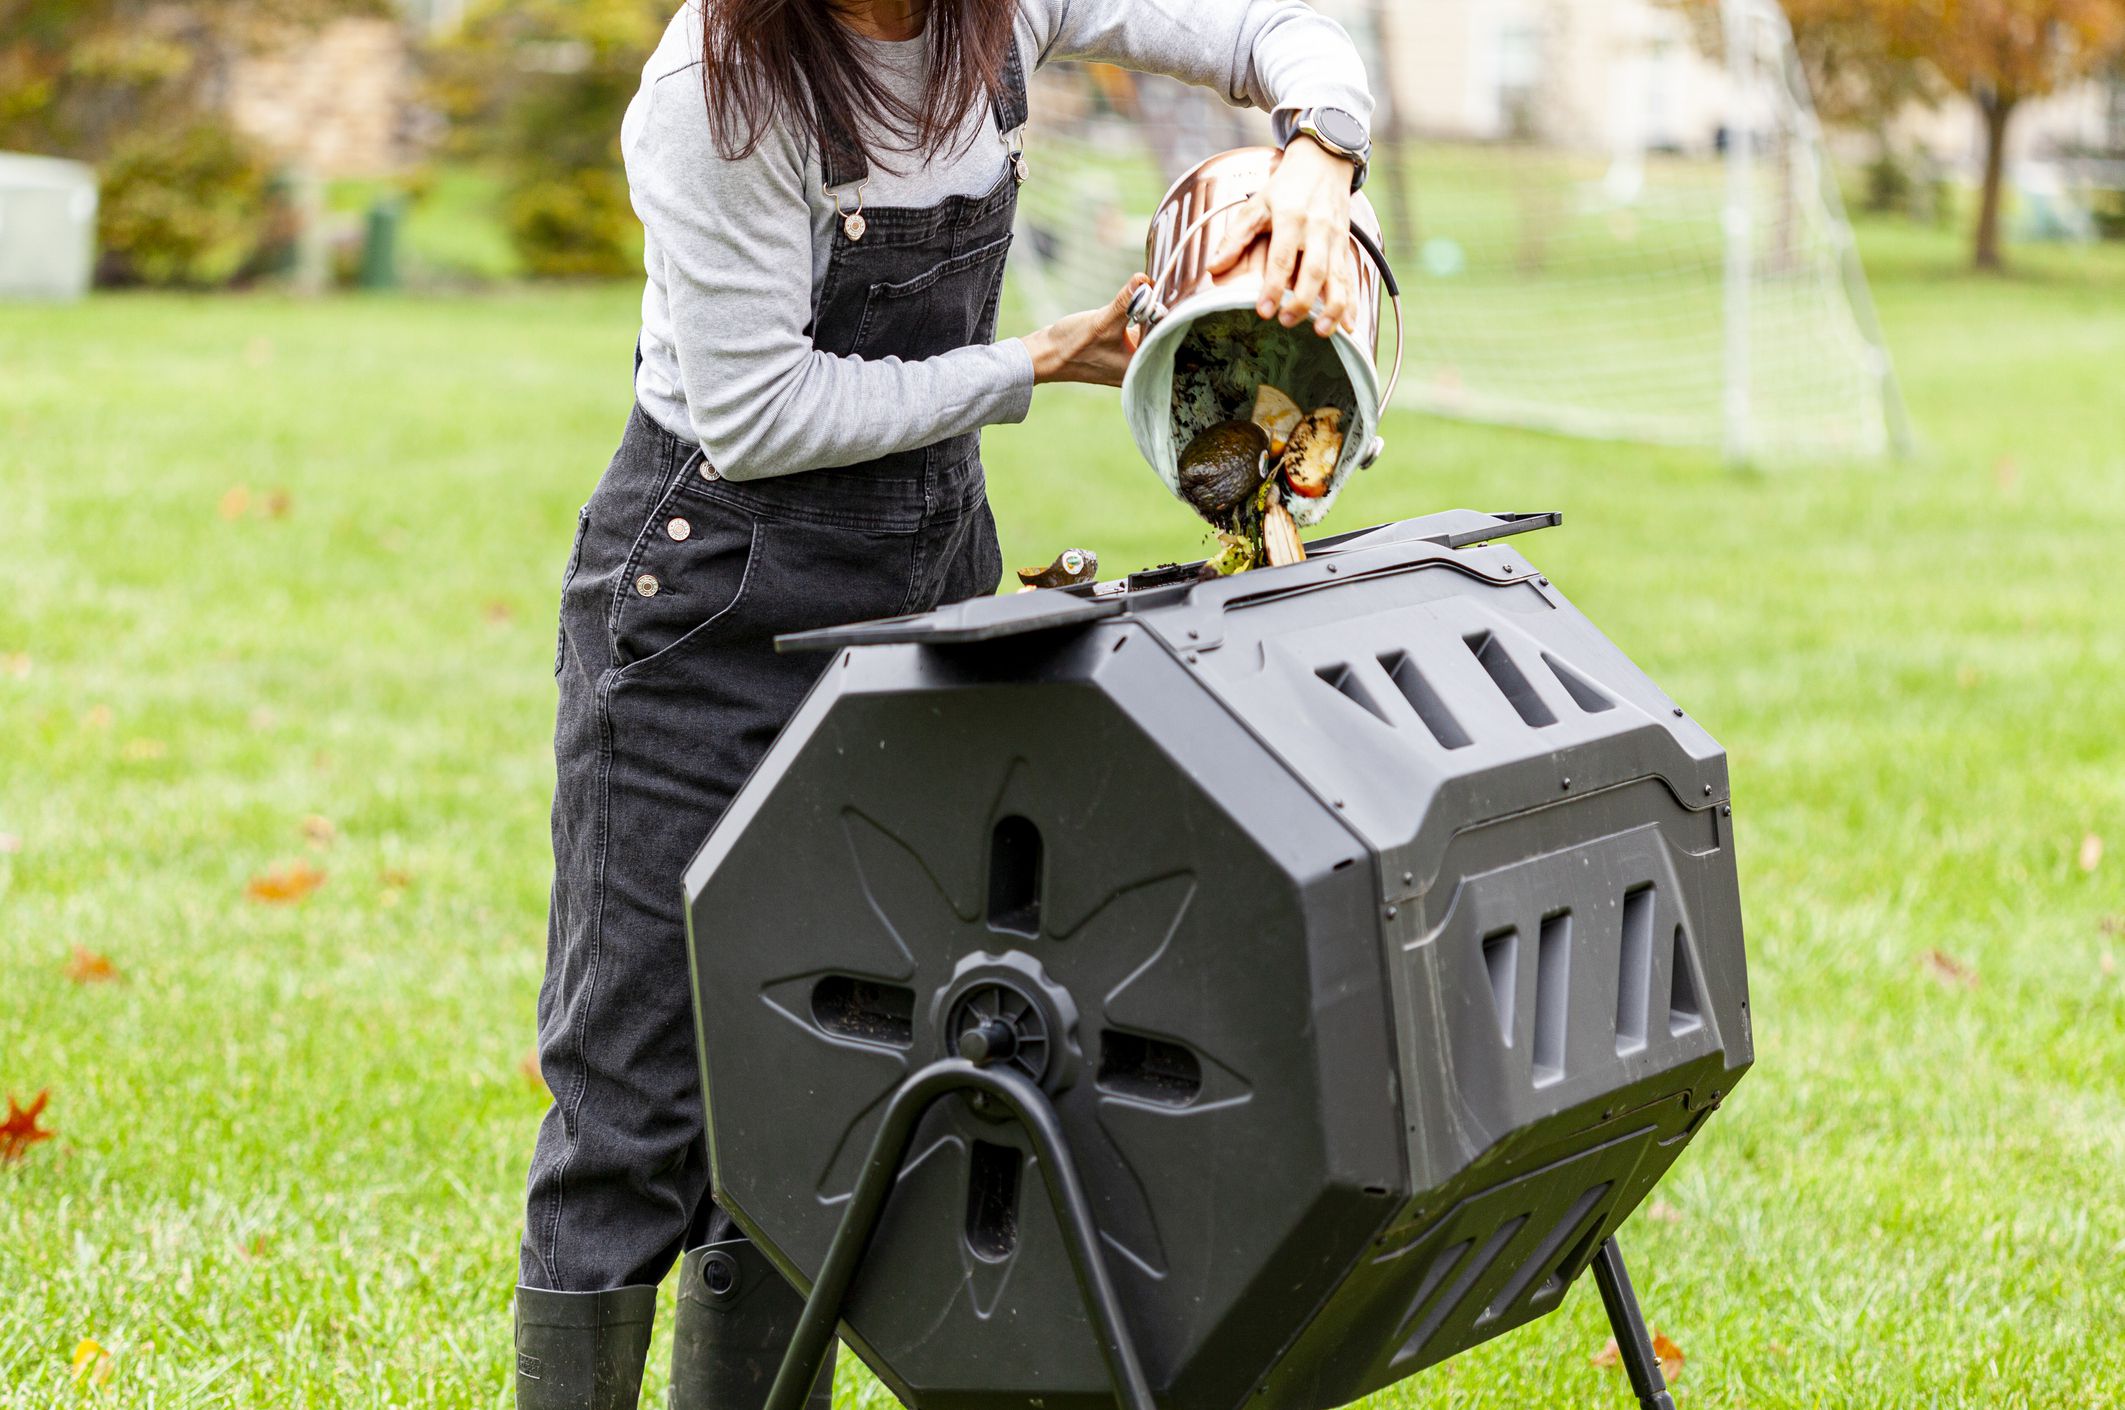
- Add compost materials: Start adding compostable materials to your bin. Layer them with a mix of green and brown materials, ensuring a good balance between carbon-rich and nitrogen-rich materials.
- Secure the bin: Cover your compost bin with a lid or a tarp to keep pests out and maintain the right moisture level. This will also help retain heat and accelerate the composting process.
Remember to turn your compost regularly to aid the decomposition process, and continue adding materials as they become available. With your DIY compost bin in place, you’re ready to start transforming your kitchen and yard waste into nutrient-rich compost for your garden.
Layering Your Compost Materials
Proper layering of compost materials is crucial for creating a well-balanced and efficient compost pile. Follow these guidelines to achieve ideal layering:
- Start with a brown layer: Begin by adding a layer of brown materials, such as dried leaves, wood chips, or shredded newspaper. This layer provides carbon-rich material that helps create airflow and structure in the compost pile.
- Add a green layer: On top of the brown layer, add a layer of green materials, such as kitchen scraps and fresh plant trimmings. These materials provide nitrogen and moisture to the compost pile, helping to kick-start the decomposition process.
- Alternate between brown and green layers: Continue layering your compost materials, alternating between brown and green layers. Aim for a ratio of about three parts brown materials to one part green materials. This ratio ensures a good balance of carbon and nitrogen, allowing the compost pile to decompose efficiently.
- Add water: As you layer the materials, periodically moisten your compost pile. It should have the consistency of a damp sponge. This moisture is essential for the microbes in the compost to thrive and break down the organic matter effectively.
- Break down large materials: If you have larger items, like branches or garden trimmings, it’s best to break them down into smaller pieces. This helps speed up decomposition by exposing more surface area to the composting process.
- Avoid compacting: While layering your compost materials, avoid compacting the pile. Gently tamp down the layers with a garden fork or a compost turning tool to ensure good contact among the materials, but be careful not to compress them too tightly. Adequate airflow is necessary for the composting process.
- Add more layers: Periodically add more layers to your compost pile as you collect additional compostable materials. Continue alternating between brown and green layers, making sure to maintain the proper moisture level.
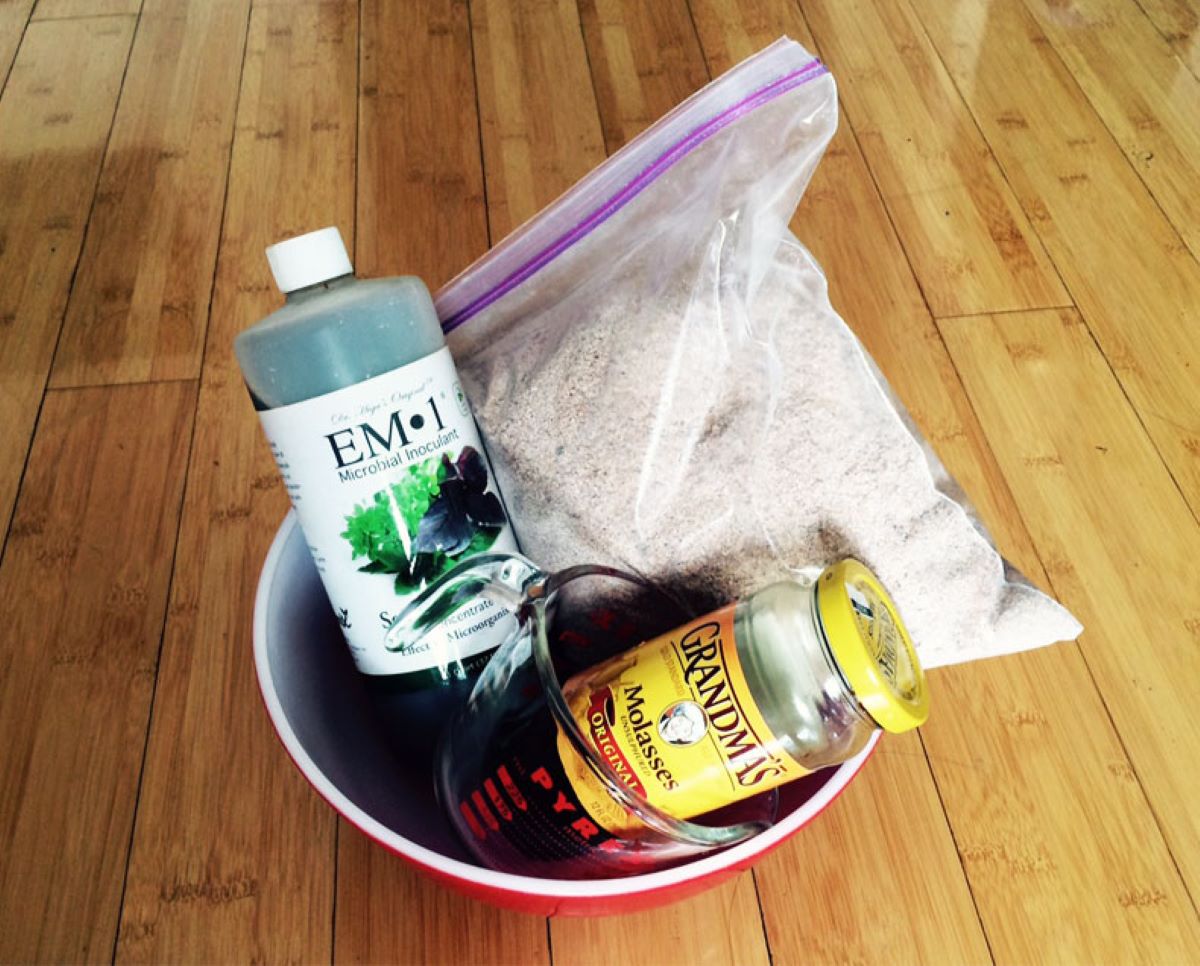
- Optional: Include compost activators: If you want to accelerate the composting process, you can add compost activators, such as finished compost or commercial compost starters. These products introduce beneficial microorganisms to the pile, aiding in decomposition.
- Cover and maintain: Once you’ve layered your compost pile, cover it with a lid or a tarp. This helps retain moisture and heat, creating an ideal environment for microbial activity. Regularly turn or aerate the compost to ensure proper mixing and decomposition.
By following these layering techniques, you’ll create a well-balanced compost pile that will break down efficiently and transform your organic waste into nutrient-rich compost for your garden.
Maintaining Your Compost Bin
To ensure successful composting, it’s important to maintain your compost bin and provide the optimal conditions for decomposition. Here are some tips to help you maintain your compost bin:
- Turning the compost: Regularly turn or aerate your compost pile to promote oxygen flow and aid in decomposition. Use a garden fork or a compost turning tool to mix the materials, ensuring that the outer edges move to the center. Turning the compost every couple of weeks will help speed up the process.
- Monitoring moisture: Check the moisture level of your compost regularly. It should be moist, like a damp sponge, but not overly saturated. If the compost seems too dry, add water to maintain the proper moisture balance. If it’s too wet, add more dry, carbon-rich materials to absorb the excess moisture.
- Avoiding excessive heat: While some heat is necessary for decomposition, excessive heat can kill beneficial microorganisms. If you notice that your compost pile is getting too hot, you can add more brown materials to cool it down, or simply let it cool naturally before turning.
- Maintaining the right size: As your compost materials decompose, the pile will shrink in size. It’s important to continue adding materials and maintaining an adequate size for efficient composting. A compost pile that is too small may not generate enough heat for decomposition, while one that is too large can be difficult to turn effectively.
- Managing odors and pests: To prevent odors and deter pests, keep a good balance of brown and green materials in your compost bin. Avoid adding meat, dairy, oily foods, or any items that can attract unwanted visitors. If odors persist, you can cover your compost with a layer of dry leaves or straw to help contain the smell.
- Patience and time: Composting is a natural process that takes time. Depending on the materials used and the environmental conditions, it can take several months to a year for compost to fully mature and be ready for use. Patience is key, so continue to maintain your compost bin and be consistent with adding materials.
By following these maintenance tips, you’ll ensure a healthy and productive composting process. Remember, composting is an ongoing activity, so stay consistent with your efforts and soon you’ll have nutrient-rich compost to nourish your garden!
Troubleshooting Common Composting Issues
While composting is a relatively straightforward process, there may be some common issues that arise along the way. Here are a few troubleshooting tips to help resolve these challenges:
- Slow decomposition: If your compost pile is not breaking down as quickly as you would like, it may be due to a lack of nitrogen or moisture. Ensure that you have enough green materials (nitrogen-rich) in your compost pile, and adjust the moisture level by adding water if necessary. Turning the pile more frequently or adding compost activators can also help speed up decomposition.
- Unpleasant odors: If your compost bin emits unpleasant odors, it may be due to an imbalance in the materials. Make sure you have a proper balance of brown and green materials in your compost pile. Avoid adding meat, dairy, or oily foods that can cause foul smells. Adding a layer of dry leaves or straw on top of the compost can help contain odors.
- Pest infestation: If you notice pests like flies or rodents in your compost bin, it’s likely because there are food items that are attracting them. Ensure that you avoid adding meat, dairy, or oily foods, as these can draw pests. Turn the compost regularly to deter pests and consider covering the compost with a tight-fitting lid or wire mesh to prevent access.
- Dry or wet compost: Maintaining the proper moisture balance is crucial for successful composting. If your compost pile is too dry, add water to moisten it. If it’s too wet, add more brown materials to absorb the excess moisture. Regularly monitor and adjust the moisture level to keep it consistently damp, similar to a damp sponge.
- Presence of weeds or diseases: If you notice weeds sprouting or suspect disease in your compost, it may be due to adding weeds with mature seed heads or plants infected with diseases. Avoid adding these materials to your compost bin and dispose of them separately. Properly turning and maintaining the compost pile can also help minimize weed growth.
- Too much or too little heat: Composting requires some heat for the decomposition process to occur. If your compost pile is not generating enough heat, it may be due to a lack of nitrogen-rich materials or insufficient moisture. Adding more green materials and ensuring the proper moisture level can help generate more heat. On the other hand, if your compost pile is overheating, it’s a sign of excessive nitrogen. Add more brown materials to balance the compost and cool it down.
By recognizing and addressing these common composting issues, you’ll be able to troubleshoot any challenges that arise and maintain a healthy and productive compost pile.
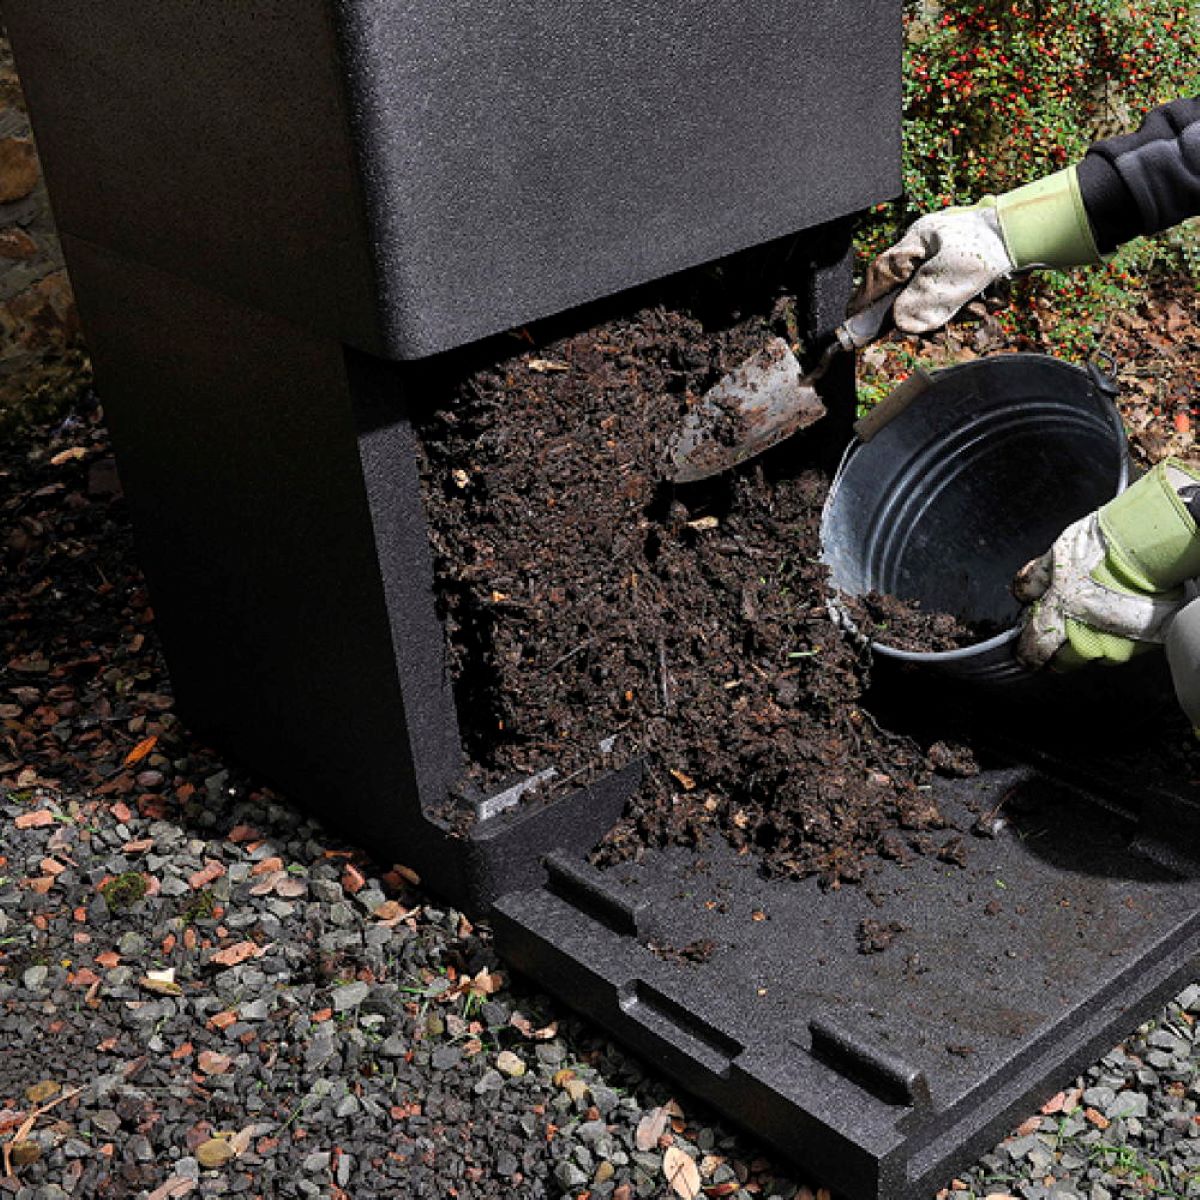
Harvesting and Using Your Compost
After patiently waiting for your compost to mature, it’s time to reap the rewards of your efforts. Harvesting and using your compost is a satisfying finale to the composting process. Here’s how to do it:
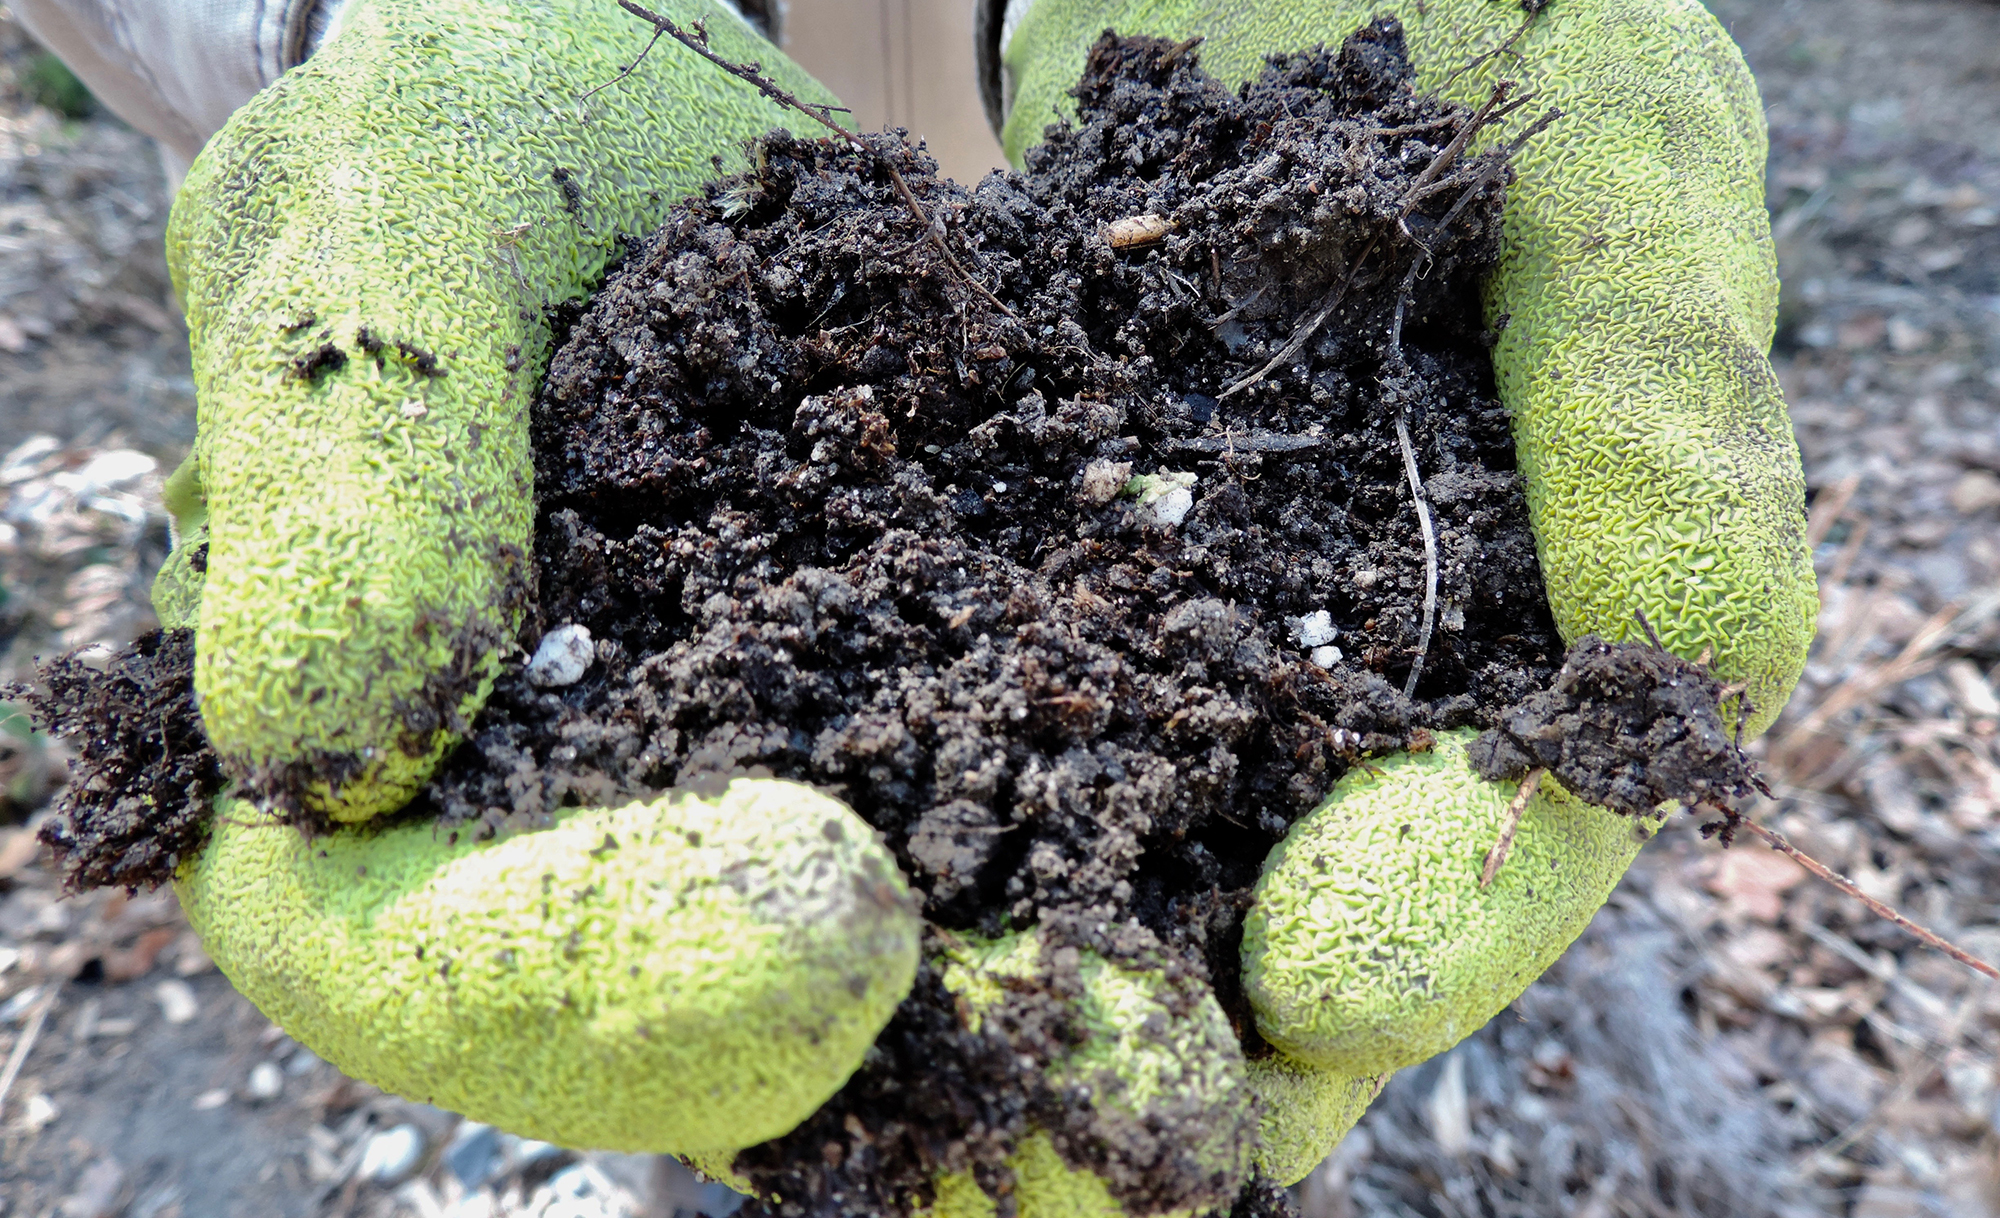
- Determining compost readiness: Finished compost should have a dark, crumbly texture and a sweet, earthy smell. The original materials should be unrecognizable, indicating that decomposition is complete. Test the readiness of your compost by taking a small sample and observing its texture, smell, and appearance.
- Separating compost from unfinished materials: Before using your compost, it’s important to separate it from any unfinished or undecomposed materials. Use a compost sifter or a screen to sift out any large chunks, twigs, or undecomposed matter. This will ensure that you have a high-quality, fine-textured compost to use in your garden.
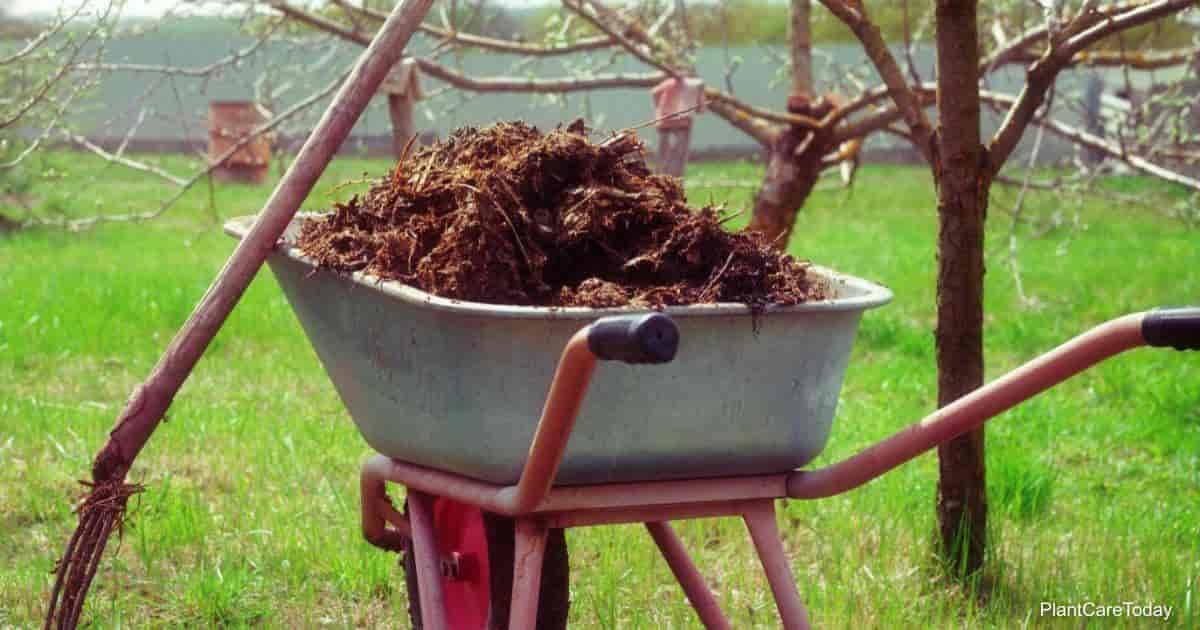
- Applying compost to your garden: Your finished compost is now ready to be used as a natural soil amendment. Spread a layer of compost on your garden beds or mix it into the soil. This will enrich the soil with nutrients, improve its structure, and enhance water retention. Your plants will thrive with the extra organic matter and the beneficial microorganisms that compost provides.
- Using compost as potting mix: Compost can also be used as a component in potting mixes for container gardening. Mix it with other materials like peat moss, vermiculite, and perlite to create a nutrient-rich growing medium for your potted plants.
- Top-dressing and mulching: Apply a thin layer of compost around established plants as a top-dressing or mulch. This will provide a slow release of nutrients, suppress weed growth, conserve moisture, and insulate the soil. Remember to keep the compost away from the stems of plants to prevent rot.
- Compost tea: Compost tea is a liquid fertilizer made by steeping compost in water. It can be used to nourish plants and boost their growth. Simply place a handful of compost in a bucket or container filled with water, let it steep for a few days, and use the strained liquid as a nutrient-rich feed for your plants.
- Continuous composting: As you harvest your finished compost, continue to add new organic materials to your compost bin to start the process all over again. Maintaining a constant supply of compostable materials ensures a continuous cycle of composting and reduces waste in your home.
By harvesting and using your compost, you’re closing the loop and returning valuable nutrients back to the earth. Enjoy the benefits of your nutrient-rich compost as you witness the improvement in your garden’s health and productivity.
Conclusion
Congratulations on completing your journey into the world of composting! By turning your kitchen and garden waste into nutrient-rich compost, you’ve taken a significant step towards sustainable gardening and reducing your environmental footprint. Through this DIY project, you’ve learned about the benefits of composting, how to choose the right location for your compost bin, select the appropriate materials, build your own compost bin, and maintain it for optimal results.
Composting not only diverts waste from landfills, but it also enriches soil, reduces the need for chemical fertilizers, retains moisture, suppresses plant diseases, and reduces our carbon footprint. It’s a simple yet powerful way to contribute to a healthier planet and create a thriving garden.
As you continue on your composting journey, remember to troubleshoot any issues that may arise, harvest your finished compost, and put it to good use in your garden. Whether you’re adding it to your soil, using it as a potting mix, top-dressing your plants, or making compost tea, the organic matter you’ve created will provide valuable nutrients, enhance soil health, and promote vibrant plant growth.
Composting is a continuous process, so keep adding organic materials to your compost bin to maintain a steady supply of nutrient-rich compost. Stay mindful of the balance between brown and green materials, maintain the proper moisture level, and regularly turn your compost to aid in decomposition.
Thank you for joining us on this composting adventure. By embracing this eco-friendly practice, you’re not only benefiting your garden but also making a positive impact on the environment. Happy composting!