Home>Gardening Techniques>DIY Projects>How To Layer A Compost Pile
DIY Projects
How To Layer A Compost Pile
Modified: January 22, 2024
Learn how to layer a compost pile with this easy DIY project. Discover the benefits of composting and start creating nutrient-rich soil for your garden today!
(Many of the links in this article redirect to a specific reviewed product. Your purchase of these products through affiliate links helps to generate commission for Chicagolandgardening.com, at no extra cost. Learn more)
Table of Contents
- Introduction
- Step 1: Choose the location for your compost pile
- Step 2: Gather the necessary materials
- Step 3: Start with a layer of organic matter
- Step 4: Add a layer of brown material
- Step 5: Include a layer of green material
- Step 6: Sprinkle with water
- Step 7: Repeat the layering process
- Step 8: Maintain the compost pile
- Step 9: Use the finished compost
- Conclusion
Introduction
Welcome to the world of DIY projects! Whether you’re a seasoned DIY enthusiast or just starting to explore the world of hands-on creations, there’s something incredibly satisfying about completing a project with your own two hands. From building furniture to fixing household appliances, DIY projects allow us to unleash our creativity and problem-solving skills while also saving money and learning new skills along the way.
One area of DIY that has gained immense popularity in recent years is composting. Composting is the process of breaking down organic materials, such as kitchen scraps and yard waste, into nutrient-rich soil amendments. It’s a sustainable and eco-friendly way to reduce waste, improve soil health, and grow healthier plants.
However, if you’re new to composting, the process can seem overwhelming. How do you start? What materials do you need? How do you maintain the compost pile? Don’t worry, we’ve got you covered! In this article, we’ll guide you through the process of layering a compost pile, which is a simple and effective method to create nutrient-dense compost.
Layering your compost pile is all about creating the right balance of organic matter, brown materials, green materials, and moisture. By following a few simple steps, you’ll have a compost pile that heats up quickly and decomposes efficiently, resulting in rich, crumbly compost that your plants will love.
So, grab your gardening gloves and let’s get started on the journey of creating a thriving compost pile. Whether you have a small backyard or a spacious garden, this DIY project will not only benefit your plants but also contribute to a greener and more sustainable world.
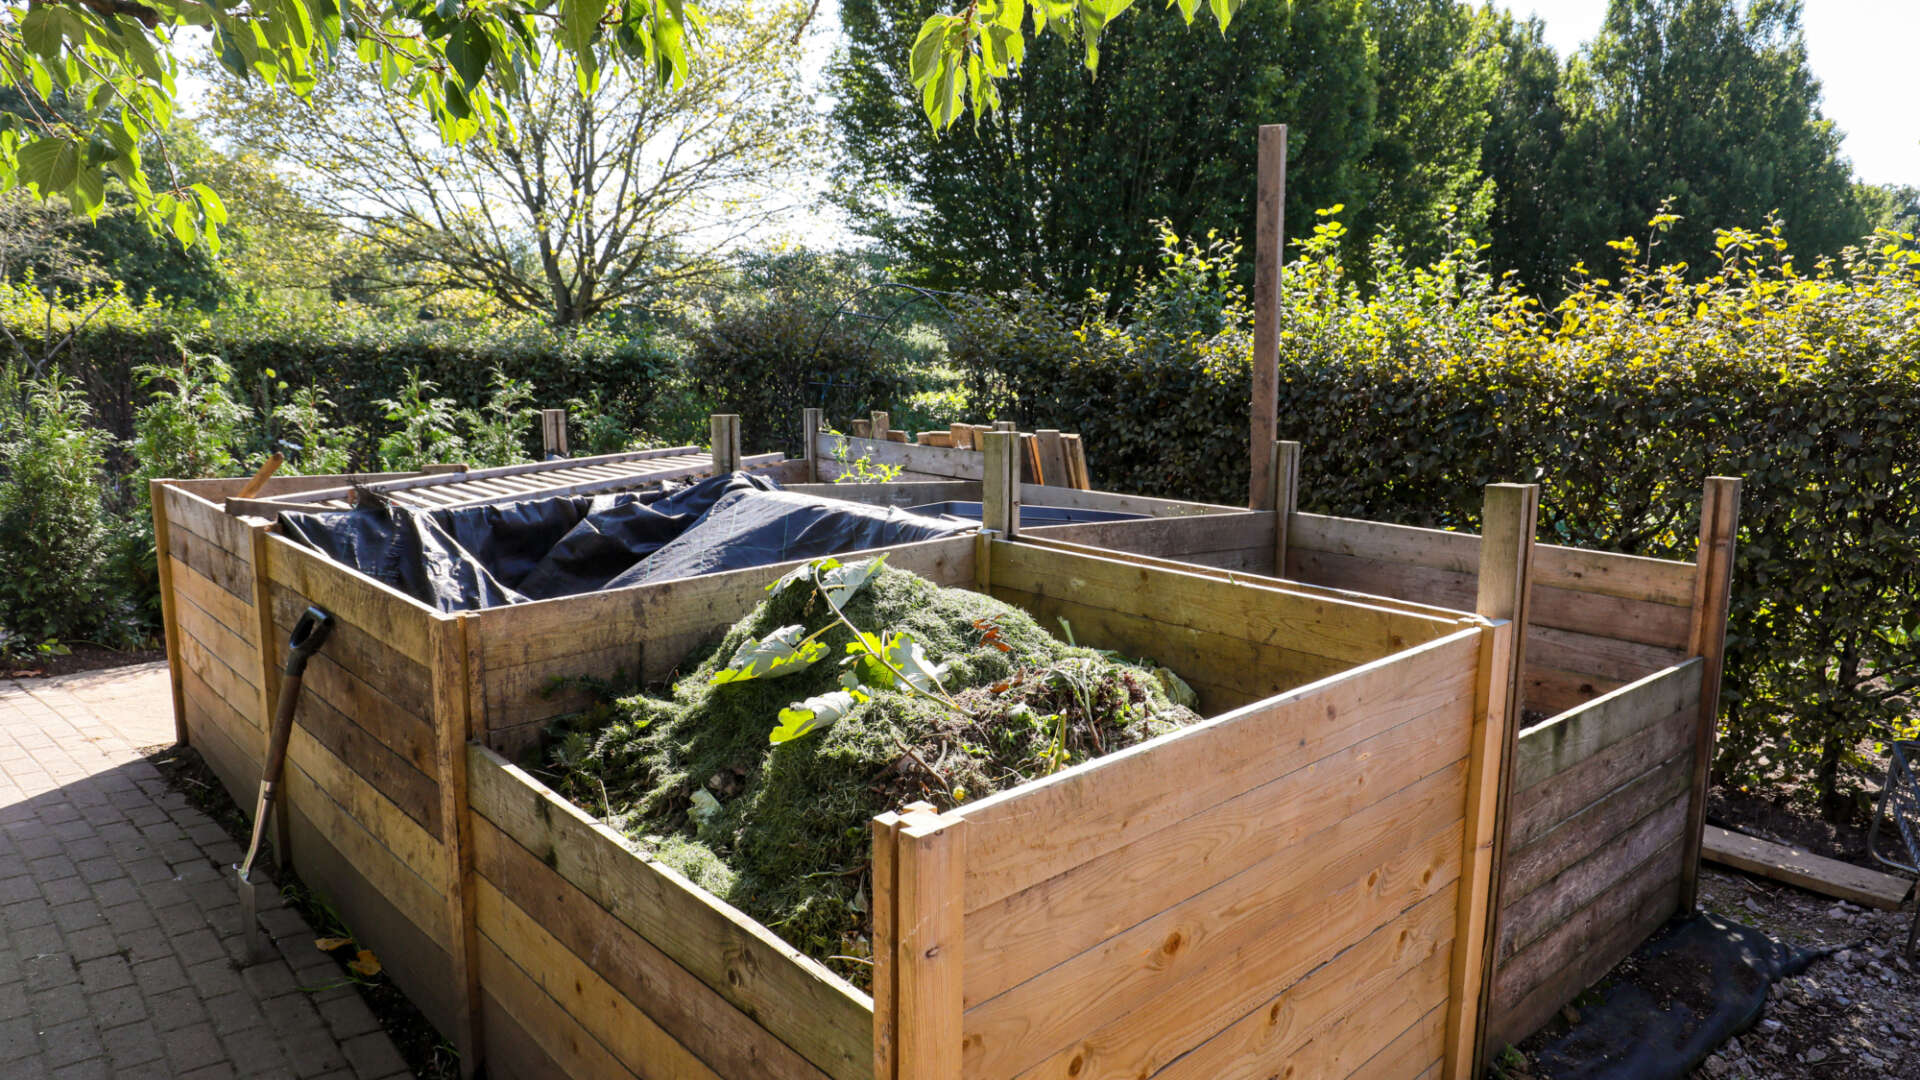
Step 1: Choose the location for your compost pile
The first step in creating a successful compost pile is choosing the right location. The ideal spot for your compost pile should have a few key characteristics:
- Sunlight: Find a location that receives a good amount of sunlight. Sunlight helps to speed up the decomposition process by providing warmth to the pile.
- Accessibility: Make sure the location is easily accessible. You’ll be adding materials to the compost pile regularly, so you don’t want to have to trek across your yard every time you have kitchen scraps to deposit.
- Drainage: Ensure that the chosen area has adequate drainage. You don’t want your compost pile to become waterlogged as it needs a good balance of moisture to decompose properly.
Once you’ve identified the perfect location, mark it out using stakes or rocks to create a designated composting area. This will help you keep your compost pile contained and organized.
If you have limited outdoor space or live in an apartment, don’t worry! You can still create a compost pile by using a compost bin or a vermicomposting system, which involves composting with worms.
Remember, your compost pile will emit a mild earthy odor during the decomposition process, so it’s important to consider neighboring houses or sensitive noses. Keeping your compost pile a reasonable distance from any living spaces is a considerate approach to composting.
Now that you have the perfect location for your compost pile, it’s time to gather the necessary materials. Let’s move on to the next step and get started on this exciting DIY project!
Step 2: Gather the necessary materials
Before you can start layering your compost pile, you’ll need to gather the necessary materials. Here’s a list of what you’ll need:
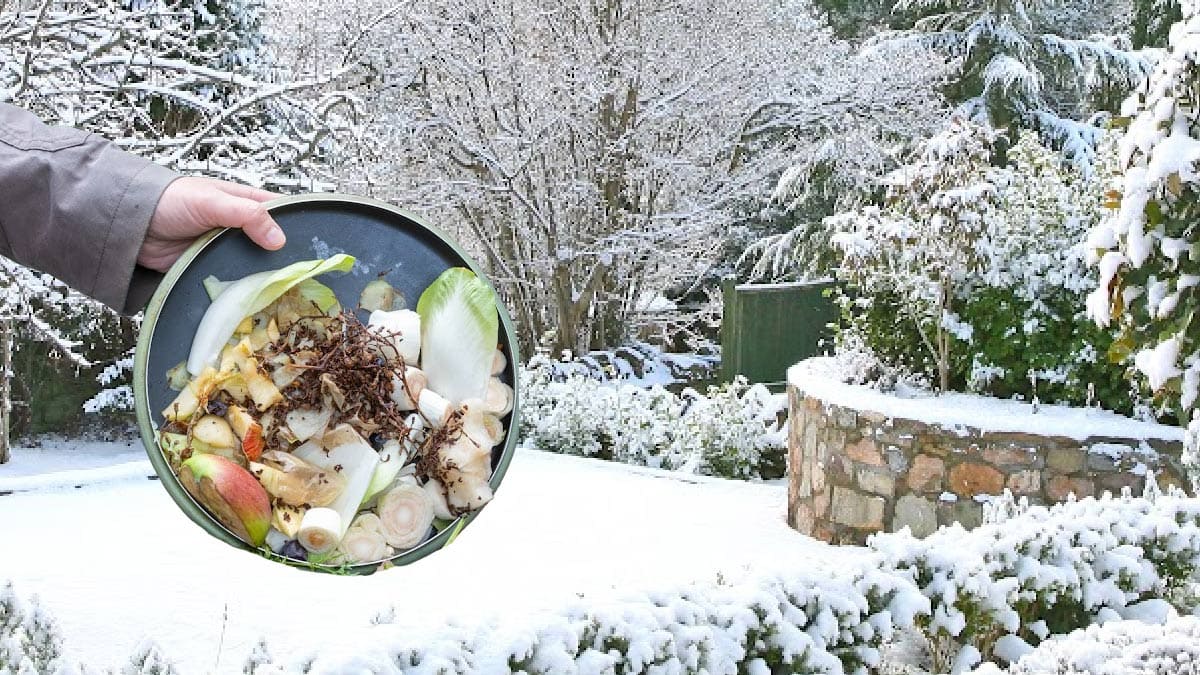
- Organic matter: This includes kitchen scraps, such as fruit and vegetable peels, coffee grounds, and eggshells. Yard waste, like grass clippings and leaves, also fall into this category. These materials provide the nitrogen necessary for the decomposition process.
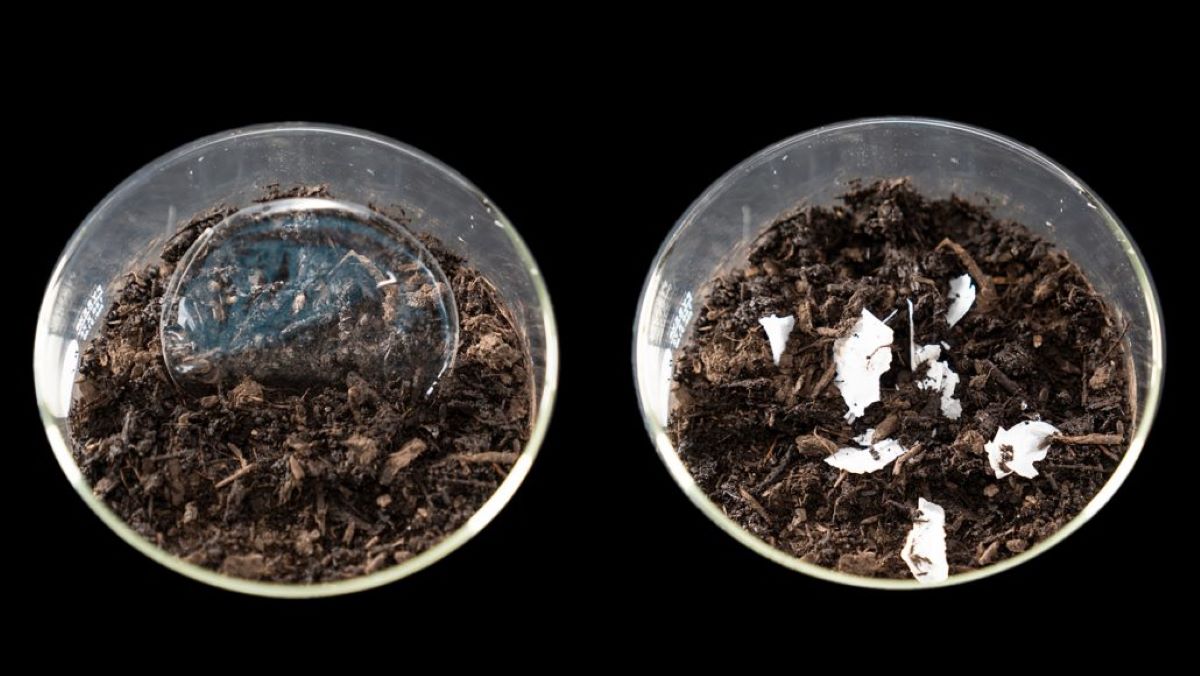
- Brown materials: Brown materials are high in carbon and help to balance the nitrogen-rich organic matter. Examples include dried leaves, straw, shredded newspaper, and cardboard. Make sure to avoid using glossy paper or heavily inked materials, as they can contain toxins.
- Water: Maintaining the right moisture level in your compost pile is crucial for decomposition. Keep a water source nearby to sprinkle water as needed.
- Garden fork or compost turner: These tools will come in handy for turning and aerating your compost pile, promoting oxygen flow and speeding up decomposition.
It’s essential to strike a balance between the organic matter and brown materials you collect. Aim for a 50/50 ratio, meaning roughly equal amounts of nitrogen-rich organic matter and carbon-rich brown materials. This balance ensures that your compost pile decomposes efficiently and doesn’t become too wet or smelly.
When it comes to gathering organic matter, it’s a good idea to have a designated container in your kitchen for collecting scraps. You can use a countertop pail or a small bin with a lid to store kitchen scraps until you’re ready to add them to your compost pile. This practice helps to reduce food waste and makes it easy to transport the materials outdoors.
Similarly, set up a separate container in your yard or a designated area for collecting brown materials. This could be a bin or a designated spot where you store leaves, straw, and other carbon-rich materials. Remember to shred larger items, such as cardboard, to speed up decomposition.
Now that you have all the necessary materials, it’s time to start layering your compost pile. Let’s move on to the next step and create a thriving environment for decomposition!
Step 3: Start with a layer of organic matter
Now that you have gathered all the necessary materials, it’s time to start layering your compost pile. Begin by creating a base layer of organic matter. This layer will kick-start the decomposition process by providing the essential nitrogen-rich materials.
When adding organic matter to your compost pile, aim for a layer that is about 3 to 6 inches thick. This will ensure that you have enough material to heat up the pile and initiate decomposition.
Your organic matter can include a variety of kitchen scraps, such as fruit and vegetable peels, coffee grounds, tea leaves, and crushed eggshells. These materials are rich in nitrogen and will provide the necessary nutrients for the decomposition process.
As you add the organic matter, try to spread it evenly across the compost pile. This will help to ensure that the decomposition process is uniform and that the materials break down at a consistent rate.
If you have a particularly large amount of organic matter, you can add it in multiple layers, making sure to sprinkle some water between each layer. This will help create the right moisture balance and promote decomposition.
Remember to avoid adding any meat, dairy products, or oily substances to your compost pile. These materials may attract pests or create unpleasant odors. Stick to plant-based materials for optimal composting results.
Once you have added the base layer of organic matter, it’s time to move on to the next step and create a balanced compost pile with brown materials.
Step 4: Add a layer of brown material
After creating the base layer of organic matter, it’s time to add a layer of brown material to your compost pile. Brown materials are rich in carbon and help to balance the nitrogen-rich organic matter, creating the optimal conditions for decomposition.
When adding brown materials, aim for a layer that is about 2 to 4 inches thick. This will provide enough carbon for the compost pile while allowing for proper airflow and decomposition.
There are many types of brown materials you can use. Dried leaves, straw, shredded newspaper, cardboard, and wood chips are all excellent choices. Be sure to crumble or shred larger materials, such as cardboard, to help them break down faster.
As you add the brown material, spread it evenly over the organic matter layer. This will help to evenly distribute carbon throughout the pile and promote balanced decomposition.
Adding a layer of brown material serves multiple purposes. Firstly, it helps to create air pockets within the compost pile, allowing for proper oxygen flow. Oxygen is essential for the decomposition process and promotes the growth of beneficial bacteria and fungi.
Secondly, the layer of brown material acts as a barrier, preventing the pile from becoming too wet or compacted. It helps to absorb excess moisture and maintains the ideal moisture level for decomposition.
If you don’t have enough brown materials on hand, you can always supplement with items like sawdust or shredded branches. However, be cautious with sawdust, as too much can create a dense layer that restricts airflow.
Remember, the key is to maintain a balance between the organic and brown materials in your compost pile. This balance will ensure efficient decomposition and prevent odors or other issues from occurring.
Once you have added the layer of brown material, it’s time to move on to the next step and incorporate a layer of green material into your compost pile.
Step 5: Include a layer of green material
Now that you have added the base layer of organic matter and a layer of brown material, it’s time to introduce a layer of green material to your compost pile. Green materials are rich in nitrogen and help to provide additional nutrients for the decomposition process.
When adding green materials, aim for a layer that is about 2 to 4 inches thick. This will ensure a good balance between nitrogen and carbon in the compost pile.
The term “green material” refers to a variety of items, including fresh grass clippings, garden trimmings, plant residues, and even weeds (as long as they have not gone to seed). You can also include green kitchen scraps like vegetable and fruit waste, coffee grounds, and tea bags.
Adding a layer of green material to your compost pile not only provides nitrogen for the decomposition process but also helps to introduce beneficial microorganisms. These microorganisms, including bacteria, fungi, and earthworms, play a vital role in breaking down the organic matter and transforming it into nutrient-rich compost.
As you add the green material, make sure to spread it evenly across the pile. This will ensure that the decomposition process occurs uniformly throughout the compost pile.
It’s important to note that if you have a large amount of green material, you may need to add it in multiple layers, sprinkling water between each layer. This will help to maintain the right moisture balance in the compost pile and facilitate decomposition.
Remember to avoid including any meat, dairy products, or oily substances in your compost pile. Stick to plant-based materials to prevent odors, pests, and other issues.
By incorporating a layer of green material into your compost pile, you are providing the necessary nitrogen and microorganisms for efficient decomposition. With this step complete, let’s move on to the next step and sprinkle water over the compost pile to maintain the ideal moisture level.
Step 6: Sprinkle with water
Now that you have layered your compost pile with organic matter, brown material, and green material, it’s time to give it a good sprinkle of water. Water is a crucial component for the decomposition process, as it helps to create the right moisture level for beneficial microbes to thrive.
When watering your compost pile, aim to dampen it rather than soaking it. The goal is to reach a moisture level that is similar to that of a wrung-out sponge. If the pile becomes too wet, it can become waterlogged and lack sufficient oxygen for decomposition. On the other hand, if it becomes too dry, the decomposition process may slow down.
To water your compost pile effectively, use a gentle spray or watering can to distribute the water evenly throughout the layers. Start at the top and work your way down to ensure that each layer receives adequate moisture.
It’s important to note that the amount of water needed will depend on various factors such as the climate, the materials used, and the size of the compost pile. In dry climates, you may need to water more frequently, while in rainy climates, you may need to rely more on natural precipitation. Regularly monitor the moisture level and adjust accordingly.
Remember that maintaining the right moisture level is crucial for the breakdown of organic matter. Too little water can slow down decomposition, while too much water can lead to a smelly, anaerobic compost pile. Finding the right balance is key.
In addition to watering your compost pile, it’s a good idea to cover it with a tarp or a layer of straw to help retain moisture. This will also prevent excessive evaporation and protect the pile from heavy rainfall.
Now that you have given your compost pile a good sprinkle of water, it’s time to move on to the next step and repeat the layering process.
Step 7: Repeat the layering process
Now that you have added the initial layers of organic matter, brown material, green material, and water to your compost pile, it’s time to repeat the layering process. Building a well-structured compost pile involves creating a series of alternating layers that promote decomposition and create a balanced environment.
To repeat the layering process, follow these steps:
- Add another layer of organic matter: Begin by adding another 3 to 6-inch layer of organic matter on top of the existing layers. This will continue to provide the necessary nitrogen-rich materials for the decomposition process.
- Add another layer of brown material: Follow the organic matter layer with a 2 to 4-inch layer of brown material. This will help provide carbon and create air pockets for proper oxygen flow.
- Add another layer of green material: Lastly, add another 2 to 4-inch layer of green material to introduce additional nitrogen and beneficial microbes to the pile.
- Continue layering: Repeat this layering process, alternating organic matter, brown material, and green material, until you have used up all your compostable materials or have reached the desired size for your compost pile.
Remember to sprinkle water as needed between each layer to maintain the ideal moisture level. It’s important to keep the compost pile moist but not overly wet.
As you repeat the layering process, try to maintain a balance between the organic matter and brown materials, as well as between the nitrogen and carbon content. This will ensure that the decomposition process happens efficiently and that the compost pile does not become too smelly or go anaerobic.
It’s important to note that composting is an ongoing process. As your kitchen scraps and yard waste continue to accumulate, you can keep adding them to the top layers of the compost pile. Remember to periodically turn and aerate the pile to facilitate decomposition and ensure even breakdown of the materials.
By repeating the layering process and maintaining a well-structured compost pile, you are creating the optimal environment for decomposition to occur. Now, it’s time to move on to the next step and learn how to maintain your compost pile.
Step 8: Maintain the compost pile
Maintaining your compost pile is essential to ensure a successful decomposition process and to create high-quality compost. Although composting is relatively low-maintenance, there are a few key steps you should take to keep your pile healthy and active.
Turn the pile regularly:
Turning the compost pile helps to aerate it, providing oxygen to the microorganisms responsible for decomposition. Use a garden fork or a compost turner to gently mix the materials, bringing the outer layers to the center and vice versa. Aim to turn the pile every couple of weeks to speed up the decomposition process.
Monitor the moisture level:
Regularly check the moisture level of your compost pile. It should feel damp, like a wrung-out sponge. If it’s too dry, sprinkle some water over the pile. If it’s too wet, add more dry brown materials to absorb the excess moisture. Maintaining the right moisture level is crucial for the microbial activity within the compost pile.
Avoid adding certain materials:
While composting is a versatile process, there are some materials you should avoid adding to your compost pile. These include meat, dairy products, oily substances, and invasive weeds. These materials can attract pests, release unpleasant odors, or create imbalances in the pile. Stick to plant-based kitchen scraps, yard waste, and other natural materials.
Consider the Carbon-to-Nitrogen ratio:
It’s important to maintain a proper Carbon-to-Nitrogen (C:N) ratio in your compost pile. The ideal ratio is generally considered to be around 25-30 parts carbon to 1 part nitrogen. You can optimize this ratio by adjusting the types and quantities of organic matter and brown materials you add. A balanced C:N ratio ensures efficient decomposition and a well-nourished compost pile.
Manage odor and pests:
If you’re experiencing unpleasant odors or attracting pests to your compost pile, it may be a sign of an imbalance or improper management. Avoid adding materials that are prone to producing strong odors, and make sure to bury kitchen scraps under a layer of brown materials to deter pests. Regular turning and maintaining the right moisture level can help mitigate these issues as well.
Keep track of the temperature:
Monitoring the temperature of your compost pile can give you insights into its activity and progress. A well-maintained compost pile should reach temperatures between 120 to 160 degrees Fahrenheit (49 to 71 degrees Celsius). These higher temperatures signify active decomposition. If the pile is not heating up, it may need more nitrogen-rich materials or proper aeration.
By following these maintenance practices, you can ensure that your compost pile remains healthy, active, and produces high-quality compost. Now, let’s move on to the final step and learn how to use the finished compost in your DIY projects and gardening endeavors.
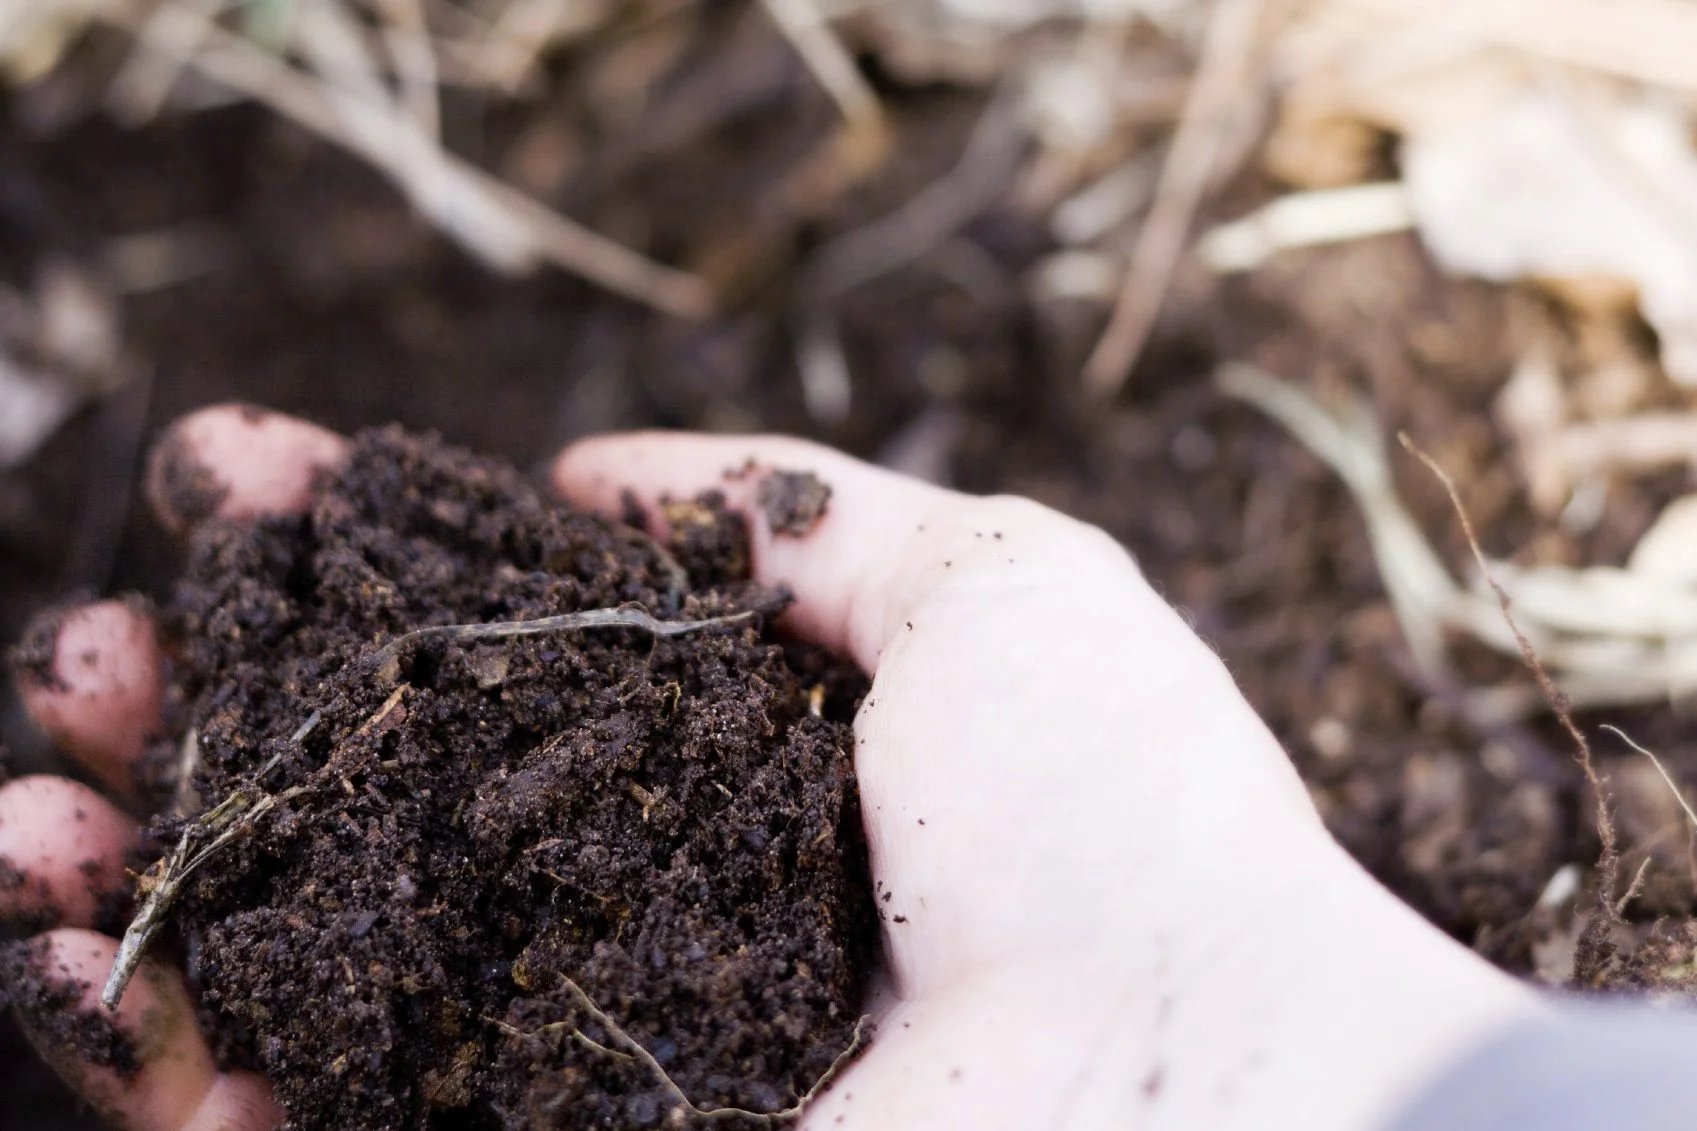
Step 9: Use the finished compost
Congratulations, you have successfully created nutrient-rich compost through the layering and maintenance process! Now it’s time to put that compost to good use in your DIY projects and gardening endeavors.
Garden soil amendment:
One of the primary uses for finished compost is as a soil amendment in your garden beds or containers. It enriches the soil with organic matter, improving its structure, moisture retention, and nutrient content. Spread a layer of compost over the soil surface and gently mix it in to enjoy the benefits of improved plant growth and vitality.
Planting new seedlings:
Before planting new seedlings, incorporate some compost into the planting hole. The compost will provide a nutrient boost to the young plants as they establish their roots, promoting healthier growth and higher resilience against diseases and pests.
Making potting mix:
Compost can be used as a key component in creating your own potting mix. Mix it with equal parts of peat moss, perlite, and vermiculite for a nutrient-rich blend that will support strong root development and optimal plant growth in your containers.
Mulching:
Spread a layer of compost around the base of your plants as a natural mulch. It will help suppress weed growth, retain moisture in the soil, regulate soil temperature, and provide a slow release of nutrients as it breaks down over time.
Compost tea:
Create a compost tea by steeping a handful of finished compost in a bucket of water for a few days. Strain the liquid and use it to water your plants. Compost tea acts as a powerful organic fertilizer, packed with nutrients and beneficial microorganisms that promote plant health and vitality.
Reviving tired or depleted soil:
If you have areas of your garden with poor soil quality or depleted nutrients, apply a thick layer of compost and work it into the soil. Over time, the compost will improve the soil structure, fertility, and overall health, transforming once lackluster areas into thriving garden beds.
By using your finished compost in these ways, you are closing the recycling loop and turning your kitchen scraps and yard waste into a valuable resource for your DIY projects and gardening. Enjoy the rewards of your composting efforts and continue to contribute to a more sustainable and greener world.
Conclusion
Congratulations! You have now learned the step-by-step process of layering a compost pile and maintaining it to create nutrient-rich compost. By following these guidelines, you can turn your kitchen scraps and yard waste into a valuable resource for improving soil health, boosting plant growth, and reducing waste.
The key to a successful compost pile lies in achieving a balance between organic matter, brown material, green material, and moisture. Layering these components creates an ideal environment for decomposition, allowing beneficial microorganisms to thrive and break down the materials into nutrient-dense compost.
Remember to choose a suitable location for your compost pile, gather the necessary materials, and start layering with organic matter, followed by brown and green materials. Sprinkle the pile with water to maintain the right moisture level and periodically turn the pile to promote oxygen flow and even decomposition.
Using the finished compost in your DIY projects and gardening endeavors will yield numerous benefits. It improves soil structure, enhances plant growth, and serves as a natural fertilizer and soil amendment. You can use it in garden beds, as a potting mix ingredient, as mulch, or even as compost tea to boost plant health.
By embracing composting and incorporating it into your lifestyle, you are contributing to a greener and more sustainable world. You are reducing waste, nourishing your plants naturally, and creating a healthier environment for yourself and future generations.
So, roll up your sleeves, gather your materials, and get started on your composting journey. Explore your creativity, experiment with different composting techniques, and watch as nature transforms your waste into black gold. Happy composting!