Home>Gardening Tips and Tricks>Eco-Friendly Gardening>How To Create A Compost Pile
Eco-Friendly Gardening
How To Create A Compost Pile
Modified: February 9, 2024
Learn how to create an eco-friendly compost pile for your garden with our step-by-step guide. Transform your kitchen waste into nutrient-rich soil for a bountiful harvest.
(Many of the links in this article redirect to a specific reviewed product. Your purchase of these products through affiliate links helps to generate commission for Chicagolandgardening.com, at no extra cost. Learn more)
Table of Contents
Introduction
Welcome to the world of eco-friendly gardening! In today’s rapidly changing world, adopting sustainable practices is more important than ever. One such practice is eco-friendly gardening, which focuses on reducing our ecological footprint and promoting a healthy, harmonious relationship with nature.
Eco-friendly gardening, also known as organic gardening, is a method of gardening that prioritizes the use of natural and organic materials. It avoids synthetic chemicals, pesticides, and fertilizers, while emphasizing the utilization of natural resources and the promotion of biodiversity.
By implementing eco-friendly gardening techniques, you not only contribute to environmental conservation but also create a thriving ecosystem in your own backyard. Not only do you get to enjoy the beauty of nature, but you are also able to grow your own healthy, organic fruits, vegetables, and flowers.
In this comprehensive guide, we will walk you through the steps of creating a compost pile, an essential component of eco-friendly gardening. Composting is a simple yet powerful way to recycle organic waste and turn it into nutrient-rich soil for your plants. By diverting kitchen scraps, yard waste, and other organic materials from the landfill, you are closing the loop and minimizing your carbon footprint.
Whether you are an experienced gardener looking to incorporate more sustainable practices, or a beginner eager to jumpstart your eco-friendly gardening journey, this guide is for you. So, without further ado, let’s dig in and explore the fascinating world of composting and how it can transform your garden into a thriving oasis of greenery and sustainability.
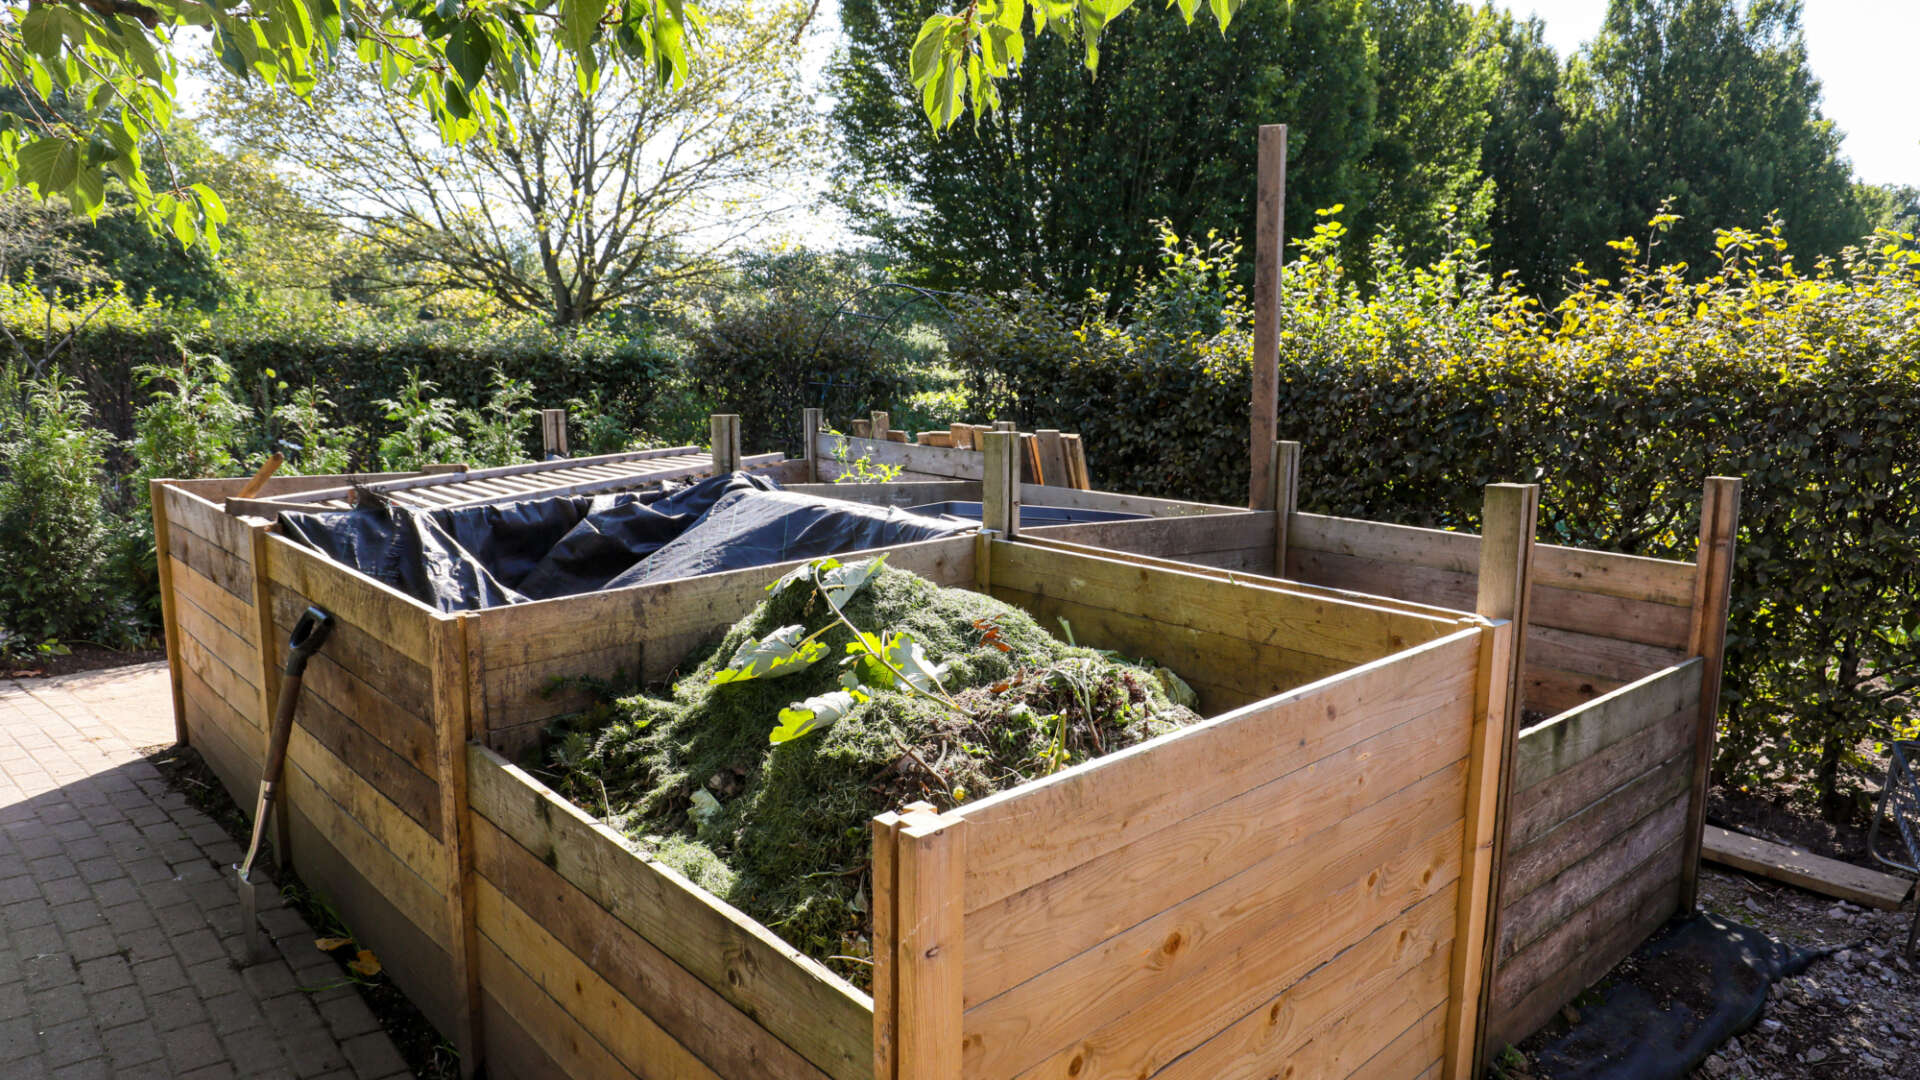
Step 1: Selecting a Location for Your Compost Pile
The first step in creating a compost pile is choosing the right location for it. A well-placed compost pile will ensure that the decomposition process is efficient and that your garden remains free of any unpleasant odors. Here’s what you need to consider when selecting a location for your compost pile:
1. Accessibility: Choose a spot that is easily accessible for adding new materials to the pile, as well as for retrieving compost when it’s ready. This will make the composting process more convenient and encourage regular maintenance.
2. Sunlight: While composting can occur in shaded areas, it is best to place your compost pile in a spot that receives partial to full sunlight. Sunlight helps to accelerate the decomposition process by increasing the temperature and providing energy for the microbes that break down the organic matter.
3. Drainage: Ensure that the chosen location has good drainage to prevent water from accumulating and causing the compost pile to become waterlogged. Excess moisture can hinder the decomposition process and lead to unpleasant odors.
4. Proximity to garden beds: If possible, place your compost pile near your garden beds or areas where you plan to use the compost. This will save you time and effort when it comes to transporting the finished compost to your plants.
5. Consider the neighbors: If you live in close proximity to your neighbors, it’s important to be mindful of any potential odors that may emanate from your compost pile. Try to place it in a location that is not upwind from neighboring houses or outdoor living spaces.
Remember, the location of your compost pile plays a vital role in its success. Take the time to evaluate different areas in your yard and choose a spot that meets the above criteria. Once you have selected the perfect location, you can move on to the next step of gathering compostable materials.
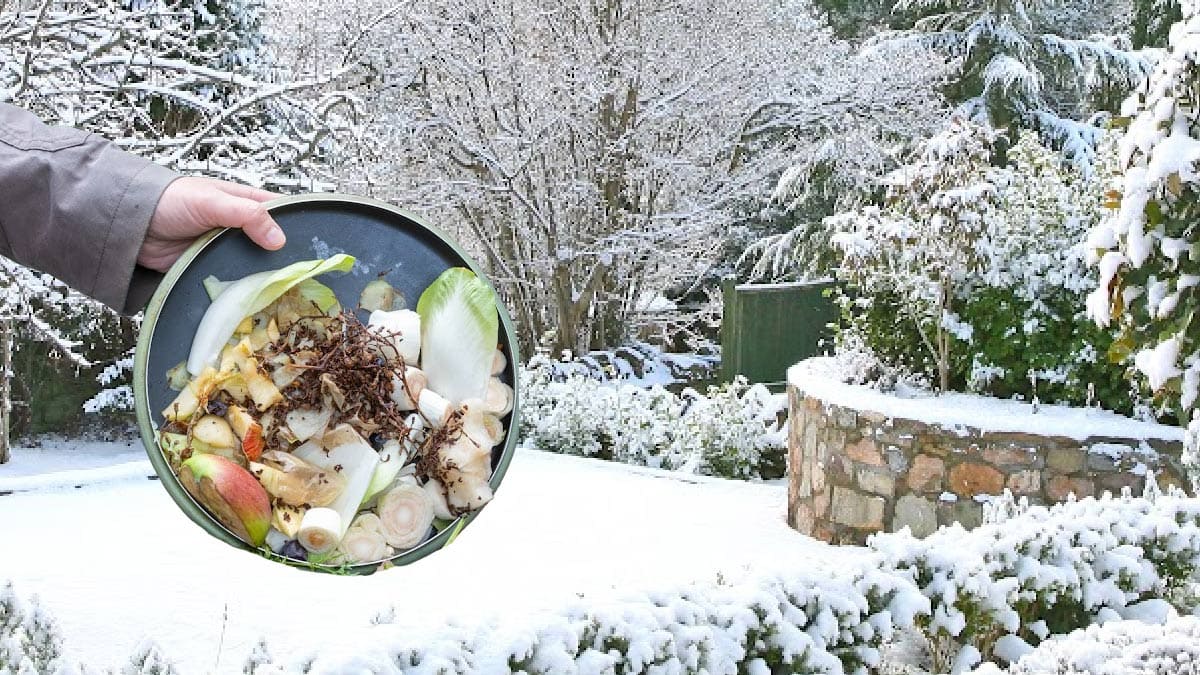
Step 2: Gathering Compostable Materials
Now that you have chosen the ideal location for your compost pile, it’s time to gather the compostable materials that will become the building blocks of your nutrient-rich soil. Composting is a natural process that breaks down organic matter, so it’s important to select a diverse combination of materials to create a balanced and rich compost. Here’s a list of compostable materials you can collect:
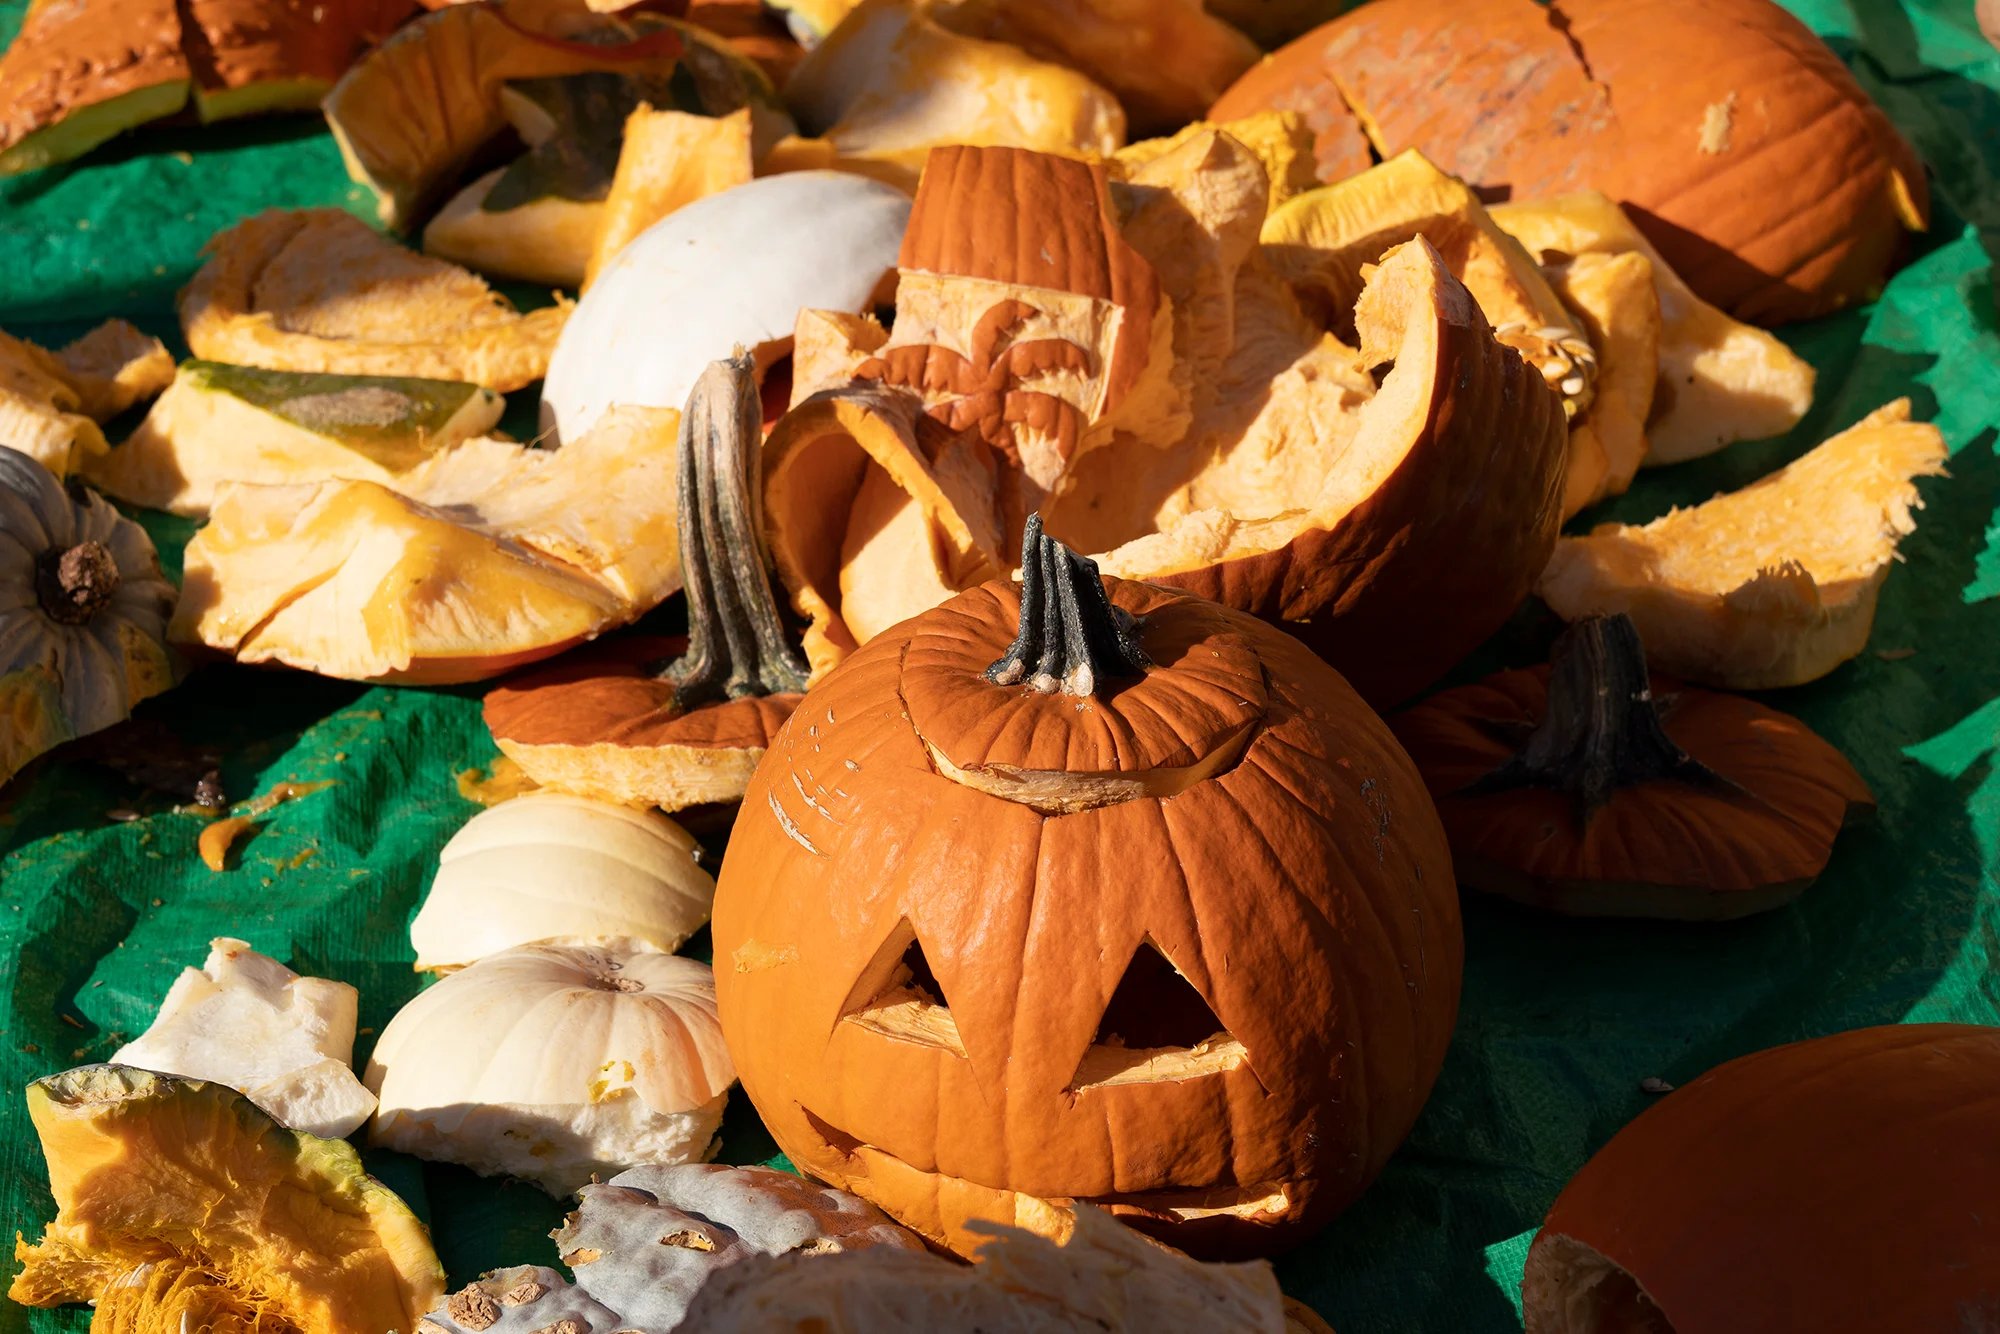
- Green Materials: These materials are rich in nitrogen and provide essential nutrients for the composting process. Examples include grass clippings, fruit and vegetable scraps, coffee grounds, tea bags, and garden trimmings.
- Brown Materials: Brown materials are high in carbon and help create aeration and structure in the compost pile. Examples include dried leaves, straw, shredded cardboard, paper, and wood chips.
- Plant Waste: This includes spent flowers, dead plants, and weeds that haven’t gone to seed. However, avoid adding diseased or pest-infested plants to prevent the spread of pathogens or pests.
- Yard Waste: Grass clippings, fallen leaves, and small branches can all be used in composting. However, avoid adding large branches or logs, as they take longer to decompose.
- Manure: Well-aged animal manure such as cow, horse, or chicken manure can be used, but avoid using fresh manure, as it can contain harmful bacteria or parasites. Manure adds valuable nutrients to the compost.
- Kitchen Scraps: Vegetable and fruit peels, eggshells, coffee grounds, and tea bags are excellent sources of organic material. Avoid adding meat, dairy, or oily products, as they can create odors and attract pests.
Remember to chop or shred larger materials, such as branches or cardboard, into smaller pieces. This helps speed up the decomposition process by increasing the surface area for microbial activity. As you gather these materials, aim for a balance of roughly two parts green materials to one part brown materials by volume.
Once you have collected a sufficient amount of compostable materials, you can move on to the next step: layering the compost pile.
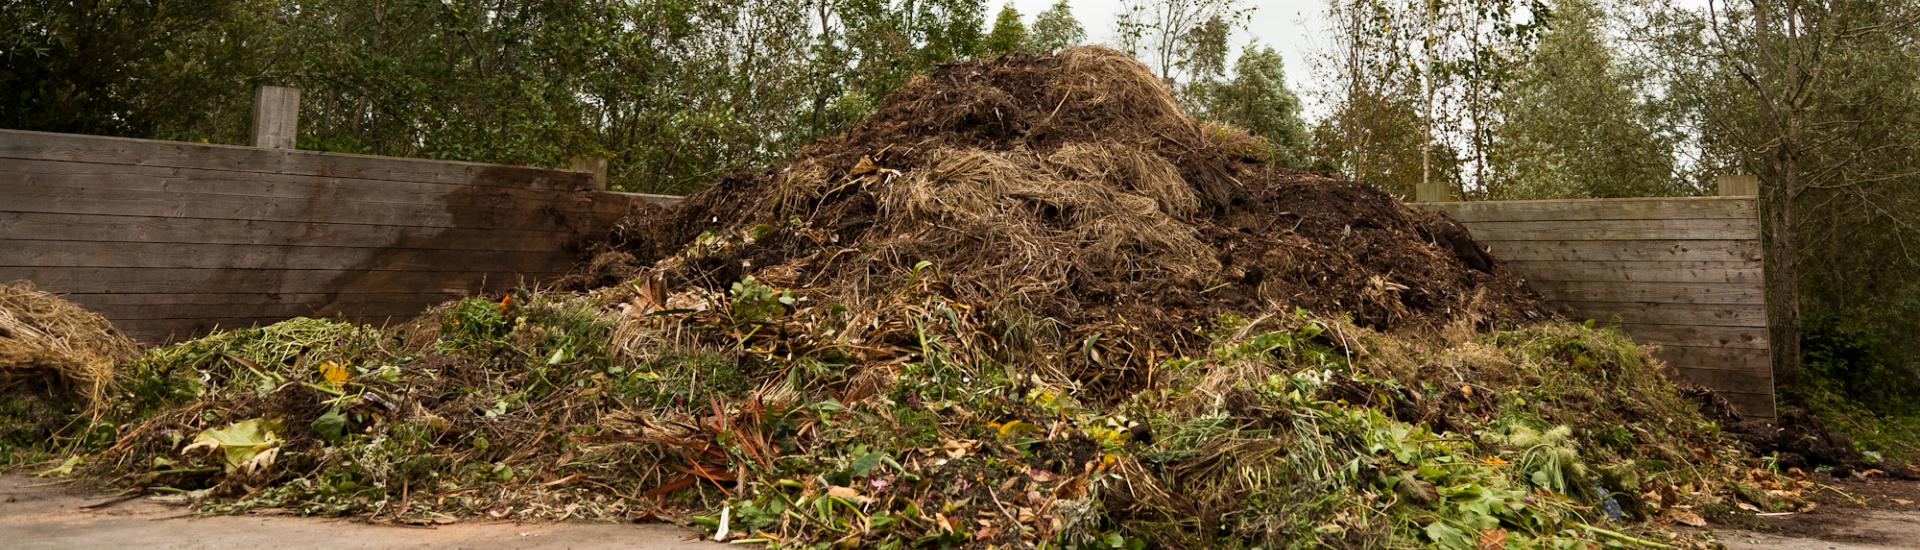
Step 3: Layering the Compost Pile
Now that you have gathered the necessary compostable materials, it’s time to start layering your compost pile. Proper layering promotes good airflow, ensures a balanced mix of nitrogen and carbon, and encourages efficient decomposition. Follow these steps to create a well-structured compost pile:
- Start with a layer of brown materials: Begin by laying down a layer of dried leaves, straw, or shredded cardboard. This provides a carbon-rich foundation for your compost pile.
- Add a layer of green materials: On top of the brown layer, add a layer of nitrogen-rich materials such as grass clippings, fruit and vegetable scraps, and coffee grounds.
- Continue alternating layers: Continue layering brown and green materials, making sure to maintain a balanced ratio of approximately two parts brown to one part green. Each layer should be a few inches thick.
- Add water: As you add each layer, lightly moisten it with water. The pile should be damp, similar to a wrung-out sponge, but not soaked. Proper moisture ensures that the microbes responsible for decomposition can thrive.
- Avoid compacting: While adding the layers, avoid compacting the materials. Adequate airflow is essential for the composting process.
- Finish with a brown layer: Conclude the layering with a top layer of brown materials to help trap heat, retain moisture, and prevent any odors from escaping.
Remember, maintaining a balanced ratio of carbon-rich (brown) and nitrogen-rich (green) materials is crucial for successful composting. This balance provides the optimal conditions for microbial activity and decomposition. Pay attention to the moisture levels of the pile and make sure to periodically check and adjust as needed.
Once your compost pile is layered, it’s time to move on to the next step: watering and turning the compost pile.
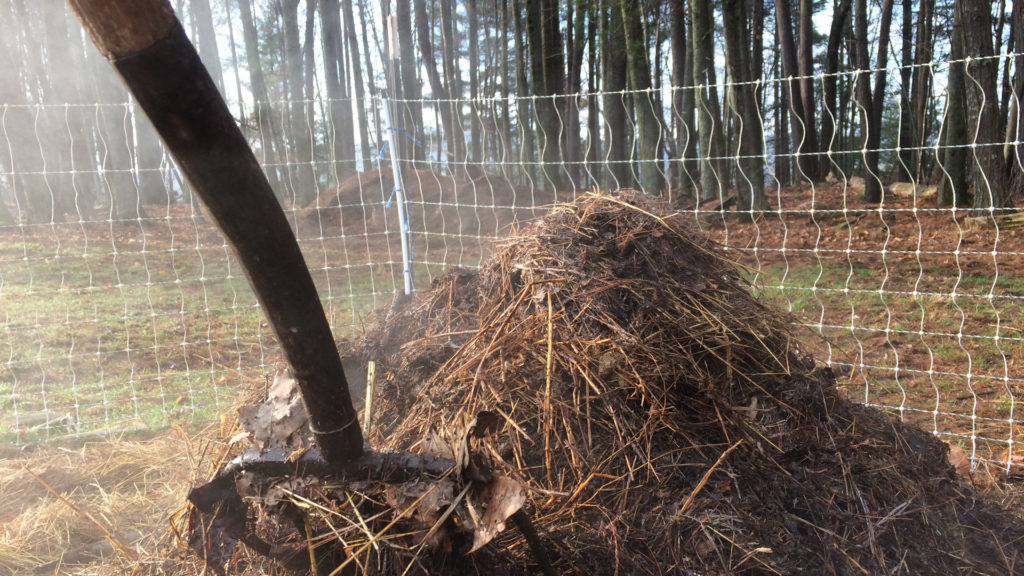
Step 4: Watering and Turning the Compost Pile
Watering and turning your compost pile are essential for maintaining proper moisture levels, maximizing decomposition, and preventing any unpleasant odors. Here’s how to effectively water and turn your compost pile:
Watering:
1. Check the moisture: Regularly monitor the moisture levels of your compost pile. Ideally, the pile should be moist, similar to a damp sponge. If it feels dry, give it a gentle watering.
2. Use a hose or watering can: Water the compost pile evenly, ensuring that moisture reaches all layers. Avoid overwatering, as this can lead to excessive moisture and slow down the decomposition process.
3. Cover the pile: After watering, consider covering the compost pile with a tarp or plastic sheet to help retain moisture. This is especially important during dry or hot weather.
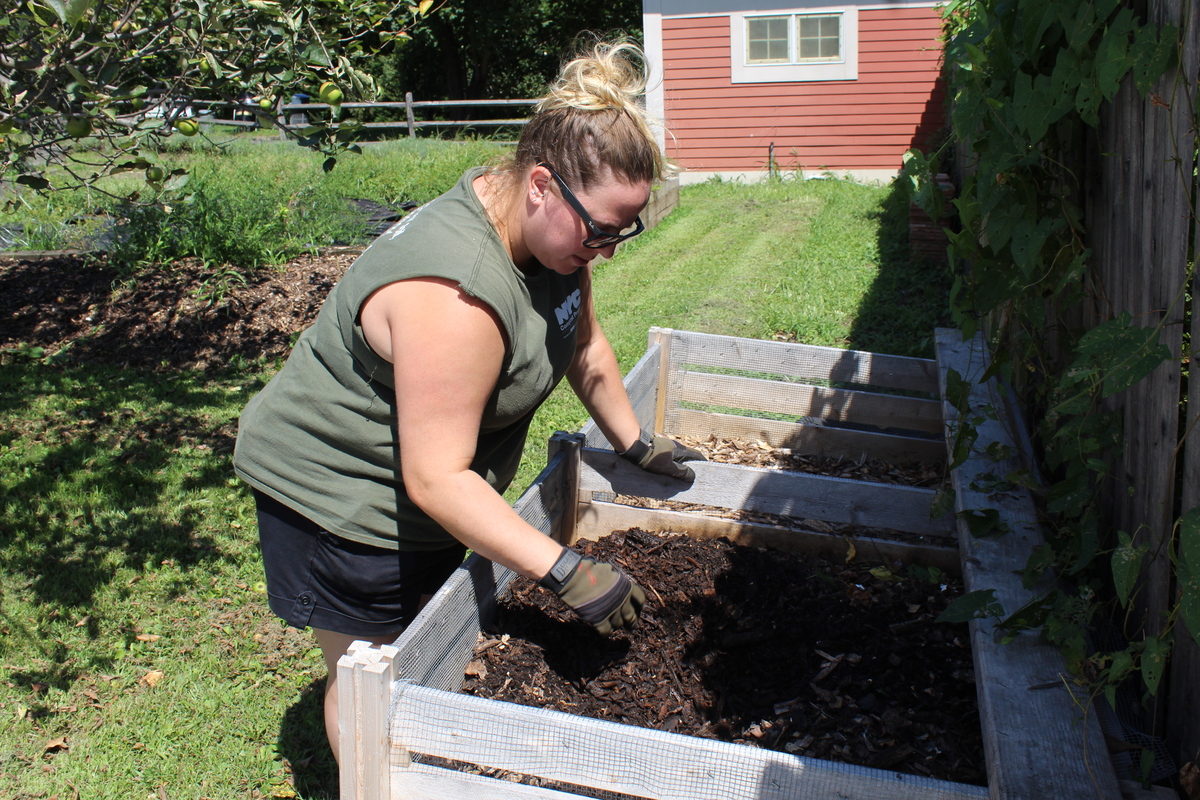
Turning:
1. Use a garden fork or shovel: To aerate the compost pile and encourage decomposition, regularly turn the pile. Every few weeks, use a garden fork or shovel to gently lift and mix the outer materials into the center of the pile. This helps to distribute moisture and oxygen, and promotes even decomposition.
2. Consider the temperature: As you turn the pile, pay attention to its temperature. A well-balanced compost pile will heat up due to microbial activity, reaching temperatures between 130-160°F (54-71°C). This high temperature helps to break down organic matter and kill pathogens and weed seeds.
3. Maintain the balance: While turning the compost pile, ensure that the materials are mixed thoroughly, maintaining the proper ratio of brown and green materials. This helps to create a well-balanced compost and accelerates the decomposition process.
By regularly watering and turning your compost pile, you create optimal conditions for microbial activity and decomposition. Remember to monitor the moisture levels and temperature of the pile, and make adjustments as needed. These practices will help you achieve rich, nutrient-packed compost for your garden.
After mastering the art of watering and turning, it’s time to move on to the next step: maintaining your compost pile.
Step 5: Maintaining Your Compost Pile
Maintaining your compost pile is crucial to ensure its success and produce high-quality compost. Follow these guidelines to effectively manage and maintain your compost pile:
1. Add more materials: Continuously add compostable materials to your pile, maintaining a balanced ratio of brown (carbon-rich) and green (nitrogen-rich) materials. This ensures a steady supply of nutrients for the microorganisms responsible for decomposition.
2. Avoid adding certain materials: While it’s important to add a variety of organic materials, avoid adding meat, dairy products, or oily items, as they can attract pests and create unpleasant odors. Similarly, avoid adding weeds that have gone to seed or diseased plants to prevent the spread of weeds or diseases.
3. Maintain moisture levels: Regularly check the moisture level of the compost pile and adjust as needed. If the pile feels dry, add water. If it’s too wet, mix in dry materials, such as leaves or straw, to improve aeration and prevent odors.
4. Aerate the pile: Continue turning your compost pile every few weeks to aerate it and promote decomposition. This helps to distribute moisture, oxygen, and heat evenly, ensuring efficient breakdown of organic matter.
5. Manage pests: Keep an eye out for any pests, such as rodents or insects, that may be attracted to your compost pile. If necessary, cover the pile securely or consider using pest deterrents to protect your compost.
6. Patience is key: Composting is a natural process that takes time. Be patient and give the microorganisms ample time to decompose the materials. Depending on the conditions and materials used, compost can take several months to a year to fully mature.
By following these maintenance practices, you will create an optimal environment for decomposition and ensure the production of rich and fertile compost. Your efforts will be rewarded with nutrient-dense compost that will nourish your plants and contribute to a thriving garden ecosystem.
Once you have reached the stage where your compost is fully decomposed, it’s time to harvest and use the compost in your garden. Let’s move on to the final step of the process: harvesting the compost.
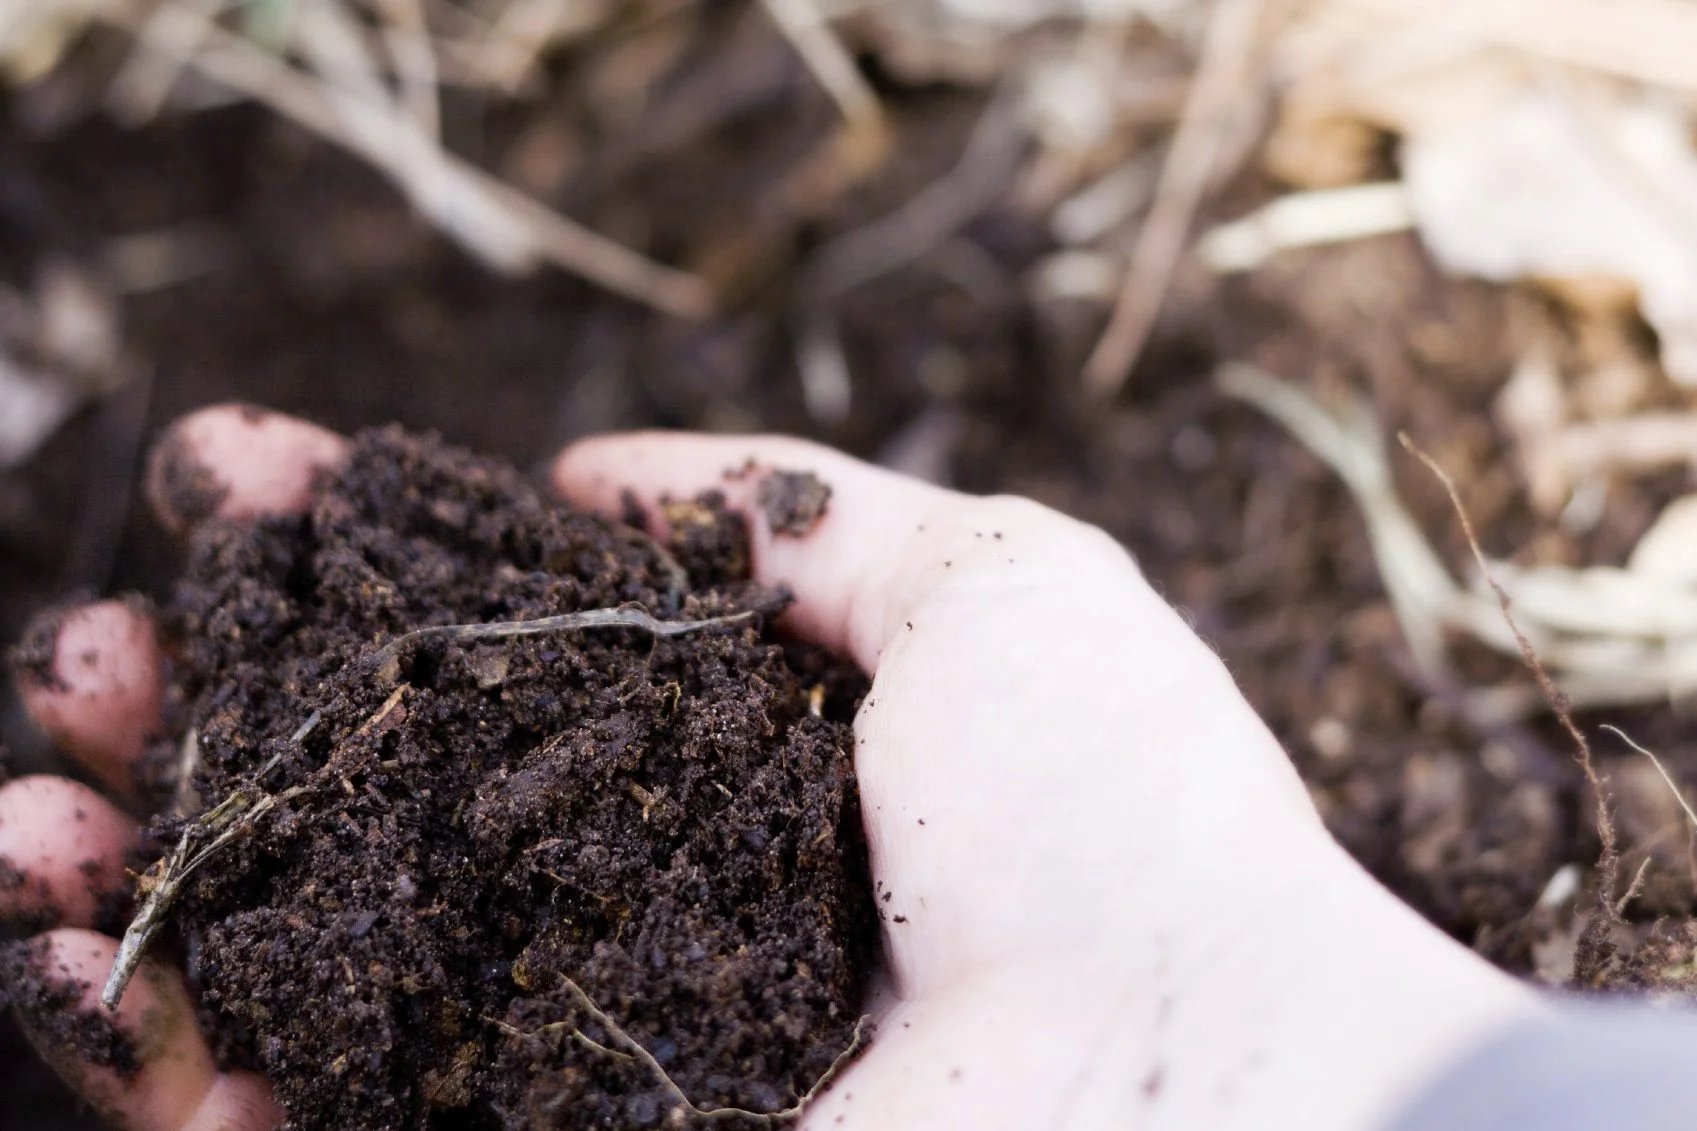
Step 6: Harvesting the Compost
Congratulations! You have successfully reached the stage where your compost is fully decomposed and ready to be harvested. Harvesting your compost involves separating the rich, dark brown material from any remaining uncomposted organic matter. Here are the steps to harvest your compost:
1. Stop adding new materials: Before you start harvesting, it’s important to stop adding new materials to the compost pile. This allows the final batch to fully decompose without any additional organic matter.
2. Place a tarp or container nearby: Prepare a tarp or container near your compost pile to collect the harvested compost. This will make the process easier and more organized.
3. Begin harvesting: Using a garden fork or shovel, carefully scoop out the compost from the outer edges of the pile. Start with the top layers and work your way down. As you harvest, separate any remaining large or uncomposted materials to return to the pile for further decomposition.
4. Sift the compost: To remove any larger chunks or debris, you can sift the harvested compost through a mesh screen or a compost sifter. This will create a finer, more uniform compost that is easier to use in your garden.
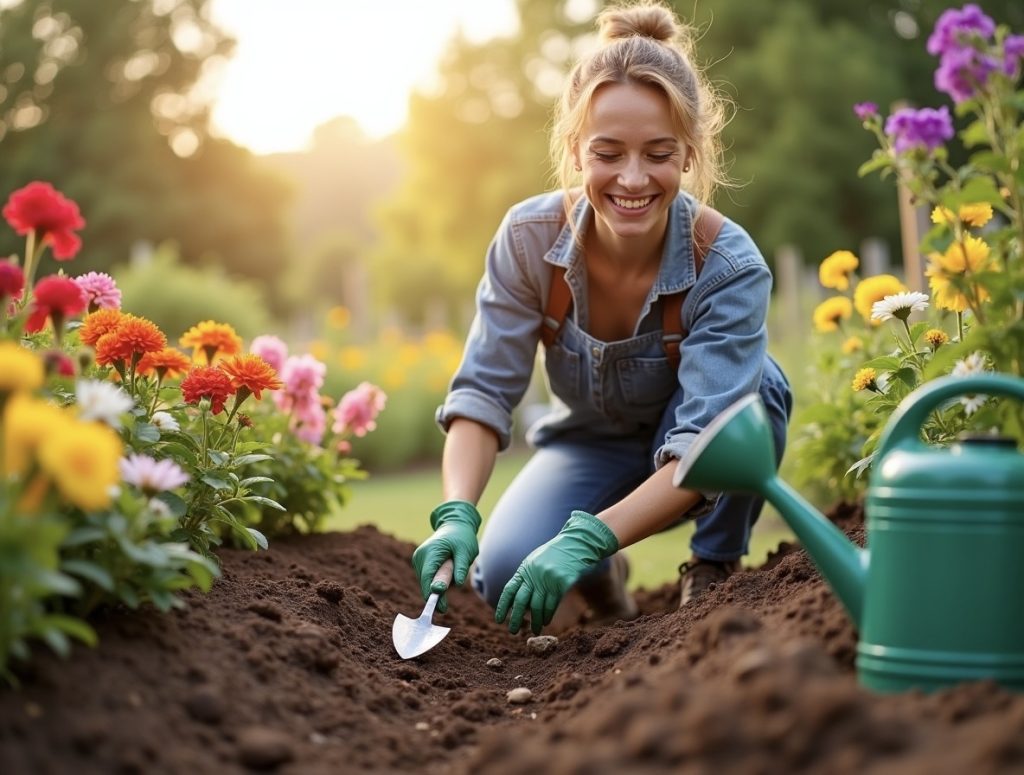
5. Store or use the compost: Once you have harvested and sifted the compost, you have two options. You can store it in a covered bin or container for later use, or you can immediately incorporate it into your garden soil as a nutrient-rich amendment. Spread a layer of compost over your garden beds, mix it into potting soil, or use it as a top dressing around the base of plants.
6. Start a new compost pile: Now that your current compost pile is harvested, you can start a new one with fresh organic materials. Use the same principles and techniques described in earlier steps to create a new compost pile and continue your sustainable gardening journey.
By harvesting and utilizing your compost, you close the loop of sustainability by returning valuable nutrients to the soil and reducing waste. The cycle begins anew as you create another compost pile, continuing the beneficial cycle of organic matter decomposition and nutrient recycling.
Conclusion
Congratulations on completing your journey into the world of eco-friendly gardening and composting! By following the steps outlined in this guide, you have gained the knowledge and skills to create your own compost pile and contribute to a more sustainable and vibrant garden.
By adopting eco-friendly gardening practices, such as composting, you are not only reducing waste and carbon emissions but also enriching your soil with nutrient-rich compost that will nourish your plants naturally. Organic gardening promotes biodiversity, minimizes the use of harmful chemicals, and creates a healthier and more harmonious ecosystem in your own backyard.
Remember, composting is a continuous process that requires regular maintenance and care. As you progress, you will develop a deeper understanding of the delicate balance between brown and green materials, moisture levels, and aeration in your compost pile. With time and practice, you will refine your techniques and create compost that meets the specific needs of your garden.
So, dig in and get your hands dirty! As you embark on your eco-friendly gardening journey, don’t hesitate to experiment and explore new methods. Gardening is a journey of learning and discovery, and each season will bring new opportunities for growth and connection with nature.
By implementing these sustainable practices, not only are you making a positive impact on the environment, but you are also creating a beautiful and healthy outdoor haven for yourself, your family, and the diverse flora and fauna that call your garden home.
So go forth and garden with care, knowing that your efforts are contributing to a greener and more sustainable future. Happy gardening!