Home>Gardening Techniques>DIY Projects>How To Compost Cardboard

DIY Projects
How To Compost Cardboard
Modified: February 9, 2024
Learn how to compost cardboard with these DIY projects. Reduce waste and create nutrient-rich soil for your garden.
(Many of the links in this article redirect to a specific reviewed product. Your purchase of these products through affiliate links helps to generate commission for Chicagolandgardening.com, at no extra cost. Learn more)
Table of Contents
Introduction
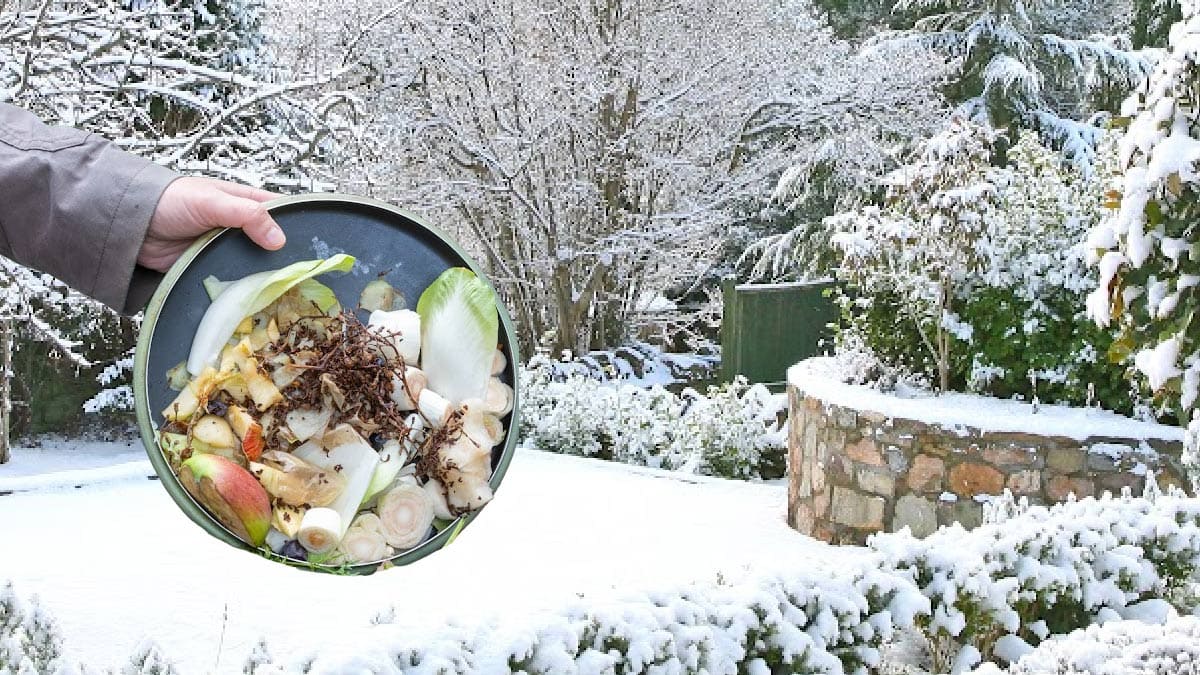
Composting is an environmentally-friendly practice that helps to reduce waste and create nutrient-rich soil for gardening. While many people are familiar with composting kitchen scraps and yard waste, there is another often overlooked item that can be composted – cardboard.
Cardboard is a versatile and widely used material that can take up significant space in landfills if not properly disposed of. However, by composting cardboard, we can transform this waste material into valuable organic matter that can nourish our plants and promote healthy soil.
In this article, we will explore the benefits of composting cardboard and guide you through the process of preparing and composting cardboard in your own backyard. Whether you have excess cardboard boxes lying around from online shopping or want to make use of cardboard packaging, you’ll learn how to turn them into a valuable resource for your gardens.
So, let’s dive in and discover how to compost cardboard and make a positive environmental impact!
Benefits of Composting Cardboard
Composting cardboard offers several advantages, both for the environment and for your garden. Here are some key benefits:
- Reduced waste: Composting cardboard helps to divert a significant amount of waste from landfills. By composting cardboard instead of throwing it away, you’re contributing to the reduction of landfill space and reducing the overall environmental impact of waste disposal.
- Nutrient-rich compost: As cardboard breaks down in the compost pile, it adds valuable carbon and other nutrients to the compost. This, in turn, enriches the compost and enhances its ability to improve soil structure, retain moisture, and provide essential nutrients to plants.
- Better soil health: The compost created from cardboard contains organic matter that improves soil health, especially in areas with heavy clay or sandy soils. It helps to improve water drainage in clay soils and increases water retention in sandy soils, creating a more balanced and fertile soil environment for plants to thrive.
- Cost-effective: Composting cardboard allows you to save money on soil amendments and fertilizers. Instead of purchasing commercial fertilizers, you can use the nutrient-rich compost created from cardboard to nourish your plants and promote their growth, all while reducing your expenses.
- Environmentally friendly: Composting cardboard is an eco-friendly alternative to traditional waste disposal methods. It reduces the need for chemical fertilizers, reduces greenhouse gas emissions associated with landfill decomposition, and promotes a more sustainable approach to managing waste.
By composting cardboard, you not only reduce waste and contribute to a greener planet, but you also obtain a valuable resource for use in your own garden.
Preparing Cardboard for Composting
Before adding cardboard to your compost pile, it is important to prepare it properly to expedite the decomposition process. Here are the steps to prepare cardboard for composting:
- Remove any non-compostable materials: Before composting, make sure to remove any tape, stickers, or plastic packaging materials from the cardboard. These items are not compostable and can contaminate the compost pile.
- Break down large cardboard pieces: If you have large cardboard boxes, it is best to break them down into smaller pieces to accelerate decomposition. You can use a utility knife or scissors to cut the cardboard into manageable sizes, or tear it by hand. Smaller pieces will break down faster and more evenly in the compost pile.
- Soak or wet the cardboard: Dry cardboard takes longer to decompose. To speed up the process, you can soak the cardboard in water or wet it thoroughly before adding it to the compost pile. This helps to soften the cardboard fibers and allows for faster microbial activity, resulting in quicker decomposition.
- Consider shredding the cardboard: While not necessary, shredding the cardboard into smaller pieces can greatly speed up the composting process. Shredded cardboard creates more surface area for microorganisms to break down the material, resulting in faster decomposition. You can use a shredder or simply tear the cardboard into smaller strips for shredding.
By following these steps, you will ensure that the cardboard is ready to be added to your compost pile and can break down efficiently, contributing to the overall health and fertility of your compost.
Choosing the Right Cardboard
When it comes to composting cardboard, not all types are created equal. It’s important to choose the right cardboard that will break down effectively in your compost pile. Here are some guidelines for selecting the right cardboard:
- Uncoated and untreated cardboard: Opt for plain, uncoated cardboard that doesn’t have any glossy or plastic coating. Coated or treated cardboard may contain chemicals that can interfere with the composting process and harm beneficial microorganisms.
- Avoid wax-coated cardboard: Cardboard boxes that are coated with wax, commonly used for food packaging, should be avoided. The wax coating doesn’t break down easily and can hinder the decomposition process. Look for cardboard that is free from any wax coatings.
- Non-toxic ink: If the cardboard has printing or labeling on it, make sure the ink used is non-toxic and safe for composting. Most cardboard labels nowadays use soy-based or vegetable-based inks, which are compostable. However, be cautious of labels or printing with metallic or glossy finishes, as they may contain non-compostable materials.
- Avoid heavily colored or glossy cardboard: Cardboard with excessive coloring or glossy finish may contain dyes or chemicals that can hinder the composting process. It’s best to stick with natural, uncolored cardboard for composting.
By selecting the right cardboard, you ensure that the material you’re composting is safe, free from harmful substances, and will break down effectively in your compost pile. Remember, the goal is to create nutrient-rich compost that will benefit your garden without introducing any potential contaminants.
Shredding Cardboard
Shredding cardboard before adding it to your compost pile is an optional but beneficial step that can greatly enhance the decomposition process. Here are the reasons why you might consider shredding cardboard:
- Faster decomposition: Shredding cardboard into smaller pieces increases its surface area, allowing beneficial microorganisms to break it down more efficiently. This results in faster decomposition and the production of nutrient-rich compost in a shorter span of time.
- Improved airflow: Shredded cardboard creates gaps and channels within the compost pile, facilitating better airflow. This helps to prevent the pile from becoming overly compacted and encourages the growth of aerobic microorganisms, which thrive in the presence of oxygen.
- Even distribution: When cardboard is shredded, it can be more evenly distributed throughout the compost pile. This ensures that the carbon-rich material is evenly mixed with nitrogen-rich components, such as kitchen scraps and yard waste, creating a well-balanced and nutrient-rich compost mixture.
- Easy mixing: Shredded cardboard blends more easily with other compostable materials in the pile. It avoids clumping, which can hinder the circulation of air and moisture within the compost. This makes it easier to turn and mix the compost pile, promoting efficient decomposition.
To shred cardboard, you have a few options:
- Manual shredding: You can tear the cardboard into smaller strips or pieces by hand. This method works well for smaller amounts of cardboard.
- Using a shredder: If you have larger quantities of cardboard to shred, using a shredder specifically designed for cardboard can be a time-saving option. These shredders are capable of quickly reducing cardboard into small, manageable pieces.
Remember, shredding cardboard is not mandatory, but it can significantly speed up the composting process and improve the overall quality of your compost.
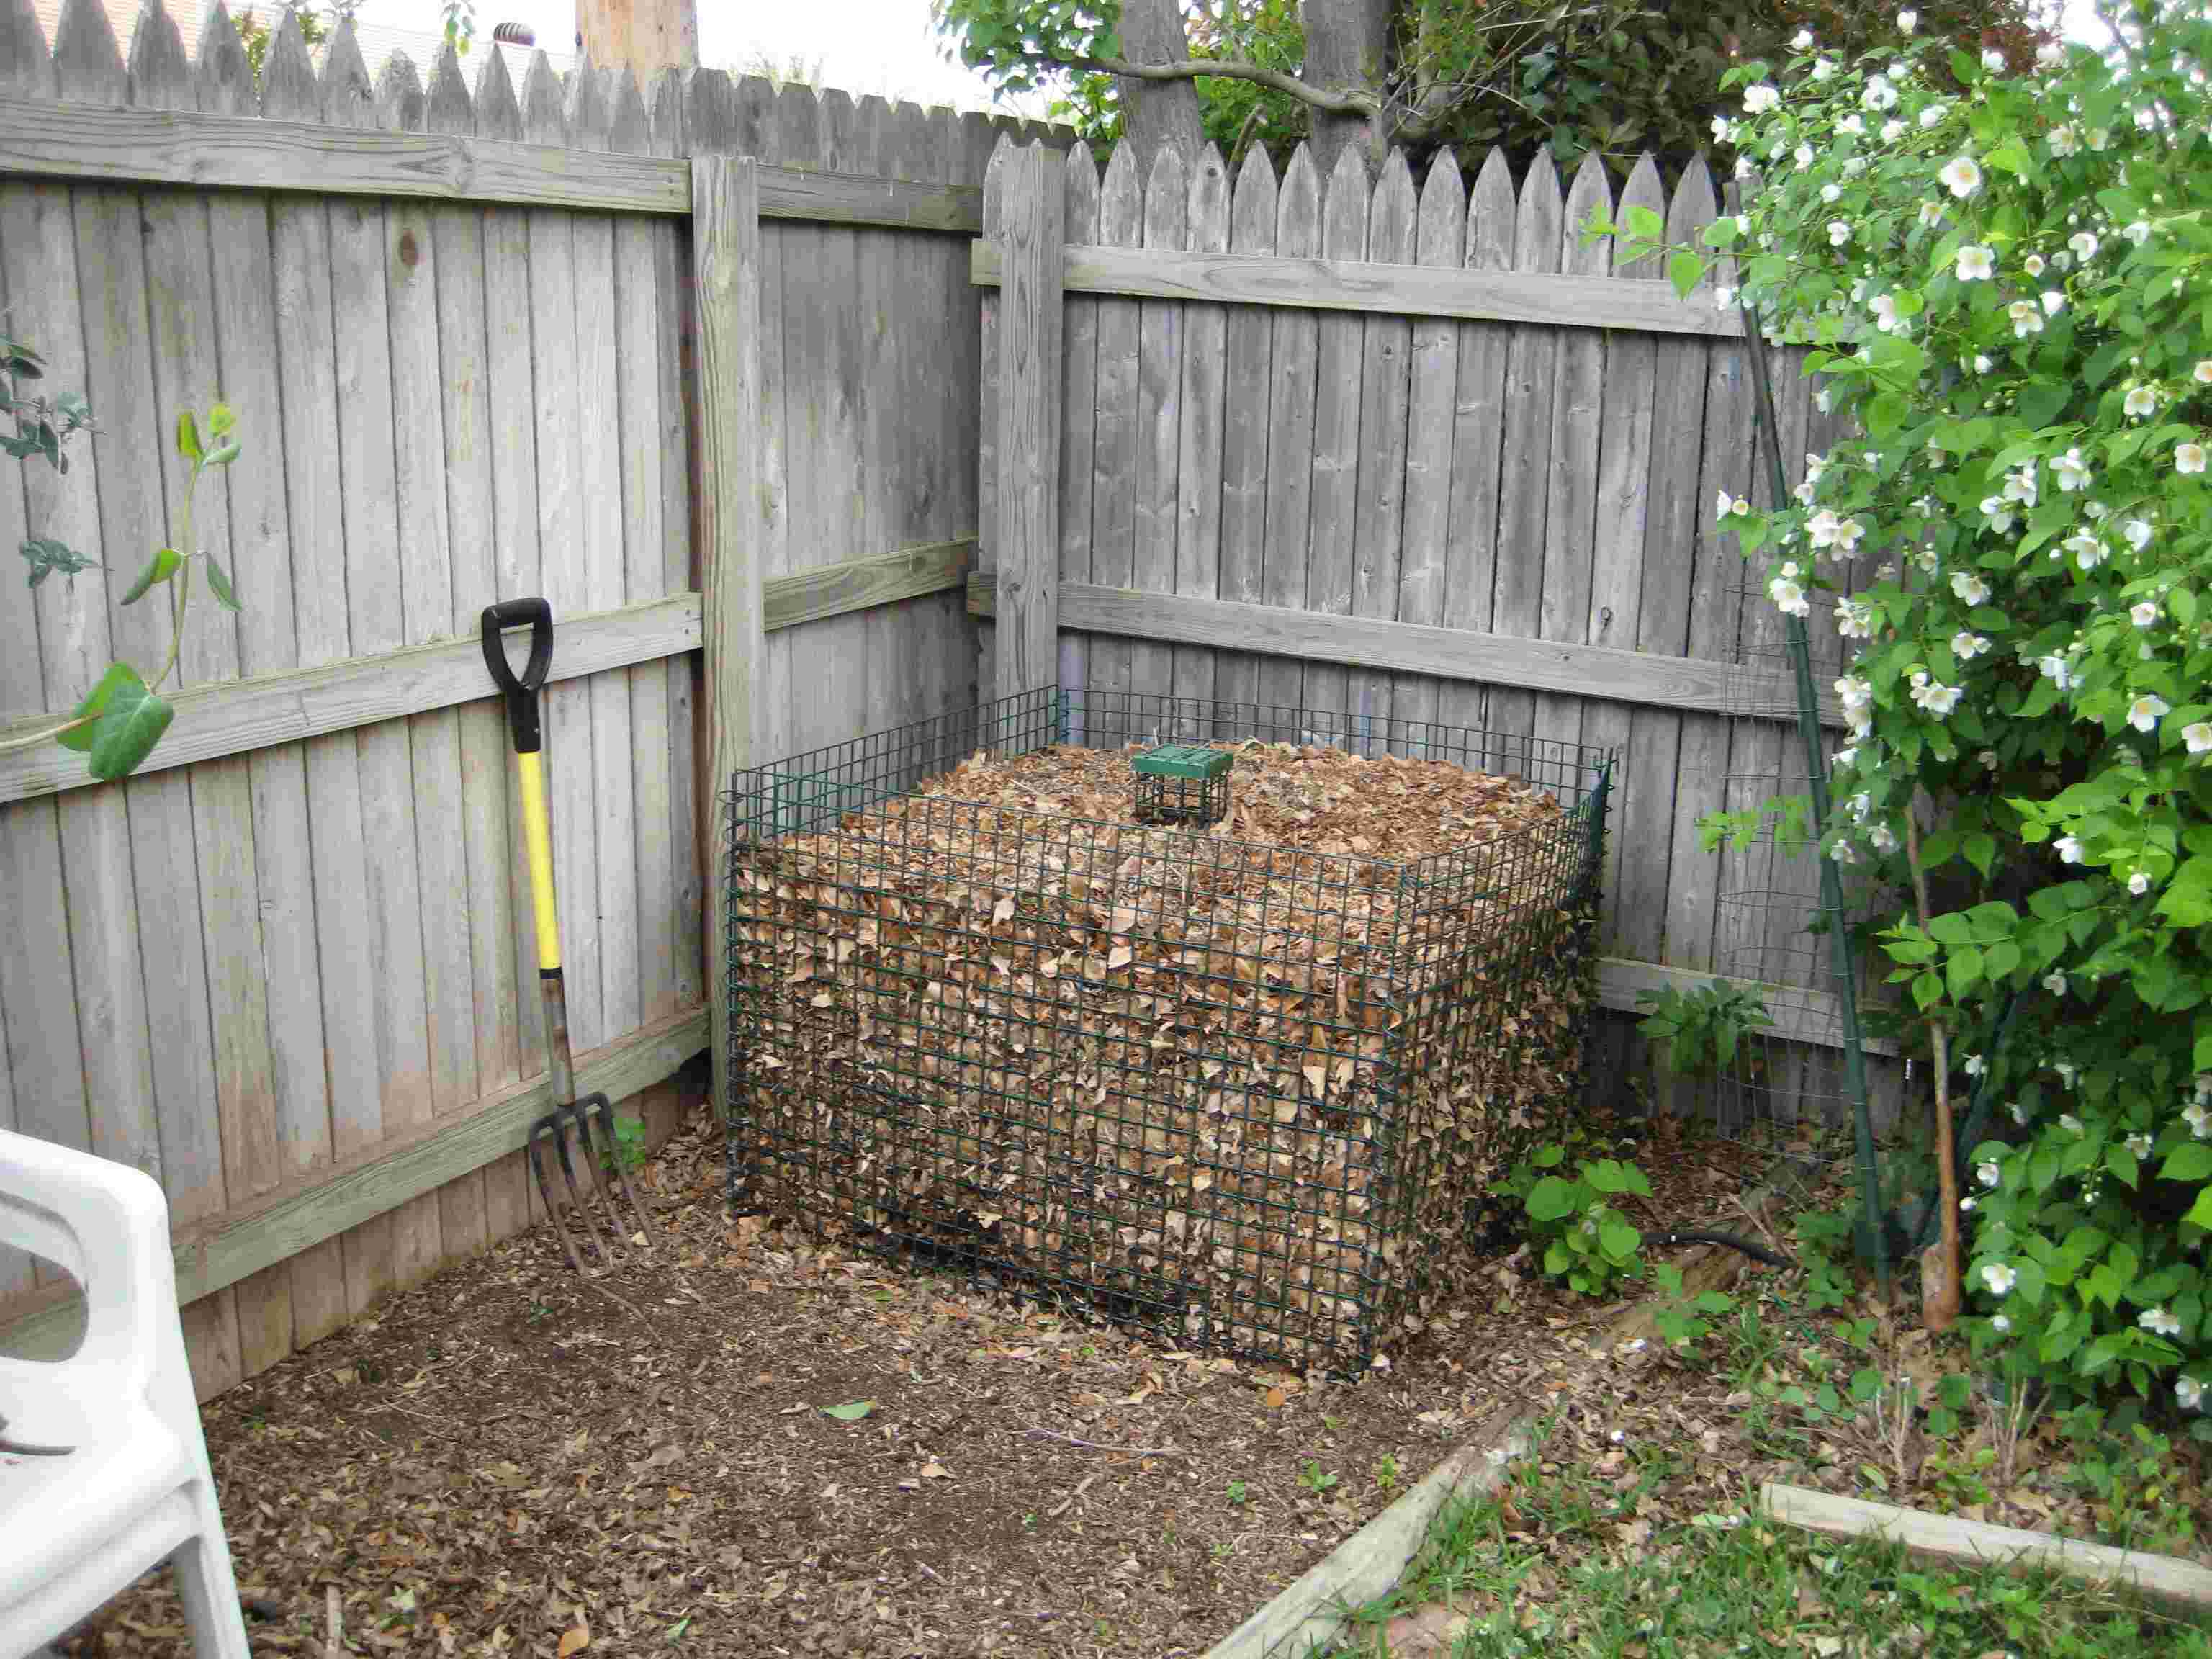
Layering Cardboard in the Compost Pile
When composting cardboard, it’s important to properly layer it in your compost pile to ensure efficient decomposition and optimal nutrient content. Here’s how to effectively layer cardboard in your compost pile:
- Start with a base layer: Begin by establishing a base layer of bulky compostable materials, such as twigs or straw, to promote airflow and prevent the compost pile from becoming compacted. This layer serves as a foundation for the composting process.
- Add a layer of shredded cardboard: Place a layer of shredded cardboard directly on top of the base layer. Aim for a thickness of around 1-2 inches (2.5-5 cm). This initial layer of cardboard provides a carbon-rich foundation for the compost pile and helps to absorb excess moisture.
- Alternate with nitrogen-rich materials: To maintain a balanced compost pile, alternate layers of shredded cardboard with nitrogen-rich materials, such as kitchen scraps or grass clippings. The nitrogen-rich materials provide the necessary nutrients for the composting process and help to speed up decomposition.
- Continue layering: Repeat the layering process, adding additional layers of shredded cardboard followed by nitrogen-rich materials. Aim for a ratio of approximately 3 parts carbon-rich materials (such as cardboard) to 1 part nitrogen-rich materials. This balance ensures efficient decomposition and prevents the pile from becoming too high in nitrogen.
- Finish with a top layer: Once you’ve added sufficient layers of shredded cardboard and nitrogen-rich materials, finish the compost pile with a top layer of straw or leaves. This top layer helps insulate the pile, retain moisture, and discourage pests.
Remember to keep your compost pile moist but not waterlogged. If the pile becomes too dry, add some water to maintain a moist environment for decomposition.
By layering cardboard in your compost pile in this manner, you create an optimal environment for decomposition and ensure that the cardboard breaks down efficiently, transforming into nutrient-rich compost that can enhance the health and fertility of your garden.
Monitoring Moisture Levels
When composting cardboard, monitoring moisture levels in your compost pile is crucial for maintaining an ideal environment for decomposition. Here’s why it’s important to keep an eye on moisture levels and how to ensure proper moisture content:
Moisture is essential for the composting process as it helps to facilitate the breakdown of organic matter by enabling the activity of beneficial microorganisms. If the compost pile becomes too dry, decomposition slows down, and the pile may not reach optimal temperatures for efficient breakdown of materials. On the other hand, if the pile becomes too wet, it can lead to anaerobic conditions and unpleasant odors.
To monitor moisture levels in your compost pile, follow these steps:
- Check the moisture by hand: Use your hand or a garden tool to grab a handful of compost from the pile. Squeeze it lightly and then open your hand. If the compost holds its shape and feels damp but not dripping water, it is at the right moisture level. If it feels excessively dry or water drips out, there may be a need to adjust the moisture.
- Adjust moisture levels if necessary: If your compost pile is too dry, you can add water to moisten it. Use a hose or watering can to evenly distribute the water throughout the pile. Aim for a moisture level similar to that of a wrung-out sponge. If the pile is too wet, you can add dry carbon-rich materials (such as shredded cardboard) to absorb excess moisture and facilitate better air circulation.
- Consider covering the pile: If your compost pile is consistently too wet due to rain or excessive watering, consider covering it with a tarp or covering material. This helps to shield the pile from excess moisture and prevent it from becoming waterlogged.
Regularly monitoring and adjusting moisture levels in your compost pile will ensure that the decomposition process remains active and efficient. By maintaining the proper moisture content, you’ll help create an optimal environment for microorganisms to break down the cardboard and other organic materials, resulting in high-quality compost for your garden.
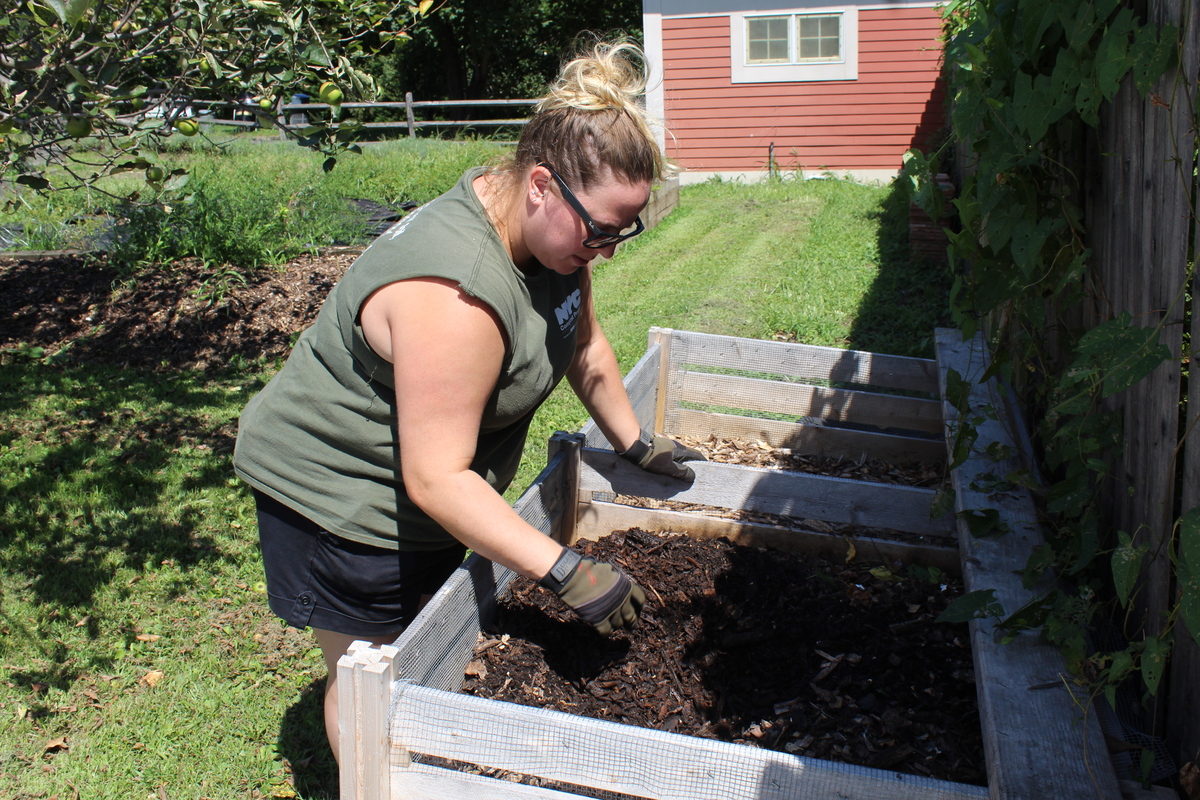
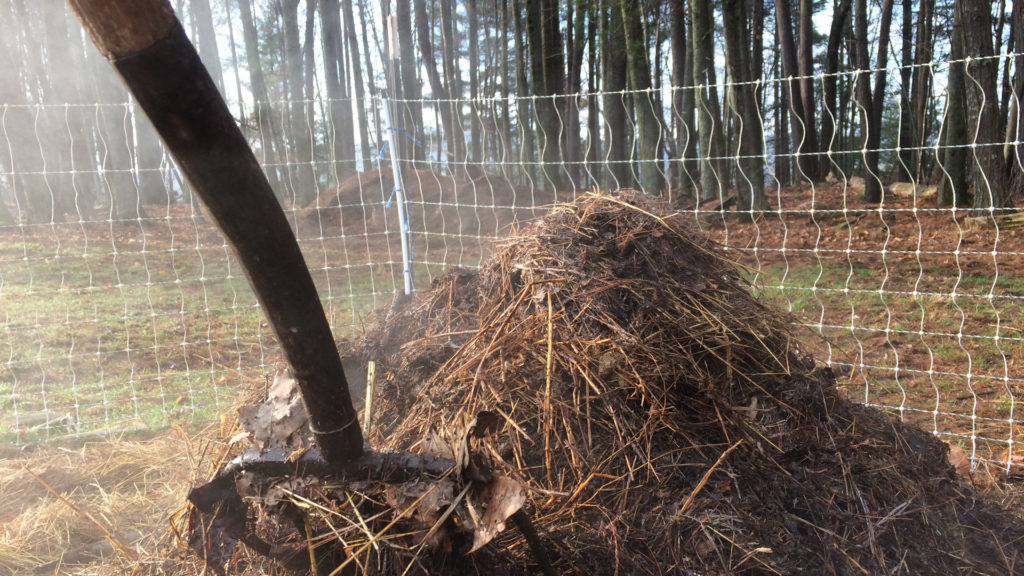
Turning and Mixing the Compost Pile
Turning and mixing your compost pile is an essential maintenance task that promotes aeration, accelerates decomposition, and ensures consistent breakdown of compostable materials, including cardboard. Here’s why turning and mixing the compost pile is important and how to do it effectively:
Turning the compost pile serves several purposes:
- Enhances airflow: Turning the pile introduces fresh oxygen, which is necessary for the growth of aerobic microorganisms. These microorganisms thrive in the presence of oxygen and play a vital role in breaking down organic matter, including cardboard, into nutrient-rich compost.
- Uniform decomposition: By turning the pile, you mix the different layers and materials, allowing for more even decomposition. This ensures that all materials, including the cardboard, are consistently exposed to the necessary microorganisms and environmental conditions for breakdown.
- Controls moisture levels: Turning the pile helps distribute moisture evenly throughout the compost. This prevents certain areas from becoming too wet or too dry, ensuring that microbial activity remains optimal and decomposition progresses efficiently.
- Accelerates the composting process: Turning the pile introduces new organic matter to areas that may have already decomposed. This stimulates microbial activity and speeds up decomposition, allowing you to obtain finished compost more quickly.
Here’s how to effectively turn and mix your compost pile:
- Use a pitchfork or garden fork to gently lift and turn the compost materials. Start from the outer edges of the pile and work towards the center.
- Mix the materials thoroughly, ensuring the top layers are mixed with the lower layers. Pay particular attention to any large chunks of cardboard, breaking them apart to promote faster decomposition.
- Consider incorporating additional carbon-rich materials, such as shredded cardboard, to maintain a proper balance of carbon and nitrogen in the compost pile. This helps to prevent the pile from becoming too nitrogen-rich, which can lead to a smelly or compacted compost.
- Repeat the turning process every few weeks or whenever the pile becomes compacted or overly moist. Regular turning ensures consistent decomposition and helps to maintain optimal conditions for the breakdown of materials, including cardboard.
By regularly turning and mixing your compost pile, you create a well-aerated and balanced environment, facilitating the breakdown of cardboard and other compostable materials. This promotes efficient composting and helps you achieve a rich, nutrient-dense compost for your gardening needs.
Timeframe for Composting Cardboard
The timeframe for composting cardboard will vary depending on several factors, including the size and thickness of the cardboard, the overall composition of your compost pile, and the environmental conditions. While it may take longer for cardboard to decompose compared to other organic materials, you can still expect to see results within a reasonable timeframe.
On average, cardboard can take anywhere from six months to two years to completely break down and transform into nutrient-rich compost. However, with proper preparation, shredding, layering, and regular maintenance of the compost pile, you can accelerate the decomposition process.
Here are a few tips to help speed up the composting process for cardboard:
- Shredding: Shredding cardboard into smaller pieces increases its surface area and promotes faster decomposition. The smaller the pieces, the quicker they will break down.
- Layering: Layering shredded cardboard with nitrogen-rich materials, such as kitchen scraps or grass clippings, creates a balance of carbon and nitrogen, which accelerates the breakdown of organic matter.
- Turning: Regularly turning and mixing the compost pile every few weeks introduces oxygen and ensures that all materials, including cardboard, are consistently exposed to the necessary microorganisms for decomposition.
- Moisture control: Maintaining proper moisture levels in the compost pile is crucial for efficient decomposition. Moisture encourages microbial activity, so make sure the pile is adequately moist but not overly wet.
It’s important to keep in mind that the composting process is not an exact science, and the timeframe can vary. Factors such as ambient temperature, the carbon-to-nitrogen ratio in the pile, and the amount of turning and mixing all play a role in how long it takes for the cardboard to break down.
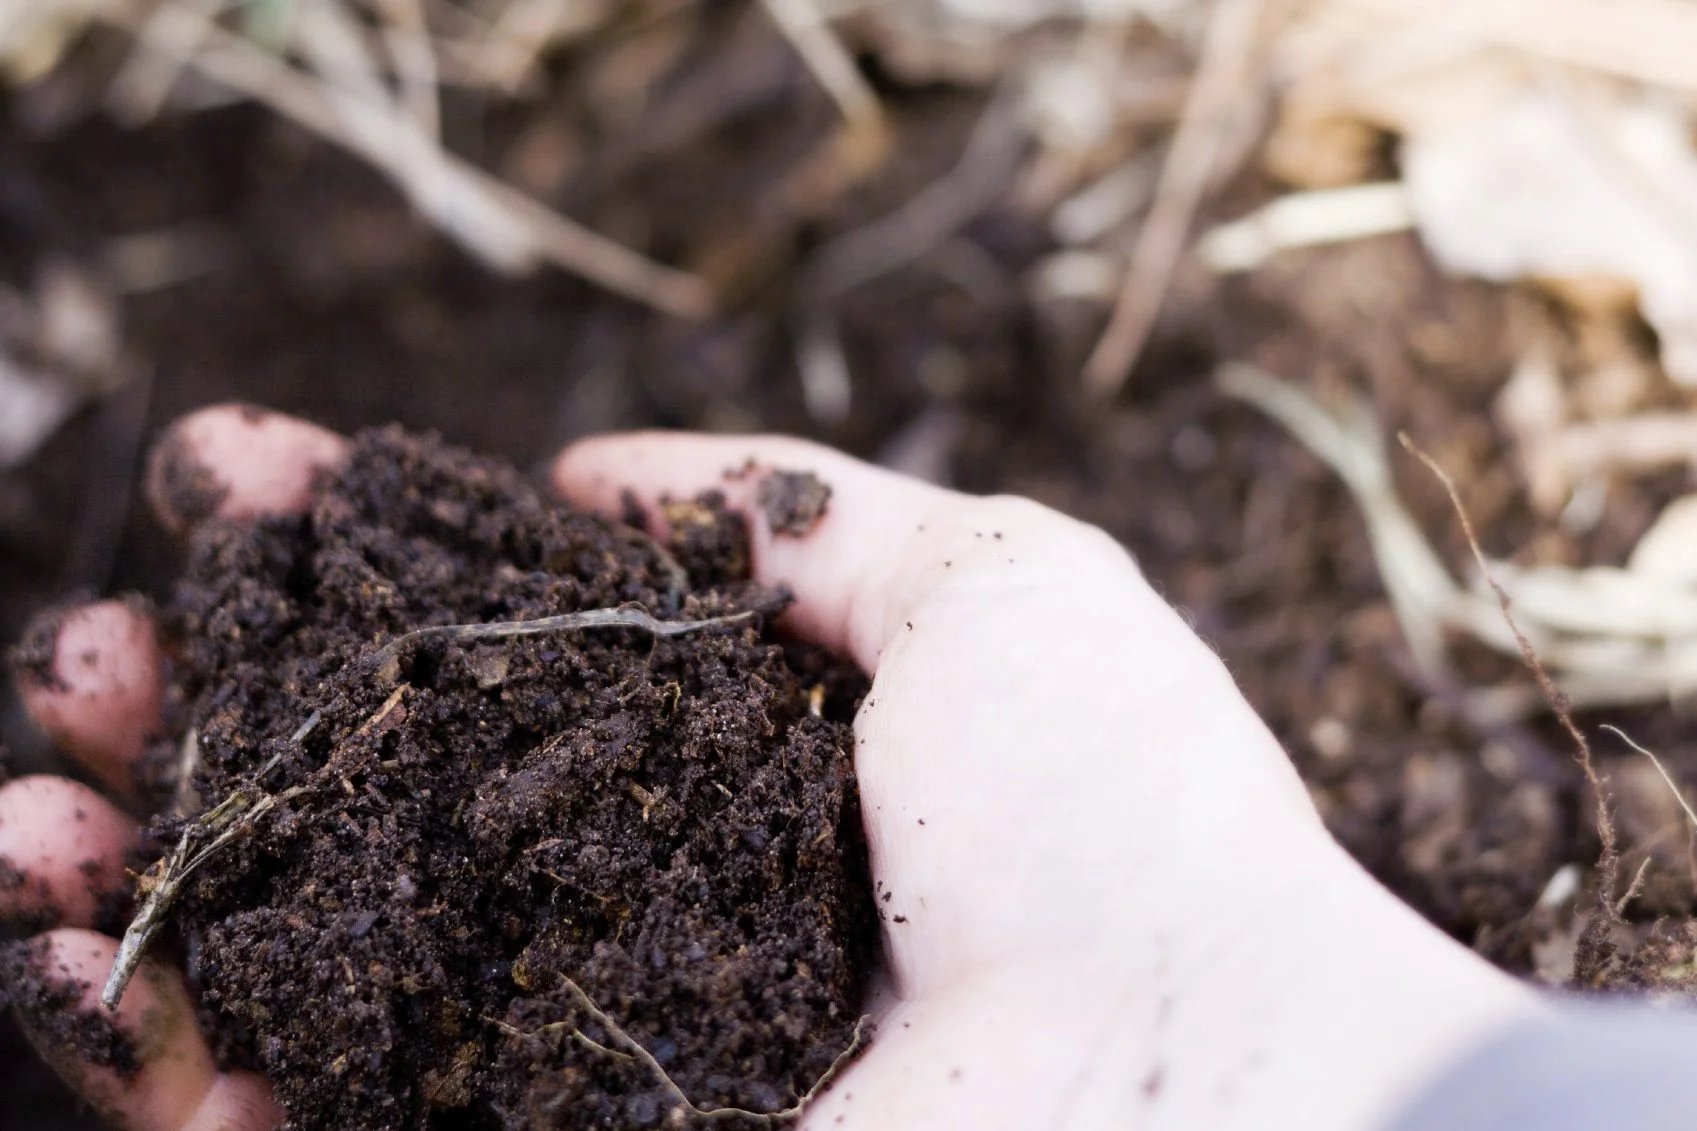
Regularly monitoring the compost pile and assessing the decomposition progress can give you an indication of how close the cardboard is to being fully composted. The compost should have a dark, crumbly texture, and the original pieces of cardboard should no longer be recognizable.
By following best composting practices and being patient, you can expect to have nutrient-rich compost ready for use in your garden within a reasonable timeframe.
Using Finished Compost
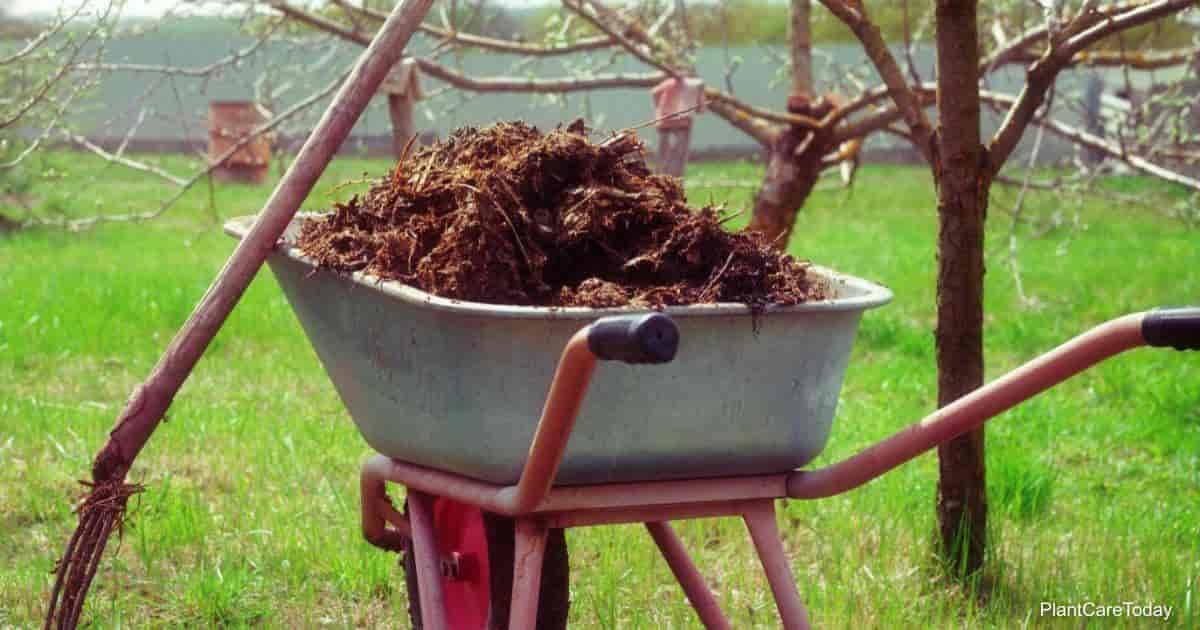
After your composting efforts have successfully transformed cardboard and other organic materials into nutrient-rich compost, you can reap the rewards by using this valuable resource in various ways throughout your garden. Here are some ways to utilize finished compost:
- Amend garden soil: Incorporate finished compost into your garden soil to enhance its fertility and structure. Spread a layer of compost over your garden beds and mix it into the top few inches of soil. This enriches the soil with organic matter, improves drainage in heavy clay soils, and enhances moisture retention in sandy soils.
- Planting and transplanting: When planting or transplanting, mix compost into the planting hole to provide a nutrient boost to the roots of your plants. The rich organic matter in compost supplies essential nutrients and promotes healthy growth.
- Top dressing: Apply a layer of compost around existing plants as a top dressing. This acts as a slow-release fertilizer, providing a steady supply of nutrients to the plants over time.
- Mulching: Spread a layer of compost as mulch around your plants. This helps regulate soil temperature, suppresses weed growth, retains moisture, and slowly releases nutrients as it breaks down.
- Compost tea: Mix finished compost with water to create a compost tea. This nutrient-rich liquid can be used as a foliar spray or as a soil drench to provide an extra boost of nutrients to your plants.
Remember, finished compost is a valuable organic amendment that improves soil health, promotes plant growth, and reduces the need for chemical fertilizers. Its use in the garden supports a sustainable gardening approach and enhances the overall health and productivity of your plants.
Store any excess compost in a covered container or bin to keep it protected from the elements until you are ready to use it. The compost will continue to mature and age, further improving its nutrient content.
By utilizing finished compost strategically in your garden, you can harness the benefits of your composting efforts and create a thriving and sustainable garden environment.
Conclusion
Composting cardboard is a simple and effective way to reduce waste, improve soil health, and create nutrient-rich compost for your garden. By following the steps outlined in this article, you can successfully compost cardboard and make a positive impact on the environment.
Throughout the process, remember to prepare the cardboard by removing any non-compostable materials and shredding it into smaller pieces. Layer the cardboard in your compost pile alongside nitrogen-rich materials, such as kitchen scraps or grass clippings, and monitor the moisture levels to ensure optimal decomposition.
Regularly turning and mixing the compost pile will accelerate the breakdown process and maintain a well-aerated environment. The time it takes to compost cardboard can vary, but by using best practices and following the tips provided, you can expect to have nutrient-rich compost within a reasonable timeframe.
Once the composting process is complete, you can utilize the finished compost in your garden by amending soil, planting and transplanting, top dressing, mulching, and even making compost tea.
Composting cardboard not only reduces waste and landfill space but also improves soil fertility, promotes healthy plant growth, and contributes to a more sustainable and eco-friendly lifestyle.
So, don’t let those cardboard boxes go to waste. Give them a second life as valuable compost that will nourish your plants and benefit the environment. Start composting cardboard today and enjoy the many rewards it brings to your garden.