Home>Gardening Techniques>DIY Projects>How To Compost Coffee Grounds
DIY Projects
How To Compost Coffee Grounds
Modified: February 9, 2024
Learn how to compost coffee grounds effectively for your DIY projects. Discover the benefits and step-by-step instructions to create nutrient-rich compost.
(Many of the links in this article redirect to a specific reviewed product. Your purchase of these products through affiliate links helps to generate commission for Chicagolandgardening.com, at no extra cost. Learn more)
Table of Contents
- Introduction
- Benefits of Composting Coffee Grounds
- Choosing a Composting Method
- Preparing Your Coffee Grounds for Composting
- Composting Coffee Grounds with Yard Waste
- Using Coffee Grounds in Vermicomposting
- Avoiding Common Mistakes when Composting Coffee Grounds
- Troubleshooting Compost Issues with Coffee Grounds
- Harvesting and Using Compost with Coffee Grounds
- Conclusion
Introduction
Welcome to the world of DIY projects! Whether you’re a seasoned DIY enthusiast or just starting out, there’s something incredibly satisfying about creating something with your own hands. From home renovations to crafting projects, the sense of accomplishment and the joy of seeing your vision come to life is unparalleled.
One area of DIY that has gained significant popularity in recent years is composting – the process of decomposing organic waste to create nutrient-rich soil. Composting not only helps reduce waste in landfills but also provides a sustainable way to enrich your garden and promote healthy plant growth. And when it comes to composting, there’s one ingredient that you might not have considered – coffee grounds.
Coffee grounds are often overlooked as a valuable resource for composting, but they are actually a fantastic addition to your compost pile. They contain a significant amount of nitrogen, which is an essential nutrient for plants. Additionally, coffee grounds improve the overall texture and drainage of the compost, making it easier for the microorganisms to break down the organic matter.
In this article, we will explore the benefits of composting coffee grounds and guide you on how to incorporate them into your composting process. We’ll discuss different composting methods, tips for preparing your coffee grounds, and common mistakes to avoid. We’ll also troubleshoot any issues you might encounter and explore how to harvest and use the compost enriched with coffee grounds. So, let’s dive in and discover the wonders of composting with coffee grounds!
Benefits of Composting Coffee Grounds
Composting coffee grounds offers a range of benefits for both your compost pile and your garden. Let’s take a closer look at why coffee grounds are a valuable addition to your composting process:
- Nitrogen-rich compost: Coffee grounds are considered a “green” material in composting, meaning they are a source of nitrogen. Nitrogen is an essential nutrient for plants’ growth and development. By adding coffee grounds to your compost pile, you introduce a high-nitrogen component that helps balance the carbon-to-nitrogen ratio, making your compost more fertile.
- Improves soil structure: Coffee grounds have a light and airy texture that benefits the structure of your soil. When added to compost, they help improve drainage and aeration, preventing soil compaction and enhancing root development. Loose and well-drained soil allows roots to penetrate easily and access nutrients, resulting in healthier and more robust plants.
- Enhances microbial activity: The decomposition of coffee grounds in your compost pile is facilitated by microorganisms such as bacteria and fungi. These microbes break down the organic matter and release nutrients into the soil. Coffee grounds provide a favorable environment for these beneficial microbes, promoting their growth and activity, and ultimately accelerating the composting process.
- Reduces waste: By composting coffee grounds, you divert this organic waste from ending up in the landfill. In the United States alone, millions of pounds of coffee grounds are discarded every day. By incorporating them into your compost pile, you actively contribute to waste reduction efforts and promote a more sustainable approach to managing organic waste.
- Natural pest repellent: Coffee grounds are known to act as a natural deterrent for pests such as slugs, snails, and ants. By incorporating coffee grounds into your compost and subsequently using the compost in your garden, you create an inhospitable environment for these unwanted critters. This can help protect your plants from damage and minimize the need for chemical pesticides.
With these benefits in mind, it’s clear why composting coffee grounds is a worthy endeavor. Not only do you contribute to the health and fertility of your garden soil, but you also make a positive impact on the environment by reducing waste and promoting sustainable practices. Now that we understand the advantages, let’s explore the different methods of composting coffee grounds.
Choosing a Composting Method
When it comes to composting coffee grounds, there are several methods you can choose from. Each method offers its own advantages and considerations, so you can select the one that best suits your needs and available resources. Let’s explore some popular composting methods:
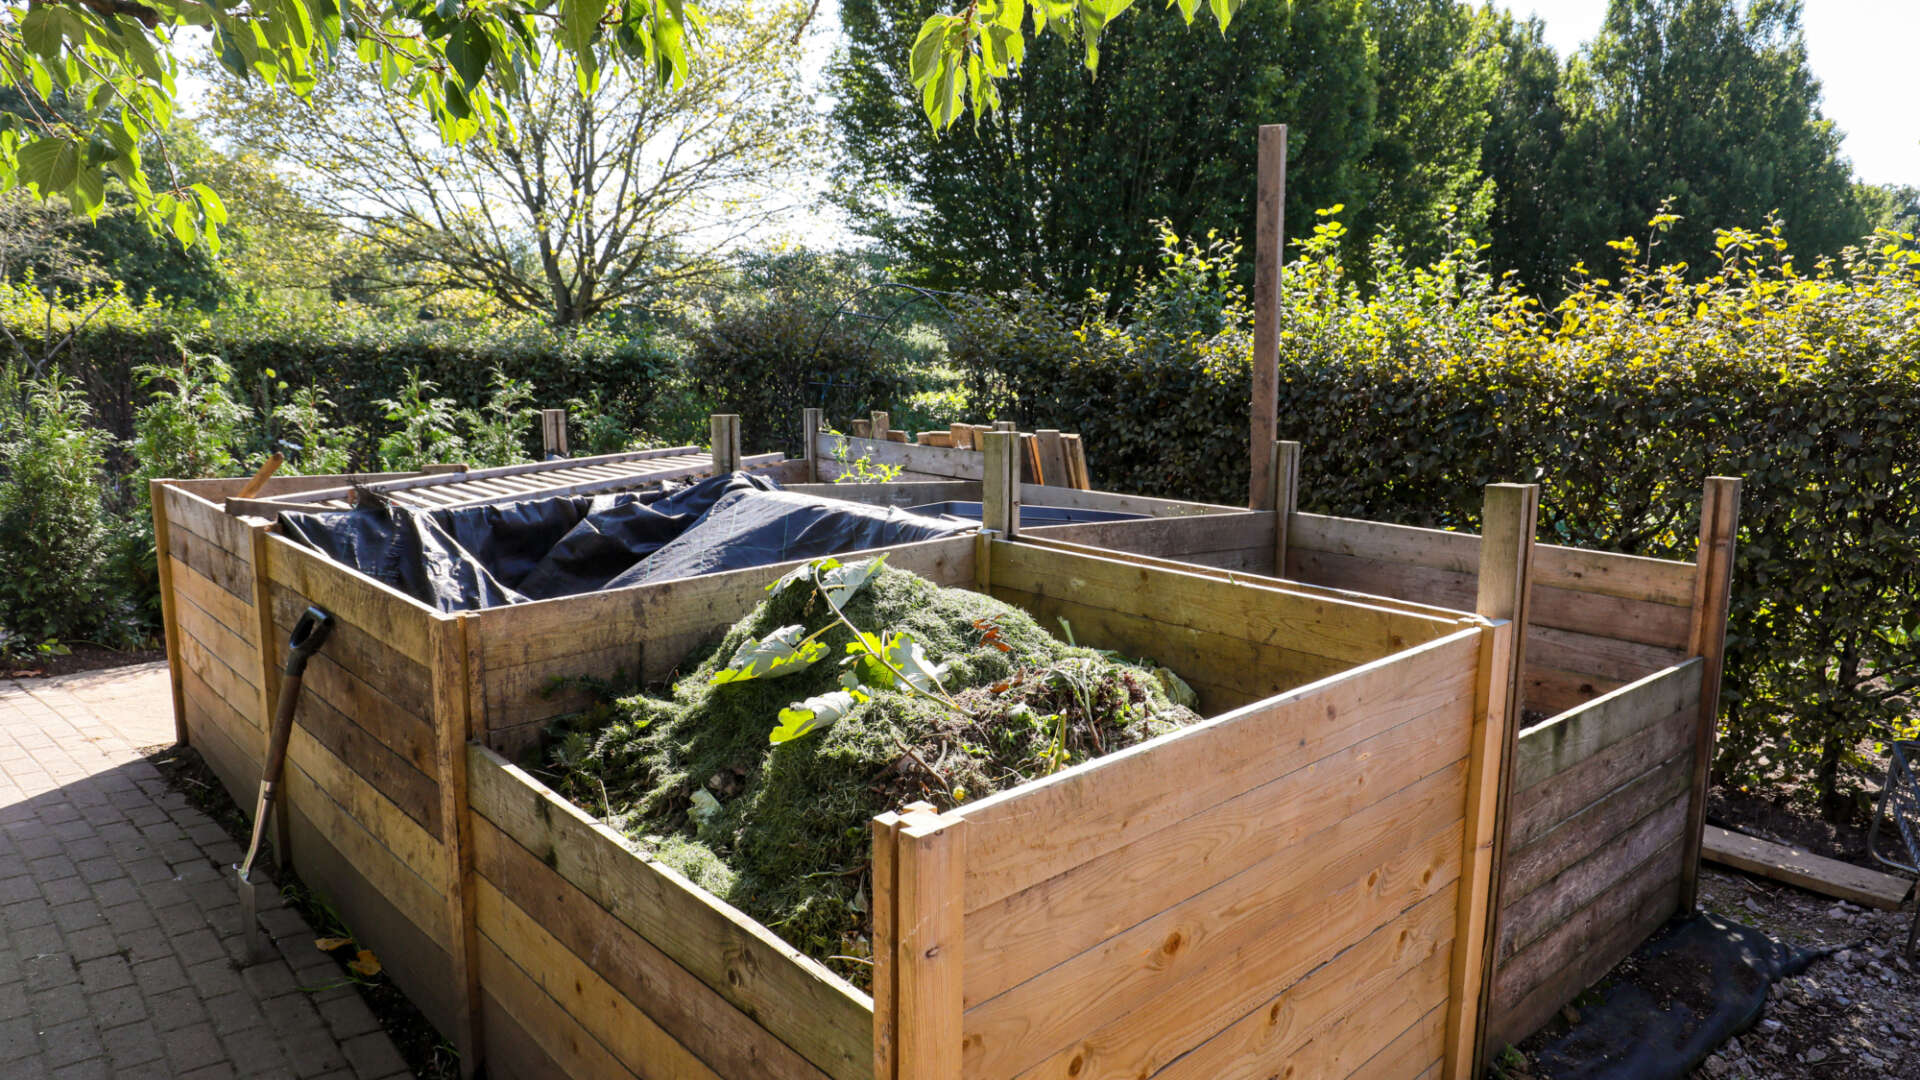
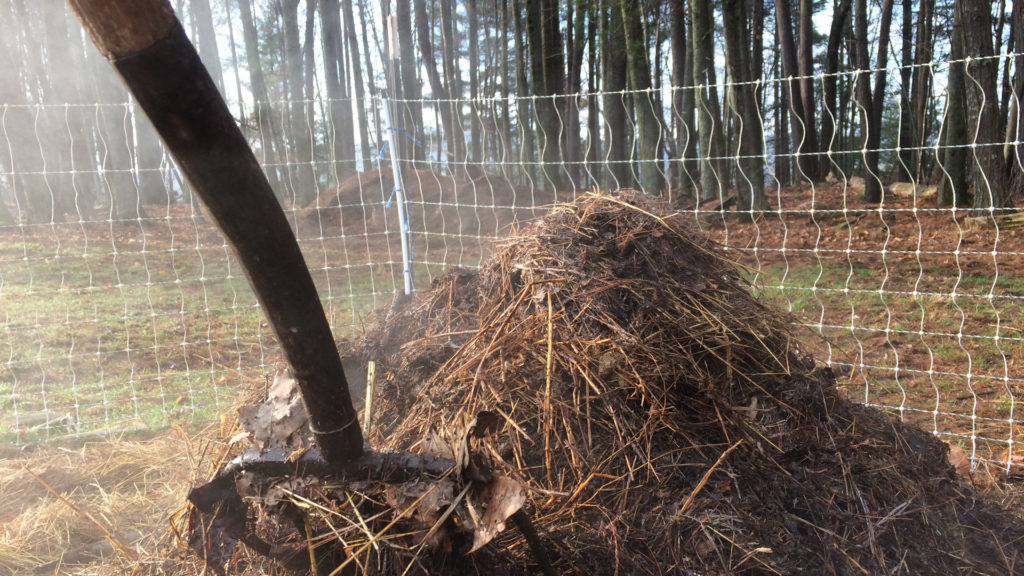
- Traditional Composting: This method involves creating a compost pile or bin in your backyard. You can combine coffee grounds with other compostable materials such as fruit and vegetable scraps, yard waste, and shredded paper. It is important to maintain a balance of carbon-rich “brown” materials (like dry leaves or straw) and nitrogen-rich “green” materials (such as coffee grounds) to ensure proper decomposition. Regular turning or mixing of the pile helps aerate it and speeds up the decomposition process.
- Hot Composting: This method involves creating a compost pile that reaches high temperatures to accelerate the decomposition process. Coffee grounds, being a source of nitrogen, contribute to heating up the pile. To achieve hot composting, you need to ensure the right balance of materials, moisture, and proper aeration. Keep in mind that hot composting requires more attention and effort compared to traditional composting.
- Vermicomposting: Vermicomposting involves using worms, such as red wigglers, to break down organic waste. Coffee grounds can be added to a worm bin along with other compostable materials. The worms consume the coffee grounds and other organic matter, producing nutrient-rich worm castings. Vermicomposting is a great option for those with limited outdoor space or for apartment dwellers.
- Backyard Trench Composting: Trench composting involves digging a trench in your garden and burying the coffee grounds and other organic waste directly into the soil. As the coffee grounds decompose, they release nutrients into the surrounding soil, nourishing plants. This method is useful for enriching specific areas of your garden, such as flower beds or vegetable patches.
- Bokashi Composting: Bokashi composting utilizes a fermentation process to break down organic waste, including coffee grounds. Special bokashi bins or buckets are used to ferment the waste with the help of beneficial microorganisms. After fermentation, the waste can be added to a traditional compost pile or buried in the soil. Bokashi composting is a great option for those interested in composting indoors or for those with limited outdoor space.
Consider factors such as available space, time commitment, and the desired speed of decomposition when selecting a composting method. Remember, each method has its own requirements, so be sure to research and understand the specific guidelines for each approach. Now that you have selected a composting method, let’s move on to preparing your coffee grounds for composting.
Preparing Your Coffee Grounds for Composting
Before adding coffee grounds to your compost, it’s essential to prepare them properly for optimal decomposition and nutrient release. Here are some steps to follow when preparing your coffee grounds for composting:
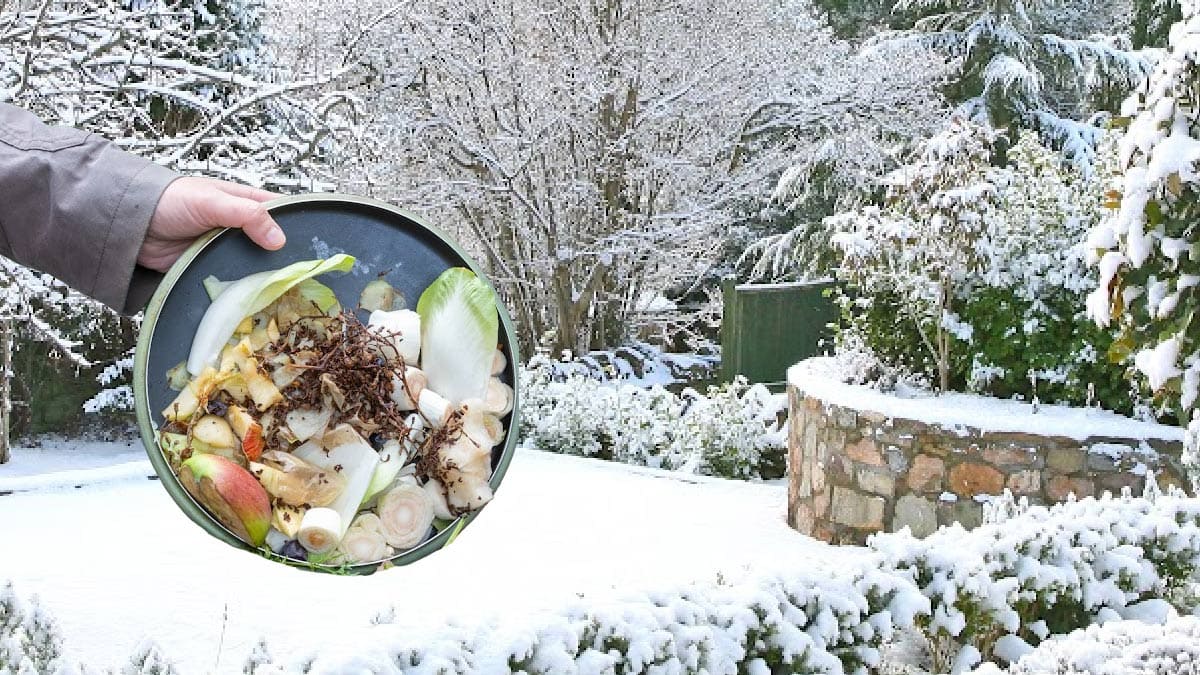
- Collect and store: Start by collecting your used coffee grounds. If you brew your coffee at home, simply save the grounds instead of throwing them away. If you don’t have a coffee maker, you can ask for used grounds from local cafes or coffee shops. Store the coffee grounds in a designated container, such as a plastic bag or an airtight compost bin, until you’re ready to compost.
- Avoid mold and odors: Coffee grounds tend to get moldy if left out for too long. To prevent this, spread the coffee grounds out in a thin layer and allow them to dry before adding them to your compost. Drying them in the sun or using a dehydrator can help eliminate excess moisture. Avoid storing wet coffee grounds for an extended period as they can develop unpleasant odors.
- Compost in moderation: While coffee grounds are beneficial for composting, it’s important not to add them in excessive amounts. Aim to incorporate coffee grounds along with other compostable materials to maintain a balanced carbon-to-nitrogen ratio in your compost pile. As a general guideline, coffee grounds should make up no more than 20% of your compost pile’s total volume.
- Mix with other materials: To enhance the composting process, mix the coffee grounds with other compostable materials. This could include vegetable scraps, yard waste (like grass clippings or leaves), shredded paper, or other organic matter. Adding a variety of materials helps create a diverse microorganism population, leading to a more nutrient-rich compost.
- Layer or mix: When adding coffee grounds to your compost pile, consider layering them with other compostable materials. This helps ensure proper distribution of nitrogen throughout the pile. Alternatively, you can mix the coffee grounds with other compostable materials in a separate container before transferring them to the compost pile. This method helps distribute the coffee grounds more evenly and aids in the decomposition process.
- Monitor moisture levels: Coffee grounds have a high moisture content, so be mindful of the moisture levels in your compost pile. Too much moisture can lead to a soggy pile and hinder decomposition. If your compost appears too wet, add dry carbon-rich materials like dry leaves or shredded paper to balance the moisture content. Regularly checking and adjusting the moisture levels will help maintain a healthy composting environment.
Following these steps will ensure that your coffee grounds are properly prepared for composting. By incorporating them into your compost pile or bin, you’ll be one step closer to turning organic waste into nutrient-rich soil amendment. In the next sections, we will explore how to compost coffee grounds with yard waste and how to use them in vermicomposting.
Composting Coffee Grounds with Yard Waste
Composting coffee grounds with yard waste is an excellent way to create a balanced and nutrient-rich compost for your garden. By combining these two ingredients, you harness the power of nitrogen from the coffee grounds and the carbon-rich materials from the yard waste. Here’s how you can compost coffee grounds with yard waste:
- Collect yard waste: Start by gathering yard waste such as leaves, grass clippings, twigs, or small branches. Remember to avoid using yard waste treated with chemicals or pesticide residues, as these can affect the quality of your compost.
- Shred the yard waste: To expedite the decomposition process, shred or chop the yard waste into smaller pieces. This increases the surface area and allows for faster breakdown. You can use a lawnmower, a shredder, or simply cut the materials into smaller segments with pruners or shears.
- Mix with coffee grounds: In a compost pile or bin, alternate layers of coffee grounds and shredded yard waste. Aim for a ratio of approximately 3 parts yard waste to 1 part coffee grounds. This helps create a well-balanced compost, ensuring the proper carbon-to-nitrogen ratio for efficient decomposition.
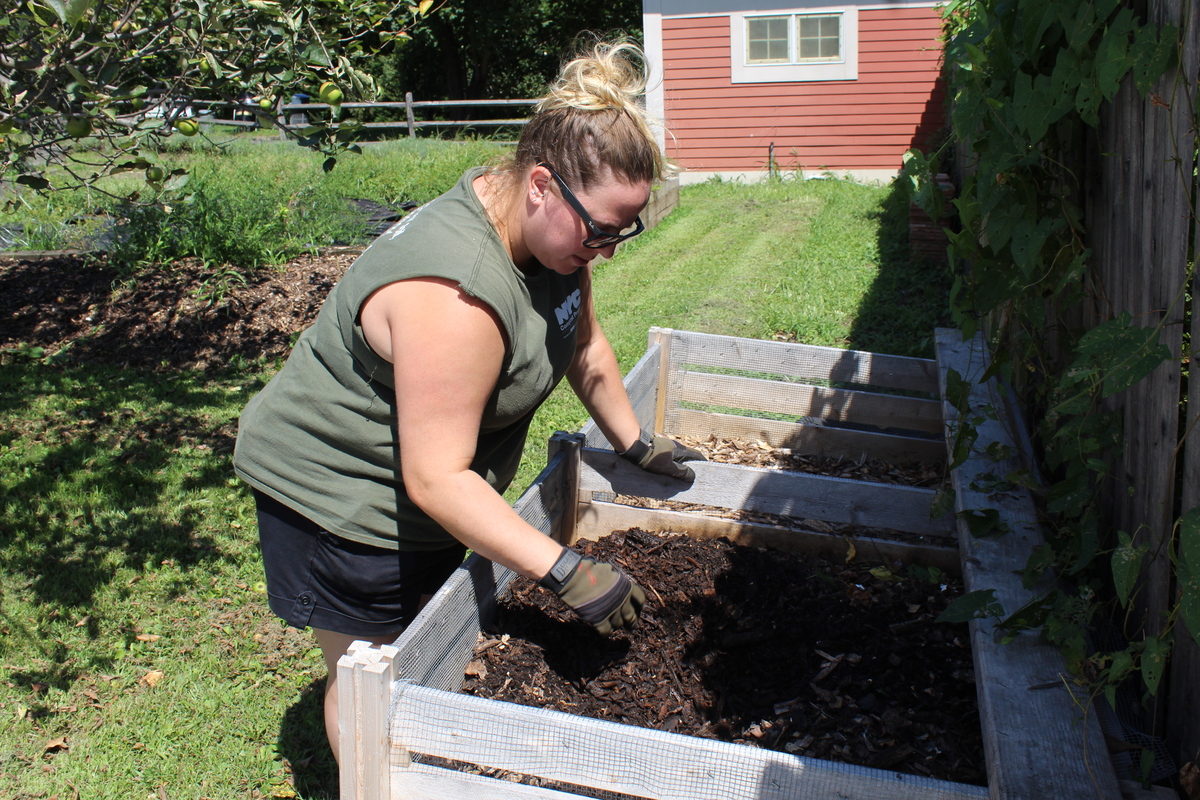
- Turn or mix: Regularly turning or mixing the compost pile is crucial to maintain proper aeration and promote even decomposition. This allows the microorganisms present in the pile to break down the organic matter effectively. Use a garden fork or a compost turning tool to mix the materials thoroughly, ensuring that the coffee grounds and yard waste are evenly distributed throughout the pile.
- Monitor moisture and adjust: Like any composting process, it’s important to maintain the ideal moisture level in the pile. The compost should be damp, similar to a damp sponge. If the pile becomes too dry, add water to moisten it. If it becomes too wet, incorporate dry materials like shredded paper or dry leaves to absorb the excess moisture. Regularly monitor and adjust the moisture levels as needed to facilitate decomposition.
- Patience and consistency: Composting coffee grounds with yard waste is a gradual process that requires patience. It can take several months for the compost to fully decompose and become ready for use in your garden. To speed up the process, ensure consistent efforts by regularly adding coffee grounds and yard waste to the pile and maintaining the necessary conditions for decomposition.
By combining coffee grounds with yard waste, you harness the benefits of both materials and create a nutrient-rich compost that will nourish your plants and soil. This method not only helps reduce waste but also promotes sustainability in your gardening practices. However, it’s important to note that if you don’t have access to yard waste, you can still compost coffee grounds effectively using other methods such as vermicomposting or trench composting. In the next section, we will explore the process of vermicomposting coffee grounds.
Using Coffee Grounds in Vermicomposting
Vermicomposting, or composting with worms, is a fantastic way to transform your food scraps and organic waste into nutrient-rich vermicompost. Coffee grounds can be a valuable addition to your vermicomposting system, providing essential nutrients to the worms and helping create a thriving environment for decomposition. Here’s how you can use coffee grounds in vermicomposting:
- Set up a worm bin: Start by setting up a suitable container for your worms. You can use a commercially available worm bin or even create your own using a plastic storage container. Ensure the bin has adequate drainage holes to prevent waterlogging.
- Add bedding material: Fill the worm bin with bedding material such as shredded newspaper, cardboard, or coconut coir. The bedding provides a comfortable environment for the worms and helps retain moisture in the bin.
- Introduce worms: Add red wigglers or another species of composting worms to the bin. These worms are highly efficient at breaking down organic waste. Start with a small number of worms, and as the population grows, you can gradually add more coffee grounds and organic waste.
- Add coffee grounds: As you collect coffee grounds, sprinkle them over the top of the bedding material in the worm bin. Avoid adding large quantities of coffee grounds at once. Moderation is key to maintain a balanced environment for the worms. Coffee grounds act as a nitrogen-rich food source for the worms, helping them thrive and produce nutrient-rich vermicompost.
- Layer with other organic waste: Along with coffee grounds, add small amounts of other organic waste to the worm bin. This can include fruit and vegetable scraps, crushed eggshells, and small amounts of yard waste (avoid using materials treated with chemicals).
- Moisture control: Worms require a moist environment to thrive. Ensure that the bedding material and coffee grounds remain consistently moist, but not soaking wet. If the bin becomes too dry, add a little water. If it becomes too wet, incorporate dry bedding material to absorb the excess moisture.
- Avoid overfeeding: It’s important not to overfeed your worms. Worms can only consume a certain amount of organic waste each day. Excessive feeding can lead to food rotting in the bin, causing unpleasant odors. Start by adding small amounts of coffee grounds and other organic waste, and gradually increase as the worms adjust and consume the waste.
- Harvesting vermicompost: Over time, the worms will convert the coffee grounds and other organic waste into nutrient-rich vermicompost. When the majority of the material has been transformed into dark, crumbly compost, it’s time to harvest. Move the finished compost to one side of the bin and add fresh bedding and food to the other side. The worms will migrate to the new side, allowing you to easily collect the vermicompost.
Using coffee grounds in vermicomposting not only helps recycle waste but also enriches your soil with nutrient-dense vermicompost. The worms play a vital role in breaking down the coffee grounds and converting them into valuable fertilizer for your plants. Just remember to maintain the proper moisture levels, avoid overfeeding, and provide a suitable environment for your worms. Now that you’ve learned about vermicomposting with coffee grounds, let’s explore some common mistakes to avoid when composting coffee grounds.
Avoiding Common Mistakes when Composting Coffee Grounds
Composting coffee grounds can be a rewarding and beneficial practice, but to ensure successful composting, it’s important to avoid common mistakes that can hinder the process. Here are some mistakes to avoid when composting coffee grounds:
- Adding too many coffee grounds: While coffee grounds are nitrogen-rich and beneficial for composting, adding excessive amounts can create imbalances in the compost pile. Aim to include coffee grounds as part of a well-balanced mixture of organic waste, maintaining a ratio of approximately 20% coffee grounds to 80% other materials.
- Forgetting to mix the compost pile: Proper aeration is crucial for composting. Failing to mix or turn the compost pile regularly can lead to compaction and hinder decomposition. Make sure to regularly mix the compost pile with a garden fork or compost turning tool to ensure all materials are evenly distributed and oxygen is available to the microorganisms responsible for decomposition.
- Using coffee grounds as the sole nitrogen source: Although coffee grounds are a great source of nitrogen, it’s important to incorporate other nitrogen-rich materials with them. Depending solely on coffee grounds as the nitrogen source may result in an imbalanced compost pile, leading to slow decomposition or foul odors. Combine coffee grounds with other “green” materials like vegetable scraps, grass clippings, or manure to maintain a proper carbon-to-nitrogen ratio.
- Adding coffee grounds that contain additives: Some coffee grounds may contain additives or flavorings that are not suitable for composting. It’s best to use coffee grounds from regular brewed coffee rather than those from flavored or processed coffees. Avoid grounds that have been treated with additives or contain non-compostable components, as they can disrupt the decomposition process or introduce harmful substances into your compost.
- Not monitoring moisture levels: Proper moisture is vital for successful composting. Coffee grounds are inherently moist, so it’s important to monitor the moisture levels in the compost pile. Too much moisture can lead to a soggy pile and anaerobic conditions, while insufficient moisture can slow down decomposition. Regularly check the moisture content and adjust it as necessary by adding water or dry materials to maintain a damp, but not overly wet, compost pile.
- Adding diseased or insect-infested coffee grounds: It’s crucial to avoid introducing diseased plant material or coffee grounds infested with pests into your compost pile. These can potentially spread diseases or pests to your plants. Inspect the coffee grounds before adding them to your compost pile, and discard any that show signs of disease or pests, ensuring you maintain a healthy and pest-free composting environment.
Avoiding these common mistakes when composting coffee grounds will help ensure that your composting process runs smoothly and efficiently. By incorporating coffee grounds in a well-balanced compost pile, you’ll create nutrient-rich compost that can benefit your garden and contribute to sustainable waste management. In the next section, we will address common issues that may arise during the composting process and provide troubleshooting tips to overcome them.
Troubleshooting Compost Issues with Coffee Grounds
Composting with coffee grounds is generally a straightforward process, but occasionally, you may encounter some issues. Thankfully, most problems can be easily resolved with a few adjustments. Here are some common compost issues related to coffee grounds and troubleshooting tips to overcome them:
- Foul odor: If your compost pile emits a foul smell, it may be an indication of anaerobic conditions or excessive moisture. To resolve this issue, mix the compost pile thoroughly to introduce more air and improve oxygen circulation. Additionally, add dry carbon-rich materials like dry leaves, shredded paper, or straw to absorb excess moisture and restore a balanced moisture level.
- Slow decomposition: If your compost pile is taking longer than usual to decompose, it may be due to an imbalanced carbon-to-nitrogen ratio. Coffee grounds provide nitrogen, so if the pile lacks sufficient carbon-rich materials, such as dry leaves or shredded wood chips, decomposition can slow down. Add more carbon-rich materials to achieve a balanced ratio and promote faster decomposition.
- Pest infestation: Occasionally, insects or pests may find their way into your compost pile. While some insects are beneficial to the decomposition process, others can cause problems. To address pest infestations, avoid adding pest-infested coffee grounds or other organic waste to your compost pile. Regularly turn or mix the compost to disrupt pest breeding cycles. If the infestation persists, consider covering the compost pile with a layer of plastic or utilizing a secure compost bin to deter pests.
- Excessive moisture: Coffee grounds have a high moisture content, which can contribute to a wet compost pile. Excess moisture can lead to improper decomposition and an unpleasant smell. To combat excessive moisture, add dry, carbon-rich materials to absorb the excess moisture and improve aeration. Regularly monitor the moisture levels in the compost pile and adjust as necessary to maintain a damp, but not overly saturated, environment.
- Unpleasant smell: If your compost pile emits an unpleasant odor, it may indicate improper decomposition or the presence of rotting materials. Ensure you have a good balance of nitrogen-rich coffee grounds and carbon-rich materials in your compost pile. Mix the pile regularly to improve airflow and prevent anaerobic conditions. Avoid adding heavily oily or fatty coffee grounds, as they can contribute to the unpleasant smell.
- Insufficient coffee grounds: If you find that your compost pile lacks coffee grounds, you can easily rectify this by collecting more coffee grounds. Reach out to local coffee shops or cafes to inquire about their coffee grounds recycling programs. Remember to add coffee grounds in moderation, maintaining a balanced compost pile with a diverse range of organic materials.
By troubleshooting these common compost issues, you can overcome challenges and continue to create nutrient-rich compost using coffee grounds. Remember, composting is a dynamic process, and adjustments may need to be made along the way. With patience and a little troubleshooting, you’ll be able to produce high-quality compost enriched with coffee grounds. In the next section, we will explore the final step of the composting process: harvesting and using compost with coffee grounds.
Harvesting and Using Compost with Coffee Grounds
After months of composting with coffee grounds, the time will come to harvest and utilize the nutrient-rich compost you’ve created. Harvesting compost involves separating the finished compost from any remaining organic matter in the pile. Here’s how you can harvest and make the most of your compost enriched with coffee grounds:
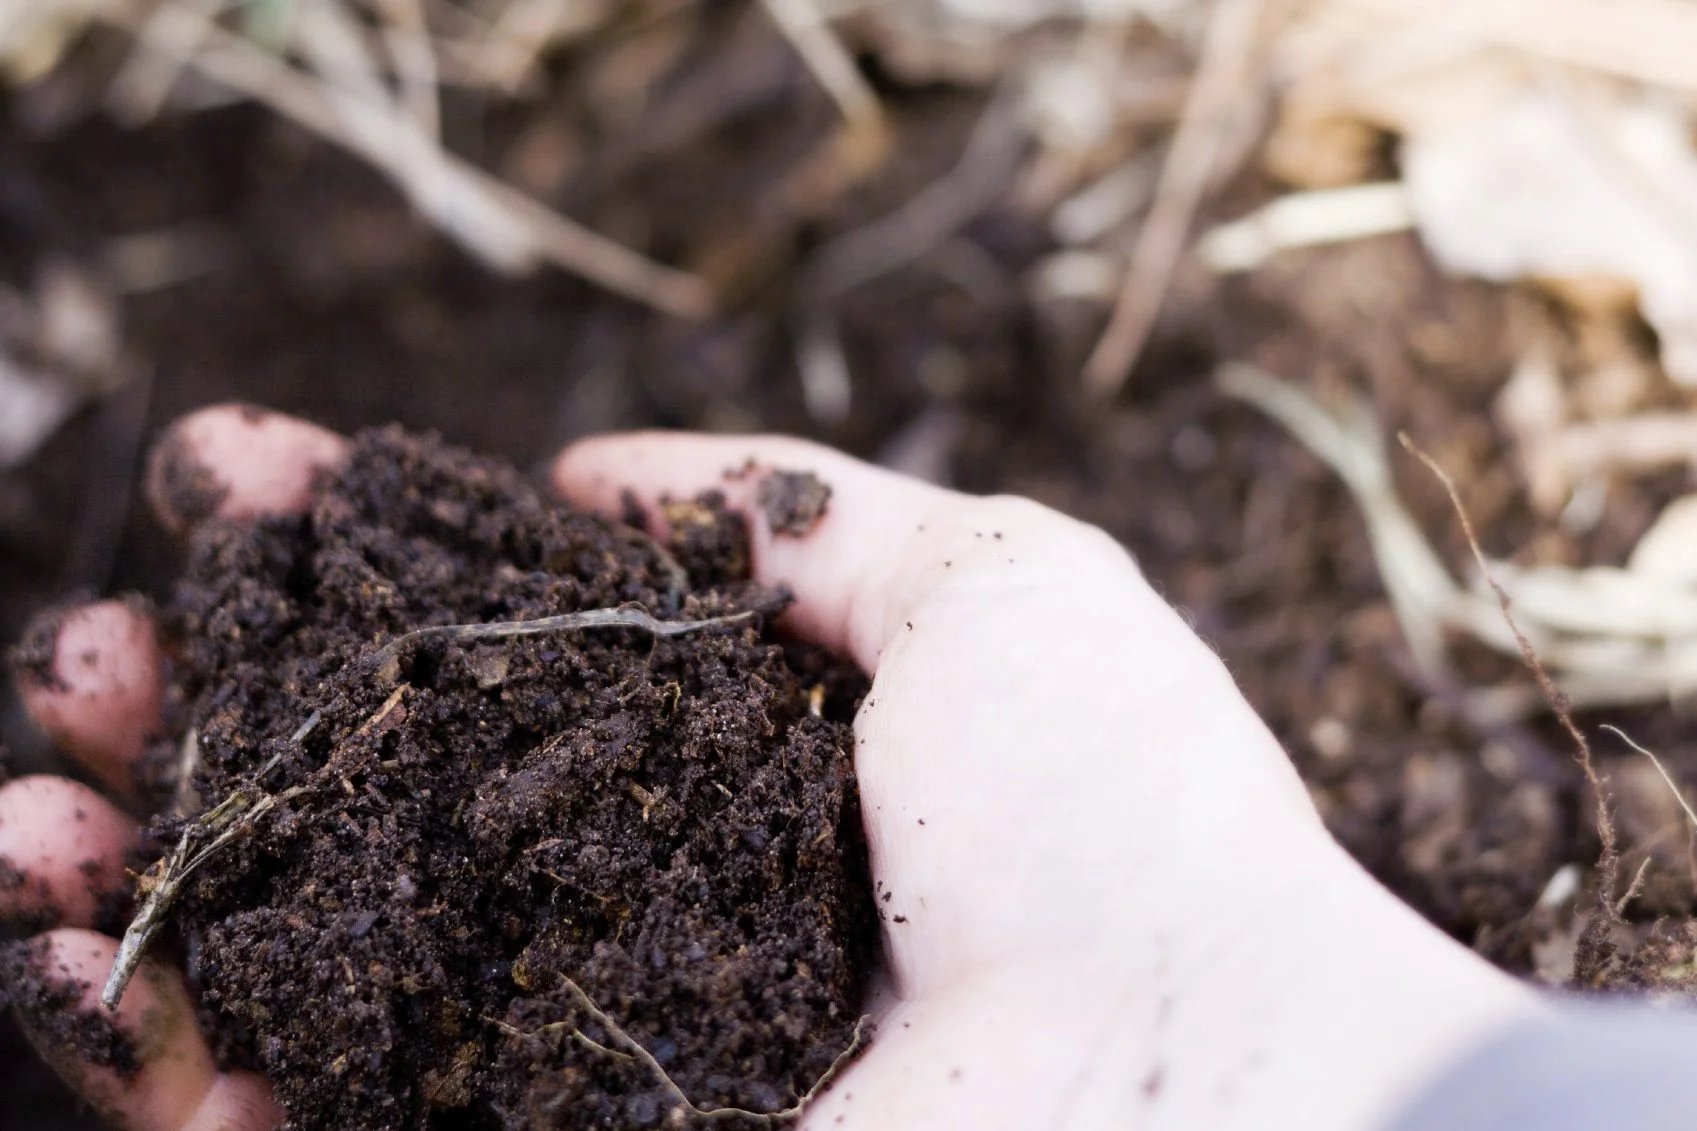
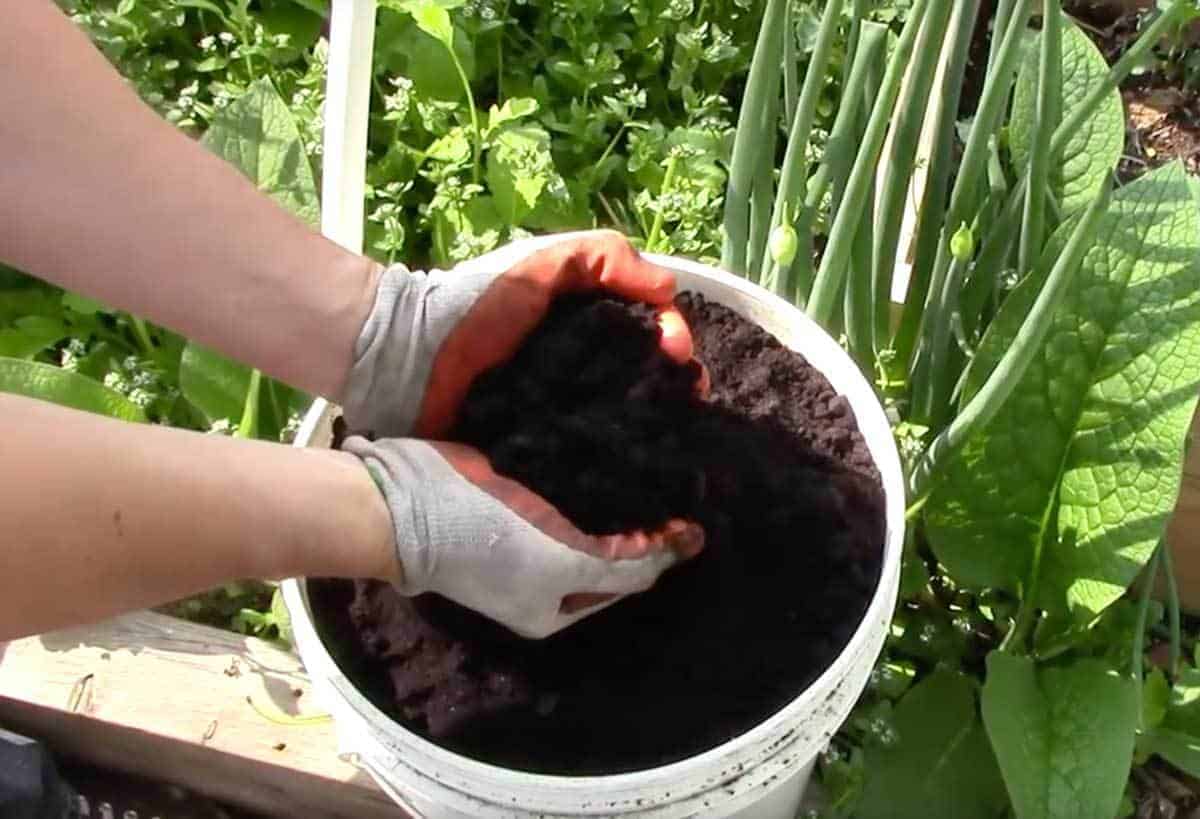
- Identify readiness: When the majority of the compost pile appears dark, crumbly, and earthy, it’s a sign that the decomposition process is nearing completion. The compost should have a pleasant, earthy smell, indicating that it is well-aged and ready for use.
- Separate the compost: To harvest the compost, move it to one side of the pile or bin, creating a space for fresh material. Scoop or shovel the finished compost into a separate container or tarp, leaving any remaining organic matter or partially decomposed material behind.
- Sifting (optional): If you prefer a fine-textured compost, you can sift the harvested compost through a mesh screen or fine garden sieve to remove any larger particles that have not fully broken down. This step is optional and depends on your preference and how you plan to use the compost.
- Using the compost: Once you have harvested your compost, it’s time to put it to use in your garden. Spread a layer of compost over your garden beds or mix it into potting soil for container gardening. The nutrient-rich compost enriched with coffee grounds will improve soil fertility, enhance plant growth, and increase moisture retention.
- Top-dressing and mulching: You can also use the compost as a top-dressing around established plants. Apply a thin layer of compost on the soil surface, taking care to keep it away from the plant stems. This acts as a natural mulch, helping to suppress weeds, improve soil structure, and retain moisture.
- Compost tea: Another way to utilize your compost is by making compost tea. Simply place a handful of compost in a permeable bag or mesh, and steep it in a bucket of water for a few days. Use the resulting liquid as a nutrient-rich fertilizer to water your plants and promote their overall health and productivity.
- Continuing the composting process: After harvesting, you can return any remaining organic matter or partially decomposed material from the pile back into the compost bin. Add fresh coffee grounds and additional organic waste to restart the composting process. By continuously composting and incorporating coffee grounds, you can maintain a sustainable cycle of nutrient recycling.
By harvesting and effectively using your compost enriched with coffee grounds, you complete the cycle of sustainability, turning organic waste into a valuable resource for your garden. The nutrient-rich compost will improve soil health, promote plant growth, and reduce the need for chemical fertilizers. Embrace the benefits of your compost and enjoy the fruits of your composting efforts.
Conclusion
Composting coffee grounds is a simple and effective way to reduce waste, enhance soil fertility, and promote sustainable gardening practices. By incorporating coffee grounds into your composting process, you harness their nitrogen-rich properties and create nutrient-dense compost that will benefit your plants and the environment. Throughout this article, we explored the benefits of composting coffee grounds, various composting methods to choose from, and how to prepare and incorporate coffee grounds into your compost pile.
We discussed the importance of maintaining a balanced carbon-to-nitrogen ratio, regularly turning or mixing the compost pile, and monitoring moisture levels to ensure optimal decomposition. Additionally, we provided troubleshooting tips for common compost issues, such as foul odors or slow decomposition, to help you overcome any challenges you may encounter along the way.
Once the composting process is complete, we explored the exciting step of harvesting the finished compost enriched with coffee grounds. From top-dressing your garden beds and using compost as a natural mulch to brewing compost tea, there are various ways to utilize the nutrient-rich compost and maximize its benefits in your garden.
Composting with coffee grounds not only provides an eco-friendly solution for reducing waste but also promotes sustainable gardening practices. It’s a rewarding journey that allows you to transform everyday coffee grounds into a valuable resource to nourish your plants, improve soil health, and contribute to a more sustainable future.
So, whether you’re a seasoned gardener or just starting out, don’t overlook the importance of composting coffee grounds. Embrace the opportunity to recycle organic waste, create nutrient-rich compost, and foster a greener and more sustainable garden. Start composting with coffee grounds, and experience the immense benefits it can bring to your DIY projects and your commitment to the environment.