Home>Garden Design>How To Secure A Greenhouse To The Ground
Garden Design
How To Secure A Greenhouse To The Ground
Modified: February 6, 2024
Learn how to properly secure your greenhouse to the ground with expert landscape design tips and techniques. Ensure your greenhouse remains stable and protected.
(Many of the links in this article redirect to a specific reviewed product. Your purchase of these products through affiliate links helps to generate commission for Chicagolandgardening.com, at no extra cost. Learn more)
Table of Contents
- Introduction
- Benefits of Securing a Greenhouse to the Ground
- Tools and Materials Needed
- Step 1: Choosing the Right Location
- Step 2: Preparing the Ground
- Step 3: Anchoring Methods
- 1. Concrete Footings
- 2. Ground Stakes or Earth Anchors
- 3. Auger Anchors
- 4. Tension Tie-Downs
- 5. Greenhouse Base Plates
- Step 4: Securing the Greenhouse
- 1. Attaching Anchors to the Greenhouse Frame
- 2. Securing Anchors to the Ground
- Step 5: Regular Maintenance and Inspection
- Conclusion
Introduction
A greenhouse can be a valuable addition to any landscape design, providing a controlled environment for growing plants and extending the growing season. However, it is important to secure the greenhouse to the ground to protect it from strong winds, heavy rain, and potential damage caused by external forces. Securing the greenhouse not only ensures the safety of the structure but also safeguards your investment in plants and equipment.
When it comes to greenhouse security, there are various anchoring methods available. Whether you are a seasoned gardener or just starting out, it is essential to understand the benefits of securing a greenhouse and how to go about it. This article will guide you through the process, providing you with the necessary knowledge and tools to secure your greenhouse effectively.
Securing a greenhouse offers several advantages. First and foremost, it provides stability to the structure, making it less prone to damage during inclement weather conditions. By anchoring the greenhouse to the ground, you can prevent it from being lifted or blown away by strong winds, which can be a common occurrence in certain geographic areas.
In addition to providing stability, securing a greenhouse can also protect the plants within it. Greenhouses are designed to create an optimal environment for plant growth, with controlled temperature, humidity, and exposure to sunlight. By securing the structure, you can ensure that the environmental conditions inside the greenhouse remain consistent, promoting healthy plant growth and minimizing the risk of damage.
Furthermore, securing a greenhouse also helps to maintain the integrity of the structure and extend its lifespan. A greenhouse that is not properly anchored can shift and settle over time, compromising its structural integrity. By securing it to the ground, you can prevent such movements, ensuring that the greenhouse remains sturdy and durable for years to come.
Before delving into the different anchoring methods, it is important to gather the necessary tools and materials. The specific requirements may vary depending on the type and size of your greenhouse, but generally, you will need items such as concrete, ground stakes or earth anchors, tension tie-downs, auger anchors, and greenhouse base plates. Having these materials on hand will enable you to complete the installation process smoothly and efficiently.
Now that we understand the benefits and have the necessary tools, let’s explore the step-by-step process of securing a greenhouse to the ground.
Benefits of Securing a Greenhouse to the Ground
Securing a greenhouse to the ground offers numerous benefits that go beyond just ensuring its stability. Let’s explore some of the key advantages:
- Protection from Strong Winds: One of the main benefits of securing a greenhouse is the protection it provides against strong winds. By anchoring the structure, you reduce the risk of it being lifted or blown away during storms or high winds. This safeguards both the greenhouse and the plants inside from potential damage.
- Stability and Structural Integrity: Properly securing a greenhouse to the ground enhances its stability and structural integrity. It prevents the structure from shifting, settling, or tilting, which can lead to damage over time. A securely anchored greenhouse will remain sturdy and durable, withstanding various weather conditions and ensuring its longevity.
- Minimized Risk of Damage: Greenhouses are designed to create a controlled environment for plants, providing the optimal conditions for growth. When a greenhouse is not securely anchored, it becomes vulnerable to external forces such as heavy rain, hail, or even falling branches. By securing the structure, you minimize the risk of damage caused by these elements, safeguarding your investment in plants and equipment.
- Promotes Consistent Growing Conditions: A stable and securely anchored greenhouse helps maintain consistent growing conditions inside. By preventing movements or shifts, the interior environment remains consistent, which is crucial for proper plant growth. This consistency in temperature, humidity, and exposure to sunlight promotes healthier and more vigorous plant growth, ultimately resulting in higher yields.
- Ensures Safety: Securing a greenhouse to the ground also ensures the safety of individuals who may be working or spending time inside. When properly anchored, the greenhouse becomes a secure and reliable structure, minimizing the risk of accidents or injury due to structural instability or collapse.
Overall, securing a greenhouse to the ground not only provides stability and protection from external forces but also creates an optimal environment for plant growth. It extends the lifespan of the structure, safeguards your investment in plants, and ensures safety for both the greenhouse and those working inside it. With these enticing benefits in mind, let’s move on to the next section to explore the tools and materials needed for securing a greenhouse.
Tools and Materials Needed
Before you can secure your greenhouse to the ground, it is important to gather the necessary tools and materials. The specific requirements may vary depending on the type and size of your greenhouse, but here are some general items you will likely need:
- Concrete: Concrete is commonly used for creating sturdy footings to anchor the greenhouse. You will need a sufficient amount of concrete based on the size and weight of your greenhouse.
- Ground Stakes or Earth Anchors: Ground stakes or earth anchors are effective for securing greenhouses that have lightweight frames. They are driven into the ground and provide stability by anchoring the frame securely.
- Tension Tie-Downs: Tension tie-downs are used to anchor the greenhouse frame to the ground. They consist of straps or cables that are attached to the frame and secured to ground anchors, providing stability and preventing movement.
- Auger Anchors: Auger anchors are screw-in anchors that are inserted into the ground and used to secure the greenhouse frame. They are suitable for various soil conditions and offer a strong hold.
- Greenhouse Base Plates: Greenhouse base plates are metal plates that are attached to the bottom of the greenhouse frame. They provide a stable foundation for securing the structure to the ground.
- Level: A level is essential to ensure that the greenhouse is installed on a level surface. This will help maintain the structural integrity and stability of the greenhouse.
- Drill or Screwdriver: Depending on the type of anchors used, you may need a drill or screwdriver to secure the anchors to the greenhouse frame or the ground.
- Tape Measure: A tape measure will be useful for taking accurate measurements of the greenhouse and the distance between anchors.
It is important to have all the necessary tools and materials ready before starting the installation process. This will ensure a smooth and efficient process, allowing you to secure your greenhouse effectively and ensure its stability and durability in the long run.
Now that we have the tools and materials prepared, let’s move on to the next step – choosing the right location for your greenhouse.
Step 1: Choosing the Right Location
Choosing the right location for your greenhouse is a crucial step in securing it to the ground. The location should be carefully selected to ensure optimal growing conditions and easy access. Here are some factors to consider when choosing the location:
- Sunlight Exposure: Select a location that receives ample sunlight throughout the day. Most plants require at least 6 hours of direct sunlight for proper growth, so avoid areas with excessive shade or obstructions that may block sunlight.
- Wind Protection: Look for a location that provides some natural wind protection. Avoid placing the greenhouse in open, exposed areas that are prone to strong winds. By selecting a location with natural windbreaks, such as trees, fences, or buildings, you can help reduce the impact of strong gusts on the greenhouse.
- Drainage: Ensure that the chosen location has good drainage to prevent water from accumulating around the greenhouse. Poor drainage can lead to waterlogged soil, which may negatively affect plant health and cause foundation damage over time. Avoid areas prone to flooding or those with poor soil drainage.
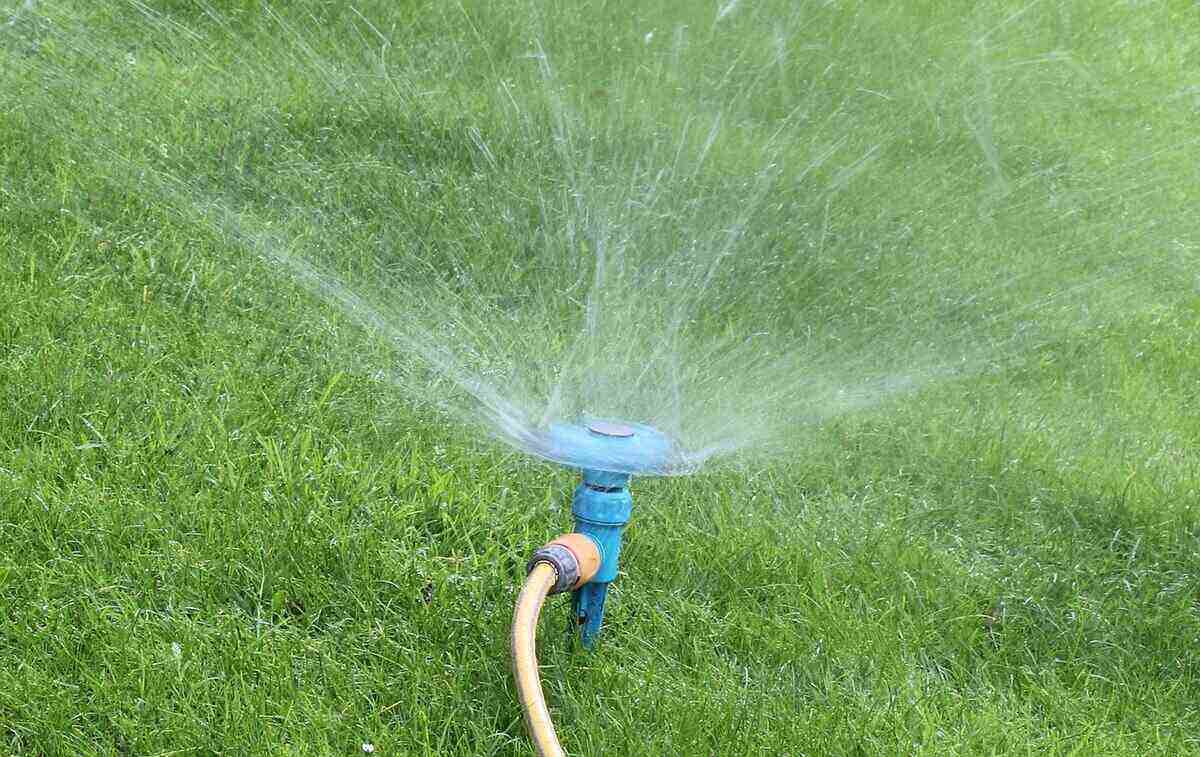
- Proximity to Water and Electricity: Consider the proximity to a water source and electricity, especially if you plan to install irrigation systems or electrical equipment in your greenhouse. Having easy access to water and power will make maintenance and operation more convenient.
- Accessibility: Choose a location that is easily accessible. This makes it easier to transport supplies, equipment, and harvested produce to and from the greenhouse. Ideally, the location should have a clear path for vehicles and be in close proximity to other garden areas you may have.
- Aesthetics: Consider the visual impact of the greenhouse on your overall landscape design. Choose a location that enhances the overall aesthetics of your garden and complements other structures or features.
Take the time to assess different areas of your property and weigh the pros and cons of each location. Consider how the chosen location will affect the greenhouse’s performance, longevity, and overall convenience. Once you have selected the ideal location, it’s time to move on to the next step – preparing the ground.
Step 2: Preparing the Ground
Before securing your greenhouse to the ground, it is important to properly prepare the ground to ensure a stable and level foundation. Follow these steps to prepare the ground:
- Clear the Area: Start by clearing the selected area of any vegetation, rocks, debris, or other obstacles. Remove weeds, grass, and any unwanted plants from the ground to create a clean and even surface.
- Level the Ground: Use a shovel or a rake to level the ground. Remove any bumps or uneven areas to ensure that the greenhouse will sit on a flat surface. This will help with the stability and overall functionality of the structure.
- Compact the Soil: Once the ground is level, use a compactor or simply walk over the area to compact the soil. This will provide a firm and stable base for the greenhouse. It is important to ensure that the soil is sufficiently compacted to prevent sinking or shifting in the future.
- Add a Layer of Gravel: Consider adding a layer of gravel on top of the compacted soil. This can help improve drainage and provide additional stability. Spread a layer of gravel evenly across the prepared area, ensuring a depth of at least a few inches.
- Measure and Mark Anchor Locations: Measure and mark the locations where you will install the ground stakes, earth anchors, or other securing methods. Ensure that the anchor locations are evenly spaced and align with the greenhouse frame’s anchor points.
- Clear Underground Utilities: Before digging or installing anchors, make sure to check for any underground utilities or cables. This step is crucial to prevent any damage to existing infrastructure and ensure safety.
By properly preparing the ground, you create a solid foundation for securing your greenhouse. This helps to prevent shifting, settling, and other stability issues that may arise. It also ensures that the greenhouse will sit level and securely on the ground, enhancing its overall performance and longevity.
Once the ground is prepared, it’s time to move on to the next step – choosing the appropriate anchoring method for your greenhouse.
Step 3: Anchoring Methods
There are several anchoring methods available to secure a greenhouse to the ground. The choice of method depends on factors such as the type of greenhouse, soil conditions, and local weather conditions. Let’s explore some common anchoring methods:
3.1. Concrete Footings
Concrete footings are a popular and reliable anchoring method for heavy-duty greenhouses. This method involves digging holes in the ground and pouring concrete to create a solid foundation. The greenhouse frame is then secured to the concrete footings using anchor bolts. Concrete footings provide excellent stability and are suitable for regions with strong winds or areas prone to extreme weather conditions.
3.2. Ground Stakes or Earth Anchors
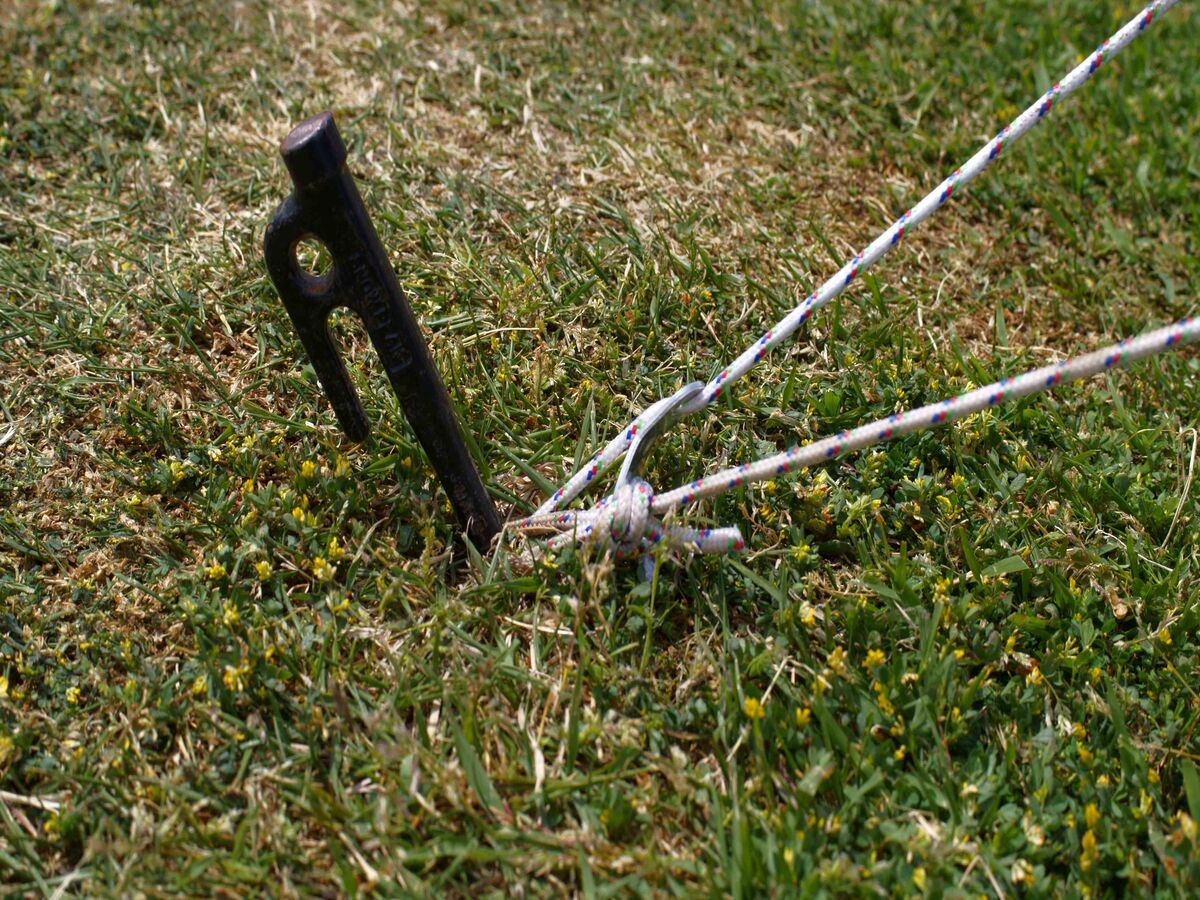
Ground stakes or earth anchors are effective for securing greenhouses with lightweight frames. These metal stakes or anchors are driven into the ground at an angle, providing a secure hold. The greenhouse frame is then attached to the stakes or anchors using tension tie-down straps. Ground stakes or earth anchors offer stability, ease of installation, and are suitable for most soil types.
3.3. Auger Anchors
Auger anchors, also known as screw-in anchors, are twisted into the ground to provide a strong hold. These anchors typically consist of long metal rods with spiraled ends, resembling an auger. Auger anchors are suitable for various soil conditions, including clay and sandy soil. They are versatile, easy to install, and provide excellent stability for the greenhouse frame.
3.4. Tension Tie-Downs
Tension tie-downs involve using straps or cables to secure the greenhouse frame to the ground. These straps are attached to ground anchors and tightened, creating tension that holds the frame in place. Tension tie-downs are effective for lightweight or portable greenhouses and provide stability while allowing for some flexibility in movement.
3.5. Greenhouse Base Plates
Greenhouse base plates are metal plates that are attached to the bottom of the greenhouse frame. These plates have pre-drilled holes for anchor bolts or screws, allowing for easy installation. Base plates provide a stable foundation for securing the greenhouse to the ground and are commonly used in conjunction with concrete footings or ground stakes.
When choosing an anchoring method, consider the specific requirements of your greenhouse and the prevailing conditions in your area. It is also important to follow the manufacturer’s recommendations for your greenhouse model to ensure proper installation and maximum stability. Now that we have explored the anchoring methods, let’s move on to the next step – securing the greenhouse.
1. Concrete Footings
One of the most reliable anchoring methods for securing a greenhouse is using concrete footings. This method is particularly suitable for heavy-duty greenhouses or areas with strong winds. Concrete footings provide a solid foundation and ensure long-term stability for the structure. Here’s a step-by-step guide on how to anchor your greenhouse using concrete footings:
- Digging Holes: Begin by marking the locations where the concrete footings will be placed. Use a shovel or an auger to dig holes that are deeper than the frost line in your area, typically around 3-4 feet. The diameter of the holes should be slightly larger than the size of the footing base.
- Mixing Concrete: Follow the instructions on the concrete mix packaging to prepare the right amount of concrete. Mix it thoroughly with water until you achieve a workable consistency.
- Pouring Concrete: Pour the mixed concrete into the holes, filling them to the top. Use a shovel or a trowel to evenly distribute the concrete and smooth the surface. Ensure that the concrete is level with the ground surface.
- Installing Anchor Bolts: While the concrete is still wet, insert anchor bolts into the concrete at strategic points. The number of anchor bolts needed will depend on the size and weight of your greenhouse. Ensure they are placed in the correct positions to align with the anchor points on the greenhouse frame.
- Allowing Concrete to Cure: Give the concrete sufficient time to cure and harden before proceeding. Follow the manufacturer’s guidelines for the recommended curing time, typically around 24-48 hours. Avoid placing any load on the concrete during this period.
- Attaching Greenhouse Frame: Once the concrete has fully cured, position the greenhouse frame over the anchor bolts. Secure the frame to the bolts using washers and nuts, ensuring a tight fit. Make sure the frame is level and plumb, using a level and a straightedge if necessary.
Concrete footings provide exceptional stability and longevity for your greenhouse. They anchor the structure firmly to the ground, protecting it from strong winds and other external forces. When properly installed, concrete footings ensure that your greenhouse will remain securely in place, providing a safe and reliable environment for your plants.
Now that you have a clear understanding of how to anchor your greenhouse using concrete footings, it’s time to move on to the next step – securing the greenhouse using the chosen anchoring method.
2. Ground Stakes or Earth Anchors
Ground stakes or earth anchors are a popular and effective anchoring method for securing greenhouses with lightweight frames. They are easy to install and provide stability to the structure. Here’s a step-by-step guide on how to anchor your greenhouse using ground stakes or earth anchors:
- Locating Anchor Points: Start by identifying the anchor points on the greenhouse frame. These are usually located at the base of the frame, near the corners and along the sides. Mark these points to ensure accurate placement of the ground stakes or earth anchors.
- Preparing the Ground: Use a shovel or a stake to dig a hole for each anchor point. The depth of the hole will depend on the length of the ground stakes or earth anchors. Make sure the holes are deep enough to provide a secure hold.
- Inserting Ground Stakes or Earth Anchors: Insert the ground stakes or earth anchors into the holes, ensuring they are at the correct depth. The stakes or anchors should be driven into the ground at an angle, leaning away from the greenhouse. This angle provides greater stability against the downward and outward forces acting on the structure.
- Attaching Tension Tie-Down Straps: Securely attach tension tie-down straps to the greenhouse frame at the predetermined anchor points. These straps will connect the frame to the ground stakes or earth anchors, providing stability. Make sure the straps are tightened appropriately to hold the greenhouse firmly in place.
- Tightening and Adjusting: Check the tension of the tie-down straps and make any necessary adjustments. They should be taut enough to keep the greenhouse secure but not so tight as to cause unnecessary strain on the frame. Regularly monitor the tension to ensure the stability of the structure.
Ground stakes or earth anchors are a versatile and cost-effective option for securing a greenhouse. They work well in various soil types and offer ease of installation. By properly anchoring the greenhouse frame to the ground using these stakes or anchors, you can prevent any potential movement or damage caused by wind or other external forces.
Now that you understand how to secure your greenhouse using ground stakes or earth anchors, it’s time to move on to the next step – exploring the use of auger anchors.
3. Auger Anchors
Auger anchors, also known as screw-in anchors, are an effective and versatile method for securing a greenhouse to the ground. They are especially suitable for various soil conditions, including clay and sandy soil. Here’s a step-by-step guide on how to anchor your greenhouse using auger anchors:
- Marking Anchor Points: Begin by marking the anchor points on the greenhouse frame. These points should be evenly spaced along the base of the frame, near the corners and along the sides. Ensure they align with the auger anchors you will install.
- Positioning the Anchors: Start by screwing the auger anchors into the ground at the marked anchor points. Use a wrench or a screwdriver to rotate the anchors clockwise, gradually inserting them into the soil. Continue until the anchor is securely embedded and the top ring of the anchor is flush with the ground.
- Attaching the Greenhouse Frame: Once the auger anchors are installed, position the greenhouse frame over the anchor points. Align the anchor points on the frame with the auger anchors in the ground. Secure the frame to the anchors using washers and nuts, ensuring a tight fit.
- Tightening and Adjusting: Use a wrench to tighten the nuts on the anchor bolts, holding the greenhouse frame securely in place. Double-check the tightness and make any necessary adjustments to ensure the frame is stable.
- Monitoring and Maintenance: Regularly inspect the auger anchors and the greenhouse frame to ensure they remain secure. Check for any signs of movement or loosening and tighten the anchor bolts if needed. Additionally, monitor the soil condition around the anchors and make adjustments if the ground becomes too compacted or starts to erode.
Auger anchors provide excellent stability and are suitable for various soil types. The screw-like design of these anchors ensures a strong hold in the ground, preventing the greenhouse from shifting or moving during high winds or inclement weather. By following the installation steps and regularly monitoring the anchors, you can maintain the stability and longevity of your greenhouse.
Now that you have learned how to anchor your greenhouse using auger anchors, let’s move on to the next step – exploring the use of tension tie-downs to secure the greenhouse.
4. Tension Tie-Downs
Tension tie-downs are an effective anchoring method for securing lightweight or portable greenhouses. This method involves using straps or cables to connect the greenhouse frame to ground anchors, providing stability and preventing movement. Here’s a step-by-step guide on how to anchor your greenhouse using tension tie-downs:
- Locating Anchor Points: Identify the anchor points on the greenhouse frame. These are typically located near the corners and along the sides of the frame. Mark these points to ensure accurate placement of the tension tie-downs.
- Positioning the Ground Anchors: Install the ground anchors at predetermined locations around the perimeter of the greenhouse. The anchors can be in the form of metal stakes, earth anchors, or similar devices designed to securely hold the tie-down straps in place.
- Attaching the Tension Tie-Down Straps: Securely attach one end of each tension tie-down strap to the predetermined anchor point on the greenhouse frame. The other end of the strap should be connected to the corresponding anchor in the ground. Ensure the straps are taut but not overly tight, allowing for some flexibility to accommodate minor movements.
- Tightening and Adjusting: Use the tensioning mechanisms provided with the tie-down straps to adjust the tension. Follow the manufacturer’s instructions to ensure proper tensioning. It is important to regularly monitor and adjust the tension as needed to maintain the stability of the greenhouse.
- Maintenance and Inspection: Periodically inspect and maintain the tension tie-downs, checking for any signs of wear or damage. Replace any worn-out or damaged straps or connectors promptly to ensure the effectiveness of the anchoring system.
Tension tie-downs provide a flexible and adjustable anchoring solution for lightweight or portable greenhouses. They allow for some movement and flexibility while still providing stability and protection against wind and external forces. Regular monitoring and maintenance of the tie-downs are crucial to ensure the continued stability and safety of the greenhouse structure.
Now that you have learned how to anchor your greenhouse using tension tie-downs, let’s move on to the next step – exploring the use of greenhouse base plates for securing the structure.
5. Greenhouse Base Plates
Greenhouse base plates are metal plates that provide a stable foundation for securing the greenhouse frame to the ground. They are commonly used in conjunction with other anchoring methods, such as concrete footings or ground stakes. Here’s a step-by-step guide on how to use greenhouse base plates to secure your structure:
- Preparing the Ground: Start by preparing the ground by leveling and compacting it. Clear any debris or vegetation from the area where the greenhouse will be installed.
- Positioning the Base Plates: Place the greenhouse base plates in the desired locations on the ground, aligning them with the anchor points on the greenhouse frame.
- Marking the Bolt Holes: Use a marker or a punch to mark the locations of the bolt holes on the ground through the holes in the base plates. These holes will be used to secure the base plates to the ground.
- Drilling Holes: Use a drill bit appropriate for the type of surface you are working on (concrete, wood, etc.) to drill holes at the marked locations on the ground.
- Attaching the Base Plates: Securely attach the base plates to the ground by inserting anchor bolts or screws through the holes in the base plates and into the drilled holes in the ground. Tighten the bolts or screws to ensure a secure fit.
- Securing the Greenhouse Frame: With the base plates securely attached to the ground, position the greenhouse frame over the anchor points on the base plates. Align the anchor points on the frame with the holes in the base plates and secure them with washers and nuts.
- Tightening and Adjusting: Use a wrench to tighten the nuts on the anchor bolts, holding the greenhouse frame securely in place. Double-check the tightness and make any necessary adjustments to ensure the frame is stable.
Greenhouse base plates provide a stable and secure foundation for the greenhouse. By connecting the frame to the base plates, the structure is anchored to the ground, minimizing the risk of movement or damage caused by external forces. When combined with other anchoring methods, such as concrete footings or ground stakes, greenhouse base plates enhance the overall stability and longevity of the structure.
Now that you have learned how to use greenhouse base plates to secure your structure, you are ready to move on to the next step – securing the anchors to the ground.
Step 4: Securing the Greenhouse
Now that you have prepared the ground and chosen the anchoring method for your greenhouse, it’s time to secure the structure in place. This step involves attaching the anchors to the greenhouse frame and securing them to the ground using the chosen method. Follow these steps to effectively secure your greenhouse:
4.1. Attaching Anchors to the Greenhouse Frame
Begin by attaching the anchors to the greenhouse frame. This step may vary depending on the type of anchoring method you have chosen:
- If you are using concrete footings, secure anchor bolts to the frame by inserting them through pre-drilled holes in the frame.
- If you are using ground stakes or earth anchors, attach tension tie-down straps to the predetermined anchor points on the greenhouse frame.
- If you are using auger anchors, align the anchor points on the frame with the auger anchor locations in the ground and attach washers and nuts to secure the frame.
- If you are using greenhouse base plates, connect the anchor points on the frame to the holes in the base plates using washers and nuts.
4.2. Securing Anchors to the Ground
Once the anchors are attached to the greenhouse frame, it’s time to secure them to the ground using the chosen method:
- If you are using concrete footings, pour concrete into the prepared holes and around the anchor bolts. Ensure the concrete is evenly distributed and level with the ground surface.
- If you are using ground stakes or earth anchors, drive them into the ground at an angle away from the greenhouse frame. Ensure they are securely embedded in the soil.
- If you are using auger anchors, screw them into the ground using a wrench or screwdriver until they are firmly in place.
- If you are using tension tie-downs, connect the straps to the ground anchors and tighten them to ensure the greenhouse frame is securely held in place.
- If you are using greenhouse base plates, securely attach them to the ground using anchor bolts or screws through the pre-drilled holes.
Ensure that all anchor connections are tightened properly, but be cautious not to overtighten and risk damaging the greenhouse frame. Regularly monitor the connections and adjust them as needed to maintain stability.
By securing the greenhouse to the ground, you are ensuring its stability and protection from external forces. This step is crucial in safeguarding both the structure and the plants inside, providing them with a stable and secure environment for growth.
Now that you have successfully secured your greenhouse, let’s move on to the final step – regular maintenance and inspection.
1. Attaching Anchors to the Greenhouse Frame
Attaching the anchors to the greenhouse frame is a crucial step in securing the structure. The method will vary depending on the chosen anchoring method. Here are some general guidelines for attaching anchors to the greenhouse frame:
- Concrete Footings: When using concrete footings, attach anchor bolts to the greenhouse frame. These anchor bolts should be inserted through pre-drilled holes in the frame. Secure them with washers and nuts, ensuring a tight fit.
- Ground Stakes or Earth Anchors: If using ground stakes or earth anchors, attach tension tie-down straps to the predetermined anchor points on the greenhouse frame. These straps will connect the frame to the ground stakes or anchors. Secure them tightly using appropriate connectors or fasteners.
- Auger Anchors: For auger anchors, align the anchor points on the frame with the auger anchor locations in the ground. Place washers and nuts on the anchor bolts and secure them tightly to secure the frame.
- Greenhouse Base Plates: When using greenhouse base plates, connect the anchor points on the frame to the holes in the base plates. Secure them tightly using washers and nuts or other appropriate connectors.
It is essential to ensure that the anchor connections are secure and tight, but be cautious not to overtighten and risk damaging the greenhouse frame. This step ensures that the anchors are firmly attached to the structure, providing stability and protection against external forces.
During the attachment process, double-check the alignment of the greenhouse frame with the anchor points. Make necessary adjustments to ensure they are properly aligned. This will help ensure an even distribution of forces and enhance the overall stability of the greenhouse.
Taking the time to attach the anchors properly to the greenhouse frame is a crucial step in ensuring the long-term stability and durability of the structure. Once complete, you can proceed to the next step of securing the anchors to the ground.
2. Securing Anchors to the Ground
Securing the anchors to the ground is the final step in ensuring the stability and resilience of your greenhouse. The method of securing will depend on the chosen anchoring method. Here are some general guidelines for securing the anchors to the ground:
- Concrete Footings: For concrete footings, carefully pour concrete into the holes you prepared in the ground. Ensure that the concrete completely covers the anchor bolts. Smooth the surface of the concrete and allow it to cure according to the manufacturer’s instructions.
- Ground Stakes or Earth Anchors: If using ground stakes or earth anchors, firmly drive them into the ground at an angle away from the greenhouse frame. Ensure that they are securely embedded in the soil and provide a stable hold for the frame.
- Auger Anchors: With auger anchors, use a wrench or screwdriver to twist them into the ground until they are firmly in place. Ensure that each auger anchor provides a dependable hold and is secure enough to withstand external forces.
- Tension Tie-Downs: When using tension tie-downs, connect the straps to ground anchors and tighten them to the appropriate tension. The ground anchors can be in the form of stakes or similar devices that securely hold the tie-down straps in place.
- Greenhouse Base Plates: If using greenhouse base plates, attach them to the ground by inserting anchor bolts or screws through the pre-drilled holes in the base plates. Secure them tightly to ensure a stable connection between the greenhouse frame and the ground.
After securing the anchors to the ground, double-check that all connections are tight and secure. Regularly inspect the anchor attachments to ensure they remain in place and withstand any external forces or pressure that may act on the greenhouse.
It is advisable to periodically monitor the anchors and perform routine maintenance to ensure they remain secure and effective. This includes checking for any signs of loosening, adjusting tensions if necessary, and replacing any worn-out or damaged parts as needed.
By effectively securing the anchors to the ground, you ensure that your greenhouse can withstand adverse weather conditions and maintain its structural stability over time. Congratulations, your greenhouse is now securely in place and ready to provide a protected environment for your plants to thrive!
Step 5: Regular Maintenance and Inspection
Regular maintenance and inspection are essential to ensure the ongoing stability and functionality of your greenhouse. By incorporating these practices into your routine, you can identify and address any issues early on, prolonging the lifespan of your structure and ensuring optimal conditions for plant growth. Follow these guidelines for regular maintenance and inspection:
- Clean the Greenhouse: Regularly clean the greenhouse, both inside and outside, to remove debris, dust, and any buildup that may hinder proper ventilation or impede sunlight penetration. This will help to prevent mold, pests, and diseases from affecting your plants.
- Check for Damage: Inspect the greenhouse frame, covering materials, and any attachments for signs of damage, wear, or rust. Repair or replace any damaged or worn-out parts promptly to maintain the structural integrity of the greenhouse.
- Inspect the Anchors: Regularly examine the anchors and their connections to ensure they remain secured to the ground and the greenhouse frame. Check for any signs of shifting, loose connections, or signs of stress. Tighten or readjust the anchors as necessary.
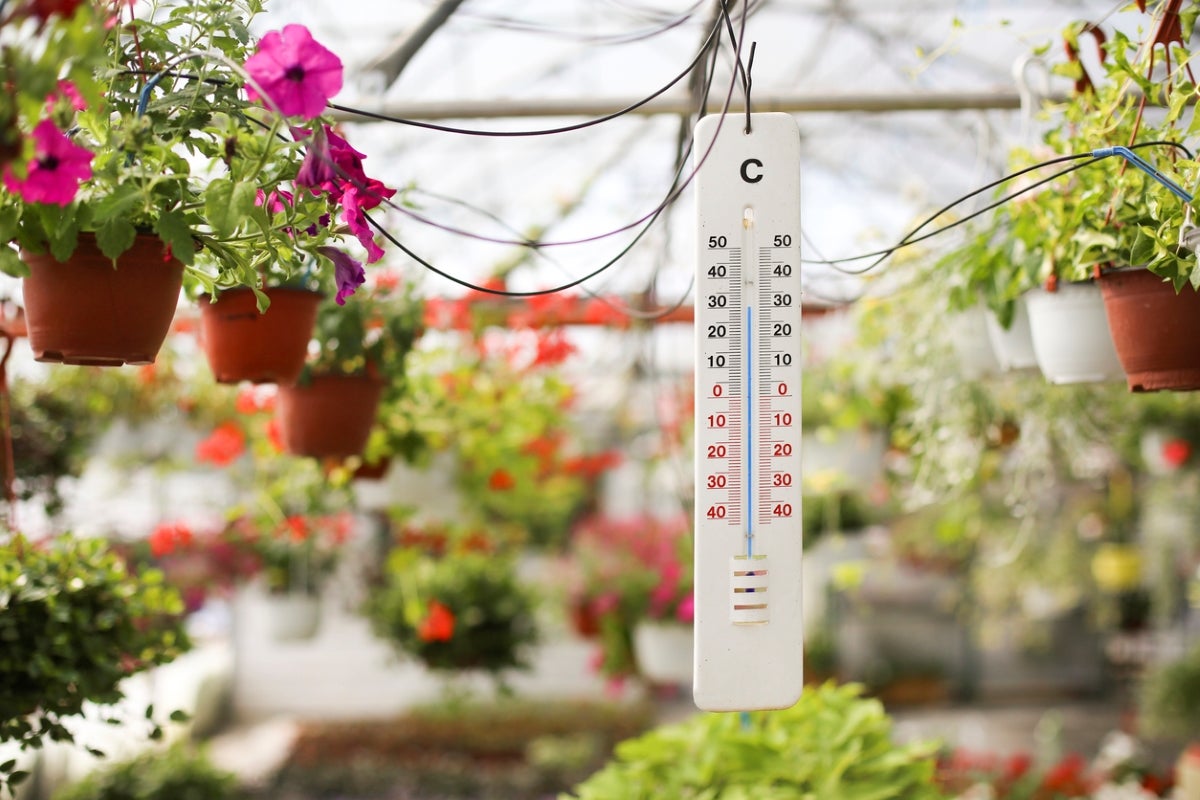
- Monitor the Environmental Controls: Keep an eye on the environmental controls within the greenhouse, such as temperature, humidity, and ventilation systems. Make any necessary adjustments to ensure optimal growing conditions for your plants.
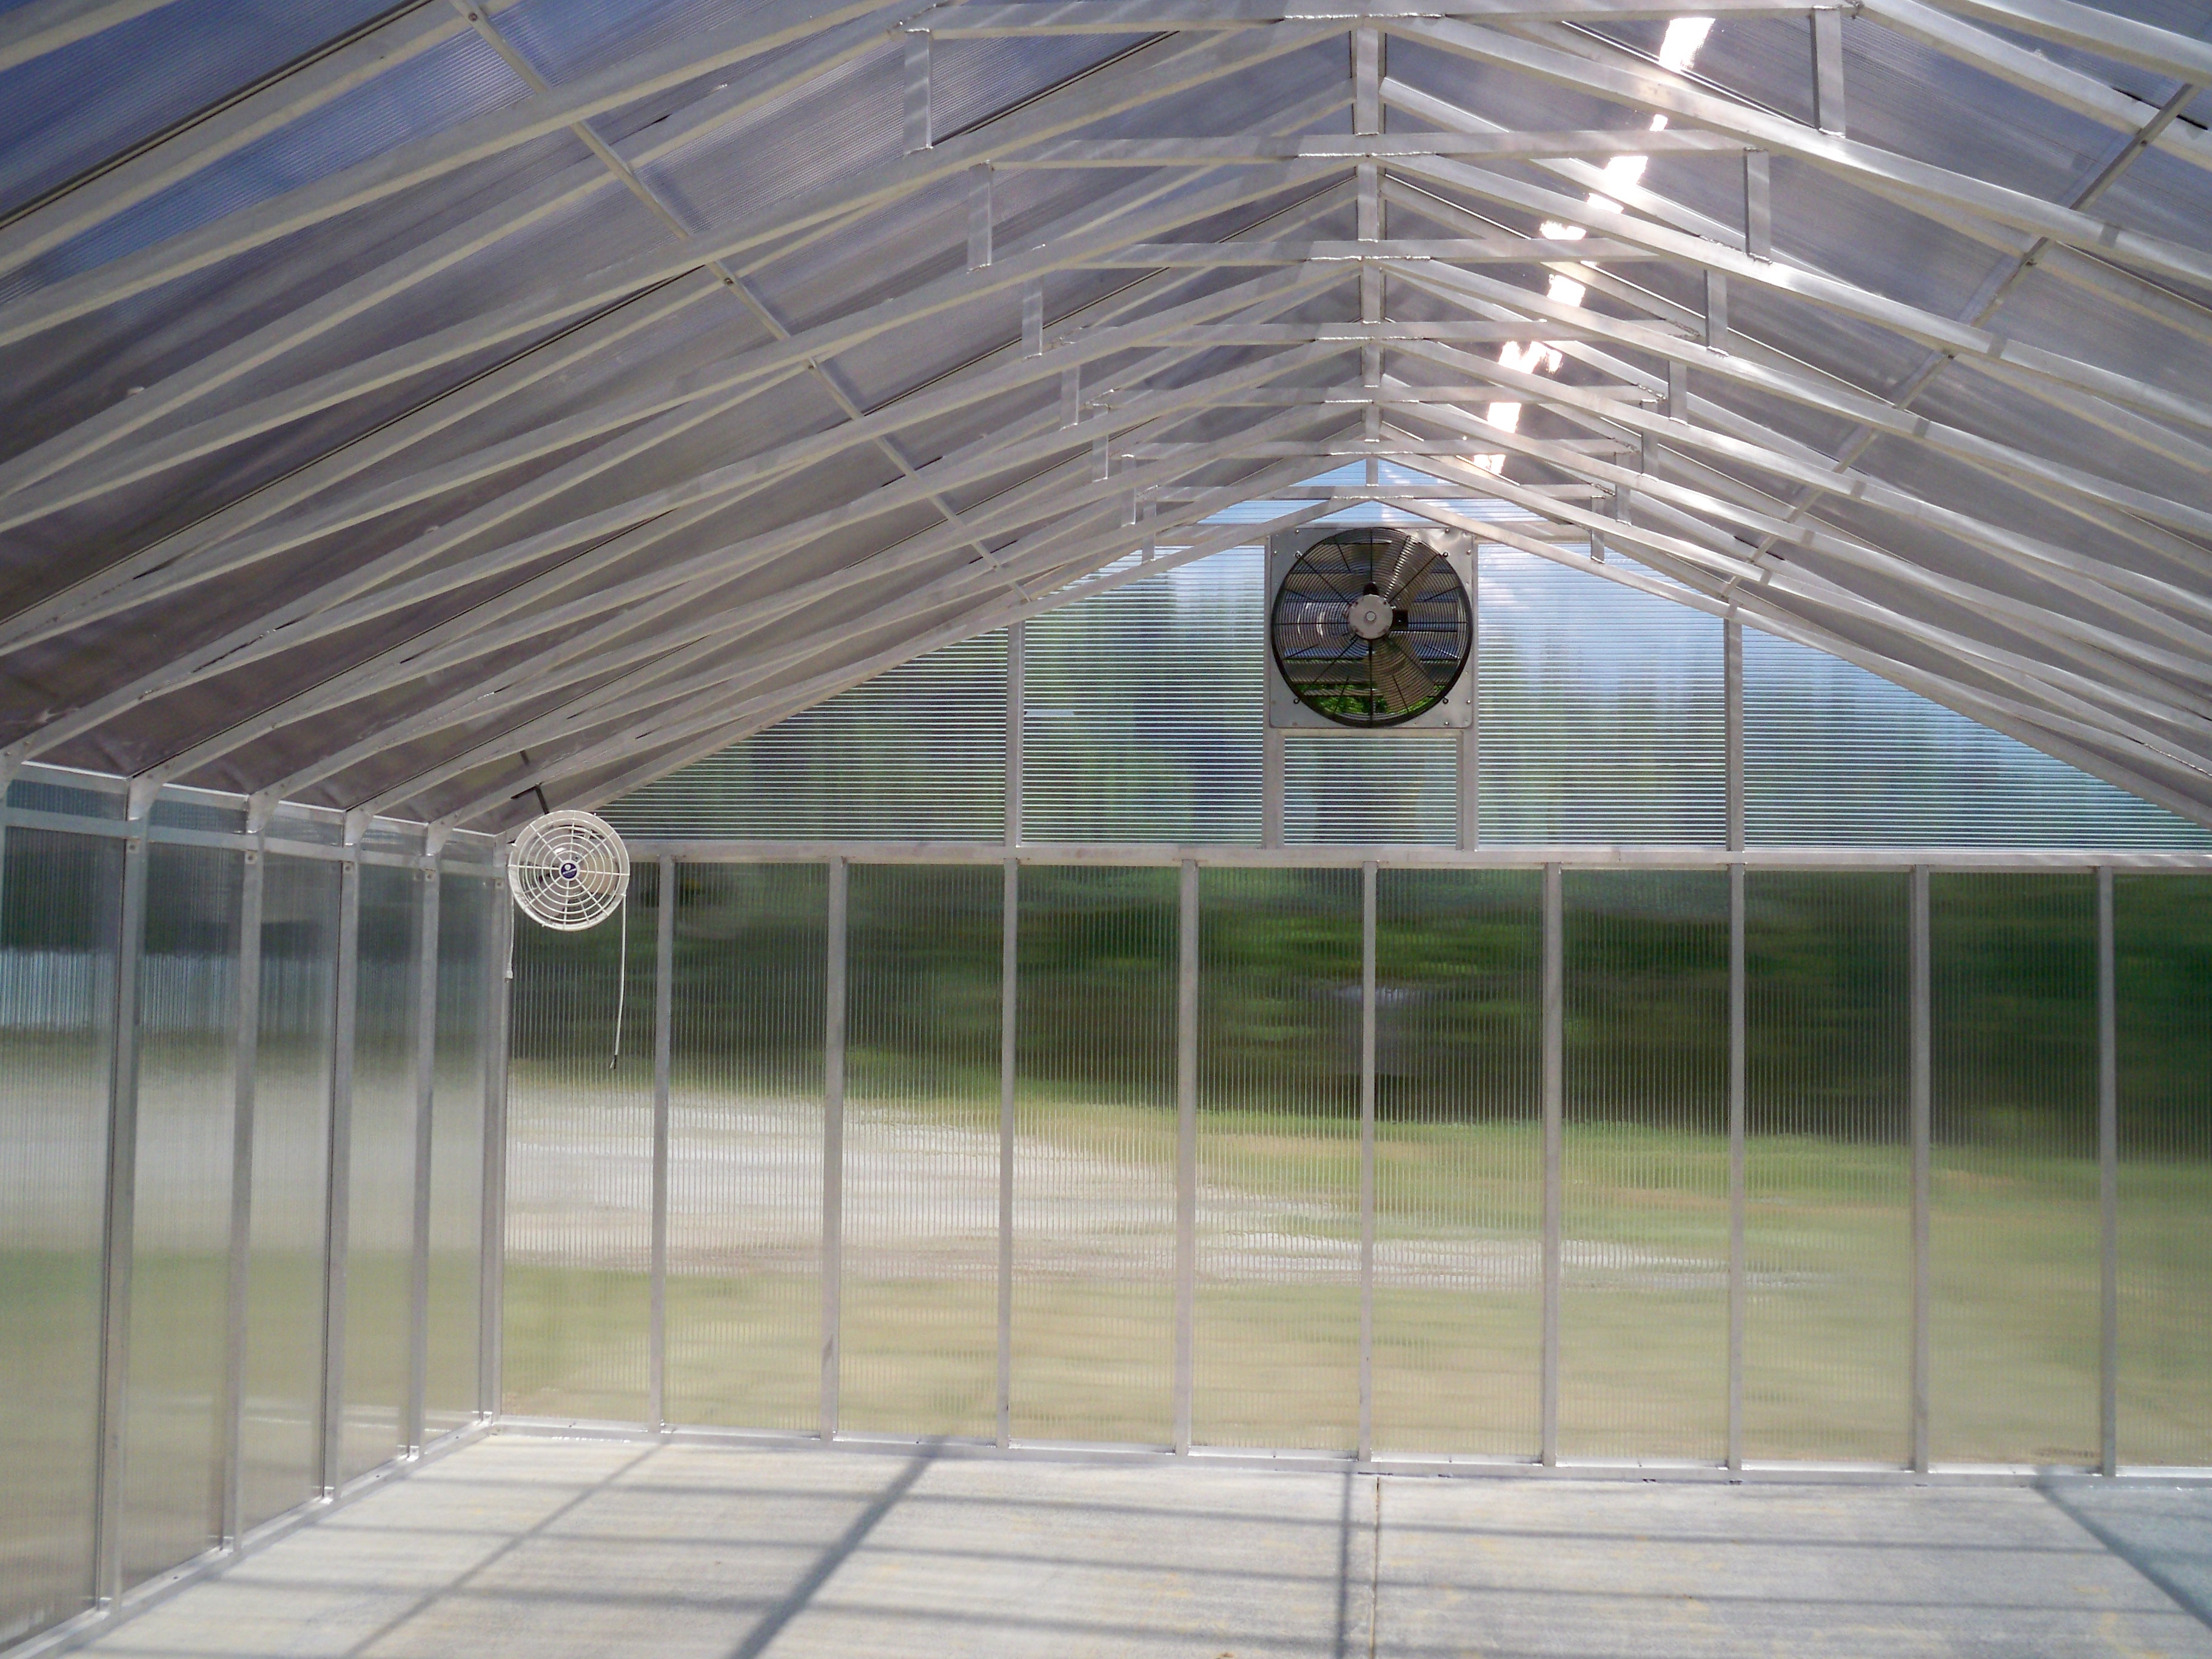
- Inspect the Coverings: If your greenhouse has coverings such as polyethylene film or polycarbonate panels, inspect them regularly for cracks, tears, or signs of deterioration. Replace any damaged coverings to maintain their effectiveness in providing insulation and protection.
- Check for Pests and Diseases: Regularly monitor your plants for any signs of pests or diseases. Take appropriate measures such as applying organic pest control methods or removing infected plants to prevent the spread of pests and diseases.
- Maintain Proper Ventilation: Ensure that your greenhouse has adequate ventilation to prevent excess humidity, which can lead to mold and disease. Regularly check the vents, windows, or fans to ensure they are functioning correctly and not obstructed.
- Monitor Irrigation: Keep track of your watering schedule and the moisture levels in the greenhouse. Adjust your irrigation system as needed to provide sufficient hydration to your plants without overwatering.
Implementing a regular maintenance and inspection routine will help you address any issues promptly, ensuring the longevity and performance of your greenhouse. By maintaining a well-functioning greenhouse, you provide the optimal environment for your plants to thrive.
Now that you understand the importance of regular maintenance and inspection, you can continue to enjoy the benefits of a secure and well-maintained greenhouse.
Conclusion
Securing a greenhouse to the ground is an essential step in ensuring its stability, protecting your investment, and providing optimal conditions for plant growth. By following the steps outlined in this guide, you can confidently anchor your greenhouse and enjoy the benefits it brings to your garden. From choosing the right location and preparing the ground to selecting and installing the appropriate anchoring method, each step plays a crucial role in the overall stability and longevity of your greenhouse.
By securing your greenhouse, you protect it from strong winds, heavy rain, and other external forces that can cause damage or displacement. Anchoring methods such as concrete footings, ground stakes, auger anchors, tension tie-downs, and greenhouse base plates offer various options for different greenhouse types and soil conditions. Regular maintenance and inspection are vital to ensure the ongoing stability and functionality of your greenhouse. By regularly cleaning, checking for damage, inspecting the anchors, monitoring environmental controls, and addressing any issues promptly, you can keep your greenhouse in optimal condition.
A securely anchored greenhouse provides a stable and controlled environment for your plants to thrive, extending the growing season and enabling you to enjoy fresh produce year-round. Additionally, it offers peace of mind, knowing that your greenhouse is protected against the elements and external forces.
Remember, the specific requirements may vary depending on factors such as greenhouse design, available tools, and local weather conditions. Always refer to the manufacturer’s instructions and guidelines for your specific greenhouse model to ensure proper installation and maintenance.
By taking the time and effort to secure your greenhouse to the ground and maintain it regularly, you are creating a sustainable and fruitful environment for your plants to flourish. Embrace the role of a caretaker for your greenhouse, and enjoy the rewards of a thriving garden and a lasting investment!