Home>Gardening Techniques>DIY Projects>How To Make Worm Compost

DIY Projects
How To Make Worm Compost
Modified: February 9, 2024
Learn how to make worm compost with this easy DIY project! Start recycling organic waste and create nutrient-rich compost for your garden.
(Many of the links in this article redirect to a specific reviewed product. Your purchase of these products through affiliate links helps to generate commission for Chicagolandgardening.com, at no extra cost. Learn more)
Table of Contents
Introduction
Do you have a green thumb and a desire to reduce your carbon footprint? Creating worm compost is a fantastic way to combine your love for gardening with sustainable practices. Worm compost, also known as vermicompost, is a nutrient-rich soil amendment produced by the digestion of organic waste materials by earthworms. It is an excellent way to recycle kitchen scraps and yard waste while producing a highly beneficial product for your plants.
In this article, we will guide you through the process of making worm compost step by step. You will learn how to choose the right worms, select a suitable worm bin, prepare the bedding, feed the worms, and ultimately harvest and use the resulting worm castings. With the right materials and a little bit of effort, you can create a sustainable and organic food source for your plants.
Not only is worm composting environmentally friendly, but it also has numerous benefits for your garden. It improves soil structure, increases nutrient availability, enhances water retention, and promotes healthy plant growth. By introducing worms into your composting routine, you will accelerate the breakdown of organic matter and produce nutrient-rich vermicompost faster than traditional composting methods.
So, whether you are an experienced gardener looking to improve your soil or a beginner interested in sustainable practices, making worm compost is a great project to embark on. Let’s dive into the details and get started on our journey to create a thriving garden ecosystem.
Materials Needed
To get started with worm composting, you will need a few essential materials. Here’s a list of what you’ll need:
- A worm bin: This can be a specially designed bin or a DIY container that is suitable for worm composting. It should have good ventilation, drainage holes, and a lid to keep pests out.
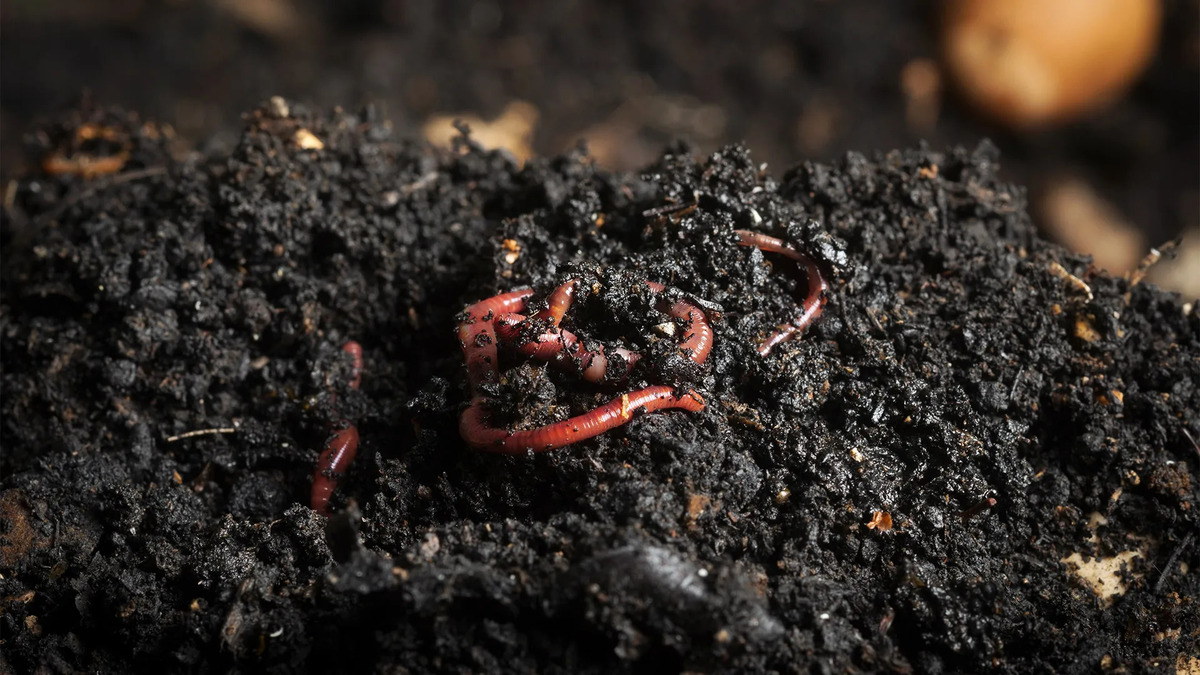
- Worms: The star of the show! You will need a specific type of worm called red wigglers (Eisenia fetida) or red worms. They are excellent composters and thrive in the organic waste environment.
- Bedding material: This serves as a habitat for the worms and helps maintain moisture levels. Common bedding materials include shredded newspaper, cardboard, coconut coir, and aged compost.
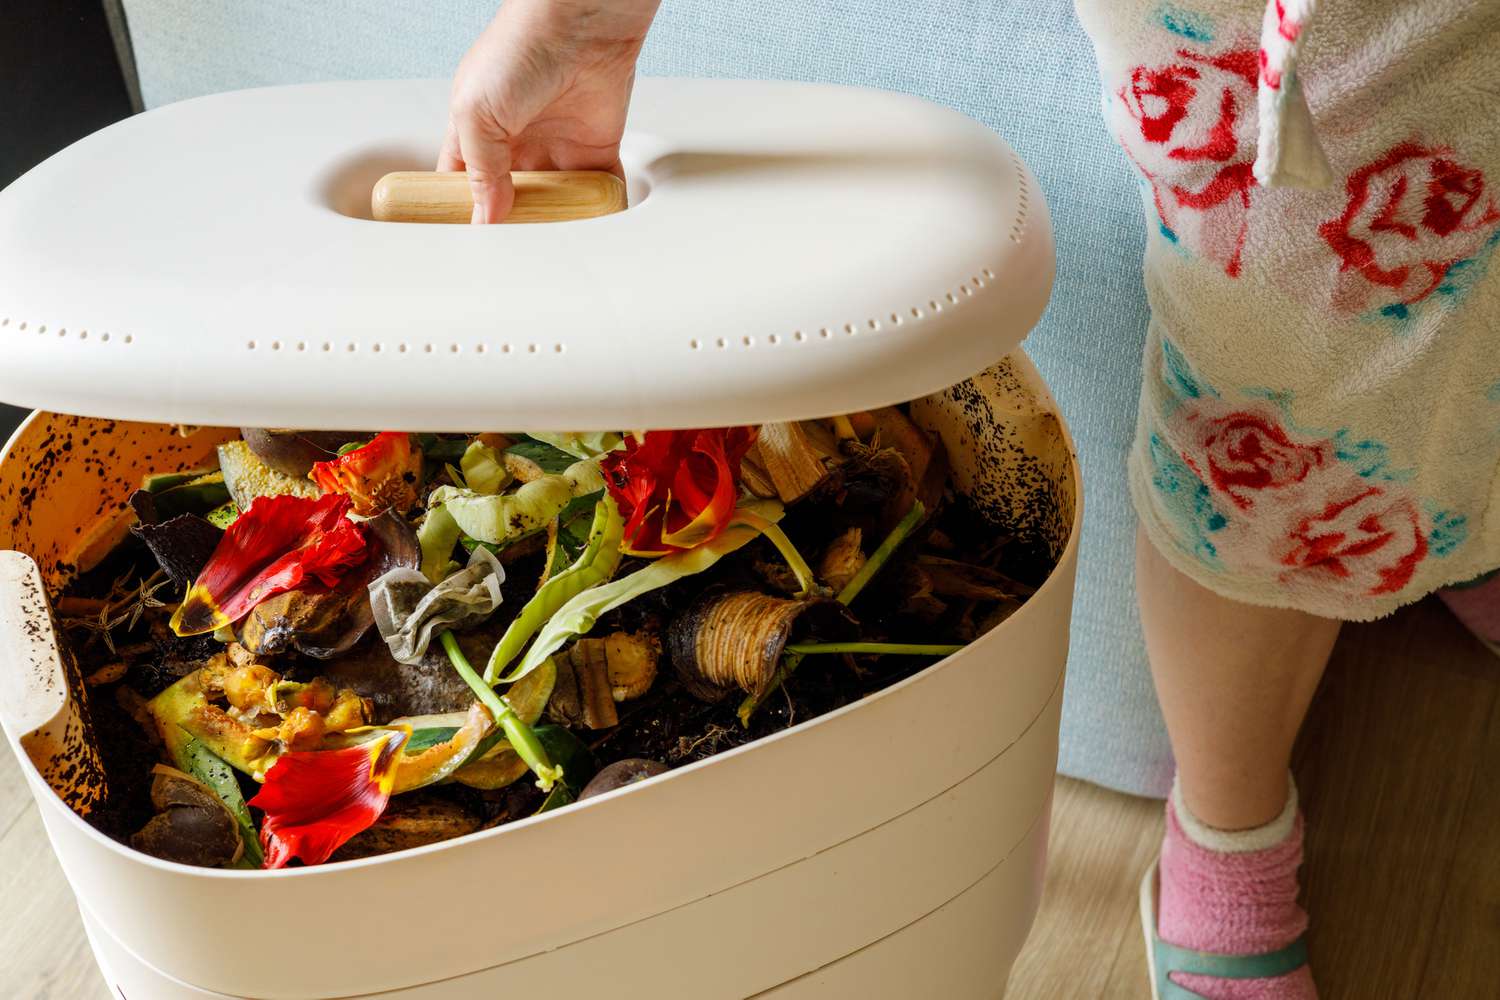
- Organic waste: Your worms need a source of food. Kitchen scraps like fruit and vegetable peels, coffee grounds, tea bags, and crushed eggshells are ideal. Avoid giving them meat, dairy, oily foods, or anything that may attract pests.
- Moisture spray bottle: Worms need a moist environment, but not soaking wet. A spray bottle will help you maintain the right moisture levels in the worm bin.
- Cover material: A layer of cover material, such as shredded leaves or straw, helps regulate the temperature in the worm bin and prevents odors.
These are the basic materials you will need to start your worm composting project. Once you gather these items, you’ll be ready to create a healthy and productive environment for your worm composting system.
Step 1: Choosing the Right Worms
When it comes to worm composting, not all worms are created equal. The best worms for creating vermicompost are red wigglers or red worms (Eisenia fetida). These worms have a voracious appetite for organic waste and thrive in the conditions found in a worm bin.
You can purchase red wigglers from online suppliers or local gardening stores. When buying worms, it’s important to consider the quantity you need based on the amount of organic waste you will be composting. As a rule of thumb, start with about one pound of worms for every square foot of surface area in your worm bin.
Make sure to choose healthy and active worms. Look for worms that are dark red in color, moist, and wriggling. Avoid worms that are pale, slimy, or have a strong odor, as they may indicate unhealthy or stressed worms.
It’s also a good idea to acclimate your worms to their new environment before adding them to the worm bin. This can be done by gradually introducing them to the bedding material over a period of a few days. Place the worms and bedding in a shady spot and sprinkle them with water regularly to keep them moist.
Remember, the quality and health of your worms will directly impact the success of your worm composting project. So take the time to choose the right worms and ensure their well-being before proceeding to the next step.
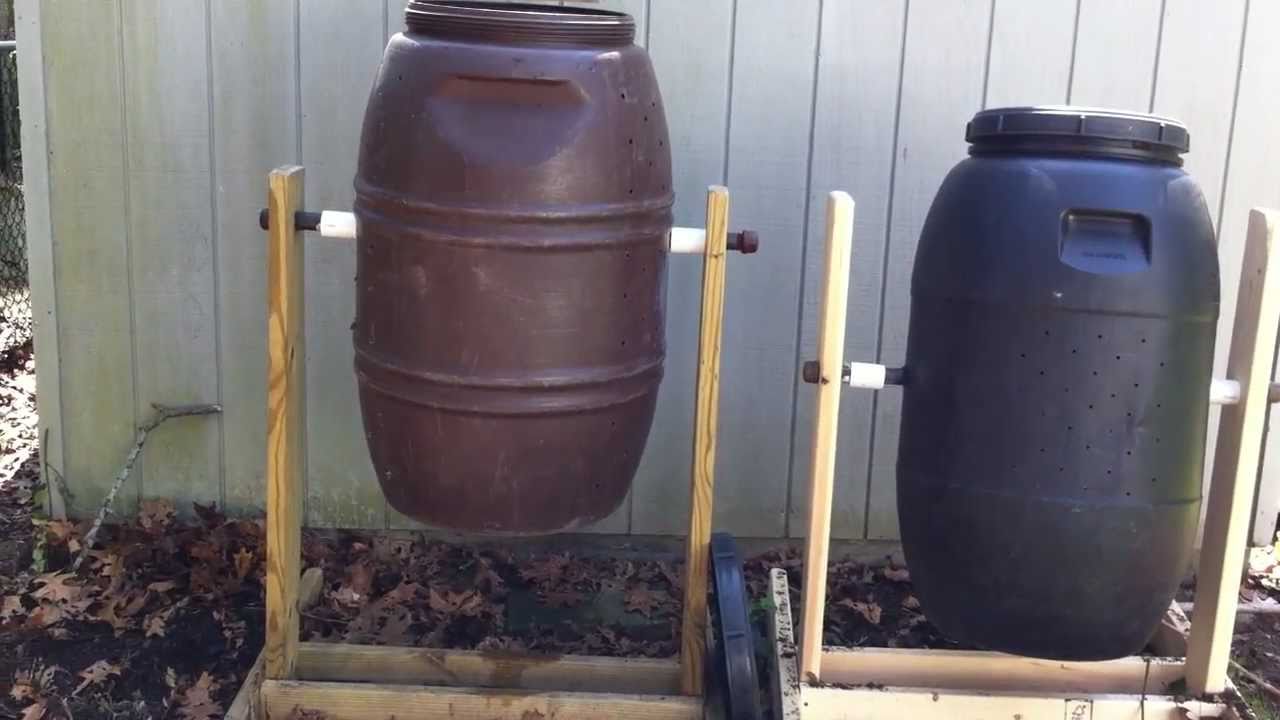
Step 2: Selecting a Worm Bin
Now that you have your worms, it’s time to choose a suitable worm bin. There are several options available, and the right one for you will depend on your specific needs and preferences.
Here are a few common types of worm bins to consider:
- Plastic Worm Bins: These are readily available and come in various sizes. Look for a bin with good ventilation, drainage holes, and a secure lid. Plastic bins are lightweight, easy to clean, and provide insulation for the worms.
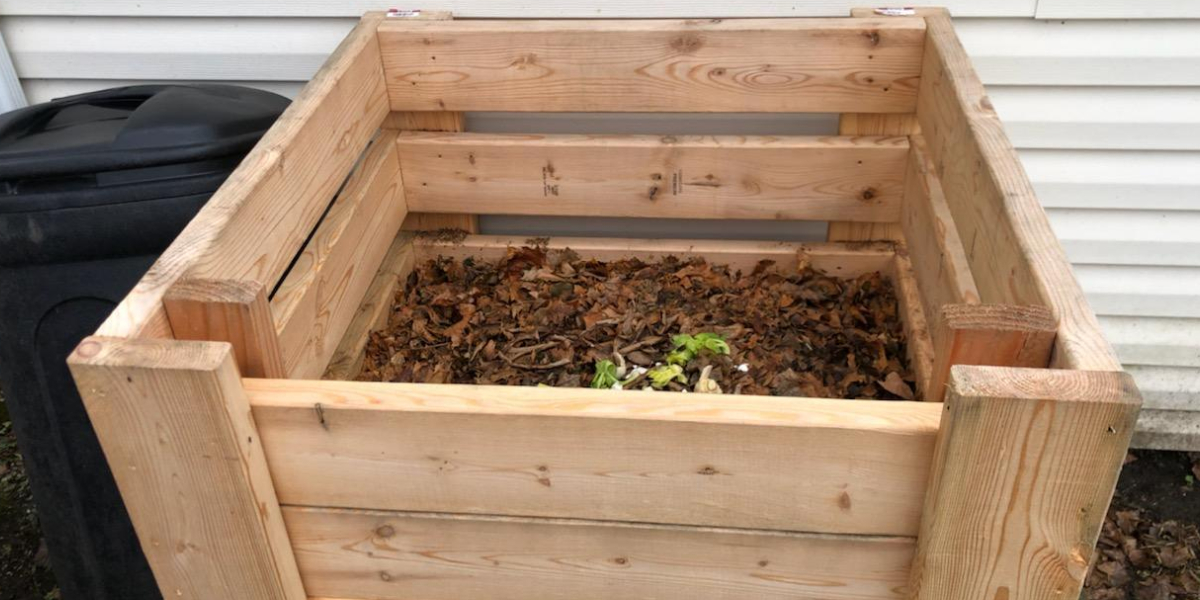
- Wooden Worm Bins: If you prefer a more natural look, wooden bins can be a great choice. Cedar or pine are commonly used as they are resistant to rot and insects. Ensure the bin is well-constructed and has proper ventilation and drainage.
- Stackable Worm Bins: These bins consist of multiple trays that stack on top of each other. As the worms finish composting one tray, you can add another tray on top. This design makes harvesting the castings easier and allows for expansion as your worm population grows.
- DIY Worm Bins: If you’re feeling crafty, you can make your own worm bin using materials such as plastic storage containers, wooden boxes, or even repurposed items. Just make sure to create proper ventilation, drainage, and a secure lid.
When selecting a worm bin, consider the size and space available to you. A general guideline is to allow for about one square foot of surface area per pound of worms. Also, keep in mind the amount of organic waste you will be composting. If you generate a lot of kitchen scraps, a larger bin will be more suitable.
It’s important to note that you may need multiple worm bins if you have a large amount of organic waste or plan to expand your vermicomposting operation over time.
Ultimately, the type of worm bin you choose will depend on your personal preference, budget, and space limitations. The most important factor is to ensure that the bin provides a conducive environment for the worms to thrive and compost your organic waste effectively.
Step 3: Preparing the Bedding
Once you have your worm bin set up, it’s time to prepare the bedding for your worms. The bedding serves as the worms’ habitat and helps maintain moisture levels in the bin.
Here’s how to prepare the bedding:
- Shred newspaper or cardboard into small strips. You can also use other carbon-rich materials like coconut coir or aged compost.
- Dampen the bedding material by misting it with water. It should be moist but not dripping wet.
- Fluff and mix the bedding to ensure even moisture distribution.
- Fill the bottom of the worm bin with about 4-6 inches of bedding material.
The bedding provides a comfortable environment for the worms and helps create air pockets for proper ventilation. It also acts as a source of carbon, balancing the nitrogen-rich organic waste that the worms will be consuming.
Remember to maintain the moisture levels in the bin. The bedding should feel like a damp sponge when squeezed – neither too dry nor too soggy. If it becomes too dry, mist it with water; if it becomes too wet, add more dry bedding material.
Adding some shredded leaves or straw on top of the bedding can help regulate temperature and prevent odors in the bin.
By providing a suitable bedding material, you are creating a comfortable and healthy environment for your worms to thrive and begin their composting journey.
Step 4: Adding Worms to the Bin
Now that you have your bin set up and the bedding prepared, it’s time to introduce the worms to their new home. Follow these steps to add the worms to the bin:
- Create a shallow indentation in the bedding material to place the worms.
- Gently pour or place your worms into the indentation, spreading them out evenly.
- Cover the worms with a thin layer of bedding material to protect them and provide darkness.
It’s important to handle the worms with care during this step to avoid injuring them. Worms are sensitive creatures, so be gentle and avoid squeezing or crushing them.
Once you’ve added the worms, they will start burrowing into the bedding and make their way through the bin. As they move through the organic waste, they will consume it and begin the process of decomposition.
Avoid disturbing the worms too much in the beginning. Let them settle into their new environment for a few days before starting to add food scraps.
Remember that the population of worms will naturally multiply as they mate and reproduce. With time, your worm bin will be filled with these hardworking decomposers, and they will continue to transform your organic waste into nutrient-rich vermicompost.
Adding the worms to the bin is an exciting step in the process of creating worm compost. Your bin is now alive with the activity of these amazing creatures, working diligently to break down your organic waste.
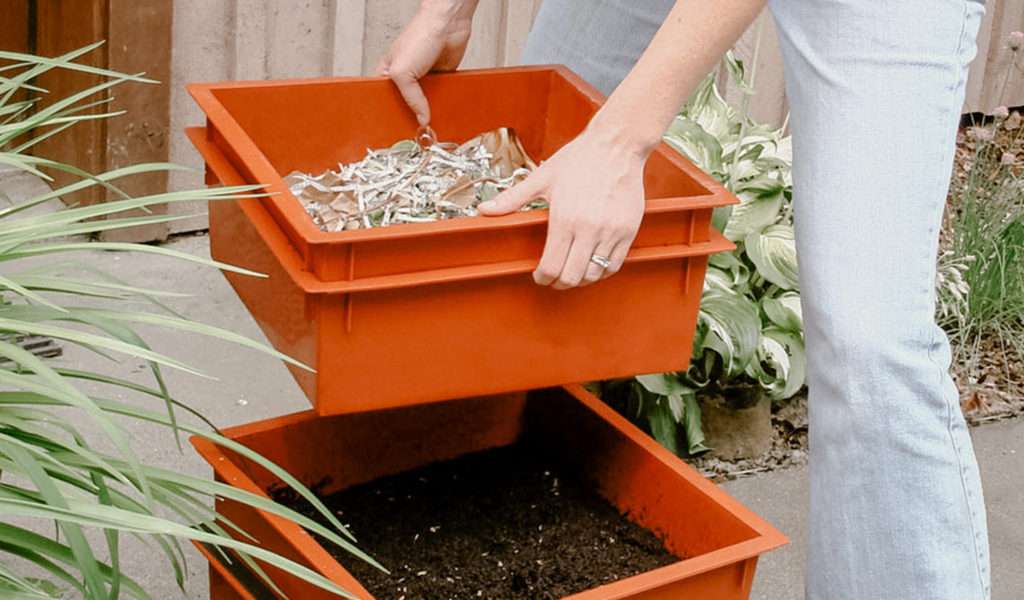
Step 5: Feeding the Worms
Feeding the worms is a crucial step in maintaining a healthy and productive worm composting system. By providing them with a balanced diet of organic waste, you ensure optimal decomposition and the production of nutrient-rich vermicompost.
Follow these guidelines to effectively feed your worms:
- Start by adding small amounts of food scraps to the bin. Worms can eat approximately half their weight in food each day, so gauge the amount accordingly.
- Chop or blend the food scraps into smaller pieces. This increases the surface area and makes it easier for the worms to consume the material.
- Bury the food scraps within the bedding material. Create a small hole in the bedding and bury the scraps, then cover them with a layer of bedding material. This helps control odors and prevents fruit flies or other pests from being attracted to the bin.
- Avoid overfeeding the worms. If the food scraps are not being consumed, it may be a sign that you are feeding them too much or too frequently. Adjust the amount or frequency accordingly to prevent food from accumulating and turning into a breeding ground for pests.
- Feed the worms a varied diet. Include a mix of fruit and vegetable scraps, coffee grounds, tea bags, crushed eggshells, and other organic kitchen waste. Avoid adding meat, dairy, oily foods, or anything that may attract pests or cause an imbalance in the bin.
- Maintain moisture levels in the bin. Check the bedding regularly and adjust the moisture as needed. If the bedding becomes dry, mist it with water; if it becomes too wet, add more dry bedding material.
Observe your worms and the rate at which they consume the food scraps. Adjust the amount of food accordingly to ensure that the worms can keep up with the decomposition process. Remember, the goal is to create a balanced environment where the worms can efficiently compost the organic waste.
Feeding the worms is an ongoing task in worm composting. By providing them with the right amount and type of food, you’ll have a thriving worm bin that continuously produces nutrient-rich vermicompost for your garden.
Step 6: Maintaining the Worm Compost
Once your worm composting system is up and running, it’s important to maintain the bin to ensure the health and productivity of your worms. Here are some key maintenance tasks to keep in mind:
- Monitor moisture levels: Check the moisture content of the bedding regularly. The ideal moisture level is similar to a damp sponge, neither too dry nor too wet. If the bedding feels dry, mist it with water. If it’s too wet, add more dry bedding material.
- Manage temperature: Worms thrive in temperatures between 55-77°F (13-25°C). Keep the bin in a shaded area to avoid direct sunlight, which can overheat the worms. In colder climates, insulate the bin by placing it on a thick layer of straw or wrapping it in blankets during winter months.
- Aerate the bin: Occasionally, gently fluff and mix the bedding to facilitate air circulation. This helps prevent the buildup of unpleasant odors and ensures that the worms have enough oxygen to breathe.
- Minimize pests: Regularly check for any signs of pests, such as fruit flies or mites. If you notice an infestation, bury the food scraps deeper and avoid adding any attractants like overly ripe or rotting fruits. Burying the food scraps and maintaining a proper moisture balance will discourage pests from breeding in the bin.
- Remove non-compostable items: Check the bin for any non-compostable items like plastic or rubber bands. These items can disrupt the composting process or harm the worms. Remove them whenever you come across them.
- Rotate feeding locations: As you add fresh food scraps to the bin, alternate the feeding location each time. By doing this, you ensure that the worms evenly distribute themselves throughout the bin and prevent any overcrowding or competition for food.
Regular maintenance is key to the success of your worm composting system. By staying attentive to the conditions in the bin and addressing any issues promptly, you’ll create an optimal environment for the worms to thrive and efficiently convert organic waste into valuable vermicompost.
Step 7: Harvesting the Worm Castings
After a few months of diligent composting, it’s time to reap the rewards of your effort by harvesting the worm castings – the nutrient-rich finished product of the vermicomposting process. Here’s how to harvest the worm castings:
- Stop adding food scraps to the bin: About two weeks prior to harvesting, refrain from adding fresh food scraps to the worm bin. This allows the worms to finish consuming the remaining organic matter.
- Collect the worm castings: To separate the worms from the castings, you have a few options. One method is to create “worm migration.” Push the contents of the bin to one side, leaving the other side empty. Begin adding fresh bedding and food scraps to the empty side. The worms will naturally migrate to the new food source, and you can easily collect the worm-free castings from the other side.
- Use a light source: Another method is to use light to encourage the worms to move away from the castings. Uncover the top layer of the bin for a period of time, and expose the bin to light. Worms prefer darkness and will burrow away from the light source, making it easier for you to collect the castings without many remaining worms.
- Manually separate worms: If desired, after collecting most of the castings, you can manually pick out any remaining worms and return them to the fresh bedding. You can use this opportunity to remove any undecomposed food scraps or non-compostable items as well.
The harvested worm castings are a valuable resource that can be used in various ways. They can be mixed into potting soil for container plants, spread as a top dressing around garden beds, or brewed into a nutrient-rich tea for foliar feeding. The castings are teeming with beneficial microorganisms and nutrients that promote healthy plant growth and improve soil fertility.
Remember to store the worm castings in a cool, dry place to maintain their quality for future use.
Harvesting the worm castings is an exciting and rewarding milestone in your vermicomposting journey. Your efforts have paid off, and you now have a rich source of organic fertilizer to support the health and vitality of your plants.
Step 8: Using the Worm Compost
Now that you have harvested the nutrient-rich worm compost, it’s time to put it to good use in your garden. Here are some ways to utilize the worm compost effectively:
- Soil amendment: Mix the worm compost into your garden beds, raised beds, or potting soil. The rich organic matter improves soil structure, enhances water retention, and provides essential nutrients to nourish your plants.
- Top dressing: Spread a layer of worm compost around the base of your plants as a top dressing. This provides a slow-release source of nutrients and promotes healthy root development.
- Seed starting mix: Blend the worm compost with other growing media to create an ideal seed starting mix. The nutrients and beneficial microorganisms in the compost will support the germination and early growth of your seedlings.
- Compost tea: Use the worm compost to brew compost tea, a liquid fertilizer made by steeping the compost in water. Dilute the tea and apply it as a foliar feed or soil drench to provide an immediate boost of nutrients to your plants.
- Houseplants and container plants: Incorporate worm compost into the potting mix for your houseplants or container plants. It will improve moisture retention and ensure a steady supply of nutrients for healthy growth.
As you use the worm compost, observe the positive effects it has on your plants. You’ll likely notice increased vitality, improved flowering, and enhanced resistance to diseases and pests.
Remember, worm compost is a natural and organic fertilizer, so it may not have the same potency as chemical fertilizers. However, it offers long-term benefits by improving the overall health of your soil and plants, leading to sustainable and eco-friendly gardening practices.
Continue to compost your kitchen scraps and organic waste, and feed them to your worms to generate a steady supply of worm compost for future use.
By utilizing the worm compost you have created, you are closing the loop on organic waste and nourishing your garden with a sustainable solution.