Home>Gardening Techniques>DIY Projects>How To Make Manure Compost
DIY Projects
How To Make Manure Compost
Modified: January 22, 2024
Learn how to create your own manure compost with this easy DIY project. Make your garden thrive with nutrient-rich organic fertilizer.
(Many of the links in this article redirect to a specific reviewed product. Your purchase of these products through affiliate links helps to generate commission for Chicagolandgardening.com, at no extra cost. Learn more)
Table of Contents
- Introduction
- Benefits of Manure Composting
- Selecting the Right Manure
- Gathering Tools and Materials
- Preparing the Composting Area
- Mixing the Manure and Carbon Material
- Monitoring the Composting Process
- Turning and Aerating the Pile
- Troubleshooting Common Issues
- Harvesting and Using the Finished Compost
- Conclusion
Introduction
Welcome to the world of DIY projects! Are you ready to unleash your creativity and transform ordinary materials into something extraordinary? Whether you’re a seasoned DIY enthusiast or just starting out, there’s one essential skill you need to master: composting. And what better way to start than by learning how to make manure compost?
Composting is the process of breaking down organic materials into nutrient-rich soil amendments. It’s an eco-friendly and cost-effective way to recycle kitchen scraps, garden waste, and yes, even manure. Manure composting not only helps reduce waste and odor, but also provides a valuable source of nutrients that can enhance the health and productivity of your plants.
In this article, we’ll explore the benefits of manure composting, guide you through the process step by step, and provide useful tips and techniques to troubleshoot common issues. By the end, you’ll have a complete understanding of how to create your own high-quality manure compost and put it to good use in your garden.
But before we dive in, let’s take a moment to appreciate the numerous advantages of manure composting.
Benefits of Manure Composting
Manure composting offers a host of benefits that make it a worthwhile endeavor for any DIY enthusiast or gardener. Here are some of the key advantages:
- Nutrient-rich soil amendment: Manure contains high levels of nitrogen, phosphorus, and potassium – essential nutrients for plant growth. Composting it breaks down the organic matter, releasing these nutrients in a form that plants can readily absorb.
- Improved soil structure: Manure compost improves soil structure and drainage, making it easier for roots to access nutrients and water. It also enhances soil’s ability to retain moisture, reducing the need for additional irrigation.
- Enhanced plant growth: The nutrients and improved soil structure provided by manure compost result in healthier and more vigorous plant growth. It can lead to larger and more abundant blooms, increased crop yields, and overall improved garden vitality.
- Reduces waste and odor: Properly composting manure helps manage waste and reduce offensive odors. Instead of letting manure pile up and contribute to environmental pollution, you can turn it into a valuable resource for your garden.
- Environmental sustainability: Composting manure reduces the reliance on synthetic fertilizers, decreasing the potential for chemical runoff and water contamination. It also promotes a circular economy by closing the nutrient loop and recycling organic materials back into the soil.
- Cost-effective solution: Buying commercial fertilizers can be expensive, especially for larger gardens. Composting manure provides a low-cost alternative that can save you money in the long run.
With all these benefits in mind, it’s easy to see why manure composting is an essential practice for any DIY enthusiast or gardener. It’s not only an eco-friendly choice but also an effective way to enhance the health and productivity of your garden.
Selecting the Right Manure
When it comes to composting with manure, not all types are created equal. Different animals produce manure with varying nutrient compositions and potential risks. Here are some important factors to consider when selecting the right manure for your composting project:
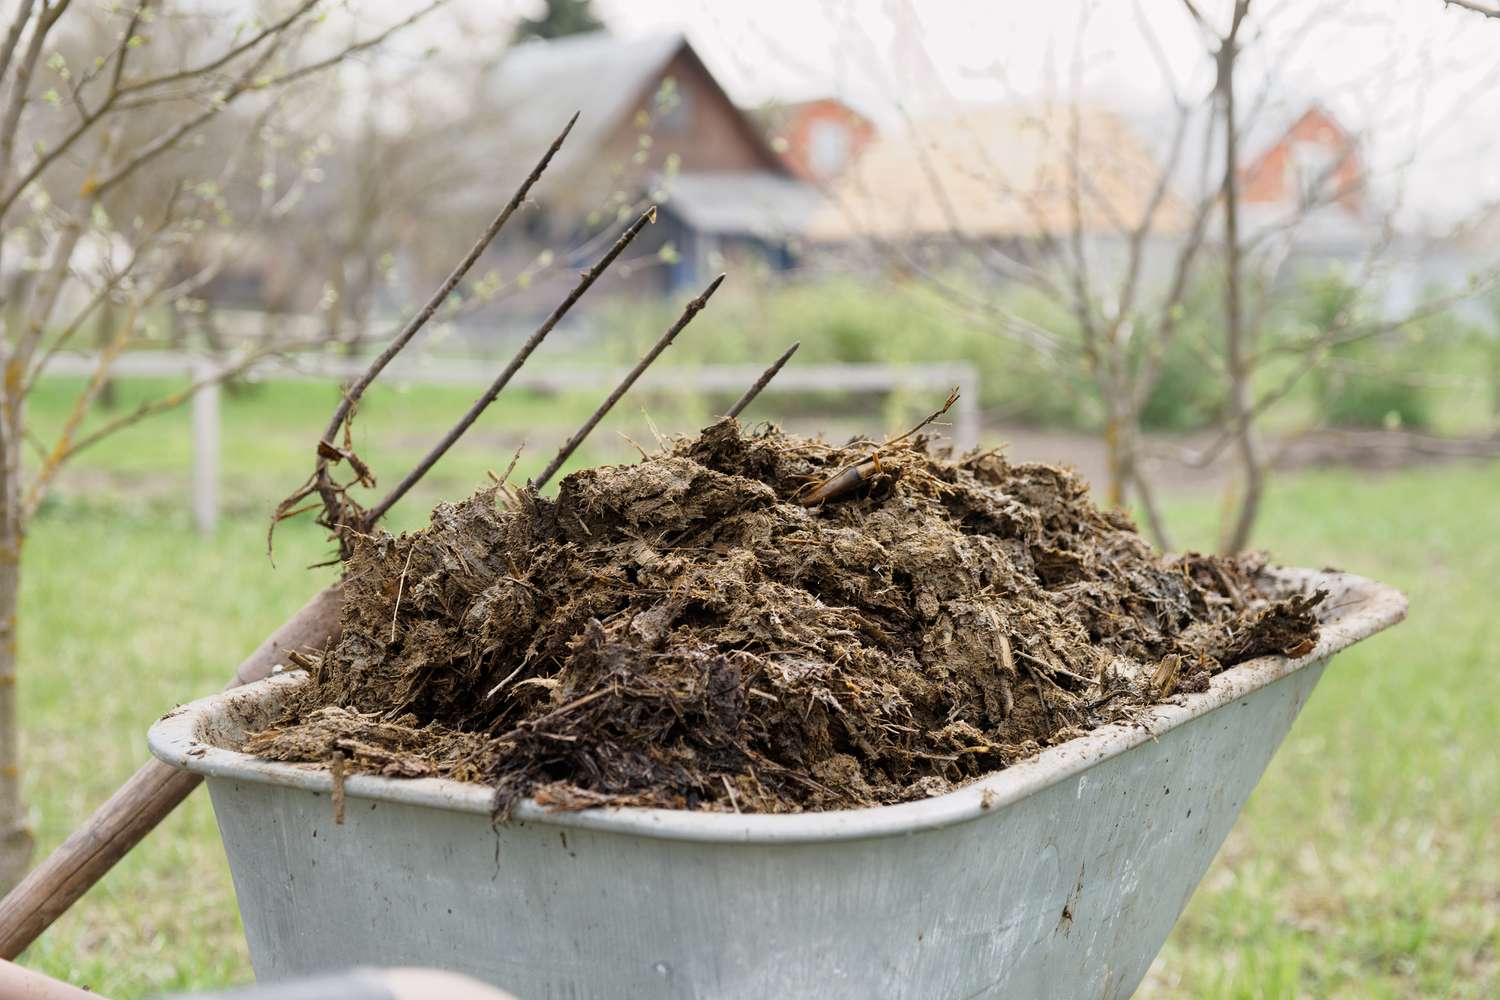
- Horse Manure: Horse manure is one of the most common types used in composting. It has a balanced nutrient profile and is relatively easy to obtain. However, horse manure may contain stubborn weed seeds, so make sure it has been properly composted to eliminate any potential problems.
- Cow Manure: Cow manure is another popular choice. It has a high nitrogen content, making it ideal for plant growth. However, avoid using manure from cows that have been treated with antibiotics or fed a diet heavy in chemical additives.
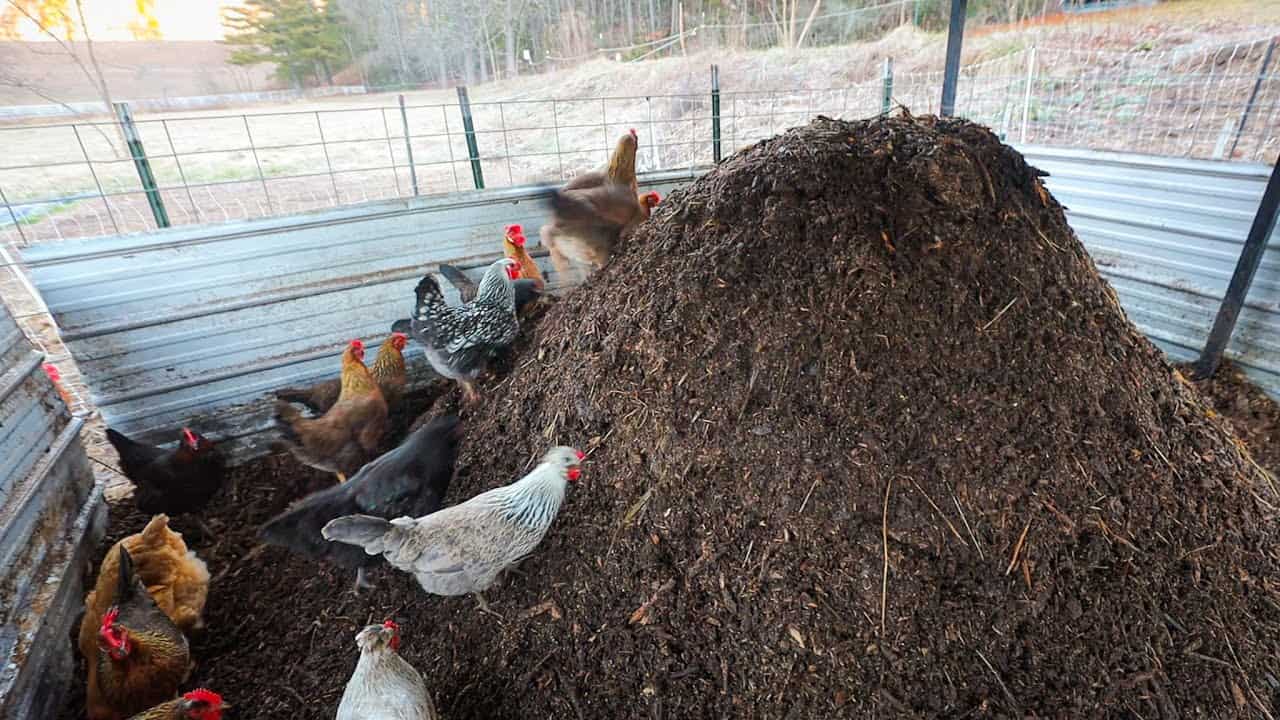
- Chicken Manure: Chicken manure is rich in nitrogen, phosphorus, and potassium, making it a potent fertilizer. However, it’s important to age or compost chicken manure before using it, as fresh chicken droppings can be too high in nitrogen and can burn plants if applied directly.
- Sheep and Goat Manure: Sheep and goat manure have a balanced nutrient ratio and are generally safe to use in composting. However, be cautious if these animals have been recently treated with medication, as it can affect the composting process and the health of your plants.
- Rabbit Manure: Rabbit manure is rich in nitrogen and phosphorus and is considered a “cold” manure, meaning it can be applied directly to plants without the need for composting. However, for optimal results, it’s still beneficial to compost it for a short period of time.
When collecting manure, ensure that it is sourced from healthy animals that have been fed a natural diet, free from chemicals and medications. Avoid using manure from carnivorous animals or pets, as they may contain harmful pathogens. Additionally, always compost manure and avoid using it fresh, as composting helps eliminate potential weed seeds, pathogens, and balances nutrient levels.
By selecting the right type of manure for your composting project, you can ensure nutrient-rich compost that will provide optimal benefits for your plants without any potential drawbacks.
Gathering Tools and Materials
Before you begin the manure composting process, it’s important to gather all the necessary tools and materials. Here’s a list of what you’ll need:
- Gloves: Protect your hands from bacteria and potential pathogens by wearing durable and waterproof gloves.
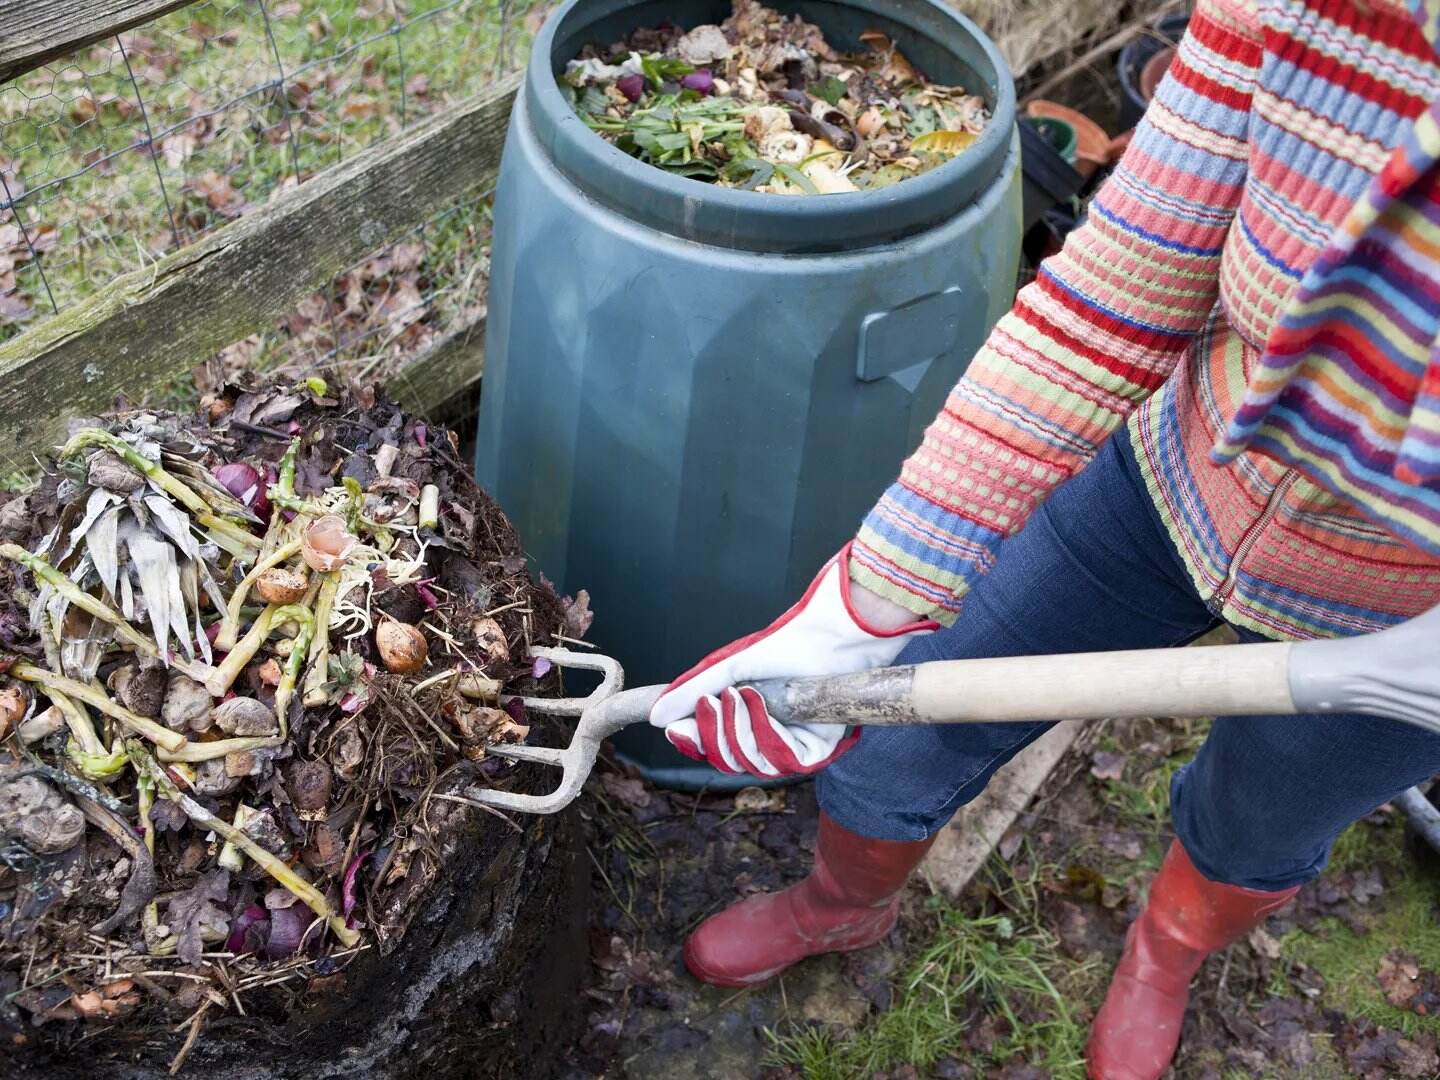
- Shovel or Pitchfork: A sturdy shovel or pitchfork will help you turn and mix the compost pile effectively. Look for one with a long handle for better leverage.
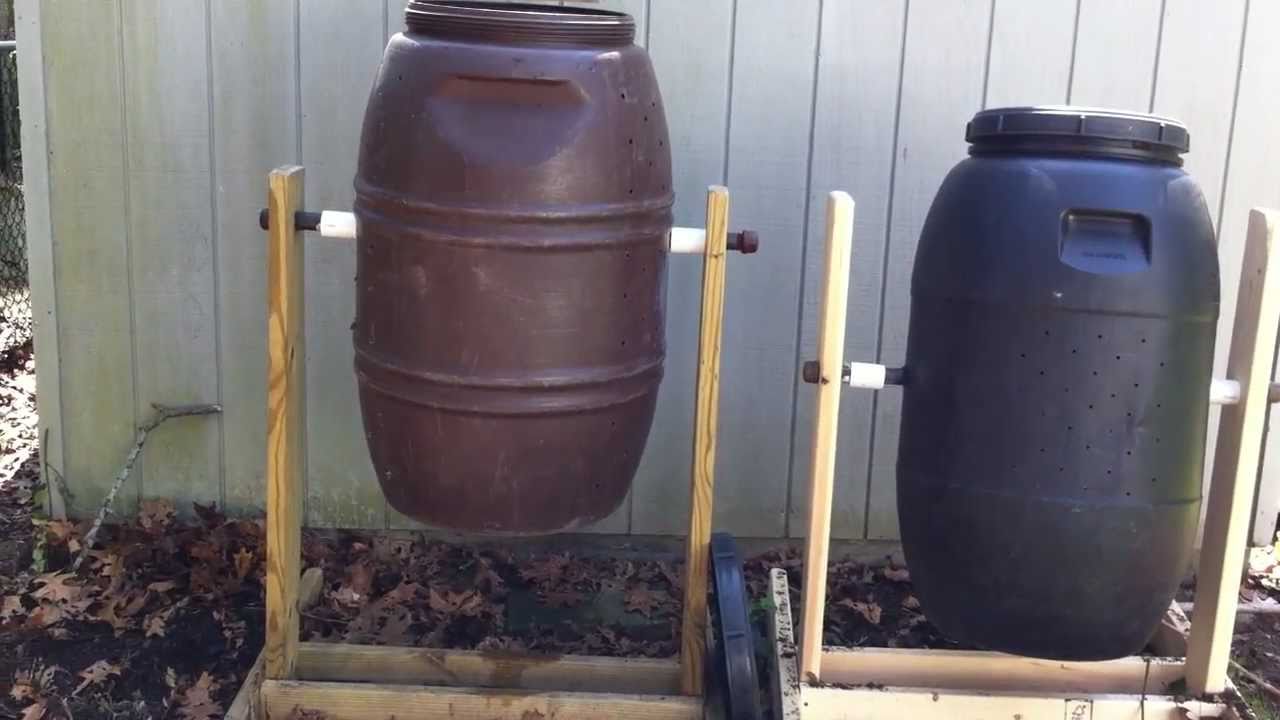
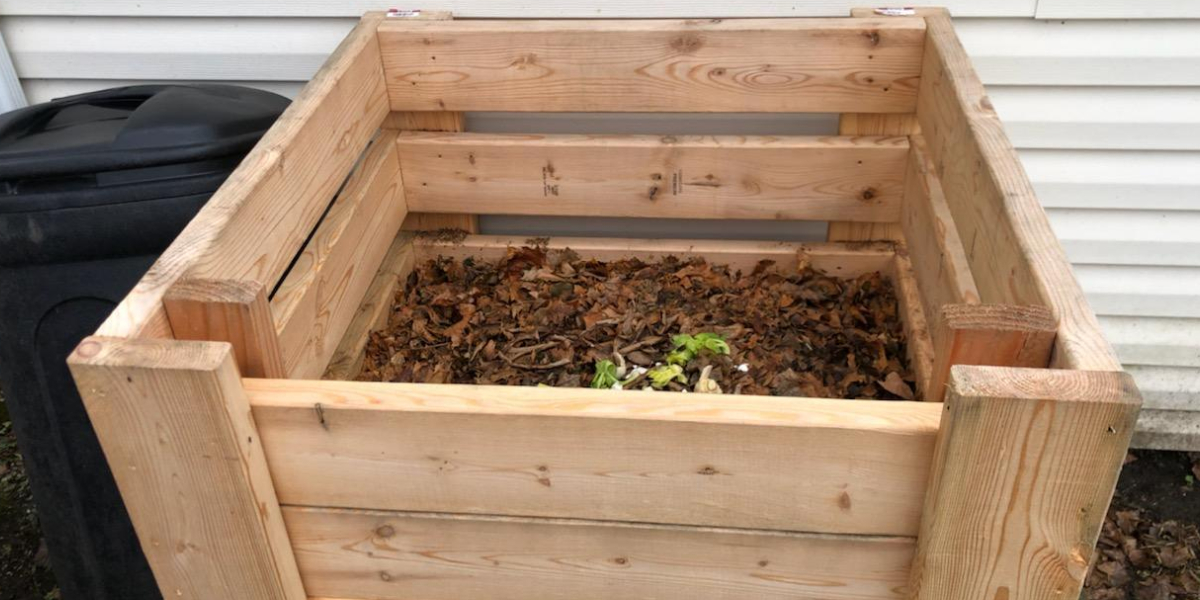
- Compost Bin or Pile: Decide whether you want to use a compost bin or create a compost pile directly on the ground. Bins provide a contained space, while a pile allows for better aeration and access by beneficial organisms.
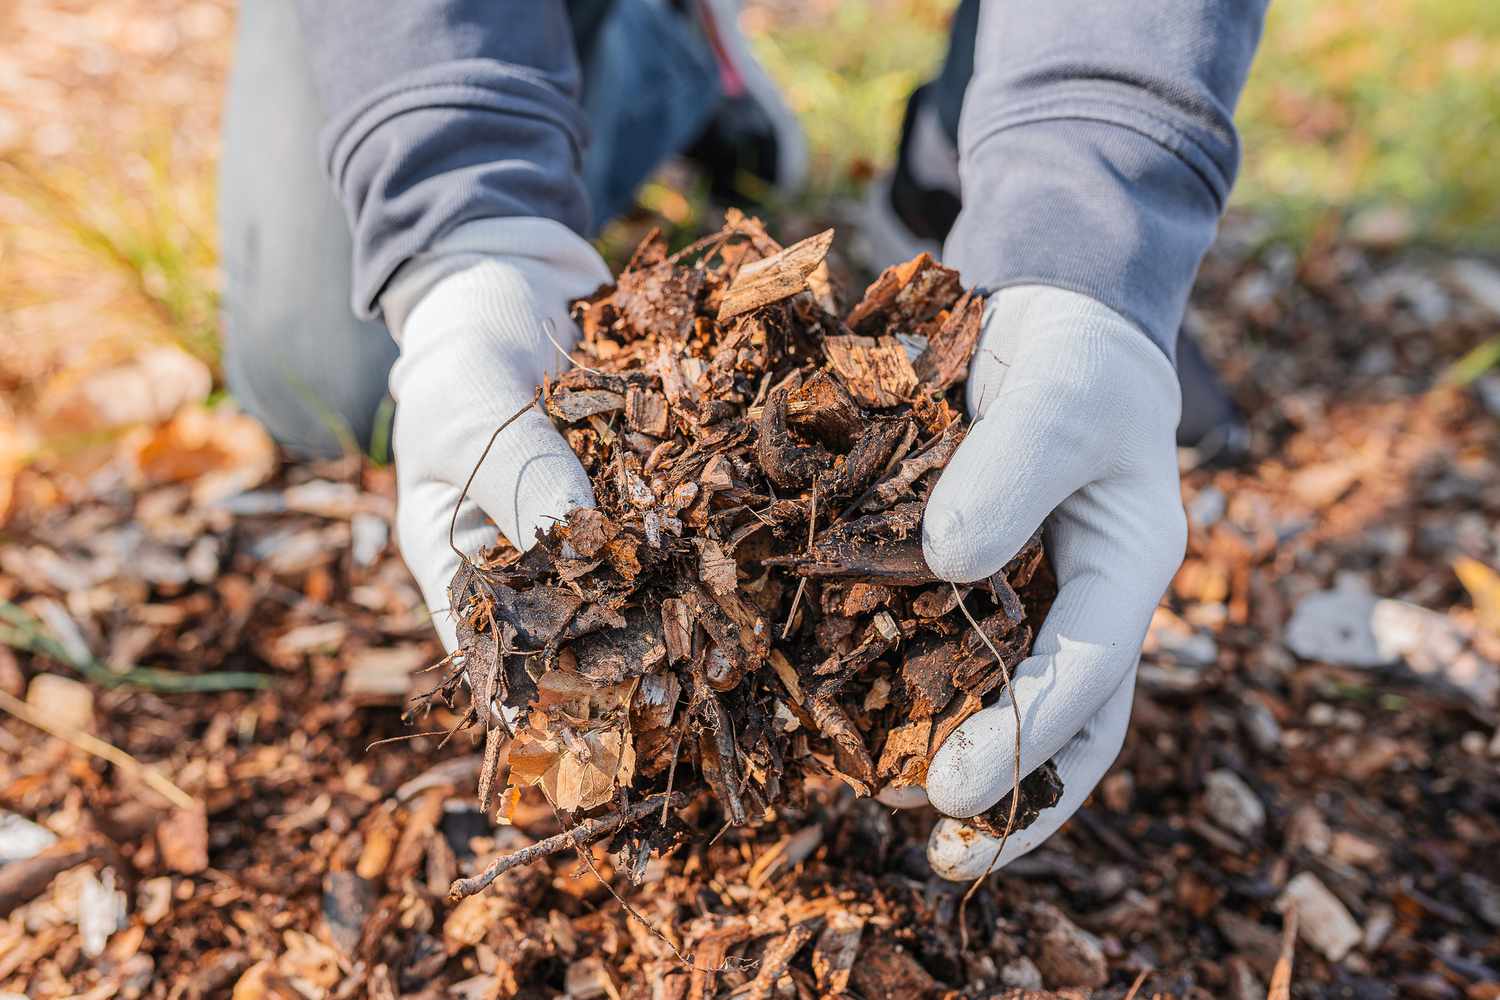
- Carbon-rich Materials: Gather an ample supply of carbon-rich materials, such as dried leaves, straw, hay, or shredded paper. These materials will help balance the nitrogen-rich manure and promote proper decomposition.
- Water Source: Ensure you have access to water to keep the compost moist throughout the process. A hose or watering can will come in handy.
- Garden Fork or Aerating Tool: To facilitate aeration throughout the composting process, have a garden fork or specific aerating tool on hand.
- Optional: Thermometer: While not essential, a compost thermometer can help you monitor the temperature of the compost pile, ensuring optimal conditions for decomposition.
It’s important to gather all these tools and materials before you start the composting process. Having everything on hand will make the process smoother and more efficient.
Once you have everything ready, it’s time to prepare the composting area and start creating your manure compost pile.
Preparing the Composting Area
Creating a suitable composting area is crucial for the success of your manure composting project. Follow these steps to prepare the perfect composting site:
- Select a Location: Choose a well-drained area in your garden that receives partial shade. Avoid placing the compost pile too close to your house or other structures, as it may produce odors during decomposition.
- Clear the Area: Remove any weeds, grass, or debris from the chosen spot. This will ensure that the compost pile gets optimal contact with the soil and allows for good drainage.
- Choose the Size: Decide on the size of your compost pile or bin. Generally, a pile that is at least 3 feet wide, 3 feet deep, and 3 feet high allows for efficient decomposition and proper heat retention.
- Add a Base Layer: Create a base layer of woody materials, such as twigs or small branches. This will promote airflow and drainage at the bottom of the compost pile.
- Build the Compost Pile: Layer the carbon-rich materials (leaves, straw, shredded paper) with the manure. Aim for a 3:1 ratio of carbon to nitrogen-rich materials. Alternate layers to create a well-balanced mix.
- Moisten the Pile: As you build the compost pile, moisten the layers with water. The pile should be as moist as a wrung-out sponge, but not waterlogged. This will create an optimal environment for decomposition.
Remember to leave some space on the sides to allow for aeration and turning of the compost pile. You can use a garden fork or aerating tool to create holes or channels within the pile for better airflow.
Once you have prepared the composting area and built the compost pile, you’re ready to start the composting process. However, it’s important to monitor the process regularly to ensure optimal conditions for decomposition. We’ll explore the monitoring and maintenance steps in the upcoming sections.
Mixing the Manure and Carbon Material
Once you have prepared the composting area and built the compost pile, it’s time to mix the manure with the carbon-rich materials. This step is essential to ensure proper decomposition and the creation of high-quality manure compost. Here’s how to do it:
- Layer the Carbon Material: Start by adding a layer of carbon-rich materials, such as dried leaves, straw, or shredded paper, to the bottom of the compost pile. This will serve as the base for the mixing process.
- Add the Manure: On top of the carbon material layer, add a layer of manure. Distribute it evenly across the pile, ensuring that there are no clumps or pockets of concentrated manure.
- Repeat the Layers: Continue layering the carbon-rich material and manure alternately until you have used up all your available materials. Aim for a 3:1 ratio of carbon to manure for optimal composting conditions.
- Moisturize the Layers: As you add each layer, lightly moisten it with water to maintain the ideal moisture content. The pile should be damp, but not soaking wet. This will help create a favorable environment for decomposition.
- Mix the Pile: After layering the materials, use a pitchfork or shovel to thoroughly mix the compost pile. This step ensures that the manure and carbon-rich materials are well blended and evenly distributed throughout the pile.
During the mixing process, pay attention to any dry or compacted areas and add water if necessary. The goal is to achieve a uniform mixture that promotes efficient decomposition and proper aeration.
It’s important to note that the compost pile may generate heat during decomposition. This is a sign that the microorganisms responsible for breaking down the organic matter are actively working. Regularly monitor the temperature of the compost pile, aiming for a range of 120-150°F (49-66°C) for optimal decomposition.
With the manure and carbon material mixed together, the composting process has officially begun. Now it’s time to monitor and maintain the pile to ensure a successful outcome. We’ll cover those steps in the next section.
Monitoring the Composting Process
Monitoring the composting process is crucial to ensure that the conditions are optimal for decomposition and to address any issues that may arise. Regular observation and adjustment will help you achieve a successful composting outcome. Here are the key aspects to monitor:
- Temperature: Check the temperature of the compost pile regularly using a compost thermometer. The ideal temperature range for composting is 120-150°F (49-66°C). If the temperature falls below this range, the composting process may slow down. On the other hand, if it exceeds this range, the pile may become too hot and may require turning or additional aeration.
- Moisture Level: Monitor the moisture content of the compost pile. It should resemble a damp sponge, neither too wet nor too dry. If the pile appears dry, water it lightly. If it is overly moist, incorporate more carbon-rich materials to improve aeration.
- Turning and Aeration: Regularly turn the compost pile using a pitchfork or shovel to facilitate aeration. This promotes the activity of aerobic microorganisms and prevents the pile from becoming compacted. Aim to turn the pile every few weeks or when the internal temperature drops.
- Odor: Assess the odor of the compost pile. A well-maintained and balanced compost pile should have an earthy smell. Foul or pungent odors may indicate an improper carbon-to-nitrogen ratio or insufficient aeration. Adjust the pile accordingly to mitigate unpleasant smells.
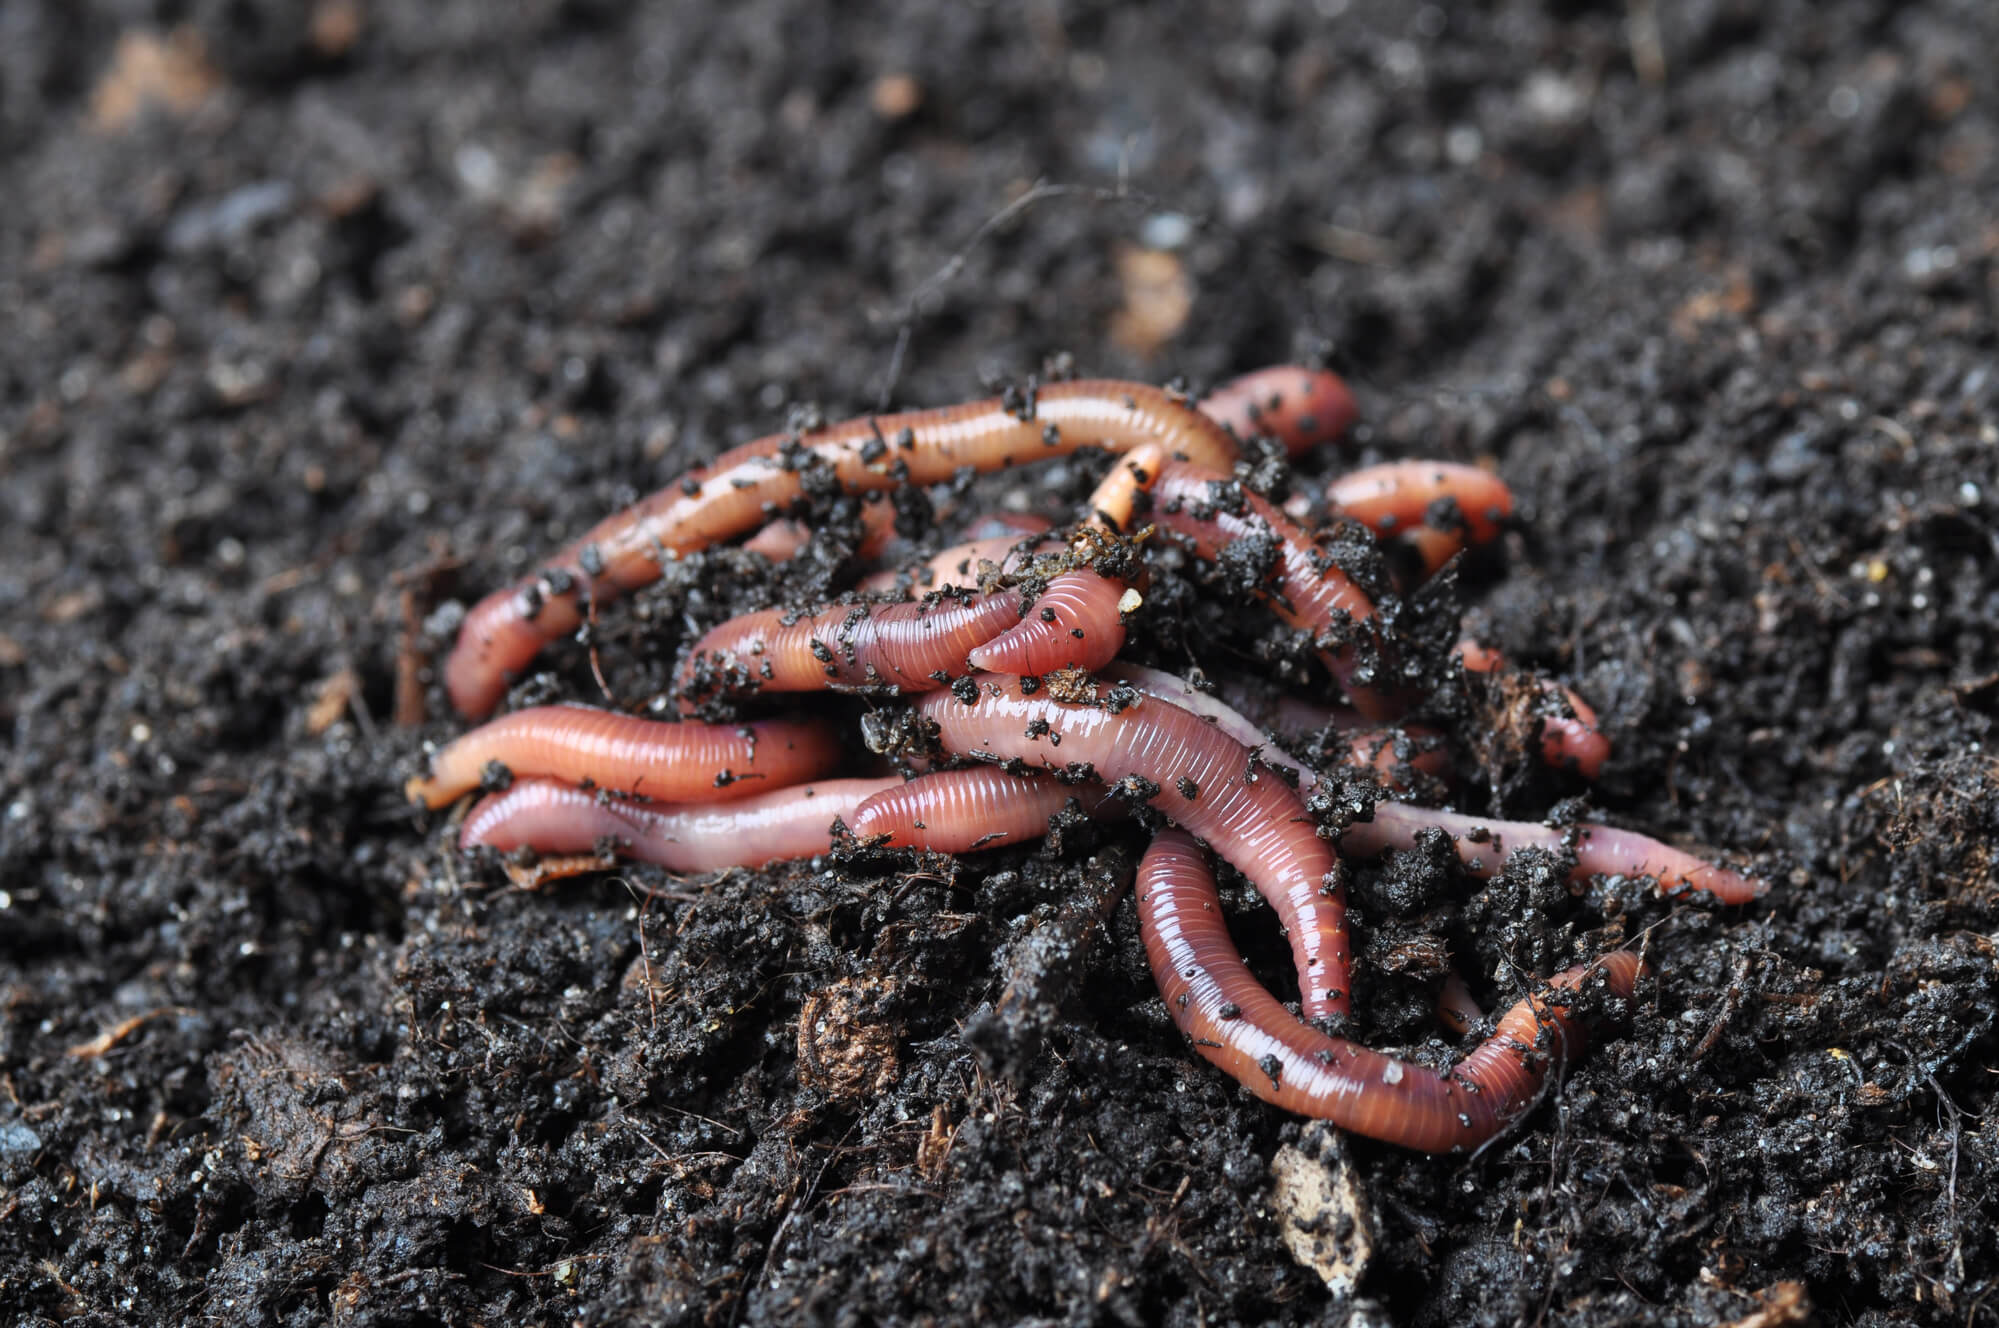
- Visible Decomposition: Observe how the materials in the compost pile decompose over time. Check for the breakdown of organic matter, disappearance of distinct layers, and the presence of earthworms and other beneficial organisms. These are positive indicators of an active and healthy composting process.
Regularly monitoring these key factors will help you identify any issues and make the necessary adjustments to optimize the composting process. Remember, composting is a dynamic process, and it may take several weeks to several months for the manure to fully decompose into nutrient-rich compost.
Next, let’s explore the importance of turning and aerating the compost pile, and the techniques to accomplish this effectively.
Turning and Aerating the Pile
Turning and aerating the compost pile is a vital step in the composting process. It helps maintain proper oxygen levels, facilitates decomposition, and prevents the pile from becoming compacted. Here are the essential steps to effectively turn and aerate the compost pile:
- Choose the Right Time: Aim to turn the compost pile every 2-4 weeks, or when the internal temperature drops below the desired range of 120-150°F (49-66°C). Turning the pile too frequently may disrupt the decomposition process, while turning too infrequently can lead to compaction.
- Prepare the Tools: Use a pitchfork or shovel to lift and turn the compost materials. Wear gloves to protect your hands during the process.
- Start at the Center: Insert the pitchfork or shovel into the center of the pile and lift it. Move the materials from the center to the outer edges, flipping them over in the process. This helps mix the outer and inner materials, ensuring even decomposition.
- Aerate the Pile: As you turn the materials, incorporate air into the pile by breaking up any clumps or compacted areas. This allows oxygen to reach the microorganisms responsible for decomposition.
- Address Dry or Wet Spots: While turning the pile, take note of any areas that appear too dry or too wet. If it’s too dry, lightly moisten the materials with water. If it’s too wet, add more carbon-rich materials to improve drainage and aeration.
- Optional: Add Amendments: If you notice any imbalances in the compost, such as a strong odor or slow decomposition, you may supplement the pile with additional carbon-rich materials or nitrogen sources, such as grass clippings or coffee grounds. This can help correct the ratio and promote optimal decomposition.
Repeat this turning and aerating process every few weeks or whenever the internal temperature drops below the desired range. Be mindful of the moisture levels and odors during the turning process. If necessary, adjust the moisture content and assess the carbon-to-nitrogen ratio to maintain a healthy compost pile.
By regularly turning and aerating the compost pile, you’ll promote the decomposition process, ensure adequate oxygen supply, and create a favorable environment for beneficial microorganisms to thrive.
Next, let’s tackle some common issues that may arise during the composting process and how to troubleshoot them effectively.
Troubleshooting Common Issues
While composting manure can be a straightforward process, it’s not uncommon to encounter a few challenges along the way. Here are some common issues that may arise during the composting process and tips on how to troubleshoot them:
- Foul Odor: If your compost pile has a strong, unpleasant odor, it may indicate an imbalance in the carbon-to-nitrogen ratio or inadequate aeration. Add more carbon-rich materials, such as dried leaves or straw, and turn the pile to improve airflow. Avoid adding meat, dairy products, or oily materials, as they can contribute to odor problems.
- Slow Decomposition: If your compost pile is taking longer than expected to decompose, it may be due to a lack of nitrogen or insufficient moisture. Add nitrogen-rich materials, such as grass clippings or kitchen scraps, to boost decomposition. Ensure the compost pile is adequately moist, resembling a damp sponge, to create ideal conditions for microbial activity.
- Dry or Wet Pile: If your compost pile is too dry, it may result in a slow decomposition process. Lightly water the pile or incorporate more moisture-rich materials to improve the moisture content. Conversely, if the pile is too wet, add more carbon-rich materials to enhance aeration and drainage.
- Pest Infestation: In some cases, pests like flies or rodents may be attracted to the compost pile. To deter them, avoid adding any meat, dairy products, or oily materials to the pile. Use a compost bin with a secure lid or ensure that the compost pile is well-contained and covered to prevent access by pests.
- Persistent Weed Seeds: If weed seeds survive the composting process, they can end up in your garden when you use the finished compost. To prevent this, ensure that the manure used for composting has been properly aged or composted. Consider reaching higher temperatures during composting, above 140°F (60°C), to help kill weed seeds and pathogens.
Remember that composting is a dynamic process, and it may require some adjustments along the way. Patience and attentiveness are key to troubleshooting and finding solutions to common composting issues. With a little troubleshooting, you’ll be able to overcome challenges and maintain a healthy compost pile.
Now, let’s move on to the final stage of the composting process: harvesting and using the finished compost.
Harvesting and Using the Finished Compost
After patiently tending to your compost pile, the time has finally come to reap the rewards of your hard work. Harvesting the finished compost is an exciting step that will provide you with a nutrient-rich amendment for your garden. Here’s how to harvest and use your finished compost:
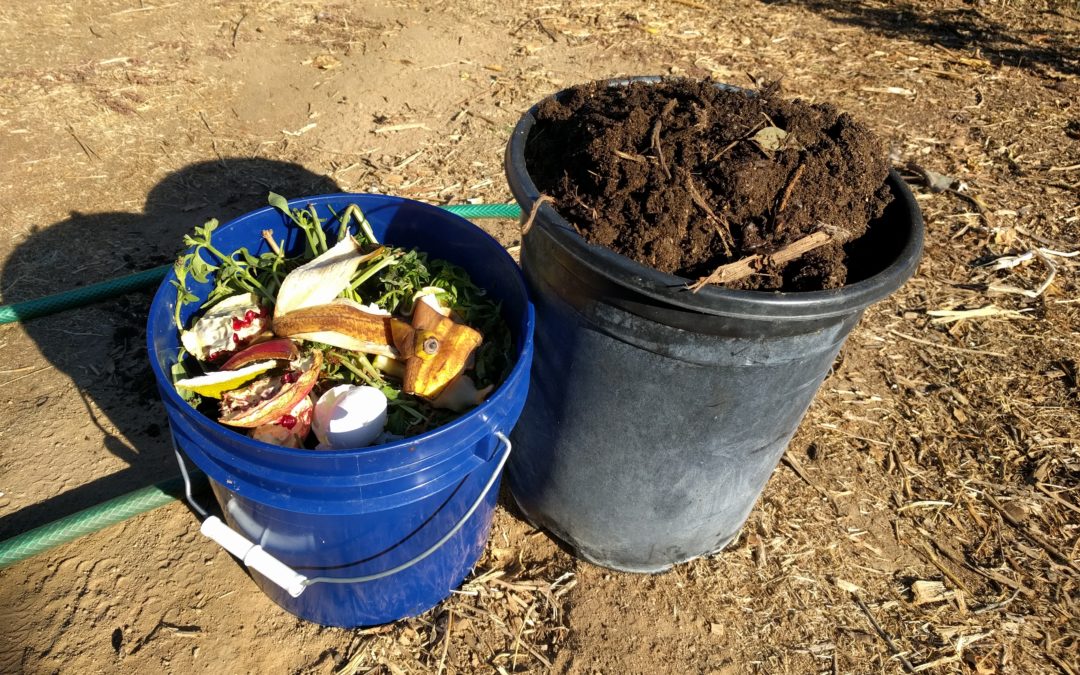
- Assess Maturity: Determine if your compost is ready for harvesting. Finished compost is dark, crumbly, and has a rich, earthy smell. It should resemble rich, dark soil, with no recognizable pieces of organic matter.
- Preparation: Before harvesting, stop adding new materials to the compost pile for a couple of weeks. This allows the remaining materials to fully decompose.
- Harvesting Methods: There are a few ways to harvest the compost. You can use a garden fork to loosen the compost from the bottom of the pile, working outward. Alternatively, you can create divots or compartments within the pile and remove the finished compost from one section while leaving the rest to continue decomposing.
- Screening (optional): If you prefer a finer texture, you can pass the harvested compost through a compost screen to remove any larger particles or undecayed matter. This will result in a more uniform and consistent product.
- Application: Once harvested, apply the finished compost to your garden beds, vegetable patches, or container plants. Spread a layer of compost on top of the soil and gently work it in with a garden fork or tiller. The nutrients in the compost will enrich the soil, providing a nourishing environment for plants.
- Storage: If you have more compost than you need, store it in a dry, covered container or bin. This will help preserve its nutrient content until you’re ready to use it.
Keep in mind that the amount of finished compost you obtain will depend on the size of your initial compost pile, the materials used, and the time it took for decomposition. The process can take anywhere from several months to a year, depending on various factors such as temperature, moisture levels, and the carbon-to-nitrogen ratio.
By harvesting and using the finished compost, you’re unlocking a valuable resource that promotes healthy plant growth, improves soil structure, and reduces the need for synthetic fertilizers. The cycle of sustainability continues as you return organic matter to the soil, closing the nutrient loop.
With this final step completed, you have successfully created your own high-quality manure compost and utilized it to benefit your garden. Congratulations on your DIY composting achievement!
Conclusion
Composting manure is a rewarding and environmentally-friendly DIY project that allows you to transform organic waste into nutrient-rich compost. By following the steps outlined in this guide, you can create a successful manure composting system from start to finish.
We began by exploring the numerous benefits of manure composting, including its ability to provide a nutrient-rich soil amendment, improve soil structure, promote plant growth, reduce waste, and contribute to environmental sustainability. Selecting the right manure, gathering the necessary tools and materials, and preparing the composting area were essential steps to ensure a successful composting process.
We then delved into the core process of composting – mixing the manure and carbon-rich materials, and monitoring the composting process. Regularly turning and aerating the pile helps maintain proper decomposition and oxygen levels, while troubleshooting common issues allows you to overcome challenges that may arise along the way.
Finally, we discussed the rewarding process of harvesting and using the finished compost. Applying the nutrient-rich compost to your garden beds or plants will enrich the soil, promoting healthy plant growth and reducing the need for synthetic fertilizers.
Embarking on a manure composting project not only helps you reduce waste and improve your garden, but it also allows you to actively contribute to a more sustainable and eco-friendly lifestyle. By embracing the art of composting, you are closing the nutrient loop, minimizing your environmental impact, and nurturing the health and productivity of your garden.
So, roll up your sleeves, gather your tools, and get ready to embark on a journey of composting with manure. Your garden and the environment will thank you for it!