Home>Gardening Techniques>DIY Projects>How To Make Compost In A 5 Gallon Bucket
DIY Projects
How To Make Compost In A 5 Gallon Bucket
Modified: January 22, 2024
Learn how to make compost in a 5 gallon bucket with this handy DIY project. Reduce waste and create rich soil for your garden in just a few simple steps.
(Many of the links in this article redirect to a specific reviewed product. Your purchase of these products through affiliate links helps to generate commission for Chicagolandgardening.com, at no extra cost. Learn more)
Table of Contents
Introduction
Welcome to the world of DIY composting! Creating your own compost is not only a cost-effective way to enrich your garden soil, but it’s also an excellent way to reduce waste and promote sustainability. In this guide, we will walk you through the process of making compost in a 5-gallon bucket, which is perfect for small spaces or beginners looking to start composting.
Compost is essentially decomposed organic matter that provides essential nutrients to plants and improves soil structure. It’s a natural fertilizer that helps plants thrive by promoting healthy root development and improving overall soil health. By making your own compost, you have full control over the ingredients, ensuring that your plants receive only the best nourishment.
The 5-gallon bucket method of composting is a simple and efficient way to generate nutrient-rich compost without the need for a large outdoor compost bin. This method is particularly useful for those with limited outdoor space or for individuals living in apartments or urban areas. It’s a convenient solution that allows anyone, regardless of their living situation, to engage in composting.
In this guide, we will take you through the step-by-step process of creating compost in a 5-gallon bucket. We’ll cover everything from choosing the right bucket, drilling air holes, adding the right materials, maintaining moisture levels, turning the compost, and eventually harvesting the finished compost. Along the way, we’ll provide tips and tricks to optimize the process and ensure successful compost production.
Whether you’re a seasoned gardener or a complete novice, this guide will give you the confidence and knowledge to kickstart your composting journey. So, grab your 5-gallon bucket and let’s get started on creating nutrient-rich compost to nourish your plants and contribute to a more sustainable world.
Materials Needed
Before you begin the process of making compost in a 5-gallon bucket, gather the following materials:
- A 5-gallon bucket with a tight-fitting lid: Choose a sturdy bucket that is made of durable and food-grade material. This will ensure that it can withstand the composting process and prevent any unwanted odors.
- A drill with a ¼-inch drill bit: You will need this to create air holes in the bucket, allowing for proper ventilation during the composting process.
- A drainage layer: This can be a piece of screen or fine mesh that will prevent the compost from becoming waterlogged and promote proper drainage.
- Compost ingredients: Collect a variety of organic materials that can be composted, including kitchen scraps (vegetable peels, coffee grounds, eggshells), yard waste (grass clippings, leaves), and shredded paper or cardboard.
- A compost thermometer (optional): This tool can help you monitor the temperature of the compost and ensure that it reaches the optimal range for decomposition.
- A compost turner or garden fork: This will be used to mix and aerate the compost, aiding in the decomposition process.
- Water: Composting requires the right amount of moisture, so having a source of water nearby is essential.
Having these materials on hand will set you up for success as you embark on your composting journey. Remember, composting is all about balance and providing the right conditions for decomposition to occur. With the right materials, you can create a thriving compost ecosystem that will yield nutrient-rich compost for your garden.
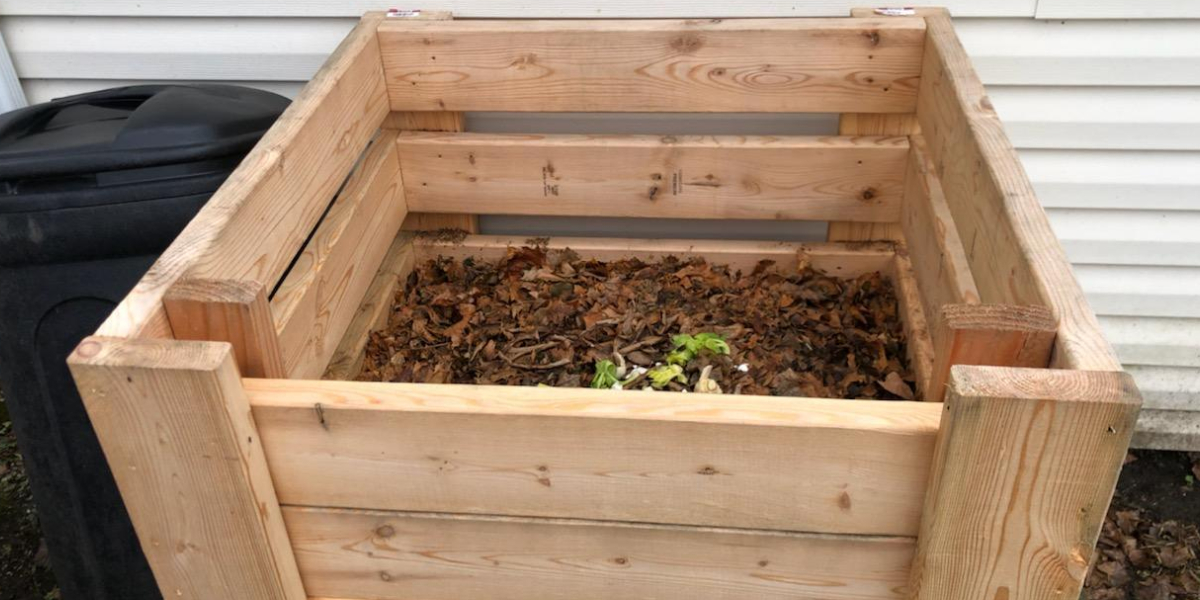
Step 1: Choosing the Right Bucket
The first step in making compost in a 5-gallon bucket is choosing the right container. Here are some factors to consider when selecting a bucket:
- Size and capacity: A 5-gallon bucket is the ideal size for this project, as it provides enough space for composting while still being manageable and easy to handle. It’s important to note that the actual capacity of the bucket may be slightly less than 5 gallons due to the lid and any other additions, so keep this in mind when adding compost materials.
- Material: It’s best to use a bucket made of durable and food-grade material, such as high-density polyethylene (HDPE). This ensures that the bucket is safe to use and won’t leach harmful chemicals into the compost.
- Lid: Look for a bucket with a tight-fitting lid. The lid helps to contain odors and prevent pests from accessing the compost. It also helps to maintain the internal moisture levels of the compost by preventing excessive evaporation.
- Handles: Consider buckets with handles, as they make it easier to transport and move the compost if necessary. Handles can also come in handy when turning the compost or emptying it.
When selecting a bucket, you may be able to find one at a local hardware store or home improvement center. Alternatively, you can repurpose a bucket that you already have, as long as it meets the necessary criteria.
Remember that composting is a natural process, and the bucket serves as a container to hold the materials. The key is to provide the right conditions for decomposition to occur, and the bucket should facilitate this process while being easy to manage.
By choosing the right bucket, you’re setting the stage for successful composting. With the container in hand, you can move on to the next step and begin preparing it for composting.
Step 2: Drilling Air Holes
Once you have chosen the right bucket for your composting project, the next step is to drill air holes. Adequate airflow is crucial for the composting process, as it allows oxygen to reach the microorganisms responsible for decomposition. Follow these steps to drill the necessary air holes:
- Gather your drill and a ¼-inch drill bit.
- Decide on the number and placement of air holes. It’s recommended to drill several holes around the sides and bottom of the bucket to ensure proper ventilation.
- Begin drilling the holes, maintaining a consistent size and spacing between them.
- Once all the holes are drilled, check to ensure they are clear of any debris that could block airflow.
- The air holes should be large enough to allow proper ventilation but small enough to prevent pests or excessive moisture from entering the compost. If you’re concerned about insects or other potential pests, you can cover the holes with fine mesh or screen to provide additional protection.
Drilling air holes in the bucket will help create a well-ventilated environment for the composting process. The microorganisms responsible for decomposition thrive in an aerobic (oxygen-rich) environment, and the air holes ensure they have the necessary oxygen to break down the organic matter effectively.
Remember that the size and number of air holes may vary depending on the specific design of your 5-gallon bucket, so use your judgment to determine what works best for your composting setup.
With the air holes drilled, you’re now ready to move on to the next step and prepare the bucket for the composting materials.
Step 3: Adding a Drainage Layer
Creating a proper drainage system is essential to prevent the compost from becoming too waterlogged and promote healthy decomposition. Adding a drainage layer at the bottom of the bucket helps ensure that excess moisture can escape. Follow these steps to add a drainage layer:
- Take a piece of fine mesh or screen and cut it to fit the bottom of the bucket. This will act as a barrier between the compost and the drainage layer.
- Place the mesh or screen at the bottom of the bucket, covering the entire base. This will prevent the compost from falling through the drainage holes.
- Add a layer of coarse materials, such as small stones or gravel, on top of the mesh. This layer will provide adequate drainage by creating space for water to flow freely.
- Ensure that the drainage layer is evenly spread and covers the entire bottom of the bucket.
The drainage layer serves a crucial role in preventing water accumulation in the compost. Excess moisture can lead to anaerobic conditions, slowing down the decomposition process and producing unpleasant odors. A well-drained composting system promotes a healthy balance of moisture and oxygen, creating an ideal environment for decomposition to occur.
Adding a drainage layer is a simple yet effective step that will contribute to the overall success of your composting efforts. With the drainage layer in place, you’re ready to move on to the next step and start adding the composting ingredients.
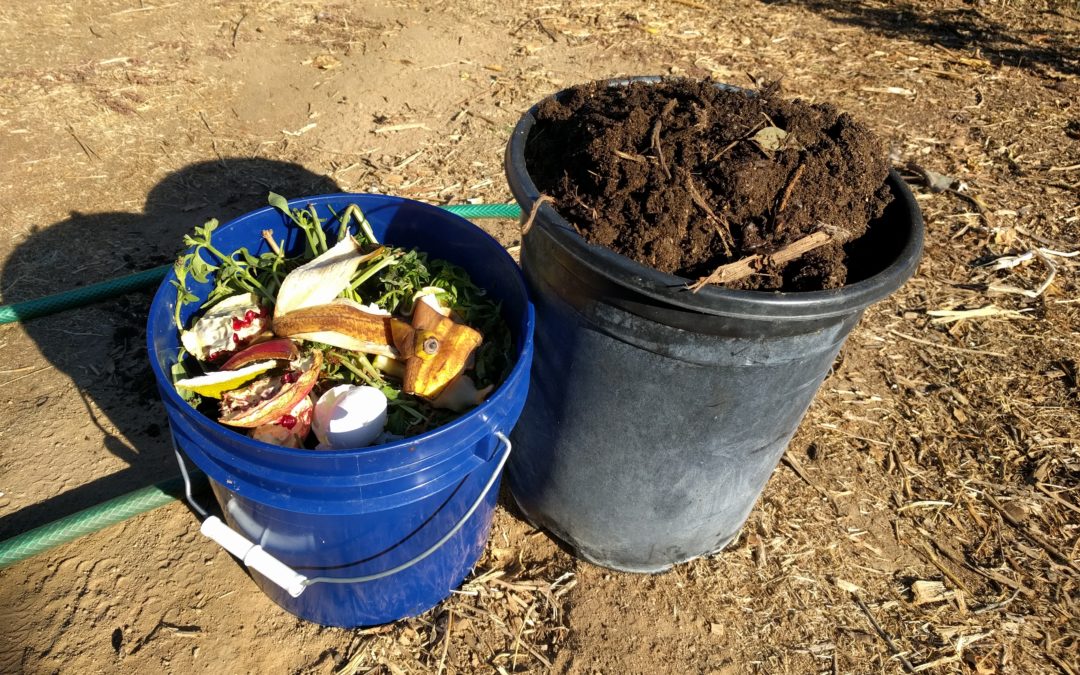
Step 4: Adding Compost Ingredients
Now that you have prepared the bucket with air holes and a drainage layer, it’s time to start adding the compost ingredients. Composting is all about finding the right balance of organic materials to create nutrient-rich compost. Follow these steps to add the compost ingredients:
- Collect a variety of organic materials that can be composted, such as kitchen scraps, yard waste, and shredded paper or cardboard. These materials can include vegetable peels, fruit scraps, coffee grounds, tea leaves, grass clippings, leaves, and small amounts of shredded paper or cardboard. Avoid adding meat, dairy products, oily foods, and large amounts of paper or cardboard, as they can attract pests or slow down the composting process.
- As you add the materials to the bucket, aim for a good mix of “green” and “brown” materials. Green materials, such as vegetable scraps and grass clippings, provide nitrogen, while brown materials, such as leaves and shredded paper, provide carbon. This balance of green and brown materials helps facilitate the composting process and prevent any potential odor issues.
- Layer the compost ingredients, starting with a thin layer of browns as the base, followed by a layer of greens. Repeat this layering process until you have used up all your composting materials. Aim to have slightly more brown materials than green materials.
- It’s essential to keep the compost moist but not overly wet. If your materials are too dry, you can sprinkle some water as you layer them. Alternatively, if your materials are too wet, you can add some dry brown materials to help absorb the excess moisture.
Adding a variety of organic materials to your compost ensures a diverse range of nutrients and promotes a healthy balance of microorganisms. The decomposition process relies on a combination of carbon, nitrogen, moisture, and oxygen to break down the materials effectively.
Remember to avoid adding any materials that are treated with harmful chemicals, as this can contaminate the compost. Stick to natural and organic materials to ensure the quality and safety of your compost.
With the compost ingredients added, you’re on your way to creating nutrient-rich compost for your garden. But the journey doesn’t end here! In the next step, we’ll learn how to maintain the moisture levels in the compost.
Step 5: Maintaining Moisture Levels
The moisture level in your compost is a critical factor in the decomposition process. Proper moisture ensures that the microorganisms responsible for breaking down organic matter can thrive and do their job effectively. Follow these steps to maintain the ideal moisture levels in your compost:
- Regularly check the moisture level of your compost by inserting your hand or a gardening tool into the mixture. It should feel damp, similar to a wrung-out sponge.
- If your compost feels too dry, add water. Use a watering can or a spray bottle to moisten the compost evenly. Avoid drenching the compost with too much water at once, as this can lead to waterlogging and slow down the decomposition process.
- If your compost feels too wet, add dry brown materials, such as shredded paper or dry leaves, to absorb the excess moisture. Mix the dry materials into the compost to disperse the moisture more evenly.
- Avoid letting your compost dry out completely, as this can slow down the decomposition process. Similarly, be cautious not to overwater, as excessive moisture can lead to unpleasant odors and the growth of anaerobic microorganisms.
- Throughout the composting process, monitor the moisture levels regularly and make adjustments as needed to maintain the optimal moisture balance.
Consistent monitoring and management of moisture levels are essential for successful composting. The right amount of moisture ensures that the beneficial microorganisms can thrive, breaking down the organic materials effectively and producing nutrient-rich compost.
Remember, composting is a dynamic process, and the moisture levels may fluctuate depending on environmental conditions. By staying vigilant and making adjustments as necessary, you’ll be well on your way to achieving optimal moisture control in your compost.
Now that you’ve learned how to maintain moisture levels, let’s move on to the next step and discover how to turn the compost to promote decomposition.
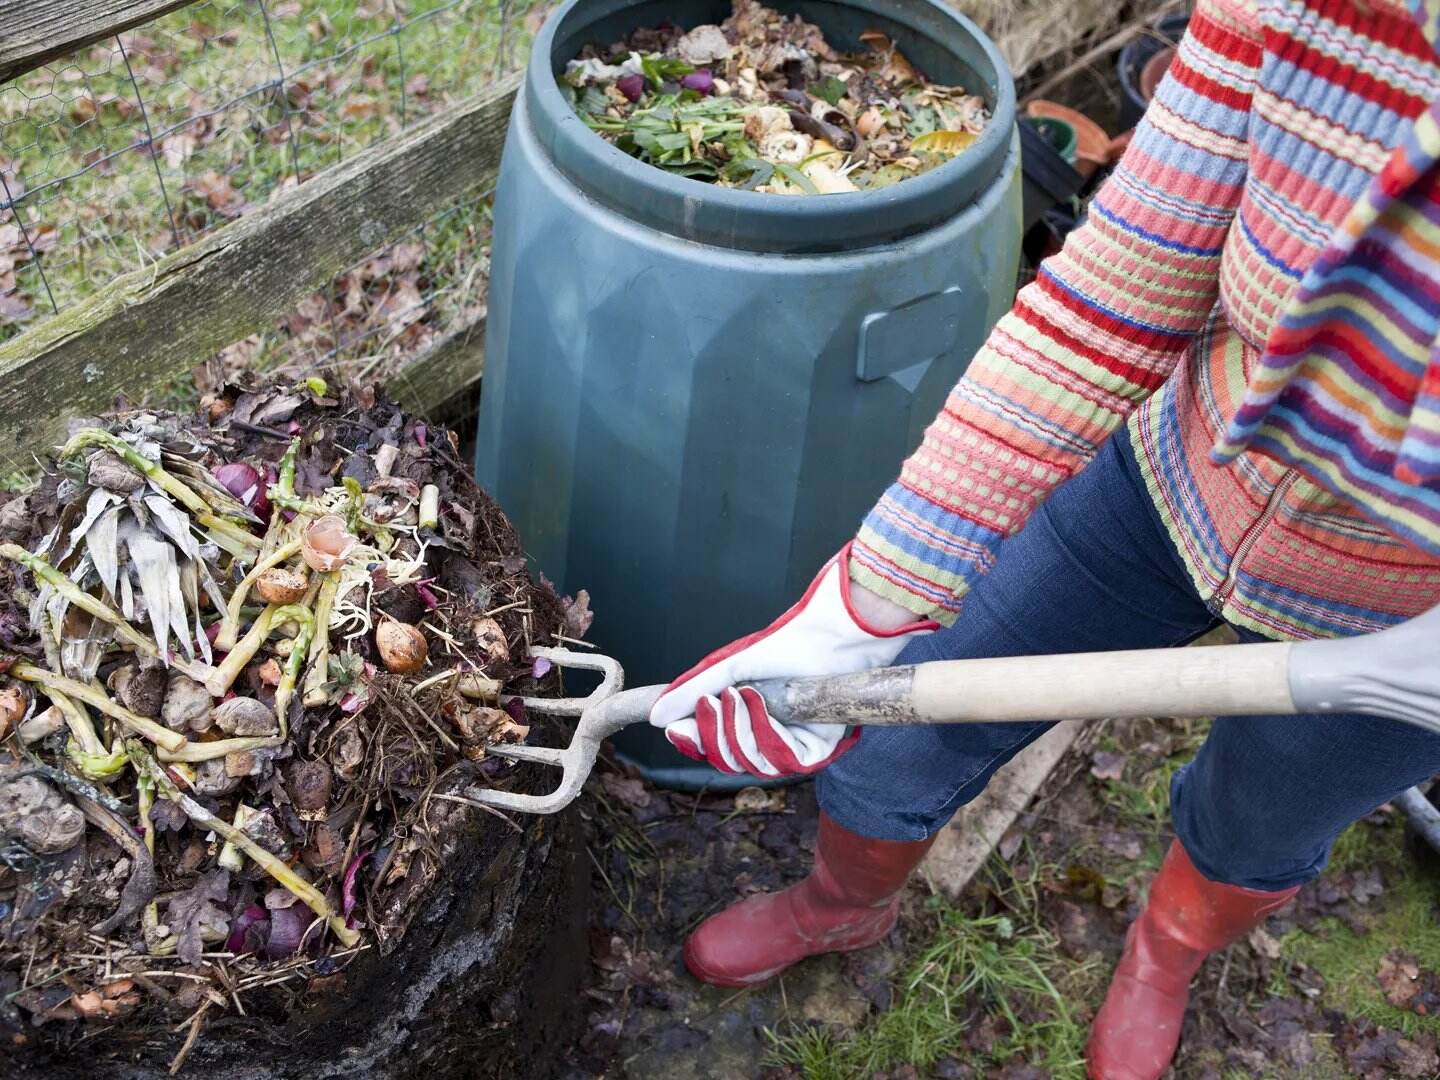
Step 6: Turning the Compost
Turning the compost is a crucial step in the composting process as it promotes aeration, mixes the materials, and helps speed up decomposition. Follow these steps to turn your compost effectively:
- Using a compost turner or a garden fork, gently mix the compost materials in the bucket. Start from the bottom and work your way up, ensuring that all the materials are thoroughly mixed.
- Aim to turn the compost every few days to once a week, depending on the temperature and moisture levels. Regular turning helps to introduce oxygen into the compost, which aerobic microorganisms need to break down the organic matter.
- Pay attention to any large clumps or pockets of material and break them apart as you turn the compost. This ensures that all the materials are evenly distributed.
- If you notice any dry spots during the turning process, moisten them with a little water to ensure uniform moisture throughout the compost.
- Turning the compost also helps regulate the temperature inside the bucket. If the compost gets too hot, turning can help cool it down, while if it’s too cool, turning can generate heat and speed up decomposition.
Turning the compost regularly is essential to maintain a healthy decomposition process. It allows for the even distribution of oxygen and moisture, preventing the formation of anaerobic zones that can slow down composting and cause unpleasant odors.
Keep in mind that the composting process can take several weeks to several months, depending on various factors such as temperature, moisture, and the types of materials used. By diligently turning the compost, you’ll be providing the ideal conditions for the microorganisms to do their work efficiently.
Now that you know how to turn your compost, we’re almost at the final step. Let’s move on to the last step and learn how to harvest the finished compost!
Step 7: Harvesting Your Compost
After patiently tending to your compost, it’s time to harvest the finished product and reap the benefits of your composting efforts. Follow these steps to harvest your compost:
- Stop adding new materials to the compost bucket a few weeks before you plan to harvest. This allows the remaining materials to finish decomposing, ensuring a more mature and nutrient-rich compost.
- It’s recommended to let the compost sit undisturbed for a couple of weeks after halting additions. During this time, the compost will finish breaking down, and any remaining larger pieces will continue to decompose into a finer consistency.
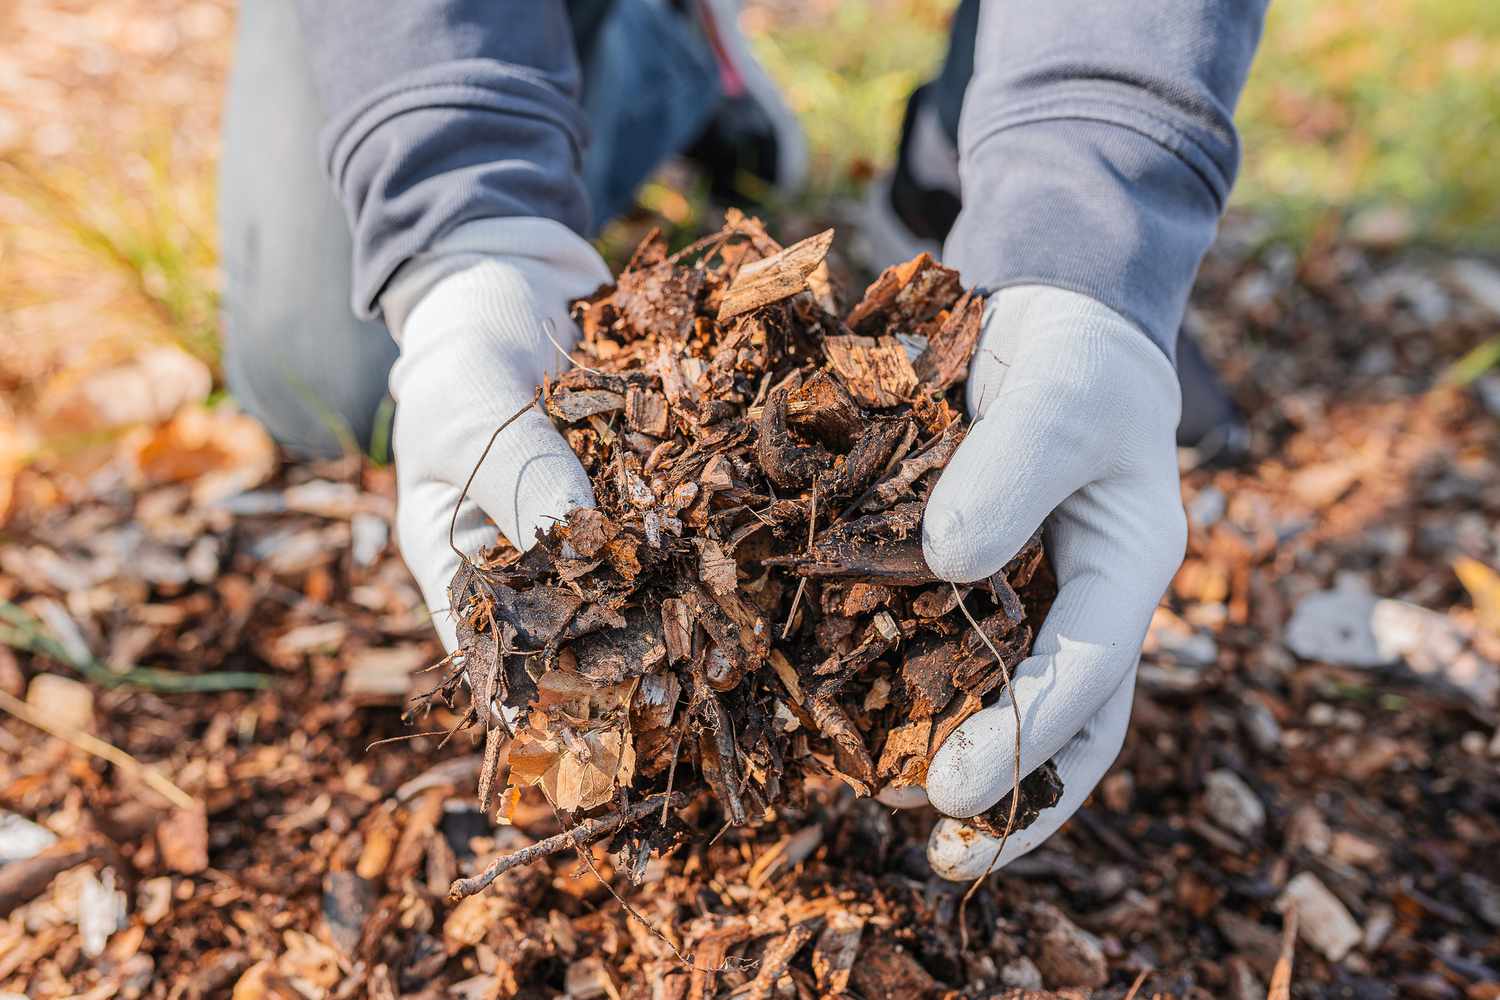
- When you’re ready to harvest, remove the lid and carefully inspect the compost. The top layer should be dark, crumbly, and have an earthy smell, indicating that it’s fully decomposed and ready to use.
- Start harvesting from the top of the compost pile by scooping out the finished compost. Avoid taking any undecomposed or partially decomposed materials.
- To separate any remaining larger or uncomposted materials from the finished compost, you can use a sifter or a mesh screen. Pass the compost through the sifter to collect only the fine, crumbly compost.
- Transfer the harvested compost to a separate container or directly into your garden bed, and gently work it into the soil. This will help improve soil structure, fertility, and overall plant health.
- Store any excess compost in a covered container or bin, ensuring it remains dry until you’re ready to use it in your garden.
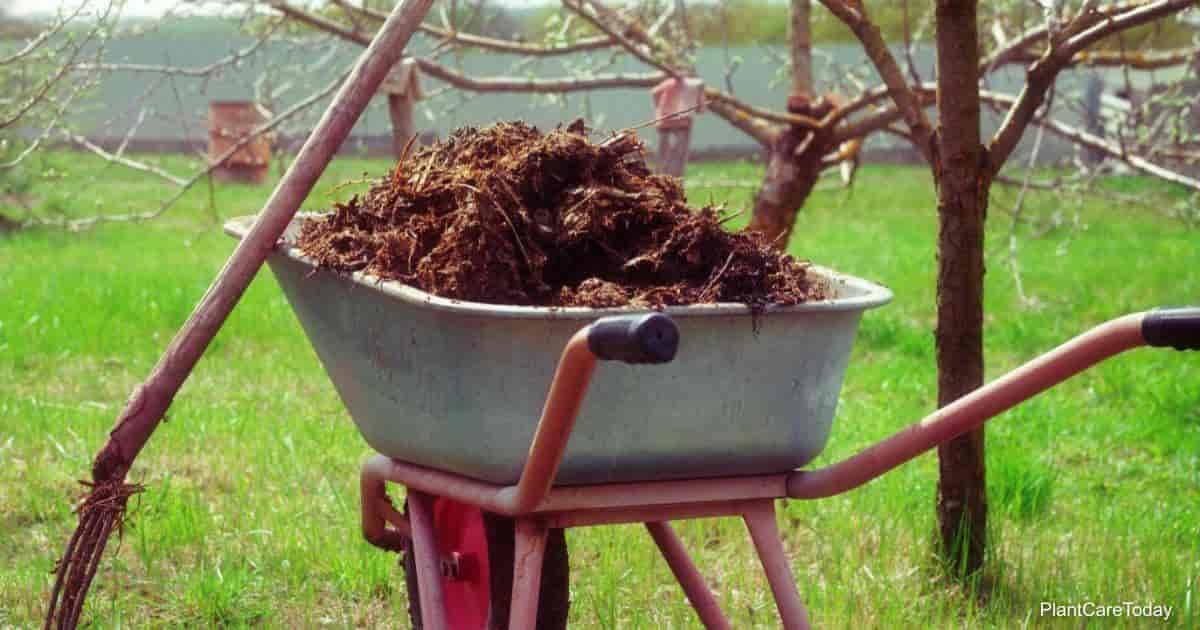
Harvesting your compost is a rewarding process, as it provides you with a valuable resource to nourish your plants and improve your garden’s health. The mature compost you obtain is rich in essential nutrients and beneficial microorganisms, making it an ideal soil amendment.
By following the above steps, you can ensure that you harvest only the fully decomposed compost, leaving any unfinished materials to continue the composting process. This way, you can maintain a continuous cycle of composting and constantly produce nutrient-rich compost for your garden.
Congratulations on successfully making compost in your 5-gallon bucket! By following the steps outlined in this guide, you’ve taken a significant step towards reducing waste and creating a more sustainable lifestyle. Now, it’s time to enjoy the fruits of your composting efforts and watch your garden thrive!
Conclusion
Composting in a 5-gallon bucket is a simple yet effective way to convert kitchen scraps and yard waste into nutrient-rich compost for your garden. By following the step-by-step process outlined in this guide, you can turn your organic materials into a valuable resource that not only reduces waste but also enhances soil fertility and promotes plant growth.
Throughout this journey, we’ve covered crucial steps such as choosing the right bucket, drilling air holes, adding a drainage layer, incorporating compost ingredients, maintaining moisture levels, turning the compost, and finally, harvesting the finished product. Each step plays a vital role in creating the optimal conditions for decomposition and ensuring the production of high-quality compost.
Composting is more than just a hobby; it’s a sustainable practice that benefits both the environment and your gardening endeavors. By diverting organic materials from landfills, you contribute to reducing greenhouse gas emissions and conserving valuable resources. Additionally, incorporating compost into your garden improves soil structure, enhances water retention, promotes beneficial microbial activity, and reduces the need for chemical fertilizers.
Remember, composting is a continuous process. As you harvest your compost, you can start the cycle again by adding new compost materials to the bucket and repeating the steps. With time, practice, and a commitment to sustainability, you’ll become a composting expert, continually enriching your garden and making a positive impact on the planet.
So, grab your 5-gallon bucket, gather your organic materials, and embark on the rewarding journey of composting. Take pride in knowing that you’re taking a proactive step towards a greener and more sustainable future, one bucket of compost at a time.