Home>Gardening Techniques>DIY Projects>How To Make A Compost Tumbler
DIY Projects
How To Make A Compost Tumbler
Modified: February 9, 2024
Learn how to make a compost tumbler with this DIY project. Reduce waste and create nutrient-rich soil for your garden.
(Many of the links in this article redirect to a specific reviewed product. Your purchase of these products through affiliate links helps to generate commission for Chicagolandgardening.com, at no extra cost. Learn more)
Table of Contents
- Introduction
- Materials and Tools Needed
- Step 1: Choosing the Right Container
- Step 2: Drilling Ventilation Holes
- Step 3: Creating a Door Opening
- Step 4: Adding Air Vents
- Step 5: Assembling the Tumbler
- Step 6: Preparing the Compost Ingredients
- Step 7: Filling the Tumbler with Compost Materials
- Step 8: Turning and Maintaining the Compost
- Step 9: Monitoring Moisture Levels
- Step 10: Harvesting the Compost
- Conclusion
Introduction
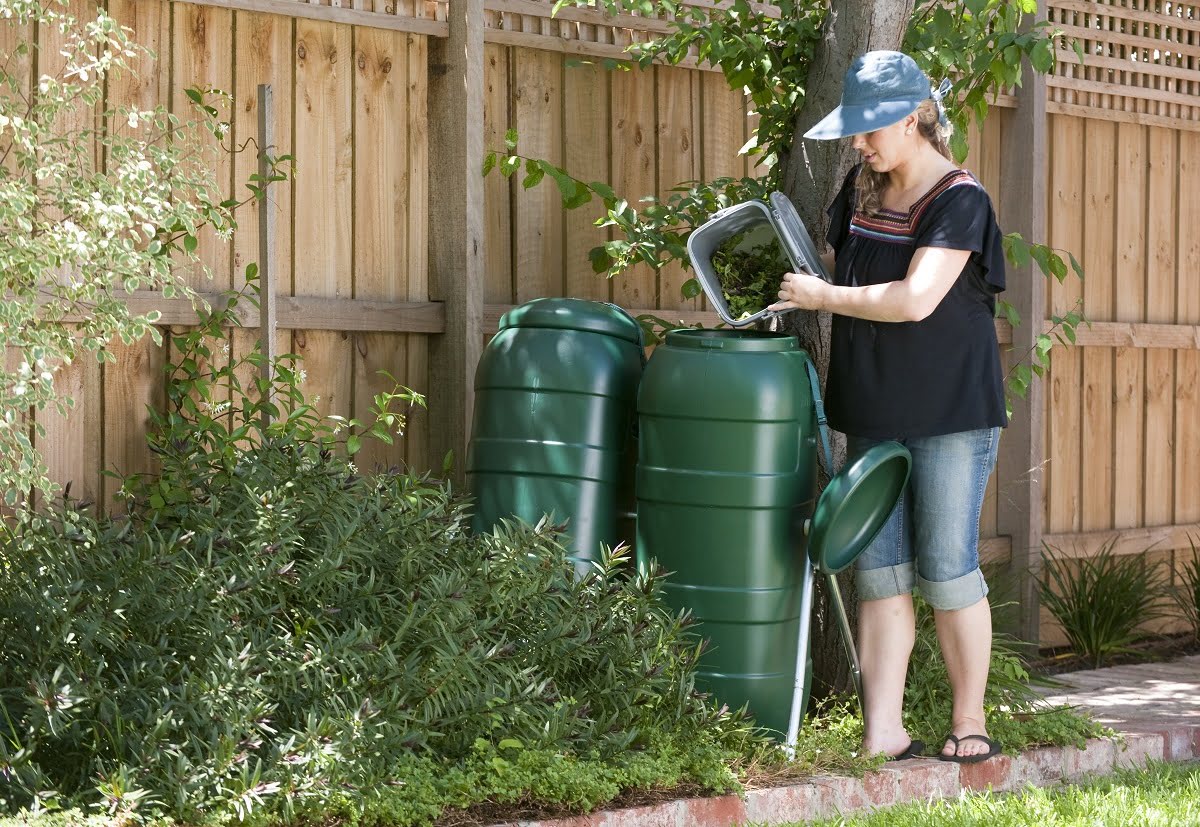
Welcome to the world of DIY composting! Making your own compost is not only a rewarding and eco-friendly way to dispose of organic waste but also a fantastic method to nurture your plants and improve soil health. And what better way to make compost than with a compost tumbler?
A compost tumbler is a rotating container that accelerates the decomposition process of organic materials. It provides a convenient and efficient way to create rich, nutrient-dense compost right in your backyard. Whether you are an experienced gardener or a beginner looking to reduce waste and enhance your garden’s fertility, a compost tumbler is an essential tool.
In this guide, we will walk you through the step-by-step process of creating your own compost tumbler. We will cover everything from choosing the right container to harvesting your finished compost.
With just a few materials and some basic tools, you will be on your way to producing black gold that will nourish your plants and promote a thriving ecosystem in your garden. So, let’s dive in and learn how to make a compost tumbler!
Materials and Tools Needed
Before we get started, let’s gather the necessary materials and tools:
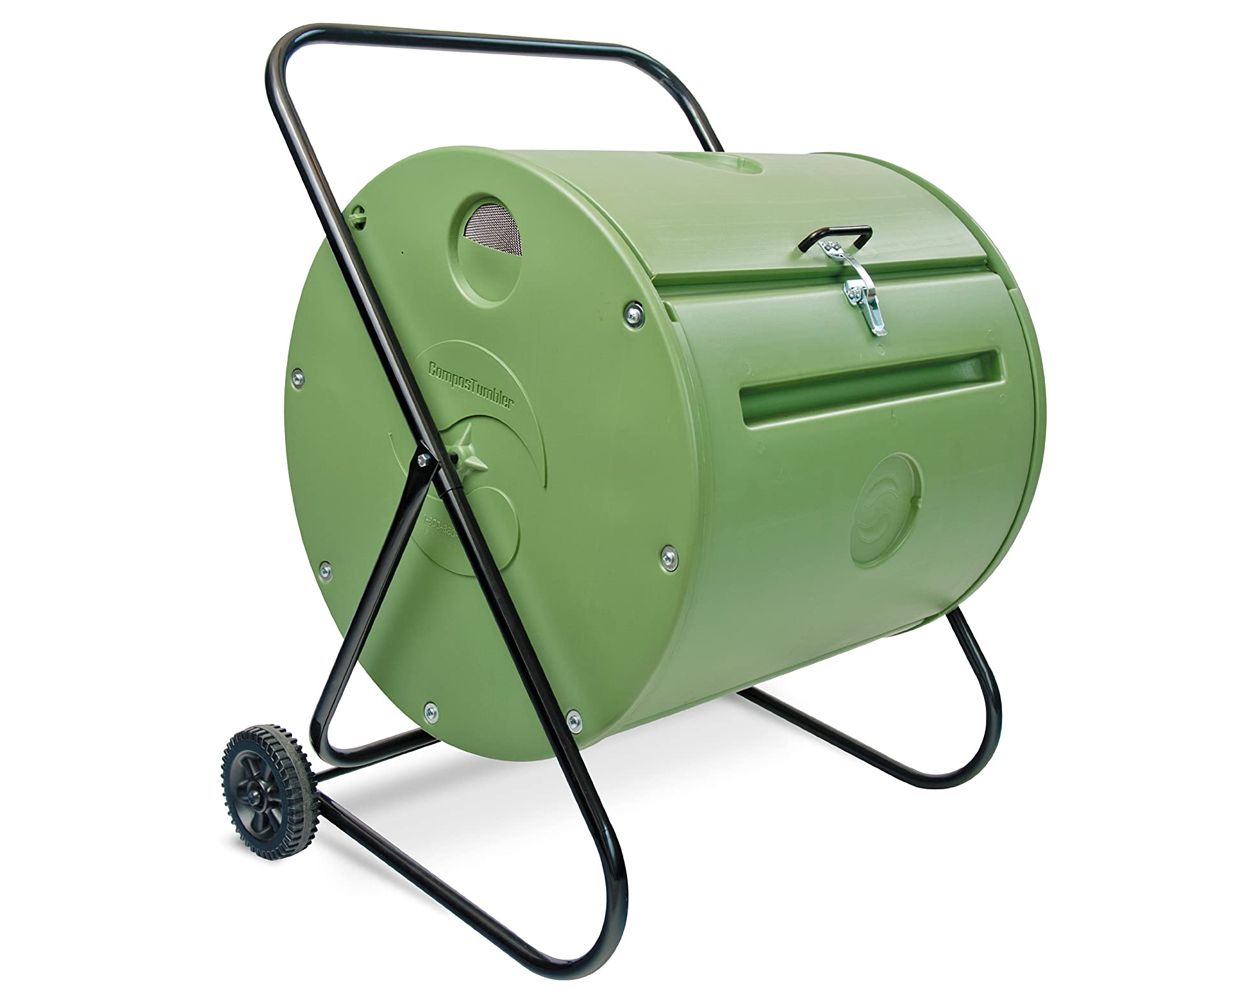
- A plastic drum or barrel with a tight-fitting lid, preferably food-grade and with a capacity of 30-55 gallons
- Drill with various drill bits, including a 1/4-inch bit for ventilation holes
- Jigsaw or reciprocating saw for creating a door opening (optional)
- Screen mesh or wire mesh for air vents
- A hinge and latch for the door (if creating one)
- Screws or zip ties to secure the mesh
- A shovel or pitchfork for turning the compost
- Your organic waste materials, such as kitchen scraps, yard clippings, leaves, and small branches
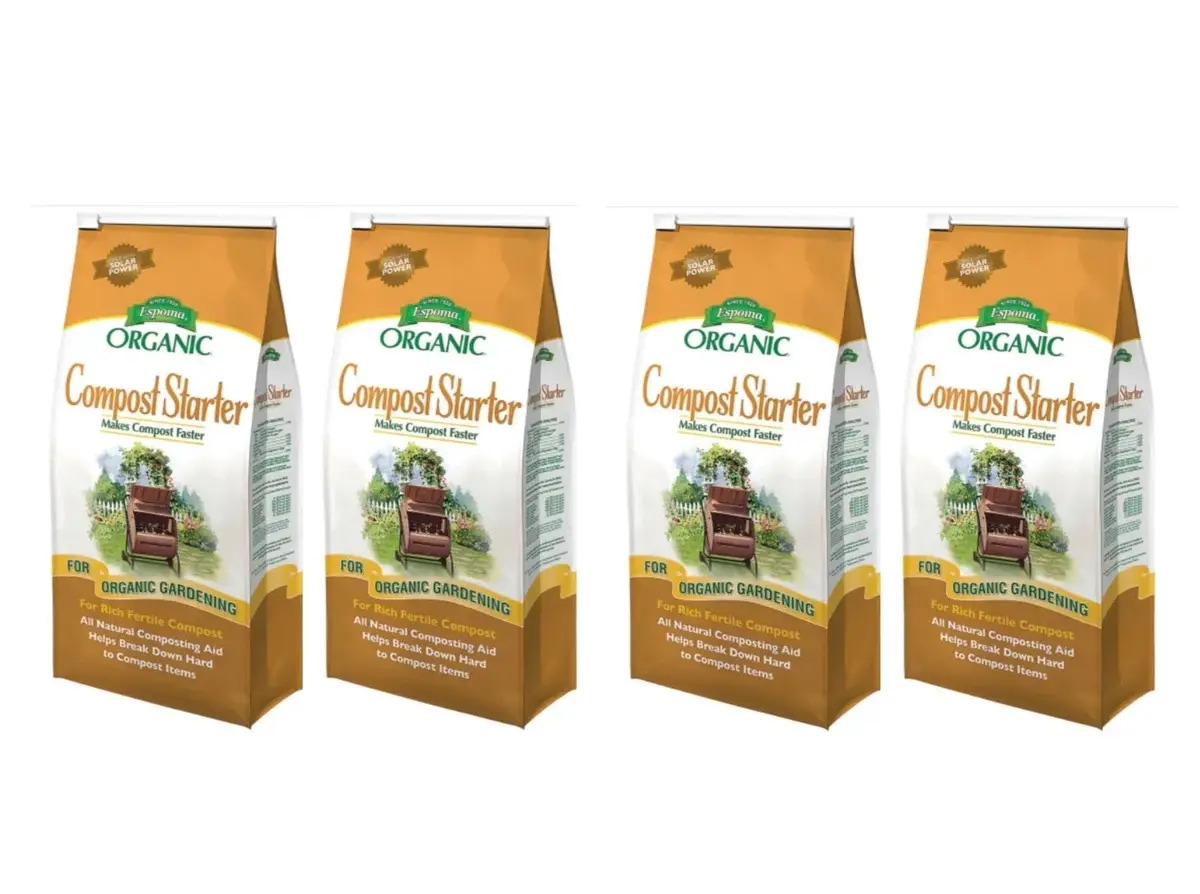
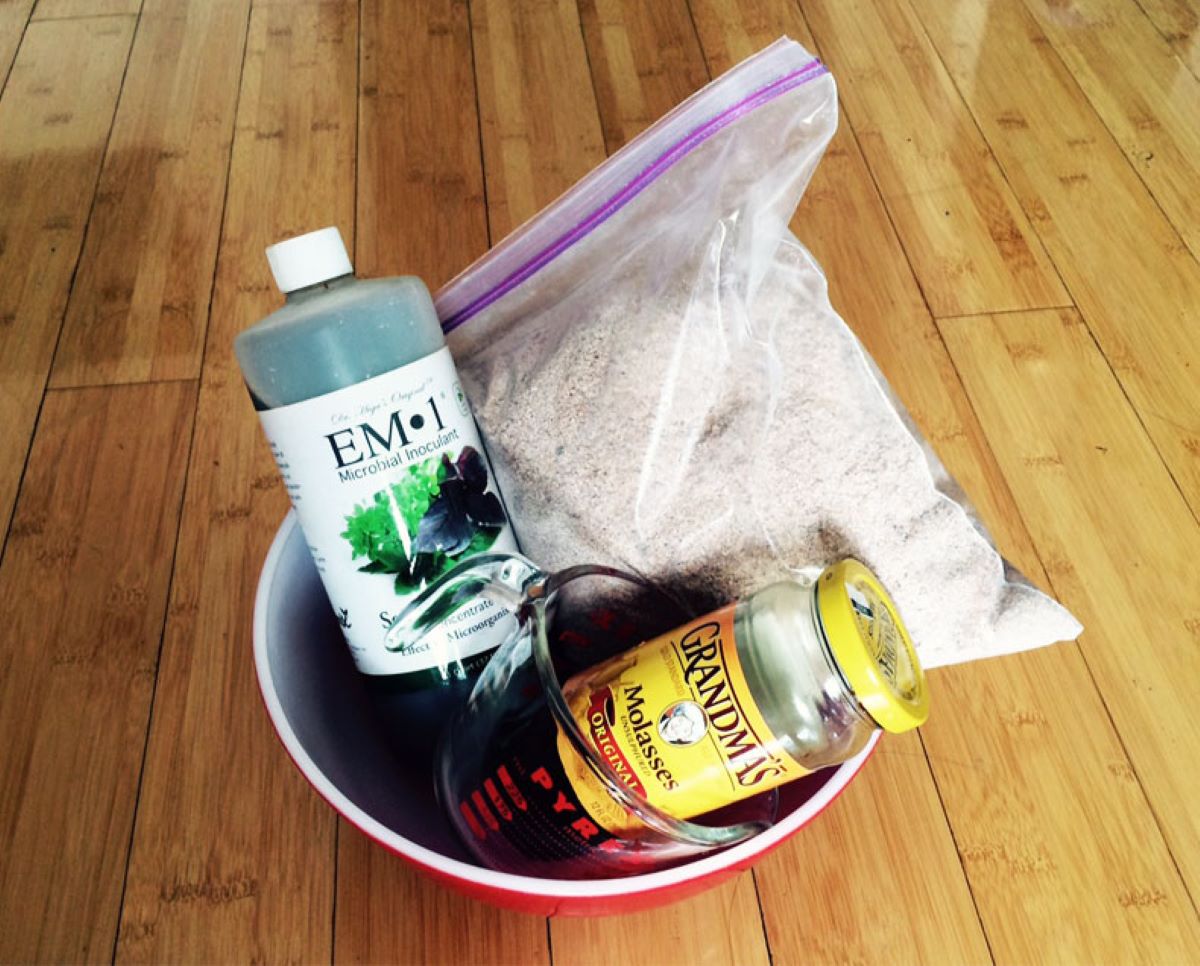
- Brown materials for carbon balance, such as dry leaves, straw, shredded paper, or cardboard
- Water source or hose for maintaining moisture levels
These are the basic materials and tools you will need to build and maintain your compost tumbler. It’s important to use a plastic drum or barrel that is food-grade and has a tight-fitting lid to prevent any odors or pests from escaping.
As for the tools, a drill with various drill bits will come in handy for creating ventilation holes in the drum. Depending on the design you choose, you may also need a jigsaw or reciprocating saw to create a door opening for easy access to the compost.
Screen mesh or wire mesh will be used to create air vents to allow proper airflow. You’ll also need a hinge and latch if you decide to create a door for your compost tumbler.
Lastly, make sure you have a shovel or pitchfork for turning the compost and mixing the materials. And don’t forget to gather your organic waste materials and brown materials to start the composting process!
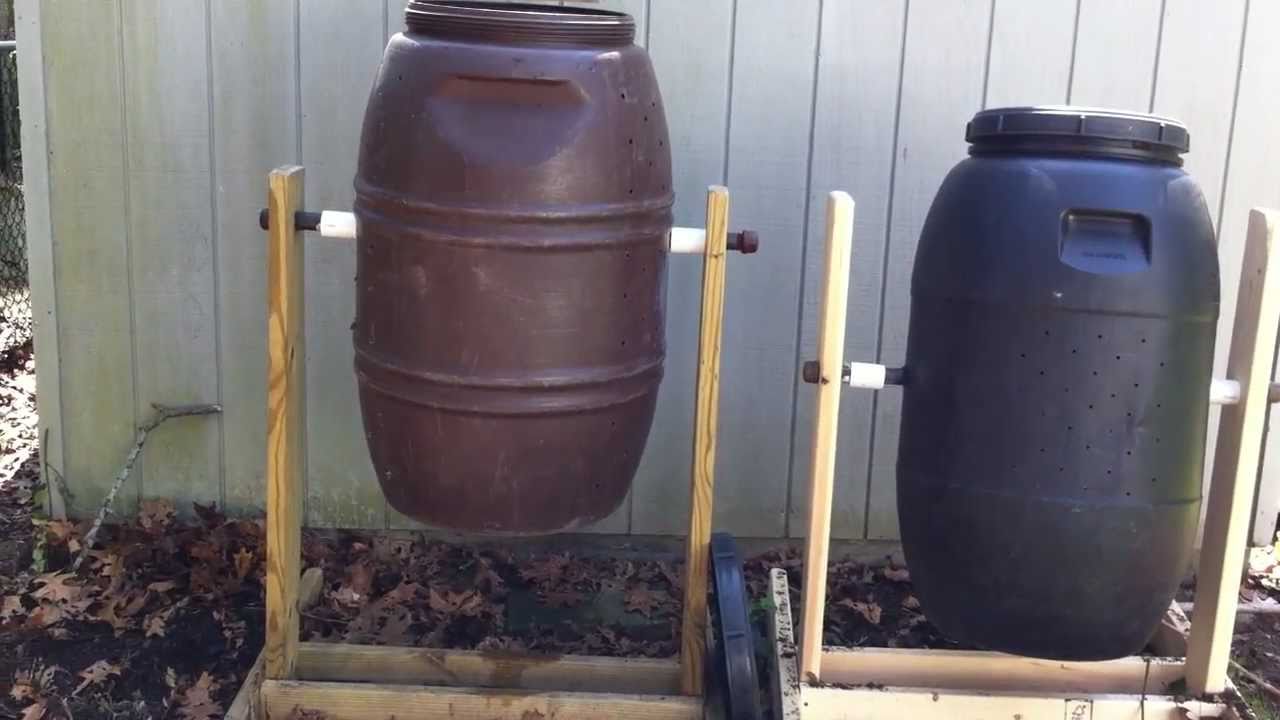
Step 1: Choosing the Right Container
The first step in making a compost tumbler is selecting the right container. The container will serve as the main structure for your composting system and should be sturdy, durable, and able to withstand the rotation and weight of the compost materials.
One popular option for a compost tumbler is a plastic drum or barrel. Look for a container with a capacity of 30-55 gallons to ensure you have enough space for your compost materials.
When choosing a container, opt for a food-grade plastic drum or barrel. These containers are made from high-density polyethylene (HDPE) and do not leach harmful chemicals into the compost. You can usually find food-grade containers at local farm supply stores or online.
Additionally, it’s important to select a container with a tight-fitting lid. This will help retain heat and moisture in the compost, speeding up the decomposition process. The lid should also be easy to open and close, allowing you to access the compost when needed.
Take the time to inspect the container for any cracks, leaks, or damage. Ensure that it is clean and free from any residues that might contaminate the compost.
Keep in mind that the container should be elevated off the ground to allow for proper ventilation and drainage. You can use bricks, wooden pallets, or any other sturdy materials to create a stable base for the compost tumbler.
By selecting the right container, you are laying the foundation for a successful composting system. Now that you have chosen the perfect container, it’s time to move on to the next step: drilling ventilation holes.
Step 2: Drilling Ventilation Holes
Proper ventilation is crucial for the success of your composting process. It allows oxygen to reach the microorganisms responsible for breaking down the organic matter and prevents foul odors from accumulating.
To create ventilation holes in your compost tumbler, you will need a drill with a 1/4-inch drill bit. Start by marking the spots where you want to drill the holes on the container. It’s best to distribute the holes evenly around the drum to ensure proper airflow.
Begin drilling the holes, applying moderate pressure and keeping the drill at a right angle to the container. Space the holes approximately 4-6 inches apart to allow for adequate airflow.
The number of ventilation holes you drill will depend on the size of your container, but as a general rule of thumb, aim for around 20-30 holes.
While drilling the holes, it’s essential to avoid placing them too close to the bottom of the container. This will prevent any liquid compost runoff from leaking out and ensure that your compost stays moist.
After drilling the holes, check if any sharp edges or burrs have formed. Use sandpaper or a file to smooth them out, reducing the risk of injury when handling the compost tumbler.
Remember that the ventilation holes are crucial for allowing proper airflow throughout the compost. They will help maintain optimal conditions for the microorganisms to thrive, ensuring efficient composting.
With the ventilation holes in place, you are one step closer to having a functional compost tumbler. The next step will involve creating a door opening for easy access to the compost. So, let’s move on to Step 3!
Step 3: Creating a Door Opening
Creating a door opening in your compost tumbler is optional but highly recommended. It allows for easy access to the compost, making it convenient to add new materials and remove finished compost.
To create a door opening, you will need a jigsaw or reciprocating saw. Start by marking the desired location for the door on the container. Typically, it’s best to place the door towards the middle or lower portion of the drum for better accessibility.
Using the jigsaw or reciprocating saw, carefully cut along the marked lines to create the opening. Take your time and ensure that the cut is smooth and even.
Once the initial cut is complete, test the door to ensure it fits properly and can open and close smoothly. You may need to make some adjustments and fine-tune the edges to ensure a good seal.
If you decide not to create a door opening, you can still compost effectively by using the ventilation holes for adding materials and turning the compost. However, having a door makes the process more convenient and allows for better control over the composting process.
Remember, the addition of a door opening is optional, and you can proceed to the next step without it. However, if you choose to create a door, it’s time to move on to Step 4, where we will add air vents to the compost tumbler.
Step 4: Adding Air Vents
Proper airflow is essential for the success of your composting process. Adding air vents to your compost tumbler will ensure that the compost receives enough oxygen to support the decomposition process.
To add air vents, you will need screen mesh or wire mesh and screws or zip ties. Start by cutting a piece of mesh that is slightly larger than the area you want to cover for each air vent.
Place the mesh over the chosen spot on the container where you want to add an air vent. Secure it in place using screws or zip ties, making sure it is tightly fastened. Repeat this process for each air vent you want to add.
The number and placement of air vents will depend on the size and design of your compost tumbler. It’s important to have enough air vents to allow for proper airflow, but they should not be too large to prevent pests or excess moisture from entering the compost.
Typically, it’s recommended to have a few air vents evenly distributed around the container, including one on the lid for adequate ventilation.
Adding air vents will help maintain ideal conditions inside the compost tumbler. It allows oxygen to reach the microorganisms responsible for decomposition while preventing the formation of anaerobic conditions that can lead to foul odors.
Now that you have added air vents to your compost tumbler, it’s time to move on to the next step: assembling the tumbler. This will bring the different components together to create a functioning composting system.
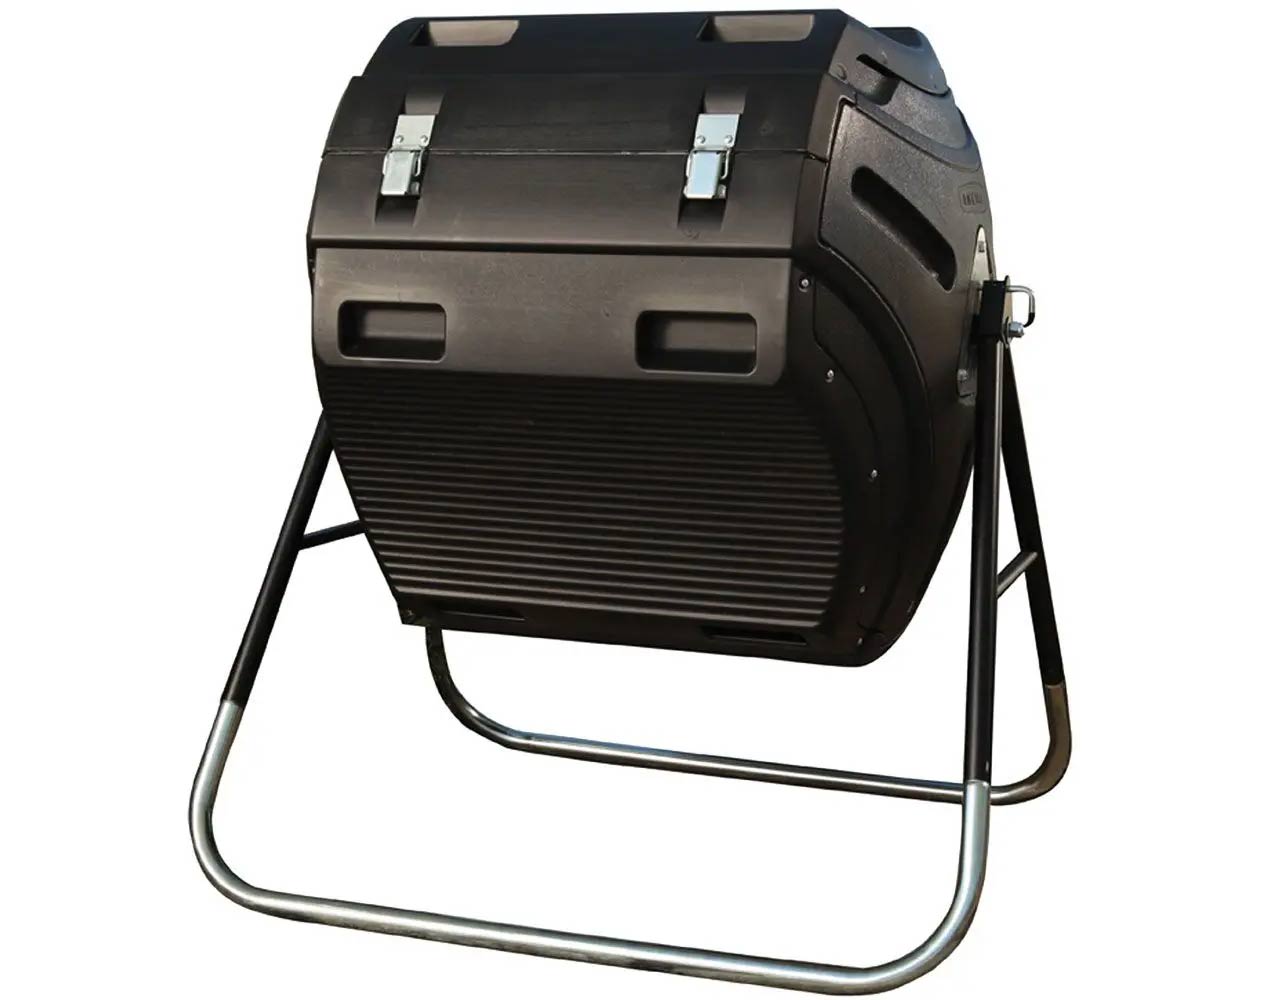
Step 5: Assembling the Tumbler
With the necessary modifications made to the container, it’s time to assemble your compost tumbler. The assembly process will vary depending on the design of your tumbler, but we will provide a general overview to guide you through this step.
Start by placing the container in an upright position on its base. If you have elevated the container using bricks or pallets, ensure that it is stable and doesn’t wobble.
If your compost tumbler has a door, attach the hinge to one side of the door opening and the corresponding side of the container. Make sure the hinge is securely fastened and allows for the door to open and close smoothly.
Next, attach a latch to the opposite side of the door opening and the container. This will keep the door securely closed while the tumbler is in use. Ensure that the latch is aligned properly and functions smoothly.
If your compost tumbler doesn’t have a door, this step can be skipped, and you can proceed by securing the lid of the container tightly.
Make sure all the components are securely attached and properly aligned before moving on to the next step. This will ensure that the compost tumbler functions effectively and prevents any unwanted leaks or spills.
Once you have assembled the tumbler, give it a test spin to make sure it rotates smoothly. If there are any issues, such as friction or jamming, make the necessary adjustments to ensure smooth rotation.
With the tumbler assembled and ready to go, you are one step closer to creating nutrient-rich compost. In the next step, we will discuss how to prepare the compost ingredients before filling the tumbler.
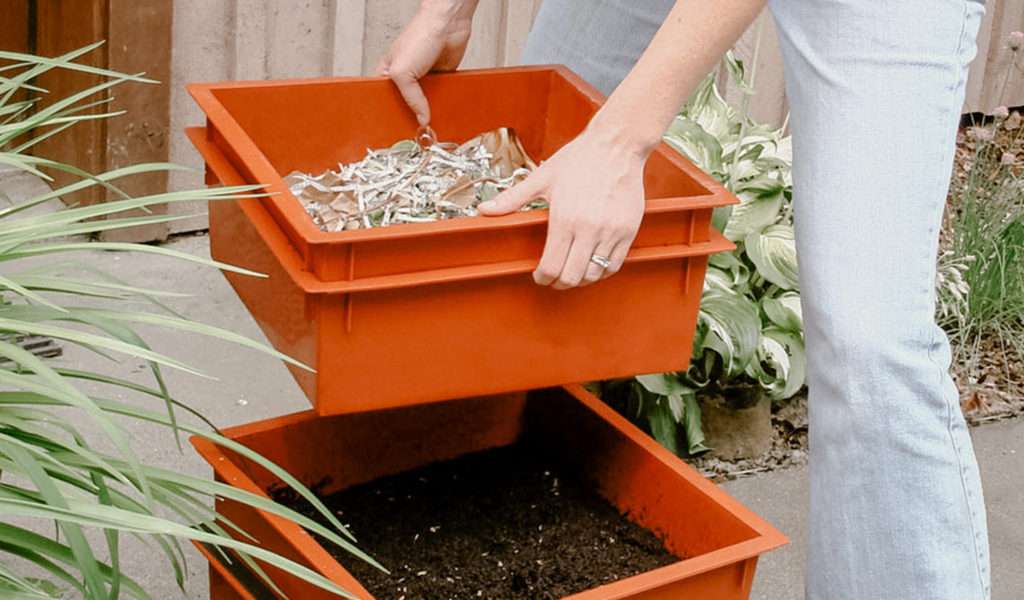
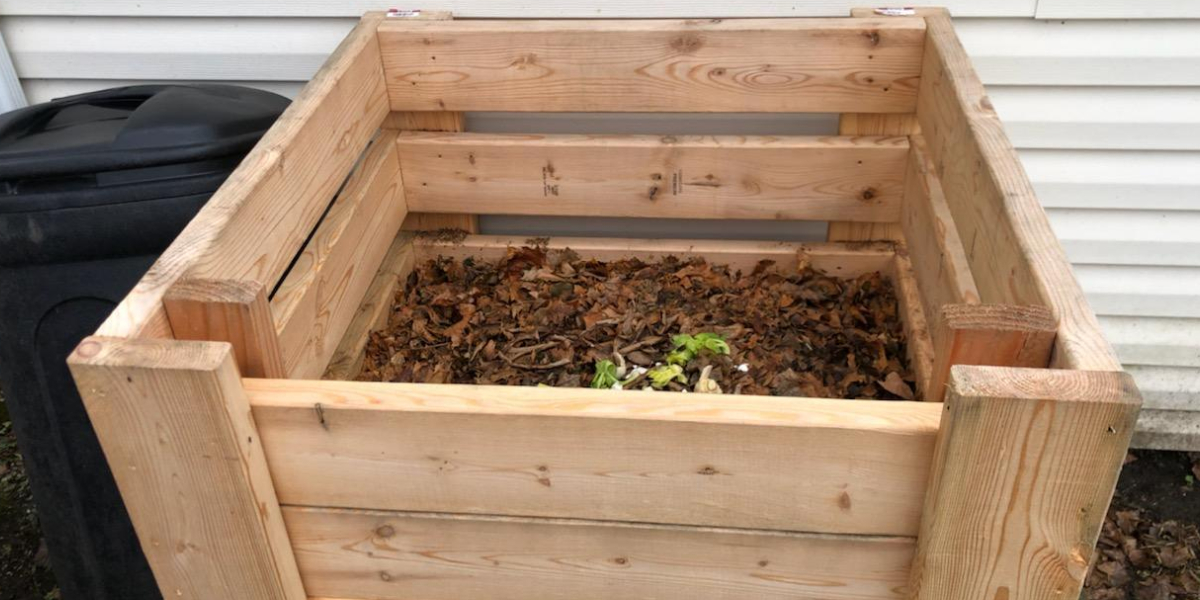
Step 6: Preparing the Compost Ingredients
Before filling your compost tumbler, it’s important to prepare the compost ingredients to ensure a balanced and effective composting process. Compost requires a mix of green and brown materials to provide the necessary nutrients and carbon for decomposition.
Start by collecting your green materials, which include kitchen scraps like fruit and vegetable peels, coffee grounds, tea leaves, and grass clippings. These materials are rich in nitrogen and provide the necessary nutrients for the composting process.
Next, gather your brown materials, which consist of dry leaves, straw, shredded paper, and cardboard. These materials are high in carbon and help create a proper carbon-to-nitrogen ratio, promoting a healthy composting environment.
It’s essential to strike a balance between the green and brown materials. Aim for a ratio of approximately 3 parts brown materials to 1 part green materials. This balance ensures that the compost will decompose efficiently without becoming too dry or too wet.
Before adding the materials to your tumbler, consider breaking them down into smaller pieces. Chop or shred large kitchen scraps and cut up larger dry leaves and cardboard to facilitate the composting process. Smaller pieces will decompose faster and create a more uniform mixture.
Remember to avoid adding meat, dairy products, oily foods, and pet waste to your compost. These materials can attract pests and slow down the composting process.
By preparing your compost ingredients and achieving the right balance between green and brown materials, you are setting the stage for a successful composting process. Now, let’s move on to the next step: filling the tumbler with the prepared compost materials.
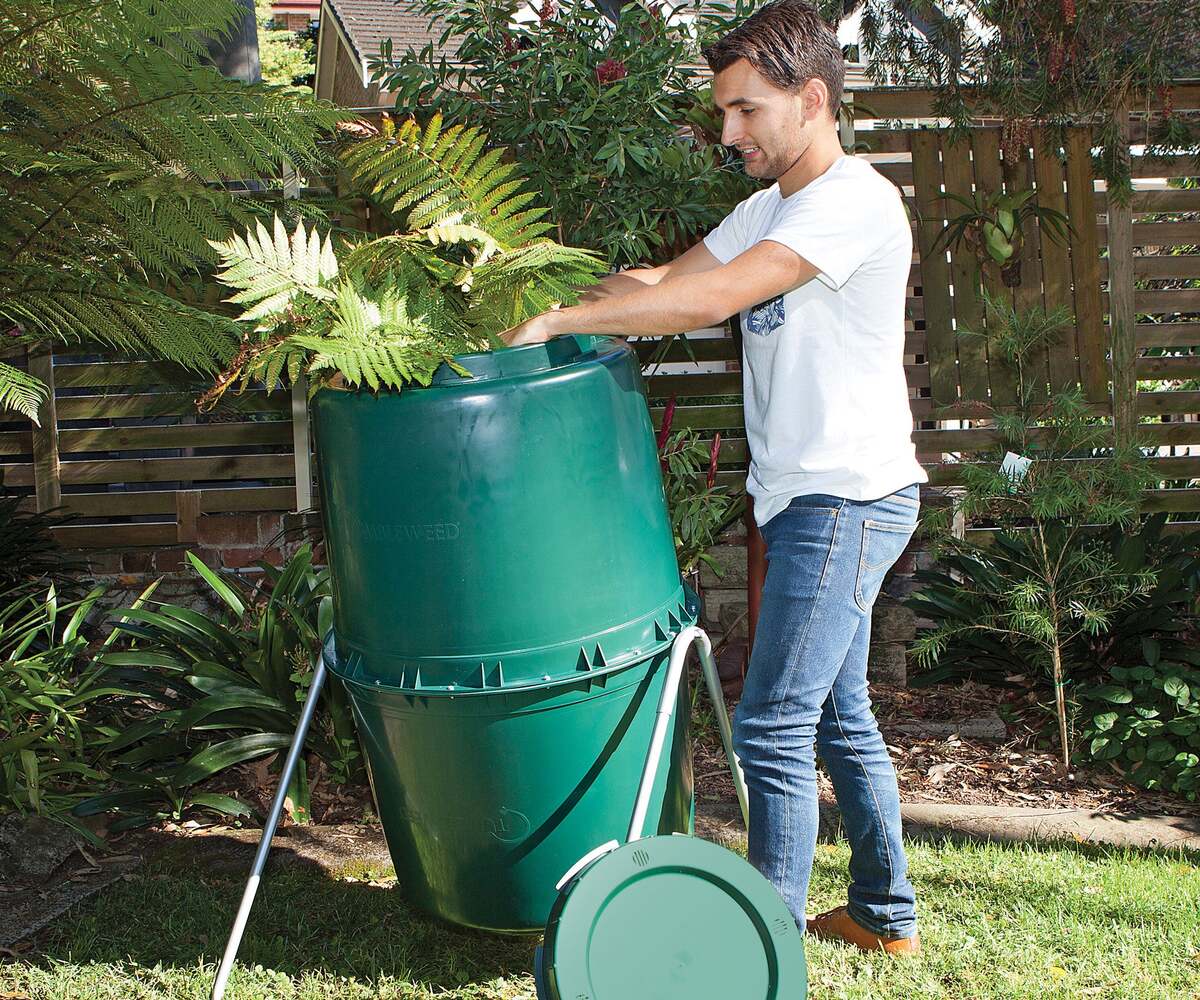
Step 7: Filling the Tumbler with Compost Materials
Now that you have prepared the compost ingredients, it’s time to fill your tumbler with the materials. This step is where the magic begins, as the composting process will transform these materials into nutrient-rich soil amendment.
Start by layering your compost ingredients inside the tumbler. Begin with a layer of brown materials, such as dry leaves or shredded paper, at the bottom. This layer helps create a base for the compost and aids in moisture absorption.
On top of the brown layer, add a layer of green materials like kitchen scraps and grass clippings. Remember to break them down into smaller pieces for faster decomposition.
Continue alternating layers of brown and green materials until the tumbler is filled, leaving some space at the top for proper aeration and to prevent spills when turning the compost.
As you add the compost materials, you can also moisten them with water. Aim for dampness, similar to a wrung-out sponge. Moisture helps kickstart the decomposition process and ensures that the microorganisms have enough water to thrive.
It’s important to pack the materials loosely inside the tumbler to allow for proper airflow. Avoid compacting the compost, as this can hinder decomposition and cause anaerobic conditions.
Now that the tumbler is filled with the compost materials, it’s time to move on to the next step: turning and maintaining the compost. This crucial step involves periodically mixing and aerating the compost to facilitate decomposition and ensure a healthy composting process.
Step 8: Turning and Maintaining the Compost
Turning and maintaining the compost is an essential step in the composting process. By periodically mixing and aerating the compost, you create the ideal conditions for decomposition and accelerate the breakdown of organic materials.
Start by using a shovel or pitchfork to turn the compost in your tumbler. This process involves moving the materials from the outer edges to the center and vice versa. Turning the compost helps distribute moisture, oxygen, and microorganisms evenly throughout the pile.
It’s recommended to turn the compost every 1-2 weeks initially, and then gradually increase the frequency as the decomposition process progresses. This agitation promotes the breakdown of materials and prevents compacting, odor buildup, and the formation of clumps.
Additionally, you can monitor the internal temperature of the compost using a thermometer. The ideal temperature range for composting is between 120-160°F (49-71°C). If the temperature drops below this range, it may indicate a lack of nitrogen or insufficient aeration.
Ensure that the compost remains moist but not overly wet. If it feels too dry, add water to increase moisture levels. Conversely, if it feels too wet, mix in additional brown materials to absorb excess moisture.
During the turning process, you may notice that some materials have decomposed into dark, crumbly compost, while others are still recognizable. This is an indication of the decomposition progress. Continue turning and mixing until all the materials have transformed into a uniform, dark, and earthy-smelling compost.
By regularly turning and maintaining the compost, you create an environment that encourages beneficial microorganisms to thrive and break down the organic matter efficiently.
Now that you have learned how to turn and maintain the compost, let’s move on to the next step: monitoring moisture levels to ensure a healthy composting environment.
Step 9: Monitoring Moisture Levels
Monitoring moisture levels in your compost is crucial for maintaining a healthy composting environment. Proper moisture ensures that the microorganisms responsible for decomposition can thrive and break down the organic materials effectively.
Start by regularly checking the moisture content of the compost. The compost should feel moist to the touch, resembling a damp sponge. If it feels too dry, it can slow down the decomposition process. Conversely, if it feels overly wet, it can lead to anaerobic conditions and unpleasant odors.
To increase moisture levels in dry compost, add water using a watering can or hose. Ensure that the water is evenly distributed throughout the material. Mix the compost thoroughly to help distribute moisture and prevent dry pockets.
If the compost is too wet, add additional brown materials like dry leaves, shredded paper, or cardboard. These materials will absorb excess moisture and help balance the compost.
Keep in mind that the ideal moisture level may vary depending on your specific composting materials and local climate. Consistently monitor the moisture content and make adjustments as needed to maintain a moist, but not soggy, environment.
Factors such as rainfall, temperature, and the types of materials you add to the compost can influence moisture levels. Adjust watering and the frequency of turning based on these variables.
Regularly turning the compost also helps to distribute moisture evenly and prevents overly wet or dry spots from forming.
Remember that maintaining proper moisture levels in your compost is essential for promoting active decomposition and preventing issues such as odors or pest infestations.
Now that you understand the importance of monitoring moisture levels, let’s move on to the final step: harvesting the finished compost.
Step 10: Harvesting the Compost
After weeks or months of patiently tending to your compost, it’s time to reap the rewards of your efforts by harvesting the finished compost. Harvesting refers to the process of separating the fully decomposed compost from any remaining organic materials.
To begin, stop adding new materials to the compost tumbler a few weeks before the anticipated harvest time. This allows the last batch of materials to undergo the final stages of decomposition.
Start by turning the compost one last time. This helps mix the partially decomposed materials with the finished compost and ensures an even distribution.
Next, open the door (if your tumbler has one) or remove the lid and start removing the compost. Using a shovel or pitchfork, scoop out the compost from the tumbler and transfer it to a separate container or directly onto your garden beds or potted plants.
As you remove the compost, you may come across some partially decomposed or undecomposed materials. These can be added back into the tumbler to continue the decomposition process or set aside for future use as a starter for a new batch of compost.
Inspect the harvested compost for a dark, crumbly texture and a rich, earthy smell. These are indicators of a well-decomposed, nutrient-rich compost that is ready to be utilized.
If there are any remaining composting materials in the tumbler, you can return them to the tumbler to continue decomposing or add them to a new batch of compost.
With the finished compost out of the tumbler, you can now use it to enrich your garden soil, top dress your plants, or create nutrient-rich potting mixes.
Congratulations! You have successfully completed the composting process and harvested your own homemade compost. Pat yourself on the back for your contribution to reducing waste and creating a sustainable gardening practice.
Remember to start a new composting cycle by filling the tumbler with fresh organic materials and continuing the process to create an endless supply of nutrient-rich compost for your garden.
Conclusion
Building and maintaining a compost tumbler is not only a great DIY project but also a sustainable way to reduce waste and create nutrient-rich compost for your garden. By following the step-by-step process outlined in this guide, you can easily create a functional composting system right in your backyard.
From choosing the right container to harvesting the finished compost, each step plays a crucial role in ensuring the success of your composting process. Take the time to select a suitable container, drill ventilation holes, create a door (if desired), and add air vents to promote proper airflow.
Preparing the compost ingredients with a mix of green and brown materials sets the foundation for a balanced compost pile. Regularly turning the compost and monitoring moisture levels play key roles in maintaining optimal conditions for decomposition.
Finally, harvesting the finished compost is a rewarding moment, as you see the fruits of your labor in the form of nutrient-rich organic matter that will benefit your plants and soil.
Remember to continuously collect and add organic waste materials to your compost tumbler, ensuring a regular supply of organic matter to feed the microbes and keep the composting process going.
By incorporating composting into your gardening routine, you reduce the amount of waste sent to landfills, improve soil health, and promote a more sustainable garden ecosystem.
So, put on your DIY hat and give composting a try. Building your own compost tumbler is a rewarding and environmentally friendly project that will benefit both your garden and the planet.