Home>Gardening Techniques>DIY Projects>How To Compost Using A Tumbler
DIY Projects
How To Compost Using A Tumbler
Modified: January 22, 2024
Learn how to compost using a tumbler with these DIY projects. Create nutrient-rich soil for your garden by following our step-by-step guide.
(Many of the links in this article redirect to a specific reviewed product. Your purchase of these products through affiliate links helps to generate commission for Chicagolandgardening.com, at no extra cost. Learn more)
Table of Contents
Introduction
Welcome to the wonderful world of composting! If you’re a DIY enthusiast looking to make a positive impact on the environment, composting is a fantastic way to reduce waste and create nutrient-rich soil for your garden or plants. One of the most popular methods of composting is using a tumbler. A compost tumbler is a simple and efficient device that accelerates the decomposition process of organic materials by providing a controlled environment for composting.
Composting with a tumbler offers numerous benefits over traditional composting methods. It allows for quicker decomposition, odor control, and a more compact and tidy composting setup. With a tumbler, you can easily turn and mix the compost to ensure proper aeration, which speeds up the breakdown of materials. Whether you have limited space or want a low-maintenance composting solution, a tumbler is an excellent choice.
In this article, we will guide you through the process of composting using a tumbler, from choosing the right one to harvesting and using your finished compost. We will cover all the essential steps and provide tips and troubleshooting advice along the way. By the end, you’ll have all the knowledge you need to start composting like a pro.
So, let’s get ready to dive into the exciting world of composting with a tumbler and discover how easy and rewarding it can be to transform your kitchen scraps and yard waste into black gold for your garden!
Benefits of Composting with a Tumbler
Composting with a tumbler offers a range of benefits that make it an attractive option for both beginners and experienced gardeners. Let’s explore some of the key advantages:
- Speed and Efficiency: One of the primary benefits of using a tumbler for composting is the speed at which organic materials break down. The tumbling action helps to aerate the compost, providing oxygen to the microorganisms responsible for decomposition. This accelerated process can produce usable compost in as little as a few weeks, compared to several months with traditional methods.
- Odor Control: With a tumbler, you can keep unpleasant odors at bay. The enclosed design and controlled environment of a tumbler help to minimize odor production. Plus, by regularly turning the tumbler, you can increase oxygen flow and prevent anaerobic conditions that lead to foul smells.
- Space-Saving: If you have limited space, a tumbler is a space-saving option. Unlike open piles or traditional compost bins, tumblers are compact and take up less room in your yard or garden. This makes them ideal for urban dwellers or those with small outdoor spaces.
- Tidiness and Aesthetics: Composting with a tumbler helps keep your composting area neat and tidy. Since the tumbler is sealed, it prevents pests and critters from accessing the compost and scattering it around. Additionally, its enclosed design gives your composting setup a clean and organized look.
- Control Over Composting Conditions: A tumbler allows you to have better control over various factors that influence the composting process. You can easily monitor and adjust the moisture levels, ensuring that the compost stays damp but not soggy. Additionally, by turning the tumbler regularly, you can mix the materials thoroughly, promoting faster decomposition and preventing clumping or matting.
Composting with a tumbler is not only beneficial for the environment but also provides you with a convenient and efficient way to convert waste into nutrient-rich compost for your garden. By taking advantage of the speed, odor control, space-saving design, tidiness, and control offered by a tumbler, you can enjoy the rewards of composting without the drawbacks of traditional methods.
Choosing the Right Tumbler
When it comes to choosing a compost tumbler, there are a few factors to consider to ensure you select the right one for your needs. Here are some key points to keep in mind:
- Size and Capacity: Consider how much compost you generate and the space available in your garden. Tumblers come in various sizes, so choose one that can accommodate the amount of organic waste you produce. Keep in mind that larger tumblers may require more effort to turn and maintain.
- Durability: Look for a tumbler made of high-quality, durable materials that can withstand the elements. It should be able to handle the weight of the compost and endure frequent turning without breaking or warping. Consider tumblers made of heavy-duty plastic or metal for longevity.
- Aeration and Insulation: Proper aeration is crucial for the composting process. Look for a tumbler that has ventilation or air vents to allow for airflow. Insulated tumblers help retain heat, which aids in decomposition, especially in colder climates. Choose a design that provides effective aeration and insulation.
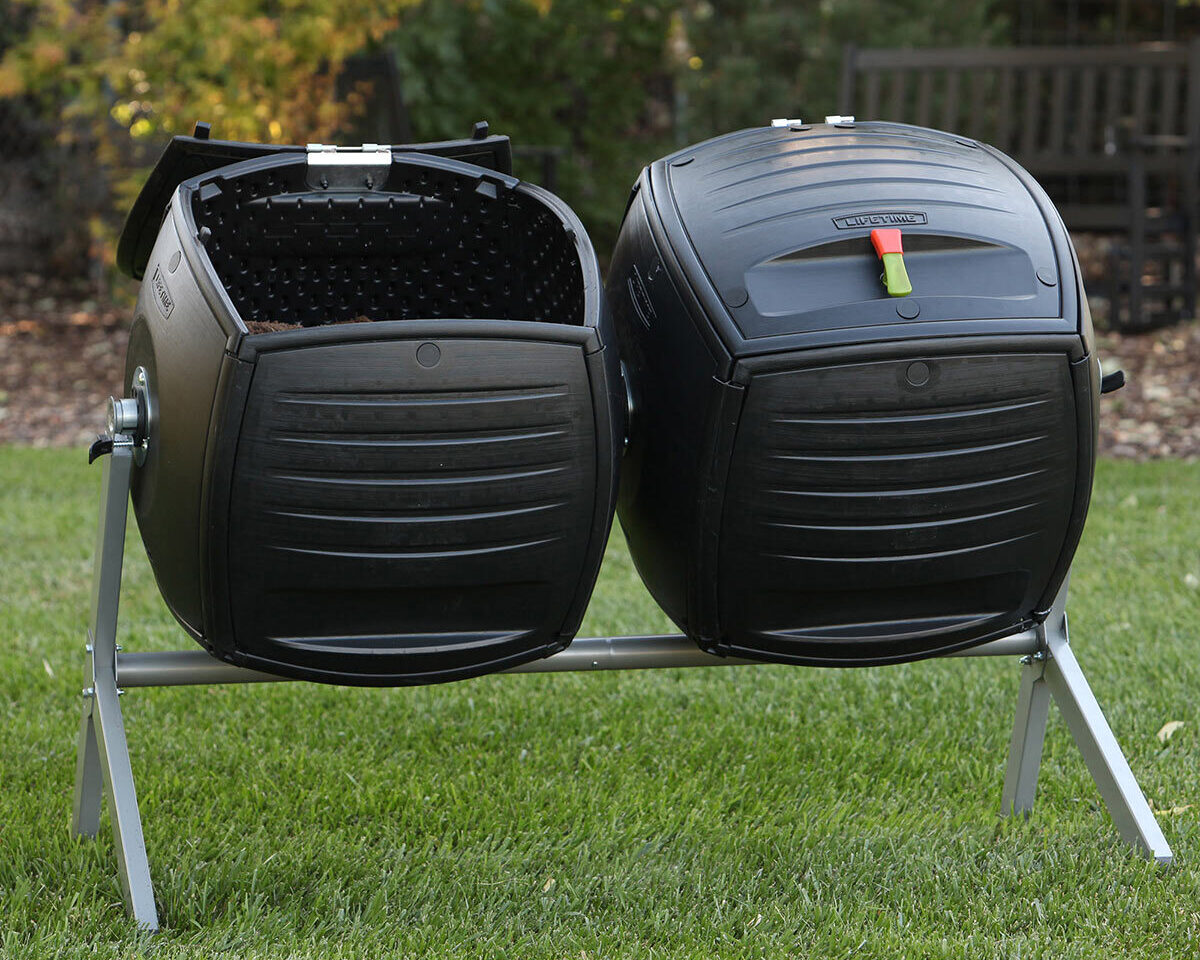
- Easy Turning Mechanism: Check for a sturdy and efficient turning mechanism. Some tumblers have hand-crank handles, while others have a rotating drum or a dual-chamber design. Consider the ease of turning and accessibility of the compost when selecting a tumbler.
- Secure and Pest-Resistant: Ensure that the tumbler has a secure closure system to prevent animals and pests from accessing the compost. Look for features like locking mechanisms or tight-sealing lids to keep unwanted visitors out.
- Additional Features: Some tumblers come with added features like compost tea collectors or composters that can be easily removed for emptying. These extra features can enhance your composting experience, but remember that simplicity and functionality are key.
Take your time to research different tumbler options and read reviews from other users. Consider your specific composting needs and preferences, as well as your budget, when making a decision. By choosing the right tumbler, you can ensure an enjoyable composting experience and achieve great results with your homemade compost.
Steps to Compost Using a Tumbler
Composting with a tumbler is a straightforward process that involves a few key steps. By following these steps, you can create high-quality compost efficiently. Let’s dive into the process:
- Choose a location: Find a suitable location in your garden or outdoor area to place your tumbler. Ensure it is easily accessible and placed on a level surface for stability.
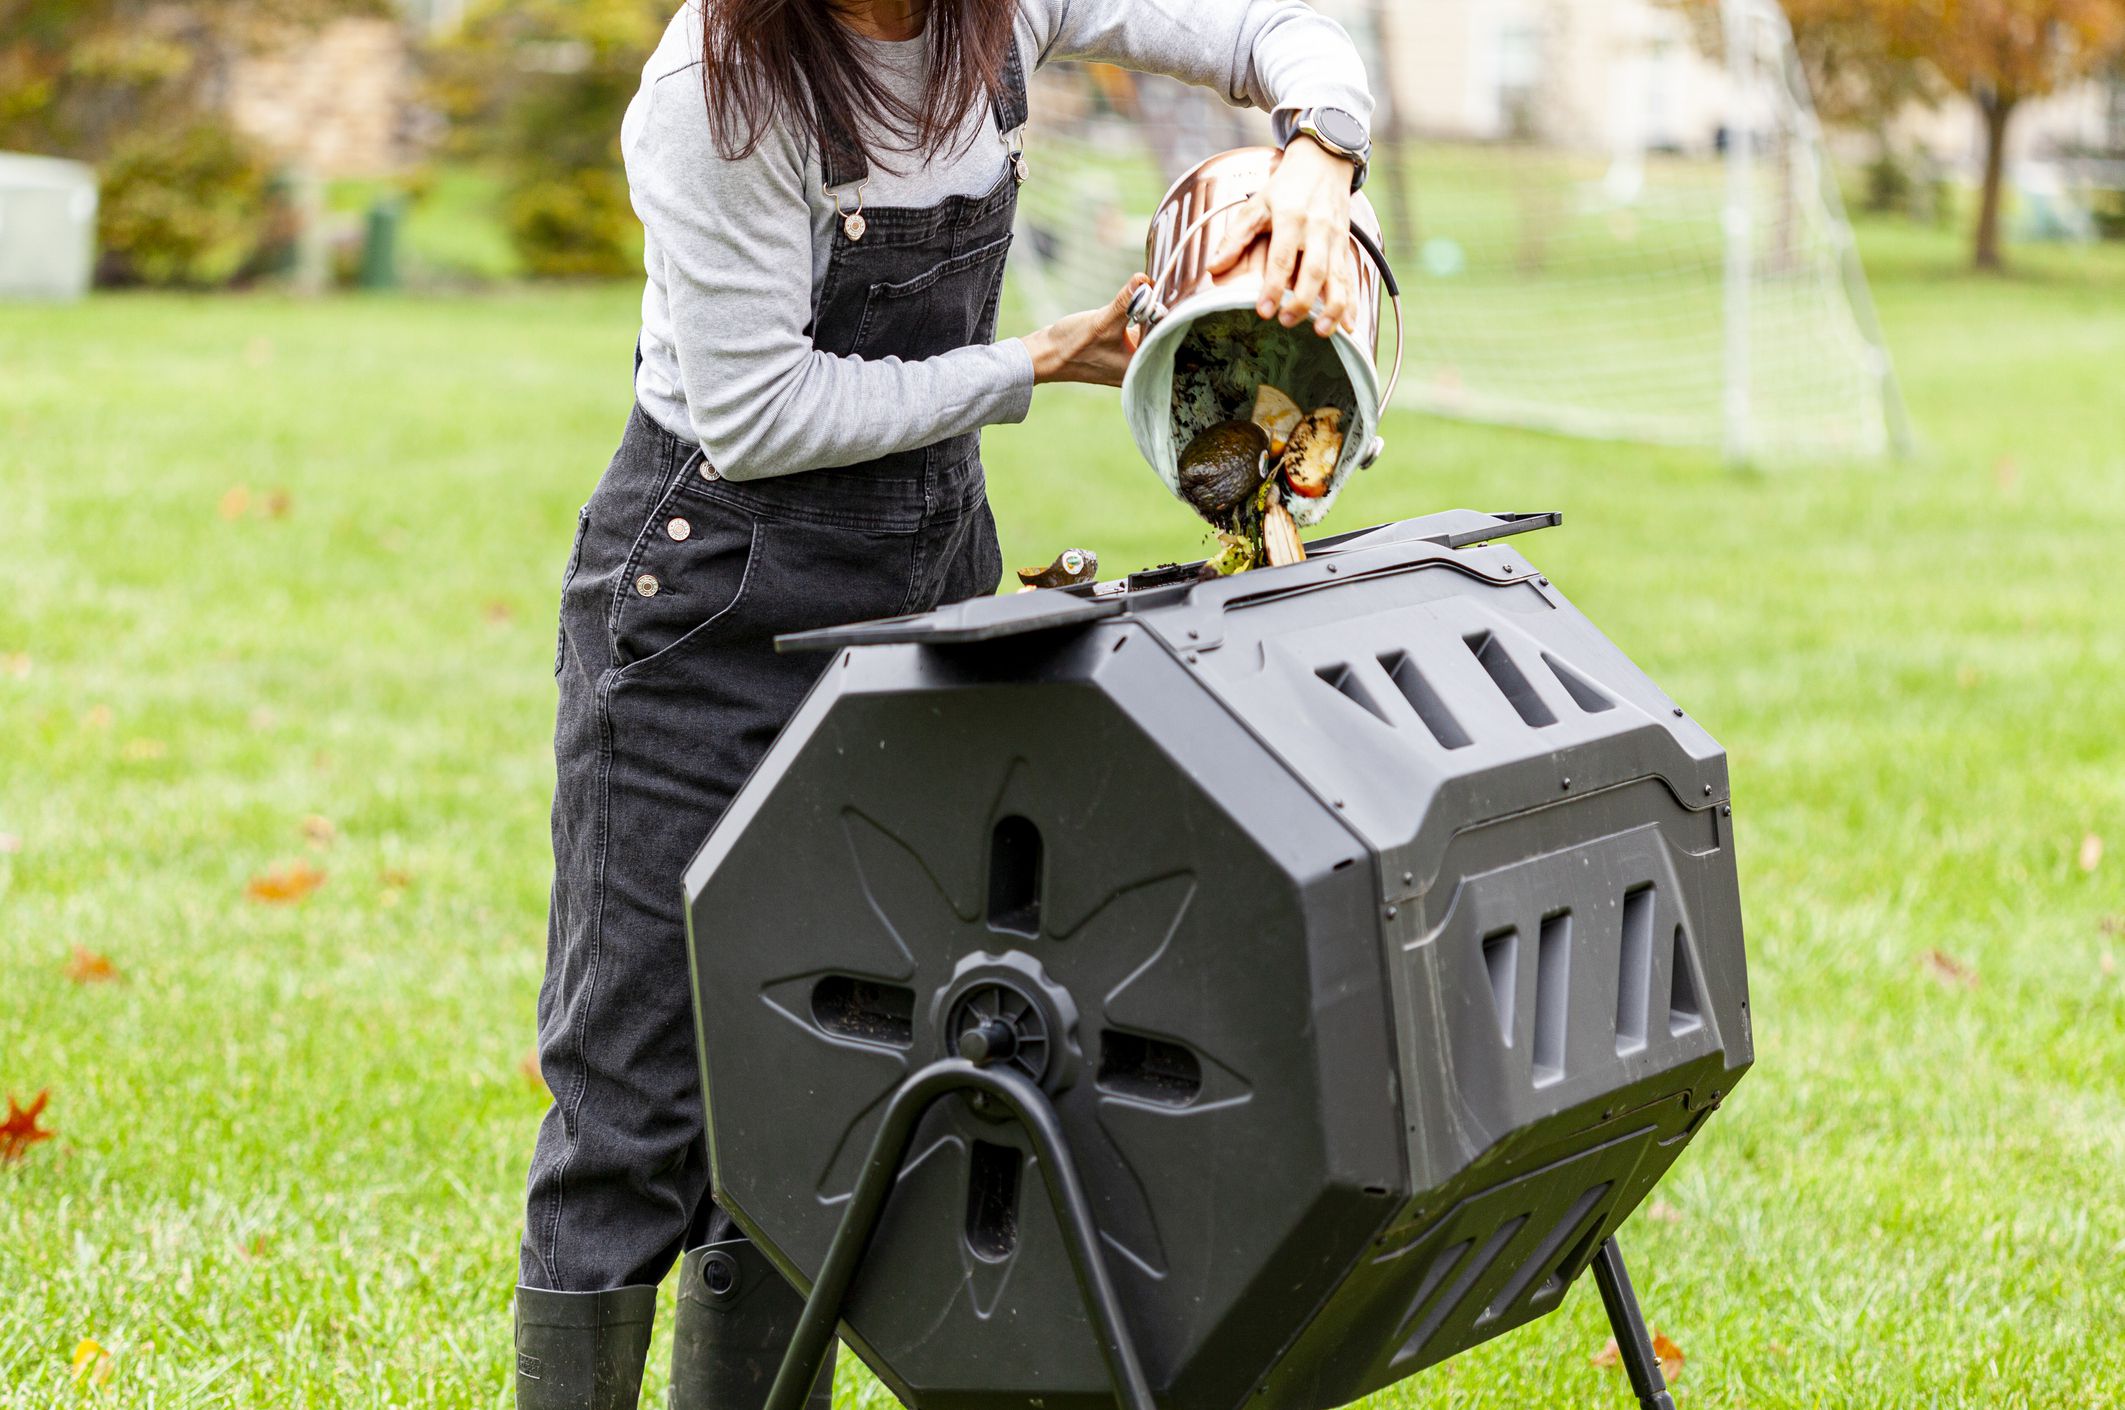
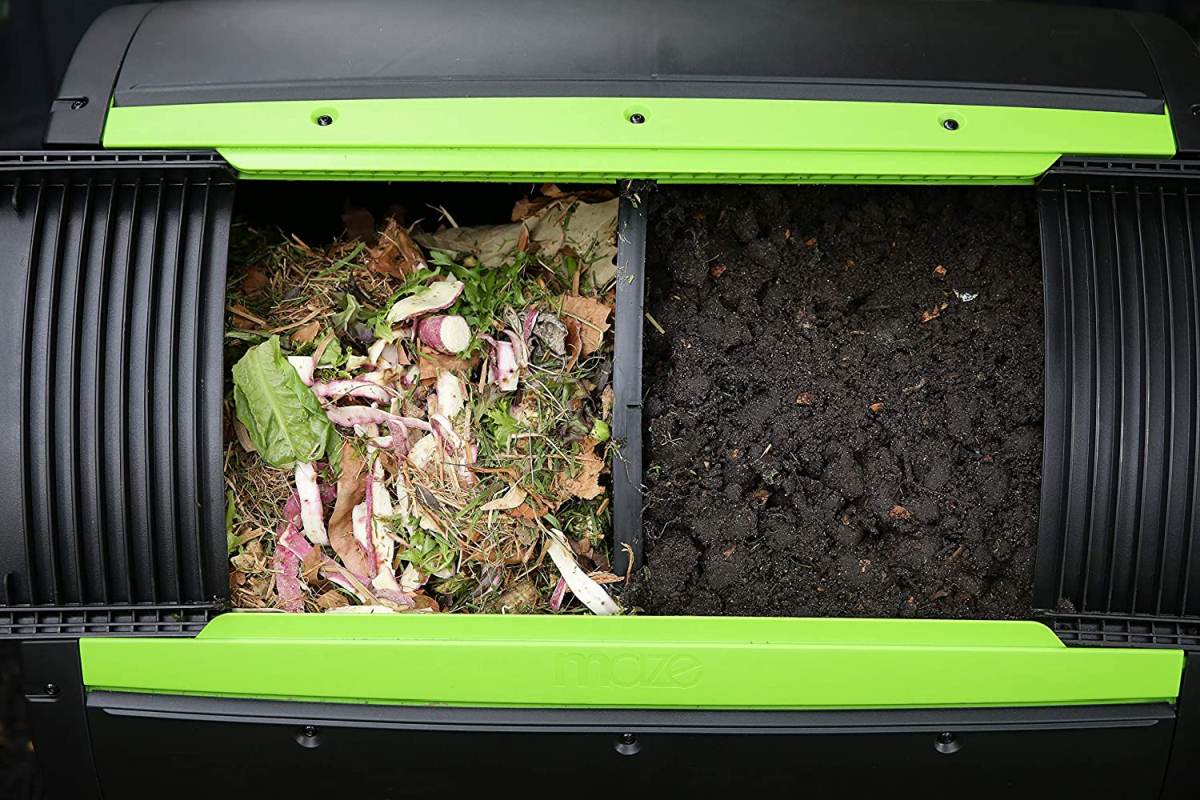
- Add compostable materials: Begin by adding your compostable materials to the tumbler. Aim for a mix of “green” materials (rich in nitrogen) and “brown” materials (rich in carbon). Greens include kitchen scraps (vegetable peelings, coffee grounds), grass clippings, and fresh plant material. Browns include dried leaves, straw, wood chips, and shredded paper. Add them in alternating layers, starting with a layer of brown materials at the bottom.
- Moisten the materials: To promote decomposition, sprinkle water over the materials as you add them to the tumbler. Aim for a damp but not soaked consistency. Moisture is essential for the composting process, helping microorganisms thrive and break down the organic matter.
- Close the tumbler and start tumbling: Once your tumbler is filled with compostable materials, securely close the lid or access door. Begin tumbling the tumbler by rotating it on its axis. Ideally, the tumbler should be turned every two to three days to ensure proper aeration and mix the materials. Make sure to give it a good rotation to prevent clumping and matting.
- Monitor and adjust moisture levels: Regularly check the moisture level of your compost. If it feels too dry, add a little water, and if it feels too wet, add some dry brown materials to absorb excess moisture. Maintaining the right moisture balance is crucial for the composting process.
- Continue turning and maintaining: Keep turning the tumbler regularly to provide oxygen and mix the materials. Aim for a consistent brown-to-green ratio and ensure that the compost is well-aerated. Avoid adding large woody materials or meat and dairy products, as they can be slow to decompose and attract pests.
- Monitoring the composting process: Over time, the composting process will transform the materials into rich, dark compost. You may notice a decrease in volume and changes in color and texture. It’s normal to see steam or feel heat when you open the tumbler, indicating active decomposition. If the compost smells foul or appears mushy, it may be too wet or lacking sufficient aeration. Adjust accordingly by adding dry materials or turning more frequently.
- Harvesting the compost: Once the compost has reached a dark, crumbly texture and has an earthy smell, it is ready to be harvested. Open the tumbler and transfer the finished compost to a separate container or directly to your garden soil. If there are any undecomposed materials, sift them out and return them to the tumbler for further decomposition.
Remember, the time it takes to produce compost will vary depending on factors such as the materials used, the tumbling frequency, and environmental conditions. With patience and regular maintenance, you will soon have nutrient-rich compost to enhance your plants and garden.
Adding Green and Brown Materials
When composting with a tumbler, it’s important to create a balanced mix of green and brown materials. Green materials are rich in nitrogen and provide the necessary nutrients for compost decomposition, while brown materials are rich in carbon and help with aeration and moisture control. Here’s a guide on adding green and brown materials to your compost tumbler:
- Green materials: Green materials include kitchen scraps like fruit and vegetable peels, coffee grounds, tea bags, and plant trimmings. Grass clippings, fresh leaves, and weeds can also be considered green materials. These organic waste items are high in nitrogen and add essential nutrients that promote the growth and activity of microorganisms in the compost.
- Brown materials: Brown materials consist of dried leaves, straw, wood chips, shredded paper, cardboard, and sawdust. These materials are carbon-rich and help maintain the proper carbon-to-nitrogen ratio in the compost. Browns provide structure, improve aeration, and prevent the compost from becoming too wet and compacted.
- Layering technique: To ensure a well-balanced compost mix, alternate layers of green and brown materials. Start with a layer of brown materials at the bottom of the tumbler, followed by a layer of green materials. Repeat this layering process until the tumbler is filled, with the browns slightly outnumbering the greens. This layering technique helps maintain proper aeration and moisture levels, allowing for efficient composting.
- Chop and shred: To speed up the composting process, consider chopping or shredding larger materials. This creates smaller surface areas and allows for faster decomposition. Chopping or shredding can be helpful for both greens and browns, especially for materials like branches, cornstalks, or cardboard boxes.
- Avoid composting certain materials: While many organic materials can be composted, it’s important to avoid adding certain items to your tumbler. This includes meat, fish, dairy products, oily foods, and animal waste. These materials can attract pests and lead to unpleasant odors. Additionally, avoid adding weed seeds or invasive plant species, as they may survive the composting process and reintroduce themselves when you use the finished compost.
Remember to periodically check the moisture levels of your compost and adjust as needed. The ideal moisture content should be similar to that of a damp sponge. If the compost feels too dry, add some water, and if it’s too wet, mix in additional brown materials to absorb the excess moisture. Properly layering and maintaining a good balance of green and brown materials will enable efficient decomposition and ensure the success of your composting journey.
Turning and Maintaining the Compost
Turning and maintaining the compost in your tumbler is essential for ensuring proper decomposition and a healthy composting process. Regularly turning the compost helps to promote aeration, improve the breakdown of materials, and prevent clumping. Here are some key steps to turning and maintaining your compost:
- Frequency of turning: Aim to turn your compost tumbler every two to three days. This helps to provide oxygen to the microorganisms responsible for decomposition and prevents the formation of anaerobic conditions. By turning the tumbler regularly, you also mix the green and brown materials, ensuring even distribution and enhanced breakdown.
- Turning techniques: To turn the compost, simply rotate the tumbler on its axis. You can use the built-in hand-crank handle or the rotating drum mechanism, depending on the design of your tumbler. Make sure to give it a good spin to thoroughly mix the materials. The turning motion helps to break up any clumps, mixes in fresh materials, and improves aeration.
- Checking and adjusting moisture levels: Regularly monitor the moisture content of your compost. The compost should be damp like a well-wrung sponge. If it feels too dry, add a little water during the turning process to increase the moisture levels. If it feels too wet, mix in additional dry brown materials, such as wood chips or shredded paper, to absorb the excess moisture. Maintaining the right moisture balance is crucial for the composting microorganisms to thrive.
- Monitoring temperature: Composting generates heat as a byproduct of the decomposition process. To ensure optimal composting, monitor the internal temperature of your compost using a thermometer. Ideally, the temperature should be between 110-160°F (43-71°C). This range promotes the activity of beneficial microorganisms, accelerating decomposition. Adjust the moisture levels and turning frequency if the temperature falls outside this range.
- Observing signs of decomposition: As you turn the compost, observe the changes in color, texture, and smell. Over time, the materials will start to break down and transform into dark, crumbly compost. You may notice steam or feel heat when you open the tumbler, indicating active decomposition. Any undecomposed or bulky materials can be returned to the tumbler to continue the composting process.
- Patience and persistence: Composting takes time, and the composting process in the tumbler may vary depending on many factors such as temperature, moisture levels, and the composition of materials. Be patient and persistent in turning and maintaining the compost. With proper care and regular maintenance, you will soon have homemade, nutrient-rich compost ready for use in your garden.
Remember, turning and maintaining the compost in your tumbler is an ongoing task throughout the composting process. Regular turning promotes oxygen flow, mixes the materials for even decomposition, and helps maintain ideal moisture levels. By following these steps, you will create a healthy composting environment and ensure that your materials break down efficiently into nutrient-rich compost.
Monitoring and Adjusting Moisture Levels
Monitoring and adjusting the moisture levels in your compost tumbler is vital for successful composting. A proper moisture content promotes the activity of microorganisms, aids in decomposition, and ensures a healthy composting environment. Here are some key steps to effectively monitor and adjust moisture levels:
- Assessing moisture levels: Periodically check the moisture content of your compost by grabbing a handful and squeezing it. The compost should feel moist, like a well-wrung sponge. If it feels excessively dry and crumbly, it lacks sufficient moisture. On the other hand, if it feels overly wet and soggy, it is too waterlogged.
- Adding water: If your compost is too dry, add water during the turning process to increase the moisture levels. A watering can or hose with a gentle spray attachment can help evenly distribute water throughout the tumbler. Aim to moisten the materials rather than saturate them, as excessive moisture can lead to anaerobic conditions and unpleasant odors.
- Incorporating dry materials: If your compost is too wet, incorporate dry brown materials to absorb the excess moisture. Shredded paper, cardboard, dried leaves, or wood chips are excellent dry materials to add. Mix these materials into the compost during the turning process to help balance and absorb the moisture. Avoid adding large amounts of dry materials at once, as it can disrupt the compost’s moisture balance.
- Adjusting turning frequency: If you find that your compost consistently has high moisture levels, you may need to increase the turning frequency. More frequent turning promotes aeration and helps excess moisture evaporate. Turning the tumbler every day or every other day can aid in drying out the compost and maintaining an optimal moisture balance.
- Observing signs of moisture imbalance: Keep an eye out for signs of moisture imbalance in your compost. Excessive moisture can result in a slimy, foul-smelling compost, while overly dry compost may take a long time to decompose and lack the necessary microbial activity. Adjust the moisture levels accordingly to maintain the right balance for optimal composting.
- Considering environmental factors: Environmental conditions such as temperature and humidity can impact moisture levels in the compost tumbler. Warmer weather and direct sunlight can increase evaporation, requiring additional water to maintain moisture. In contrast, cool and rainy conditions may necessitate less frequent watering. Be mindful of these factors and adjust your moisture management accordingly.
Regularly monitoring and adjusting the moisture levels in your compost tumbler is essential for creating a successful composting environment. By maintaining the right moisture balance, you provide a hospitable habitat for beneficial microorganisms and ensure efficient decomposition. Remember to check moisture levels periodically, add water or dry materials as needed, and adjust the turning frequency to achieve an ideal moisture content for your compost.
Troubleshooting Common Issues
Composting with a tumbler is generally a straightforward process, but sometimes you may encounter certain issues along the way. Understanding how to troubleshoot these common problems can help you maintain a healthy composting environment. Here are some common issues and how to address them:
- Excessive moisture: If your compost appears excessively wet and smells unpleasant, it may be too moist. To fix this issue, add dry brown materials such as shredded paper or wood chips to absorb the excess moisture. Increase the turning frequency to improve aeration and promote drying. Avoid adding additional water until the compost reaches a balanced moisture level.
- Insufficient moisture: If your compost is consistently dry and fails to decompose, it lacks sufficient moisture. To remedy this, add water during the turning process to moisten the materials. Ensure the moisture is evenly distributed throughout the compost. Cover the tumbler to help retain moisture, especially in dry climates. Adjust the turning frequency to maintain a proper moisture balance.
- Foul odor: Unpleasant odors in your compost are often caused by anaerobic conditions. This can be remedied by increasing the turning frequency to improve aeration. Add dry brown materials to absorb excess moisture and prevent odors. Avoid adding meat, dairy, or oily food waste, as they can attract pests and contribute to foul smells.
- Tumbling difficulty: If you find it challenging to turn the compost or the materials clump together, it may be too compact or too wet. To resolve this, add dry brown materials to improve aeration and moisture balance. Ensure there is enough space in the tumbler for the materials to move freely. If possible, avoid adding large woody materials or bulky items that can cause clumping.
- Slow decomposition: If your compost is taking longer than expected to decompose, it may be due to an improper balance of greens and browns or a lack of moisture or aeration. Ensure a balanced mix of green and brown materials and proper moisture levels. Adjust turning frequency for better aeration. Consider chopping or shredding larger materials to speed up decomposition. If necessary, add a compost activator to kickstart the microbial activity.
- Pest infestation: If pests are attracted to your compost, such as rats, mice, or insects, it may be due to improper composting practices. Avoid adding meat, dairy, or oily food waste that attracts pests. Securely close the tumbler to prevent access. Turn the compost regularly to discourage pests from nesting. If necessary, consider using pest-proof compost bins or traps to control infestations.
Being aware of these common issues and their solutions will help you address any challenges that may arise during the composting process. Regular monitoring, adjusting moisture levels, maintaining a balanced mix of materials, and proper aeration can go a long way in troubleshooting and ensuring successful composting with your tumbler.
Harvesting and Using Your Compost
After weeks of patience and diligent composting, it’s finally time to harvest and enjoy the fruits of your labor. Harvesting compost from your tumbler is a rewarding experience that provides you with nutrient-rich soil amendments for your garden. Here’s how to harvest and use your compost effectively:
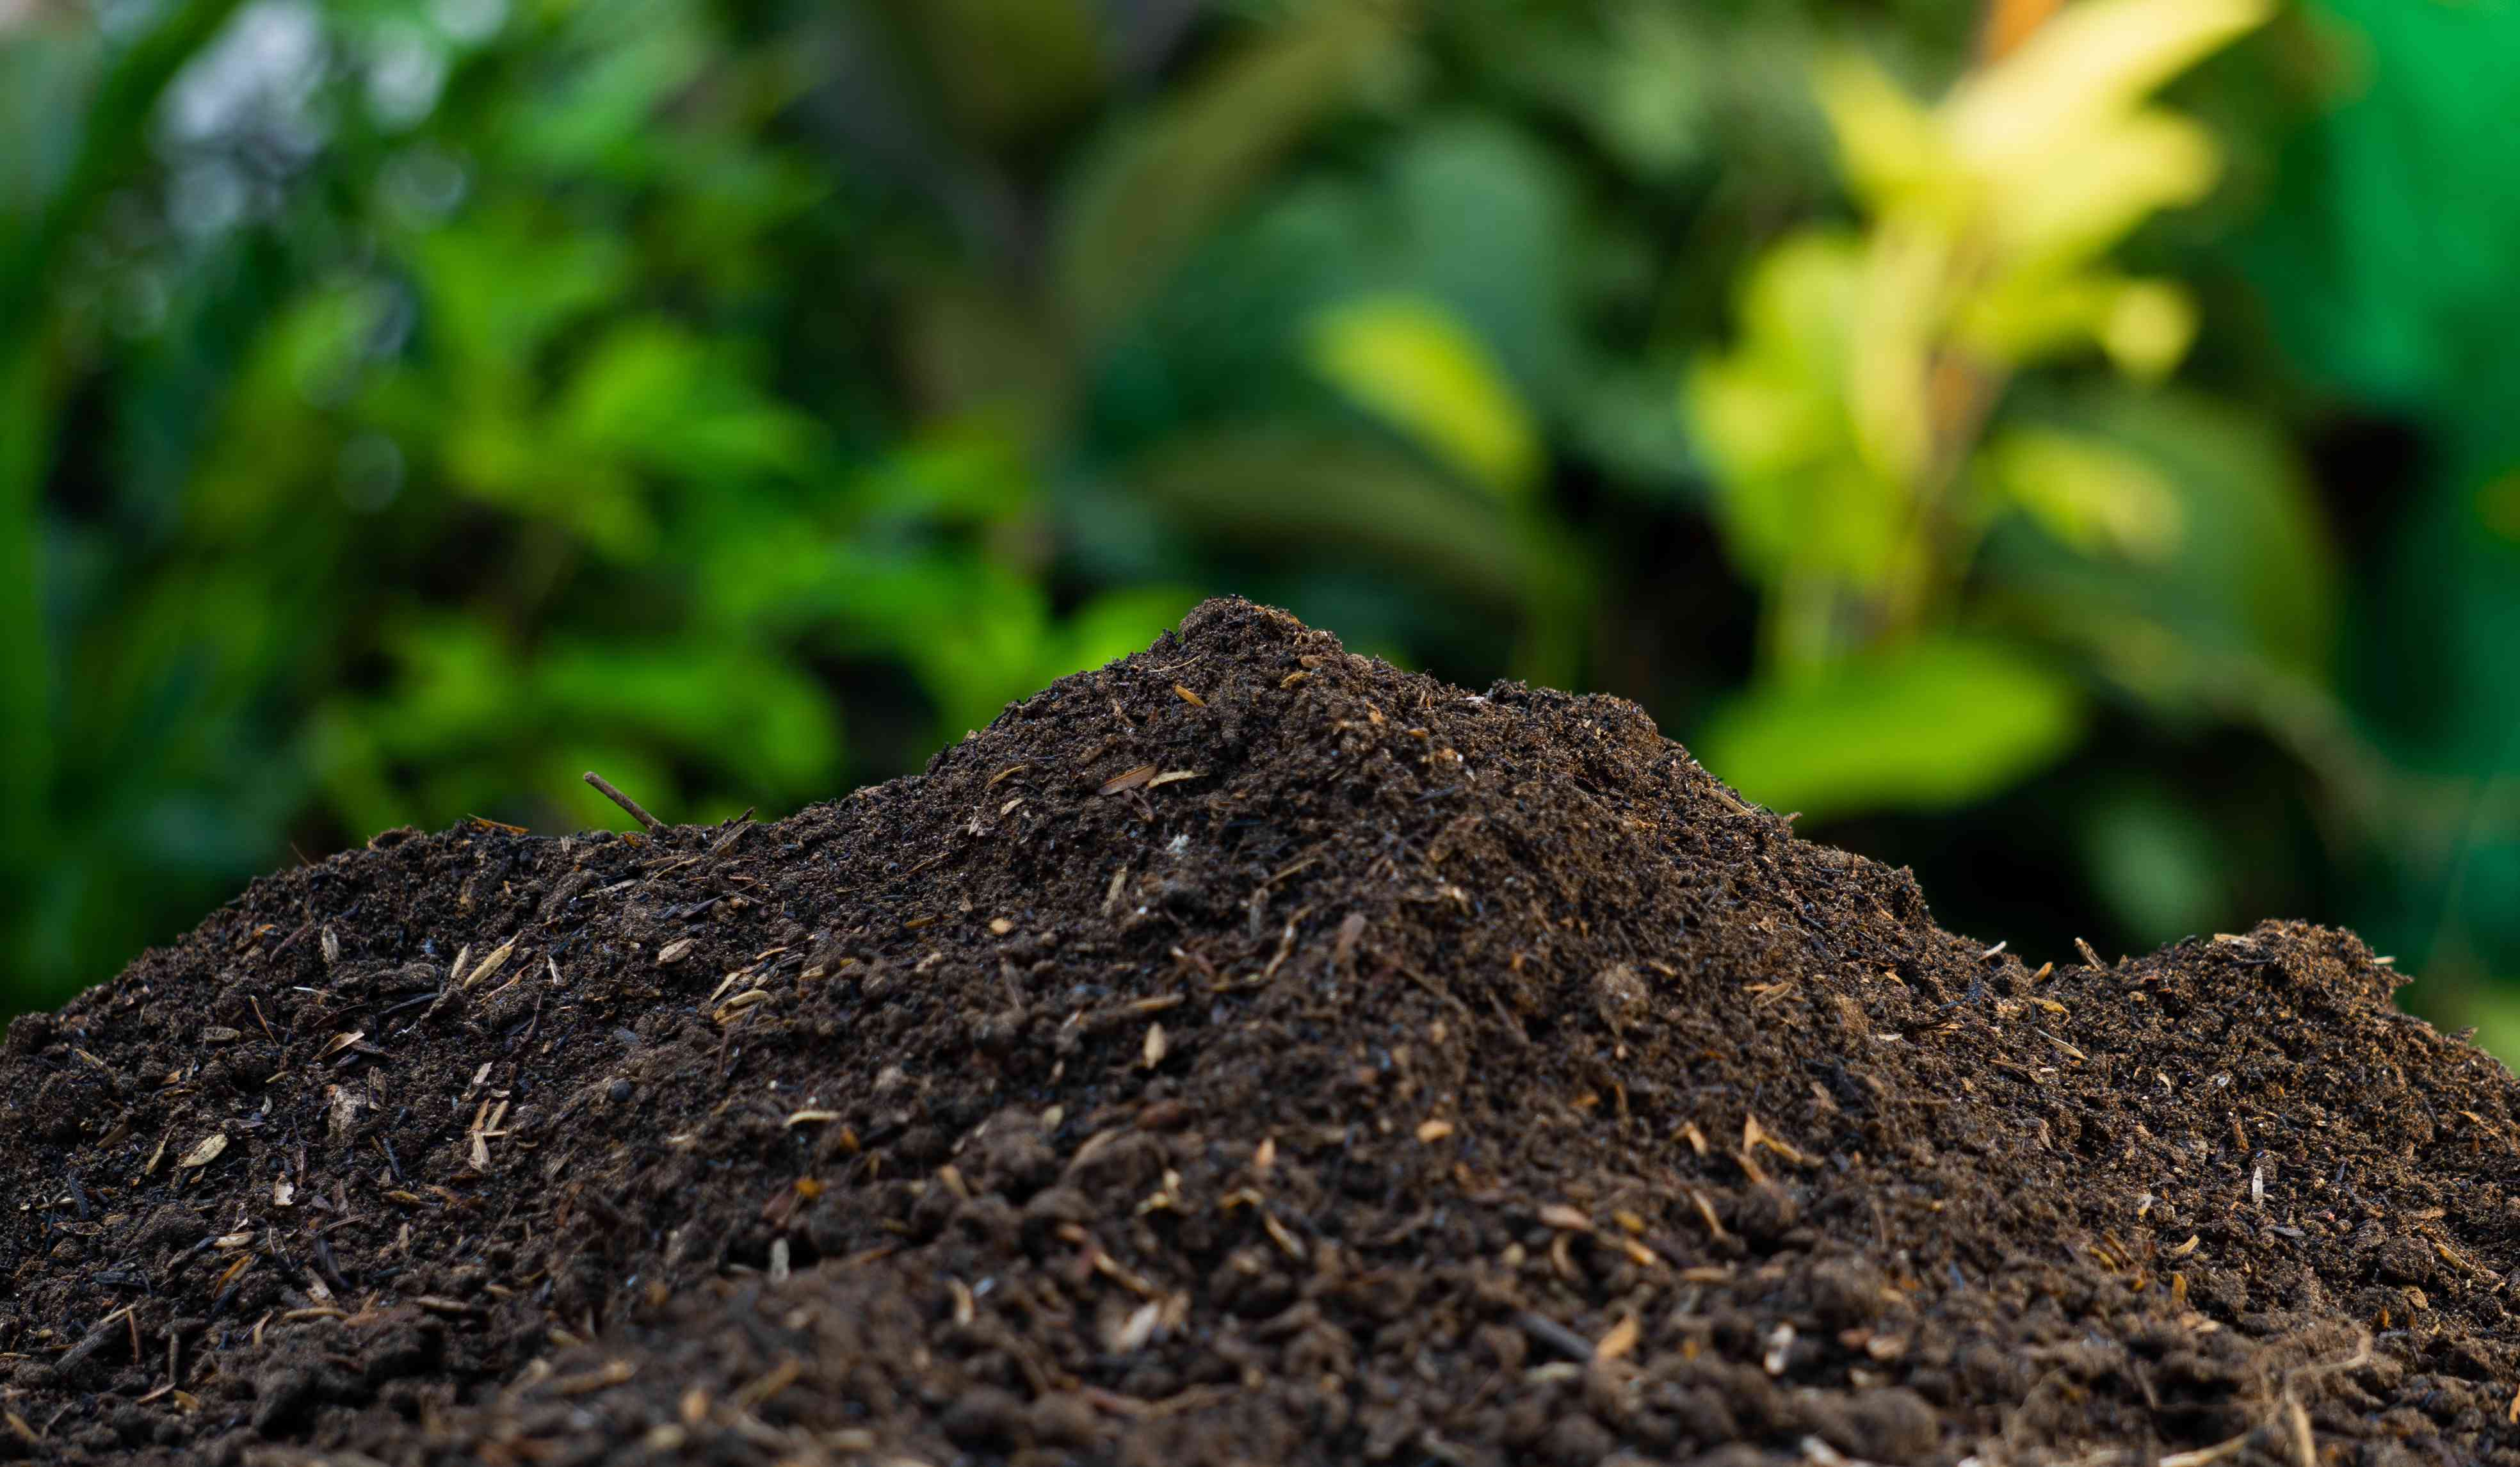
- Assessing compost readiness: Before harvesting your compost, ensure it has reached a dark, crumbly texture and has a pleasant, earthy smell. The finished compost should resemble rich, black soil and be free of recognizable organic matter. It should no longer heat up significantly when the tumbler is opened, indicating that decomposition has completed.
- Preparing for harvest: To begin the harvesting process, stop adding new materials to the tumbler a few weeks before you plan to harvest. This allows any remaining materials to finish decomposing, giving you a more consistent and finished product. Having an empty compost bin or container ready to receive the harvested compost is also advisable.
- Harvesting techniques: Depending on the design of your tumbler, there are several methods to harvest the compost. Some tumblers have a built-in door or opening at the base, allowing you to remove the compost easily. Another option is to tip the tumbler on its side and roll it, allowing the compost to fall out. If needed, use a tool like a garden fork to loosen the compost and facilitate removal.
- Sifting out undecomposed materials: As you harvest the compost, you may notice some undecomposed materials or larger clumps. Sift out these materials to return them to the tumbler for further decomposition. This helps ensure a consistent and high-quality finished product.
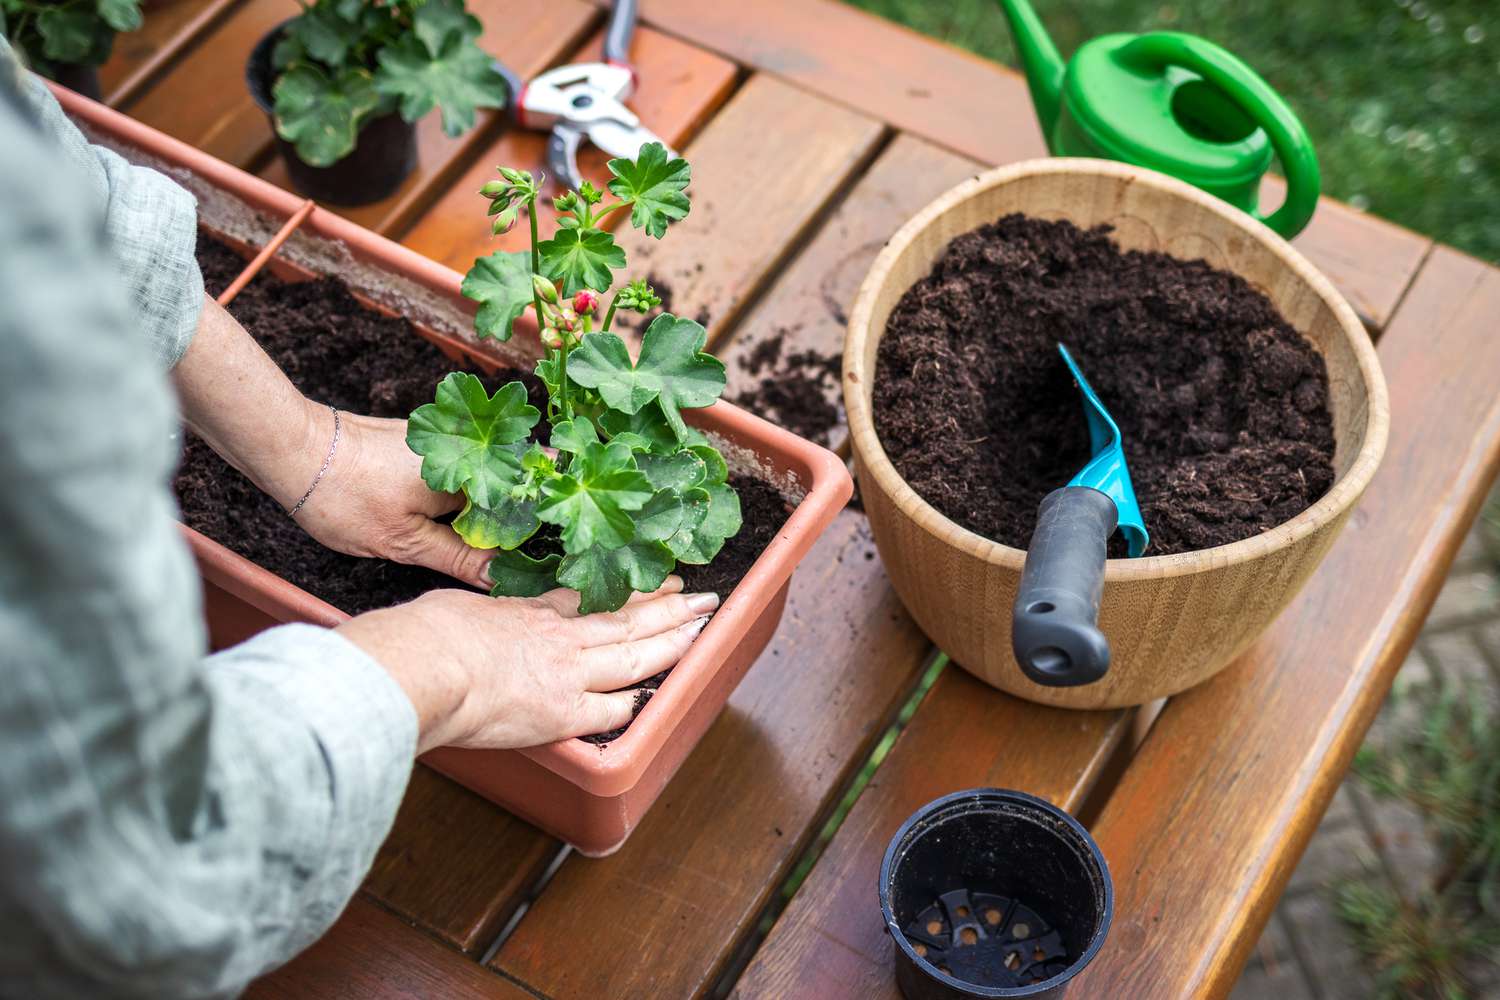
- Using your compost: Your freshly harvested compost is now ready to be utilized in various ways. Mix it into your garden soil to improve its structure and fertility. Use it as a top dressing around plants to provide a slow-release source of nutrients. Compost can also be added to potting mixes or used as mulch to suppress weeds and retain moisture. The rich organic matter will enhance soil health, promote microbial activity, and support robust plant growth.
- Storing excess compost: If you have more compost than you can immediately use, store it in a covered bin or container to protect it from the elements. Ideally, keep it in a cool, dry place to preserve its quality. Regularly check the stored compost for moisture levels and make adjustments if necessary.
- Continuing the composting cycle: With the harvested compost removed from the tumbler, you can now start the composting process anew. Add fresh green and brown materials to the empty tumbler, following the same principles of layering, moisture management, and regular turning. This allows you to continue creating nutrient-rich compost for future gardening endeavors.
Congratulations on successfully harvesting your compost! Enjoy the benefits of your hard work by incorporating the nutrient-rich compost into your garden soil and seeing the positive impact it has on plant growth. Remember to continue composting and maintaining your tumbler for an ongoing cycle of sustainability and abundance in your gardening journey.
Conclusion
Composting with a tumbler is a fantastic way to reduce waste, enrich your garden soil, and contribute to a more sustainable lifestyle. By following the steps outlined in this guide, you can successfully compost using a tumbler and enjoy the benefits of nutrient-rich compost for your plants.
We started by discussing the numerous benefits of composting with a tumbler, including faster decomposition, odor control, space-saving design, and better control over composting conditions. We then explored how to choose the right tumbler based on size, durability, aeration, and ease of use.
The steps to composting with a tumbler involve adding a mix of green and brown materials, turning the tumbler regularly, and monitoring and adjusting moisture levels. Troubleshooting common issues such as excessive moisture, foul odors, or slow decomposition is crucial to maintaining a healthy composting process.
Finally, we learned how to harvest and use the finished compost in our gardens, as well as how to store excess compost for future use. The cycle of composting continues with the start of a new batch, leading to a never-ending stream of rich, organic matter for your plants.
Composting with a tumbler not only helps reduce food waste and landfill contributions but also allows us to play an active role in improving the health of our gardens and the environment. By converting kitchen scraps and yard waste into valuable compost, we can enrich the soil, promote sustainable plant growth, and reduce the need for synthetic fertilizers.
So, grab your tumbler, start composting, and reap the rewards of creating nutrient-rich compost for your garden. Get ready to transform waste into a valuable resource and join the eco-conscious journey towards a greener and more sustainable future.