Home>Gardening Techniques>DIY Projects>How To Use Kitchen Compost Bin
DIY Projects
How To Use Kitchen Compost Bin
Modified: January 22, 2024
Learn how to use a kitchen compost bin for your DIY projects and create nutrient-rich soil for your garden. Easy steps and tips to get started.
(Many of the links in this article redirect to a specific reviewed product. Your purchase of these products through affiliate links helps to generate commission for Chicagolandgardening.com, at no extra cost. Learn more)
Table of Contents
Introduction
Welcome to the wonderful world of kitchen composting! If you’re passionate about sustainability and reducing your environmental footprint, a kitchen compost bin is a must-have. Not only does it help divert organic waste from landfills, but it also produces nutrient-rich soil amendment for your garden.
Composting at home may seem intimidating at first, but with the right knowledge and tools, it can be an easy and rewarding process. In this article, we will guide you through the ins and outs of using a kitchen compost bin, from choosing the right one to harvesting and using the compost.
By composting your kitchen scraps, you can significantly reduce the amount of waste your household produces. Instead of tossing those vegetable peels, fruit scraps, and coffee grounds into the trash, you can transform them into a valuable resource for your plants.
Not only does kitchen composting benefit the environment, but it also benefits your garden. The compost you create will improve the soil structure, enhance nutrient content, promote beneficial microbial activity, and increase water retention. It’s a win-win situation for both you and Mother Nature.
In the following sections, we will delve into the process of setting up and maintaining a kitchen compost bin, the materials suitable for composting, common troubleshooting issues, and the gratifying process of harvesting and using the compost you’ve produced.
Whether you have a sprawling garden or a small balcony, kitchen composting is an ideal practice to embrace. It’s a simple yet effective way to contribute to a more sustainable and eco-friendly lifestyle. So, let’s get started on this composting adventure!
Benefits of Using a Kitchen Compost Bin
Using a kitchen compost bin offers a multitude of benefits, both for the environment and for your personal gardening endeavors. Let’s explore some of the key advantages:
- Reduces Waste: By composting your kitchen scraps, you divert organic waste from the landfill. According to the Environmental Protection Agency (EPA), food scraps and yard waste make up about 30% of the waste generated in the United States. By composting, you significantly reduce the amount of waste that ends up in landfills.
- Soil Enrichment: The compost produced by your kitchen compost bin is a valuable source of organic matter for your garden. It improves soil structure, enhances nutrient content, and promotes the growth of beneficial microorganisms. Adding compost to your soil also improves water retention, ensuring healthier and more resilient plants.
- Cost Savings: Composting your kitchen scraps allows you to create your own nutrient-rich soil amendment. This means you can reduce or eliminate the need for store-bought fertilizers, saving you money in the long run. Plus, it’s a sustainable and natural alternative to synthetic chemicals.
- Reduces Water Usage: Compost-amended soil has better water-holding capacity, reducing the need for excessive irrigation. This helps conserve water resources and promotes more efficient water usage in your garden.
- Reduces Greenhouse Gas Emissions: When organic waste decomposes in landfills, it produces methane, a potent greenhouse gas. By composting your kitchen scraps, you prevent the release of methane and contribute to reducing greenhouse gas emissions, thus mitigating climate change.
- Educational Opportunity: Composting at home provides an educational opportunity for all members of the household. It teaches valuable lessons about resource conservation, environmental awareness, and the importance of recycling and upcycling.
- Promotes Sustainable Living: By incorporating a kitchen compost bin into your daily routine, you actively participate in sustainable living practices. It’s a small but impactful step towards reducing waste, conserving resources, and taking care of our planet.
As you can see, using a kitchen compost bin offers a wide range of benefits. Not only does it reduce waste and save you money, but it also improves soil health and contributes to a more sustainable lifestyle. So, let’s dive in and explore how to get started with using a kitchen compost bin.
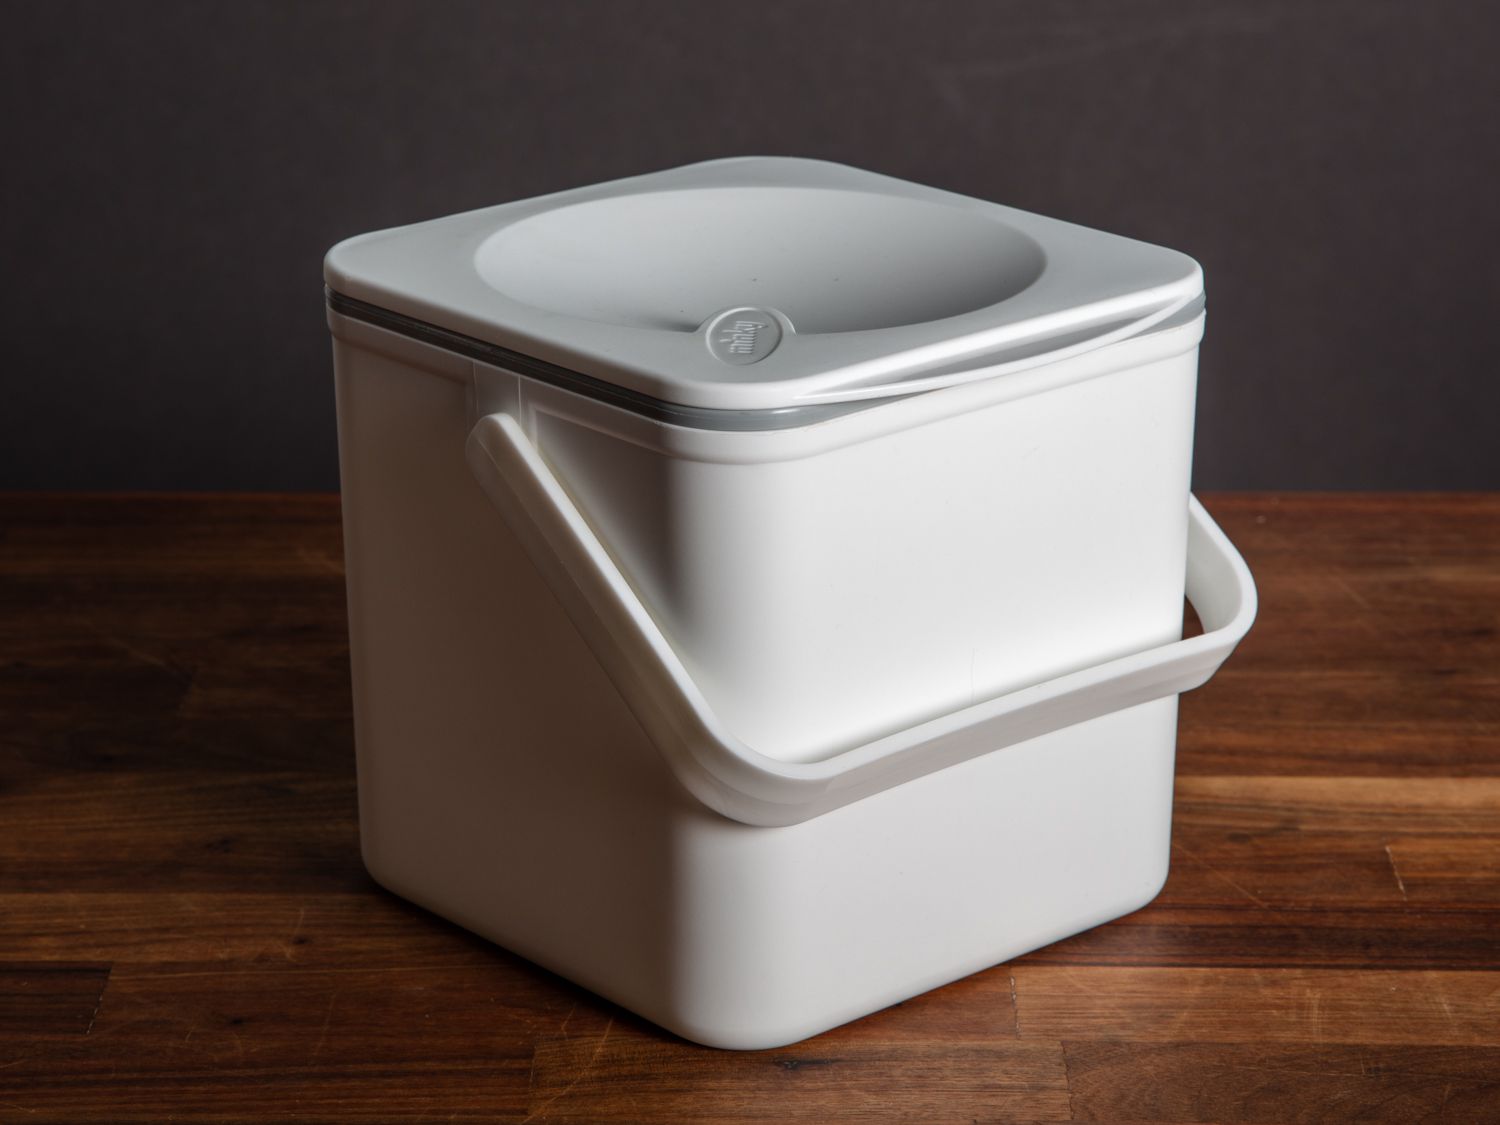
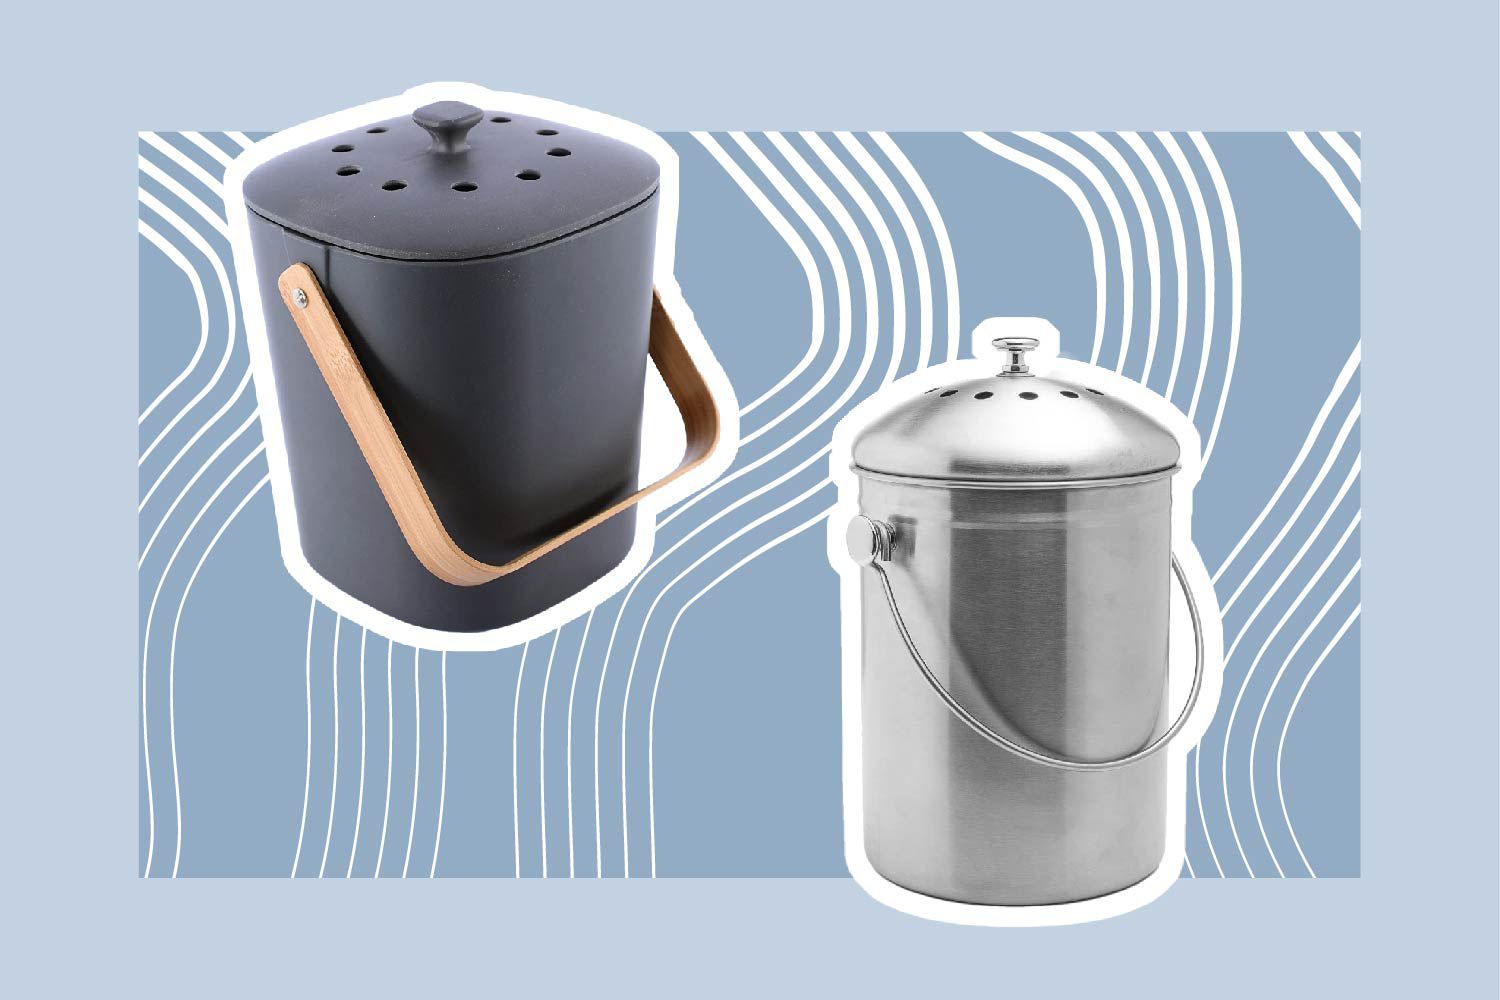
Choosing the Right Kitchen Compost Bin
When it comes to choosing a kitchen compost bin, there are several factors to consider that will ensure a successful composting experience. Here are some key points to keep in mind:
- Size and Capacity: Assess how much kitchen waste you generate on a daily or weekly basis. This will help determine the appropriate size of the compost bin. If you have a large household or generate a significant amount of waste, consider a larger bin or multiple bins. On the other hand, if you have limited space or generate less waste, a smaller bin may be sufficient.
- Airtight Design: To minimize odor and prevent pests, choose a bin with an airtight or tightly sealed lid. This will help control the airflow and maintain a healthy composting environment.
- Easy to Clean and Maintain: Look for a compost bin that is easy to clean and requires minimal maintenance. Removable inner buckets or liners make it easier to empty and clean the bin. Additionally, choose a bin made of materials that are durable, easy to wipe clean, and resistant to staining or absorbing odors.
- Odor Control: Consider a compost bin that has odor control features such as built-in filters or carbon filters. These filters help eliminate odors and ensure a more pleasant composting experience, especially in small kitchen spaces.
- Convenience and Accessibility: Choose a compost bin that is convenient for your daily routines. Look for features like handle grips, compact size, and easy access to empty the bin. Some bins also come with convenient features like foot pedals for hands-free opening, which can be useful when your hands are full.
- Style and Design: While not crucial, the style and design of the compost bin can be a personal preference. Consider a bin that matches your kitchen decor or a design that appeals to you. This will make it more likely for you to keep it easily accessible and integrate it seamlessly into your kitchen routine.
- Budget: Compost bins are available in a range of prices, so consider your budget when making a choice. While there are premium options available, there are also affordable options that offer quality and functionality.
By considering these factors, you can select a kitchen compost bin that suits your specific needs and preferences. Remember, the goal is to choose a bin that is easy to use, fits well in your kitchen space, and encourages regular composting. With the right compost bin, you’ll be well on your way to reducing waste and creating nutrient-rich compost for your garden.
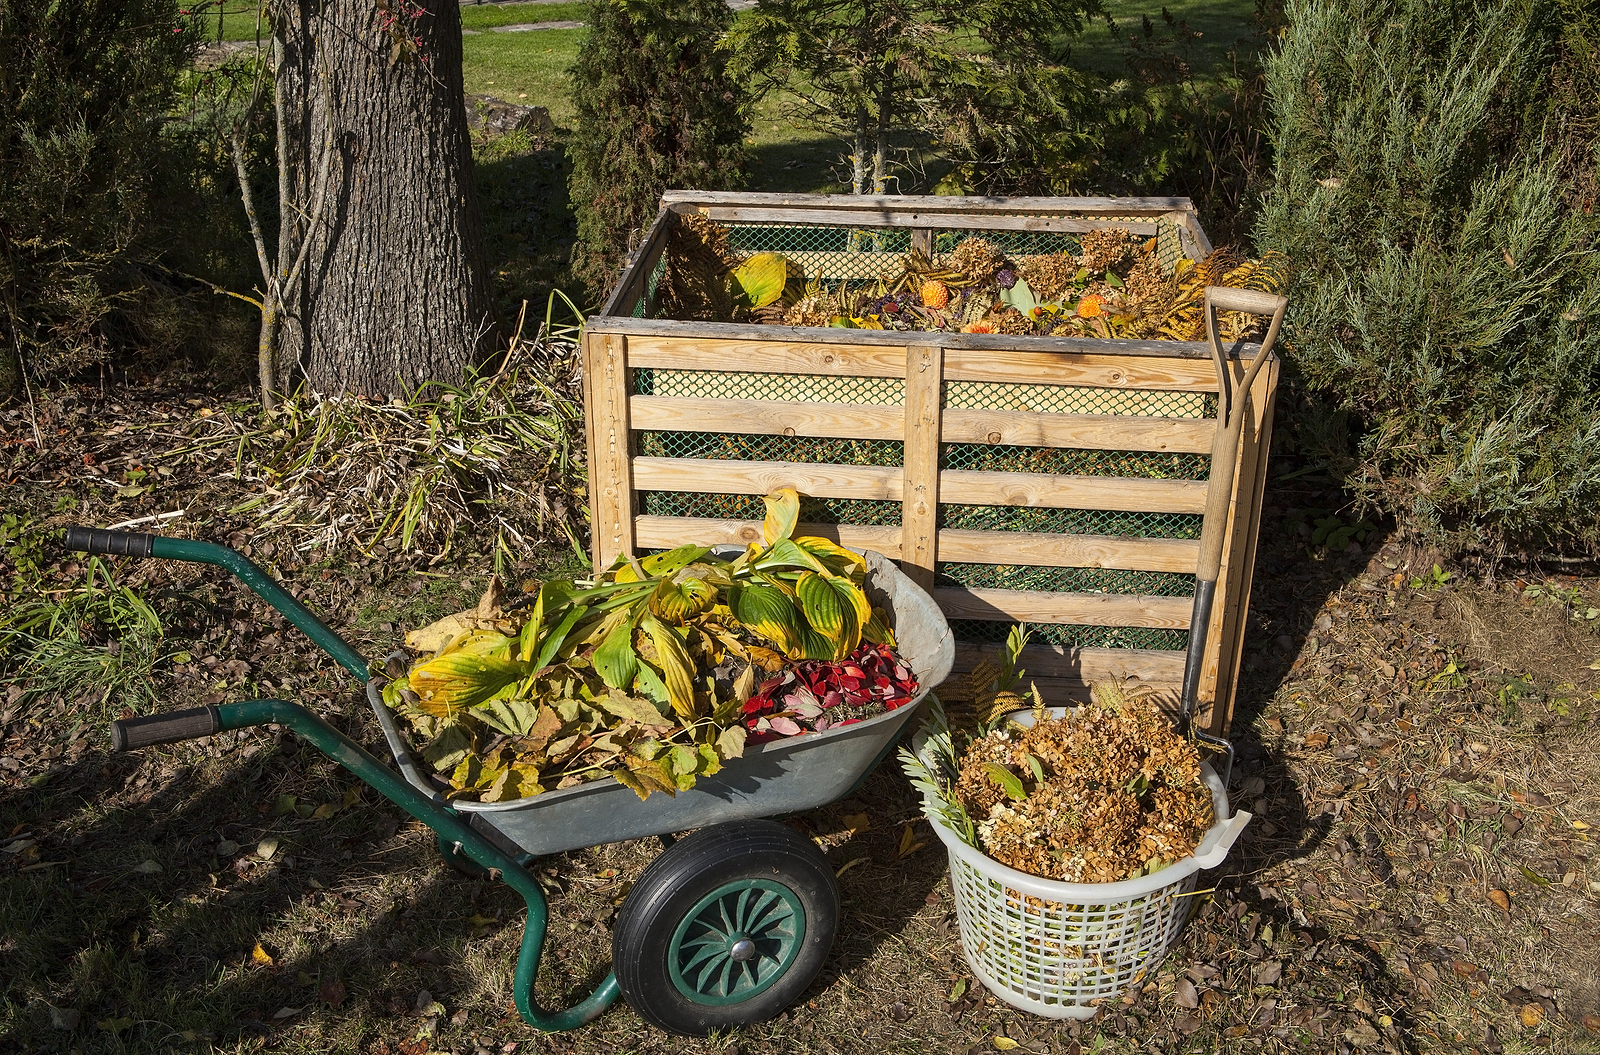
Setting up Your Kitchen Compost Bin
Now that you have chosen the perfect kitchen compost bin, it’s time to set it up for successful composting. Follow these steps to get started:
- Choose a Suitable Location: Find a convenient and accessible spot for your compost bin in or near your kitchen. It should be easily accessible for depositing kitchen scraps but not in a location that promotes odor or attracts pests. Avoid placing it directly in direct sunlight or in extreme temperatures.
- Line the Bin: Consider lining the bin with a compostable liner or biodegradable bag. This will make it easier to empty the bin and prevent the accumulation of moisture and odors. Alternatively, you can choose to skip the liner altogether and add the kitchen scraps directly to the bin.
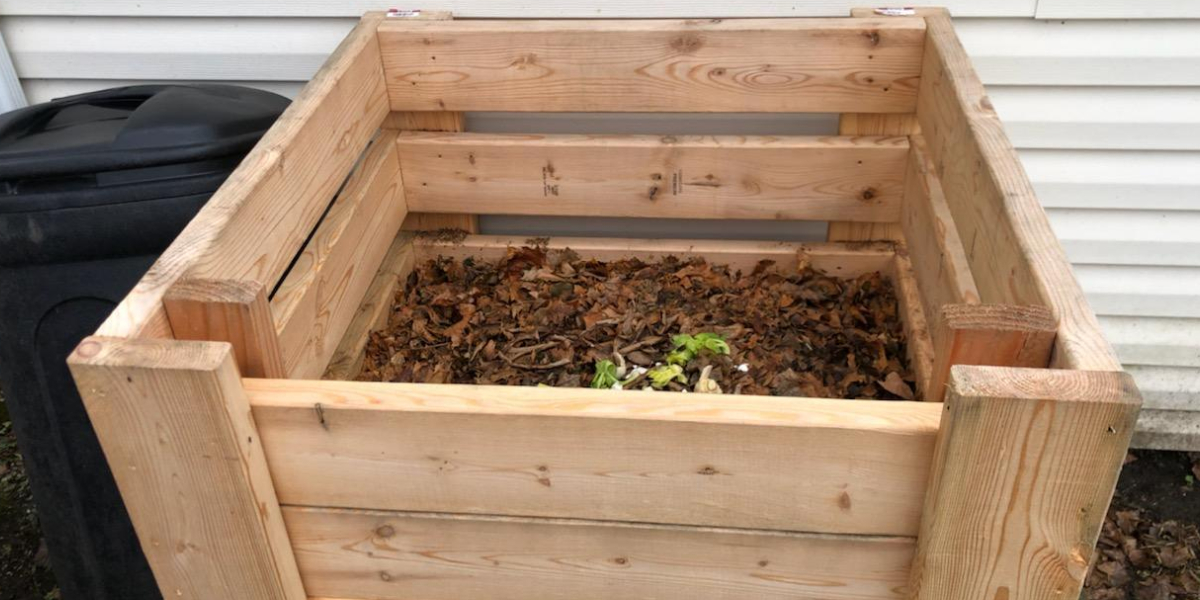
- Start with a Bedding Layer: Add a layer of compostable materials such as shredded newspaper, cardboard, or dried leaves at the bottom of the bin. This acts as a bedding layer and helps with moisture absorption and aeration.
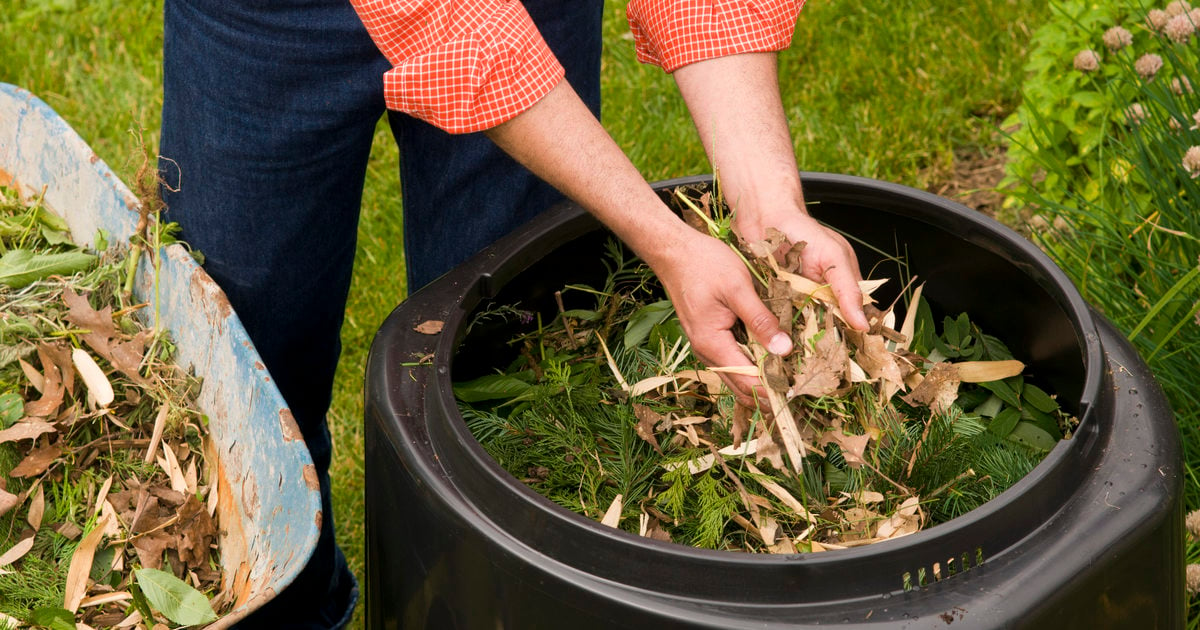
- Add Kitchen Scraps: Start adding your kitchen scraps to the compost bin. This includes fruit and vegetable scraps, coffee grounds, tea bags, eggshells, and non-greasy food items. Avoid adding meat, dairy, oily foods, and animal waste, as these can attract pests and cause odor issues.
- Balance Green and Brown Materials: To maintain a healthy composting process, ensure a balance between “green” and “brown” materials. “Green” materials include fresh kitchen scraps and yard waste, while “brown” materials include dry leaves, straw, and shredded paper. Aim for roughly equal parts of green and brown materials to create the ideal composting environment.
- Moisten the Compost: Occasionally, add water to your compost bin to maintain proper moisture levels. The compost should be damp, similar to a wrung-out sponge. Avoid overwatering, as excessive moisture can lead to a compost that is too wet and lacks oxygen.
- Cover and Turn: Close the lid of your compost bin to keep pests out and to control odor. Additionally, give the compost a periodic turn or mix to aerate it and promote decomposition. This can be done with a garden fork or a compost turning tool.
- Keep a Balance: As you continue adding kitchen scraps to the bin, remember to maintain a balance between green and brown materials. Adjust the carbon-to-nitrogen ratio if you notice any issues with odor, flies, or slow decomposition.
Remember, the key to successful composting is maintaining the right balance of ingredients, moisture, and aeration. With these steps, you can set up your kitchen compost bin and start the process of turning your kitchen scraps into nutrient-rich compost. In the next section, we will discuss what materials you can and cannot put in your kitchen compost bin.
What to Put in Your Kitchen Compost Bin
Your kitchen compost bin is the perfect place to dispose of a wide variety of organic materials that can be transformed into nutrient-rich compost. Here are some materials you can put in your kitchen compost bin:
- Fruit and Vegetable Scraps: This includes peels, cores, rinds, and any spoiled or leftover fruits and vegetables.
- Coffee Grounds and Tea Bags: Used coffee grounds and tea bags are an excellent source of nitrogen for your compost.
- Eggshells: Crushed eggshells add calcium to the compost pile. Rinse them before adding to the bin to prevent attracting pests.
- Non-Greasy Food Scraps: Leftover cooked grains, bread, pasta, and non-greasy cooked food scraps can be added to the compost bin.
- Paper Products: Shredded newspaper, cardboard, and paper towels can be added to the compost bin. Avoid glossy or colored paper.
- Yard Waste: If you have a small outdoor space, you can add yard waste like grass clippings, leaves, and small branches to your compost bin.
- Plant Trimmings: Pruned branches, stems, and leaves from indoor plants can be added to your kitchen compost bin.
- Herbivore Manure: If you have access to manure from herbivorous animals like rabbits or horses, you can add it to your compost pile. Avoid adding manure from carnivorous animals or pets.
While there are many materials you can add to your kitchen compost bin, there are also some things you should avoid putting in:
- Meat, Fish, and Dairy Products: These products can spoil and attract pests. It’s best to avoid putting them in your compost bin.
- Oily and Greasy Foods: Foods that are cooked in oil or contain excessive grease should also be kept out of your compost bin to prevent odor and pest issues.
- Animal Waste: While herbivore manure is suitable for composting, avoid adding pet waste or waste from carnivorous animals.
- Plastic, Metal, and Glass: Non-biodegradable materials like plastic, metal, and glass should never be put in your compost bin. They do not break down and can contaminate the compost.
- Chemically Treated Wood and Diseased Plants: Avoid adding chemically treated wood or diseased plants to your compost bin, as they can introduce harmful substances or pathogens to the compost pile.
By being mindful of what you put in your kitchen compost bin, you can ensure a healthy and productive composting process. Now that you know what materials to add, let’s move on to the next section to learn how to maintain your kitchen compost bin for optimal results.
Maintaining Your Kitchen Compost Bin
To ensure that your kitchen compost bin produces high-quality compost, it’s important to maintain it regularly. Here are some essential tips for maintaining your kitchen compost bin:
- Monitor Moisture Levels: Regularly check the moisture content of your compost by squeezing a handful. It should feel damp, similar to a wrung-out sponge. If it’s too dry, add water; if it’s too wet, add dry carbon-rich materials like shredded paper or dry leaves to absorb excess moisture.
- Aerate the Compost: Aeration is crucial for composting. Every few weeks, use a garden fork or a compost turning tool to turn the compost pile. This promotes airflow, prevents matting, and speeds up the decomposition process.
- Balance Green and Brown Materials: Continue to maintain a balance between green (nitrogen-rich) and brown (carbon-rich) materials. If you notice the compost is too wet and smelly, add more brown materials. If it’s not decomposing, add more green materials. Adjusting the carbon-to-nitrogen ratio will help create the ideal composting environment.
- Manage Odors: To prevent odors, make sure you’re adding the right materials to your compost bin, avoiding meat, dairy, and oily foods. If you’re experiencing strong odors, you can add a layer of dry leaves or shredded newspaper on top of the pile to help absorb odors. Additionally, regularly empty your compost bin to your outdoor compost pile to minimize smells in your kitchen.
- Keep Pests Away: Ensure your compost bin is secure and tightly sealed to prevent pests from accessing it. If you notice any pest problems, like fruit flies or ants, try burying fresh kitchen scraps under a layer of compost or brown materials to deter them.
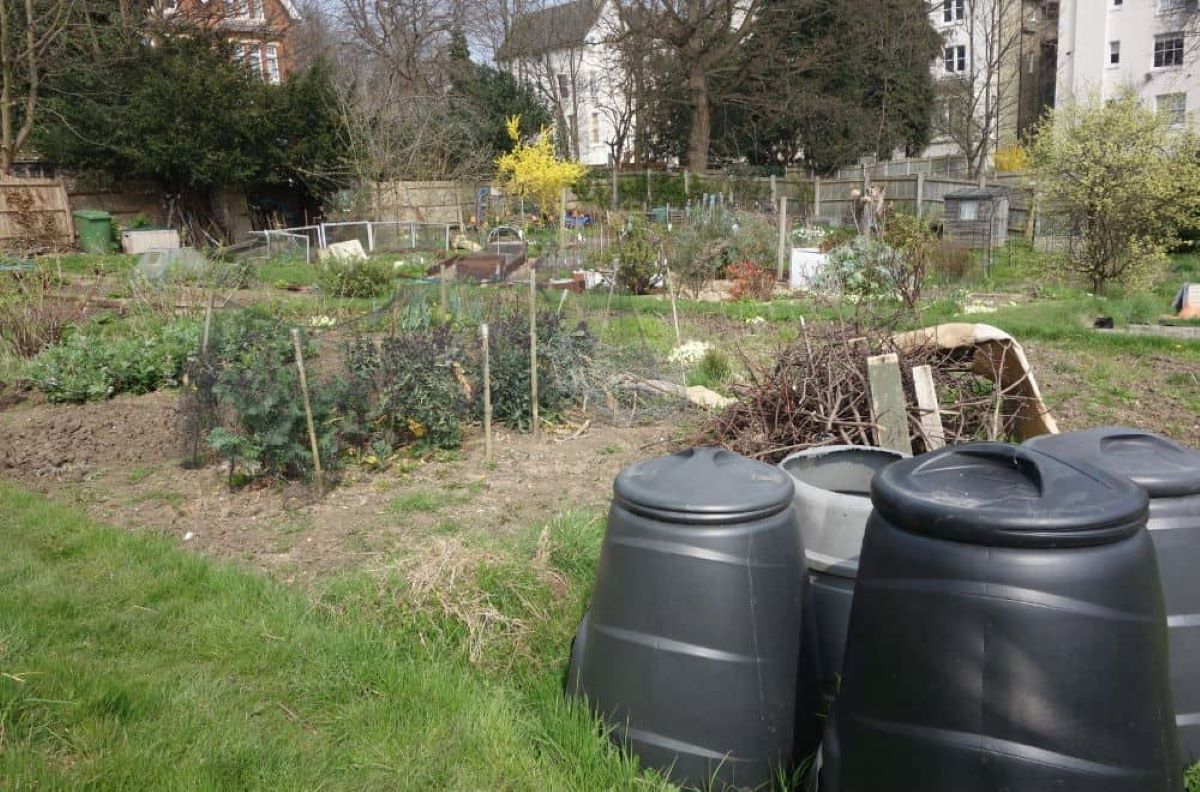
- Regularly Empty the Bin: Empty your kitchen compost bin regularly, depending on the size and capacity of the bin and the amount of waste generated. It’s best to transfer the contents to an outdoor compost pile or bin where they can continue to decompose fully.
- Regularly Clean the Bin: Clean your kitchen compost bin regularly to prevent the buildup of residue and odors. Use mild soap and warm water to clean the bin, and ensure it’s completely dry before lining it with a new compostable liner or adding fresh kitchen scraps.
- Use Compostable Liners: Consider using compostable liners or biodegradable bags in your kitchen compost bin. These liners make it easier to empty the bin and can help prevent moisture buildup and odors. Be sure to choose liners that are certified as compostable.
By following these maintenance tips, you’ll create an optimal environment for composting in your kitchen compost bin. Regularly tending to your bin will ensure that you have a steady supply of nutrient-rich compost for your gardening needs. In the next section, we will address some common troubleshooting issues that may arise during the composting process.
Troubleshooting Common Issues
Composting is a natural process, but sometimes issues can arise along the way. Here are some common troubleshooting tips to help you overcome common challenges:
- Odor Problems: If your compost bin smells unpleasant, it may be too wet or contain too many nitrogen-rich materials. Add more dry carbon-rich materials like shredded paper or leaves to balance the moisture and absorb odors. Also, ensure that you are not adding meat, dairy, or oily foods, as they can cause strong odors.
- Pest Infestation: An infestation of pests like fruit flies or ants can occur if the bin is not properly sealed or if food scraps are exposed. Ensure that your compost bin has a tight-fitting lid and consider burying fresh kitchen scraps beneath a layer of compost or brown materials to deter pests. If necessary, you can also use natural pest control methods like diatomaceous earth.
- Slow Decomposition: If your compost is not decomposing as quickly as expected, it may be due to an imbalance of green and brown materials or insufficient aeration. Check the carbon-to-nitrogen ratio and add more green or brown materials as needed. Turn the compost pile to improve oxygen flow and accelerate decomposition.
- Excessive Moisture: If your compost is too wet and doesn’t seem to be drying out, it can become compacted and lack oxygen. Add dry, carbon-rich materials like shredded paper or dry leaves to absorb excess moisture and improve aeration. Ensuring proper drainage in your compost bin can also help prevent excessive moisture buildup.
- Foul Smells: Foul smells in your compost bin may indicate anaerobic conditions due to lack of oxygen. This can be caused by overpacking the bin or not turning the compost pile regularly. Ensure proper aeration by regularly turning the pile and adding more bulky, fibrous materials like branches or straw to create air pockets.
- Unwanted Weeds or Seeds: If you notice weeds or seeds sprouting in your compost bin, it may be due to not reaching high enough temperatures to kill the seeds or incomplete decomposition. To prevent this, avoid adding weeds with mature seeds or diseased plants to your compost. Make sure your compost reaches temperatures of at least 131°F (55°C) during the hot composting process to kill weed seeds and pathogens.
- Insufficient Space: If you find that your kitchen compost bin is filling up too quickly, consider expanding your composting system or transferring the contents to an outdoor compost pile. It is important to maintain a balance between the amount of waste you generate and the size of your composting setup.
Remember, composting is a dynamic process, and it may take some trial and error to find the right balance and troubleshoot any issues that arise. By addressing common problems promptly, you can ensure effective composting and yield high-quality compost for your garden. In the next section, we will explore the exciting process of harvesting and using the compost you’ve created in your kitchen compost bin.
Harvesting and Using Compost from Your Kitchen Compost Bin
After months of careful composting, it’s time to reap the rewards of your efforts. Harvesting the compost from your kitchen compost bin is an exciting and fulfilling process. Here’s how to do it:
- Assess Maturity: Before harvesting, check if your compost is fully decomposed and mature. Mature compost should have a dark, crumbly texture, with no recognizable food or plant waste.
- Stop Adding New Material: About two weeks before you plan to harvest your compost, stop adding new material to the bin. This allows the remaining material to fully decompose without new additions interfering with the process.
- Remove the Top Layer: Start by removing the top layer of unprocessed material from the bin. This can be set aside to continue composting or used as a brown material in a new compost pile.
- Separate the Compost: The next step is to separate the finished compost from any remaining unprocessed material. You can use a screen, sifter, or homemade compost sieve to sift out the larger chunks and collect the finer compost material.
- Store or Use the Compost: Once you’ve separated the compost, you can store it in a covered container or use it immediately in your garden. It’s best to use the compost within a few months to preserve its nutrient content.
- Application Methods: Use your finished compost to enrich your garden soil, improve plant growth, and retain moisture. You can spread a layer of compost as a top dressing, mix it into potting soil for potted plants, or incorporate it into the ground when planting new flowers, vegetables, or shrubs.
- Top Dressing and Mulching: Spread a thin layer of compost around the base of existing plants to nourish the soil, suppress weeds, and retain moisture. This top dressing can be applied annually to maintain soil health.
- Compost Tea: Compost tea is a liquid extract made by steeping compost in water. It can be used as a nutrient-rich fertilizer for plants by thoroughly watering them with the tea, or as a foliar spray to provide essential nutrients and promote healthy leaf growth.
- Amending Potting Soil: Mix the compost with potting soil to create a nutrient-rich growing medium for indoor plants, container gardens, or seed starting.
- Soil Improvement: Incorporate the compost into the soil when planting new beds, borders, or vegetable patches. This will improve soil structure, enhance nutrient content, and promote healthy plant growth.
Remember, compost is a valuable soil amendment that nourishes plants and improves soil health. Experiment with different application methods and observe the positive effects it has on your plants and garden. By harvesting and using the compost from your kitchen compost bin, you complete the cycle of sustainability and contribute to a healthier ecosystem.
Conclusion
Congratulations on becoming a kitchen composting expert! By incorporating a kitchen compost bin into your daily routine, you have taken proactive steps towards reducing waste, improving soil health, and embracing a more sustainable lifestyle.
We started by discussing the benefits of using a kitchen compost bin, including waste reduction, soil enrichment, cost savings, reduction in water usage, and the promotion of sustainable living practices. We then explored the factors to consider when choosing the right compost bin, such as size, airtight design, ease of cleaning, and convenience. Additionally, we learned how to properly set up and maintain the compost bin for optimal results.
We delved into the materials that can and cannot be put into a kitchen compost bin, emphasizing the significance of balance and avoiding materials like meat, dairy, and plastic. We also explored troubleshooting common issues such as odor problems, pest infestation, slow decomposition, excessive moisture, foul smells, and unwanted weeds or seeds.
In the end, we learned about the exciting process of harvesting and using the compost. From assessing maturity to storing or utilizing the compost in your garden, there are various methods to make the most out of your nutrient-rich compost. By top dressing, mulching, using compost tea, amending potting soil, or improving overall soil quality, you can witness the positive impact composting has on plant growth and the environment.
Through your commitment to kitchen composting, you have not only reduced waste and enhanced your gardening capabilities but also contributed to a more sustainable future. By turning kitchen scraps into valuable compost, you are closing the loop and actively participating in the cycle of nature.
So, keep up the great work, continue to compost, and inspire others to join in the journey towards a greener and more sustainable lifestyle. Together, we can make a significant difference, one kitchen compost bin at a time!