Home>Gardening Techniques>DIY Projects>How To Screen Compost

DIY Projects
How To Screen Compost
Modified: January 22, 2024
Learn how to screen compost with this step-by-step DIY project guide. Transform your compost into nutrient-rich soil for your garden.
(Many of the links in this article redirect to a specific reviewed product. Your purchase of these products through affiliate links helps to generate commission for Chicagolandgardening.com, at no extra cost. Learn more)
Table of Contents
Introduction
Composting is a fantastic way to turn kitchen scraps and yard waste into nutrient-rich soil for your garden. As you continue to compost, you may find that your pile accumulates larger pieces of organic matter, such as small twigs and clumps of leaves. These larger pieces can take longer to break down and may not be as beneficial to your plants. This is where the process of screening compost comes in handy.
Screening compost involves removing any oversized or unprocessed materials from the finished product, leaving behind a fine, crumbly texture that is ideal for use in potting soil or as a top dressing for your plants. The process of screening compost is simple and can be easily accomplished with a few basic tools and materials.
In this article, we will guide you through the step-by-step process of screening compost. We will provide a list of materials you will need, as well as detailed instructions on how to set up the screening area, sift the compost, and collect the screened material. By the end of this article, you will be equipped with the knowledge and skills to screen your compost effectively, ensuring that you maximize its potential in your gardening endeavors.
Materials Needed
Before you begin screening your compost, it is essential to gather the necessary materials and tools. Fortunately, you won’t need anything too specialized or expensive. Here is a list of the items you will need:
- A compost screen or frame: This can be made using wood or metal and should be sturdy enough to withstand the weight of the compost.
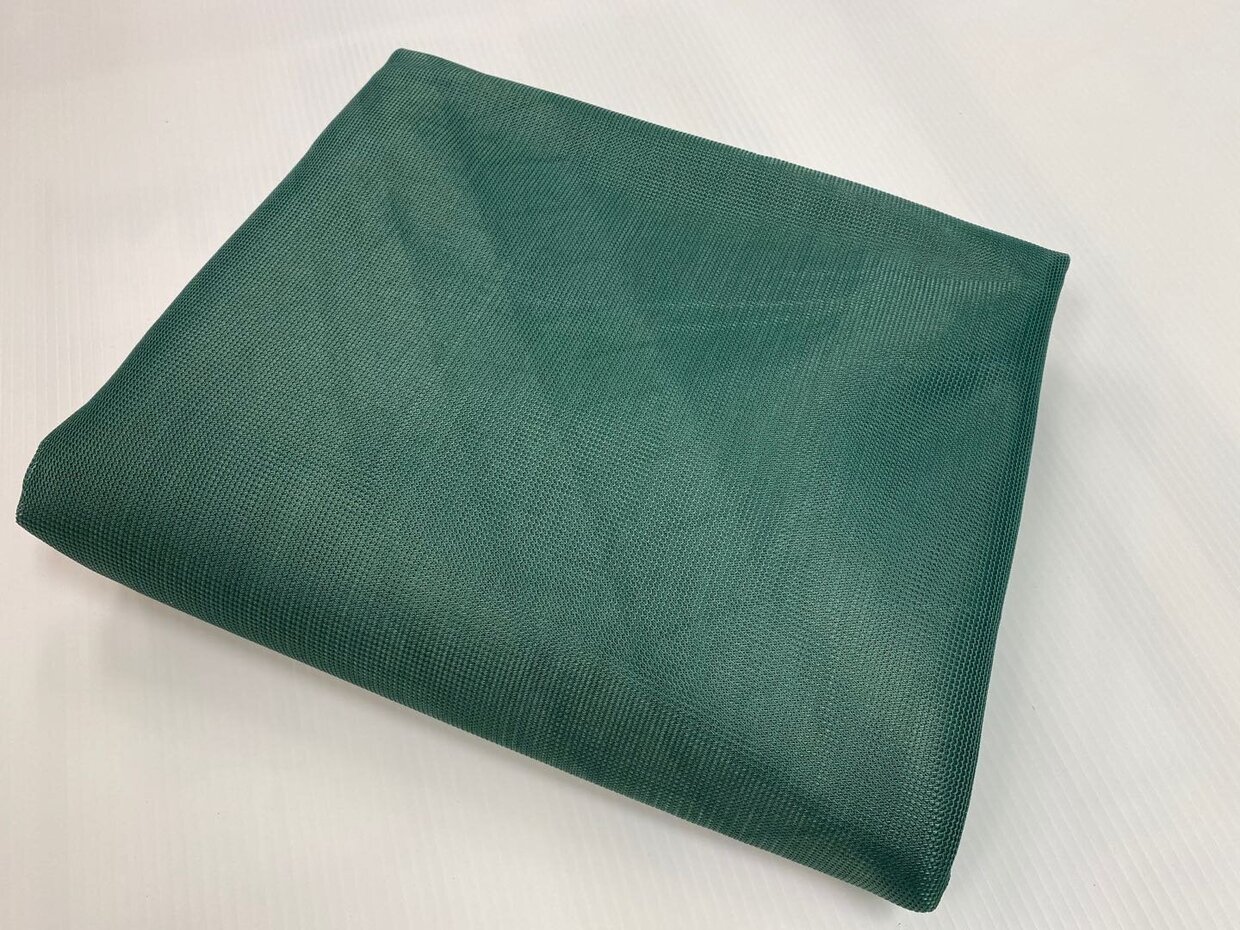
- Hardware cloth or mesh: This will serve as the actual screen and should have small enough openings to allow fine compost to pass through while capturing larger debris.
- Supports or legs: If your compost screen does not come with built-in supports, you will need something to elevate it off the ground.
- Shovel or pitchfork: These tools will be used to transfer the compost onto the screen and help with the sifting process.
- Wheelbarrow or container: This will be used to collect the screened compost as it falls through the screen.
- Optional: Gloves and safety glasses for protection, especially if you have sensitive skin or are working with particularly rough compost.
It’s important to note that the size and quantity of materials needed may vary depending on the scale of your composting operation. For small-scale home composting, a simple DIY screen and a standard garden shovel will suffice. However, for larger operations, you may need to consider using sturdier materials and larger tools to handle the volume of compost.
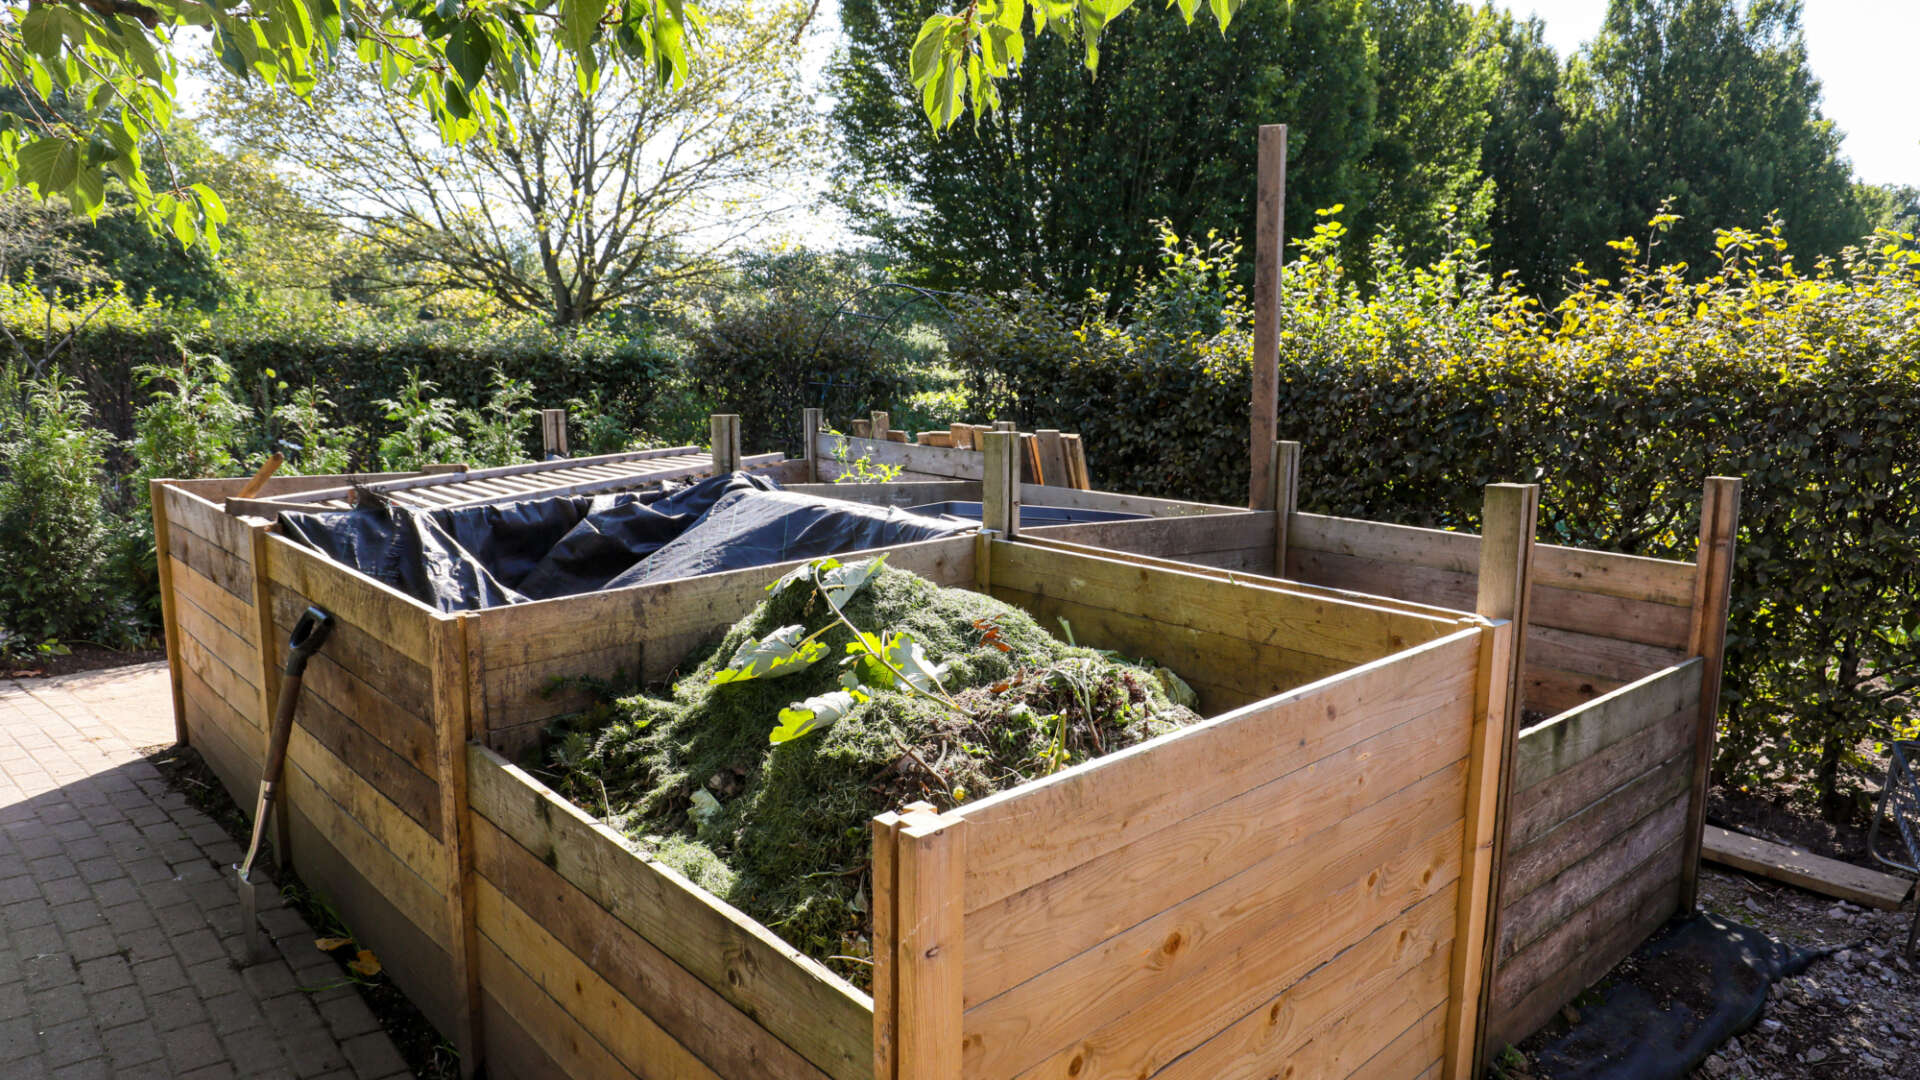
Step 1: Prepare the Compost Pile
Before you can start screening your compost, you’ll need to prepare the compost pile itself. This step ensures that your compost is in the optimum state for screening. Follow these guidelines to prepare your compost pile:
- Ensure that your compost has undergone sufficient decomposition: The materials in your compost pile should have broken down and transformed into a dark, crumbly, and earthy-smelling substance. This indicates that the organic matter has decomposed effectively.
- Remove any large, uncomposted materials: Before transferring your compost to the screening area, take the time to remove any large chunks, sticks, or twigs that have not fully decomposed. This will make the screening process easier and more efficient.
- Moisten the compost if necessary: Compost that is excessively dry can be more challenging to screen. If you find that your compost is too dry, add a small amount of water and mix thoroughly. However, be cautious not to make it overly wet, as this can lead to clumping.
- Break up any clumps: Use a shovel or pitchfork to break up any compacted or clumped areas in your compost pile. This will help ensure that the compost is evenly distributed across the screening surface.
By thoroughly preparing your compost pile, you’ll create the ideal starting point for the screening process. The compost should be well decomposed, free of large, uncomposted materials, and at the right moisture level for effective screening. With your compost pile ready, you can now proceed to the next step of setting up the screen.
Step 2: Set Up the Screen
Once your compost pile is prepared, it’s time to set up the screen. Follow these steps to properly set up the screening area:
- Choose a suitable location: Find a level area that is spacious enough to accommodate your compost pile and screen. It’s important to have enough room to work comfortably and allow for easy movement around the screening area.
- Place supports or legs: If your compost screen does not have built-in legs or supports, position them in the desired location. These supports should be sturdy enough to hold the weight of the compost and screen.
- Secure the compost screen: Place the compost screen onto the supports or legs, ensuring that it is level and stable. If necessary, use clamps or fasteners to secure the screen to the supports. The screen should be taut and have minimal sagging.
It’s crucial to have a durable and well-secured screen. This will prevent it from shifting or falling apart during the screening process. A stable and level surface will help ensure that the compost is evenly distributed and sifted properly. With the screen set up, you’re ready to start transferring the compost onto it for screening in the next step.
Step 3: Shovel the Compost onto the Screen
Now that your compost pile is ready and the screen is set up, it’s time to begin the process of transferring the compost onto the screen. Follow these steps to shovel the compost evenly onto the screen:
- Using a shovel or pitchfork, take a scoop of compost from your prepared pile.
- Hold the shovel over the screen, slightly above its surface.
- Gently shake or tap the shovel to allow the compost to fall onto the screen in a thin layer.
- Repeat this process, gradually covering the entire surface of the screen with an even layer of compost.
- Avoid overloading the screen with too much compost at once, as this can hinder the effectiveness of the screening process. It’s better to work in smaller batches, ensuring that the compost is evenly spread.
By evenly distributing the compost onto the screen, you establish a consistent layer that is easier to sift. This step is essential to maintain the efficiency of the screening process. Once the compost is evenly spread, you can move on to the next step of shaking and sifting the compost through the screen.
Step 4: Shake and Sift the Compost
With the compost spread evenly on the screen, it’s time to shake and sift the compost to separate the fine, crumbly material from any larger debris. Follow these steps to effectively shake and sift the compost:
- Hold onto the sides of the compost screen firmly to stabilize it.
- Gently shake the screen from side to side in a rhythmic motion. This motion helps to separate the smaller, well-composted material from the larger pieces.
- As you shake the screen, you will notice that the fine compost gradually falls through the openings while any larger debris remains on top.
- Continue shaking the screen until you are left with only the larger materials. You may need to use your hands or a tool to gently push and break apart any clumps that are keeping the larger pieces from falling through.
It’s important to be patient and not rush the shaking and sifting process. The goal is to separate as much of the well-composted material as possible while removing any larger, unprocessed pieces. Take your time and be thorough in your shaking to achieve the best results. Once the majority of the compost has sifted through the screen, you can proceed to the next step of collecting the screened compost.
Step 5: Collect the Screened Compost
After shaking and sifting the compost, you will be left with a pile of screened compost on top of the screen and any larger debris that did not pass through. Follow these steps to collect the screened compost:
- Use a shovel or your hands to carefully remove the larger debris from the screen. Place the debris in a separate pile to be composted or disposed of appropriately.
- Gently tap the sides or bottom of the screen to encourage any remaining compost to fall through. You can use a tool or your hands to assist in this process.
- Below the screen, place a wheelbarrow or container to catch the sifted compost as it falls through. Ensure that the container is large enough to hold the quantity of compost you expect to collect.
- Scoop the collected compost from the container as it accumulates, transferring it to a storage container or directly to your garden beds, pots, or wherever you plan to use it.
- If desired, you can repeat the process of shoveling the remaining compost onto the screen and shaking it once more to ensure that no valuable material goes to waste.
By carefully collecting the screened compost and removing any remaining debris, you ensure that you have a high-quality, fine-textured compost that is ready to be used in your gardening projects. The collected compost can be stored in a container with a lid or immediately incorporated into your soil for optimal plant nourishment. With the screened compost in hand, you’re almost finished! The last step involves some finishing touches and cleanup.
Step 6: Finishing Touches and Cleanup
Once you have collected the screened compost, there are a few final steps to complete the process and ensure a clean working area. Follow these steps for finishing touches and cleanup:
- Inspect the screen for any remaining debris: Take a close look at the screen to make sure there are no small pieces of debris that may have been missed during the shaking and sifting process. Remove any remaining debris and add it to the separate pile for composting or disposal.
- Empty the container or wheelbarrow: If your container or wheelbarrow is full of sifted compost, transfer it to a designated storage container or directly to your garden. Make sure to empty the container completely, leaving it clean and ready for future use.
- Clean the screen: Use a hose or water source to rinse off any remaining compost residue from the screen. Allow it to dry completely before storing or reusing it for future screening.
- Dispose of the leftover debris: Properly dispose of the larger debris and any remaining uncomposted materials. Depending on your local waste management regulations, you may be able to compost them separately or dispose of them in an appropriate manner.
- Store your screened compost: If you’re not using the screened compost right away, store it in a cool, dry place with a lid on the container or bag. This will help maintain its quality until you’re ready to incorporate it into your gardening projects.
By completing these finishing touches and cleaning up the screening area, you ensure that the composting process is fully concluded and your tools and workspace are well-maintained. With your screened compost stored and the area clean, you can now reap the benefits of your efforts by using the nutrient-rich compost in your garden.
Conclusion
Screening compost is a valuable technique that allows you to obtain a high-quality, finely-textured soil amendment for your gardening projects. By removing any oversized or unprocessed materials, you ensure that your plants receive the full benefits of the compost while minimizing the risk of unwanted debris.
Throughout this article, we have guided you through the step-by-step process of screening compost. From preparing the compost pile to setting up the screen, shoveling and sifting the compost, and ultimately collecting the screened material, each step plays a crucial role in achieving optimal results.
By following these steps and using the necessary tools and materials, you can efficiently and effectively screen your compost. The result is a final product that is rich in nutrients and ideal for improving the health and productivity of your garden.
Remember, composting is not only an environmentally friendly practice but also a rewarding one. By utilizing your own homemade compost, you reduce waste, enrich your soil, and promote overall sustainability in your garden. So why not take the extra step to screen your compost and maximize its potential?
Whether you are a seasoned gardener or new to composting, screening your compost is a simple and rewarding DIY project that anyone can undertake. Get started today and experience the satisfaction of transforming your kitchen scraps and yard waste into a valuable resource for your garden.
So grab your materials, set up your screen, and get ready to produce nutrient-rich, finely-textured compost that will nourish your plants and promote bountiful growth. Happy screening!