Home>Gardening Techniques>DIY Projects>How To Make Candles With Herbs
DIY Projects
How To Make Candles With Herbs
Published: September 26, 2023
Learn how to make candles with herbs in this easy DIY project. Enhance your space with natural scents and create a relaxing ambiance.
(Many of the links in this article redirect to a specific reviewed product. Your purchase of these products through affiliate links helps to generate commission for Chicagolandgardening.com, at no extra cost. Learn more)
Table of Contents
Introduction
Are you looking for a creative and natural way to bring relaxation and positive energy into your home? Look no further than making your own candles with herbs. Not only do these homemade candles add a touch of beauty to any space, but they also provide the calming benefits of herbal scents and aromatherapy.
Creating your own candles with herbs is a fulfilling and enjoyable DIY project that allows you to customize the fragrance and visual appeal of each candle. Whether you want to create a soothing lavender-scented candle for your bedroom or a refreshing citrus-infused candle for your living room, the possibilities are endless.
In this article, we will guide you through the step-by-step process of making candles with herbs. From gathering your supplies to enjoying the final product, we will cover everything you need to know to create your own herbal candles.
By making your own candles, you have full control over the ingredients and can ensure that they are all-natural and free from harmful chemicals. You can also incorporate herbs with various healing properties, such as lavender for relaxation, rosemary for mental clarity, or eucalyptus for respiratory health.
So, if you’re ready to embark on a journey of creativity and self-care, let’s dive into the world of making candles with herbs and discover the joy of crafting your own personalized scents.
Step 1: Gathering Your Supplies
Before you begin making candles with herbs, it’s essential to gather all the necessary supplies. Having everything on hand will ensure a smooth and enjoyable crafting experience. Here are the supplies you will need:
- Candle wax (such as soy wax or beeswax)
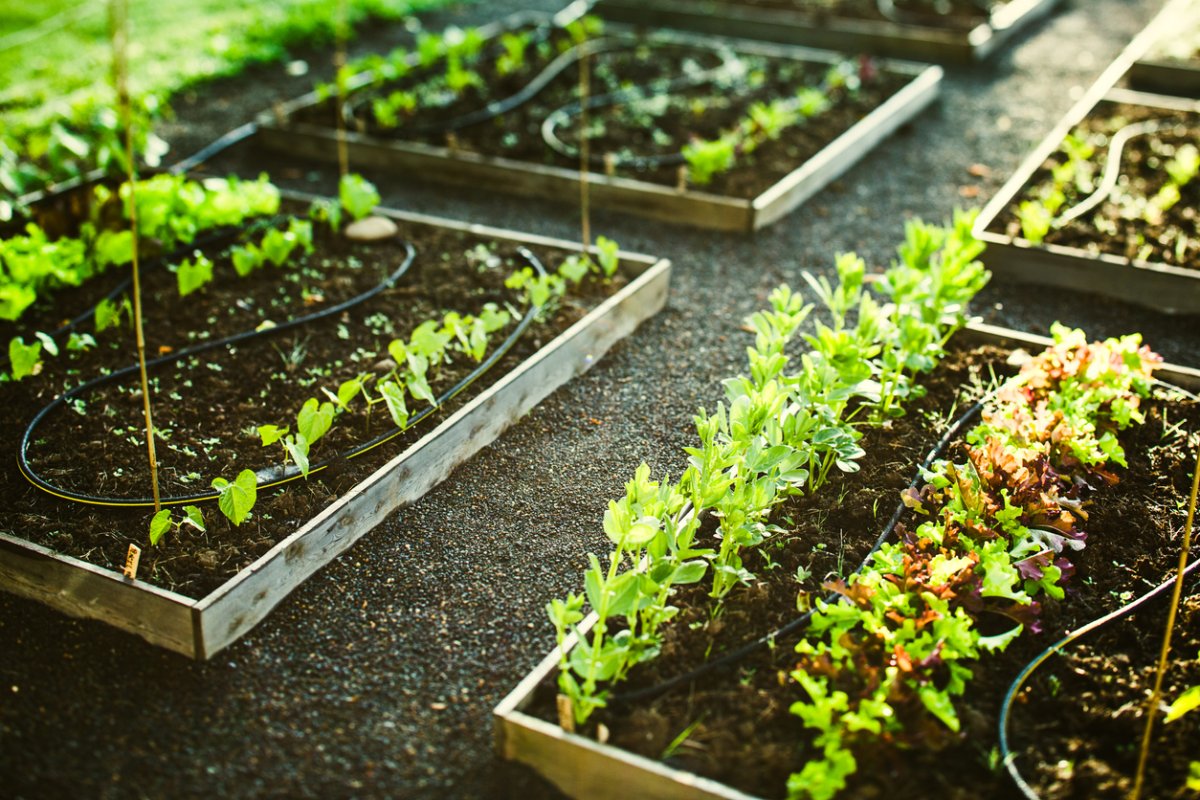
- Herbs of your choice (dried or fresh)
- Candle wicks
- Container for your candle (such as a glass jar or tin)
- Double boiler or a heat-resistant container for melting wax
- Stirring utensils (preferably made of heat-resistant materials)
- Measuring tools (scale or measuring cup and spoon)
- Essential oils (optional, for enhanced fragrance)
- Labels and decorative materials (to personalize your candle)
- Heat-resistant surface or a candle-making kit (for added safety)
If you’re new to candle making, it’s recommended to start with a candle-making kit that contains most of the basic supplies needed. This way, you can familiarize yourself with the process before investing in individual materials.
When it comes to choosing your candle wax, soy wax and beeswax are popular options as they are natural, clean-burning, and environmentally friendly. Additionally, consider using herbs that are safe to burn, such as lavender, chamomile, rosemary, or rose petals.
Remember to store your herbs and wax in a cool, dry place to maintain their quality.
Now that you have everything you need to get started, let’s move on to step two: choosing your herbs.
Step 2: Choosing Your Herbs
Choosing the right herbs for your candle is an exciting part of the candle-making process. Different herbs have unique scents and properties that can enhance the ambiance and mood of your space. When selecting herbs for your candle, consider the following factors:
- Fragrance: Choose herbs that have aromas you find appealing. Lavender, chamomile, mint, and citrus herbs like lemongrass and orange peel are popular choices for their soothing and refreshing scents.
- Intention: Consider the purpose or intention behind your candle. If you want to create a calming atmosphere, herbs like lavender and chamomile are great choices. For an energizing effect, you might opt for rosemary or peppermint.
- Visual appeal: Some herbs, such as rose petals, lavender buds, and dried citrus slices, not only release pleasant scents when burned but also add an aesthetically pleasing touch to your candle. Choose herbs that complement your desired visual aesthetic.
- Properties: Certain herbs are known for their specific properties and benefits. For example, eucalyptus is often used for its respiratory benefits, while sage is associated with purification and positive energy. Research the properties of different herbs to find ones that align with your preferences.
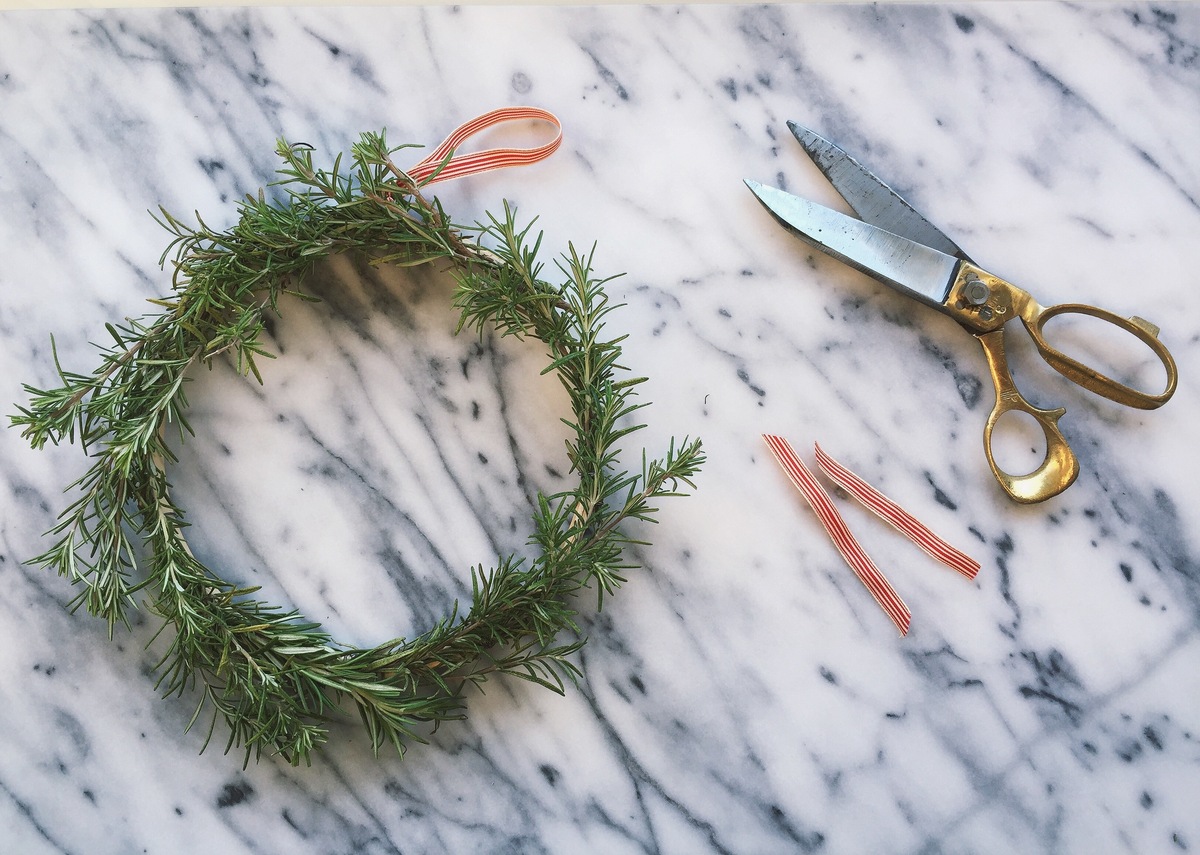
When preparing your herbs, make sure they are dried thoroughly to prevent any moisture from affecting the burning process. You can dry fresh herbs by placing them in a dry, well-ventilated area for a few weeks. Alternatively, you can purchase dried herbs from a reputable supplier.
For an added touch, consider grinding the herbs into a fine powder or crushing them slightly to release their aromatic oils. This will help enhance the scent and allow the herbs to mix more evenly throughout the wax.
With your herbs selected, it’s time to move on to the next step: preparing the wax.
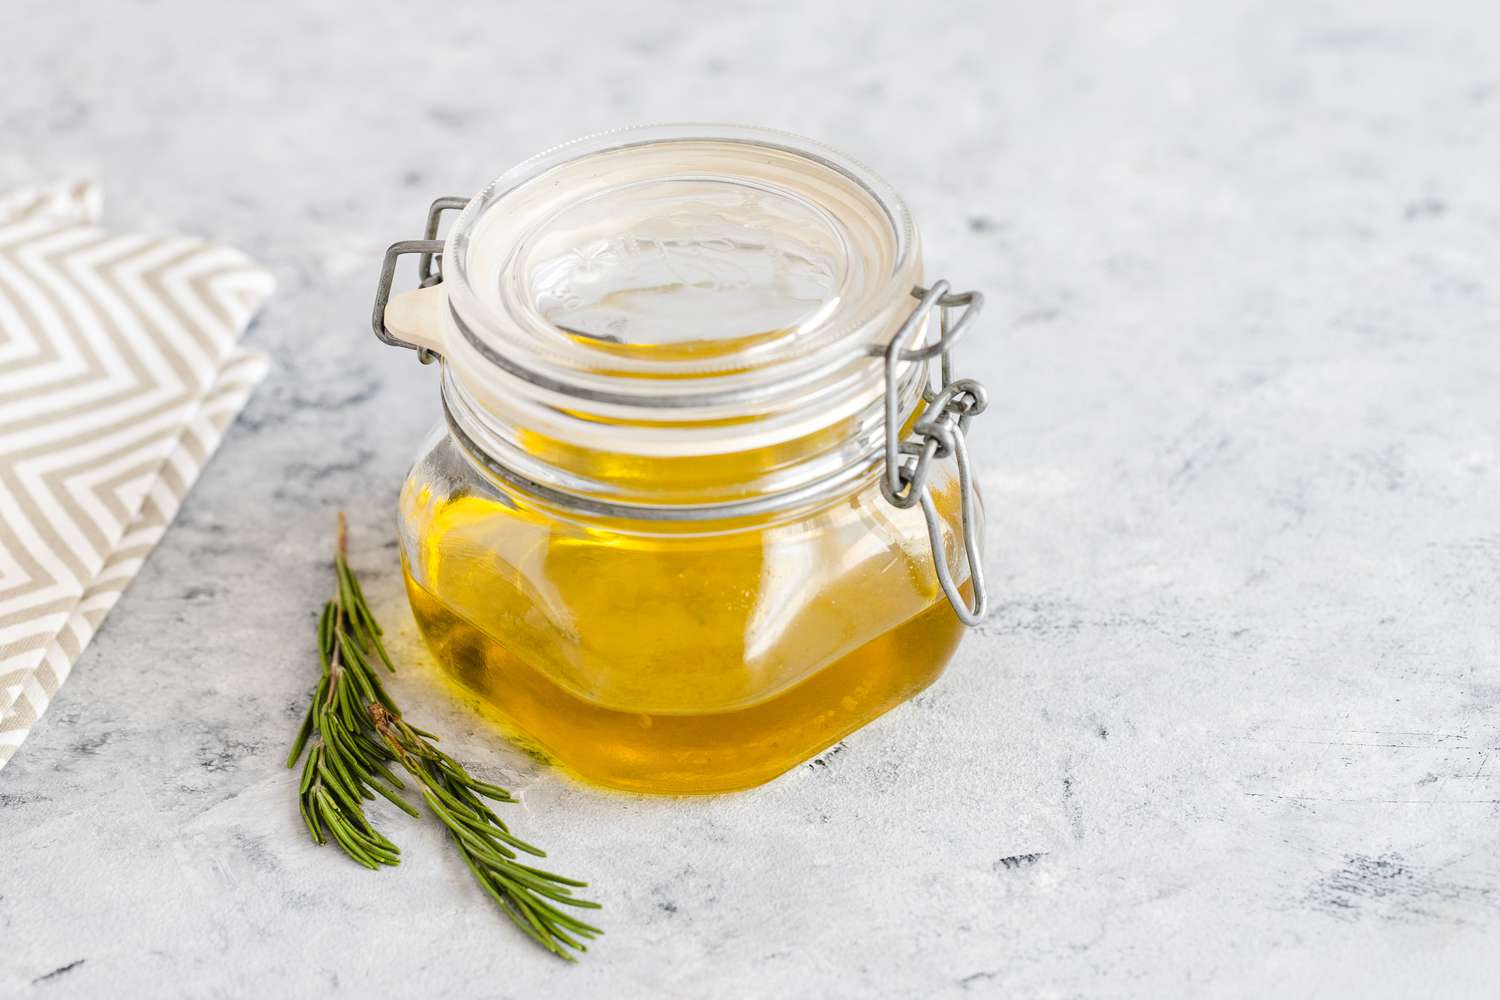
Step 3: Preparing the Wax
Now that you have your chosen herbs ready, it’s time to prepare the wax for your homemade herbal candle. Follow these steps to ensure a safe and successful candle-making process:
- Measure the desired amount of wax: Using a scale or measuring cup, determine the amount of wax needed based on the size of your container.
- Melt the wax: In a double boiler or a heat-resistant container placed in a pot of water, gently heat the wax until it completely melts. Be sure to follow the instructions provided with the specific type of wax you are using.
- Add optional fragrance: If you want to enhance the scent of your candle with essential oils, this is the time to add them. Remember to use a recommended dilution rate and avoid using too much oil, as it can affect the burning performance of the candle.
- Stir the wax: Once the wax has melted and any fragrance oils are added, gently stir the mixture for a few minutes to ensure the scent disperses evenly throughout the wax.
It’s important to note that different types of wax have varying melting points and safety guidelines. Always follow the manufacturer’s instructions to ensure safe handling and melting.
As the wax cools, it may develop a film on the surface, known as “frosting.” This is a natural process and does not affect the quality or performance of your candle. If you prefer a more polished look, you can use a heat gun or a hairdryer on low to smooth out the surface of the candle after it has fully set.
With your melted wax prepared and any optional fragrance added, you’re now ready for the exciting step of adding your chosen herbs. Let’s move on to step four: adding the herbs to your candle.
Step 4: Adding the Herbs
Now that you have your melted wax prepared, it’s time to infuse it with the delightful scents and visual appeal of your chosen herbs. Here’s how you can add the herbs to your homemade candle:
- Prep your container: Place your container on a heat-resistant surface and ensure it is clean and dry. This will help the herbs adhere to the sides and bottom of the container.
- Position the wick: If you haven’t done so already, secure the wick to the bottom of the container using a wick sticker or some melted wax. Make sure it is centered and straight.
- Add the herbs: Sprinkle or carefully place the herbs into the melted wax around the wick. You can add as little or as much as you prefer, depending on the desired intensity of fragrance and visual effect.
- Stir gently: Use a heat-resistant utensil to gently stir the wax, ensuring the herbs are evenly distributed throughout the candle.
Adding herbs to your candle not only introduces a beautiful natural element but also provides a sensory experience as the herbs release their scents when the candle burns. Experiment with different combinations of herbs to create unique blends and pleasing aromas.
Remember to consider the size of your container when determining the amount of herbs to add. It’s essential to avoid overcrowding the container, as this can hinder the candle’s ability to burn properly.
With the herbs properly added to the wax, it’s time to move on to step five: preparing the wick for your herbal candle.
Step 5: Preparing the Wick
Preparing the wick of your herbal candle is an important step to ensure proper burning and a consistent flame. Follow these steps to prepare the wick:
- Trim the wick: Begin by trimming the wick to the desired length. A good rule of thumb is to trim it to about ¼ inch (6 mm) above the wax surface.
- Secure the wick: If necessary, use a wick holder or a clothespin to keep the wick upright and centered in the container. This will prevent it from moving or leaning as the wax solidifies.
- Optional: Prime the wick: If you’re using a cotton wick, you may want to prime it to promote a more consistent burn. To do this, dip the wick in melted wax and then carefully remove it, allowing the excess wax to drip back into the container.
Properly preparing the wick ensures that it will burn evenly and prevents it from producing excessive smoke or “mushrooming” (forming a carbon buildup at the tip). This helps to maintain a clean and efficient burn throughout the life of the candle.
Once you have successfully prepared the wick, you’re now ready for the next step in candle making: pouring the wax into the container. Let’s move on to step six.
Step 6: Pouring the Wax
Pouring the melted wax into your container is an exciting step that brings your herbal candle to life. Follow these steps to ensure a smooth and successful pouring process:
- Prepare the container: Place the container on a stable surface, lined with a heat-resistant mat or wax paper to protect it from any potential spills or drips.
- Pour the wax slowly: Carefully pour the melted wax into the container, being mindful not to pour too quickly or forcefully. Pouring slowly helps to minimize air bubbles and allows the wax to smoothly fill the container.
- Leave space for expansion: Make sure to leave some space at the top of the container, typically about ½ to 1 inch (1.3 to 2.5 cm), to allow for expansion as the candle solidifies.
- Use a pour spout or funnel (optional): If you’re working with a narrow-necked container or want precise pouring, you can use a pour spout or funnel to direct the wax into the container without any spills or splatters.
As you pour the wax, the herbs will naturally distribute within the container, creating a beautiful and unique pattern. Keep in mind that the wax may initially appear a bit cloudy due to air bubbles, but as it solidifies, it will become clear and translucent.
Be cautious when handling the melted wax to avoid any accidental spills or burns. It’s also a good idea to have a clean cloth or paper towels nearby to quickly wipe away any drips or spills before they solidify.
With the wax poured into the container, it’s time to move on to the next step: allowing the herbal candle to set and solidify.
Step 7: Allowing the Candle to Set
After pouring the melted wax into your container, it’s crucial to allow the candle to set and solidify properly. Follow these steps to ensure the best results:
- Avoid disturbance: Once the wax is poured, avoid moving or disturbing the container to prevent any uneven settling or disruption of the herbs.
- Find a safe location: Place the container in a cool and undisturbed area where it can set and solidify. Ensure that the candle is on a heat-resistant surface and away from any flammable materials.
- Patience is key: Depending on the amount of wax and the ambient temperature, it may take several hours or even overnight for the candle to fully set and solidify. Be patient and resist the temptation to touch or move the candle prematurely.
Allowing the candle to set properly ensures that the wax and herbs bond together, creating a solid and stable candle. It also helps to prevent any potential cracking or separation of the wax from the container.
Keep in mind that different types of wax may have varying solidification times. Check the manufacturer’s instructions for specific recommendations on how long to let your candle set before moving on to the next steps.
Once the candle has completely set, you’re almost ready to enjoy your beautiful herbal creation. But first, let’s move on to step eight: trimming the wick.
Step 8: Trimming the Wick
Trimming the wick is an essential step to ensure proper burning and a clean flame for your herbal candle. Follow these steps to trim the wick:
- Allow the candle to cool completely: Before trimming the wick, ensure that the candle has cooled down completely to avoid any accidental burns.
- Inspect the wick length: Check the length of the wick and ensure it is about ¼ inch (6 mm) above the wax surface. If it’s longer, use scissors or wick trimmers to carefully trim the excess length. It’s important to maintain a proper wick length to prevent excessive smoke, mushrooming, and uneven burning.
- Remove trimmed wick debris: After trimming the wick, gently remove any debris or trimmings from the candle surface using a clean cloth or tissue.
Trimming the wick before each burn helps to ensure a clean and steady flame, reducing sooting and prolonging the life of your candle. It’s best to trim the wick when the candle is cool and before you light it each time.
By maintaining a properly trimmed wick, you increase the overall safety and enjoyment of your herbal candle.
Now that the wick is trimmed, it’s time for the final step: enjoying your beautiful and aromatic herbal candle. Let’s move on to step nine.
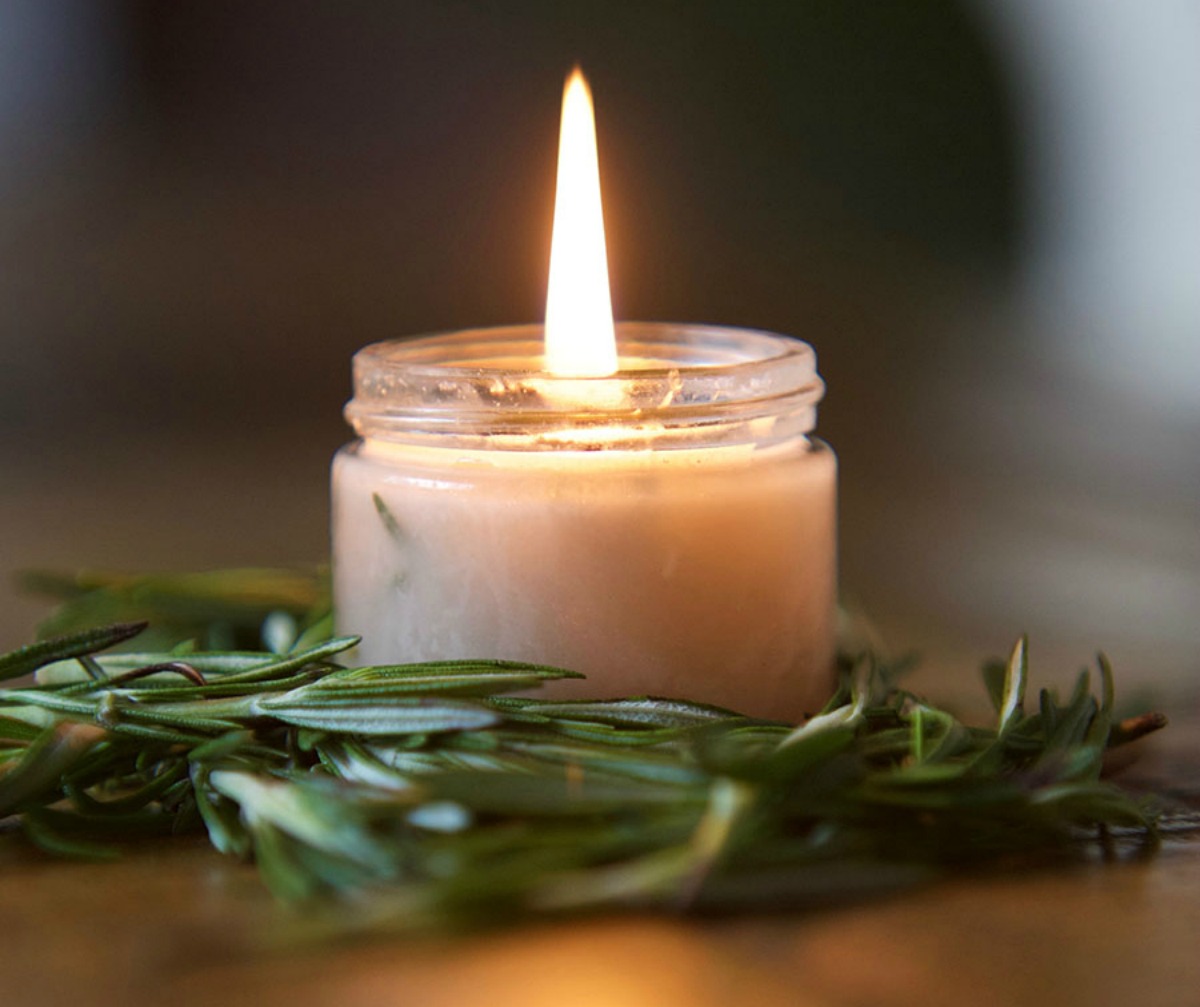
Step 9: Enjoying Your Herbal Candle
After all the hard work and care you’ve put into making your own herbal candle, it’s time to sit back, relax, and enjoy the soothing ambiance and delightful aroma it brings to your space. Here are a few tips for maximizing your enjoyment:
- Find the perfect spot: Place your herbal candle in an area where you spend a lot of time or where you want to create a relaxing atmosphere. It could be your living room, bedroom, bathroom, or even a cozy reading nook.
- Lighting your candle: Before lighting the candle, make sure there are no flammable materials nearby and the area is well-ventilated. Use a long-handled lighter or a match to safely light the wick.
- Allow for a sufficient burn time: For the first lighting, let the candle burn long enough to create a melt pool that reaches the edges of the container. This helps prevent tunneling and ensures an even burn throughout the life of the candle.
- Monitor while burning: Never leave a burning candle unattended, and keep it out of the reach of children and pets. Always ensure the candle is on a heat-resistant surface and away from drafts and flammable objects.
- Enjoy the aromatherapy: As the candle burns, the gentle scent of the herbs will be released, creating a calming and therapeutic environment. Close your eyes, breathe in the pleasant aroma, and let the soothing ambiance melt away your stress.
- Reap the benefits of your chosen herbs: Depending on the herbs used, you may experience additional benefits such as relaxation, mental clarity, or respiratory support. Embrace these properties and let them enhance your well-being.
Remember to always practice candle safety and extinguish the flame when you’re finished enjoying your herbal candle. Use a candle snuffer or carefully blow out the flame, ensuring there are no remaining embers.
With proper care and maintenance, your homemade herbal candle will provide hours of aromatic bliss and create a serene and inviting atmosphere in your home.
Now that you know how to make your own herbal candles and savor their benefits, it’s time to get creative and experiment with different herb combinations, scents, and container designs. So, gather your supplies, choose your herbs, and embark on your candle-making journey. Enjoy the process and relish in the ambiance and well-being that your homemade herbal candles bring to your space.
Conclusion
Congratulations! You have now learned how to create your own beautiful and aromatic herbal candles. By following these step-by-step instructions, you can enjoy the satisfaction of crafting personalized candles that not only add a touch of beauty to your space but also provide the therapeutic benefits of herbal scents.
From gathering your supplies and choosing the perfect herbs to preparing the wax, adding the herbs, and trimming the wick, each step in the candle-making process contributes to a successful and enjoyable outcome. With a little creativity and experimentation, you can create unique blends and combinations of herbs to suit your preferences and enhance your well-being.
As you light your homemade herbal candle, take a moment to appreciate the soothing ambiance, delightful fragrances, and potential therapeutic effects it brings to your home. Relax, unwind, and allow the gentle glow and comforting scent to create a tranquil and rejuvenating atmosphere.
Remember to always practice candle safety and never leave a burning candle unattended. With proper care and maintenance, your herbal candles will continue to bring joy and relaxation to your space for many hours.
So, why not gather your supplies and start your own candle-making adventure? Enjoy the creative process, experiment with different herbs and scents, and revel in the pleasure of crafting your very own herbal candles.
Now, it’s time to let your creativity shine and infuse your surroundings with the captivating beauty and aroma of homemade herbal candles.