Home>Garden Design>Planning Your Garden>How To Make An Irrigation System
Planning Your Garden
How To Make An Irrigation System
Modified: January 22, 2024
Learn how to plan your garden and create an efficient irrigation system for optimal plant growth and water conservation. Step-by-step guide for beginners.
(Many of the links in this article redirect to a specific reviewed product. Your purchase of these products through affiliate links helps to generate commission for Chicagolandgardening.com, at no extra cost. Learn more)
Table of Contents
- Introduction
- Getting Started
- Planning Your Irrigation System
- Understanding the Water Source
- Choosing the Right Components
- Installation Process
- Setting Up the Mainline
- Installing the Valves
- Lay Out the Watering Zones
- Connecting the Sprinklers or Drip Emitters
- Testing and Adjusting the System
- Maintenance and Troubleshooting
- Conclusion
Introduction
Welcome to the world of gardening! Planning your garden is an exciting and rewarding endeavor. One crucial aspect of creating a thriving garden is ensuring proper irrigation. A well-designed irrigation system will provide your plants with the necessary water and nutrients, leading to healthy growth and abundant harvests.
Whether you are a seasoned gardener or just starting out, this article will guide you through the process of planning and installing an effective irrigation system. We will cover everything from understanding your water source to choosing the right components and setting up watering zones.
Having an irrigation system in place offers numerous benefits. It saves time by automating the watering process, ensures consistent moisture levels, and helps prevent issues such as over or under-watering. Additionally, a well-maintained system can reduce water waste by delivering water directly to the roots of plants, minimizing evaporation and runoff.
Before diving into the details of planning and installation, take a moment to assess your garden’s specific needs. Consider factors such as the size of your garden, the types of plants you have, and the climate in your area. Understanding these factors will aid in designing an irrigation system that best suits your garden’s requirements.
Now, let’s embark on our journey to create a sustainable and efficient irrigation system for your garden. Whether you have a small container garden or a sprawling backyard oasis, the principles we discuss here will help you optimize your watering practices and nurture your plants for years to come.
Getting Started
Before diving into the planning and installation of your irrigation system, it’s important to take a few preliminary steps to ensure a smooth and successful process. Here are some key points to consider when getting started:
- Assess your garden: Take a close look at your garden and observe its unique characteristics. Consider factors such as the size and layout, the types of plants you have, and any specific watering requirements they may have. This information will help you determine the best irrigation system for your garden.
- Identify your water source: Understanding your water source is crucial when planning your irrigation system. Determine whether you will be using municipal water, well water, or rainwater collection, as this will impact the design and components you will need.
- Evaluate your budget: Determine how much you are willing to invest in your irrigation system. This will help you prioritize your needs and make informed decisions when selecting components and materials.
- Research local regulations: Depending on where you live, there may be regulations or restrictions regarding water usage and irrigation systems. Familiarize yourself with any local ordinances before proceeding with your project.
- Take measurements: Measure your garden’s dimensions, including the length and width, as well as any obstacles or unique features. These measurements will be crucial when planning the layout and determining the amount of tubing and other components you will need.
By taking these initial steps, you will be better prepared to move forward with the planning and installation of your irrigation system. Remember, thorough preparation is key to a successful project that meets the needs of your garden while staying within your budget and complying with any regulations.
Planning Your Irrigation System
When it comes to planning your irrigation system, careful thought and consideration are essential. Taking the time to plan will ensure that your system is efficient, effective, and tailored to the specific needs of your garden. Here are some important steps to keep in mind during the planning process:
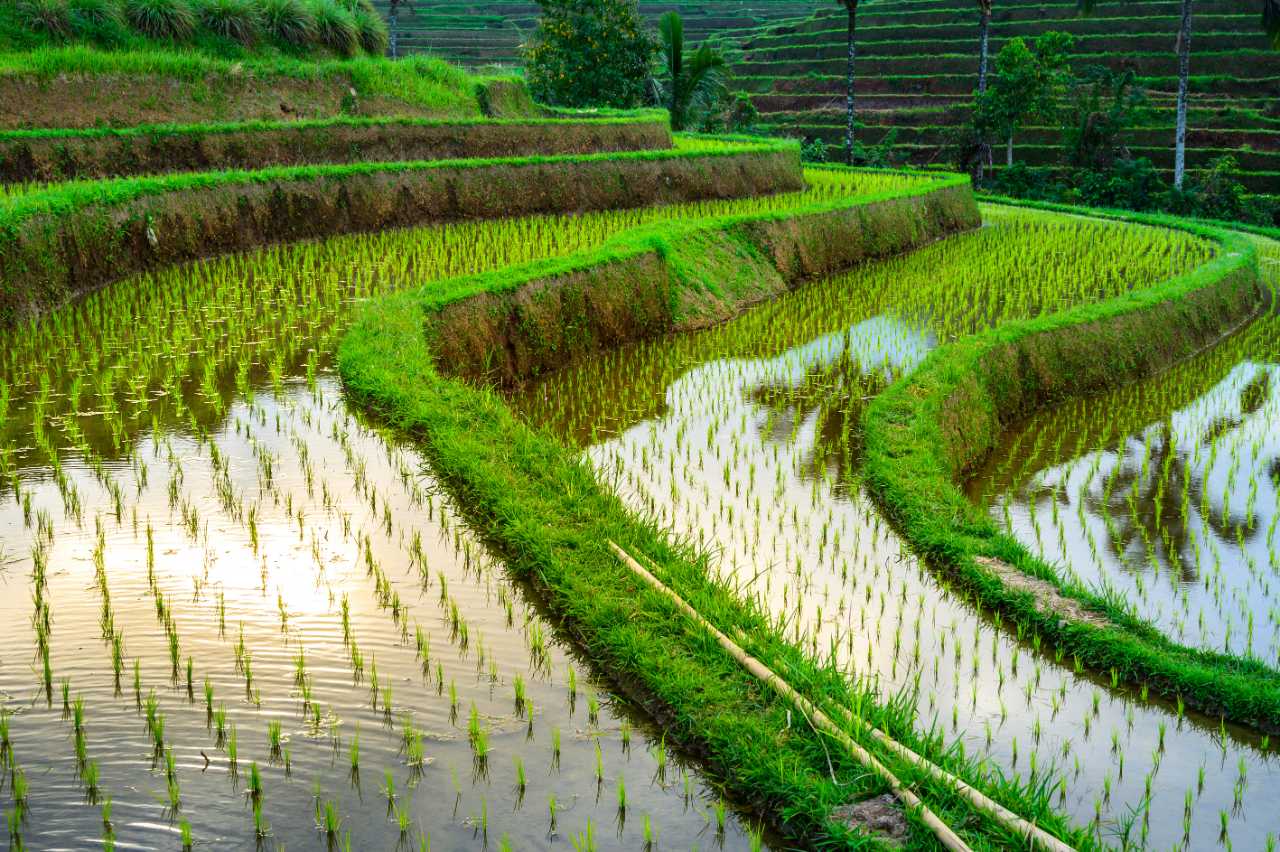
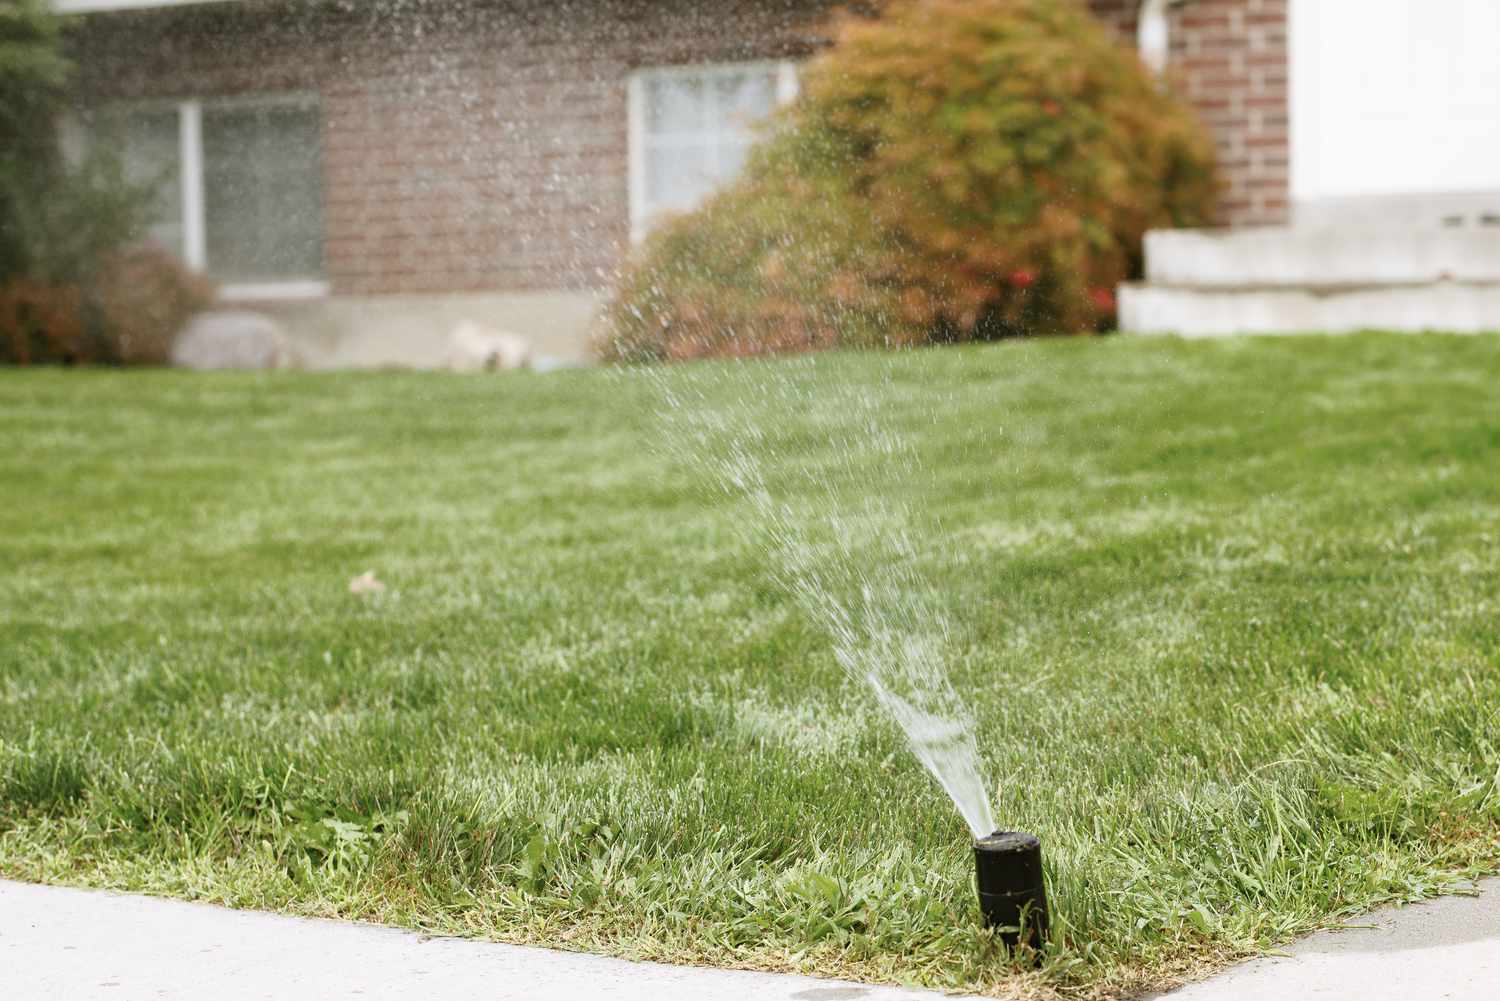
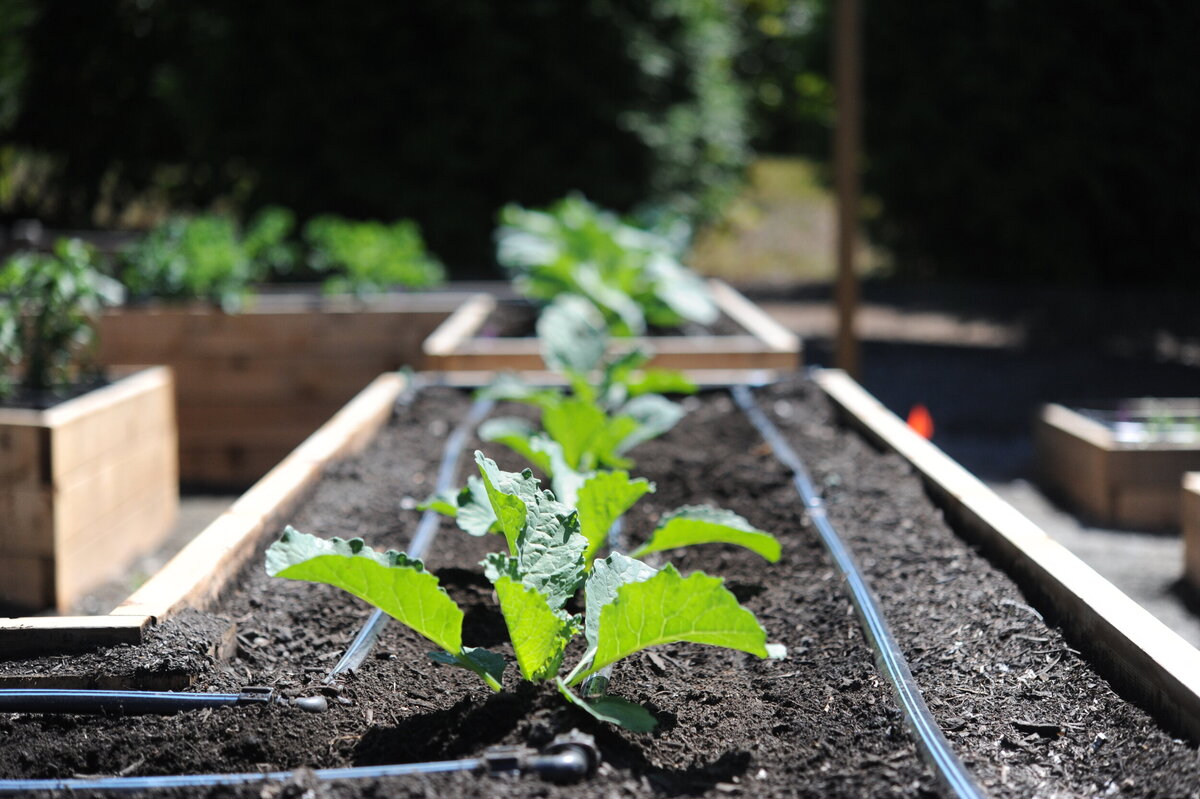
- Determine the type of irrigation: There are various types of irrigation systems to choose from, including sprinkler systems and drip irrigation systems. Consider the characteristics of your garden, such as the types of plants, their water requirements, and the soil conditions, to determine which type of system will work best.
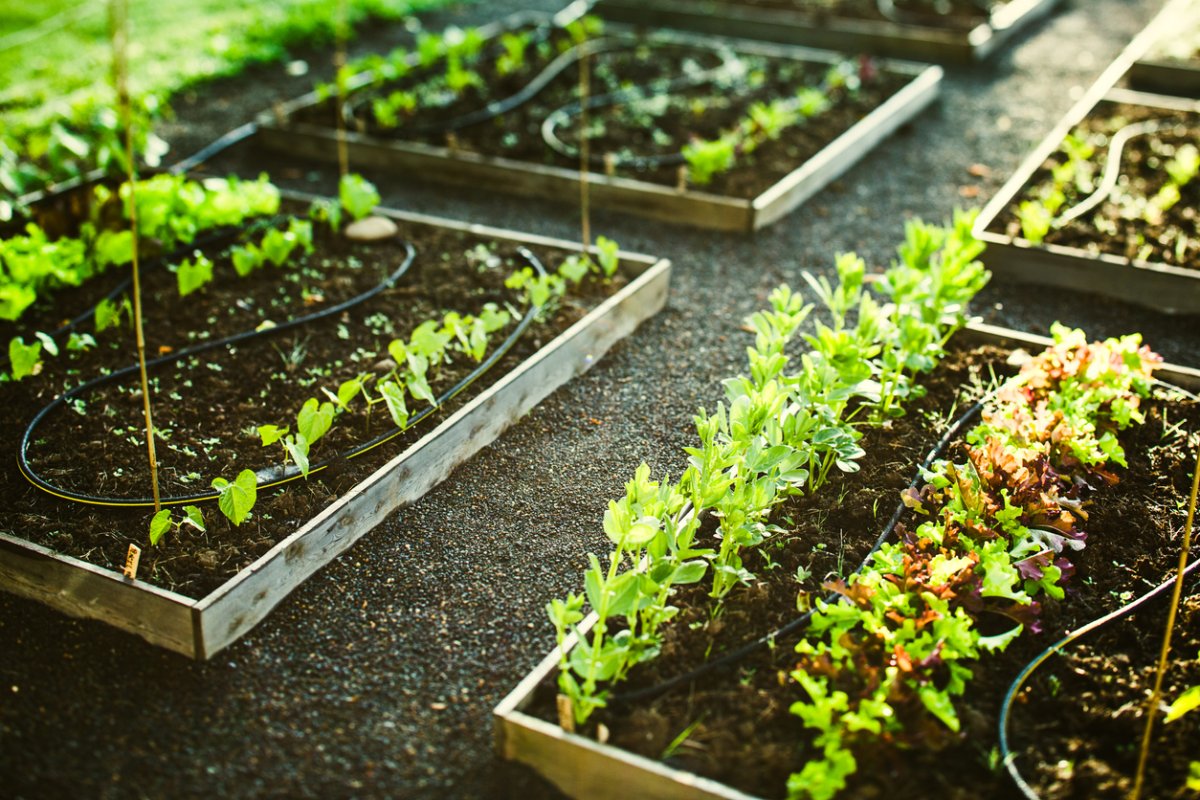
- Design your watering zones: Divide your garden into watering zones based on the water requirements of different plants. Group plants with similar needs together to ensure that they receive the appropriate amount of water. This zoning will allow you to customize your irrigation system for maximum efficiency.
- Calculate water pressure and flow rate: Understanding the water pressure and flow rate of your water source is crucial for proper system design. This information will help you determine the appropriate pipe size, sprinkler heads, and other components for optimal water distribution.
- Create a layout plan: Using your measurements and zoning information, create a detailed layout plan for your irrigation system. This plan should include the placement of mainlines, valves, sprinklers, and drip emitters. Consider factors such as accessibility, coverage area, and any potential obstacles or landscaping features.
- Consider automation and controllers: To further streamline your irrigation system, consider incorporating automation and controllers. These devices allow you to schedule watering times, adjust the duration and frequency, and even control your system remotely. Automation can help conserve water and ensure consistent watering, even when you are away.
As you plan your irrigation system, always keep the specific needs of your garden in mind. Consider the type of plants you have, their water requirements, and any unique characteristics of your garden. Tailoring your irrigation system to these needs will promote healthy plant growth and optimize water usage.
Remember, proper planning is the foundation of a successful irrigation system. Take the time to carefully consider all aspects of your garden and choose the most appropriate components and design for your specific needs. By doing so, you will create an efficient and effective system that will keep your garden thriving all season long.
Understanding the Water Source
One of the crucial aspects of planning your irrigation system is understanding your water source. By gaining knowledge about the water source, you can make informed decisions about the design and components of your system. Here are key factors to consider regarding your water source:
- Municipal Water: If you are using municipal water for your irrigation system, it’s essential to know the water pressure and flow rate provided by the utility company. You can contact them to obtain this information, which will help you select the appropriate components for your system.
- Well Water: For those who rely on well water, it’s crucial to assess the flow rate and water pressure of the well. You may need to consult with a professional to conduct a well yield test to determine the water flow and ensure it meets the needs of your irrigation system.
- Rainwater Collection: If you have a rainwater collection system, understanding the capacity and availability of stored water is essential. Consider factors such as rainfall patterns, storage capacity, and the method of collecting rainwater to determine how it can supplement your irrigation needs.
- Water Quality: Assessing the quality of your water source is also important. Water with high mineral content or contaminants may require additional filtration or treatment before being used for irrigation. Conducting a water quality test can help you understand any potential issues and take necessary measures.
- Water Conservation: Regardless of your water source, it’s important to prioritize water conservation. Consider implementing water-saving practices such as using efficient sprinkler heads, incorporating drip irrigation, and scheduling watering during optimal times to minimize water wastage.
Understanding the characteristics of your water source will help you design an effective irrigation system that delivers the right amount of water to your plants. Additionally, it will allow you to choose components such as pipes, valves, and sprinkler heads that are compatible with your water source’s pressure and flow rate.
Remember to regularly monitor your water source and make adjustments to your irrigation system as needed. By staying attentive to changes in water availability or quality, you can ensure that your system continues to operate efficiently and sustainably.
Choosing the Right Components
When it comes to creating an efficient and effective irrigation system, selecting the right components is crucial. Each component plays a specific role in delivering water to your plants, so choosing the appropriate ones will ensure optimal performance. Here are some key components to consider:
- Pipes and Tubing: Selecting the right pipes and tubing is essential for water distribution. Consider factors such as the water pressure, flow rate, and the size of your garden. PVC pipes are commonly used for mainlines, while flexible polyethylene tubing is ideal for lateral lines and connections.
- Valves: Valves control the flow of water in your irrigation system. Choose valves that are durable, easy to operate, and compatible with your water source. Ball valves or inline valves are popular choices, allowing you to control individual zones and adjust water flow as needed.
- Emitters: Drip emitters, such as emitters or micro-sprinklers, are ideal for delivering water directly to the root zone of plants. Choose emitters based on the water requirements of your plants and the type of soil you have. Consider adjustable emitters that allow you to customize the flow rate and distribution.
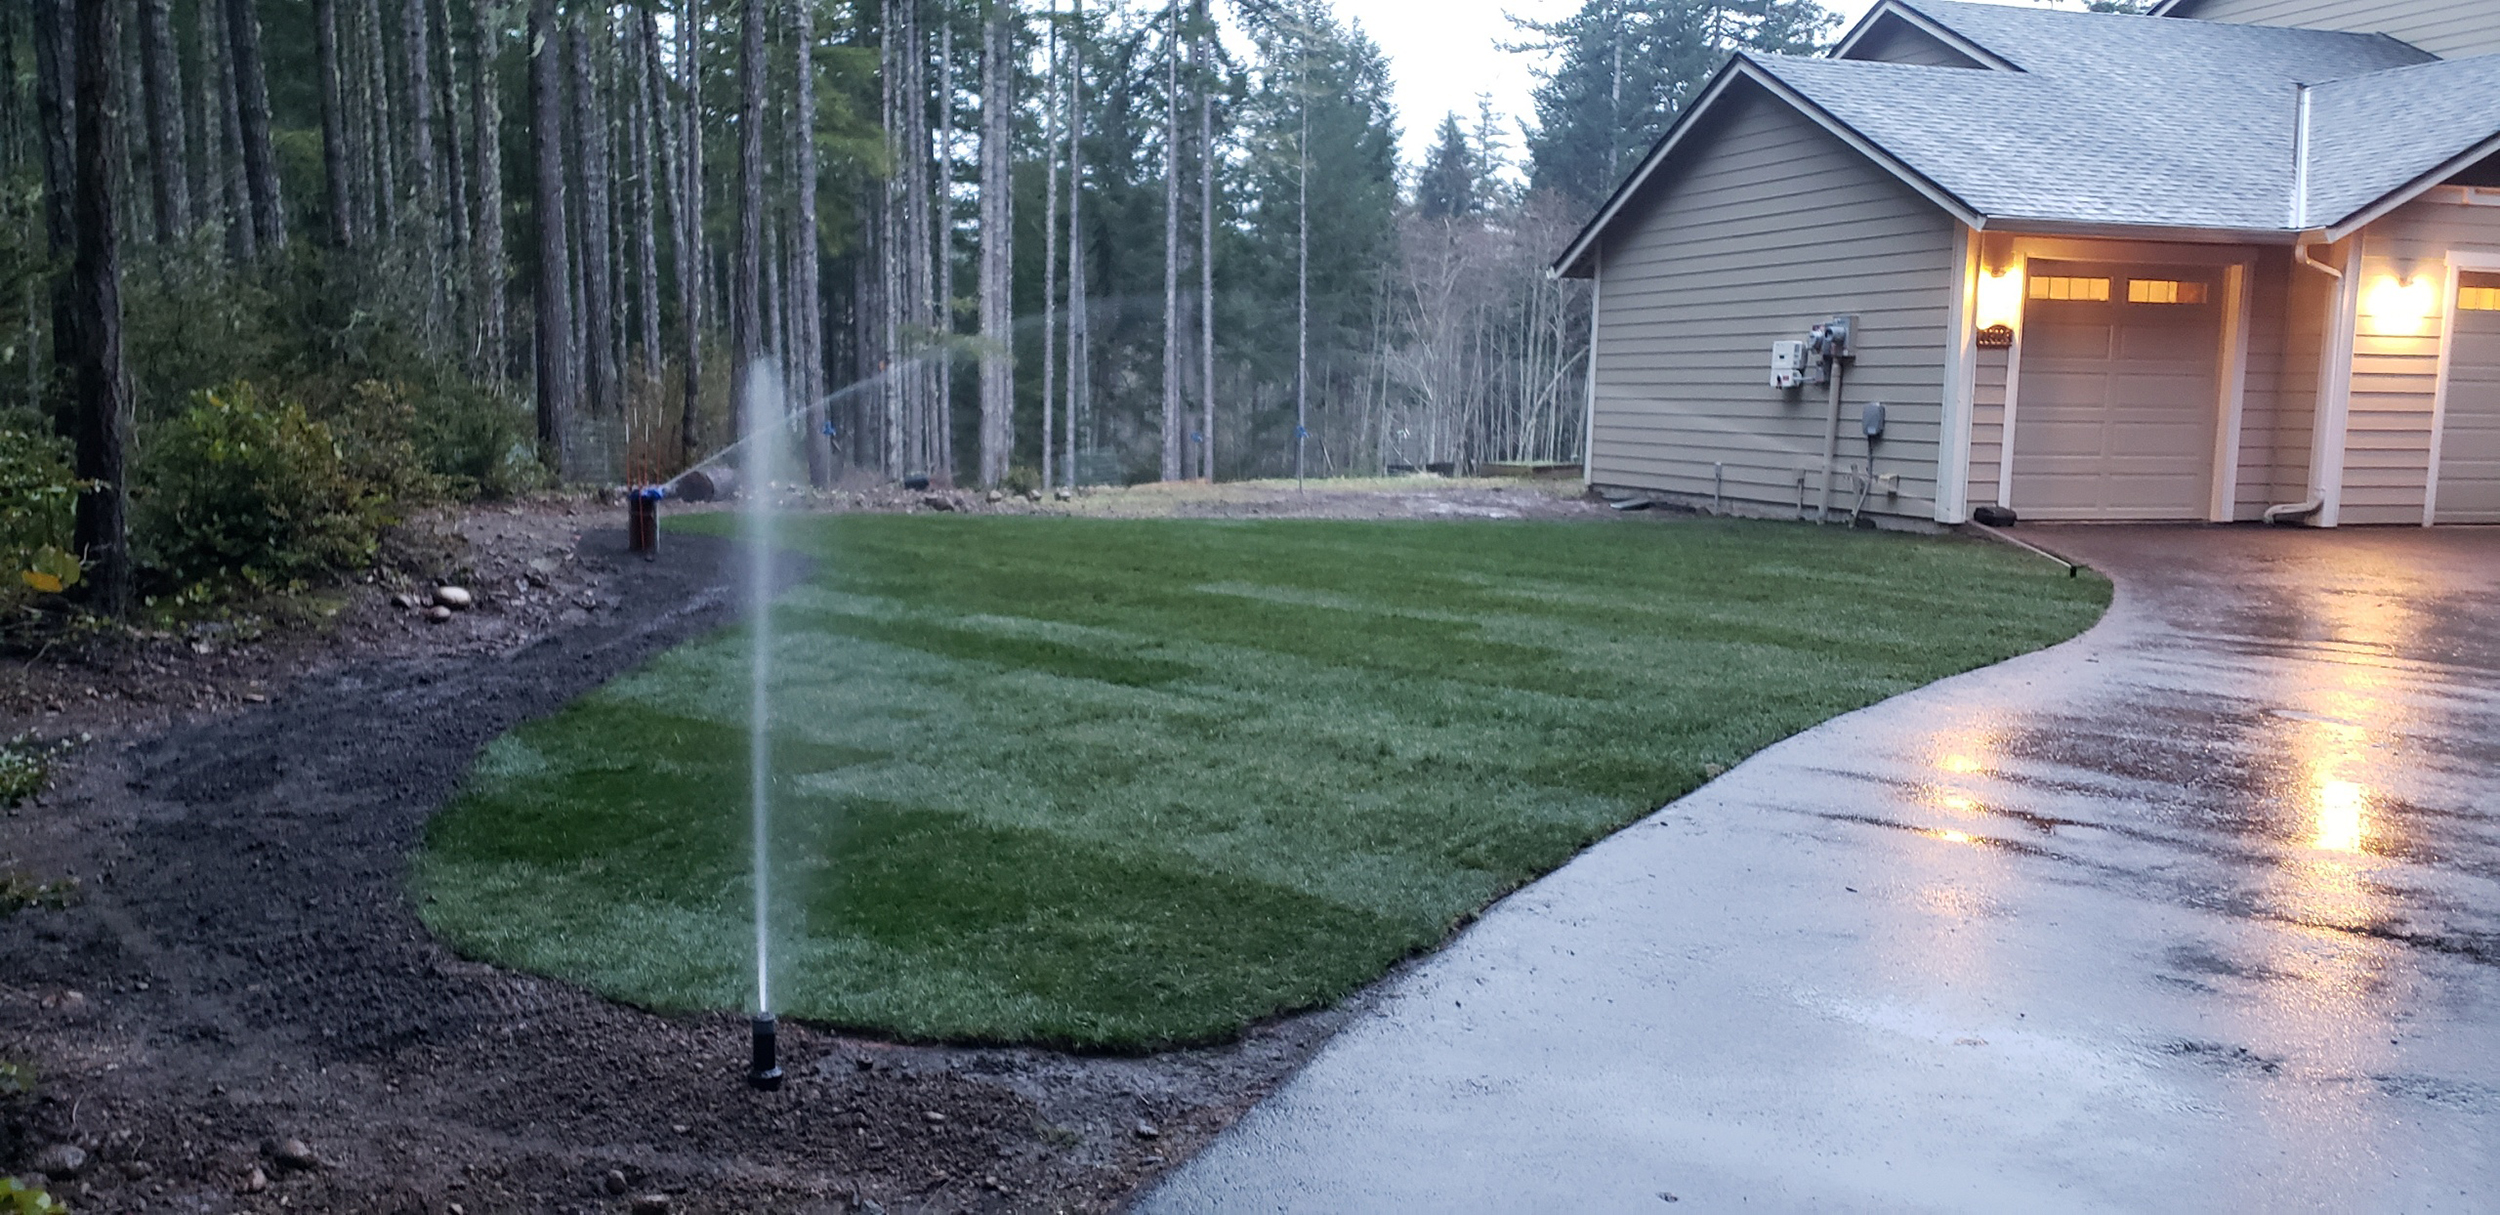
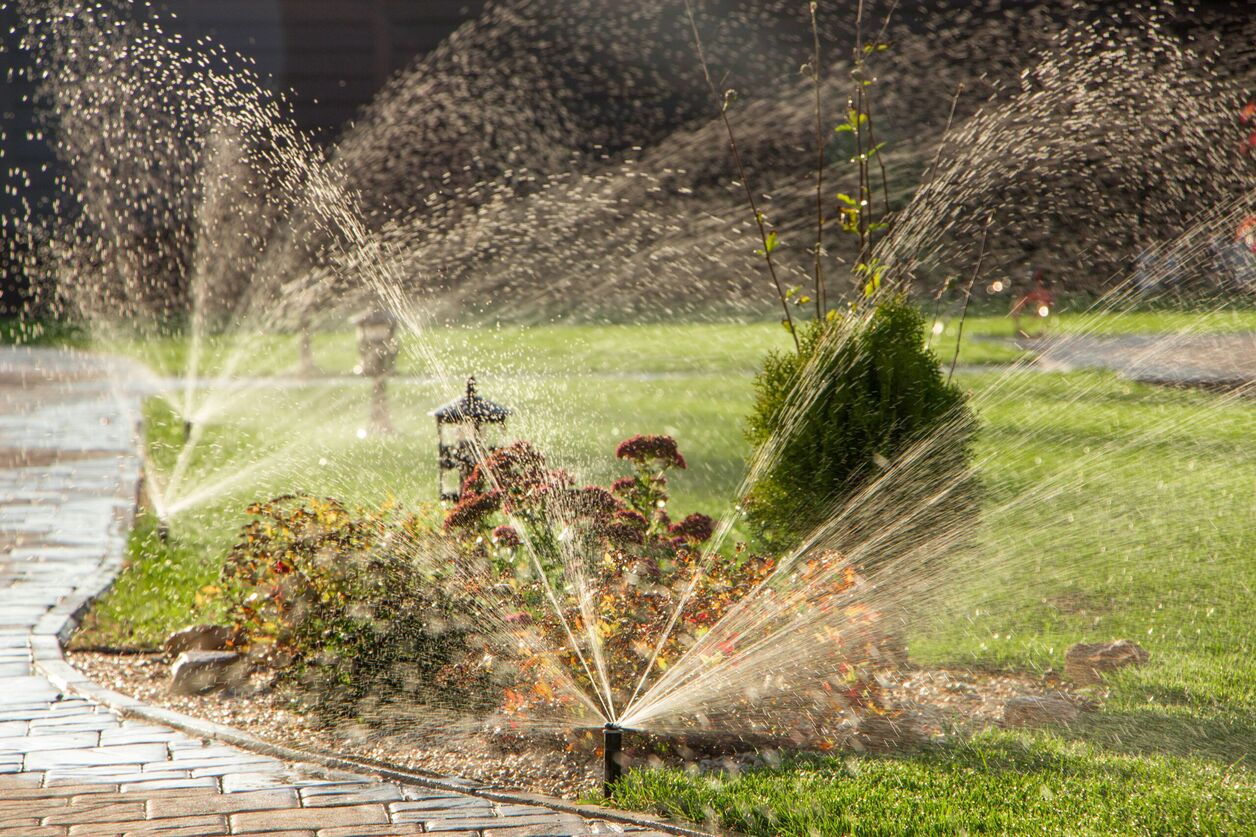
- Sprinkler Heads: Sprinkler heads are suitable for areas that require broader coverage. Select sprinkler heads based on the size, shape, and water requirements of your garden. Rotating or adjustable sprinkler heads provide better flexibility, allowing you to customize the spray pattern and radius.
- Controllers: Controllers or timers automate your irrigation system, making it more efficient and convenient. Choose controllers with features such as multiple programs, seasonal adjustments, and rain sensors to conserve water and adapt to changing weather conditions.
- Filtration and Backflow Prevention: Incorporating filtration and backflow prevention devices is essential to protect your irrigation system and ensure the quality of water. Install filters to remove debris and sediments and backflow prevention devices to prevent contamination of your water source.
When choosing components, consider factors such as durability, compatibility, and ease of installation and maintenance. It’s also helpful to consult with professionals or seek advice from knowledgeable garden supply stores to get recommendations based on your specific needs.
Remember that investing in quality components will lead to a more reliable and efficient irrigation system in the long run. Consider your budget and prioritize the components that are essential for your garden’s specific needs. By selecting the right components, you’ll lay the foundation for a successful irrigation system that supports healthy plant growth.
Installation Process
Now that you have planned and selected the components for your irrigation system, it’s time to move on to the installation process. While the specific steps may vary depending on your garden and chosen system, here is a general guide to help you get started:
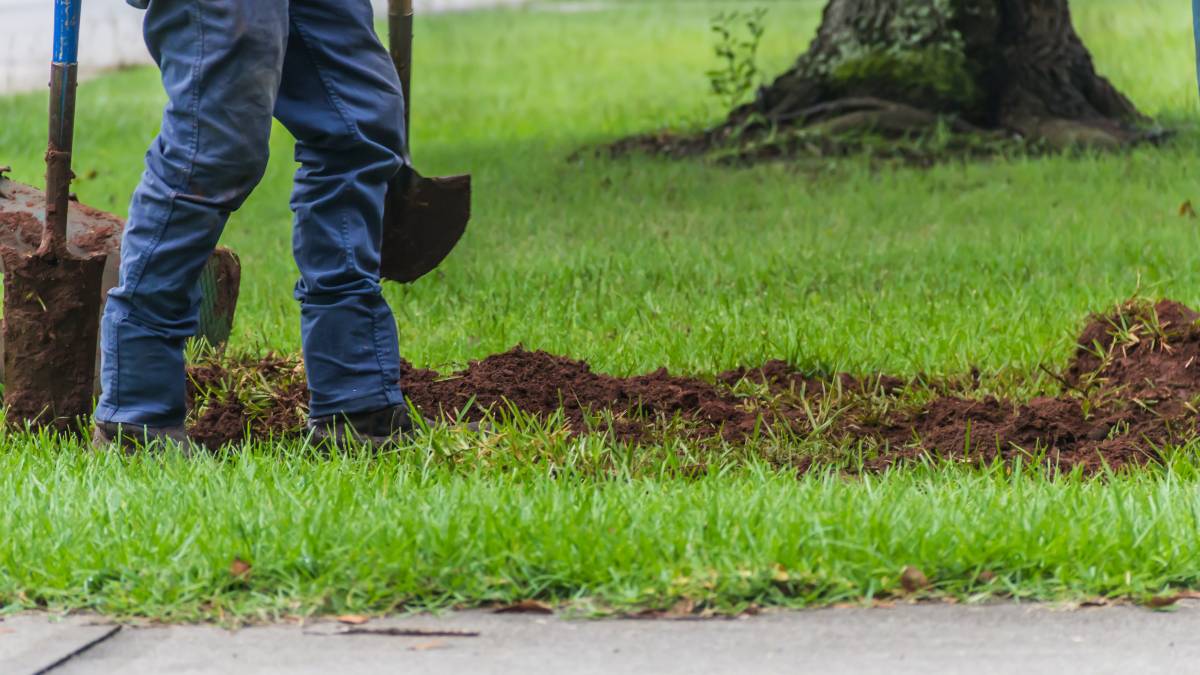
- Prepare the area: Clear the designated area where the mainline and watering zones will be installed. Remove any obstacles, such as rocks or roots, and ensure the ground is level and free of debris.
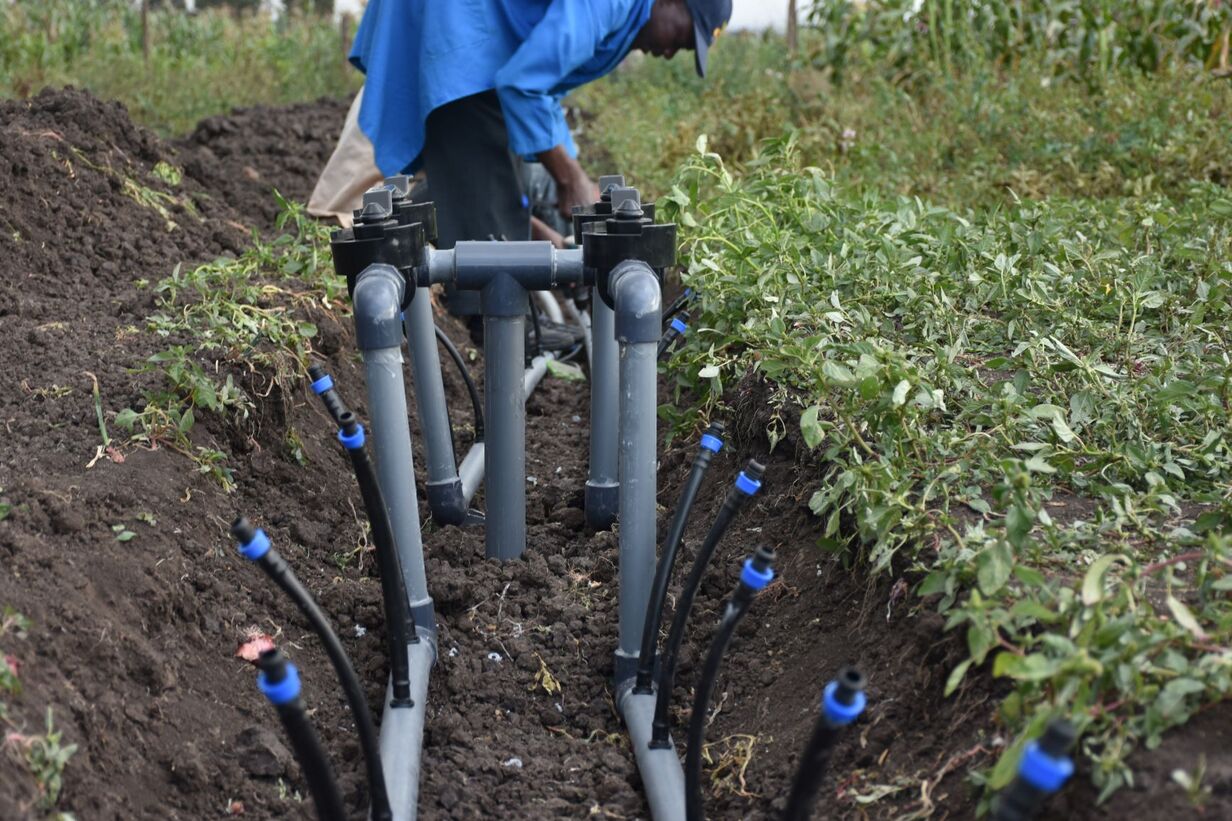
- Install the mainline: Begin by installing the mainline, which carries water from the water source to the various watering zones. Use PVC pipes or flexible polyethylene tubing, buried a few inches underground, to minimize the risk of damage and ensure a clean, organized layout.
- Install the valves: Next, install the valves along the mainline. Valves control the water flow to each watering zone. Place the valves in easily accessible areas, such as a valve box, for maintenance and adjustments.
- Lay out the watering zones: Connect lateral lines from the valves to each watering zone. Lay the tubing or pipes along the designated area for each zone, ensuring they are properly secured and positioned according to your layout plan.
- Connect the emitters or sprinklers: Attach the appropriate emitters or sprinkler heads to the tubing or pipes in each watering zone. Ensure they are positioned correctly based on the water requirements and coverage needs of your plants.
- Bury or conceal the system: Once all the components are in place, bury the pipes or tubing, taking care not to damage or kink them. Use soil or mulch to cover the system, ensuring a neat and concealed appearance.
- Connect to the water source: Finally, connect the irrigation system to your water source. This may involve attaching a backflow preventer, filter, and pressure regulator. Follow the manufacturer’s instructions and local plumbing codes for proper installation.
- Test the system: After installation, it’s important to thoroughly test the system for proper operation. Turn on the water supply and check for leaks, uniform water distribution, and proper functioning of emitters or sprinkler heads. Make adjustments as needed.
It’s important to note that the installation process may require specialized tools and knowledge. If you are uncertain about any step or encounter difficulties, it’s advisable to consult a professional or seek assistance from an experienced gardener or irrigation specialist.
By following these installation steps and ensuring proper installation techniques, you’ll be well on your way to establishing a functional and efficient irrigation system for your garden.
Setting Up the Mainline
The mainline is a critical component of your irrigation system, as it carries water from the water source to the various watering zones in your garden. Setting up the mainline correctly is essential to ensure efficient and reliable water distribution. Here’s a step-by-step guide to help you with this process:
- Determine the mainline route: Start by planning the route for the mainline. Consider factors such as the location of your water source, the layout of your garden, and any existing structures or landscaping features. Ideally, the mainline should follow a direct and efficient path.
- Choose the appropriate pipes or tubing: Select the type and size of pipes or tubing based on your water source, flow rate, and the layout of your garden. PVC pipes are commonly used for mainlines, while flexible polyethylene tubes work well for smaller systems or areas with limited space.
- Measure and cut the pipes or tubing: Once you have determined the mainline route, measure and cut the pipes or tubing to the appropriate length. Use a pipe cutter or hacksaw for PVC pipes, ensuring clean, square cuts. For tubing, use a sharp utility knife or tubing cutter.
- Prepare the pipes or tubing: Before connecting the pipes or tubing, remove any burrs or rough edges using sandpaper or a file. This will ensure smooth connections and minimize the risk of leaks or blockages.
- Connect the pipes or tubing: Depending on the type of pipes or tubing you are using, connect them using appropriate fittings, such as couplings or glue for PVC pipes, and barbed fittings or compression fittings for tubing. Follow the manufacturer’s instructions for proper installation.
- Bury the mainline: Once the mainline is connected, carefully bury it a few inches underground. This helps protect the pipes or tubing from damage and provides a clean, organized appearance. Use caution to avoid sharp bends or excessive tension, which can lead to cracks or leaks.
- Install access points: Along the mainline, install access points or cleanouts at strategic locations. These access points allow for easy maintenance, troubleshooting, and future expansion of your irrigation system. Place them at intervals that are convenient for accessing valves or making repairs.
- Flush the mainline: After the mainline is set up, it’s crucial to flush the system to remove any debris or sediments. Open the valves or connectors at the end of the mainline to allow water to flow freely, flushing out any obstructions.
Setting up the mainline requires careful planning, precise measurements, and proper installation techniques. Take your time to ensure accurate connections, adequate support, and appropriate burial depth for the pipes or tubing. This will help maintain the integrity and efficiency of your irrigation system.
Remember to refer to your specific irrigation system’s instructions and adapt the steps accordingly. If you are unsure or encounter challenges, it’s advisable to seek assistance from a professional or someone experienced in irrigation system installation.
Installing the Valves
Valves play a crucial role in controlling the flow of water and directing it to different watering zones in your irrigation system. Proper installation of valves ensures efficient water distribution and allows for easy maintenance and adjustments. Here is a step-by-step guide to help you install the valves:
- Select the appropriate location: Before installing the valves, choose a suitable location along the mainline for each valve. Consider factors such as accessibility, proximity to the watering zones, and potential obstacles. Valves should be easily reachable for operation and maintenance purposes.
- Prepare the area: Clear the area where the valve will be installed, ensuring it is free of any debris or obstructions. If necessary, level the ground or create a small valve box to protect and conceal the valve.
- Measure and cut the mainline: Measure the distance between the mainline and the selected valve location. Using a pipe cutter or hacksaw, carefully cut the mainline at the measured point. Ensure the cut is clean and free from rough edges or burrs.
- Install the valve: Follow the manufacturer’s instructions for installing the valve. Typically, this involves attaching the valve to the mainline using appropriate fittings or connectors. Make sure the valve is securely fastened and aligned properly.
- Connect the wiring: If your irrigation system includes an automated controller or timer, connect the wiring to the valve. Refer to the manufacturer’s instructions for the specific wiring connections. Proper wiring allows the controller to send signals to the valve, opening and closing it as scheduled.
- Pressure test and flush: Once the valve is installed and the wiring is connected, perform a pressure test to ensure there are no leaks. Turn on the water supply and check for any signs of leakage around the valve or fittings. After the test, flush the system to remove any debris or air from the lines.
- Repeat for additional valves: Follow the same steps to install additional valves along the mainline for each watering zone. Make sure to cut the mainline and install the valves at the designated locations according to your irrigation system’s design and zoning plan.
- Protect and label: Once all the valves are installed, consider placing them in valve boxes or using protective covers to shield them from damage or exposure to the elements. It’s also helpful to label each valve to indicate the corresponding watering zone it controls.
Proper installation of valves is crucial for the overall functionality and efficiency of your irrigation system. Take care to follow the manufacturer’s instructions and consider consulting a professional if you are unsure or require assistance. By ensuring accurate and secure valve installation, you will have greater control over the water flow to each watering zone and ensure your plants receive the right amount of water.
Lay Out the Watering Zones
Laying out the watering zones in your garden is a vital step in designing an efficient and effective irrigation system. By dividing your garden into distinct zones, you can tailor the watering requirements to specific areas and ensure optimal water distribution. Here’s a step-by-step guide to help you lay out the watering zones:
- Assess your garden: Take a close look at your garden and evaluate its characteristics. Consider factors such as plant types, sun exposure, soil conditions, and water requirements. Identify areas with similar watering needs and group them together to create individual watering zones.
- Create a zoning plan: On paper or using a computer program, create a layout plan of your garden, including boundaries, existing features, and measurements. Using this plan, designate and mark the specific areas for each watering zone.
- Determine the number of zones: Based on your assessment, determine the number of watering zones needed in your garden. This will depend on factors such as plant types, water requirements, and the size of your garden.
- Select the appropriate irrigation method: Choose the irrigation method that best suits each watering zone. For areas with plants that require broad coverage, sprinkler heads may be the best option. Drip irrigation or soaker hoses are more suitable for areas with plants that require targeted, slow, and deep watering.
- Position the valves: Install valves along the mainline at the designated locations according to your zoning plan. Ensure that each valve corresponds to a specific watering zone. This will allow you to control the water flow to each zone independently.
- Lay tubing or pipes: Connect tubing or pipes from the valves to each watering zone. Lay them out along the designated areas, following your zoning plan. Use appropriate fittings or connectors to ensure secure connections.
- Install emitters or sprinkler heads: Attach the appropriate emitters or sprinkler heads to the tubing or pipes in each watering zone. Position them according to the water requirements and coverage needs of the plants. Ensure that the emitters or sprinkler heads are compatible with the chosen irrigation method.
- Adjust water flow: Test the water flow in each watering zone and make necessary adjustments. This may involve regulating the water pressure or flow rate using flow control devices or adjusting the positioning of emitters or sprinkler heads to achieve uniform and adequate water distribution.
By laying out the watering zones in your garden, you can customize the irrigation system to meet the unique needs of your plants. Remember to consider factors such as plant types, water requirements, and environmental conditions when dividing your garden into zones. Proper zoning will result in a more efficient and targeted watering system, promoting healthier plant growth and conserving water.
Connecting the Sprinklers or Drip Emitters
Connecting the sprinklers or drip emitters is a crucial step in setting up your irrigation system. This process ensures that water is delivered precisely to the plants in each watering zone. Here’s a step-by-step guide to help you connect the sprinklers or drip emitters:
- Prepare the sprinklers or emitters: Before connecting them, ensure that the sprinklers or drip emitters are in good condition and free from any obstructions. Clean the nozzles or emitters to remove any debris or build-up that may affect water flow.
- Attach the sprinkler heads or emitters: Connect the sprinkler heads or drip emitters to the designated positions on the tubing or pipes in each watering zone. Follow the manufacturer’s instructions for proper installation and ensure a secure and watertight connection.
- Position the sprinklers or emitters: Adjust the position of each sprinkler head or emitter to ensure optimal coverage and water distribution. Consider factors such as the size and shape of the area, the water requirements of the plants, and any obstacles or landscaping features that may affect water flow.
- Secure the sprinklers or emitters: Once the desired position is achieved, secure the sprinklers or emitters in place using stakes or anchors. This will prevent them from shifting or becoming dislodged during operation.
- Test the sprinklers or emitters: Turn on the water supply and observe the operation of the sprinklers or emitters. Ensure that they are evenly distributing water and covering the intended area. Make any necessary adjustments to the position or flow rate to achieve uniform water distribution.
- Check for leaks: While the sprinklers or emitters are in operation, inspect the connections and joints for any signs of leakage. Tighten any loose connections or replace faulty components as needed to prevent water waste and ensure efficient operation.
- Consider automation: If you have an automated irrigation system, connect the sprinklers or emitters to the controller or timer. Follow the manufacturer’s instructions for wiring and programming to set up a watering schedule that aligns with the specific needs of each watering zone.
Properly connecting the sprinklers or drip emitters is essential to ensure effective water delivery in your irrigation system. Take the time to position and adjust each component according to the unique needs of your plants and the specific characteristics of each watering zone. Regularly inspect and maintain the sprinklers or emitters to ensure they continue to function optimally.
Remember that the specific installation process may vary depending on your chosen sprinkler or emitter type. Refer to the manufacturer’s instructions for accurate guidance and seek professional assistance if needed. By carefully connecting the sprinklers or emitters, you will create an irrigation system that provides precise and efficient water distribution to your plants.
Testing and Adjusting the System
Once your irrigation system is installed, it’s crucial to thoroughly test and adjust it to ensure optimal performance and efficiency. Testing allows you to identify any potential issues and make necessary adjustments to ensure that your plants receive adequate water. Here’s a step-by-step guide to help you test and adjust your irrigation system:
- Turn on the water supply: Start by turning on the water supply to your irrigation system. Monitor the system to check for any leaks or irregularities in water flow. Address any leaks or issues you observe.
- Check coverage: Observe each sprinkler head or drip emitter to ensure proper coverage of the designated area. Adjust the positioning or angle of the sprinkler heads or emitters as necessary to achieve uniform water distribution.
- Inspect drips and sprays: Examine drip emitters to ensure they release water at the desired rate. Adjust the flow rate as needed to match the water requirements of your plants. For sprinklers, check that the spray pattern is appropriate and not wastefully overlapping with unnecessary areas.
- Measure water output: Use a rain gauge or small container placed in each watering zone to measure the amount of water being delivered. Compare the results to the recommended watering guidelines for your plants and make adjustments to the duration or frequency of watering if necessary.
- Conduct a catchment test: Place several empty containers such as tuna cans or cups within each watering zone. Run the system for a set amount of time and measure the depth of water collected in each container. This will help ensure uniform water distribution and prevent over or under-watering in different areas of your garden.
- Consider soil saturation: Monitor the soil moisture levels in different areas of your garden. Use a soil moisture meter or simply dig a small hole to check the soil’s moisture content. Adjust the watering schedule or duration to achieve consistent moisture levels without causing soil saturation.
- Assess plant health and growth: Regularly monitor the health and growth of your plants. Look for signs of under or over-watering, such as wilting or yellowing leaves. Adjust the irrigation system accordingly to address any issues and maintain optimal plant health.
- Maintain and clean: Regularly maintain and clean the components of your irrigation system. Clear any clogged emitters or sprinkler heads, remove debris from filters and screens, and ensure that valves and connections are in good working order.
Testing and adjusting your irrigation system should be an ongoing process. Regularly evaluate its performance, make necessary adjustments, and monitor plant health to ensure the system is meeting the specific needs of your garden. By doing so, you can ensure that your plants receive the right amount of water at the appropriate times, leading to healthier and more robust growth.
If you encounter difficulties or are unsure about any aspect of testing and adjusting your irrigation system, consider consulting a professional or seeking guidance from experienced gardeners. They can provide valuable insights and assistance to ensure your system operates at its best.
Maintenance and Troubleshooting
Maintaining your irrigation system is essential for its long-term functionality and efficiency. Regular maintenance ensures that the components are in good shape, helping to prevent leaks, clogs, and other issues. Additionally, troubleshooting any problems that arise will help you quickly identify and resolve issues to keep your system running smoothly. Here are some important maintenance and troubleshooting tips:
- Inspect regularly: Regularly inspect your irrigation system for any signs of damage, leaks, or clogs. Look for wet spots, damaged tubing, or broken sprinkler heads. Address any issues promptly to prevent further damage and water waste.
- Check filters and screens: Regularly clean or replace the filters and screens in your irrigation system. This helps prevent clogs and ensures that water flows smoothly through the system.
- Clear obstructions: Remove any debris, such as leaves or dirt, that may clog the emitters or sprinkler heads. Clear the area around the sprinklers or emitters to prevent overgrowth and obstruction of water distribution.
- Adjust watering schedules: Regularly reassess the watering needs of your garden and adjust the watering schedules accordingly. Take into account changes in weather, season, and the maturity of your plants.
- Maintain proper drainage: Ensure that your garden has proper drainage to prevent waterlogging and soil saturation. This will help prevent root rot and other plant health issues.
- Winterize your system: If you live in an area with freezing temperatures, properly winterize your irrigation system to prevent damage. Drain all the water from the system and insulate exposed pipes to prevent freezing and bursting.
- Monitor water usage: Keep track of your water bills and monitor your water usage. Sudden spikes in water usage may indicate a leak or other issues within your irrigation system.
- Consult professionals: If you encounter complex issues or are unsure about how to address a problem, seek the assistance of irrigation professionals. They can provide expertise and guidance to resolve any major issues.
Regular maintenance and troubleshooting are key to keeping your irrigation system in top-notch condition. By being proactive and addressing any issues promptly, you’ll ensure proper water distribution, conserve water, and maintain a healthy garden.
Remember, each irrigation system is unique, so it’s important to familiarize yourself with the specific needs and requirements of yours. Consult the manufacturer’s guidelines and instructions for maintenance, and reach out to local experts if you need additional guidance. With proper care and maintenance, your irrigation system will provide efficient and consistent water supply for your plants for years to come.
Conclusion
Planning and installing an irrigation system for your garden is a worthwhile investment that will benefit your plants, your time, and your water usage. By following the steps outlined in this guide, you can create a customized irrigation system that delivers water efficiently and effectively to your plants.
From understanding your water source to selecting the right components and laying out the watering zones, each step plays a critical role in the success of your system. Ensure that you properly set up the mainline, connect the sprinklers or drip emitters, and thoroughly test and adjust the system for optimal performance.
Maintenance and troubleshooting are crucial aspects of ensuring the long-term functionality of your irrigation system. Regular inspections, cleaning of filters and screens, and addressing any issues promptly will help prevent damage and water waste.
Remember, every garden is unique, and it’s essential to tailor your irrigation system to the specific needs of your plants and your garden’s characteristics. Proper planning, water management, and regular maintenance will help you achieve a garden that thrives while conserving water.
By implementing an efficient irrigation system, you can save time, conserve water, and promote healthier plant growth. Enjoy the benefits of a flourishing garden and an irrigation system that works harmoniously with nature.