Home>Gardening Tips and Tricks>Problem Solving>How To Dig Trench For Irrigation System
Problem Solving
How To Dig Trench For Irrigation System
Modified: January 22, 2024
Learn how to solve the problem of digging a trench for your irrigation system with our comprehensive guide on problem-solving techniques.
(Many of the links in this article redirect to a specific reviewed product. Your purchase of these products through affiliate links helps to generate commission for Chicagolandgardening.com, at no extra cost. Learn more)
Table of Contents
- Introduction
- Tools and Equipment Needed
- Choosing the Right Location for your Irrigation System
- Marking the Trench Path
- Preparing the Soil
- Digging the Trench
- Ensuring Proper Depth and Width
- Installing the Irrigation Pipes
- Connectors and Fittings
- Backfilling the Trench
- Testing the System
- Adjusting and Fine-tuning the Irrigation System
- Conclusion
Introduction
Welcome to our comprehensive guide on how to dig a trench for an irrigation system. If you’re looking to keep your lawn or garden well-watered and thriving, installing an irrigation system is a smart and efficient solution. By following the steps outlined in this article, you’ll be able to create a trench that will accommodate the necessary pipes to distribute water effectively.
Before we dive into the details, let’s briefly discuss the importance of an irrigation system. Watering your plants and crops manually can be time-consuming and inefficient. An irrigation system, on the other hand, ensures that your plants receive the right amount of water at the right time, saving you time, effort, and water in the process.
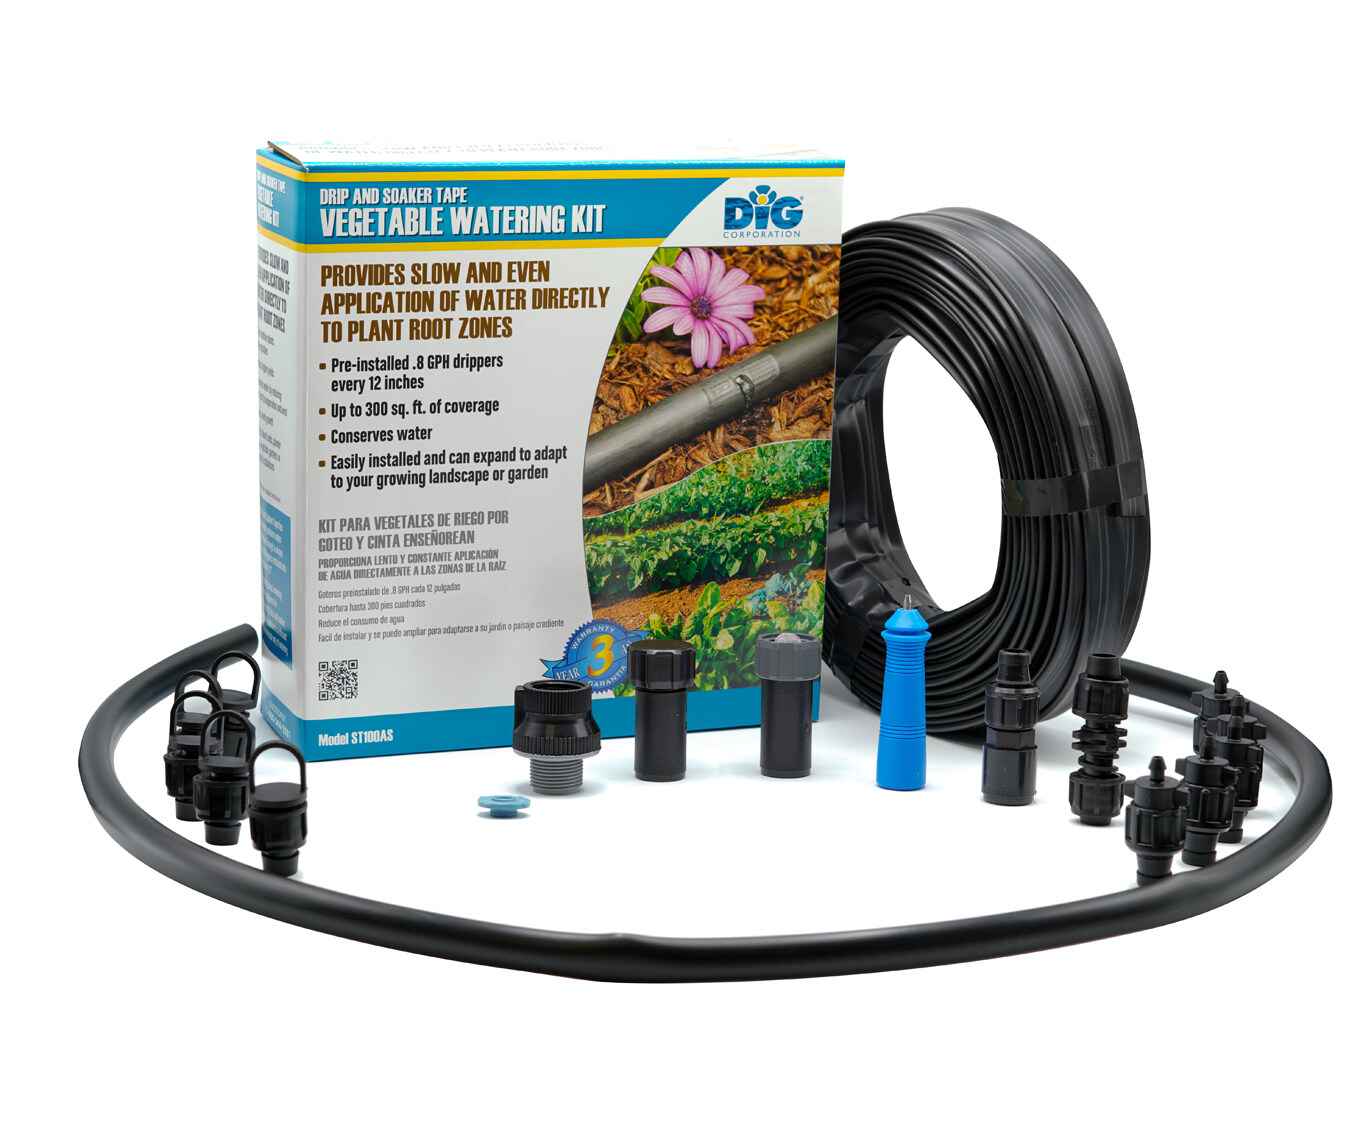
To successfully install an irrigation system, you’ll need some tools and equipment, such as shovels, a trenching machine (if available), irrigation pipes, connectors, and fittings. It’s also crucial to choose the right location for your system, mark the trench path accurately, and prepare the soil properly to ensure optimal performance.
Throughout this guide, we’ll walk you through each step of the process, providing helpful tips and insights along the way. By the end, you’ll have a thorough understanding of how to dig a trench for your irrigation system and will be on your way to a lush and vibrant garden.
Tools and Equipment Needed
Before getting started on digging a trench for your irrigation system, it’s important to gather all the essential tools and equipment to ensure a smooth and efficient process. Here’s a list of items you’ll need:
- Shovels: A round-point shovel and a square-point shovel will come in handy for digging and shaping the trench.
- Trenching machine: If available, a trenching machine can save you time and effort by quickly excavating the trench.
- Irrigation pipes: Measure the length of the area you’re planning to irrigate and obtain enough irrigation pipes to cover that distance.
- Connectors and fittings: These are necessary for joining the irrigation pipes together and creating the desired configuration for your system.
- Drip emitters or sprinkler heads: Depending on the type of irrigation system you’re installing, you’ll need appropriate emitters or heads to distribute water.
- Tape measure and markers: Use these to measure and mark the trench path accurately.
- Gloves: Protect your hands from blisters and injuries with a good pair of gloves.
- Safety goggles: It’s essential to protect your eyes while digging, especially if you’re using machinery.
- Wheelbarrow: If you have a lot of soil to move, a wheelbarrow will be useful for transporting it.
- Hose and water source: You’ll need a hose to connect to the irrigation system and a water source to supply the water.
Having these tools and equipment readily available will make the trenching process much more efficient and ensure that you have everything you need to install your irrigation system properly.
Choosing the Right Location for your Irrigation System
When it comes to installing an irrigation system, selecting the right location is crucial for its effectiveness and efficiency. Here are some important factors to consider:
- Sun exposure: Observe the area and determine how much sun exposure it gets throughout the day. Most plants require at least six hours of sunlight, so make sure to choose a location that meets this requirement.
- Plant water needs: Different plants have varying water requirements. Consider the type of plants you have or plan to have in the area and choose a location that can accommodate their specific needs.
- Water source accessibility: Install your irrigation system in a location where you can easily access a water source. This will make connecting the system to a hose or water supply more convenient.
- Slope and drainage: Take note of the slope of the land to ensure proper drainage. Avoid areas that are prone to flooding or have poor drainage, as it can negatively impact the performance of your irrigation system.
- Obstructions: Identify any potential obstructions such as tree roots, large rocks, or underground utilities in the area where you plan to dig the trench. It’s important to avoid damaging these structures during the installation process.
- Proximity to structures: Consider the proximity of the irrigation system to buildings, fences, or other structures. Leave enough space for maintenance and repair tasks, as well as future expansion of your system if needed.
By taking these factors into account, you’ll be able to select the ideal location for your irrigation system. It’s also a good idea to consult with professionals or seek advice from knowledgeable gardeners to ensure that you’re making the best decision for your specific needs.
Marking the Trench Path
Once you have determined the appropriate location for your irrigation system, the next step is to mark the trench path. This will help guide you as you begin digging. Here’s how to do it:
- Measure and plan: Use a tape measure to accurately measure the length of the area where you want to install the irrigation system. Take into account any curves or turns you want the trench to follow.
- Mark the starting point: Choose a clear starting point for your trench. This could be near a water source or at the edge of your garden. Drive a stake or place a marker at this point.
- Mark the end point: Determine where the trench will end, usually near the last sprinkler head or drip emitter. Place another stake or marker at this point.
- Connect the markers: Use a string or a line level to connect the two markers. This will create a straight and level line to follow as you dig the trench.
- Mark any bends or curves: If your trench needs to follow a curved path, use additional stakes or markers to indicate the desired shape. Attach a string or line level along these markers to maintain a consistent curve.
- Double-check measurements: Before you start digging, review your measurements and markings to ensure accuracy. This will help prevent any unnecessary adjustments or errors during the trenching process.
By marking the trench path before digging, you’ll have a clear visual guide to follow. This will keep your trench straight, level, and aligned with your desired irrigation system layout. Taking the time to properly mark the trench will save you effort and ensure a clean and professional installation.
Preparing the Soil
Preparing the soil is an essential step before digging the trench for your irrigation system. Proper soil preparation promotes healthy plant growth and allows for efficient water distribution. Here’s how to prepare the soil:
- Remove any obstacles: Clear the area of any rocks, debris, or large roots that could obstruct the trench path or interfere with the irrigation system installation.
- Loosen the soil: Use a garden fork or a tiller to loosen the soil in the area where you plan to dig the trench. This will make it easier to dig and ensure proper water penetration.
- Amend the soil: Test the soil for its pH level and nutrient content. Based on the test results, you may need to amend the soil by adding organic matter or fertilizer to improve its fertility and structure.
- Level the surface: Use a rake or a garden leveling tool to even out the soil surface. This will ensure a smooth and consistent trench depth.
- Water the soil: Before digging the trench, lightly water the area. This will help soften the soil, making it easier to dig while minimizing dust and soil compaction.
Properly preparing the soil sets the foundation for a successful irrigation system. By removing obstacles, loosening the soil, amending it as needed, and leveling the surface, you create an environment that promotes healthy plant growth and efficient water flow.
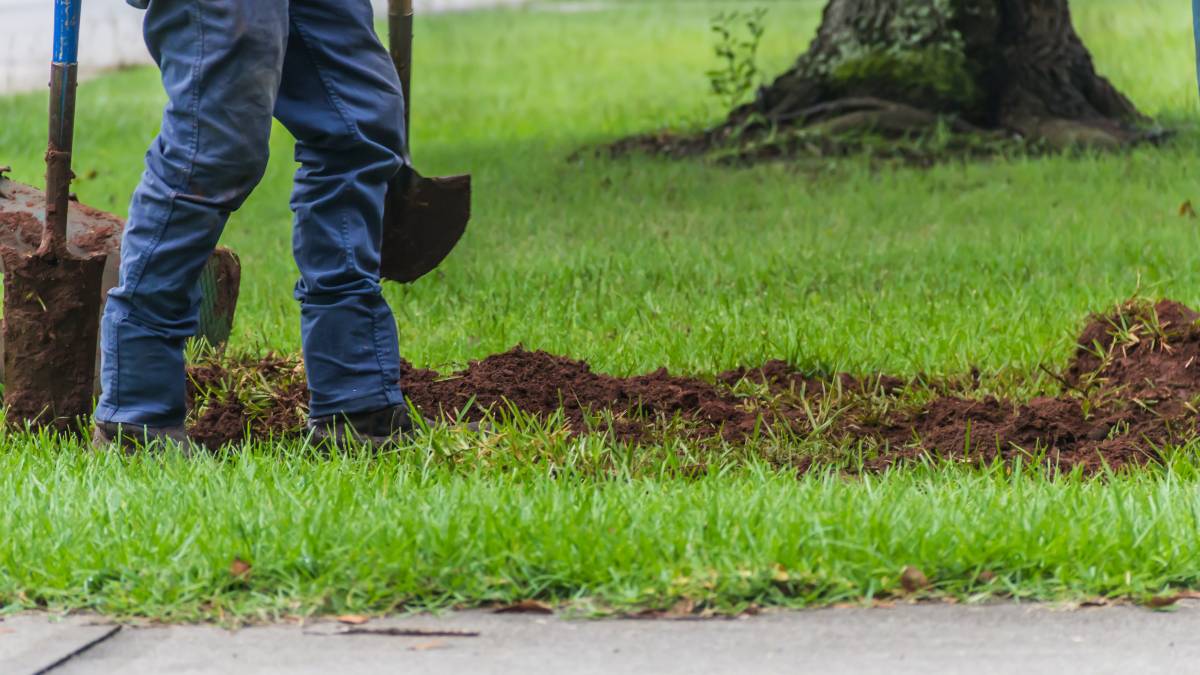
Digging the Trench
With the soil prepared, it’s time to start digging the trench for your irrigation system. Follow these steps to ensure a well-dug and functional trench:
- Begin at the starting point: Start digging at the stake or marker you placed at the beginning of the trench. Use a shovel or a trenching machine (if available) to break ground.
- Keep the trench straight: As you dig, refer to the marked path or string line to maintain a straight trench. This will help ensure that the irrigation pipes are properly aligned.
- Adjust the trench depth: Dig the trench to the appropriate depth for your irrigation system. This will vary depending on the type of system you’re installing, but a general recommendation is 6-8 inches deep for underground irrigation pipes.
- Create a uniform width: Aim for a consistent width throughout the trench. This will allow for easy installation of the irrigation pipes and fittings.
- Remove excess soil: As you dig, place the excavated soil on a tarp or in a wheelbarrow to keep the work area clean and prevent tripping hazards.
- Work in sections: If the trench is long, consider digging it in smaller sections rather than all at once. This will help prevent soil from collapsing back into the trench.
- Check the trench slope: Ensure that the trench has a slight slope to facilitate water flow. A slope of 1-2% is recommended to prevent water from pooling in the trench.
- Take breaks when needed: Digging a trench can be physically demanding, so take breaks whenever necessary to rest and hydrate.
Remember to work at a steady pace and maintain good posture to avoid straining your back or causing unnecessary fatigue. By following these steps, you’ll have a well-dug trench that is ready for the next phase of the irrigation system installation.
Ensuring Proper Depth and Width
When digging a trench for your irrigation system, it is crucial to ensure that you achieve the proper depth and width. This will help optimize the performance and efficiency of your system. Here are some key considerations to keep in mind:
- Trench Depth: The depth of the trench will depend on the type of irrigation system you are installing and the depth at which you want to place the irrigation pipes. As a general guideline, the trench should be around 6-8 inches deep for underground irrigation pipes. This provides enough depth to protect the pipes while allowing for proper water distribution.
- Trench Width: The width of the trench is equally important. It should be wide enough to accommodate the irrigation pipes and any connectors or fittings. Aim for a consistent width throughout the trench to ensure a secure and snug fit for the components of your irrigation system.
- Consider Future Maintenance: When determining the depth and width of the trench, it’s important to consider future maintenance and repairs. Providing enough space for access and maneuverability will make it easier to service your irrigation system in the future if necessary.
- Check Local Codes and Regulations: Before digging the trench, familiarize yourself with any local codes or regulations regarding trench depth and width. Some areas may have specific requirements for irrigation system installation, so it’s essential to adhere to these guidelines.
By ensuring the proper depth and width of your trench, you will create a solid foundation for your irrigation system. This will allow for optimal water distribution and make future maintenance and repairs more manageable. Take the time to measure and adjust as needed to achieve the desired dimensions for your specific irrigation needs.
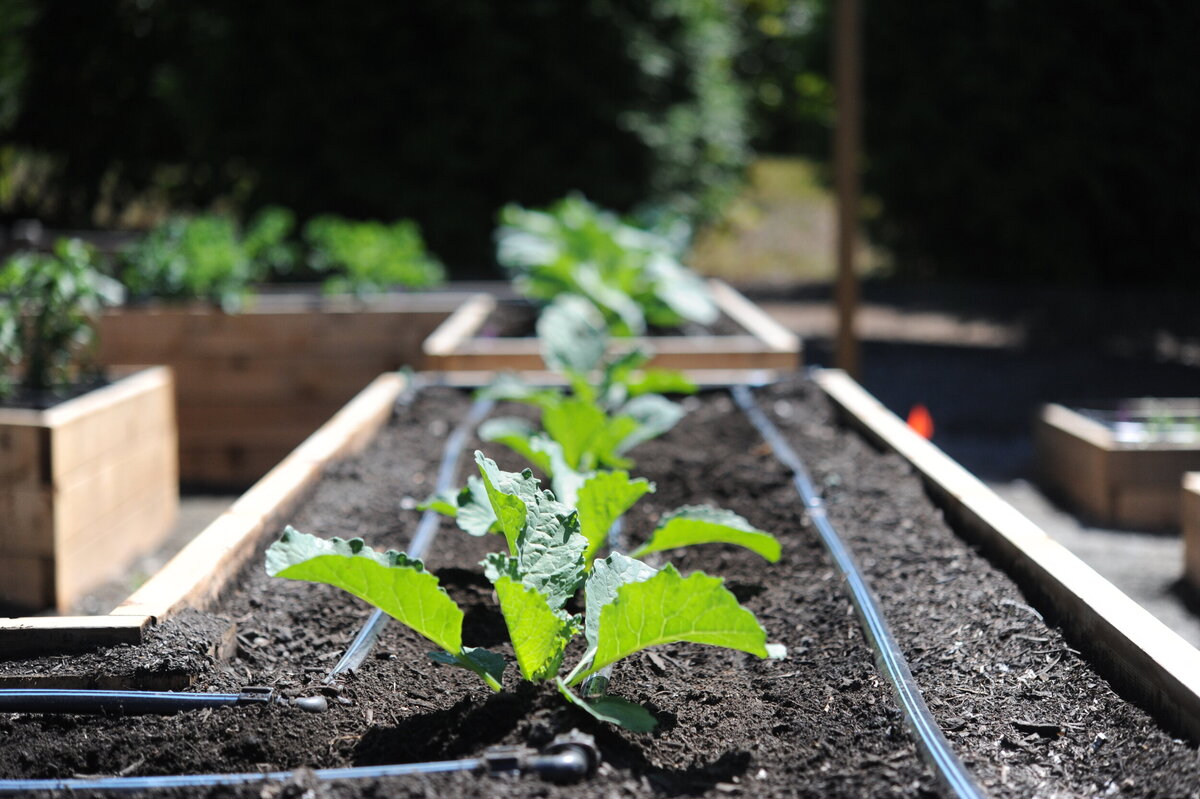
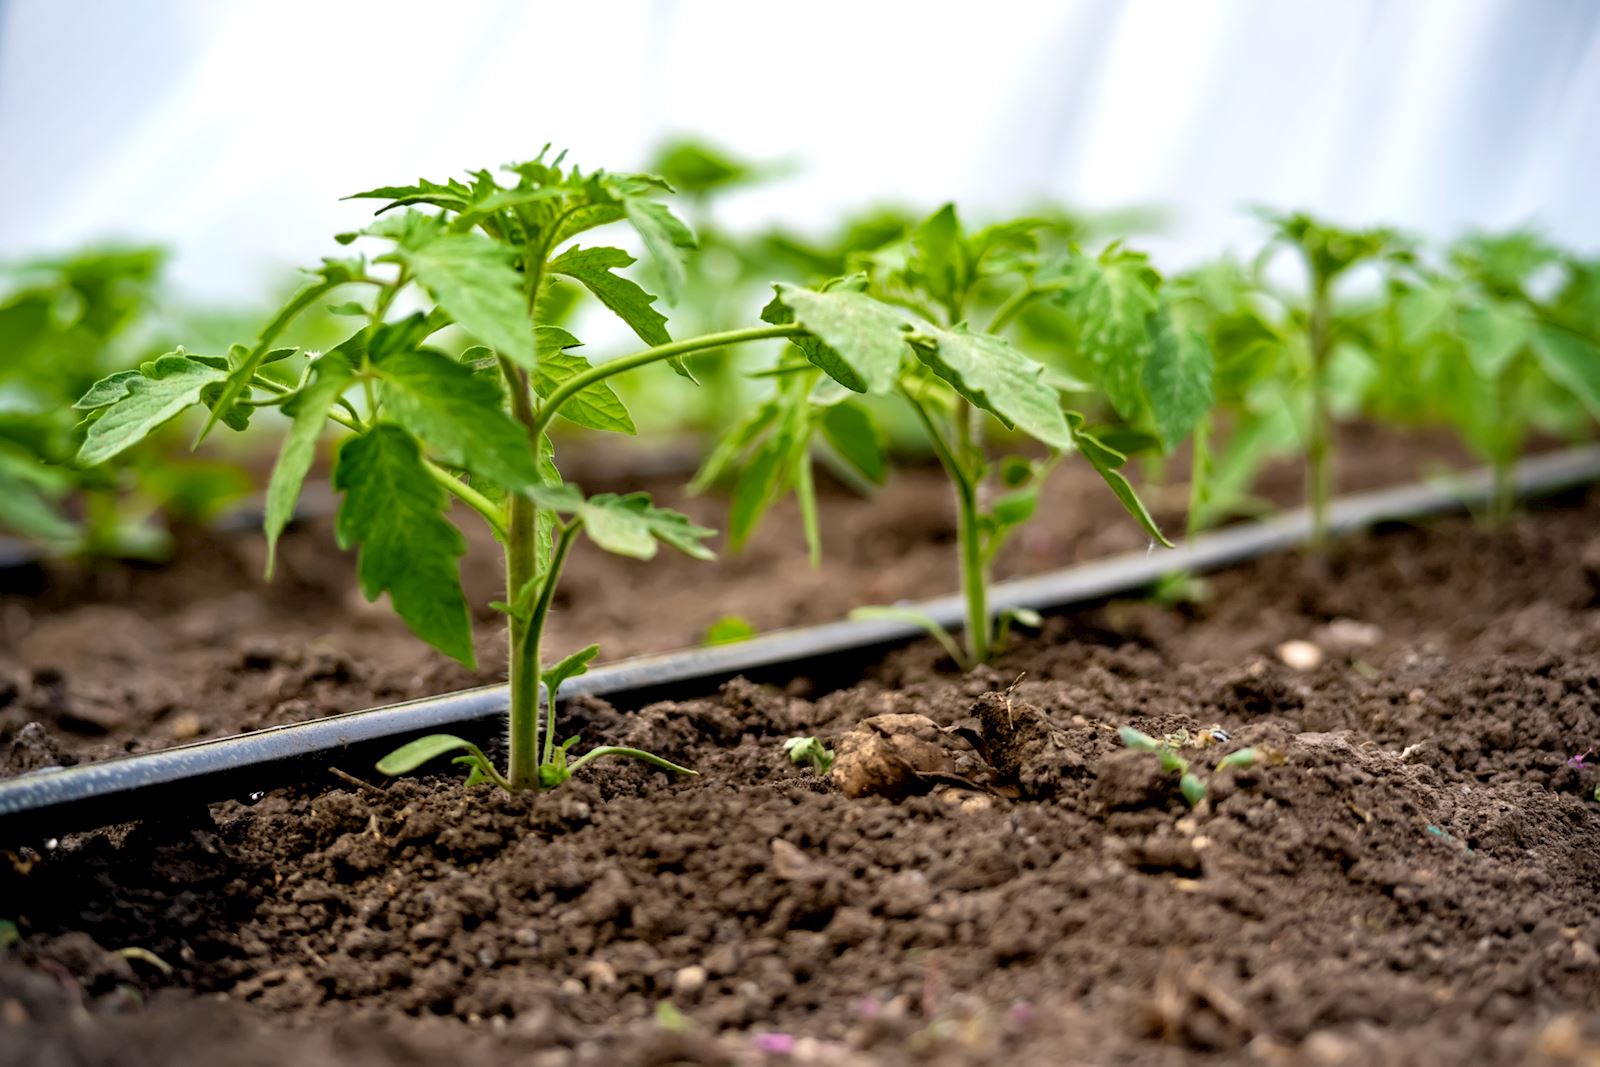
Installing the Irrigation Pipes
With the trench dug to the proper depth and width, it’s time to install the irrigation pipes. Here’s a step-by-step guide on how to do it:
- Prepare the pipes: If your irrigation system includes different sections of pipes, make sure they are cut to the appropriate lengths and have any necessary connectors or fittings attached.
- Lay the mainline: Start by laying the mainline pipe along the bottom of the trench. This pipe will serve as the primary supply line for water distribution.
- Position the lateral pipes: Next, position the lateral pipes perpendicular to the mainline pipe, ensuring they extend into the desired watering zones. These lateral pipes will distribute water to specific areas of your lawn or garden.
- Connect the pipes: Use connectors or fittings to join the mainline and lateral pipes together. Ensure a secure and watertight connection by following the manufacturer’s instructions.
- Install drip emitters or sprinkler heads: Depending on your irrigation system type, install drip emitters or sprinkler heads along the lateral pipes. Follow the manufacturer’s guidelines for proper spacing to achieve even water distribution.
- Secure the pipes: Use stakes or clips to secure the pipes in place within the trench. This will prevent them from shifting or moving during the backfilling process.
- Flush the system: Before covering the pipes with soil, flush the system with water to remove any debris or dirt that may have entered during the installation process. This will ensure that your irrigation system operates at its best.
Throughout the installation process, be mindful of maintaining a consistent slope in the pipes to allow for proper water flow. Consider using a level or string as a guide to ensure that the pipes are positioned correctly.
By following these steps, you’ll successfully install the irrigation pipes in your trench, setting the stage for effective water distribution throughout your lawn or garden.
Connectors and Fittings
Connectors and fittings play a crucial role in ensuring that your irrigation system is properly connected and functioning efficiently. These components allow you to join pipes, change directions, and create the desired configuration for your system. Here’s what you need to know about connectors and fittings:
- Selecting the right connectors and fittings: There is a wide variety of connectors and fittings available, so it’s important to choose the ones that are compatible with the type and size of your irrigation pipes. Common types include couplings, elbows, tees, valves, and adapters.
- Follow manufacturer’s instructions: Each connector or fitting may have specific installation requirements. Refer to the manufacturer’s instructions for the proper way to connect and secure them to your irrigation pipes. This will ensure a leak-free and reliable connection.
- Consider the type of system: The type of irrigation system you’re installing will determine the specific connectors and fittings you need. For example, drip irrigation systems may require different types of fittings compared to sprinkler systems. Be sure to choose the right components for your system.
- Use Teflon tape: To further prevent leaks and create a watertight seal, consider using Teflon tape on the threaded connections of your connectors and fittings. Wrap the tape around the threads before screwing them together.
- Position connectors and fittings correctly: When connecting pipes, make sure connectors and fittings are positioned properly to maintain the desired layout of your irrigation system. This will ensure optimal water flow and distribution to your plants.
- Regularly inspect connections: After installation, it’s important to regularly inspect the connectors and fittings for any signs of leaks or damage. Address any issues promptly to prevent water waste and maintain the efficiency of your irrigation system.
Choosing the right connectors and fittings and properly installing them is crucial for the functionality and longevity of your irrigation system. By following the manufacturer’s instructions, using appropriate components, and regularly inspecting the connections, you can ensure a reliable and effective system that delivers the necessary water to your plants.
Backfilling the Trench
After the irrigation pipes and fittings are installed and the connections are secure, it’s time to backfill the trench. Backfilling is the process of refilling the trench with soil to cover the pipes and create a stable surface. Here’s how to properly backfill the trench:
- Use the excavated soil: Start by using the soil that was excavated from the trench. This soil is already loosened and can be easily placed back into the trench.
- Fill the trench gradually: Begin by filling the trench partially with soil, ensuring that it is evenly distributed along the length of the trench. Move along the entire trench, gradually adding more soil until the trench is completely filled.
- Compact the soil: As you backfill, gently compact the soil using a tamper or the back of a shovel. This helps to create a firm and stable surface while minimizing the risk of settling.
- Avoid damaging the pipes: Take care not to apply excessive pressure or force that may damage the pipes or fittings. Be mindful of how you compact the soil around them, using light and careful motions.
- Smooth the surface: Once the trench is completely backfilled, use a rake or shovel to smooth the surface of the soil. This helps create a clean and even appearance.
- Water and settle the soil: After backfilling, thoroughly water the area. This helps to settle the soil and eliminate any air pockets that may have formed during the backfilling process.
- Monitor for settling: Over time, the soil may settle, especially around the pipes and fittings. Keep an eye on the area and add more soil if necessary to maintain a level surface.
It’s important to note that backfilling is a gradual process and should be done carefully to avoid damaging the newly installed irrigation system. By following these steps, you will ensure that the trench is properly backfilled and the soil firmly supports the irrigation pipes for long-term reliability.
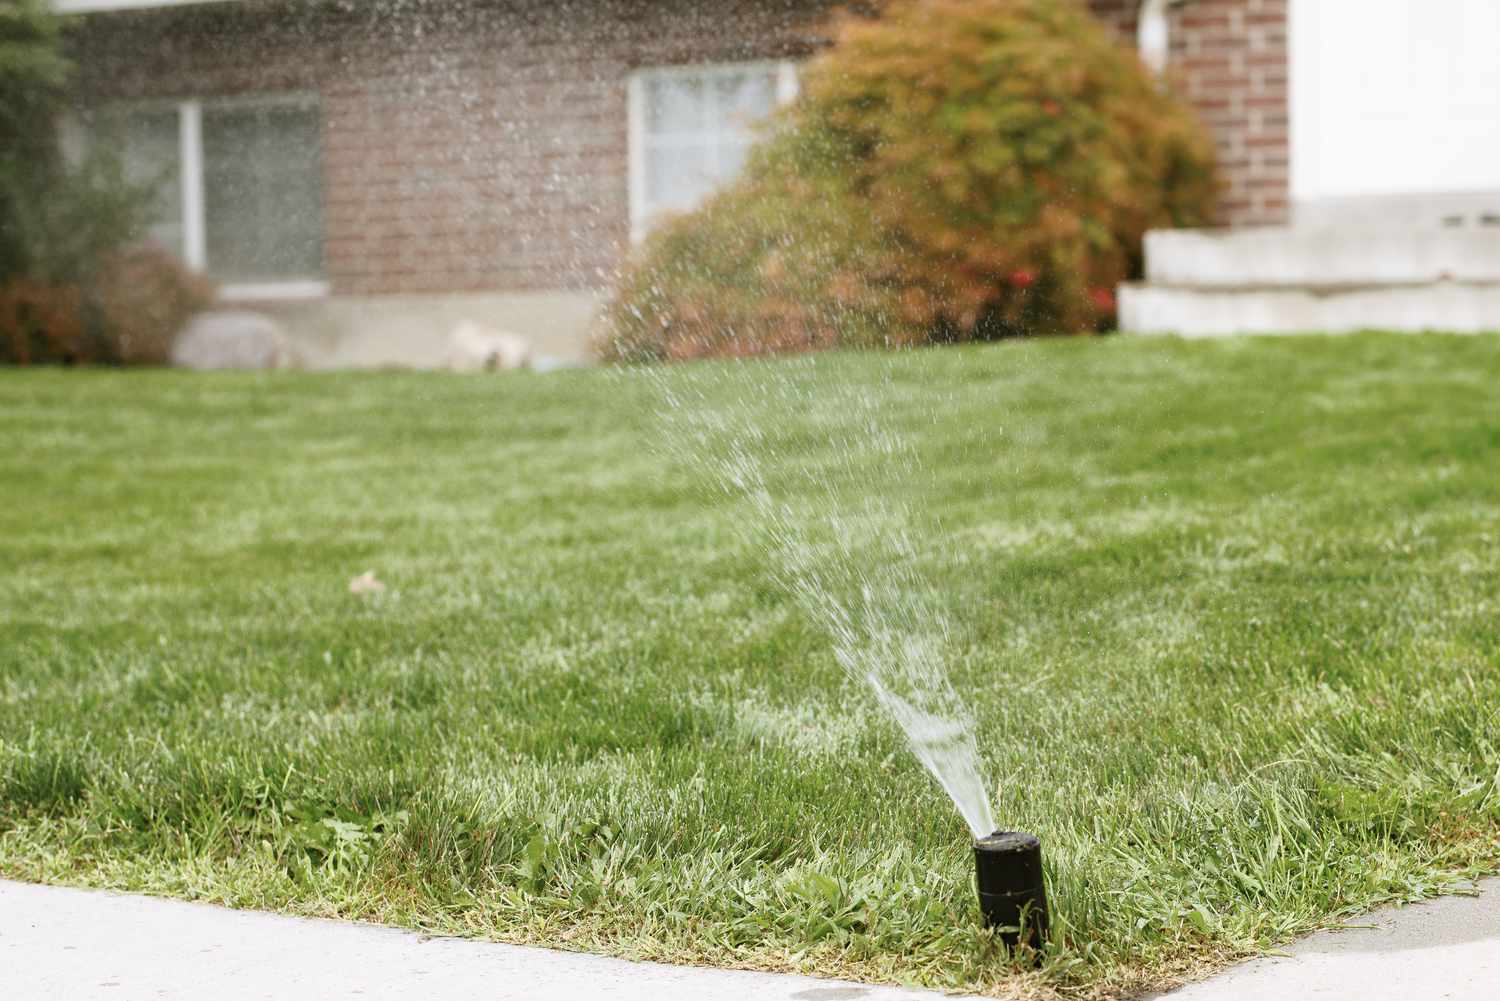
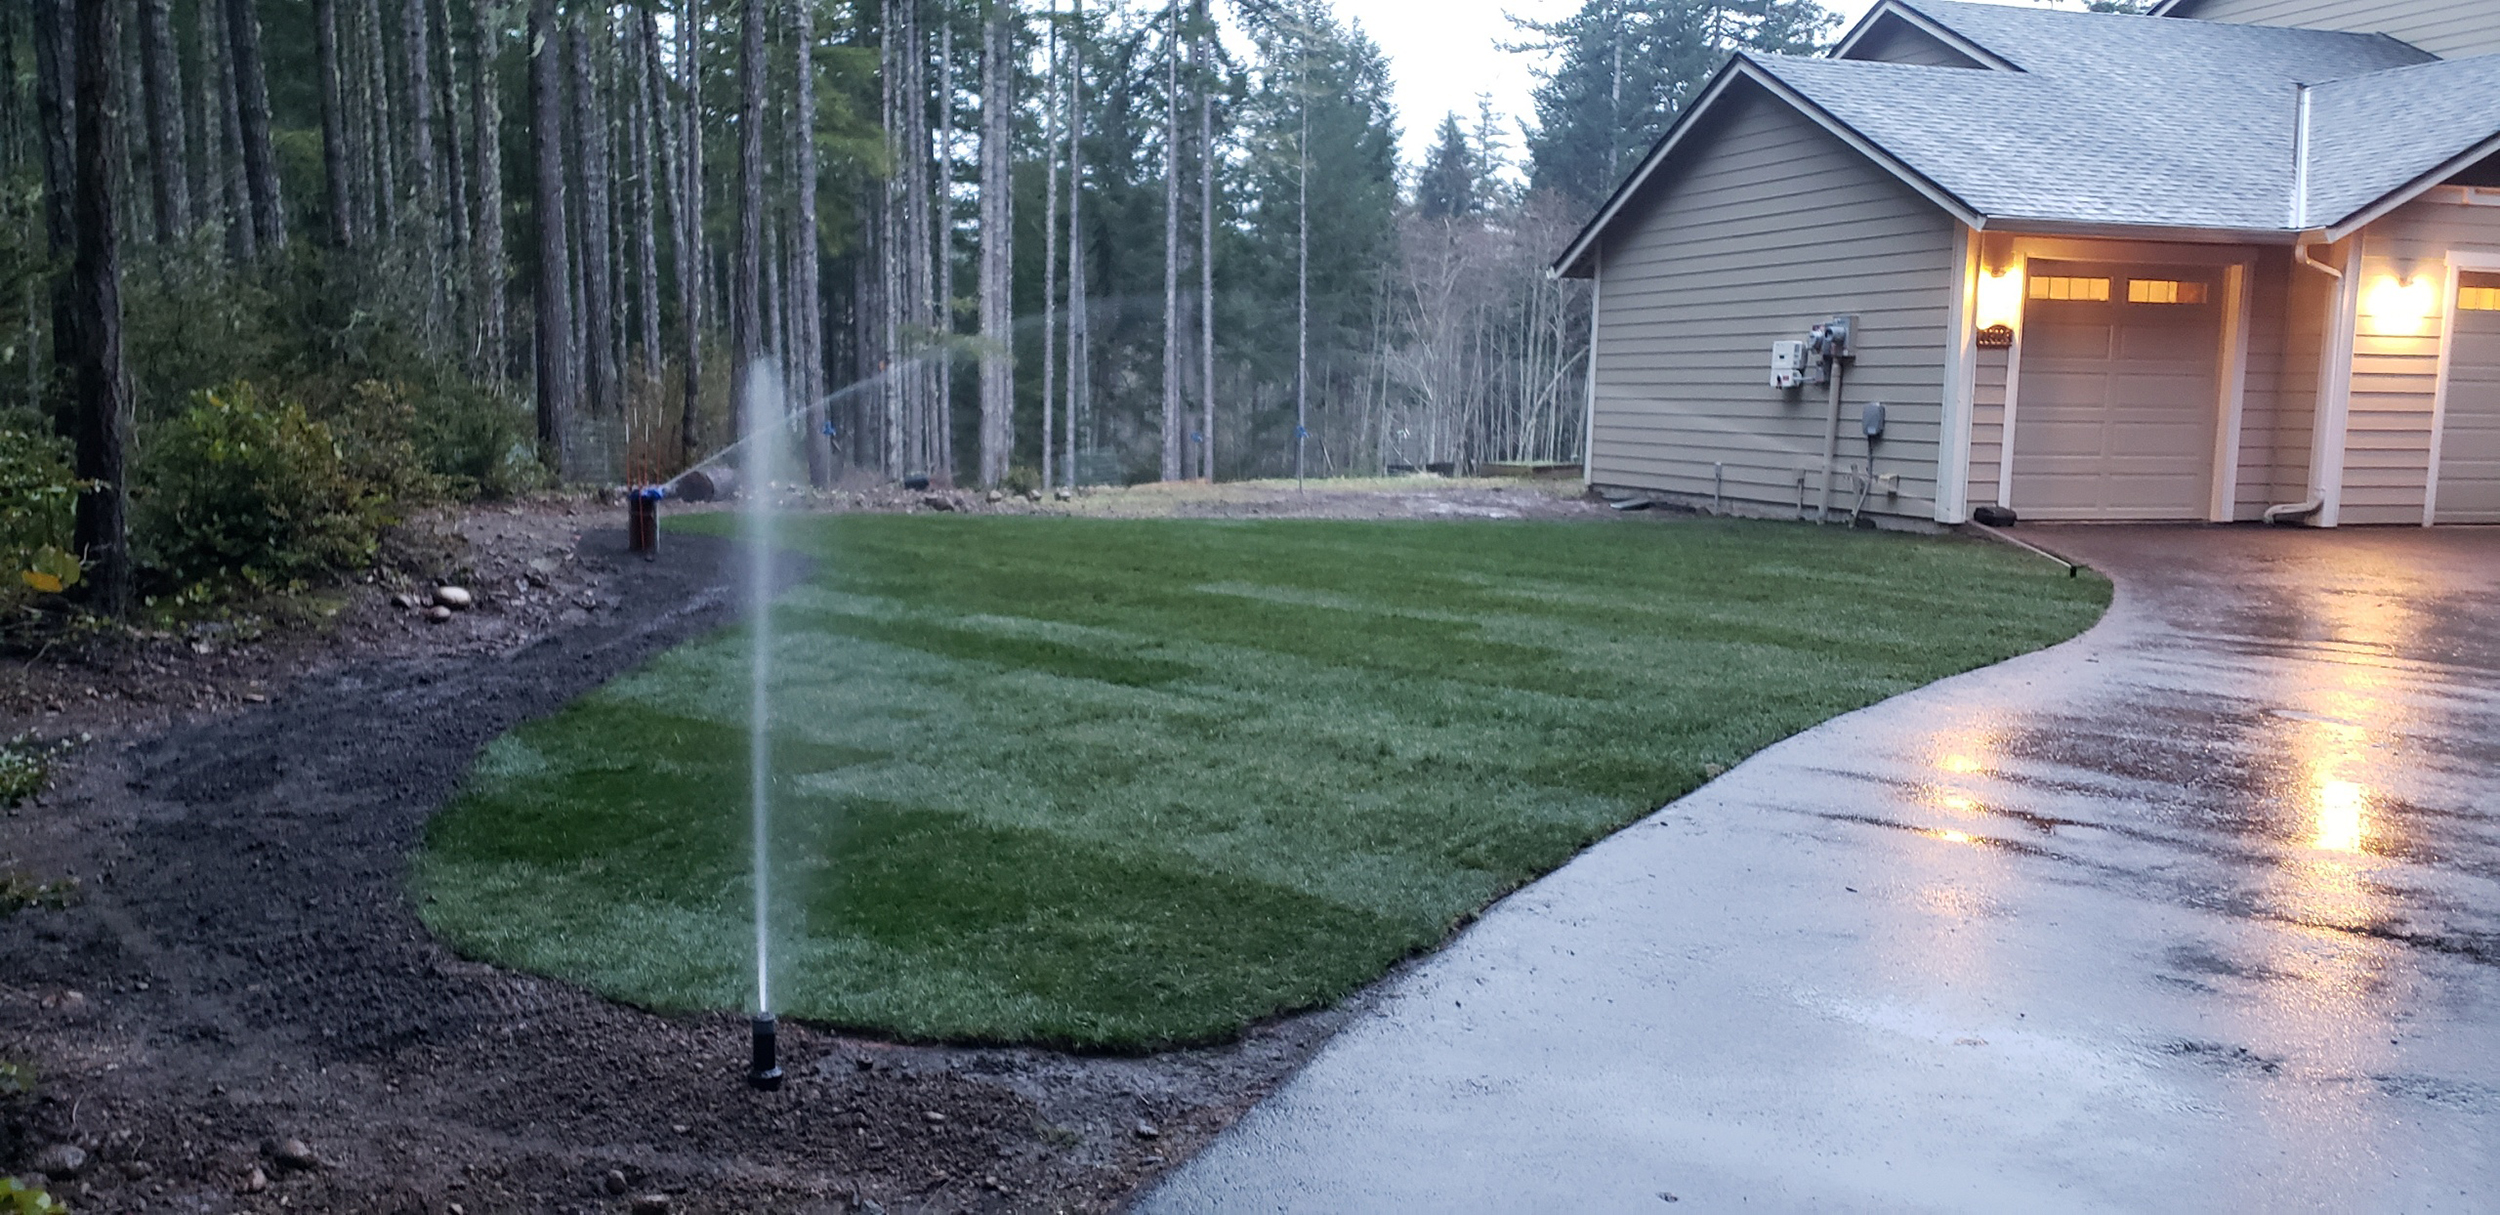
Testing the System
Once the trench has been backfilled and the irrigation system is in place, it’s crucial to test the system before relying on it for watering your plants. Testing helps identify any potential issues or leaks and ensures that the system is functioning properly. Here’s how to test your irrigation system:
- Turn on the water supply: Connect a hose to the water source and slowly turn on the water. This allows water to flow through the irrigation pipes and into the system.
- Check for leaks: Thoroughly inspect the entire system, including the connections, fittings, and sprinkler heads or drip emitters, for any signs of leaks. Look for dripping water, wet spots, or pooling water around the system.
- Adjust sprinkler heads or emitters: If you notice that the water is not being distributed evenly or covers the desired area, adjust the position and angle of the sprinkler heads or emitters. This ensures uniform water distribution to all plants.
- Observe water pressure: Take note of the water pressure in the system. It should be consistent and provide adequate coverage for your plants. Low pressure may indicate a blockage or issue with the system that needs to be addressed.
- Check for proper coverage: Walk around your garden or lawn and observe if the water is reaching all the plants and areas that need irrigation. Adjust the system as needed to ensure thorough coverage.
- Monitor system performance: Let the system run for a sufficient amount of time to evaluate its performance. Take note of any areas where the water is not reaching or penetrating the soil effectively.
- Make necessary adjustments: Based on the test results, make any necessary adjustments to improve the system’s performance. This may involve repositioning sprinkler heads, adjusting the water flow, or replacing faulty components.
Regularly testing your irrigation system helps ensure that it functions optimally and delivers the necessary water to your plants. By addressing any issues early on, you can prevent water waste and achieve the best results for your irrigation needs.
Adjusting and Fine-tuning the Irrigation System
After testing your irrigation system and making any necessary adjustments, it’s important to continue monitoring and fine-tuning the system to ensure optimal performance. Here are some tips for adjusting and fine-tuning your irrigation system:
- Observe plant needs: Regularly assess the watering needs of your plants. If certain areas are consistently dry or overwatered, make adjustments to the system accordingly. Remember that different plants have different water requirements.
- Check for uniformity: Walk around your garden or lawn to check if the water distribution is uniform. Look for dry spots or areas of excessive water. Adjust sprinkler heads or emitters as needed to achieve even coverage.
- Consider weather conditions: Adjust the frequency and duration of watering based on weather conditions. During periods of rain or cooler temperatures, you may need to reduce watering to prevent over-saturation of the soil.
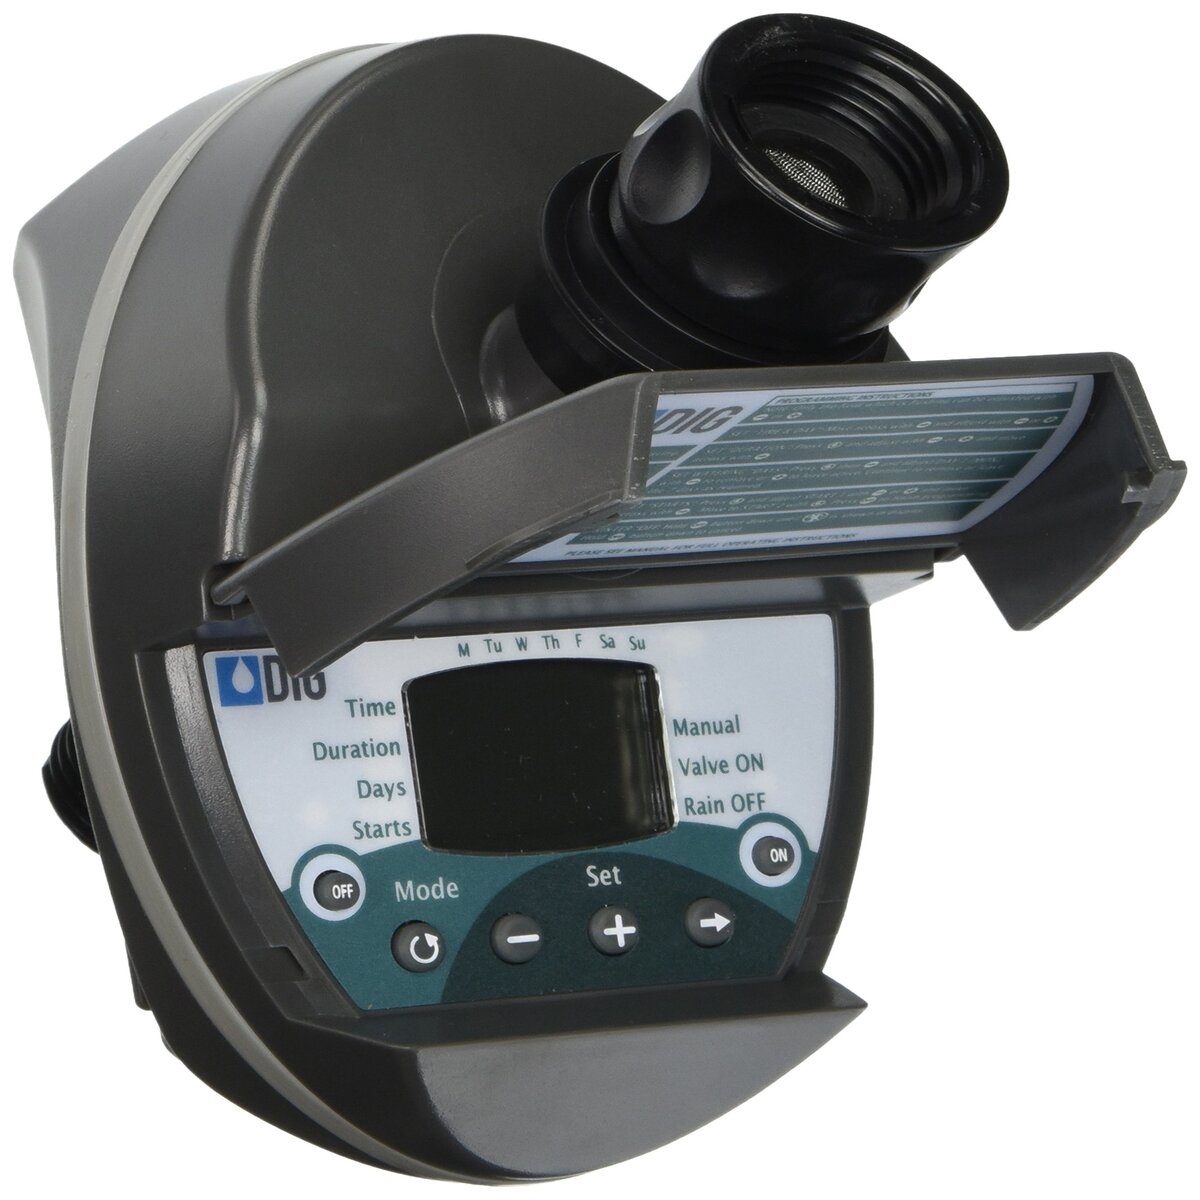
- Monitor water usage: Keep track of your water usage to ensure that you’re not overusing water. Installing a water meter or using a smart irrigation controller can help you manage and optimize your water consumption.
- Inspect and clean components: Regularly inspect your sprinkler heads, emitters, and other components for any clogs or damage. Clean or replace them as necessary to ensure proper water distribution.
- Consider zone-specific adjustments: If you have different watering zones with varying plant types or sun exposure, adjust the watering schedule or flow rate for each zone accordingly. This ensures that each area receives the appropriate amount of water.
- Stay attentive to seasonal changes: As seasons change, the watering needs of your plants may change as well. Adjust your irrigation system accordingly to account for seasonal variations in temperature and plant growth.
- Seek professional advice if needed: If you’re unsure about how to fine-tune your irrigation system or if you encounter any persistent issues, consider consulting a professional irrigation specialist. They can provide expert guidance and help you optimize your system’s performance.
Fine-tuning your irrigation system is an ongoing process. By continually monitoring and adjusting the system, you can ensure that your plants receive the right amount of water at the right times, leading to healthier and more vibrant landscapes.
Conclusion
Congratulations! You have now learned how to dig a trench for your irrigation system. By following the steps outlined in this guide, you can ensure a successful installation and efficient water distribution for your plants. Here’s a quick recap of the key points:
First, gather all the necessary tools and equipment to make the process smoother. Choose the right location for your irrigation system by considering factors such as sun exposure, plant water needs, and accessibility to a water source. Mark the trench path accurately to guide your digging efforts.
Before digging the trench, prepare the soil by removing obstacles, loosening it, and amending it as needed. Dig the trench to the appropriate depth and width, ensuring a slight slope for proper drainage. Install the irrigation pipes and carefully connect the fittings and connectors.
After backfilling the trench, test your irrigation system for leaks, adjust the sprinkler heads or emitters for optimal coverage, and monitor the water pressure and performance. Fine-tune the system by observing plant needs, ensuring uniformity, and adjusting watering based on weather conditions.
Remember to regularly inspect and maintain your irrigation system to keep it operating at its best. By following these steps and staying attentive to your plants’ watering needs, you can enjoy a healthy and thriving garden or lawn.
If you encounter any challenges or have specific questions about your irrigation system, don’t hesitate to seek professional advice. Experts in the field can provide personalized guidance to ensure the success of your irrigation system.
Now it’s time to put your newfound knowledge into practice. Get ready to enjoy the benefits of a well-designed and efficiently operated irrigation system that will keep your plants hydrated and flourishing.