Home>Gardening Techniques>DIY Projects>How To Wire An Irrigation System
DIY Projects
How To Wire An Irrigation System
Modified: February 6, 2024
Learn how to wire an irrigation system with this step-by-step DIY guide. Perfect for beginners, this project will help you save time and water in your garden.
(Many of the links in this article redirect to a specific reviewed product. Your purchase of these products through affiliate links helps to generate commission for Chicagolandgardening.com, at no extra cost. Learn more)
Table of Contents
- Introduction
- Understanding the Basics of an Irrigation System
- Planning and Designing Your Irrigation System
- Gathering the Required Tools and Materials
- Installing the Irrigation Controller
- Wiring the Valves
- Connecting the Sprinkler Heads
- Testing and Adjusting the System
- Troubleshooting Common Issues
- Conclusion
Introduction
Welcome to the world of DIY projects! If you’re looking to enhance your outdoor space and keep your lawn and garden properly watered, installing an irrigation system is a great option. But don’t worry, you don’t have to be an expert to get the job done. With a little guidance and the right tools, you can successfully wire your own irrigation system and enjoy the benefits of a lush, green landscape.
An irrigation system is a convenient and efficient way to ensure that your plants receive the right amount of water at the right time. By automating the watering process, you eliminate the need for manual watering and reduce the risk of over or under-watering your plants. Plus, a well-designed irrigation system can help conserve water by delivering it directly to the root zone, minimizing waste.
In this article, we will guide you through the process of wiring an irrigation system, from planning and design to installation and troubleshooting. Whether you’re a seasoned DIY enthusiast or a beginner looking to tackle your first project, we have you covered. By the end of this article, you’ll have the knowledge and confidence to install your own irrigation system and transform your outdoor space.
Before we begin, it’s important to note that the specific steps may vary depending on the type of irrigation system you’re installing. The principles and techniques discussed here, however, can be applied to most common irrigation systems, including sprinkler systems and drip irrigation systems. Now, let’s dive in and explore the world of irrigation systems!
Understanding the Basics of an Irrigation System
Before you start wiring your irrigation system, it’s important to have a basic understanding of how it works. An irrigation system typically consists of a controller, valves, pipes, and sprinkler heads. The controller serves as the brain of the system, allowing you to set the watering schedule and duration. The valves control the flow of water to different zones or sections of your landscape. The pipes carry water from the main water source to the sprinkler heads, which distribute water over the desired area.
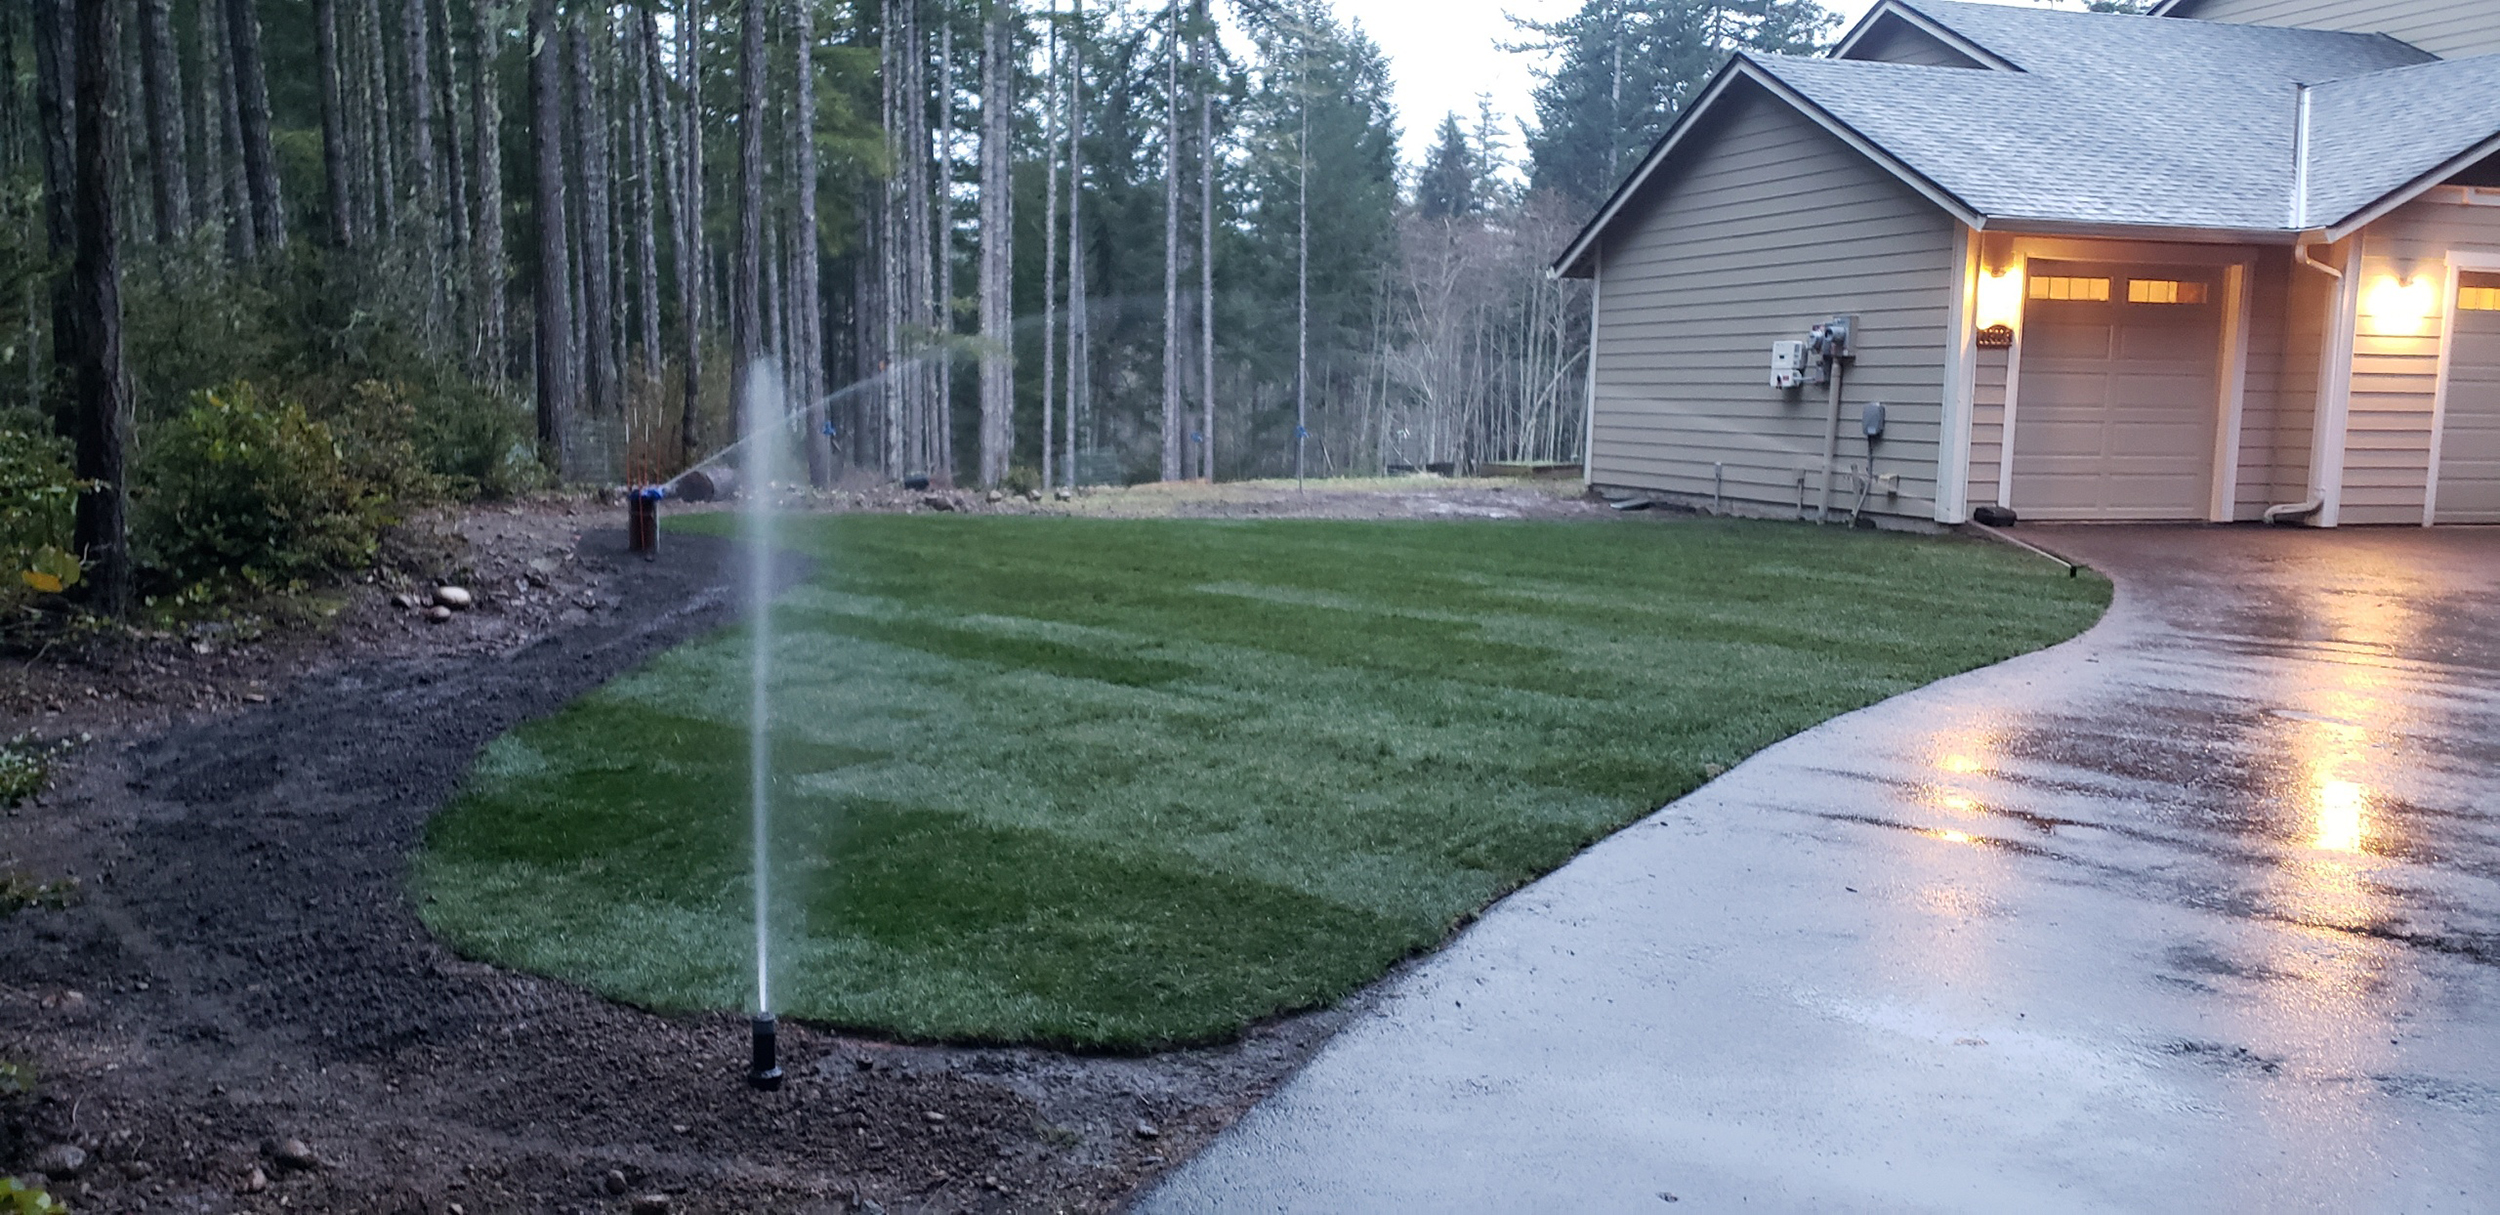
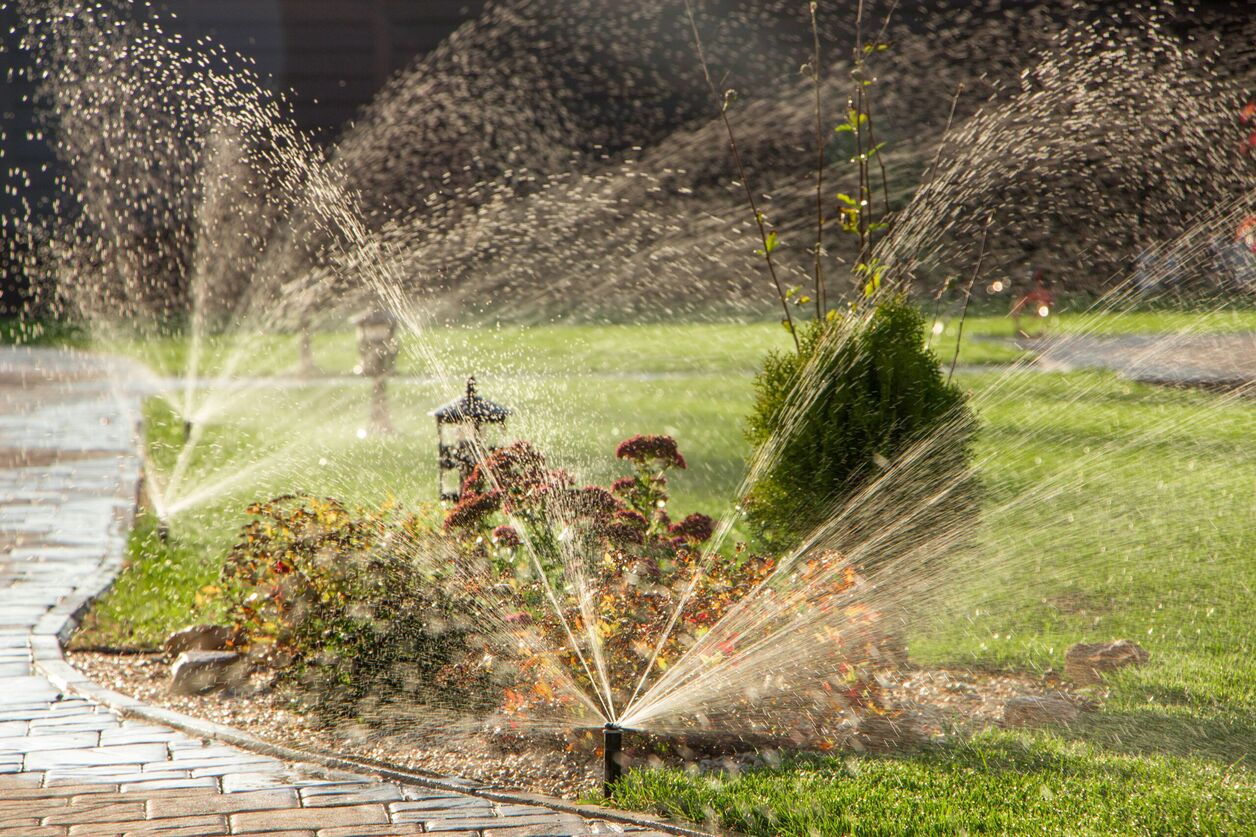
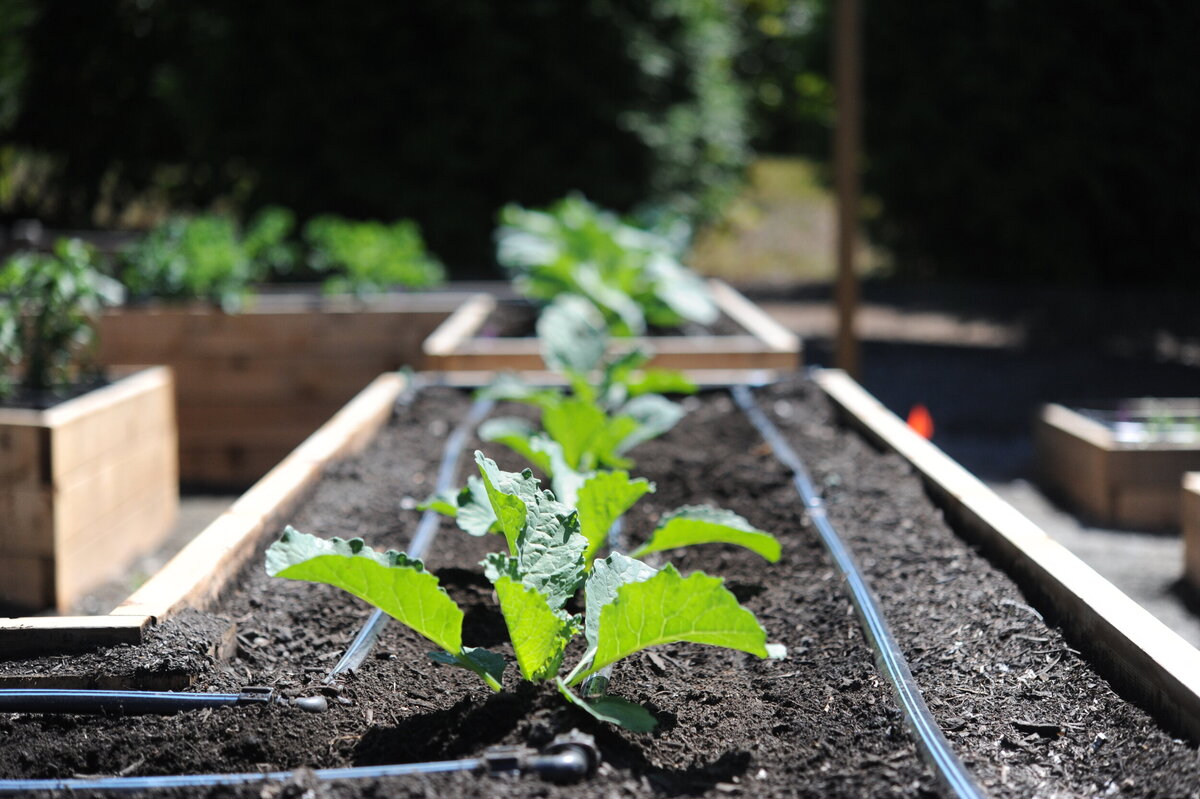
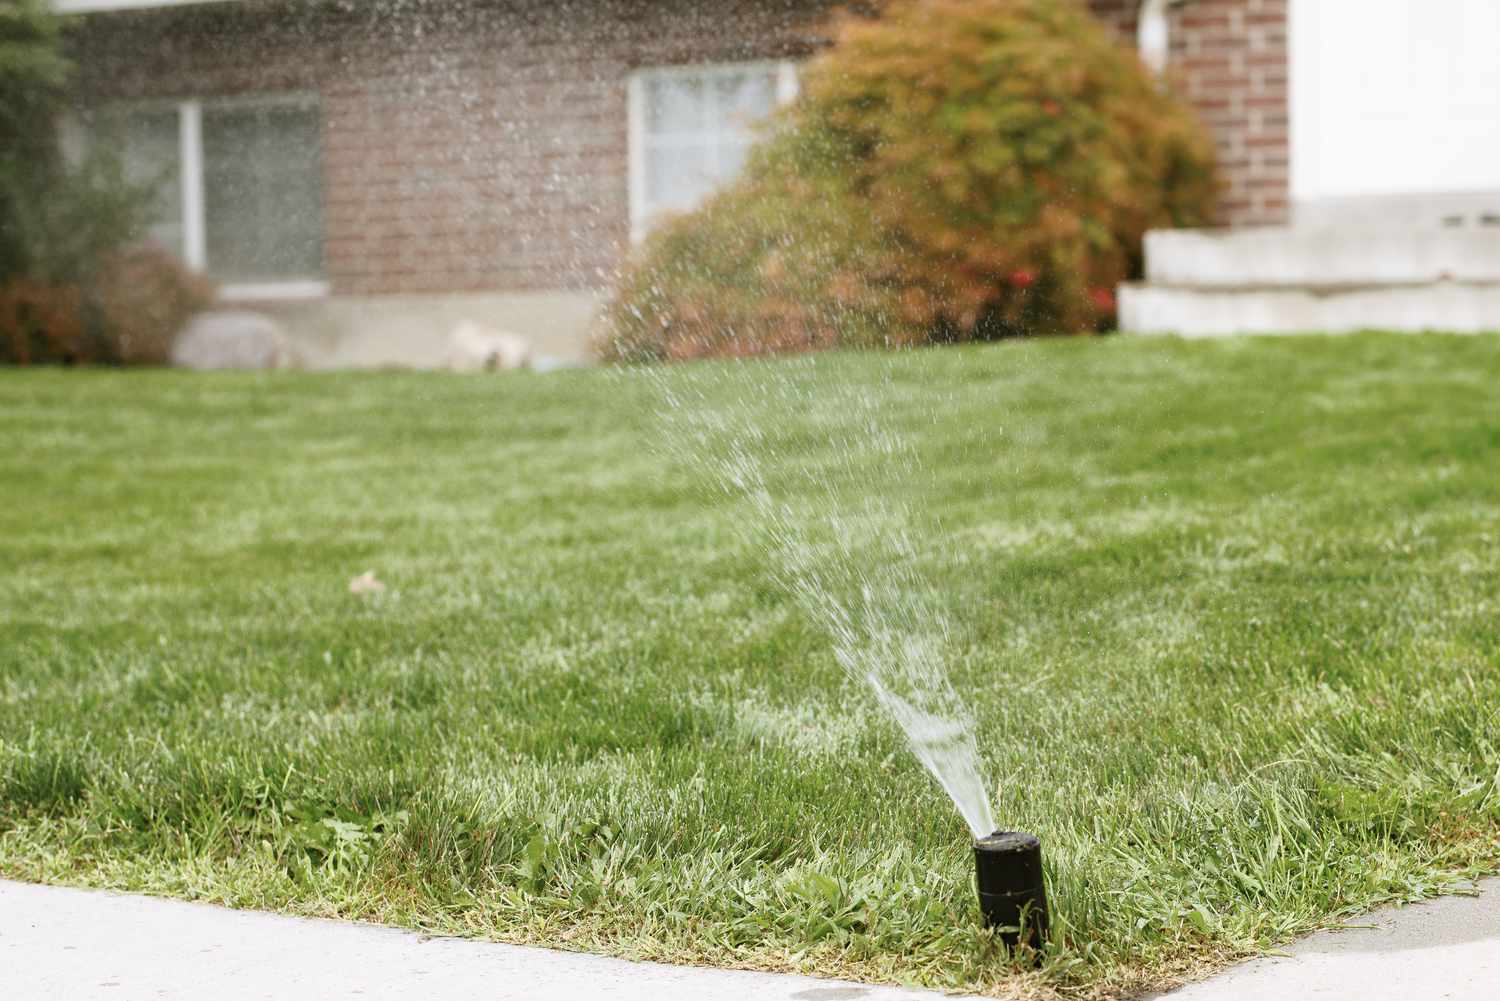
The first step in understanding your irrigation system is to familiarize yourself with the different types of sprinkler heads available. There are various options to choose from, including fixed spray heads, rotary heads, and drip emitters. Each type has its own unique characteristics and is suitable for specific areas of your landscape. Fixed spray heads are ideal for smaller, rectangular areas, while rotary heads work well for larger, circular or irregularly shaped areas. Drip emitters are best suited for watering individual plants or specific areas with precision.
Next, you’ll need to determine the number of zones your irrigation system requires. A zone refers to a specific area of your landscape that can be watered independently from other areas. This is important because different plants have different watering needs. For example, you may have a zone dedicated to your lawn, another zone for flowers, and a separate zone for shrubs. By dividing your landscape into zones, you can customize the watering schedule and ensure that each area receives the appropriate amount of water.
Another key aspect of an irrigation system is understanding the water pressure and flow rate. Water pressure refers to the force at which water is delivered through the pipes and sprinkler heads. An adequate water pressure ensures that the sprinkler heads distribute water evenly and effectively. The flow rate, on the other hand, refers to the amount of water that can be delivered within a specific time. It is important to consider the water pressure and flow rate when designing and installing your irrigation system, as they can impact its overall performance.
Lastly, it’s important to consider factors such as soil type, slope, and sun exposure when designing your irrigation system. Different plants have varying water requirements, and these factors can affect the amount of water needed in each area. For example, plants in sandy soil may require more frequent watering, while plants on a slope may require a different irrigation setup to prevent water runoff. By taking these factors into account, you can design an efficient and effective irrigation system that promotes healthy plant growth.
Now that you have a better understanding of the basics of an irrigation system, it’s time to move on to the next step: planning and designing your system. This crucial step sets the foundation for a successful installation and ensures that your irrigation system meets your specific needs. Let’s explore the planning process in the next section.
Planning and Designing Your Irrigation System
When it comes to installing an irrigation system, proper planning and design are paramount to its success. Taking the time to carefully plan and design your system will ensure that it meets your specific needs, minimizes water waste, and promotes healthy plant growth. Let’s dive into the key steps involved in planning and designing an irrigation system.
First, start by mapping out your landscape. Take note of existing plants, structures, and any other obstacles that may impact the installation process. This will help you determine the layout and placement of your sprinkler heads and pipes.
Next, analyze the water source and pressure. Understanding the water supply is crucial in determining the capacity of your irrigation system. Measure water pressure using a pressure gauge, ensuring it falls within the recommended range for efficient operation of the sprinkler heads. If the pressure is too high or too low, you may need to install a pressure regulator to maintain optimal performance.
Consider the water requirements of your plants and divide your landscape into zones accordingly. Group plants with similar watering needs together in a single zone. This zoning approach allows you to adjust the watering schedule and duration for each zone, ensuring that plants receive the right amount of water.
Based on your landscape layout and zoning, determine the number and type of sprinkler heads you’ll need for each zone. Fixed spray heads are suitable for small areas, while rotary heads are ideal for larger spaces. Drip emitters are great for watering individual plants or areas with specific water needs.
With the layout and sprinkler head types in mind, plan the pipe network. Consider using polyethylene pipes for their durability and flexibility. Designate a main line that connects to the water source and branch out to each zone. Use T-connectors or elbows to create a grid-like network for efficient water distribution.
While designing the pipe network, take into account slopes and variations in terrain. If your landscape has elevation changes, you may need to incorporate pressure-compensating emitters or micro-sprinklers to ensure even water distribution across the entire zone.
Additionally, evaluate the need for rain sensors or soil moisture sensors. Rain sensors detect rainfall and prevent unnecessary watering, helping conserve water. Soil moisture sensors measure soil moisture levels and provide insights into plant water needs, enabling more precise irrigation
Once you have a detailed plan, consider any local building codes or regulations that may affect your irrigation system. Contact your local utility company or authorities to avoid potential issues and ensure compliance.
Remember, the key to a successful irrigation system is careful planning and design. Taking the time to consider your landscape, water source, plant needs, and other factors will result in an efficient system that saves water, promotes healthy plant growth, and enhances the beauty of your outdoor space.
Gathering the Required Tools and Materials
Before you get started with the installation of your irrigation system, it’s important to gather all the necessary tools and materials. Having everything you need on hand will ensure a smooth and efficient installation process. Let’s take a look at the essential tools and materials you’ll need:
1. Tape Measure: This tool will help you accurately measure distances and dimensions of your landscape, ensuring precise placement of sprinkler heads and pipes.
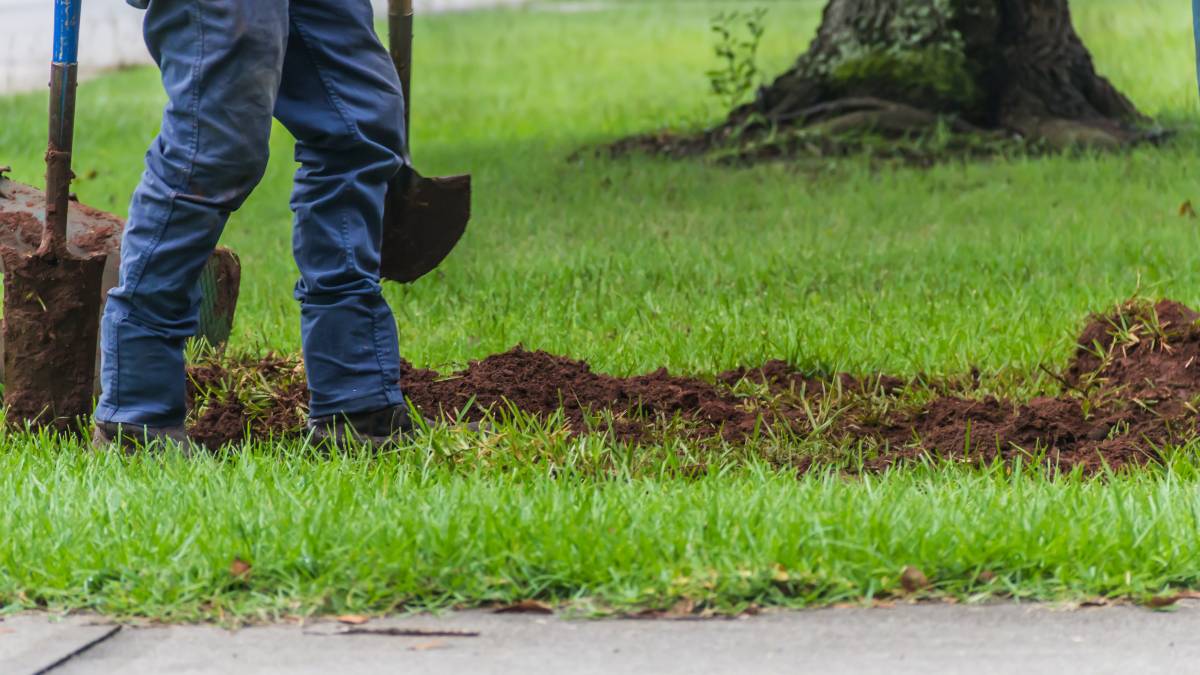
2. Shovel: A sturdy shovel is essential for digging trenches to lay the pipes. Opt for a shovel with a comfortable grip and a sharp edge for easier soil excavation.
3. Pipe Cutter: To cut the pipes to the desired lengths, you’ll need a pipe cutter. Choose a cutter suitable for the type of pipe you’re using, whether it’s PVC, polyethylene, or another material.
4. PVC Primer and Cement: If you’re using PVC pipes for your irrigation system, you’ll need PVC primer and cement to create secure and watertight connections between the pipes and fittings.
5. Adjustable Wrench: An adjustable wrench is useful for tightening and loosening nuts and bolts during the installation process.
6. Wire Strippers: When it’s time to connect the wires to the irrigation controller and valves, you’ll need wire strippers to remove the insulation and expose the copper wires.
7. Voltage Tester: Safety should always be a priority when working with electrical connections. A voltage tester will help ensure that the power is switched off before working on the wiring.
8. Waterproof Wire Connectors: These connectors are essential for joining wires together in a secure and waterproof manner. Ensure you have enough connectors to accommodate the number of connections you’ll be making.
9. Teflon Tape: Teflon tape is used to create a watertight seal between threaded connections. Wrap the tape around the threads of fittings to prevent leaking.
10. Sprinkler Heads and Valves: Depending on your design plan, you’ll need the appropriate sprinkler heads and valves. Consider the type of sprinkler heads suitable for each zone and choose high-quality valves for optimal performance.
11. Pipe Fittings: Various pipe fittings, such as elbows, tees, and couplings, will be needed to create the desired layout and connectivity of the pipe network.
12. Controller and Wiring: Select a reliable irrigation controller that suits your needs and supports the number of zones in your system. Additionally, ensure you have enough wiring to connect the controller to the valves.
13. Pipe Clamps and Stakes: These will help secure the pipes and keep them in place. Use pipe clamps to attach the pipes to a wall or structure, and stakes for securing pipes on the ground.
14. Backflow Preventer: A backflow preventer is crucial to keeping contaminants from entering the main water supply. Check with your local regulations to determine the type of backflow preventer required for your irrigation system.
Take the time to gather all the necessary tools and materials before starting your installation. Having everything you need within reach will save you time and ensure a successful and hassle-free process.
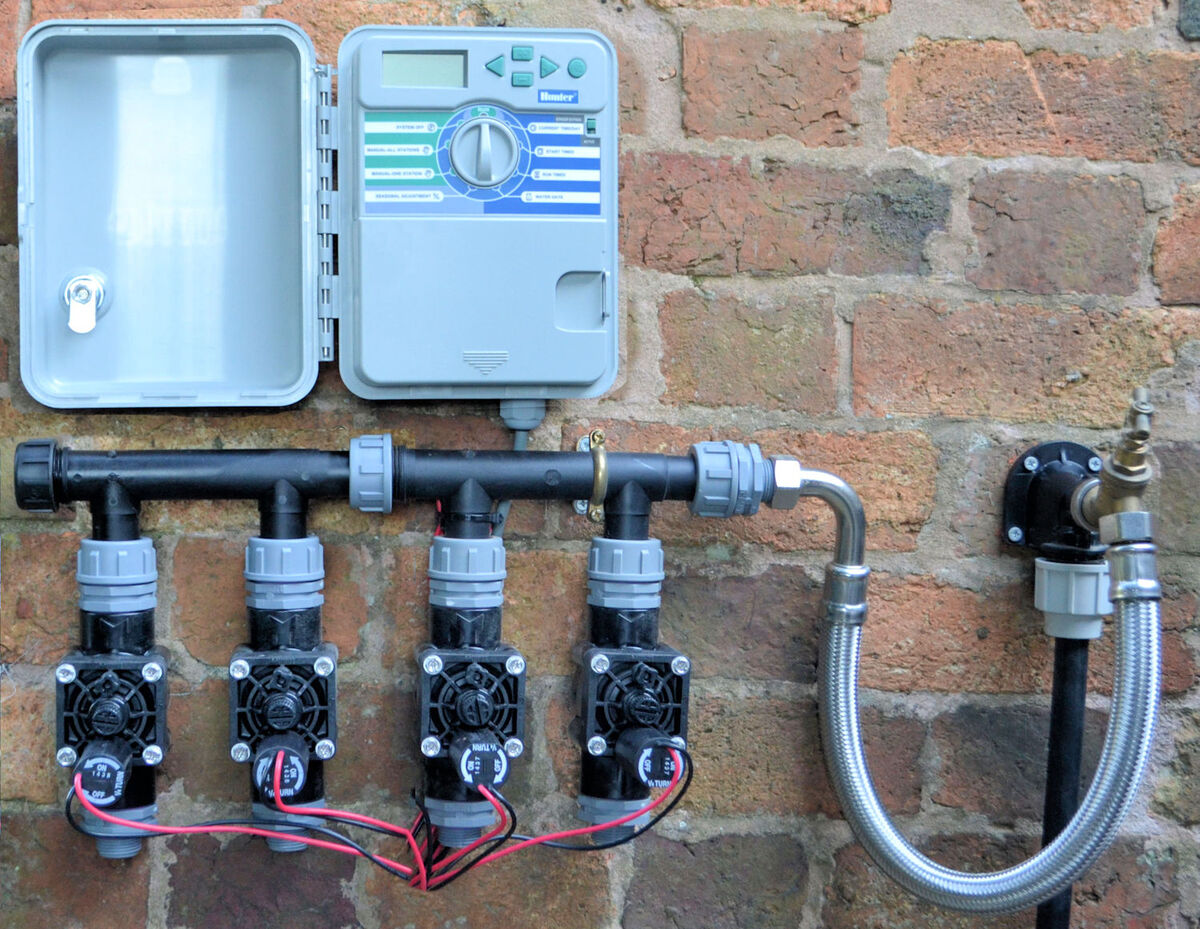
Installing the Irrigation Controller
The irrigation controller is the central hub of your irrigation system, allowing you to program and control the watering schedule. Installing the controller is a critical step in setting up your system. Follow these steps to properly install the irrigation controller:
1. Choose a suitable location: Select a location for your irrigation controller that is protected from the elements, such as rain and direct sunlight. Look for an area close to a power outlet and within range of the valves. Ideally, this location should be easily accessible for programming and maintenance.
2. Mount the controller: Depending on the type of controller you have, you may need to mount it on the wall or secure it to a post or surface. Use screws or mounting brackets provided with the controller to securely attach it to the chosen location. Ensure it is level and secure to prevent any future issues.
3. Make electrical connections: Before making any electrical connections, turn off the power at the circuit breaker to ensure your safety. Confirm the voltage requirements of your irrigation controller and verify that the supplied power matches. Connect the controller to the power source by following the manufacturer’s instructions. Use wire strippers to strip the wires and connect them to the designated terminals on the controller, tightening them securely.
4. Connect the valve wires: Next, connect the valve wires to the irrigation controller. Each zone will have its own set of wires connected to a specific terminal on the controller. Identify the valves and corresponding wires for each zone and connect them accordingly. Use waterproof wire connectors to ensure a stable and moisture-resistant connection.
5. Program the controller: Once the physical installation is complete, it’s time to program the irrigation controller. Refer to the manufacturer’s instructions for your specific controller model. Set the date, time, and desired watering schedule for each zone. Consider factors such as plant water needs, local watering restrictions, and soil conditions when programming the schedule. Ensure that the programming is accurate and suits your landscape’s requirements.
6. Test the controller: After programming, it’s important to test the irrigation controller to ensure it operates correctly. Activate each zone and verify that the valves open and close as desired. Inspect for any leaks or malfunctions in the system. Adjust the watering duration and frequency as needed to ensure optimal water coverage and efficiency.
Remember, accuracy and attention to detail are crucial during the installation of the irrigation controller. Take your time to carefully follow the manufacturer’s instructions and ensure a proper connection. A well-installed and properly programmed irrigation controller will provide seamless control over your system, ultimately leading to a healthy and vibrant landscape.
Wiring the Valves
Wiring the valves of your irrigation system is a critical step that allows you to control the flow of water to each zone. Properly wiring the valves ensures that they receive the necessary signals from the irrigation controller to open and close at the designated times. Follow these steps to correctly wire the valves:
1. Identify the valve terminals: Locate the valve terminals on the irrigation controller. These terminals are typically labeled or color-coded for easy identification. Each terminal corresponds to a specific zone or valve in your system.
2. Remove the insulation: Using wire strippers, carefully remove the insulation from the end of each valve wire. Strip enough to expose the bare copper wire, ensuring a clean connection.
3. Connect the valve wires: Match the labeled or color-coded valve wire to the corresponding terminal on the irrigation controller. Twist the bare copper wire around the terminal and tighten it securely. Use waterproof wire connectors to protect the connection from moisture.
4. Route the valve wires: Neatly route the valve wires from the irrigation controller to the corresponding valves in your landscape. Ensure that the wires are tucked away and protected from potential damage or tripping hazards. Depending on the layout of your system, you may need conduit or tubing to protect the wires.
5. Connect the valve wires to the valves: At each valve, connect the corresponding valve wire to the designated terminals. These terminals are usually labeled with numbers or colors that match the wiring configuration. Again, twist the bare copper wire around the terminal and tighten it securely.
6. Insulate the connections: Once all the valve wires are connected, insulate the connections to protect them from moisture and ensure their longevity. Use waterproof wire connectors or electrical tape to cover the exposed wiring and terminals.
7. Test the wiring: After completing the wiring, it’s crucial to test the connections and ensure that each valve opens and closes as intended. Activate each zone from the irrigation controller and observe the corresponding valve. Verify that the valve fully opens and closes without any issues.
8. Adjust as needed: If any valves are not functioning properly or not opening at all, double-check the wiring connections. Make sure that the wires are securely attached to the correct terminals on both the irrigation controller and the valves. If necessary, redo the connections to ensure a proper and tight fit.
Remember, the proper wiring of the valves is essential for the effective operation of your irrigation system. Take your time to accurately match and secure the wires to their corresponding terminals. Once the wiring is complete, you can move on to connecting the sprinkler heads and testing the overall functionality of your system.
Connecting the Sprinkler Heads
Connecting the sprinkler heads is the next step in the installation process of your irrigation system. This crucial step ensures that water is distributed effectively and efficiently to your desired areas. Follow these steps to correctly connect the sprinkler heads:
1. Determine the placement of the sprinkler heads: Refer to your design plan and mark the locations where you want to install the sprinkler heads. Consider factors such as plant types, landscape layout, and water coverage requirements.
2. Dig the holes: Use a shovel or a trowel to dig holes at the marked locations. Ensure that the holes are deep and wide enough to accommodate the sprinkler heads and allow for proper installation.
3. Install the risers: In each hole, insert a riser. The riser connects the sprinkler head to the underground pipe. The height of the riser should be appropriate for the type of sprinkler head being used as per the manufacturer’s recommendations. Attach the riser to the pipe using the appropriate connectors or fittings.
4. Attach the sprinkler heads: Screw the sprinkler heads onto the top of the risers. Ensure that the heads are oriented correctly and facing the desired direction for optimal water coverage. If necessary, use Teflon tape on the sprinkler head’s threaded connection to create a watertight seal and prevent any leaks.
5. Adjust the sprinkler heads: Once the sprinkler heads are attached, adjust them to the desired spray pattern and radius. Some sprinkler heads have adjustable nozzles or flow controls that allow you to fine-tune the water distribution. Follow the manufacturer’s instructions to make the necessary adjustments.
6. Secure the sprinkler heads: To ensure that the sprinkler heads remain in place during operation, use stakes or sprinkler head guards to secure them. This will prevent accidental movement or damage to the heads, ensuring consistent and reliable performance.
7. Connect the sprinkler heads to the irrigation system: Once all the sprinkler heads are installed, connect each riser to the appropriate zone or valve in your irrigation system. Ensure that the connections are secure and watertight, using appropriate fittings and clamps as needed.
8. Test the sprinkler heads: Before covering the holes and completing the installation, it’s crucial to test each sprinkler head to ensure proper functioning. Activate the corresponding zone from the irrigation controller and observe the distribution of water from each sprinkler head. Make any necessary adjustments to the spray pattern or radius to achieve uniform coverage.
9. Cover the holes: Once the testing is complete and you are satisfied with the performance of the sprinkler heads, fill the holes with soil and carefully pack it around the heads. Ensure that the heads are exposed at the desired height and level with the surrounding ground.
Connecting the sprinkler heads is an important part of your irrigation system installation. By following these steps carefully, you can ensure that water is distributed efficiently, providing the necessary moisture to your landscape while minimizing water waste.
Testing and Adjusting the System
Once you have completed the installation of your irrigation system, it’s time to test and adjust it to ensure optimal performance. Testing and adjusting the system will help identify any issues or areas that require fine-tuning. Follow these steps to effectively test and adjust your irrigation system:
1. Activate each zone: Start by activating each zone or valve from the irrigation controller. Observe the operation of each sprinkler head and check for any leaks, clogs, or misalignments. Ensure that water is distributed evenly and covers the intended area.
2. Check for uniform water coverage: Walk around your landscape while each zone is running. Pay close attention to the coverage of each sprinkler head and look for any areas of overwatering or underwatering. Adjust the spray patterns and radius of the sprinkler heads as needed using the manufacturer’s instructions.
3. Inspect for leaks and clogs: Examine the entire irrigation system, including the pipes, valves, connectors, and sprinkler heads, for any signs of leaks, clogs, or other issues. Repair or replace any faulty components to ensure efficient water distribution.
4. Measure the water output: Use a rain gauge or a collection of small containers placed within the coverage area to measure the amount of water being delivered by each sprinkler head. Ensure that the water output is consistent across all sprinkler heads within a zone. Adjust the water pressure or flow rate if necessary to achieve a uniform coverage.
5. Fine-tune the watering schedule: Assess the watering needs of your plants and the overall performance of the irrigation system. Adjust the watering schedule and duration for each zone, taking into account factors such as soil type, plant type, weather conditions, and any local watering restrictions.
6. Consider water conservation: Evaluate ways to improve water efficiency in your irrigation system. Install a rain sensor or a soil moisture sensor to prevent unnecessary watering during rainy periods or when the soil already contains sufficient moisture. Adjust the watering schedule based on seasonal changes and the specific needs of your landscape.
7. Regular maintenance: Establish a regular maintenance routine for your irrigation system. Periodically check for clogged nozzles, damaged components, or any other issues that may impact the system’s performance. Clean or replace the sprinkler heads as needed to ensure optimum water distribution.
8. Monitor and adjust as necessary: Continuously monitor the performance of your irrigation system and make adjustments as needed. Keep an eye out for changes in plant health, signs of over or underwatering, or any unusual water usage. Regularly assess the system’s efficiency and make necessary adjustments to ensure water conservation and plant health.
Testing and adjusting the system is an essential part of maintaining an efficient and effective irrigation system. By diligently monitoring and optimizing its performance, you can achieve optimal water distribution, conserve water, and promote the healthy growth of your landscape.
Troubleshooting Common Issues
While irrigation systems are designed to provide efficient and hassle-free watering, occasional issues can arise. Understanding how to troubleshoot common problems will help you quickly identify and resolve any issues that may arise. Here are some troubleshooting tips for common irrigation system issues:
1. Low water pressure: If you notice weak or inconsistent water flow from your sprinkler heads, it may indicate low water pressure. Check the water source and ensure that the main valve is fully open. If the pressure is still inadequate, consider installing a pressure regulator to maintain optimal water flow.
2. Uneven water distribution: If certain areas of your landscape are receiving too much or too little water, it can lead to uneven growth and plant health. Check each sprinkler head for clogging or misalignment. Clean any clogged nozzles or adjust the spray patterns and radius to ensure uniform water coverage.
3. Leaks in the system: Leaks can waste water, damage the surrounding landscape, and reduce the effectiveness of your irrigation system. Inspect all pipe connections, valves, and sprinkler heads for any signs of leaks. Tighten loose connections or replace any damaged components to eliminate leaks.
4. Valve issues: Valves that fail to open or close can disrupt the proper functioning of your irrigation system. Inspect the valve wiring connections for any loose or damaged wires. If the wiring is intact, check the valve diaphragm for debris or damage. Clean or replace the diaphragm as necessary to ensure smooth operation.
5. System not turning on/off: If your irrigation system fails to turn on or off at the programmed times, there may be an issue with the controller. Check the power supply and ensure that the controller is receiving power. Review the programming to ensure the correct watering schedule and durations are set. If the issue persists, consider resetting the controller to its default settings and reprogramming it.
6. Overspray onto hard surfaces: Overspray onto driveways, sidewalks, or other hard surfaces can cause water wastage and potential damage. Adjust the spray patterns and radius of the sprinkler heads to eliminate overspray onto non-landscaped areas. Consider using nozzle guards or installing a drip irrigation system in areas where overspray is a concern.
7. Seasonal adjustment: As the seasons change, the watering needs of your landscape may also change. Keep an eye on weather conditions, such as rainfall and temperature, and adjust your watering schedule accordingly. Consider using weather-based controllers or sensors to automate these adjustments and ensure optimal water usage.
8. Electrical issues: If you experience intermittent or inconsistent operation of your irrigation system, check the electrical connections and wiring. Ensure that all connections are secure and properly insulated. Use a voltage tester to ensure power is reaching the controller and valves. If you identify any faults, repair or replace the faulty components.
By following these troubleshooting tips, you can effectively address common issues with your irrigation system and keep it running smoothly. Regular maintenance and proactive problem-solving will help you maintain a healthy and efficient landscape while conserving water.
Conclusion
Congratulations! You have successfully learned how to wire an irrigation system through the various stages of planning, installation, and troubleshooting. By taking the time to understand the basics, gather the necessary tools and materials, and follow a systematic approach, you can achieve a well-designed and efficient irrigation system for your landscape.
The key to a successful irrigation system is careful planning and design. Take into account factors such as plant types, soil conditions, slope, and water requirements when mapping out your system. This will ensure that water is distributed effectively and efficiently, promoting healthy plant growth and minimizing water waste.
During the installation process, remember to follow the manufacturer’s instructions, properly connect the irrigation controller and valves, and test the system for any leaks or malfunctions. Adjust the sprinkler heads and fine-tune the watering schedule to achieve consistent and optimal water coverage.
Inevitably, you may encounter issues along the way. However, with the troubleshooting steps provided, you can quickly identify and resolve common problems such as low water pressure, uneven water distribution, leaks, and electrical issues.
Maintaining your irrigation system is crucial for its long-term performance. Regularly inspect and clean the system, check for clogged nozzles, and ensure that all connections are secure. Adjust the watering schedule as needed to accommodate changes in weather or seasonal conditions.
Remember, an efficiently designed and properly installed irrigation system not only saves you time and effort but also conserves water and promotes a healthy and vibrant landscape. So go ahead and enjoy the benefits of your DIY irrigation system, while basking in the beauty of your well-watered lawn and garden.