Home>Gardening Techniques>DIY Projects>How To Cap Off A Drip Irrigation Line
DIY Projects
How To Cap Off A Drip Irrigation Line
Modified: January 22, 2024
Looking for a DIY project? Learn how to cap off a drip irrigation line with our step-by-step guide. Enhance your gardening skills today!
(Many of the links in this article redirect to a specific reviewed product. Your purchase of these products through affiliate links helps to generate commission for Chicagolandgardening.com, at no extra cost. Learn more)
Table of Contents
Introduction
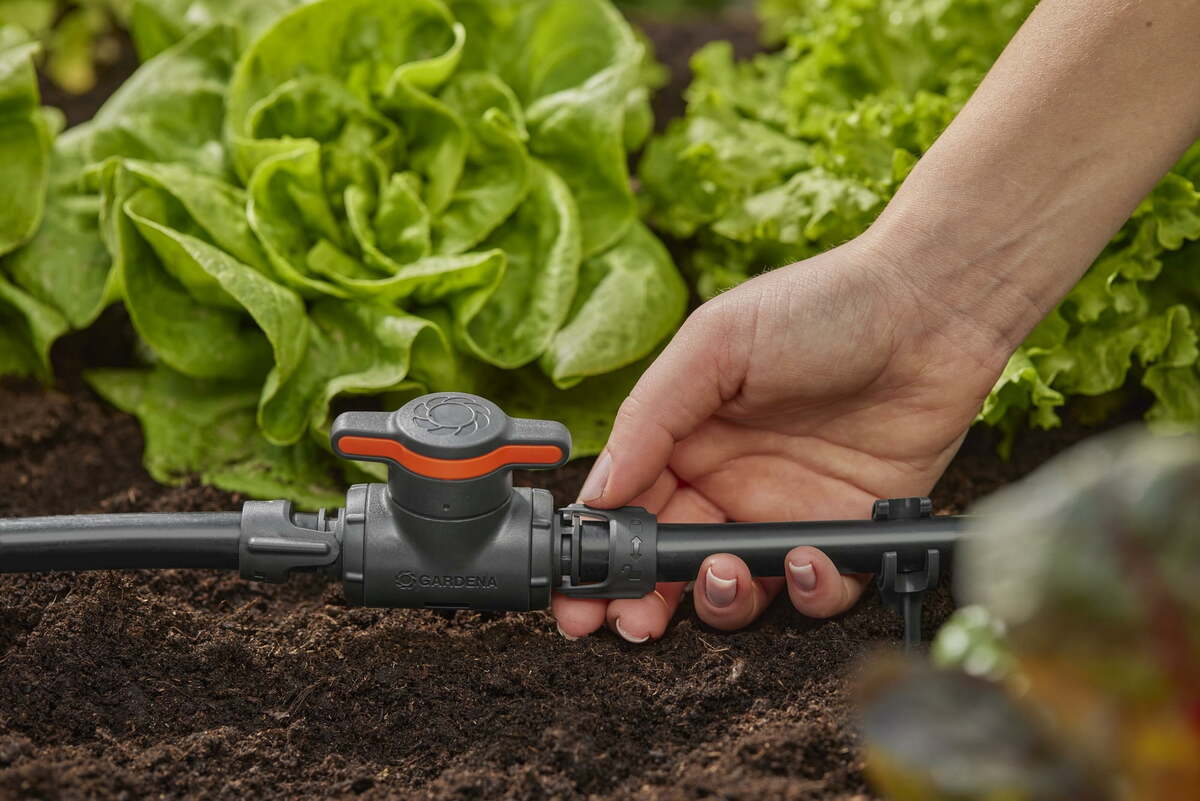
Welcome to the world of DIY projects! If you’re looking to improve your garden and save water, then installing a drip irrigation system is a fantastic idea. Not only does it provide a convenient way to water your plants, but it also helps conserve water by delivering it directly to the roots where it’s needed most. However, there may come a time when you need to cap off a drip irrigation line—a task that may seem intimidating if you’re new to DIY projects.
But fear not! Capping off a drip irrigation line is a straightforward process that anyone can do with the right tools and materials. In this guide, we’ll walk you through the steps needed to cap off a drip irrigation line effectively. By following these instructions, you’ll be able to complete this task with ease and ensure that your irrigation system continues to operate efficiently.
Before we get started, it’s important to note that capping off a drip irrigation line may be necessary for various reasons. You may need to relocate a plant or section of your garden, change your irrigation layout, or simply remove a specific section of the line. Whatever the reason, knowing how to cap off a drip irrigation line will come in handy for any DIY enthusiast or homeowner.
Tools and Materials Needed
Before you can begin capping off a drip irrigation line, you’ll need to gather a few essential tools and materials. Fortunately, these items are readily available at most home improvement stores and are relatively affordable. Here’s what you’ll need:
- Utility knife or PVC pipe cutter: You’ll need a sharp utility knife or a PVC pipe cutter to cut the drip irrigation line cleanly.
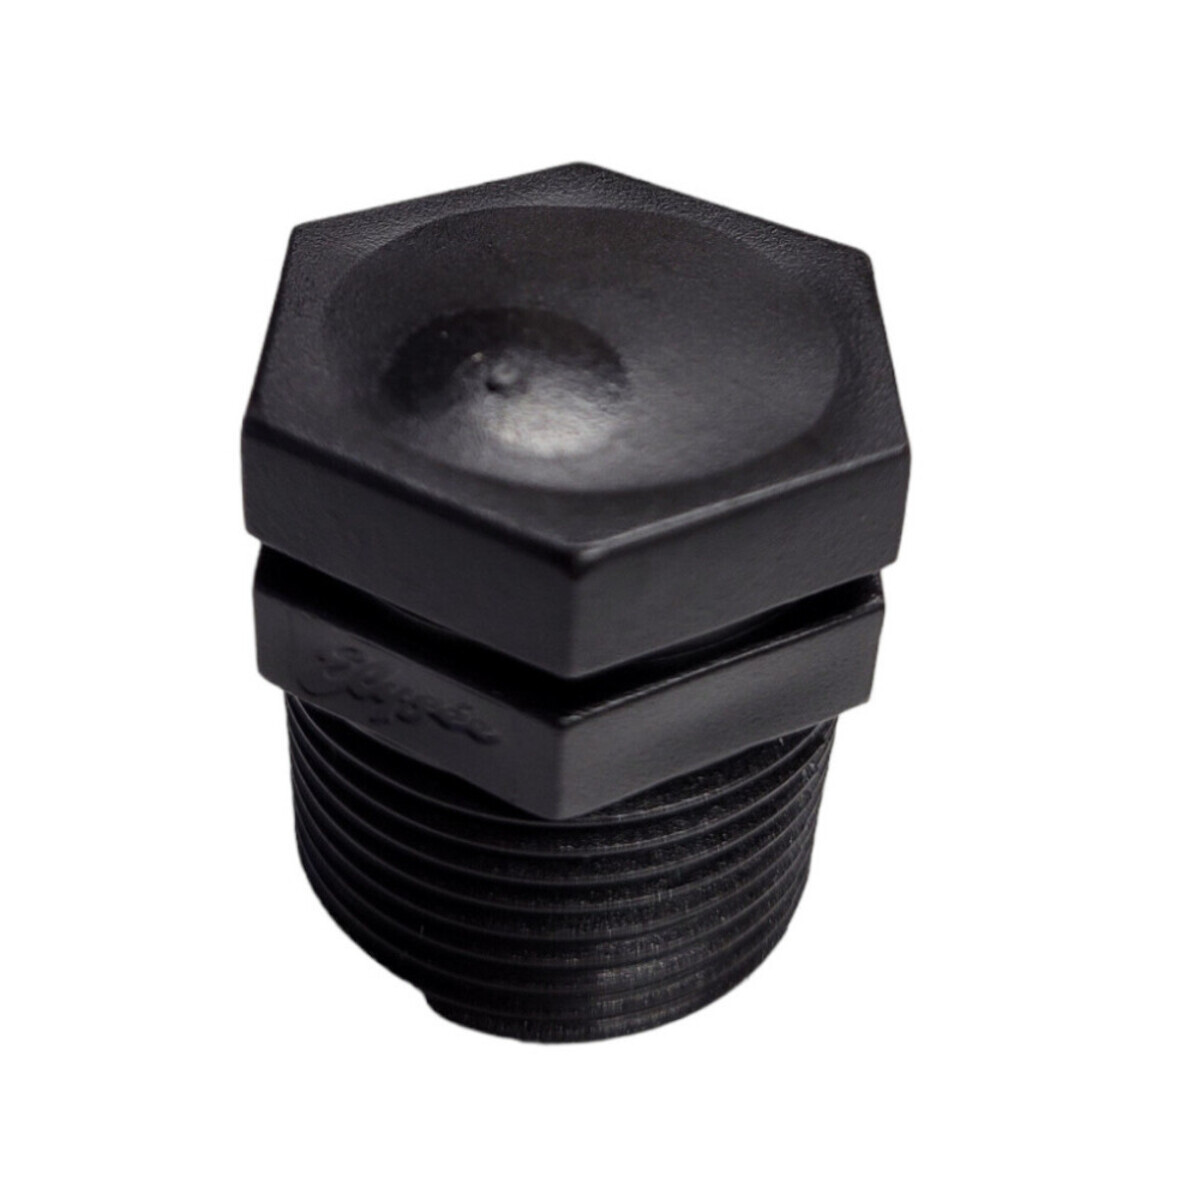
- End cap or goof plug: Depending on the type of drip irrigation system you have, you’ll either need an end cap or a goof plug. An end cap is a small fitting that seals the end of the irrigation line, while a goof plug is used for sealing any unwanted holes or connections in the line.
- Teflon tape: Teflon tape, also known as plumber’s tape, is a thin tape used to create a watertight seal when connecting plumbing fittings. You’ll need this tape to ensure a leak-free connection when installing the end cap or goof plug.
- Pliers or adjustable wrench: Pliers or an adjustable wrench will be necessary to tighten the end cap or goof plug securely in place.
These tools and materials should be sufficient for capping off a drip irrigation line effectively. However, it’s always a good idea to check the manufacturer’s instructions for your specific drip irrigation system to ensure you have all the necessary components.
With everything in hand, you’re now ready to proceed to the next steps to cap off your drip irrigation line.
Step 1: Shut off the Water Supply
Before you begin working on capping off a drip irrigation line, it’s crucial to shut off the water supply to your irrigation system. This step is essential to avoid any water leakage or damage while you’re making modifications.
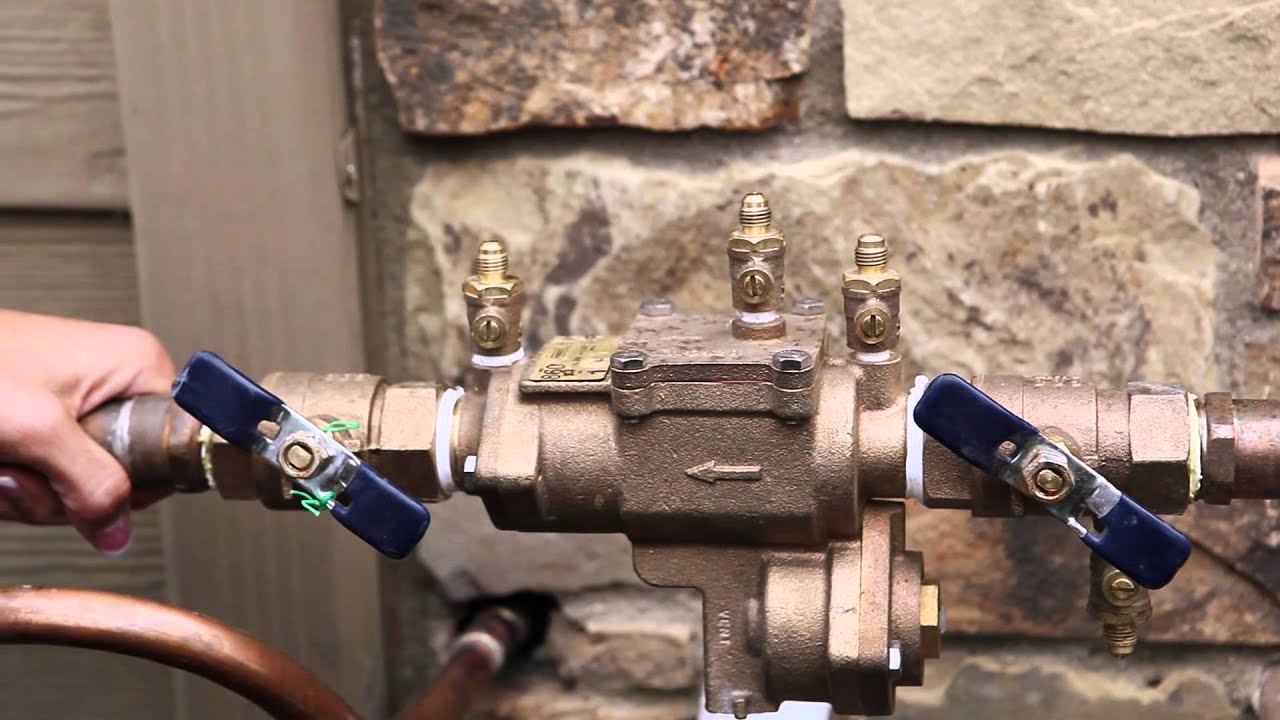
Locate the main water supply valve for your drip irrigation system. This valve is typically located near the water source or at the point where the irrigation line connects to your main water line. Often, it’s a hand-operated valve that you can turn clockwise to shut off the water flow.
If you have trouble locating the main water supply valve, refer to the manufacturer’s instructions or consult a professional to ensure you shut off the water supply correctly.
Once you’ve located the valve, turn it clockwise to close it fully. By doing this, you’ll prevent water from flowing through the drip irrigation line when you start capping it off.
It’s also a good idea to release any water pressure that may be present in the irrigation system. To do this, open any existing water valves or sprinkler heads downstream of the section you plan to cap off. Allowing the water to drain out will relieve any remaining pressure and make it easier to work on the line.
Remember, shutting off the water supply is the first and most crucial step when capping off a drip irrigation line. Taking this precaution ensures your safety and prevents any potential damage to the system.
Step 2: Cut the Drip Irrigation Line
Now that you’ve shut off the water supply to your drip irrigation system, it’s time to proceed with cutting the line. This step involves removing the section of the line that you want to cap off.
- Identify the section of the drip irrigation line that needs to be cut off. This could be a damaged or unused section of the line, or a section you want to redirect or remove entirely.
- Measure the desired length of the section you want to remove and mark it with a pen or marker.
- Using a sharp utility knife or PVC pipe cutter, carefully cut the line at the marked location. Make sure to apply steady and even pressure to ensure a clean cut.
- After cutting the line, double-check the cut section to ensure it’s clean and free of any rough edges or debris. If necessary, use a file or sandpaper to smooth out any jagged edges.
It’s crucial to make a precise, clean cut to ensure a proper seal when capping off the drip irrigation line. A clean cut will result in a tight and secure connection when you install the end cap or goof plug.
If your drip irrigation line is made of PVC, you can use a PVC pipe cutter for a more precise and effortless cut. Simply position the cutter around the line, align the blade with the mark, and squeeze the handles to make the cut. PVC pipe cutters are designed specifically for cutting PVC pipes and can provide a clean, professional-looking cut.
With the drip irrigation line cut, you’re now ready to move on to the next step: installing the end cap or goof plug.
Step 3: Install a Goof Plug or End Cap
Now that the drip irrigation line has been cut, it’s time to install a goof plug or end cap to seal off the open end. The type of fitting you use will depend on the specific needs of your drip irrigation system.
- If you are capping off the end of the line, you’ll need an end cap. This small, usually plastic fitting is designed to seal the end of the drip irrigation line. Make sure the end cap you choose matches the diameter of your irrigation line.
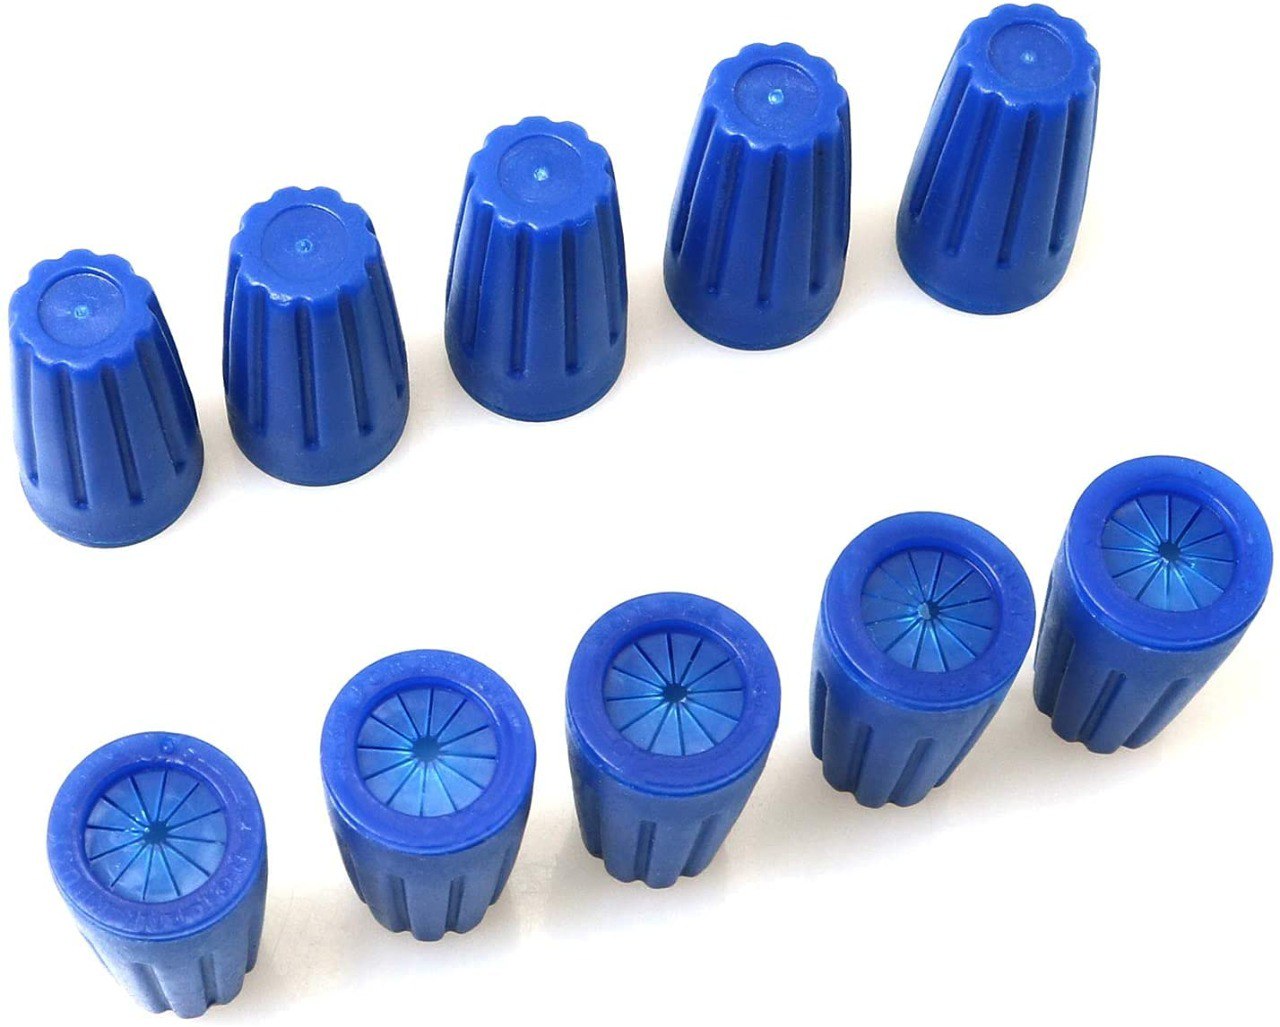
- If you are sealing an unwanted hole or connection in the line, you’ll need a goof plug. Goof plugs are typically small, barbed fittings that fit into the hole or connection, creating a watertight seal.
To install the goof plug or end cap, follow these steps:
- Ensure that the cut end of the drip irrigation line is clean and free of any debris.
- If using an end cap, push the end of the line into the cap until it fits tightly. If using a goof plug, insert it into the hole or unwanted connection until it is secure.
- Apply a few wraps of Teflon tape around the exposed threads of the end cap or goof plug. This will help create a tight seal when you tighten it.
Remember, a proper seal is important to prevent any leaks or water loss from the capped-off section of the drip irrigation line. Take your time to ensure that the end cap or goof plug is firmly and securely attached.
Once the end cap or goof plug is installed, you’re ready to move on to the next step: securing it in place.
Step 4: Secure the Cap or Plug in Place
After installing the end cap or goof plug to seal off the drip irrigation line, it’s important to secure it in place. This ensures a tight and secure connection that will prevent any water leakage.
- Using pliers or an adjustable wrench, carefully tighten the end cap or goof plug. Be careful not to overtighten, as this can damage the plastic fitting or strip the threads.
- Ensure that the end cap or goof plug is snug and secure, but still allows for easy removal if necessary.
If you are using an end cap, some models may have additional features such as screws or clamps to provide extra security. Follow the manufacturer’s instructions for any additional steps required to secure the end cap properly.
Properly securing the cap or plug is key to maintaining a functional and leak-free drip irrigation system. Take the time to ensure that everything is tightened appropriately before moving on to the final step.
With the cap or plug securely in place, you’re now ready to turn on the water supply and test the system.
Step 5: Turn on the Water Supply
Once you have secured the cap or plug in place, it’s time to turn on the water supply and test your newly capped-off drip irrigation line. This step will ensure that everything is properly sealed and that there are no leaks.
- Return to the main water supply valve for your drip irrigation system.
- Slowly turn the valve counterclockwise to open it and allow water to flow into the system.
- Observe the capped-off section of the irrigation line closely to check for any signs of leakage. Look for water dripping or spraying from the end cap or goof plug.
- If you notice any leaks, shut off the water supply immediately and check the connection. Ensure that the end cap or goof plug is tightened securely. If necessary, make any adjustments or replace the fitting to achieve a proper seal.
Remember, it’s crucial to take your time and observe any signs of leaks during this step. A small, undetected leak can lead to water waste and irrigation inefficiencies. Ensuring a tight and secure connection will help your drip irrigation system function optimally.
If there are no leaks observed, congratulations! You have successfully capped off your drip irrigation line. Your system is now ready to continue delivering water efficiently to the areas you want to irrigate while excluding the capped-off section.
By following these steps and taking the necessary precautions, you have completed the process of capping off a drip irrigation line. Now you can confidently make changes to your garden or irrigation layout without the need to replace an entire line.
Remember to be cautious while working with water and use protective gear if necessary. If you have any concerns or difficulties, it’s always a good idea to consult a professional or refer to the manufacturer’s instructions.
Conclusion
Capping off a drip irrigation line is a simple and essential task for any DIY enthusiast or homeowner. By following the step-by-step process outlined in this guide, you can confidently seal off a section of your drip irrigation line without the need for expensive replacements or professional assistance.
Remember to start by shutting off the water supply and relieving any pressure in the system before proceeding. Use the appropriate tools, such as a utility knife or PVC pipe cutter, to make a clean and precise cut in the irrigation line. Install the correct fitting—either an end cap or goof plug—to seal off the open end or unwanted hole in the line securely. Ensure a tight connection by carefully securing the fitting in place, being mindful not to overtighten.
Lastly, turn on the water supply and check for any leaks. If you notice any leakage, promptly address the issue and make the necessary adjustments to achieve a watertight seal. Once you have confirmed that there are no leaks and the system is operating efficiently, you can rest assured that your newly capped-off drip irrigation line will serve its purpose effectively.
Capping off a drip irrigation line gives you the flexibility to make changes to your garden layout or address specific needs without disrupting the entire system. It’s a skill that empowers you to take control of your irrigation setup and ensure water efficiency in your garden.
Remember, safety should always be a priority when working with water and handling tools. If you’re unsure or encounter any difficulties during the process, consult a professional or refer to the manufacturer’s instructions for your specific drip irrigation system.
With the knowledge and guidance provided in this article, you are well-equipped to tackle capping off a drip irrigation line and continue exploring the world of DIY projects with confidence and success.