Home>Gardening Tips and Tricks>Problem Solving>How To Clean Drip Irrigation Lines
Problem Solving
How To Clean Drip Irrigation Lines
Published: November 19, 2023
Learn effective techniques for problem solving when cleaning drip irrigation lines in this comprehensive guide on How To Clean Drip Irrigation Lines.
(Many of the links in this article redirect to a specific reviewed product. Your purchase of these products through affiliate links helps to generate commission for Chicagolandgardening.com, at no extra cost. Learn more)
Table of Contents
Introduction
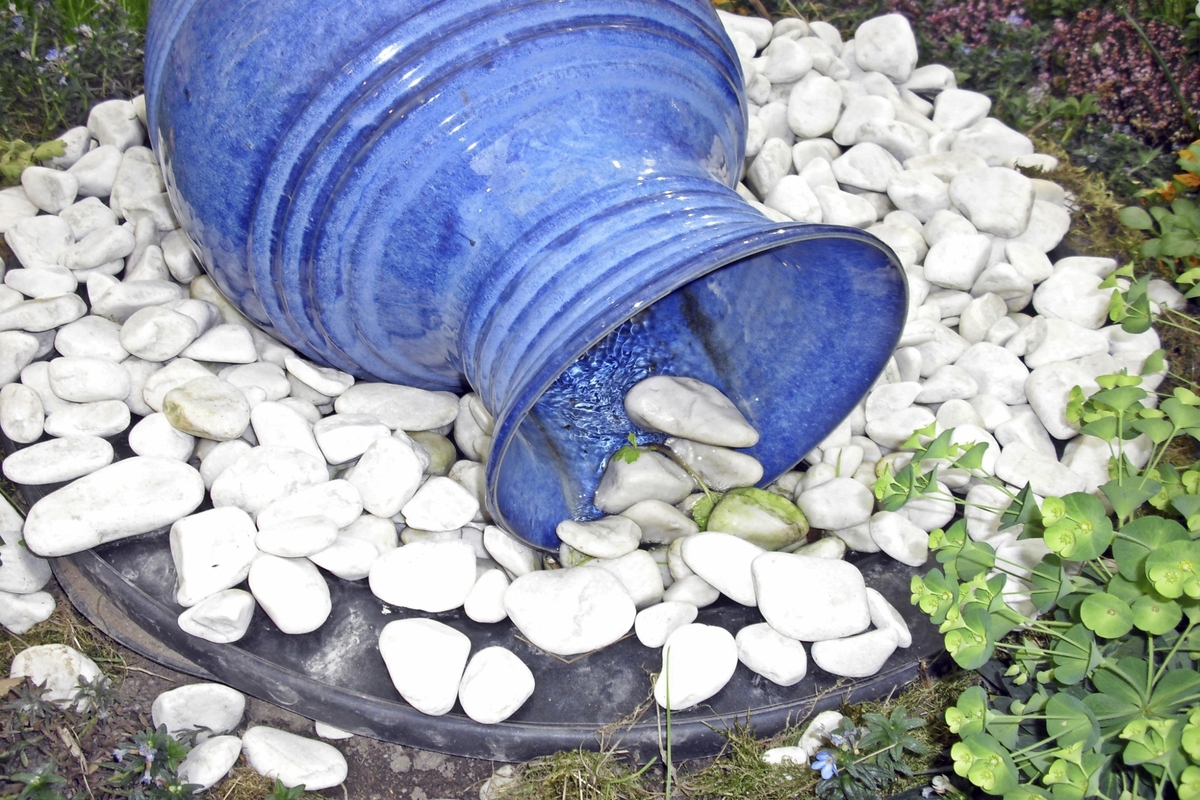
Having a well-functioning drip irrigation system is essential for maintaining lush and healthy plants in your garden or landscape. However, over time, the lines of your drip irrigation system can become clogged with debris, causing inefficiency and potentially damaging your plants.
Regularly cleaning the drip irrigation lines is crucial to ensure the proper flow of water and nutrients to your plants. Cleaning these lines may seem like a daunting task, but with the right tools and techniques, it can be a straightforward and rewarding process.
In this article, we will guide you through the step-by-step process of cleaning drip irrigation lines, from inspecting and removing clogs to flushing the lines and cleaning the emitters. We will also discuss the option of using chemical cleaners for more stubborn clogs. By following these instructions, you will be able to maintain the efficiency and effectiveness of your drip irrigation system, promoting healthy plant growth.
Before diving into the cleaning process, it’s important to gather the necessary tools and materials. Let’s take a look at what you’ll need.
Tools and Materials Needed
Before you begin cleaning your drip irrigation lines, gather the following tools and materials:
- Gloves: Protect your hands by wearing a pair of gloves.
- Safety glasses: Shield your eyes from any splashing water or debris by wearing safety glasses.
- Screwdriver (flathead or Phillips): You’ll need a screwdriver to disassemble and reassemble the irrigation system if necessary.
- Bucket: Have a bucket on hand to collect any excess water that may come out while flushing the lines.
- Bucket opener: If your drip irrigation system uses a bucket as a filter, a bucket opener will be needed to access and clean the filter.
- Bucket brush: Use a bucket brush to scrub and remove debris from the interior of the bucket filter.
- Bottle brush: A bottle brush is useful for cleaning the emitters or drippers.
- Pipe cleaner, small wire brush, or toothpick: These tools are ideal for removing any clogs or debris from the drip irrigation lines.
- Chemical cleaner (optional): If you choose to use a chemical cleaner, make sure to have an appropriate one on hand. Read and follow the instructions provided by the manufacturer.
- Replacement parts (if needed): Depending on the condition of your irrigation system, you may need to replace certain parts such as emitters or connectors. Have these replacements available in case they are necessary.
By gathering these tools and materials before starting the cleaning process, you’ll have everything you need to ensure a smooth and efficient operation. Now, let’s move on to the step-by-step instructions for cleaning your drip irrigation lines.
Step 1: Inspecting and Removing Clogs
The first step in cleaning your drip irrigation lines is to inspect and remove any clogs that might be obstructing the flow of water. Follow these steps:
- Turn off the water supply: Before inspecting the lines, make sure to turn off the water supply to the irrigation system. This will prevent any accidental leaks or spills while you work.
- Inspect the lines: Carefully examine the drip irrigation lines for any signs of clogs. Look for areas where the water flow is reduced or completely blocked. Pay close attention to the emitters and connectors, as they are common areas for clogs to occur.
- Remove visible debris: If you notice any visible debris or obstructions, such as leaves, twigs, or dirt, remove them using your hands or a pair of tweezers. Gently pull out the debris, being careful not to damage the emitters or connectors in the process.
- Use a pipe cleaner or toothpick: For smaller clogs that are not easily visible or accessible, use a pipe cleaner, small wire brush, or toothpick to carefully dislodge and remove the debris. Insert the tool into the emitter or connector and gently move it back and forth to loosen the clog.
- Flush the lines: Once you have removed any visible obstructions, it’s time to flush the lines to ensure all loosened debris is cleared. This will be covered in the next step.
Inspecting and removing clogs from your drip irrigation lines is essential for maintaining optimal performance. By taking the time to inspect and remove any obstructions, you can ensure that water flow is not impeded and that your plants receive the necessary moisture. Now that the clogs have been addressed, let’s move on to the next step: flushing the lines.
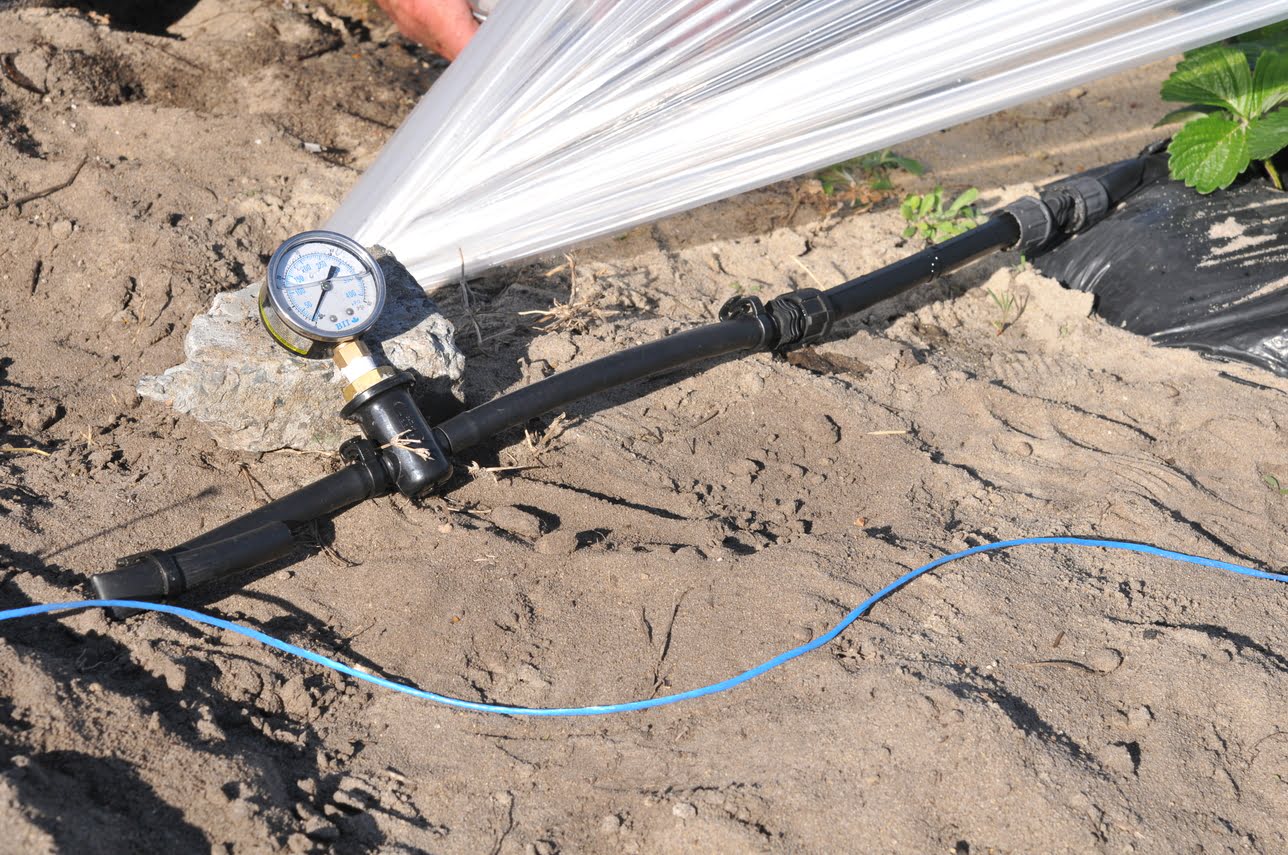
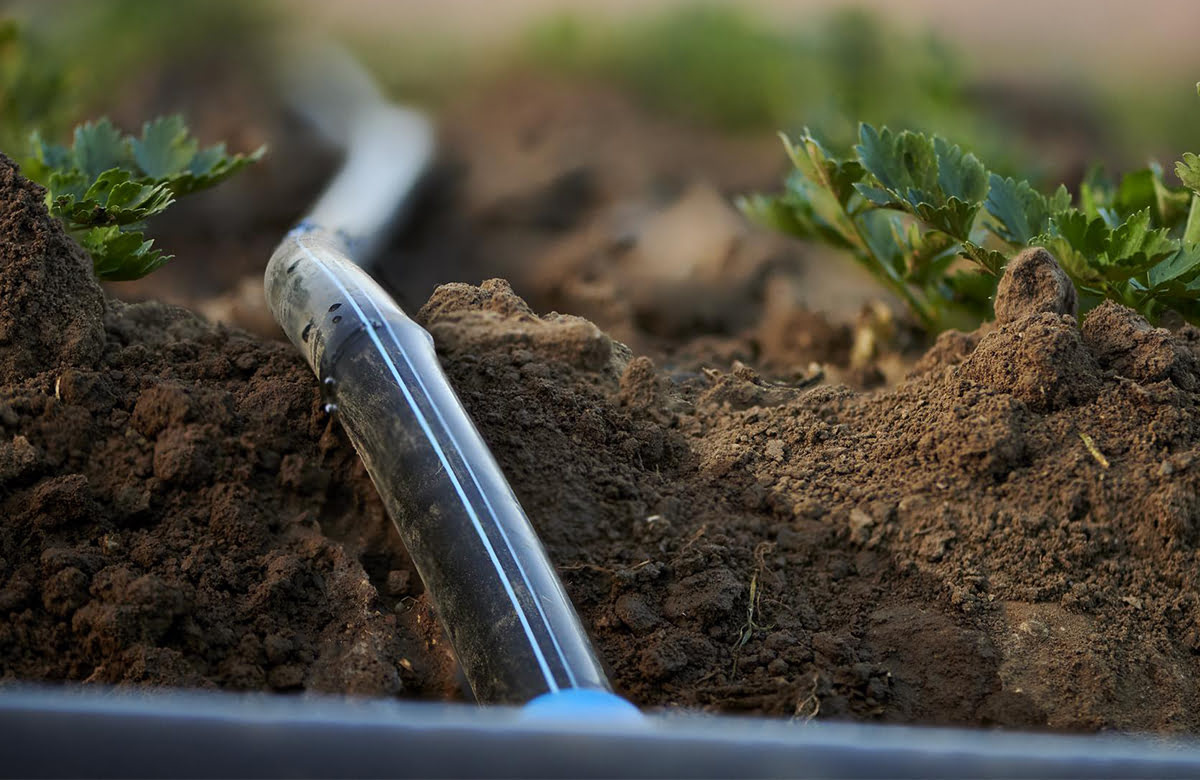
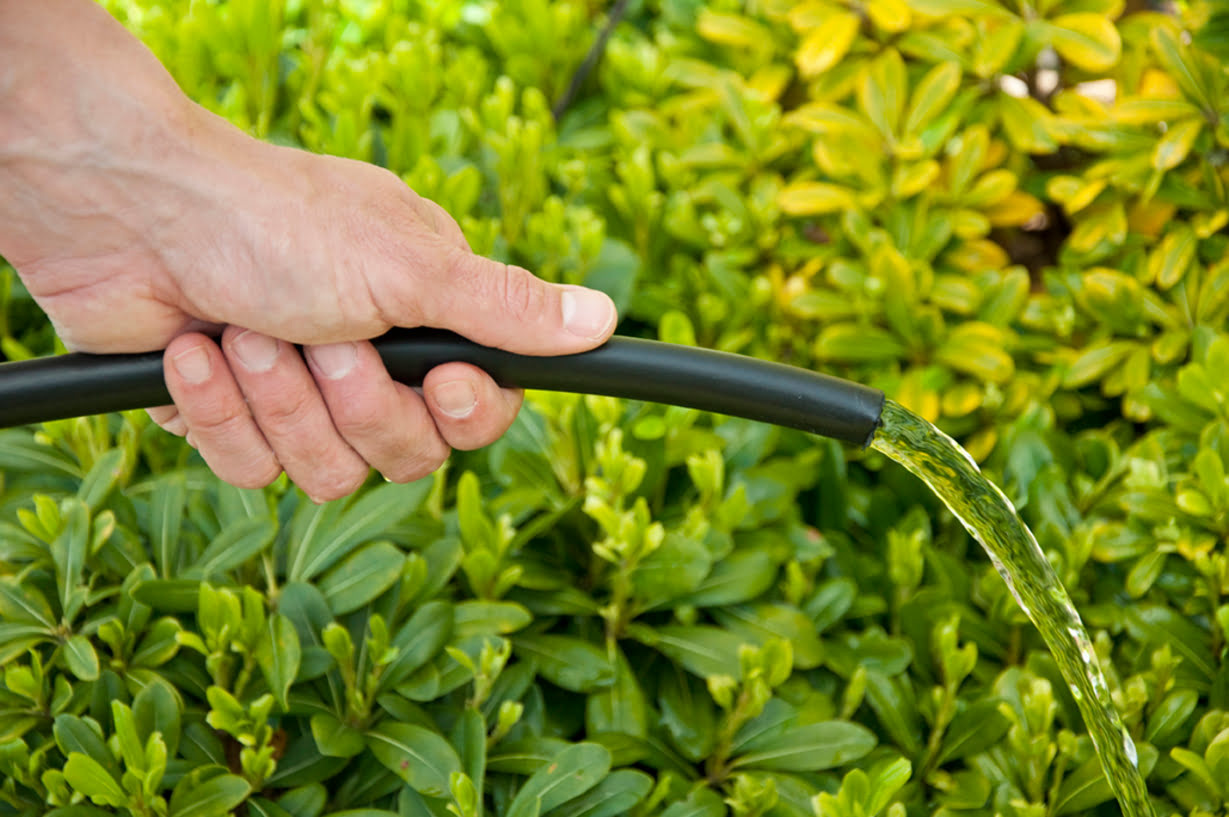
Step 2: Flushing the Lines
After inspecting and removing any clogs from your drip irrigation lines, it’s time to flush the lines to ensure all debris is cleared out. Follow these steps:
- Open the end cap: Locate the end cap of your drip irrigation lines and remove it. This is usually where the water exits the system. If you can’t find an end cap, disconnect the lines from the water source.
- Place a bucket underneath: Position a bucket underneath the open end of the lines to catch any debris or water that comes out during the flushing process.
- Turn on the water: Turn on the water supply to the drip irrigation system. Water will start flowing through the lines and into the bucket.
- Allow the water to flush out: Let the water run for a few minutes, allowing it to flush out any remaining debris from the lines. This will ensure that the lines are clean and free from obstructions.
- Check for clear water: After a few minutes of flushing, check the water coming out of the lines. If it appears clear, with no visible debris, this indicates a successful flushing process.
- Turn off the water: Once you are satisfied that the lines are clear of debris, turn off the water supply to the irrigation system.
Flushing the lines is a crucial step in cleaning your drip irrigation system. By removing any remaining debris, you can prevent future clogs and ensure optimal water flow to your plants. Now that the lines have been flushed, let’s move on to the next step: cleaning the emitters.
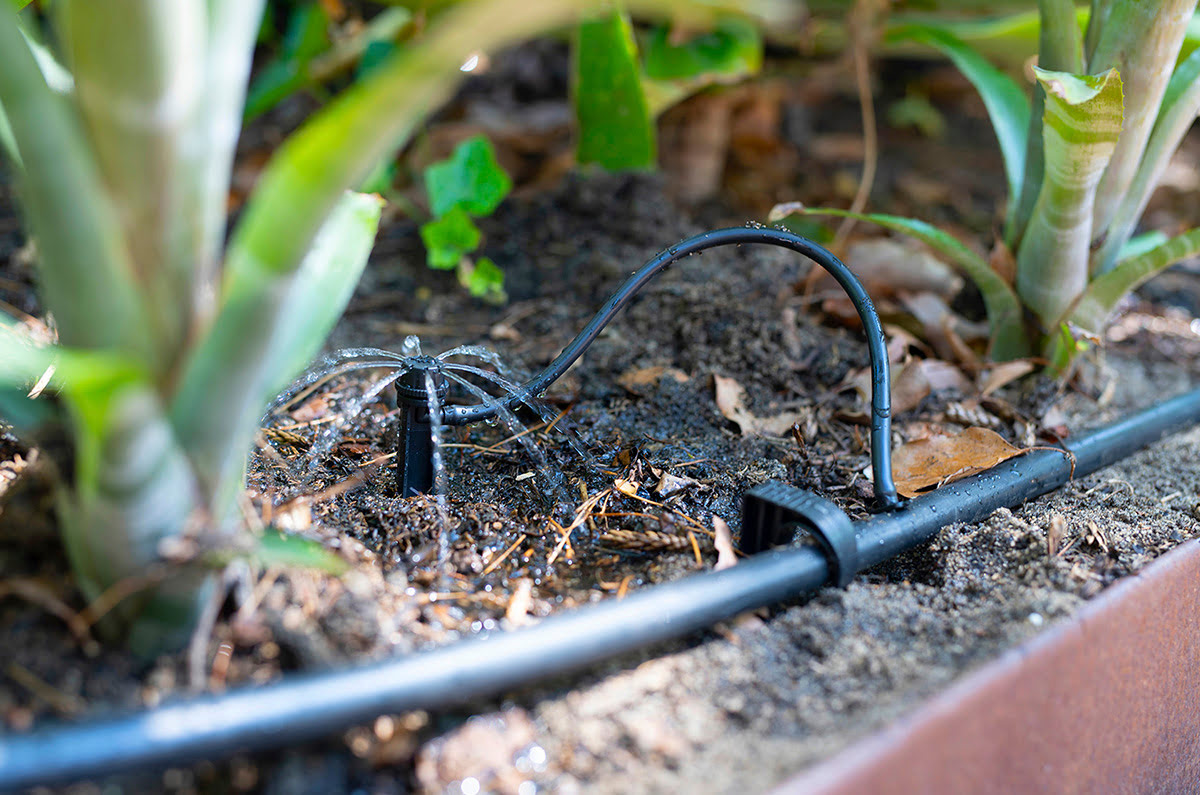
Step 3: Cleaning the Emitters
Once you have inspected the lines and flushed out any debris, it’s time to focus on cleaning the emitters. The emitters are responsible for delivering water to your plants, and it’s important to ensure they are clean and functioning properly. Follow these steps:
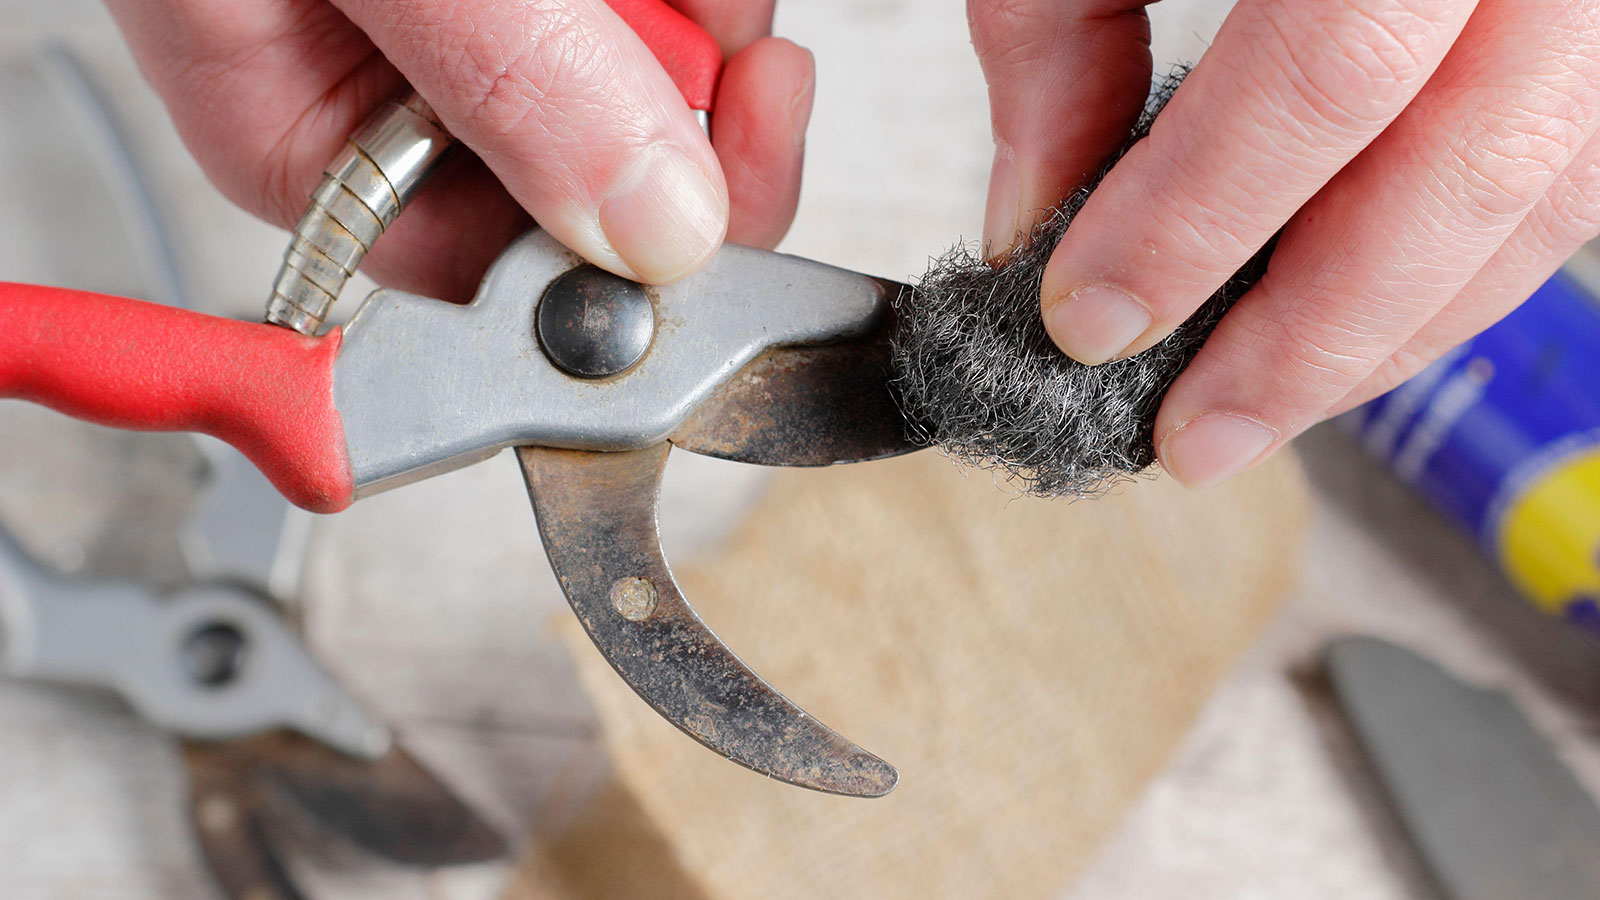
- Remove the emitters: Carefully remove the emitters from the drip irrigation lines. Depending on the type of system you have, this may involve unscrewing the emitters or simply pulling them out.
- Inspect the emitters: Examine each emitter for any signs of clogs or debris. Use a bottle brush or a small wire brush to gently scrub away any residue or build-up that may be present on the surface of the emitters.
- Soak the emitters: Fill a container or bucket with water and submerge the emitters in the water. Allow them to soak for a few minutes to loosen any stubborn debris or mineral deposits.
- Scrub the emitters: After soaking, use the bottle brush or a toothpick to clean the inside of the emitters. Gently scrub and remove any remaining debris or build-up.
- Rinse the emitters: Rinse the emitters thoroughly with clean water to ensure all debris and cleaning solution is removed.
- Reassemble the emitters: Once the emitters are clean and rinsed, reassemble them back into the drip irrigation lines, making sure they are securely placed.
Cleaning the emitters is essential for maintaining proper water flow and preventing clogs. By regularly cleaning and inspecting the emitters, you can ensure that each plant receives the necessary amount of water. Now that the emitters are clean and reassembled, let’s move on to the next step: using chemical cleaners (optional).
Step 4: Using Chemical Cleaners (Optional)
In some cases, regular cleaning methods may not be sufficient to remove stubborn clogs or mineral deposits from your drip irrigation lines. In such situations, you may consider using chemical cleaners to help dissolve and remove the build-up. Although optional, chemical cleaners can be effective in restoring the functionality of your system. Follow these steps:
- Choose the right cleaner: Select a chemical cleaner specifically formulated for drip irrigation systems. Read the instructions and ensure that the cleaner is compatible with your system and the materials used.
- Follow the manufacturer’s instructions: Carefully follow the instructions provided by the manufacturer for using the chemical cleaner. This includes the recommended amount to be used and the duration of application.
- Apply the cleaner: Apply the chemical cleaner to the drip irrigation lines as directed. This may involve pouring the cleaner into the lines or using a spray bottle to target specific areas. Take care to apply the cleaner only to the affected areas and avoid any contact with plants or soil.
- Allow the cleaner to work: Leave the chemical cleaner in the lines for the recommended duration. This will allow the cleaner to break down and dissolve any clogs or build-up.
- Flush the lines: After the specified period, flush the lines with clean water to remove the chemical cleaner and any loosened debris. Follow the flushing process mentioned in Step 2 to ensure thorough cleaning.
- Inspect and reassemble: Once the lines have been flushed, inspect them for any remaining debris. Reassemble the drip irrigation system and make sure all components are securely connected.
Note: It is important to exercise caution when using chemical cleaners. Read and follow the manufacturer’s instructions carefully, and be mindful of any safety precautions mentioned.
Using chemical cleaners can be an effective solution for stubborn clogs or mineral build-up in your drip irrigation lines. However, it is recommended to use them sparingly and only when necessary. Regular maintenance and cleaning using non-chemical methods should be the primary approach. With the lines cleaned and potentially chemically treated, it’s time to move on to the final step: reassembling and testing the system.
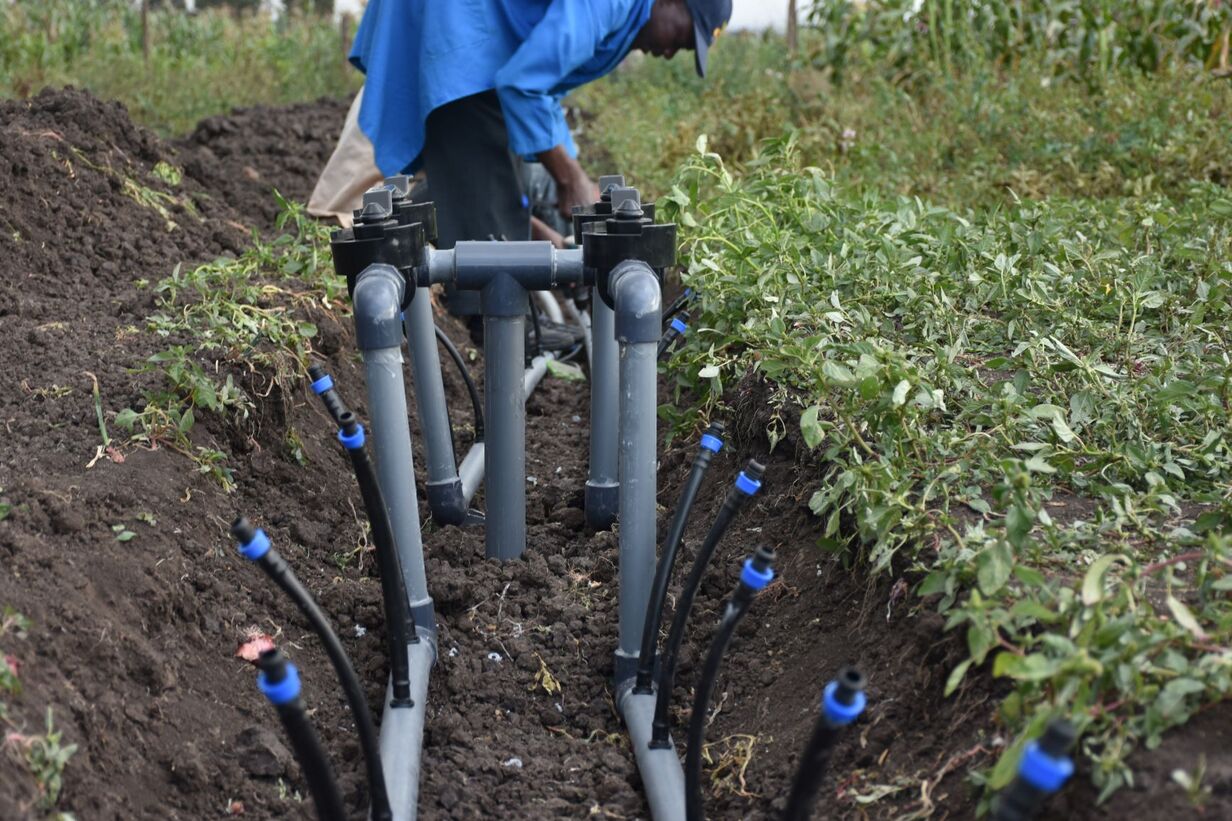
Step 5: Reassembling and Testing the System
After cleaning the drip irrigation lines and emitters, it’s time to reassemble the system and ensure everything is functioning properly. Follow these steps to complete the process:
- Reconnect the lines: If you had disconnected the lines during the cleaning process, reconnect them to the water source and ensure they are securely attached.
- Replace any damaged parts: If you encountered any damaged or faulty parts during the cleaning process, now is the time to replace them. This includes emitters, connectors, or any other components that are not working as intended.
- Turn on the water: Once everything is reassembled, turn on the water supply to the drip irrigation system. Monitor the flow of water to make sure it is consistent and that no leaks are observed.
- Inspect for leaks: Carefully inspect all connections and joints for any signs of leaks. If you notice any leaks, tighten the affected area or replace the faulty components.
- Test the emitters: Check each emitter to ensure they are delivering water at the desired rate. Adjust the flow if necessary using the appropriate controls on the emitters or connectors.
- Check overall system performance: Once the system is running, observe its overall performance. Ensure that each plant is receiving sufficient water and that all areas of your garden or landscape are well-irrigated.
- Make necessary adjustments: If you notice any areas that are not receiving adequate water or any other issues with the system, make necessary adjustments to ensure optimal performance.
By reassembling and testing the system, you are ensuring that your drip irrigation system is functioning efficiently and delivering the required water to your plants. Regularly monitoring and maintaining your system will help prevent clogs and ensure the health and vitality of your garden or landscape.
Now that you have successfully cleaned, reassembled, and tested your drip irrigation system, you can enjoy the benefits of a well-functioning irrigation system and watch your plants thrive. Remember to periodically inspect and clean your system to maintain its effectiveness. Happy gardening!
Conclusion:
Cleaning your drip irrigation lines is an essential maintenance task that ensures the efficient delivery of water and nutrients to your plants. By following the step-by-step process outlined in this article, you can effectively remove clogs, flush out debris, and clean the emitters, resulting in a well-functioning and effective irrigation system.
Inspecting and removing clogs from the drip irrigation lines is the first step in the cleaning process. Be thorough in your inspection and use appropriate tools to remove any visible debris or obstructions. Flushing the lines helps to clear out any remaining debris and restore optimal water flow. Cleaning the emitters ensures that water is efficiently and evenly distributed to your plants. Consider using chemical cleaners as a last resort to tackle stubborn clogs, but exercise caution and follow the manufacturer’s instructions.
Once the cleaning process is complete, reassembling the system and testing its performance is crucial. Check for leaks, ensure proper water flow from the emitters, and make any necessary adjustments to optimize the system’s functionality. Regular maintenance and cleaning will help prevent future clogs and ensure the health and vitality of your plants.
Remember to gather the necessary tools and materials before you begin, including gloves, safety glasses, screwdrivers, brushes, and chemical cleaners if needed. Take the time to inspect, clean, and test your drip irrigation system regularly to maximize its efficiency.
By investing a little time and effort into cleaning your drip irrigation lines, you can ensure that your plants receive the optimal water and nutrients they need for healthy growth. A well-maintained irrigation system will not only save you time and money but also contribute to a thriving and beautiful garden or landscape.