Home>Gardening Techniques>DIY Projects>How To Convert Sprinkler To Drip Irrigation
DIY Projects
How To Convert Sprinkler To Drip Irrigation
Modified: January 22, 2024
Learn how to easily convert your sprinkler system to a cost-effective drip irrigation system with these DIY projects. Save water and money while keeping your plants healthy.
(Many of the links in this article redirect to a specific reviewed product. Your purchase of these products through affiliate links helps to generate commission for Chicagolandgardening.com, at no extra cost. Learn more)
Table of Contents
- Introduction
- Benefits of Converting Sprinklers to Drip Irrigation
- Assessing Your Landscape
- Choosing the Right Drip Irrigation System
- Gathering the Necessary Tools and Materials
- Step-by-Step Conversion Process
- Installation and Placement of Drip Emitters
- Adjusting the Watering Schedule and Monitoring Your System
- Troubleshooting Common Issues
- Conclusion
Introduction
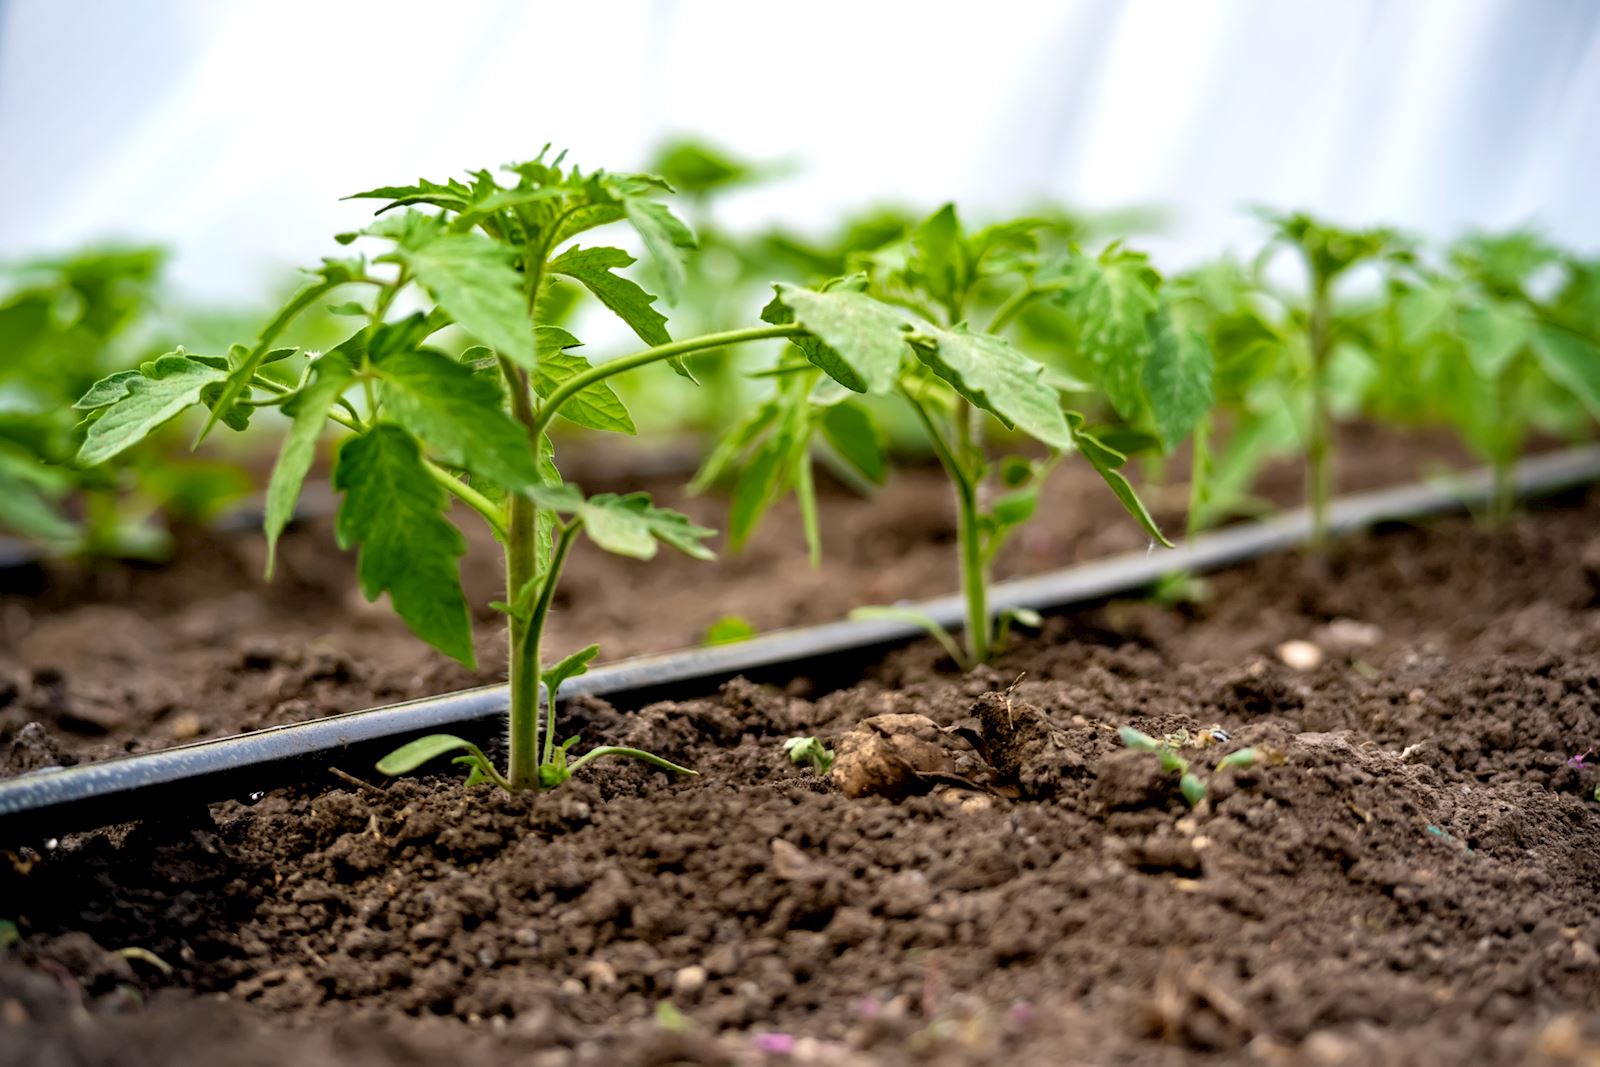
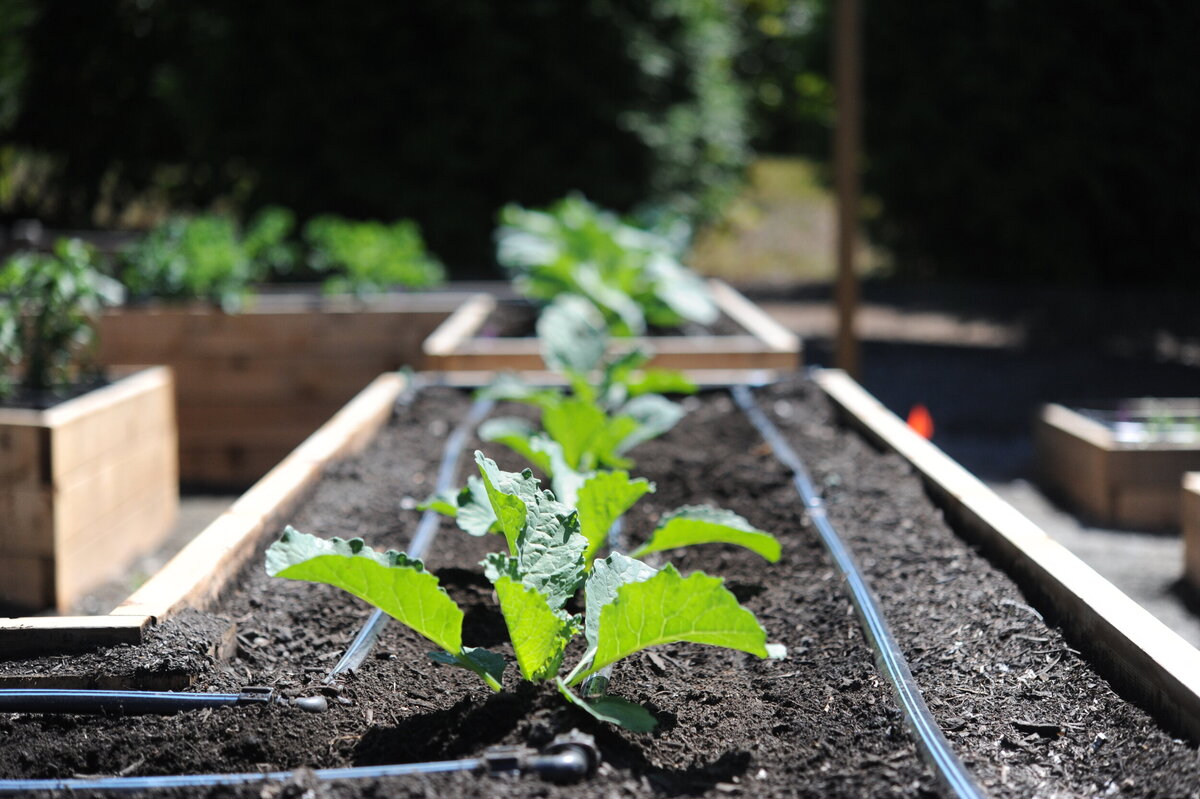
Welcome to the world of DIY projects! If you’re looking to enhance your landscape and conserve water, converting sprinklers to drip irrigation is a fantastic choice. Drip irrigation provides targeted, efficient watering to your plants, delivering water directly to their roots. This method not only saves water but also reduces weed growth and minimizes evaporation, resulting in healthier and more vibrant plants.
In this comprehensive guide, we’ll explore the benefits of converting to drip irrigation, walk you through the assessment process for your landscape, help you choose the right drip irrigation system, gather the necessary tools and materials, and provide a step-by-step process for the conversion. We’ll also discuss the installation and placement of drip emitters, adjusting the watering schedule, and troubleshooting common issues that may arise along the way.
By the end of this article, you’ll have all the knowledge and confidence needed to transform your sprinkler system into a highly effective drip irrigation system. So, roll up your sleeves and let’s get started!
Benefits of Converting Sprinklers to Drip Irrigation
Converting your sprinkler system to drip irrigation offers numerous advantages for both your plants and the environment. Let’s explore some of the key benefits:
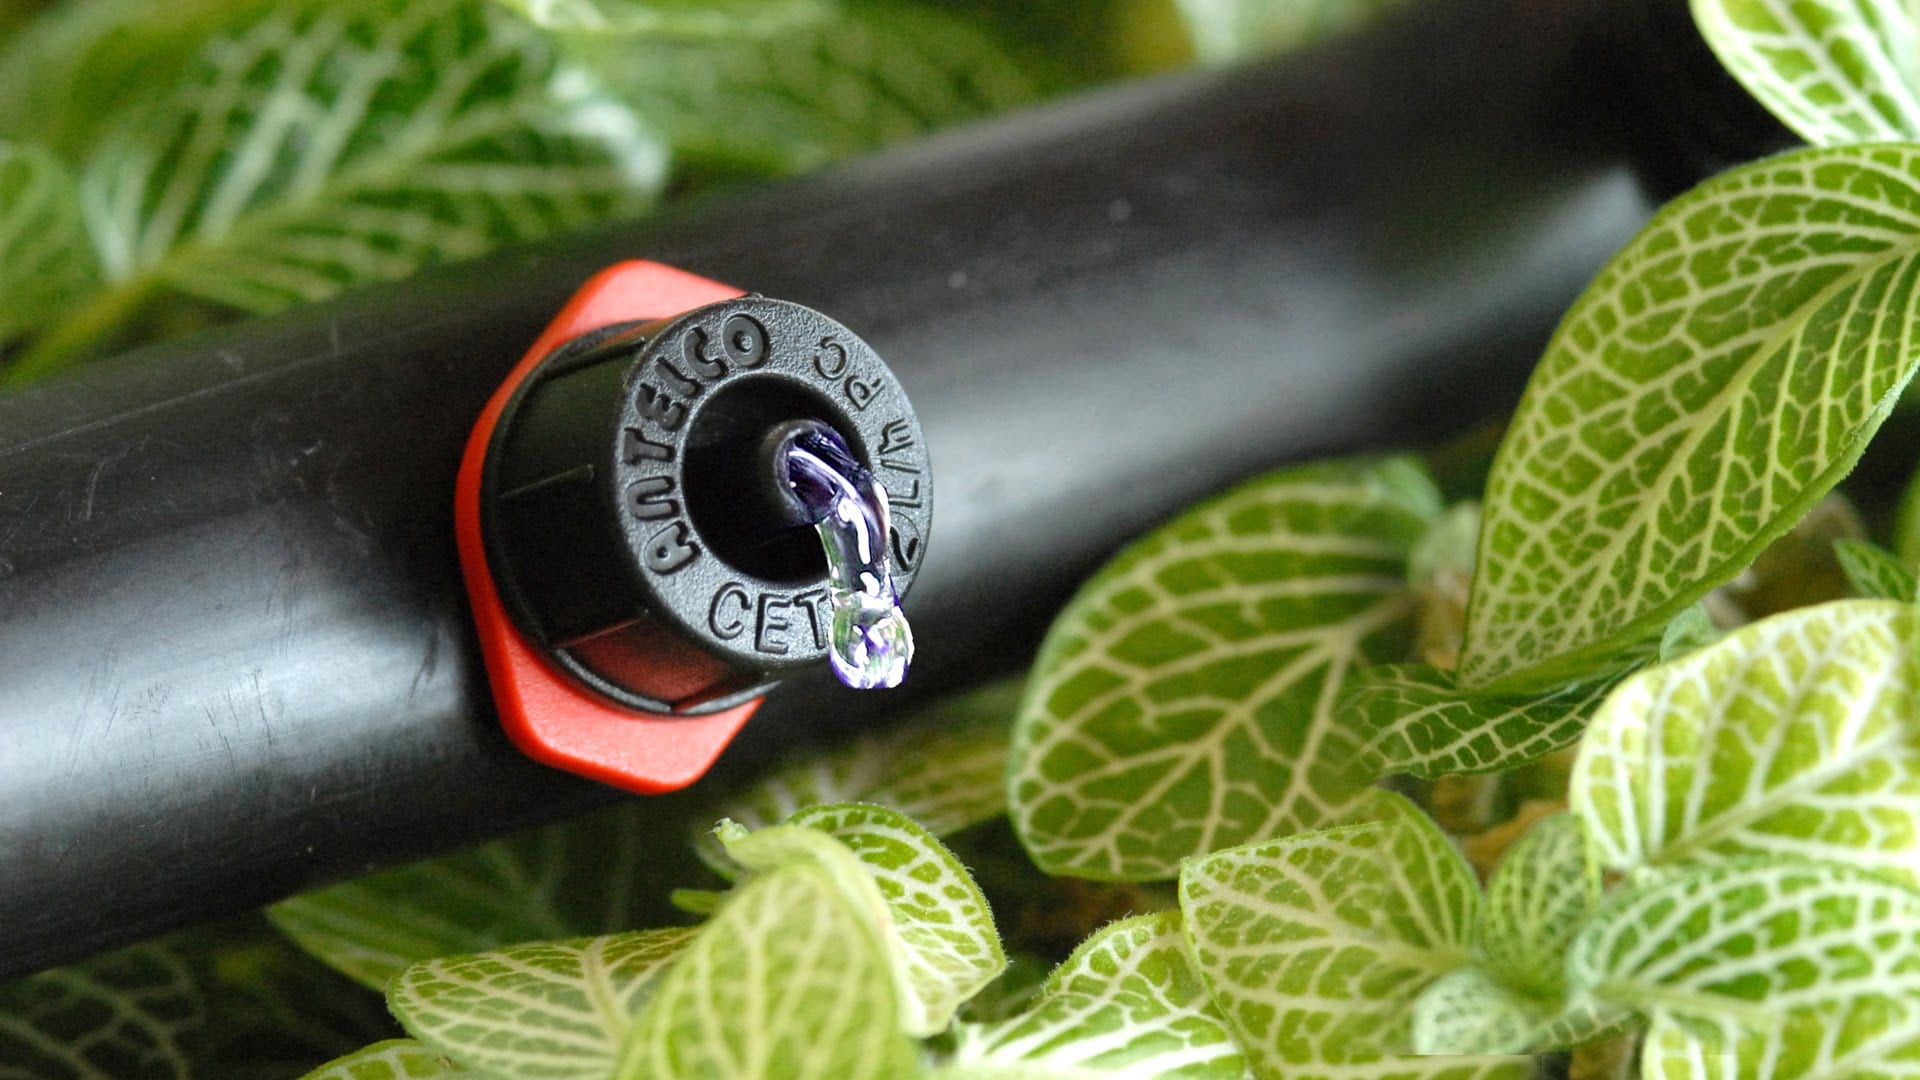
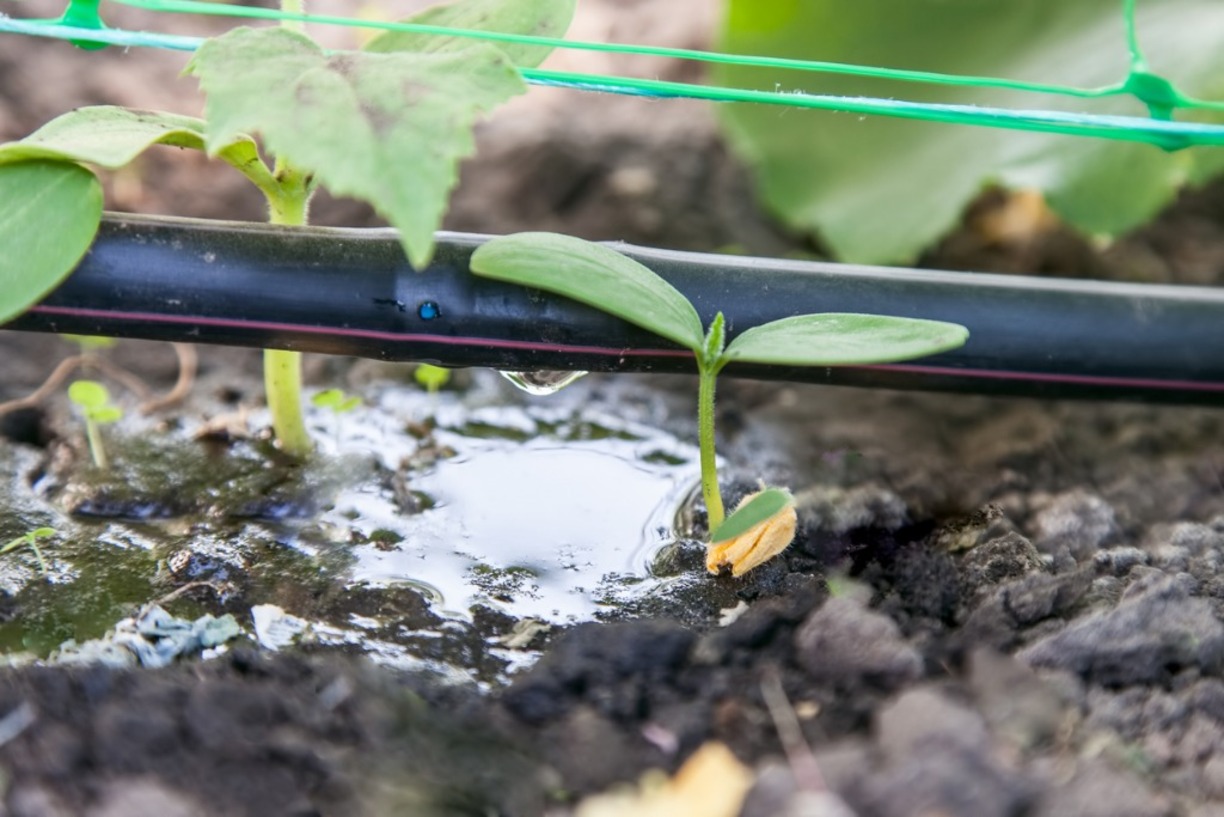
1. Water Efficiency: Drip irrigation is incredibly efficient when it comes to water usage. Unlike sprinklers that spray water into the air, drip emitters deliver water directly to the base of the plants. This targeted approach significantly reduces water waste through evaporation and runoff.
2. Reduced Weed Growth: By delivering water directly to the root zone of plants, drip irrigation minimizes water exposure to weeds. This helps suppress weed growth, saving you time and effort spent on weed control.
3. Improved Plant Health: Drip irrigation promotes healthier plant growth by providing consistent moisture to the roots. This reduces the risk of overwatering or underwatering, which can lead to stressed or weak plants. With drip irrigation, your plants will thrive and look their best.
4. Prevents Soil Erosion: Unlike sprinklers, which can create runoff, drip irrigation slowly and evenly applies water directly to the soil. This prevents soil erosion and allows the water to penetrate deeply, encouraging strong root development.
5. Customizable Watering: Drip irrigation systems offer flexibility in watering schedules and amounts. You can easily adjust the flow rate and duration, ensuring that each plant receives the appropriate amount of water based on its specific needs.
6. Conservation of Water: As water scarcity becomes a growing concern, drip irrigation is a responsible choice for conserving water. It can reduce water usage by up to 50% compared to traditional sprinkler systems, making it an eco-friendly option for your landscape.
7. Cost Savings: While the initial investment in a drip irrigation system may be higher than traditional sprinklers, the long-term cost savings are significant. The reduced water usage and lower maintenance requirements can lead to lower water bills and fewer repairs over time.
By converting your sprinklers to drip irrigation, you can enjoy these benefits and make a positive impact on the environment. Now that we understand the advantages, let’s move on to assessing your landscape to determine the best approach for conversion.
Assessing Your Landscape
Before diving into the conversion process, it’s important to assess your landscape to determine the specific needs of your plants and the layout of your existing sprinkler system. Here are some key factors to consider during this assessment:
1. Plant Types: Take note of the different types of plants in your landscape, as their water requirements may vary. Some plants may prefer drier conditions, while others may require more frequent watering. Understanding the water needs of your plants will help you determine the appropriate number and placement of drip emitters.
2. Plant Locations: Identify the location of your plants relative to your current sprinkler system. Are there areas that are consistently overwatered or underwatered? This information will guide you in designing an efficient drip irrigation layout that delivers water precisely where it’s needed.
3. Water Pressure: Measure the water pressure of your existing sprinkler system. Drip irrigation systems typically require lower water pressure than traditional sprinklers. If your water pressure is too high, consider installing a pressure regulator to ensure optimal performance of the drip emitters.
4. Water Source: Determine the source of water for your drip irrigation system. This can be your existing water supply line or a dedicated line specifically for your drip system. Make sure you have easy access to the water source and consider any necessary modifications to accommodate the new system.
5. Consideration of Slopes: If your landscape has slopes or uneven terrain, it’s important to plan accordingly. Drip irrigation systems can be customized to accommodate slopes and prevent water runoff. Take note of any areas where water may accumulate or drain too quickly and adjust your emitter placement accordingly.
By thoroughly assessing your landscape, you’ll have a solid understanding of its unique characteristics and be better equipped to design an efficient and effective drip irrigation system. With this knowledge in hand, let’s move on to selecting the right drip irrigation system for your needs.
Choosing the Right Drip Irrigation System
When it comes to choosing the right drip irrigation system for your landscape, there are several factors to consider. Here’s a step-by-step guide to help you make an informed decision:
1. System Type: There are two main types of drip irrigation systems: point source and inline. Point source systems deliver water through individual emitters placed near each plant, while inline systems have emitters integrated into the main tubing line. Consider the layout of your landscape and the watering needs of your plants to determine which system type is best suited for you.
2. Water Flow Rate: The water flow rate of a drip irrigation system determines how much water is delivered to your plants per hour. Depending on your plant requirements, choose a system that allows you to adjust the flow rate accordingly. Take note of any specific water requirements for certain plants and ensure the system you select can accommodate those needs.
3. Emitter Spacing: The spacing between drip emitters plays a crucial role in ensuring uniform watering. Some plants may require closer spacing, while others can do well with wider intervals between emitters. Look for a drip irrigation system that allows you to customize the emitter spacing based on your landscape’s needs.
4. Filter and Pressure Regulator: It’s important to choose a drip irrigation system that includes a built-in filter and pressure regulator. The filter helps prevent clogging of the emitters, while the pressure regulator ensures a consistent water pressure throughout the system. This helps maintain optimal performance and prolongs the lifespan of your drip irrigation system.
5. System Expandability: Consider the future growth of your landscape and whether you may need to expand the drip irrigation system. Choose a system that allows for easy expansion, with additional tubing and fittings readily available. This will save you time and effort if you decide to add more plants or extend the system in the future.
By considering these factors, you’ll be able to select a drip irrigation system that meets the unique needs of your landscape. Once you’ve chosen the system, it’s time to gather the necessary tools and materials for the conversion process. Let’s move on to the next section to learn about the essential items you’ll need.
Gathering the Necessary Tools and Materials
Before you can begin converting your sprinkler system to drip irrigation, it’s essential to gather all the necessary tools and materials. Here’s a checklist to help you get started:
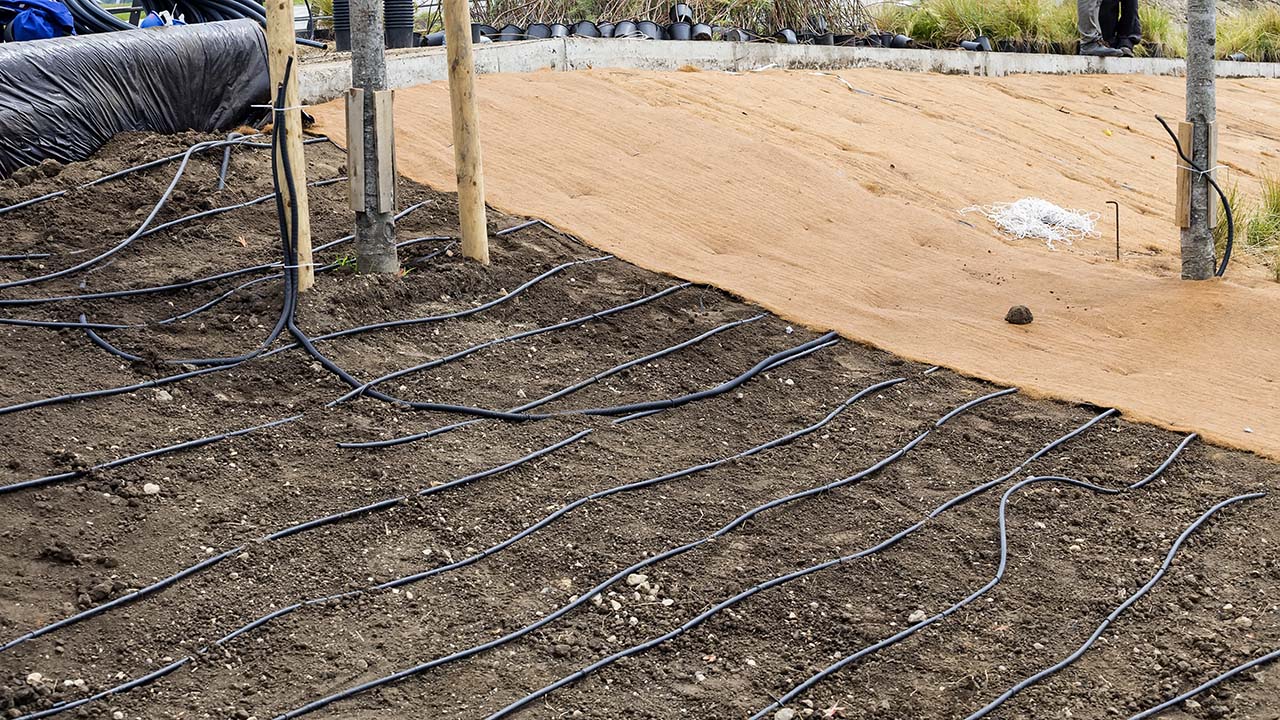
1. Tubing: You’ll need to purchase enough drip irrigation tubing to reach all areas of your landscape. Measure the distance between your water source and the farthest plant to determine the length of tubing needed. Choose tubing with a thickness that suits your landscape’s needs and ensure it is UV-resistant for long-lasting performance.
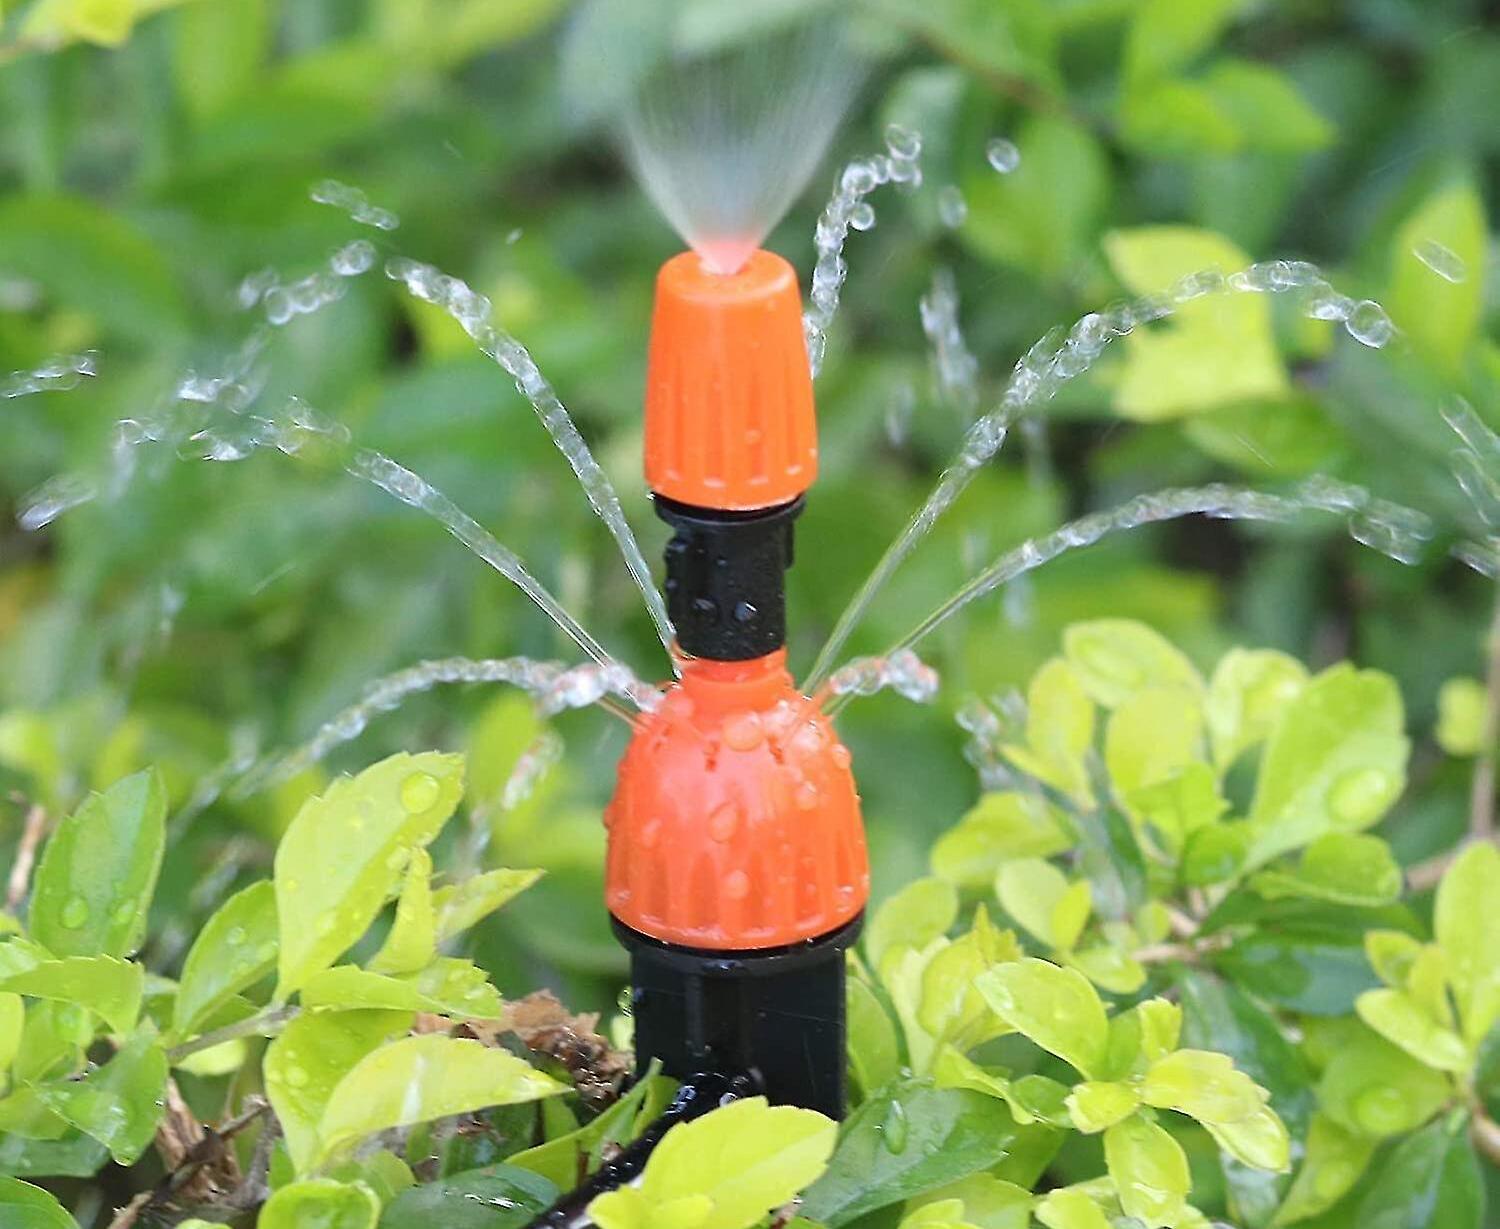
2. Emitters: Select drip emitters based on the water requirements of your plants. Different types of emitters are available, including drippers, micro-sprayers, and soaker hoses. Consider the flow rate and coverage area of each emitter to ensure it matches your plant’s needs.
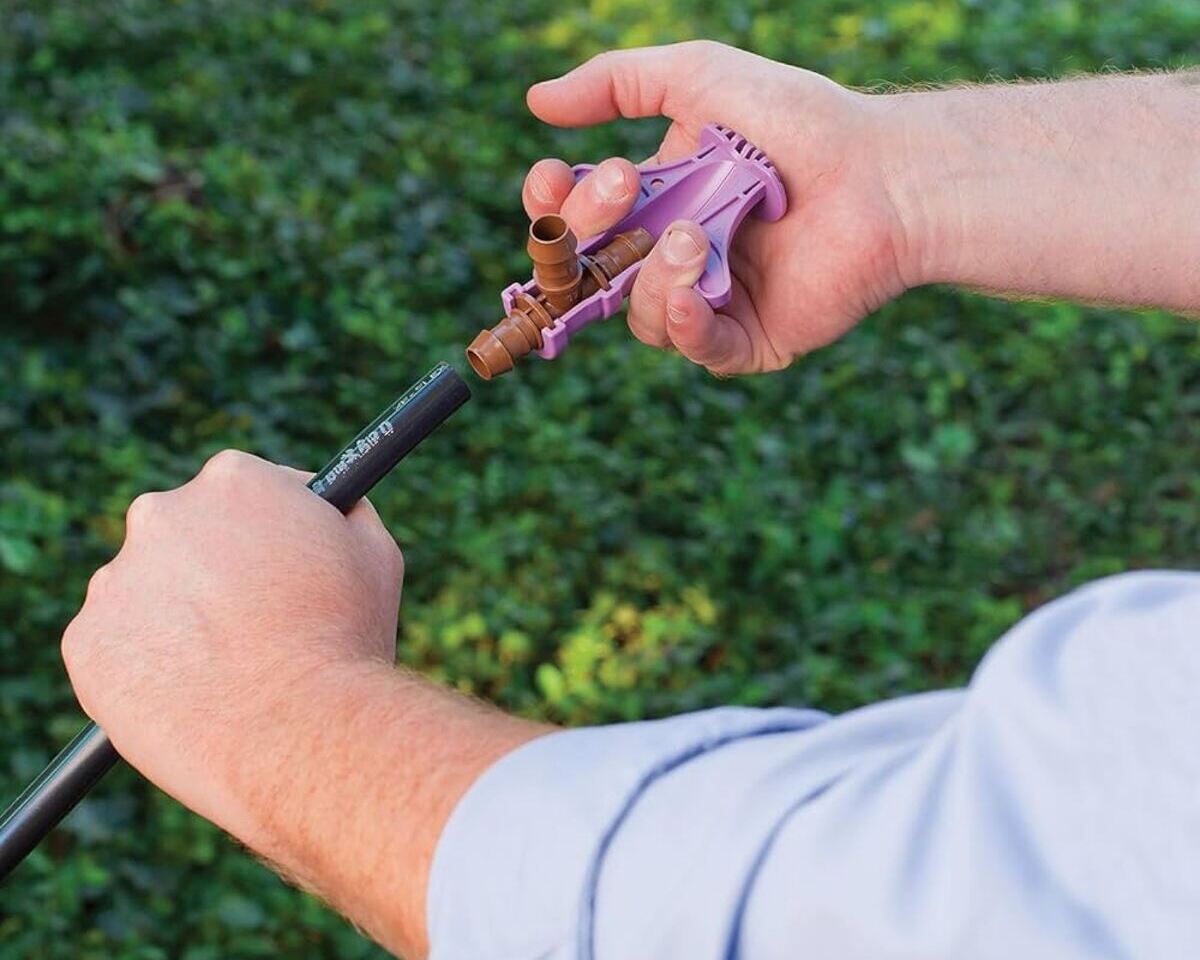
3. Connectors and Fittings: Purchase connectors and fittings that are compatible with the diameter of your tubing. These will allow you to join different sections of tubing, create corners, and connect the tubing to the water source. Make sure to also get end caps to seal off the tubing.
4. Filter and Pressure Regulator: If your chosen drip irrigation system does not come with a built-in filter and pressure regulator, you’ll need to purchase these separately. The filter helps prevent clogging of the emitters, while the pressure regulator ensures a consistent water pressure for optimal performance.
5. Tools: You’ll need a few basic tools for the conversion process. These may include a utility knife to cut the tubing, a hole punch or punch tool to create holes for the emitters, and a tape measure to ensure precise measurements.
6. Additional Accessories: Depending on your landscape’s needs, you may also require additional accessories such as stakes or clips to secure the tubing in place, a timer to automate the watering schedule, and a rain sensor to prevent unnecessary watering during rainfall.
Once you have gathered all the necessary tools and materials, you’ll be well-prepared to start the conversion process. In the next section, we’ll guide you through the step-by-step process of converting your sprinkler system to drip irrigation. Let’s get started!
Step-by-Step Conversion Process
Now that you have all the necessary tools and materials, it’s time to begin the conversion process from sprinklers to drip irrigation. Follow this step-by-step guide to ensure a successful transition:
1. Turn off the Water: Shut off the water supply to your sprinkler system to ensure a safe and dry working environment.
2. Remove the Sprinkler Heads: Unscrew and remove the sprinkler heads from your existing sprinkler system. Use a wrench if necessary to loosen stubborn sprinkler heads.
3. Connect the Tubing: Connect the drip irrigation tubing to your water source using the appropriate connectors and fittings. Ensure a secure and watertight connection.
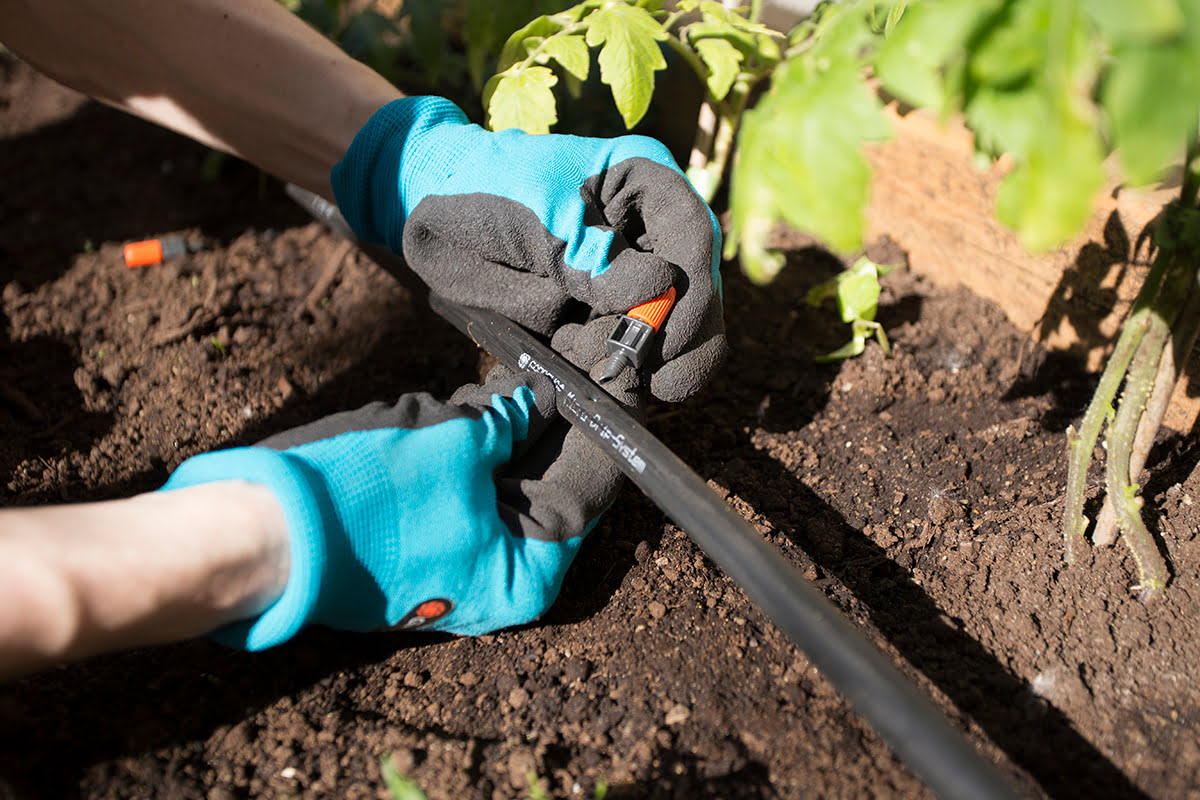
4. Create Holes for Emitters: Using a hole punch or punch tool, create holes in the tubing at the desired locations for the drip emitters. Place the holes near the base of each plant, ensuring proper water delivery.
5. Install Emitters: Insert the drip emitters into the holes created in the tubing. Make sure they are securely attached and positioned correctly for optimal water distribution.
6. Secure the Tubing: Use stakes or clips to secure the drip irrigation tubing in place, keeping it elevated to avoid damage from foot traffic or lawnmowers.
7. Flush the System: Before turning the water back on, flush the system by running the water for a few minutes. This will clear any debris or sediment that may have accumulated in the tubing.
8. Adjust the Watering Schedule: Set the timer, if you have one, to meet the watering needs of your plants. Consider factors such as plant type, sun exposure, and soil moisture levels when determining the duration and frequency of watering.
9. Monitor and Adjust: Regularly monitor your drip irrigation system to ensure proper function. Adjust the flow rate, emitter positioning, and watering schedule as needed to meet the changing needs of your landscape.
By following these step-by-step instructions, you will successfully convert your sprinkler system to a highly efficient drip irrigation system. In the next section, we’ll explore the installation and placement of drip emitters to maximize the effectiveness of your new system.
Installation and Placement of Drip Emitters
Installing and properly placing the drip emitters is a crucial step in ensuring the effectiveness of your new drip irrigation system. Follow these guidelines for optimal installation and emitter placement:
1. Consider Plant Watering Needs: Take into account the water requirements of different plants in your landscape. Some plants may require more water than others, so adjust the number and flow rate of emitters accordingly.
2. Position Emitters near the Base: Place the drip emitters near the base of each plant. This ensures that water is delivered directly to the root zone, where it’s most needed. Avoid placing emitters on leaves or stems, as this can lead to disease or fungal issues.
3. Spacing: Determine the spacing between emitters based on the water needs of your plants. For smaller plants, such as flowers or herbs, aim for 6-12 inches between emitters. Larger plants, like shrubs or trees, may require emitters spaced 12-24 inches apart.
4. Slope Considerations: If your landscape has slopes, adjust emitter placement accordingly. Emitters should be positioned on the downhill side of the plant to ensure water reaches the roots. You can also use stakes or clips to secure the tubing on slopes to prevent movement.
5. Avoid Overlapping: Ensure there is no overlapping coverage between emitters. This can lead to excess water accumulation and potential plant damage. Adjust the spacing or flow rate of emitters to create even coverage without overlap.
6. Install Emitter Caps: Place emitter caps or plugs on unused emitter holes to prevent water wastage and maintain the integrity of the system. This is especially important if you have plants that don’t require regular watering, such as cacti or succulents.
7. Monitor Water Distribution: Regularly check your plants and soil to ensure proper water distribution. Adjust the emitter positioning or flow rate if you notice any signs of overwatering or underwatering, such as wilting or waterlogged soil.
By following these installation guidelines and effectively placing the drip emitters, you’ll provide efficient and targeted watering to your plants, leading to healthier growth and water conservation. In the next section, we’ll discuss adjusting the watering schedule and monitoring your drip irrigation system for optimal results.
Adjusting the Watering Schedule and Monitoring Your System
After installing your drip irrigation system, it’s essential to adjust the watering schedule and regularly monitor its performance. Here are some tips for ensuring optimal watering and efficient operation:
1. Observe Plant Needs: Monitor your plants closely to determine if they are receiving the right amount of water. Look for signs of overwatering or underwatering, such as wilting or yellowing leaves. Adjust the watering schedule accordingly to meet the specific needs of your plants.
2. Consider Environmental Factors: Take into account external factors that can impact your watering schedule. Consider the weather conditions, including temperature and rainfall, as well as the season. You may need to adjust the watering frequency and duration during hotter or colder months.
3. Use a Timer: Consider installing a timer to automate the watering schedule. This ensures consistent and regular watering, even when you’re not available to manually operate the system. Set the timer based on your plant’s needs and the local climate.
4. Perform Regular Inspections: Regularly inspect your drip irrigation system for any signs of leaks, clogs, or damage. Check the emitters, tubing, and connectors for proper function. Fix any issues immediately to maintain the efficiency of the system.
5. Monitor Soil Moisture: Check the moisture level of the soil regularly to ensure adequate hydration for your plants. Dig a small hole near the root zone and feel the soil. If it feels dry, increase the watering duration or frequency. If it feels excessively wet, reduce the watering to prevent waterlogging.
6. Periodically Flush the System: Flush the system periodically to clear out any debris or sediment that may accumulate over time. This helps maintain the proper functioning of the emitters and prevents clogging.
7. Adjust as Needed: As your landscape evolves and plants grow, you may need to make adjustments to the system. Consider moving or adding emitters, adjusting the flow rate, or changing the spacing to accommodate the changing needs of your plants.
By closely monitoring your drip irrigation system and making necessary adjustments, you’ll ensure optimal water delivery to your plants, promote their health, and conserve water in the process. In the next section, we’ll discuss some common issues that may arise and provide troubleshooting tips to address them.
Troubleshooting Common Issues
While drip irrigation systems are generally reliable, there are a few common issues that may arise. Here are some troubleshooting tips to help you address these issues:
1. Clogged Emitters: If you notice reduced or no water flow from certain emitters, it may be due to clogging. Remove the emitter and clean it by soaking it in warm water or using a small brush to clear any debris. If the clogging persists, consider installing a filter to prevent future issues.
2. Uneven Water Distribution: If you notice uneven water distribution among the emitters, check for obstructions in the tubing or emitters. Clear any debris or adjust the emitter positions to ensure balanced water distribution.
3. Leaks: Inspect the connections and tubing for any leaks. Tighten loose fittings or replace damaged parts as needed. Use Teflon tape or pipe sealant to ensure a watertight seal.
4. Low Water Pressure: If you’re experiencing low water pressure in your drip irrigation system, check for any obstructions or kinks in the tubing. Additionally, check the pressure regulator and adjust it to the appropriate setting.
5. System Not Turning On or Off: If your drip irrigation system is not turning on or off as scheduled, check the timer or controller for any programming errors. Ensure that the power source is connected properly and that the timer is functioning correctly.
6. Sunlight Damage: Over time, prolonged exposure to sunlight can degrade the tubing. Check for any cracks or deterioration and replace damaged sections to maintain the integrity of the system.
7. Plant Overgrowth: As plants grow, they may obstruct or block the flow of water from emitters. Regularly trim and maintain plant growth to ensure proper water distribution.
By troubleshooting these common issues and addressing them promptly, you’ll keep your drip irrigation system running smoothly and efficiently. Remember to regularly inspect and maintain your system to prevent problems before they occur.
Conclusion
Congratulations on successfully converting your sprinkler system to drip irrigation! By making this switch, you have taken a significant step towards efficient and sustainable watering practices for your landscape. Drip irrigation provides targeted water delivery, conserves water, reduces weed growth, and promotes healthier plant growth. It’s a win-win for both your plants and the environment.
Throughout this article, we have discussed the benefits of converting to drip irrigation, the importance of assessing your landscape, choosing the right drip irrigation system, gathering the necessary tools and materials, the step-by-step conversion process, installing and placing drip emitters, adjusting the watering schedule, and monitoring and troubleshooting common issues.
Remember, proper installation, placement of emitters, and consistent monitoring are key to ensuring the effectiveness of your drip irrigation system. Regularly assess the water needs of your plants, adjust the watering schedule according to environmental conditions, and address any issues promptly to maintain optimal performance.
Now that you’re equipped with the knowledge and guidance to successfully implement a drip irrigation system, enjoy the benefits of water efficiency, healthier plants, and lower maintenance requirements. Not only will you save water and money, but you’ll also contribute to a greener and more sustainable future.
So go ahead, put your newfound DIY skills to use and reap the rewards of a beautiful and water-wise landscape with your newly converted drip irrigation system. Happy gardening!