Home>Gardening Tips and Tricks>Problem Solving>How To Replace An Irrigation Sprinkler Head
Problem Solving
How To Replace An Irrigation Sprinkler Head
Modified: January 22, 2024
Solve your irrigation problems with our step-by-step guide on how to replace an irrigation sprinkler head. Find out how to fix your sprinkler system efficiently and easily.
(Many of the links in this article redirect to a specific reviewed product. Your purchase of these products through affiliate links helps to generate commission for Chicagolandgardening.com, at no extra cost. Learn more)
Table of Contents
Introduction
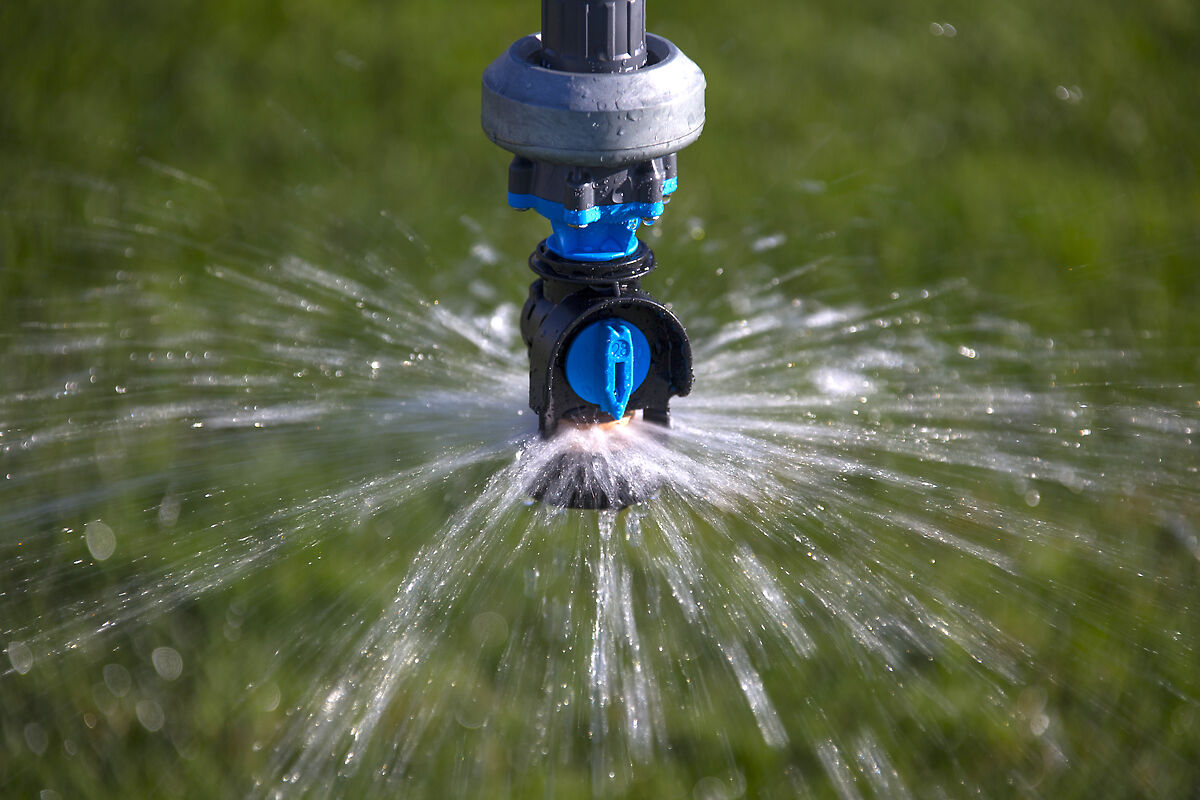
When it comes to maintaining a lush and healthy lawn, a properly functioning irrigation system is essential. One of the key components of an irrigation system is the sprinkler head. Over time, sprinkler heads can become damaged, clogged, or simply wear out, leading to uneven watering and potential damage to your lawn or plants. Knowing how to replace a sprinkler head is a valuable skill that can save you time and money.
In this step-by-step guide, we will walk you through the process of replacing an irrigation sprinkler head. Whether you’re a seasoned DIY enthusiast or a beginner tackling your first home improvement project, you’ll find this guide easy to follow and comprehensive.
Before we dive into the steps, it’s important to mention that safety should always be your top priority. Make sure to wear protective goggles and gloves when working on your irrigation system. Additionally, before starting any work, be sure to consult the user’s manual for your specific sprinkler system for any manufacturer-specific instructions or guidelines.
Now that we have the safety precautions out of the way, let’s get started on replacing that old sprinkler head!
Step 1: Gather necessary materials
Before you begin the process of replacing your sprinkler head, it’s important to gather all the necessary materials. Having everything on hand will make the process smoother and more efficient.
Here are the materials you’ll need:
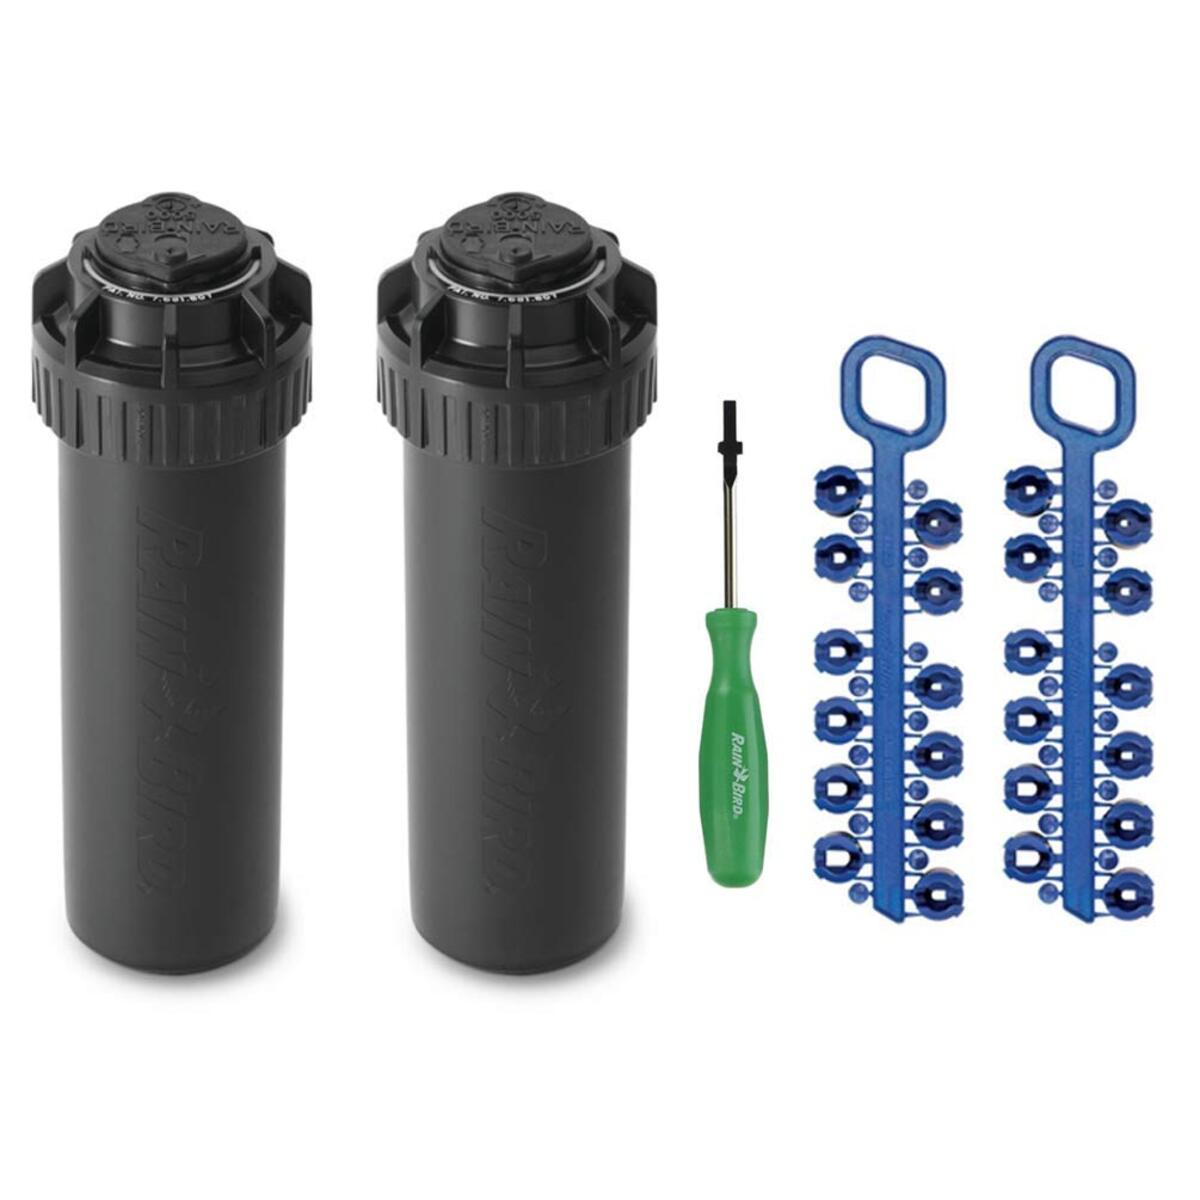
- A new sprinkler head: Make sure to choose a replacement head that is compatible with your existing irrigation system. Consider factors such as spray pattern, distance, and flow rate.
- A pair of pliers or an adjustable wrench: This will help you remove the old sprinkler head.
- Thread seal tape: Also known as plumber’s tape, this tape will be used to create a watertight seal between the new sprinkler head and the irrigation system.
- A shovel or hand trowel: You may need these tools to dig around the sprinkler head if it’s buried or covered with grass.
- A bucket or towel: Use this to catch any water that may come out of the irrigation system during the process.
Once you have gathered all the necessary materials, double-check to ensure you have everything you need. It’s always better to have everything ready before you start rather than having to pause midway to search for missing tools or supplies.
Now that you are equipped with the necessary materials, let’s move on to the next step: turning off the water supply.
Step 2: Turn off the water supply
Before you begin working on your irrigation system, it’s crucial to turn off the water supply. This will prevent any accidental water flow or pressure while you are replacing the sprinkler head.
Follow these steps to turn off the water supply:
- Locate the main water valve: Depending on the setup of your irrigation system, the main water valve could be located indoors or outdoors. Look for a valve near where the water enters your property.
- Turn off the main water valve: Use a wrench or pliers to turn the valve clockwise until it is fully closed. This will stop the water flow to your irrigation system.
Once you’ve closed the main water valve, it’s a good idea to release any built-up water pressure in the system. To do this, simply turn on a faucet or open a bleed valve in your irrigation system. This will allow any remaining water to drain out.
Turning off the water supply not only prevents any accidental water flow but also reduces the risk of encountering any unexpected water pressure during the removal and installation of the sprinkler head.
With the water supply turned off and any remaining water drained, you’re ready to move on to the next step: removing the old sprinkler head.
Step 3: Remove the old sprinkler head
Now that the water supply is turned off, it’s time to remove the old sprinkler head. This step requires careful handling to avoid causing any damage to the surrounding area or the irrigation system itself.
Follow these steps to remove the old sprinkler head:
- Locate the old sprinkler head: Depending on your irrigation system, the sprinkler head may be above ground, partially buried, or covered by grass. Use a shovel or hand trowel to carefully remove any dirt or grass around the sprinkler head.
- Inspect the old sprinkler head: Look for any screws or locking mechanisms that are connecting the sprinkler head to the riser. Use pliers or an adjustable wrench to gently loosen and remove any fasteners holding the sprinkler head in place. Be cautious not to damage the riser or any other components.
- Detach the old sprinkler head: Once the fasteners are removed, grasp the sprinkler head firmly and pull it straight up. If the head is stuck or difficult to remove, gently wiggle it back and forth while pulling upward until it comes loose.
As you remove the old sprinkler head, be mindful of any water that may still be in the system. Use a bucket or towel to catch any water that may escape during the removal process.
Once you have successfully removed the old sprinkler head, inspect the riser for any damage or debris. Clean the area around the riser to ensure a smooth installation of the new sprinkler head.
With the old sprinkler head removed, it’s time to move on to the next step: preparing the new sprinkler head.
Step 4: Prepare the new sprinkler head
With the old sprinkler head removed, it’s time to prepare the new sprinkler head for installation. This step involves ensuring that the new sprinkler head is compatible with your irrigation system and making any necessary adjustments or modifications.
Follow these steps to prepare the new sprinkler head:
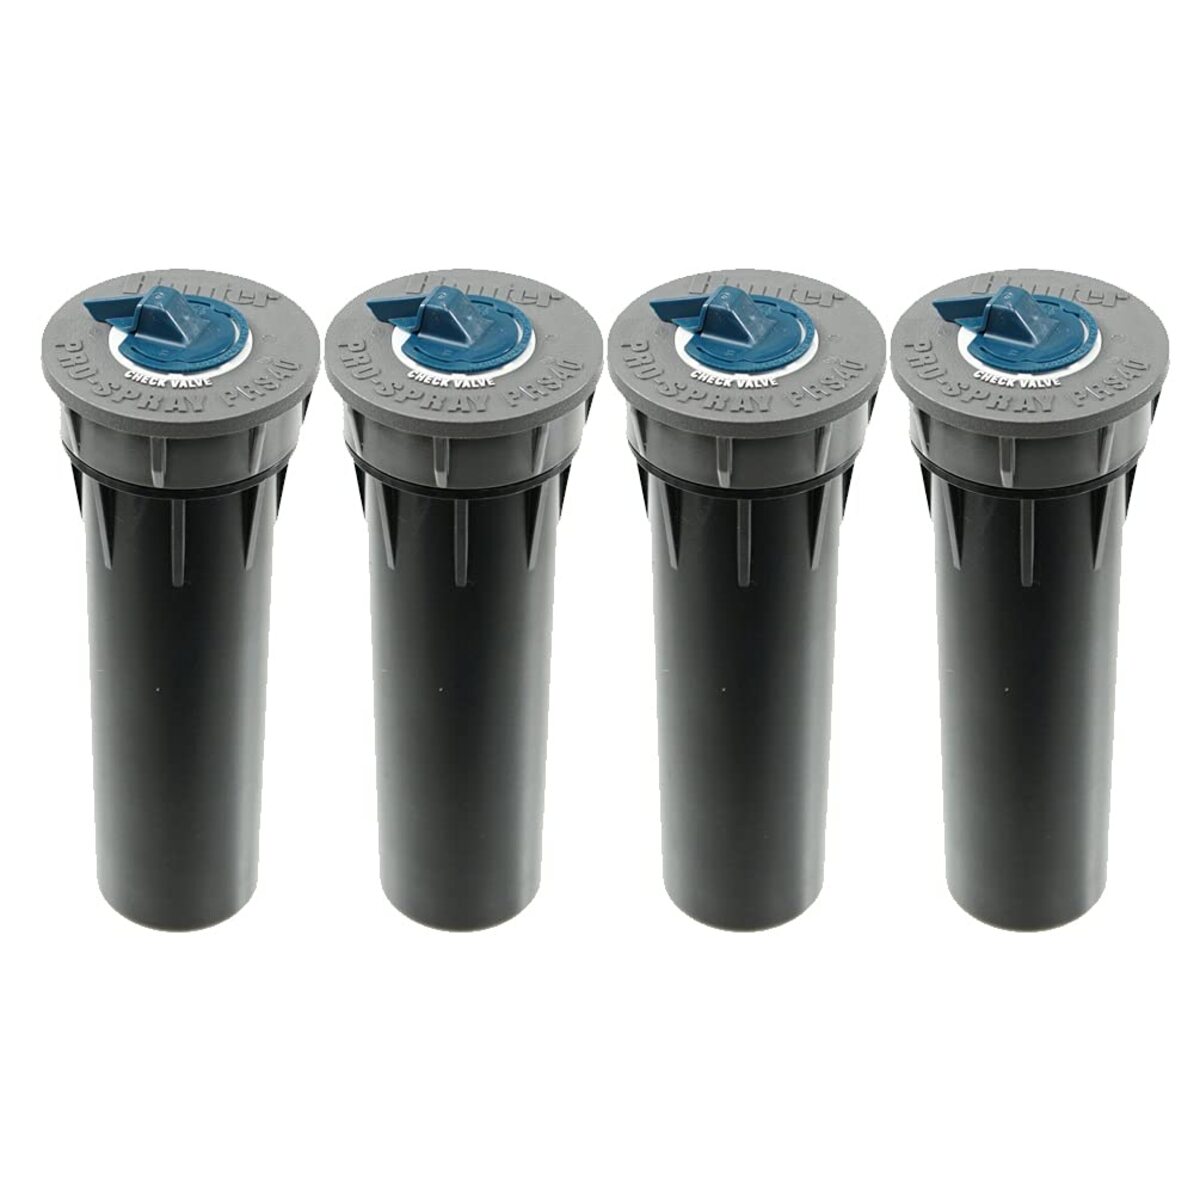
- Choose the right sprinkler head: Refer to your irrigation system’s user manual or consult with a professional to select a new sprinkler head that is compatible with your system. Consider factors such as spray pattern, distance, and flow rate to ensure optimal watering coverage.
- Inspect the new sprinkler head: Before installation, carefully examine the new sprinkler head for any defects or damage. Ensure that all the necessary components, such as nozzles or filters, are included and in good condition. If there are any issues or missing parts, contact the manufacturer or supplier for a replacement.
- Make any necessary adjustments: Depending on your specific needs and the layout of your lawn, you may need to adjust the spray pattern or arc of the new sprinkler head. Consult the user manual or refer to the manufacturer’s instructions for guidance on making these adjustments.
- Apply thread seal tape: To create a watertight seal and prevent leaks, wrap a few layers of thread seal tape around the threads of the sprinkler head. Start at the base of the threads and wrap in a clockwise direction. Ensure that the tape covers all the threads and does not extend beyond the edge.
By carefully preparing the new sprinkler head, you are ensuring its compatibility with your irrigation system and maximizing its effectiveness in watering your lawn or garden.
With the new sprinkler head prepared, we can now proceed to the next step: attaching the new sprinkler head.
Step 5: Attach the new sprinkler head
Now that the new sprinkler head is prepared, it’s time to attach it to the irrigation system. This step involves securely connecting the new sprinkler head to the riser and ensuring a proper fit.
Follow these steps to attach the new sprinkler head:
- Position the new sprinkler head: Carefully place the new sprinkler head onto the riser, aligning it with the threads. Ensure that the threads on the riser and sprinkler head match up.
- Tighten the sprinkler head: Using your hand, tighten the sprinkler head onto the riser by turning it in a clockwise direction. Apply gentle pressure to ensure a snug fit. Avoid overtightening, as this can cause damage or leaks. If needed, use pliers or an adjustable wrench to give it a final firm rotation.
- Test for leaks: With the new sprinkler head attached, turn on the water supply briefly to check for any leaks. Inspect the connection point between the riser and the sprinkler head, as well as any other joints or connections. If you notice any leaks, tighten the sprinkler head further or apply more thread seal tape.
It’s important to ensure that the new sprinkler head is securely attached to prevent any leaks or water waste. A proper connection will allow for efficient and effective watering of your lawn or garden.
Once the new sprinkler head is attached and tested for leaks, we can move on to the final step: turning on the water supply and testing the new sprinkler head.
Step 6: Turn on the water supply and test the new sprinkler head
We’re almost done! Now that the new sprinkler head is securely attached, it’s time to turn on the water supply and test the functionality of the new sprinkler head.
Follow these steps to turn on the water supply and test the new sprinkler head:
- Open the main water valve: Slowly turn on the main water valve in a counterclockwise direction to allow water to flow into the irrigation system. Be cautious of any sudden water pressure surges.
- Inspect the new sprinkler head: As the water flows through the system, observe the new sprinkler head for any irregularities or issues. Ensure that it is spraying water evenly and in the desired pattern.
- Adjust the new sprinkler head: If necessary, make any adjustments to the spray pattern, distance, or arc of the new sprinkler head. Refer to the user manual or manufacturer’s instructions for guidance on making these adjustments.
- Check for leaks: While the sprinkler head is operating, inspect all connections and joints for any signs of leaks. Pay close attention to the connection point between the sprinkler head and the riser. If you detect any leaks, tighten the sprinkler head or reapply thread seal tape as needed.
By turning on the water supply and testing the new sprinkler head, you can ensure that it is properly installed, functioning correctly, and providing the desired watering coverage for your lawn or garden.
If everything looks good and there are no leaks or issues, congratulations! You have successfully replaced your irrigation sprinkler head. Your lawn and plants will now receive the proper and efficient watering they need to thrive.
However, if you encounter any problems or concerns during the testing phase, it may be necessary to reassess the installation or consult with a professional for further guidance.
Now that you have completed the process of replacing your sprinkler head and tested its functionality, you can sit back and enjoy your well-irrigated landscape!
Conclusion
Congratulations on successfully replacing your irrigation sprinkler head! With this new skill under your belt, you can confidently tackle any future sprinkler head replacements and ensure the optimal functioning of your irrigation system.
Throughout this step-by-step guide, we have shown you how to gather the necessary materials, turn off the water supply, remove the old sprinkler head, prepare the new sprinkler head, attach it securely to the irrigation system, and test its functionality. By following these steps and exercising caution throughout the process, you have taken a proactive step in maintaining a healthy and vibrant lawn or garden.
Remember, safety should always be a priority when working on any home improvement project. Wear protective gear, consult the user manual for your specific irrigation system, and seek professional help if needed.
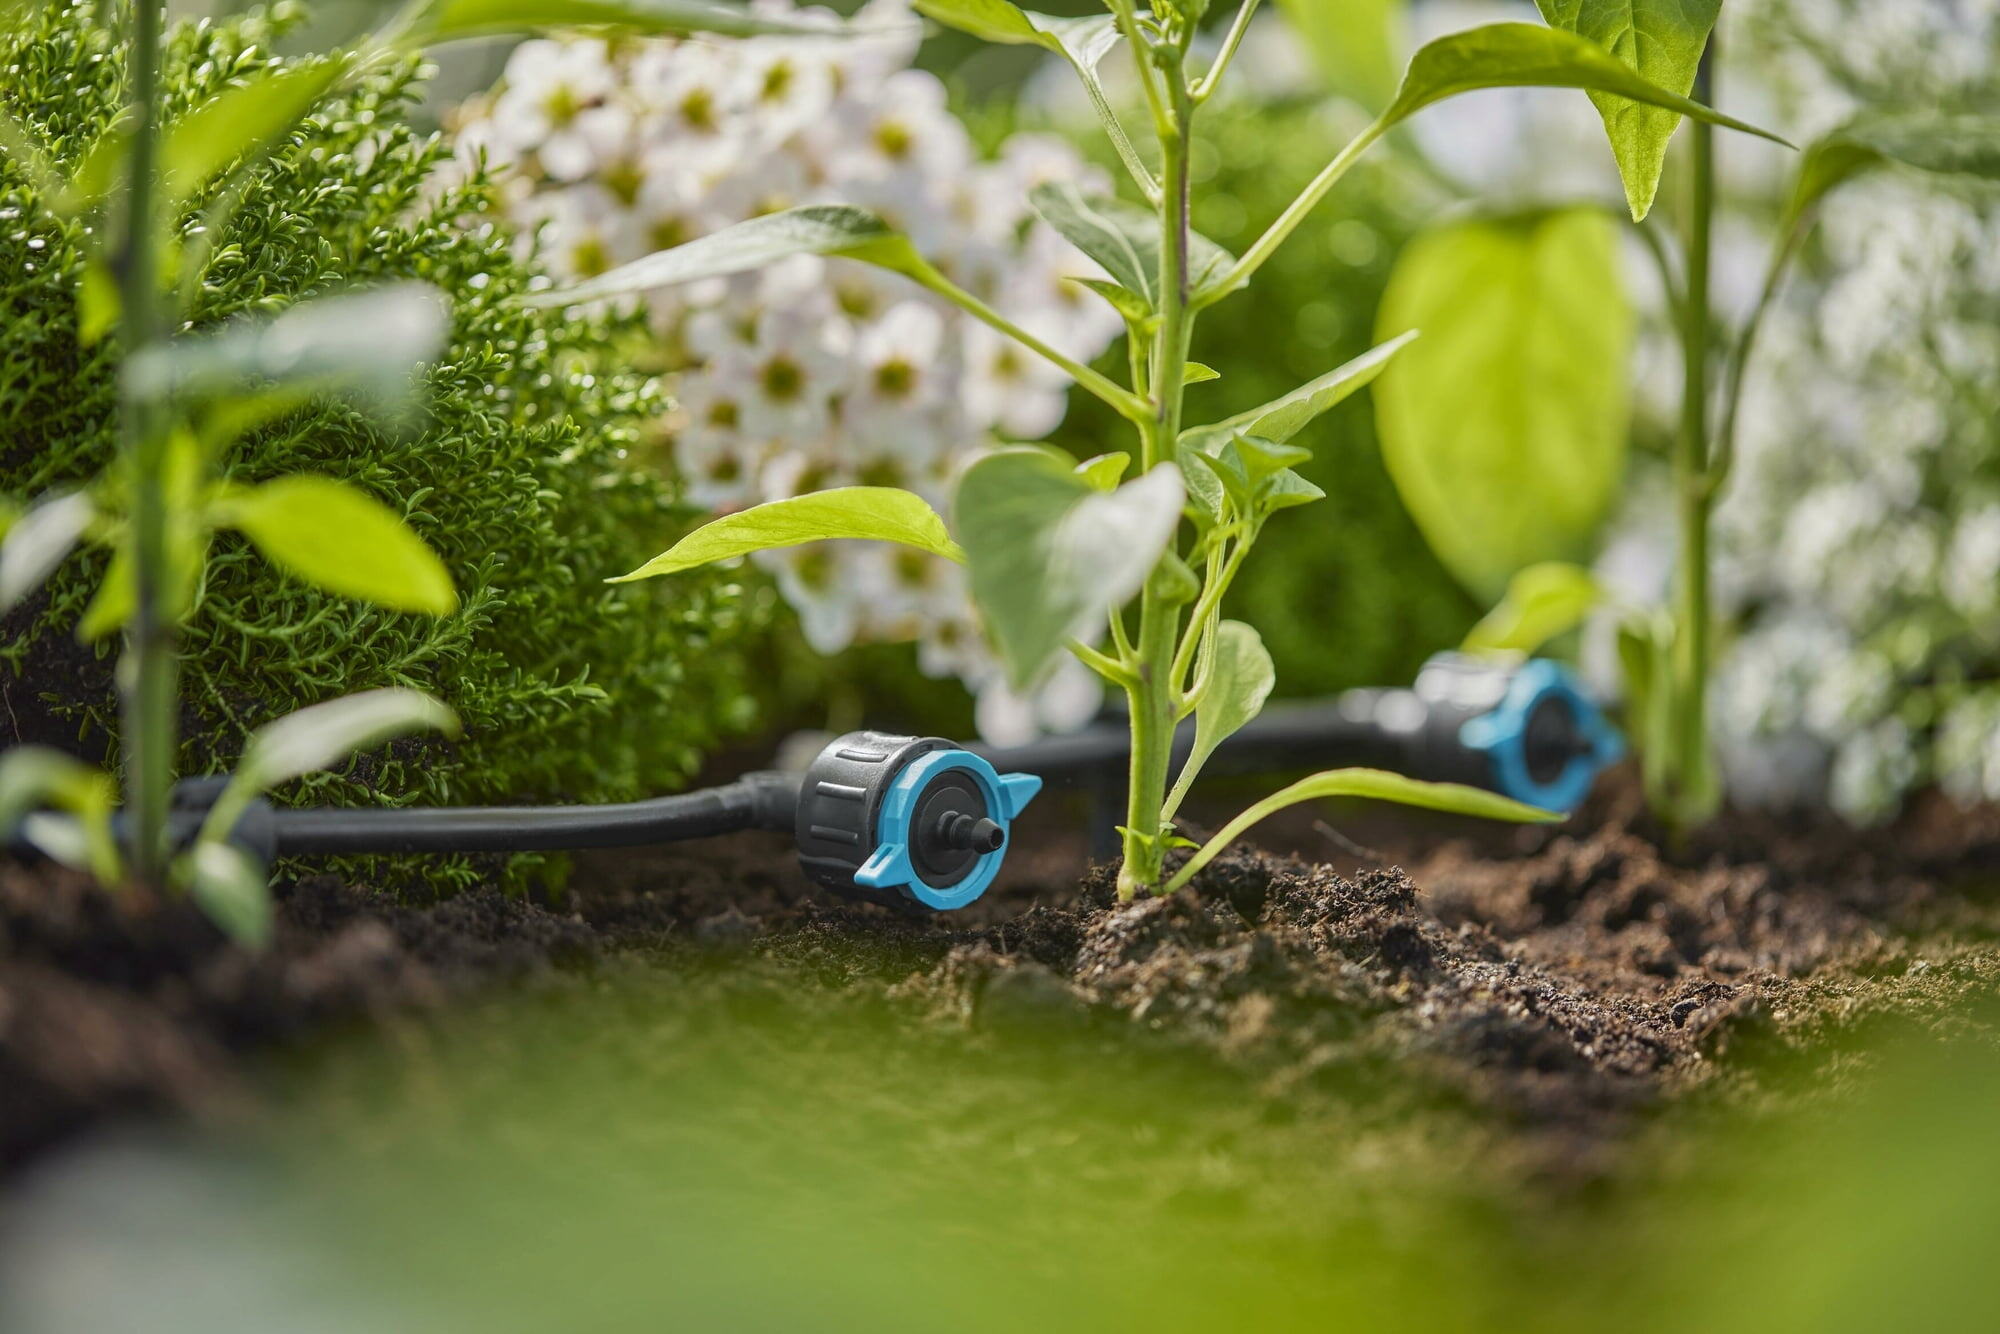
Regular maintenance of your irrigation system, including periodic inspections and timely sprinkler head replacements, will ensure that your lawn or garden receives adequate water and remains healthy. Additionally, efficient watering practices can help conserve water and reduce your environmental impact.
Now that you have the knowledge and skills to replace an irrigation sprinkler head, consider sharing this guide with friends or family who may also benefit from it. By spreading awareness, we can collectively contribute to water conservation efforts and promote the importance of maintaining efficient irrigation systems.
Thank you for taking the time to learn how to replace an irrigation sprinkler head. Happy gardening and enjoy your beautifully watered landscape!