Home>Gardening Techniques>DIY Projects>How To Replace Irrigation Valve

DIY Projects
How To Replace Irrigation Valve
Modified: January 22, 2024
Learn how to replace an irrigation valve with this step-by-step DIY project guide. Upgrade your irrigation system easily and efficiently.
(Many of the links in this article redirect to a specific reviewed product. Your purchase of these products through affiliate links helps to generate commission for Chicagolandgardening.com, at no extra cost. Learn more)
Table of Contents
Introduction
Welcome to our comprehensive guide on how to replace an irrigation valve. Whether you’re a DIY enthusiast or simply looking to save some money on professional irrigation services, this step-by-step tutorial will walk you through the process of replacing an irrigation valve with ease. Having a properly functioning irrigation system is essential for maintaining a healthy and vibrant lawn or garden, and replacing a faulty valve can help you achieve that.
Over time, irrigation valves can wear out or become damaged due to factors such as weather exposure, clogs, or even normal wear and tear. When you notice issues like leaks, insufficient water flow, or erratic sprinkler performance, it’s time to consider replacing the valve.
The good news is that replacing an irrigation valve is a relatively straightforward task that doesn’t require advanced technical skills. With the right tools, materials, and a little bit of patience, you can successfully replace the valve and restore your irrigation system’s optimal functionality.
In this guide, we will walk you through each step of the process, providing detailed explanations and tips to ensure your success. We will help you gather the necessary tools and materials, guide you through shutting off the water supply, removing the old valve, installing the new valve, testing the system, and making any necessary adjustments or fine-tuning. By the end, you’ll have the confidence to tackle this DIY project and keep your lawn or garden well-watered and lush.
Before we dive into the steps, remember that safety should always be a priority. Make sure to wear appropriate protective gear, such as gloves and safety goggles, and adhere to any local regulations when working with your irrigation system.
Step 1: Gather the necessary tools and materials
Before you begin replacing the irrigation valve, it’s important to gather all the necessary tools and materials. Being prepared will save you time and frustration during the project. Here’s a list of items you’ll need:
- Adjustable wrench
- Screwdriver (Phillips or flathead, depending on your valve)
- PVC pipe cutter or hacksaw
- PVC primer and cement
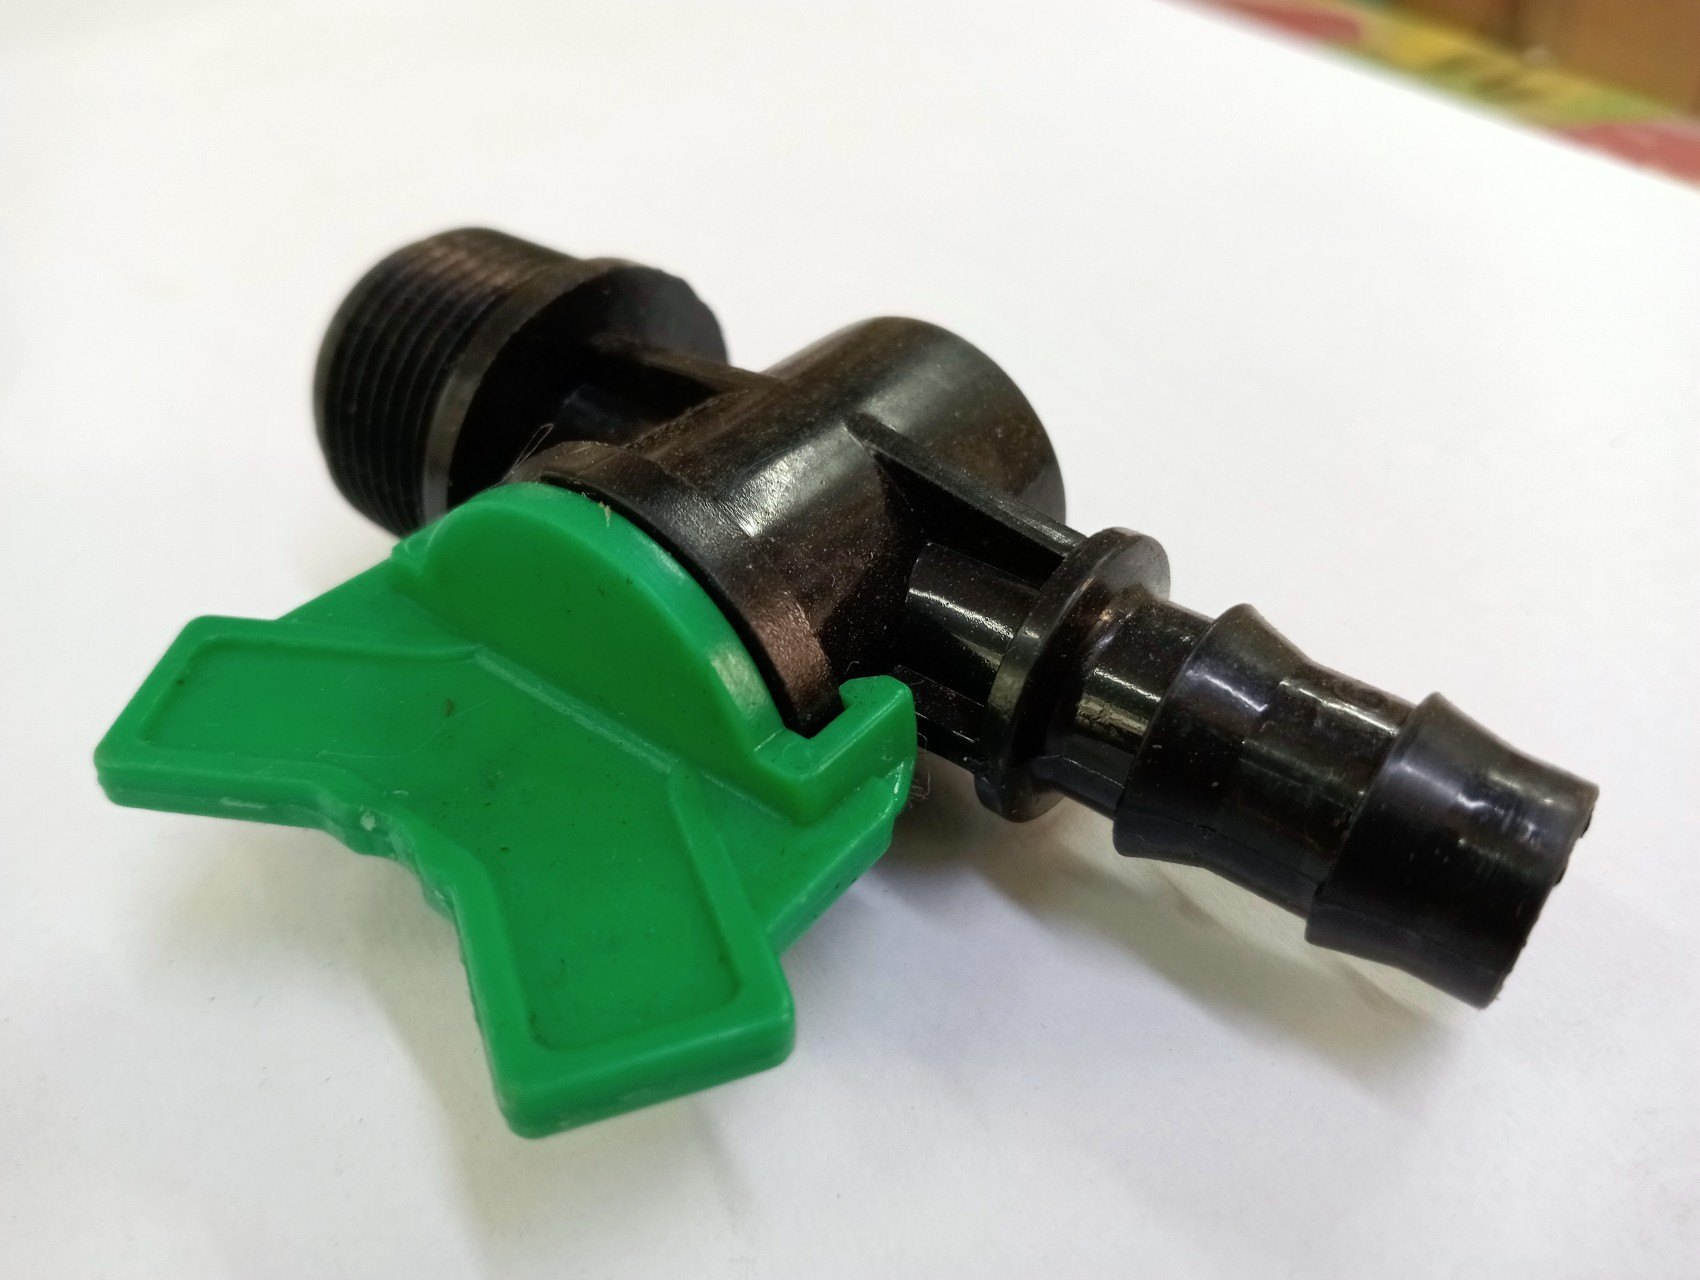
- New irrigation valve (make sure it matches the specifications of your old valve)
- Teflon tape
- Bucket or towel to catch any water that may spill
To ensure a smooth replacement process, it’s essential to have the correct tools and materials on hand. If you don’t already have them, you can find them at your local home improvement store or online. It’s always a good idea to have a few extra PVC fittings and pipes in case you encounter any unexpected issues during the replacement.
Remember that safety is important, so consider wearing safety goggles to protect your eyes from debris, and gloves to avoid any potential cuts or injuries.
Once you have gathered all the necessary tools and materials, you’re ready to move on to the next step: shutting off the water supply.
Step 2: Shut off the water supply
Prior to replacing the irrigation valve, it’s crucial to shut off the water supply to prevent any water leakage or damage. Follow these steps to turn off the water supply:
- Locate the main water shut-off valve for your irrigation system. This valve is typically located near the water meter or inside a valve box.
- Using an adjustable wrench, turn the valve in a clockwise direction to shut off the water flow. You may need to apply some force, but be careful not to overtighten and risk damaging the valve.
- Once the valve is closed, turn on a sprinkler or faucet to release any remaining water pressure in the system. This will help to prevent any water leakage when you remove the old valve.
After shutting off the water supply, it’s essential to double-check that the water flow has indeed been stopped. You can do this by opening a faucet or sprinkler and verifying that no water is coming out. This step is crucial to ensure you can safely proceed with the replacement process without any unexpected water pressure.
Remember, each irrigation system may have unique shut-off valve configurations, so make sure to refer to your system’s specific instructions or consult a professional if you encounter any difficulties.
Now that the water supply is shut off, you’re ready to move on to the next step: removing the old irrigation valve.
Step 3: Remove the old irrigation valve
Now that the water supply is shut off, it’s time to remove the old irrigation valve. Follow these steps:
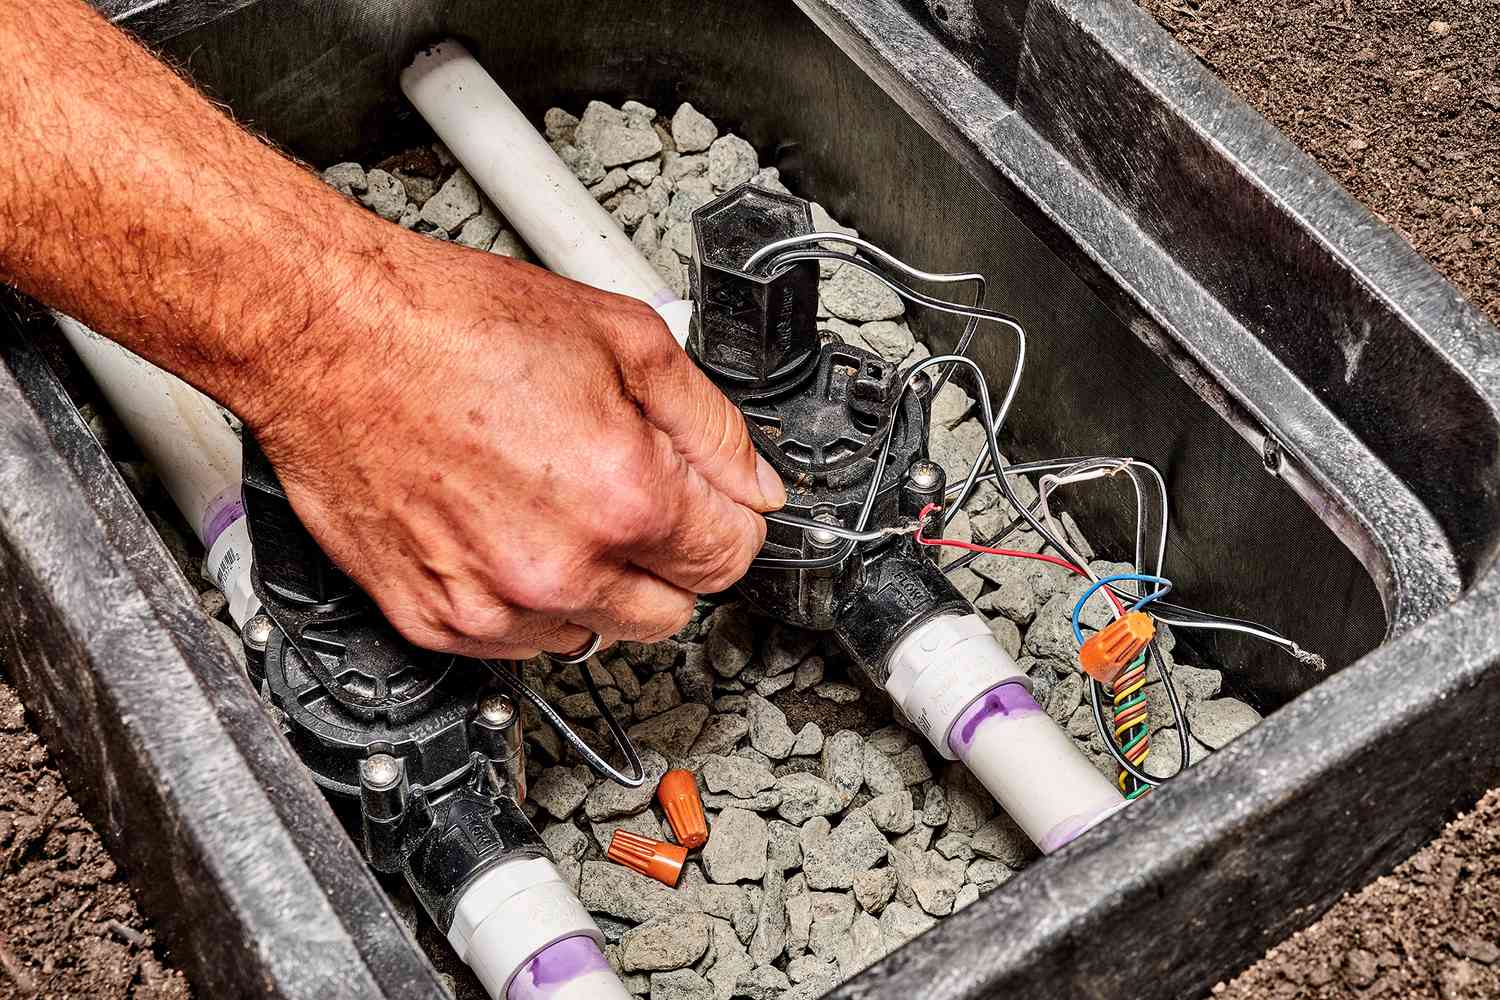
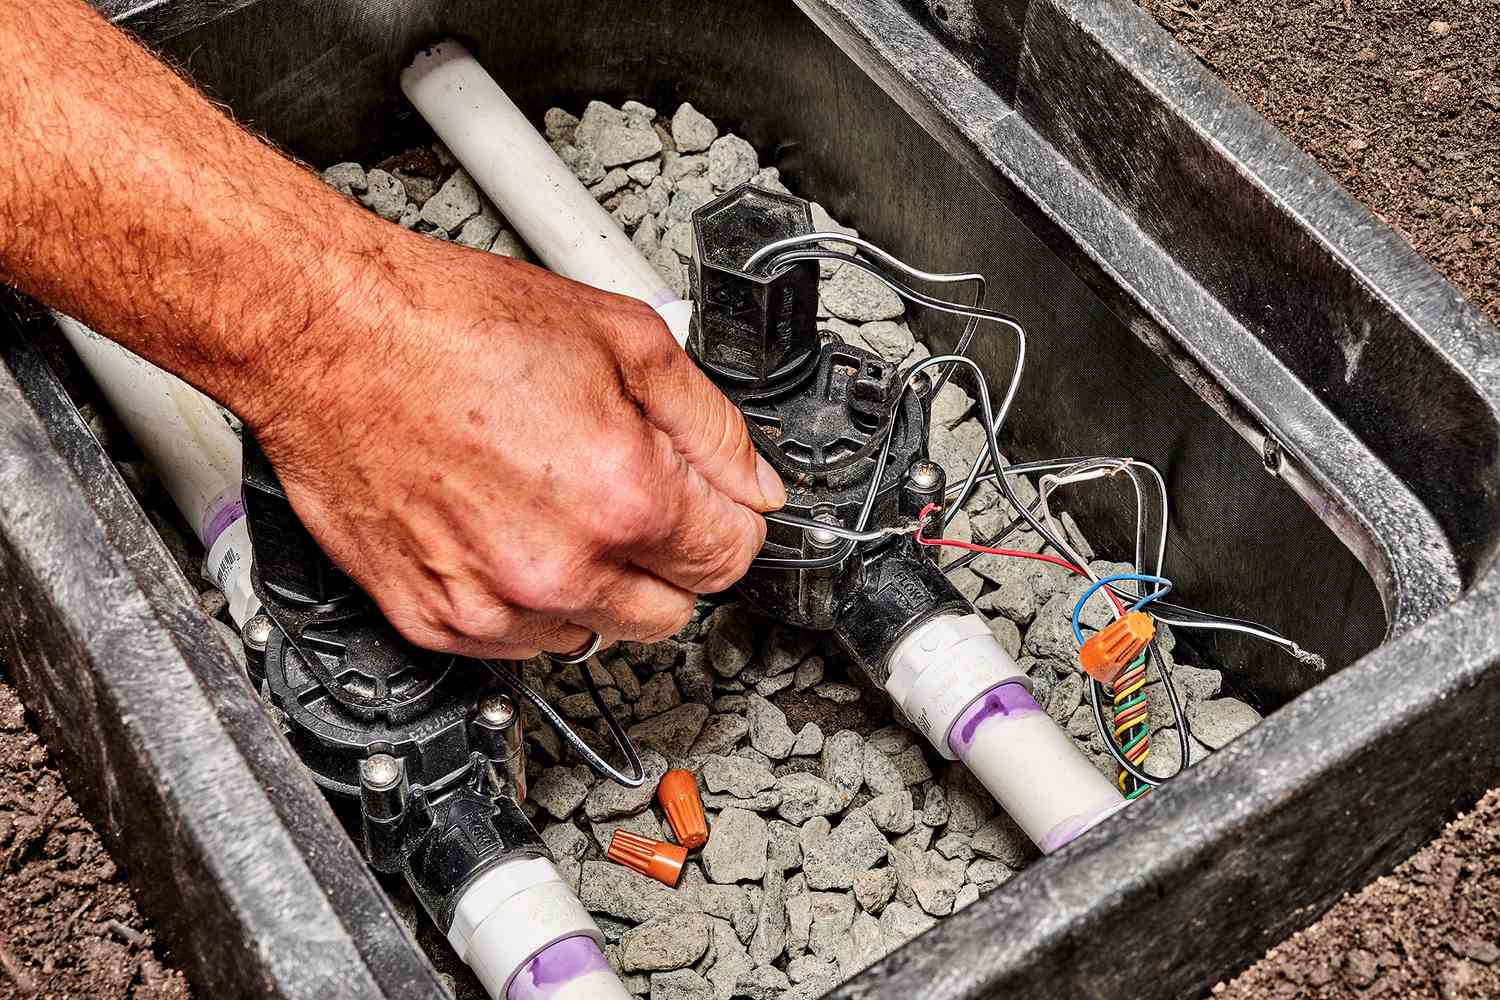
- Locate the old valve in your irrigation system. It is typically housed in a valve box, which can usually be found near the main water supply line.
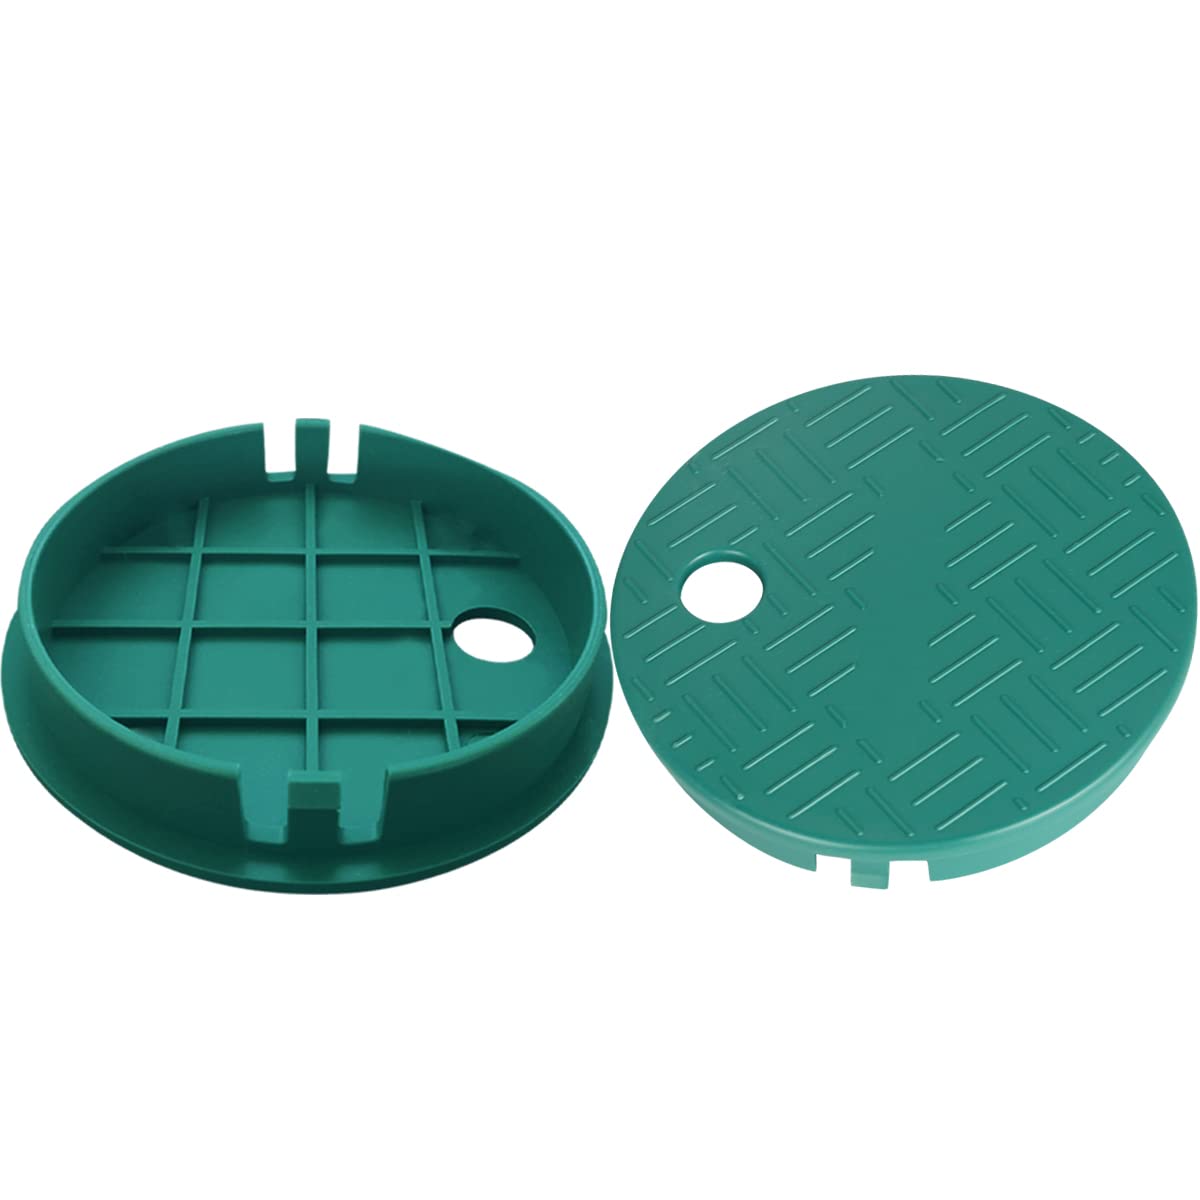
- Remove the lid of the valve box by lifting it or unscrewing it, depending on the design.
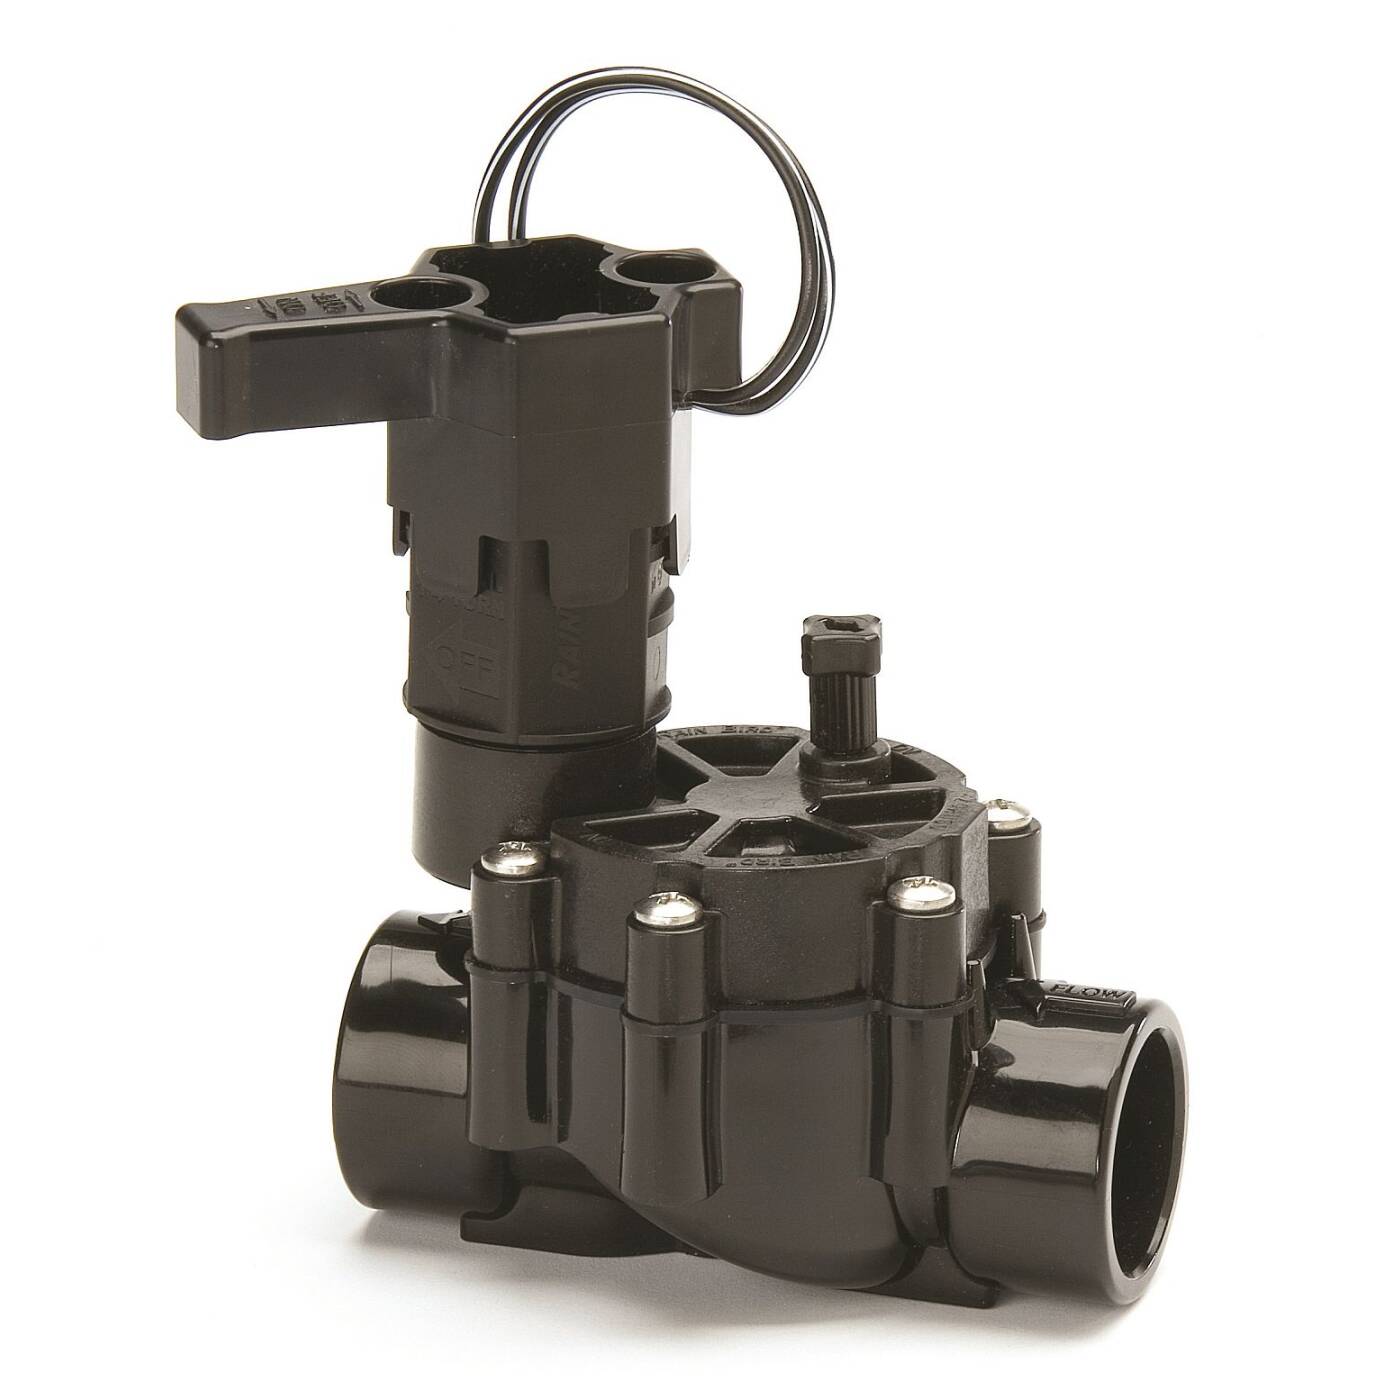
- Inspect the valve to determine the type of connection it has. Most irrigation valves have union nuts or threaded fittings.
- If the valve has union nuts, use an adjustable wrench to loosen the nuts counterclockwise. Unscrew them completely and set them aside.
- If the valve has threaded fittings, use a screwdriver (Phillips or flathead, depending on the type of screws) to remove the screws holding the valve in place. Keep the screws in a safe place to avoid losing them.
- With the nuts or screws removed, carefully lift the old valve out of the valve box.
- Inspect the surrounding area for any dirt or debris and clean it if necessary. This will ensure a clean surface for the installation of the new valve.
During the removal process, be cautious not to damage any other components of the irrigation system, such as pipes or wires.
Once the old valve is successfully removed, you can proceed to the next step: installing the new irrigation valve.
Step 4: Install the new irrigation valve
With the old irrigation valve removed, it’s time to install the new valve. Follow these steps to ensure a successful installation:
- Take the new irrigation valve and position it in the valve box. Ensure that it aligns with the existing pipe fittings and is oriented correctly.
- If the valve has union nuts, slide them over the pipe ends and tighten them clockwise by hand until they are snug. Then, use an adjustable wrench to give them an extra half-turn to ensure a secure connection.
- If the valve has threaded fittings, apply a thin layer of Teflon tape to the threads of the pipe fittings. This will provide a tight seal and prevent leaks. Carefully thread the fittings into the valve by hand until they are snug. Then, use a screwdriver to tighten the fittings an additional quarter-turn.
- Double-check that the valve is securely connected and aligned with the pipe fittings.
- If necessary, use a PVC pipe cutter or hacksaw to trim the pipe ends to ensure a clean and straight cut.
- Apply PVC primer to the outside of the pipe ends and the inside of the valve fittings. Then, apply PVC cement to both surfaces.
- Quickly insert the pipe ends into the valve fittings and give them a quarter-turn to ensure a proper bond. Hold them in place for a few seconds to allow the cement to set.
- Wipe away any excess primer or cement with a clean rag. Be careful not to touch the cement with your bare hands as it can cause skin irritation.
- Allow the cement to cure according to the manufacturer’s instructions before proceeding.
It’s important to follow the manufacturer’s instructions for the specific valve you’re installing, as different valves may have slightly different installation processes.
After completing the installation of the new irrigation valve, you’re ready to move on to the next step: testing the new valve.
Step 5: Test the new irrigation valve
Once the new irrigation valve is installed, it’s essential to test it to ensure proper functionality and identify any potential issues. Follow these steps to test the new valve:
- Turn on the water supply to the irrigation system by slowly reopening the main water shut-off valve.
- Monitor the new valve and check for any signs of leaks or abnormal water flow.
- Inspect the area around the valve and the surrounding pipes for any signs of water leakage. If you notice any leaks, turn off the water supply and double-check the connections. Tighten them if necessary or consider seeking professional assistance.
- Observe the sprinkler heads or drip emitters connected to the valve. Make sure they are spraying water evenly and at the desired pattern or rate.
- If the new valve is functioning correctly and there are no leaks or issues, move on to the next step. If there are any problems, troubleshoot the specific issue or consult a professional.
Keep in mind that it’s normal to experience a small amount of water spray or drip from the system initially as it pressurizes. However, persistent leaks or inconsistent water flow may indicate improper installation or an underlying problem that needs to be addressed.
Testing the new valve is crucial to ensure that your irrigation system is functioning optimally and providing sufficient water to your lawn or garden. If everything looks good, you can proceed to the final step: adjusting and fine-tuning the irrigation system.
Step 6: Adjust and fine-tune the irrigation system
After successfully installing and testing the new irrigation valve, it’s important to make any necessary adjustments and fine-tune the system to ensure optimal performance. Here are some steps to help you with this process:
- Inspect each sprinkler head or drip emitter in your irrigation system. Make sure they are positioned correctly and covering the desired area.
- Adjust the spray pattern and distance of each sprinkler head as needed. Most sprinkler heads have adjustable nozzles or screw heads to control these settings. Consult the manufacturer’s instructions for specific details on adjusting your sprinkler heads.
- Consider the specific watering needs of different areas in your lawn or garden. Adjust the run times and frequency of each irrigation zone accordingly to ensure proper water distribution and avoid overwatering or underwatering.
- Check for any blocked or clogged sprinkler heads or drip emitters. Clean or replace them as necessary to maintain optimal water flow.
- Monitor the performance of the irrigation system over time. Watch for any signs of poor coverage, water pooling, or dry spots and make adjustments as needed.
- Consider using a smart irrigation controller or a rain sensor to automate and optimize your irrigation schedule based on weather conditions. This can help conserve water and prevent overwatering.
Regular maintenance and periodic adjustments to your irrigation system are essential to ensure efficient water usage and a healthy landscape. By fine-tuning the system, you can address any potential issues and optimize the distribution of water.
Remember to stay observant and regularly evaluate the performance of your irrigation system. By addressing any issues promptly and making necessary adjustments, you can maintain a lush and healthy lawn or garden while conserving water.
Congratulations! You have successfully replaced the irrigation valve and fine-tuned your irrigation system. With these steps completed, you can now enjoy a well-functioning and efficient irrigation system for your landscaping needs.
Conclusion
Replacing an irrigation valve may seem like a daunting task, but with the right steps and tools, it can be a manageable and rewarding DIY project. By following the steps outlined in this guide, you can confidently replace a faulty valve and restore the proper functionality of your irrigation system.
Remember to gather all the necessary tools and materials before you begin. Shut off the water supply to prevent any leaks or damage, and remove the old irrigation valve carefully. Install the new valve securely, ensuring proper connections and using PVC cement for a strong bond.
Once the new valve is installed, test the system for any leaks and ensure that the water flow is consistent and reaching all the desired areas. Make any necessary adjustments to the sprinkler heads or drip emitters, ensuring proper coverage and minimizing water waste.
Regularly monitor and maintain your irrigation system to keep it running efficiently. This includes checking for clogged or blocked sprinkler heads, adjusting watering schedules based on specific areas’ needs, and implementing smart irrigation technology for automated and optimized water usage.
With a well-functioning irrigation system, you can ensure that your lawn or garden receives the proper amount of water, promoting healthy growth and vibrant landscapes. Additionally, by taking the DIY approach and tackling this project yourself, you can save money on professional services and gain a sense of accomplishment.
Remember to prioritize safety throughout the process by wearing protective gear and adhering to local regulations. If you encounter any difficulties or are unsure about any aspect of the replacement process, don’t hesitate to seek professional assistance.
Now that you have a comprehensive understanding of how to replace an irrigation valve, you’re equipped with the knowledge and skills to maintain and upgrade your irrigation system effectively. Get started today and enjoy a beautifully watered and thriving lawn or garden!

